Maximizing Your Space Efficiently
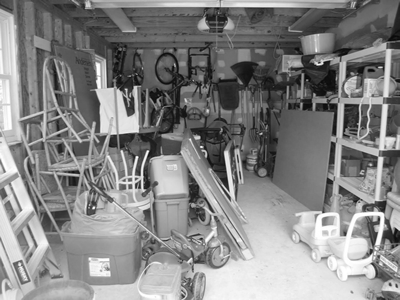
Are you constantly battling with clutter in your garage? Do you find yourself struggling to locate tools, sports equipment, or holiday decorations when you need them? If so, wall mounted garage storage could be the game-changer you’re looking for. By leveraging the vertical space in your garage, you can significantly increase your storage capacity, organize your belongings efficiently, and create a more functional and accessible workspace. Let’s delve into the benefits of wall mounted storage solutions and how you can implement them in your garage.
The Advantages of Wall Mounted Storage
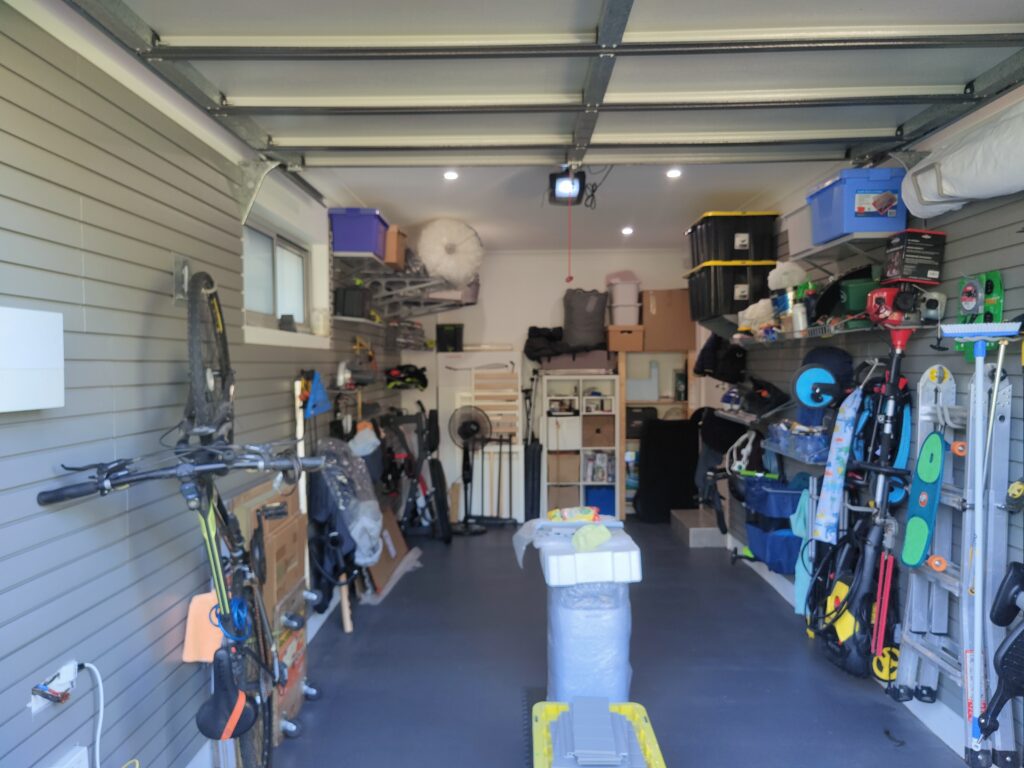
- Maximized Space Utilization: One of the most compelling reasons to opt for wall-mounted systems is the ability to free up floor space. This approach allows you to store items off the ground, making it easier to clean the floor and move around.
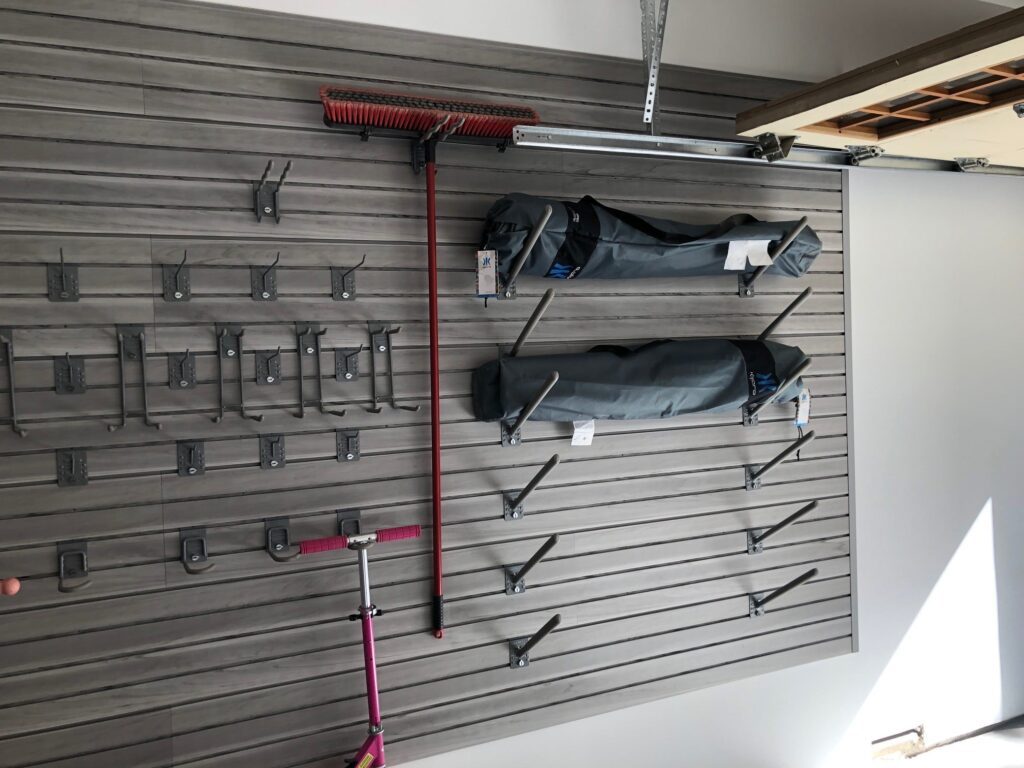
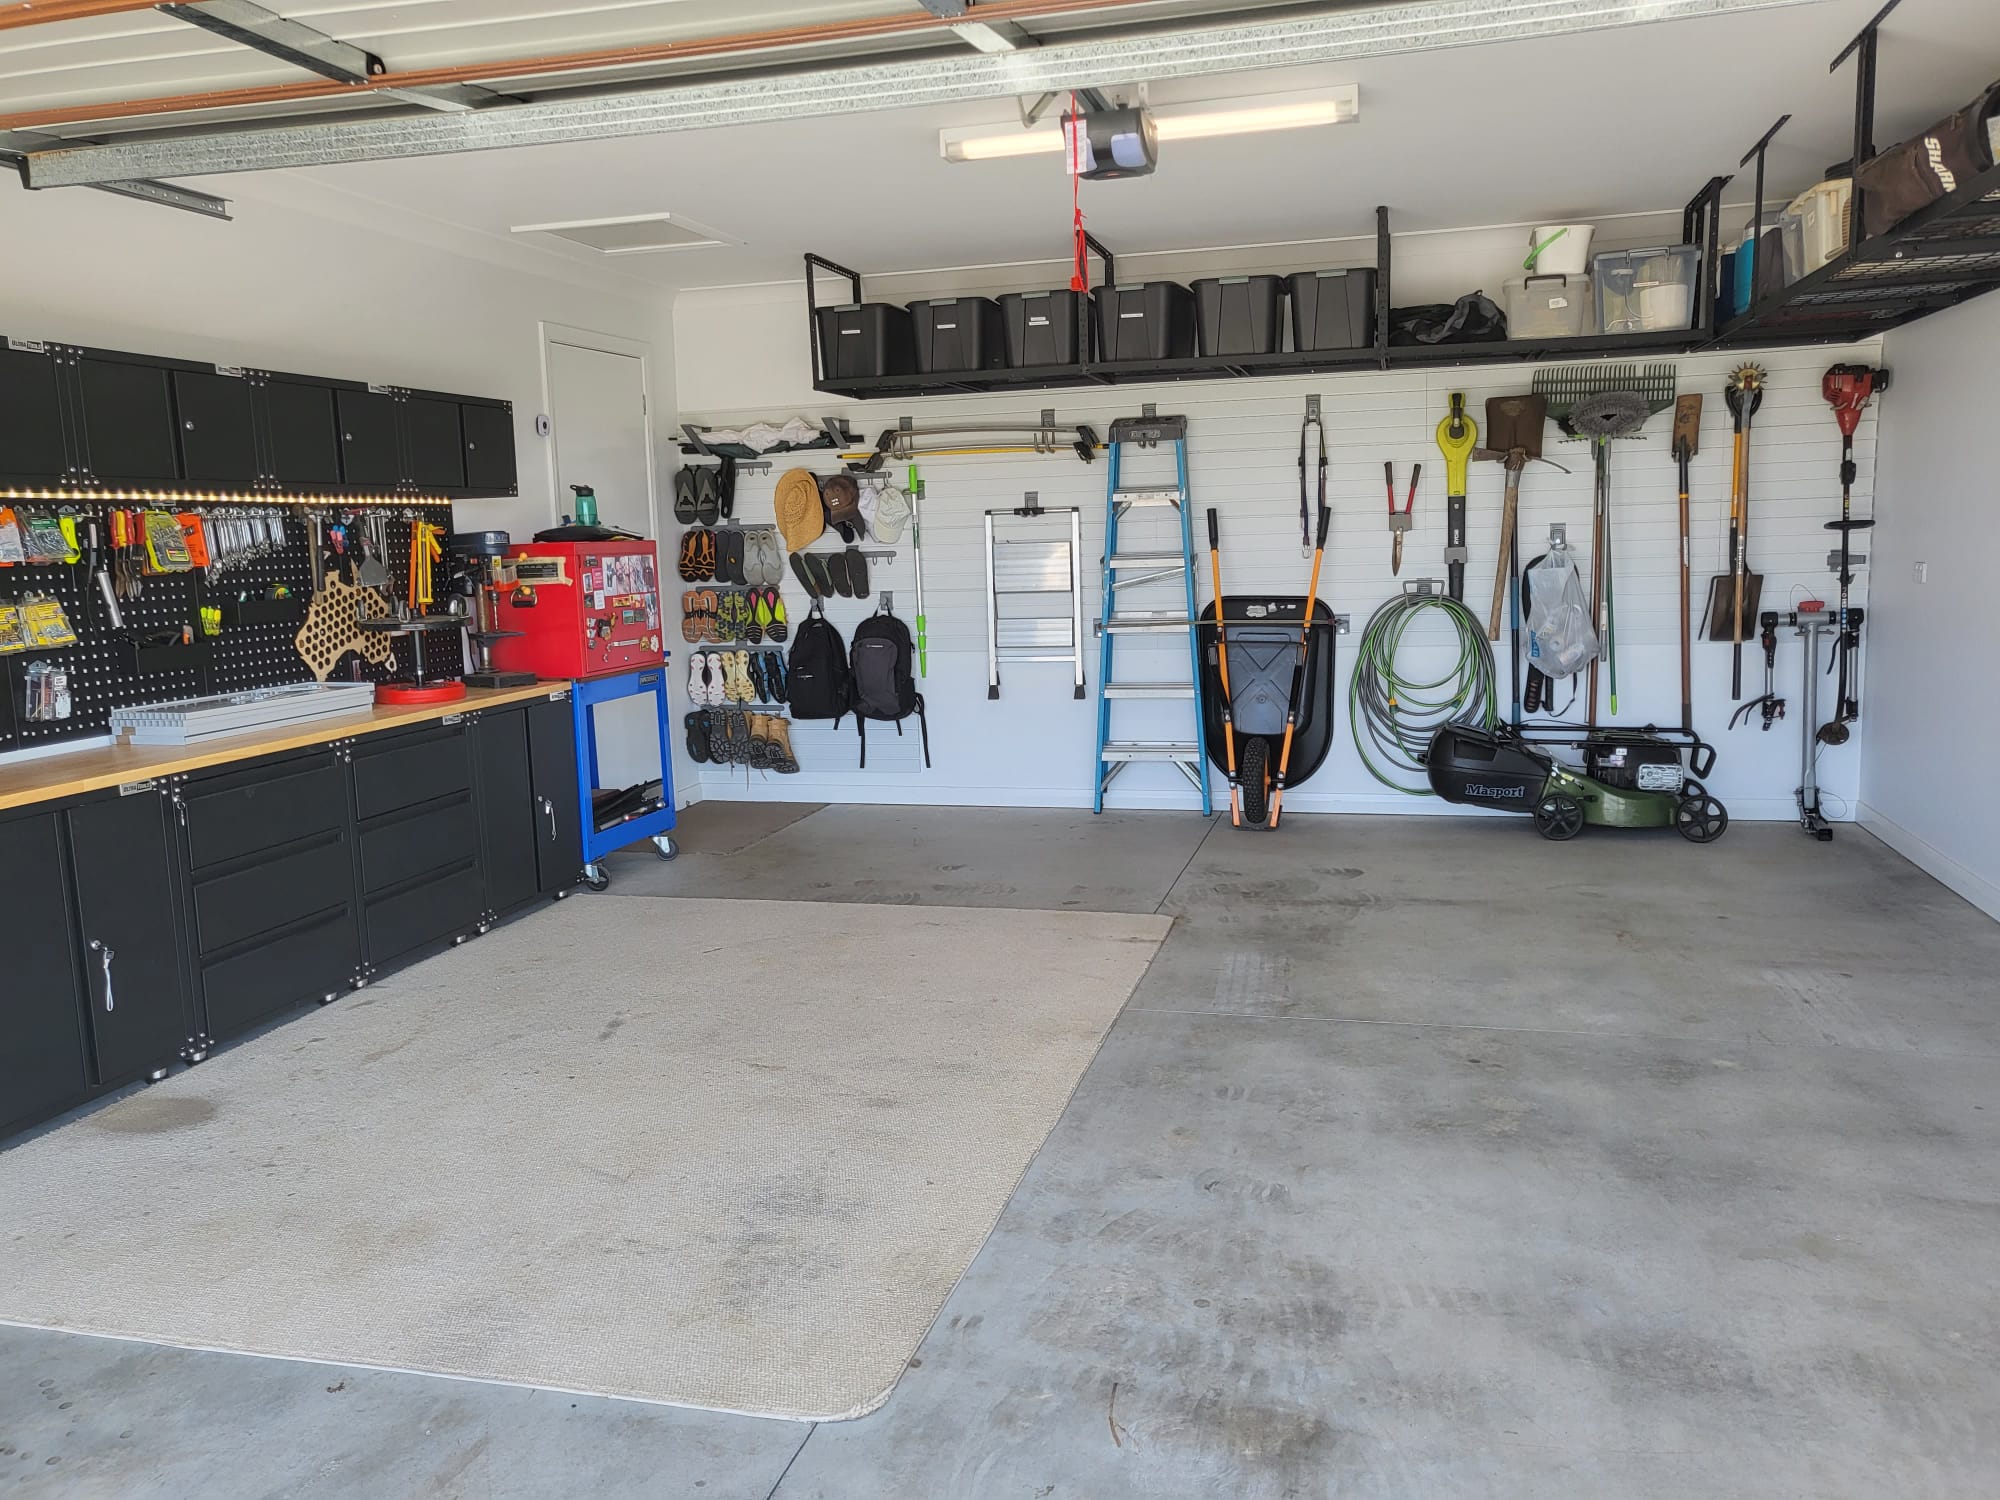
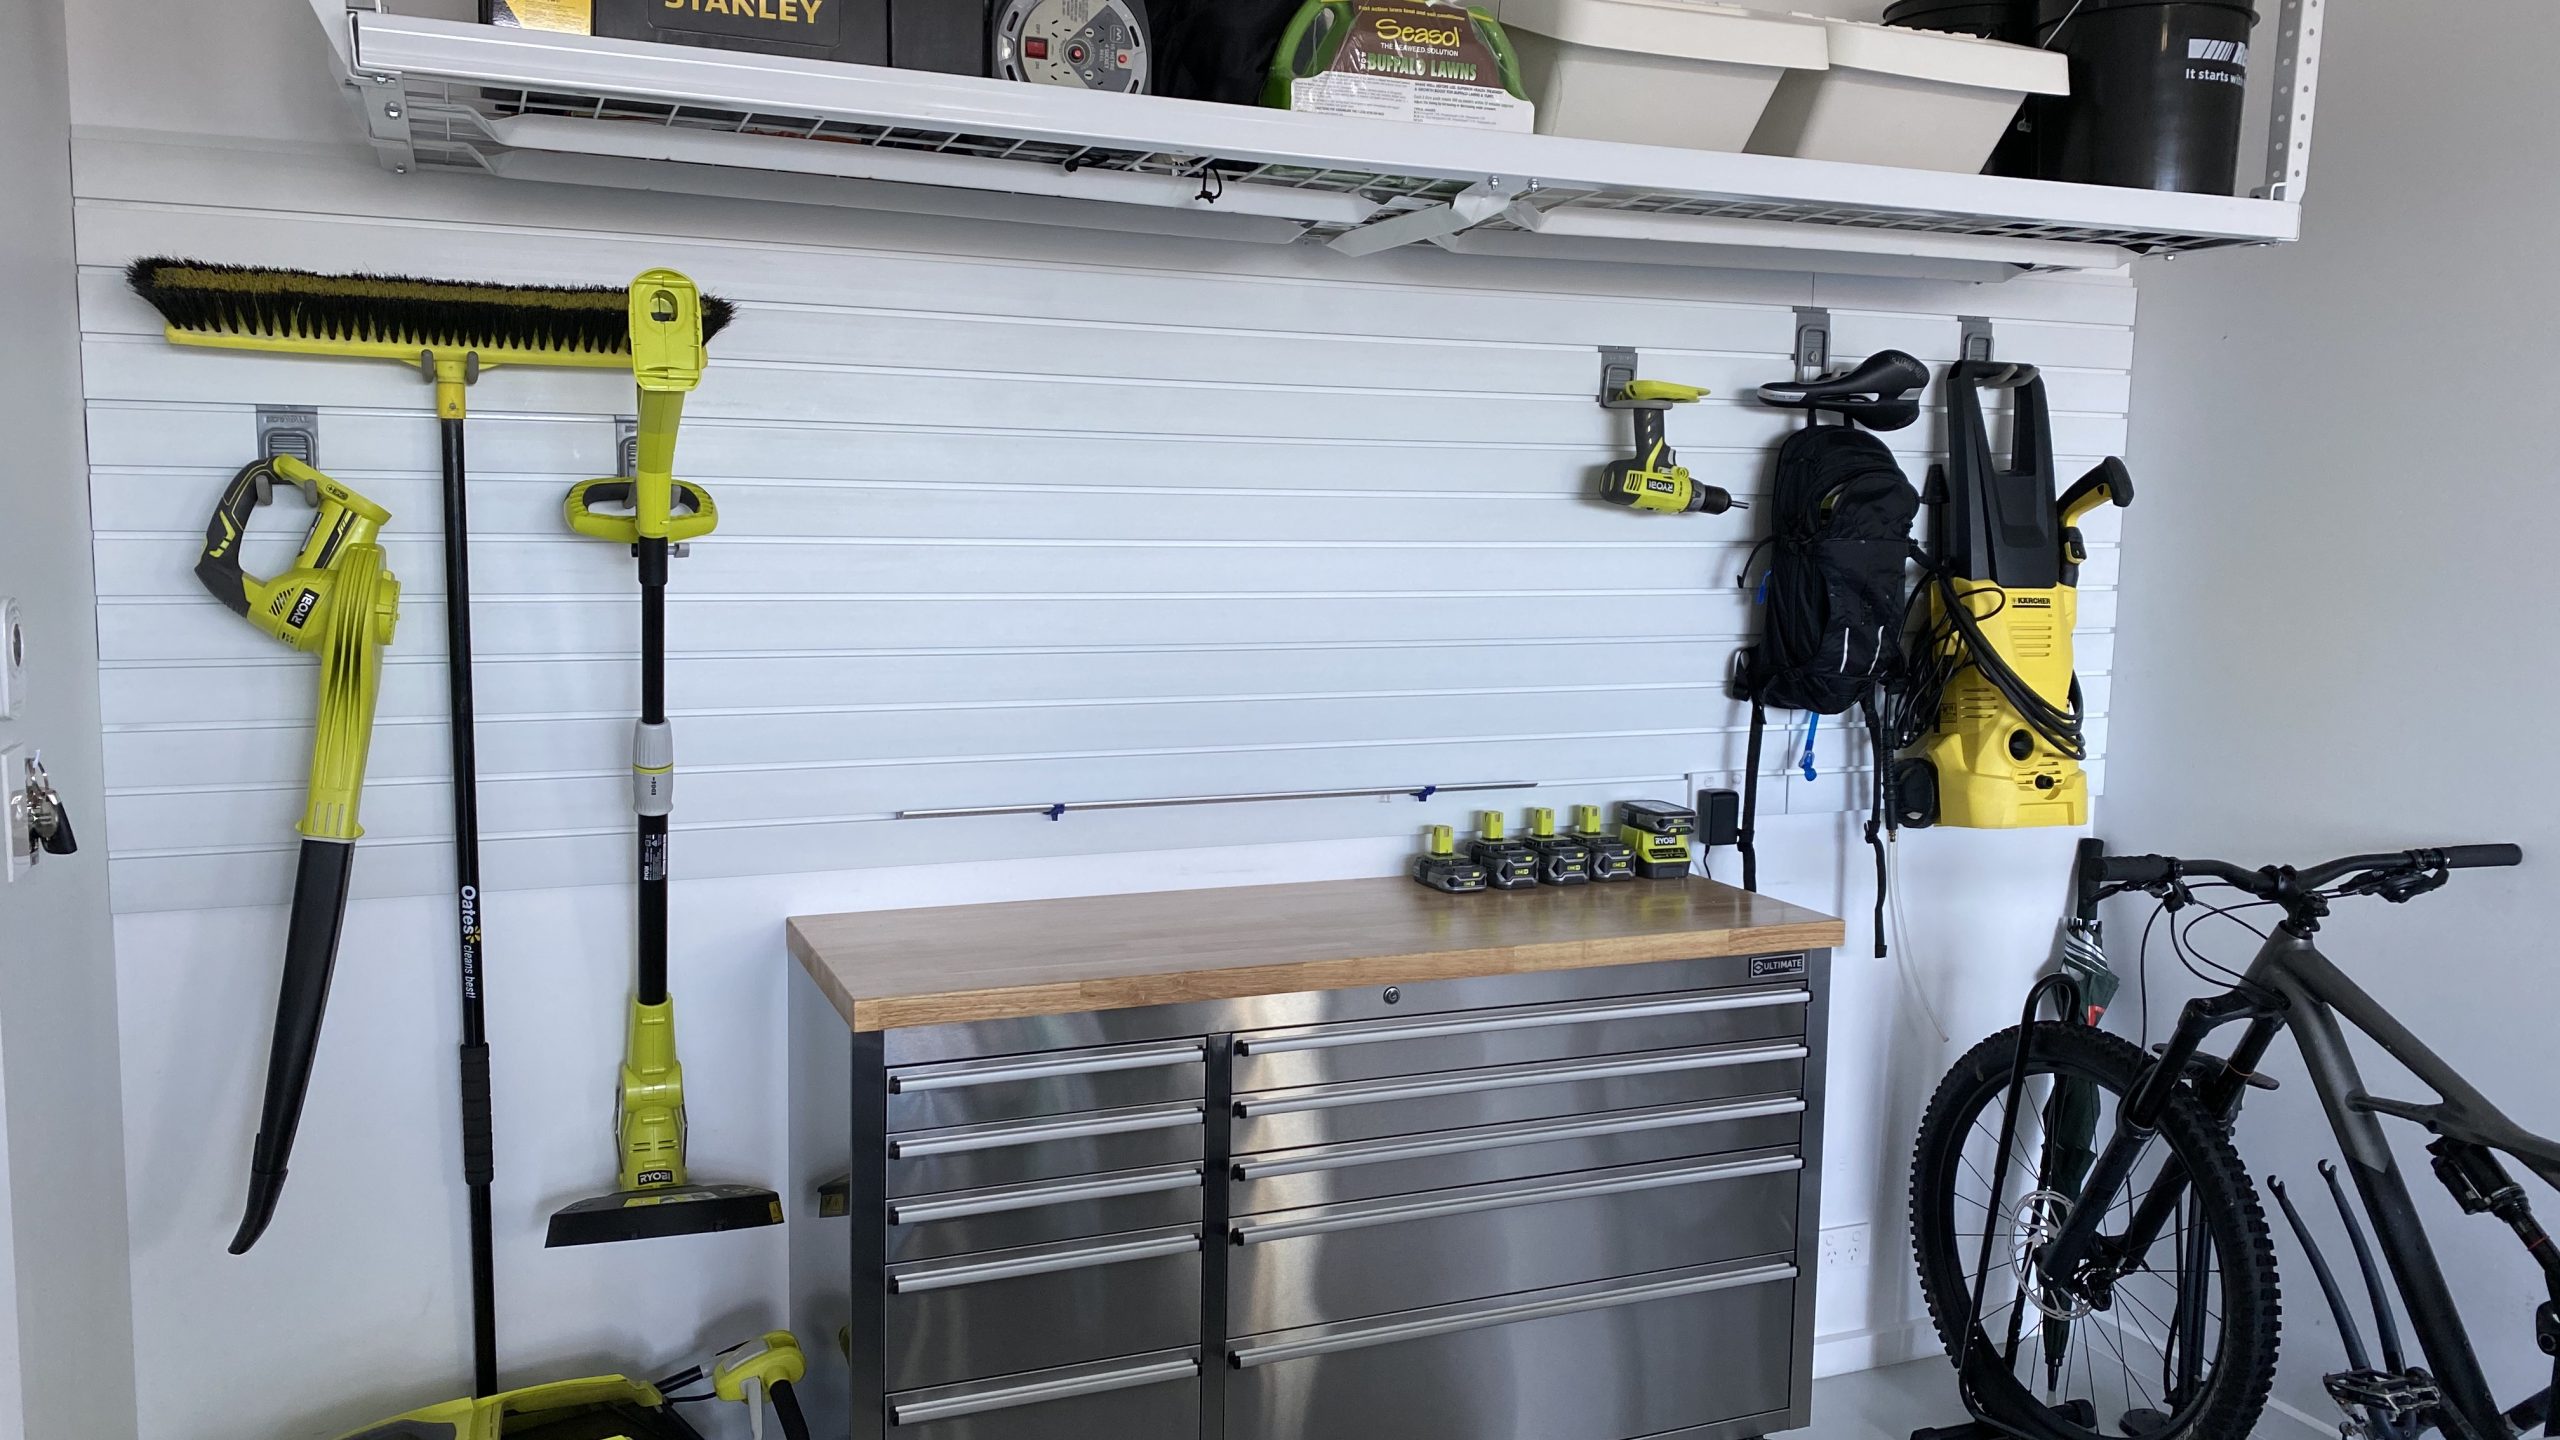
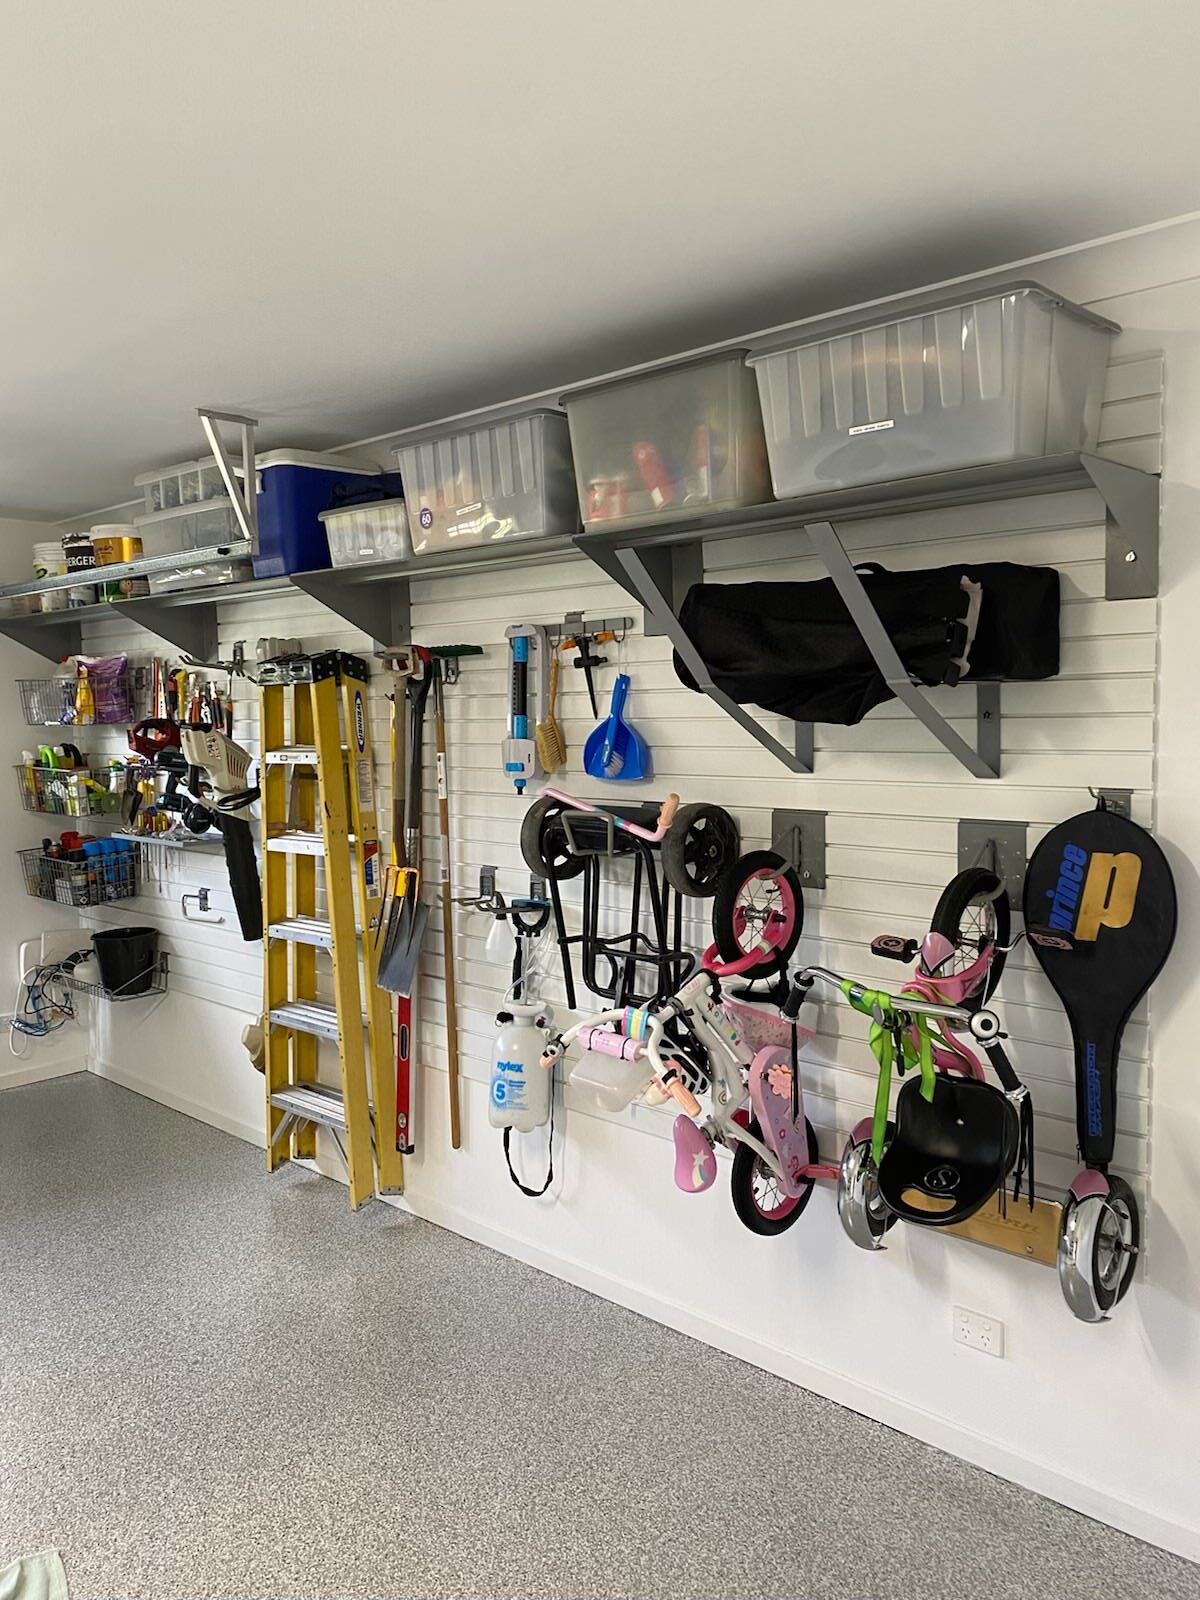
- Enhanced Organization: Wall-mounted systems often come with a variety of shelving, hooks, and bins that can be customized to suit your storage needs. This means you can have a dedicated spot for every item, from garden tools and sports gear to automotive supplies and woodworking equipment.
- Improved Accessibility: By keeping items off the floor and at eye level, garage wall systems make it easier to find and retrieve what you need without digging through piles or boxes.
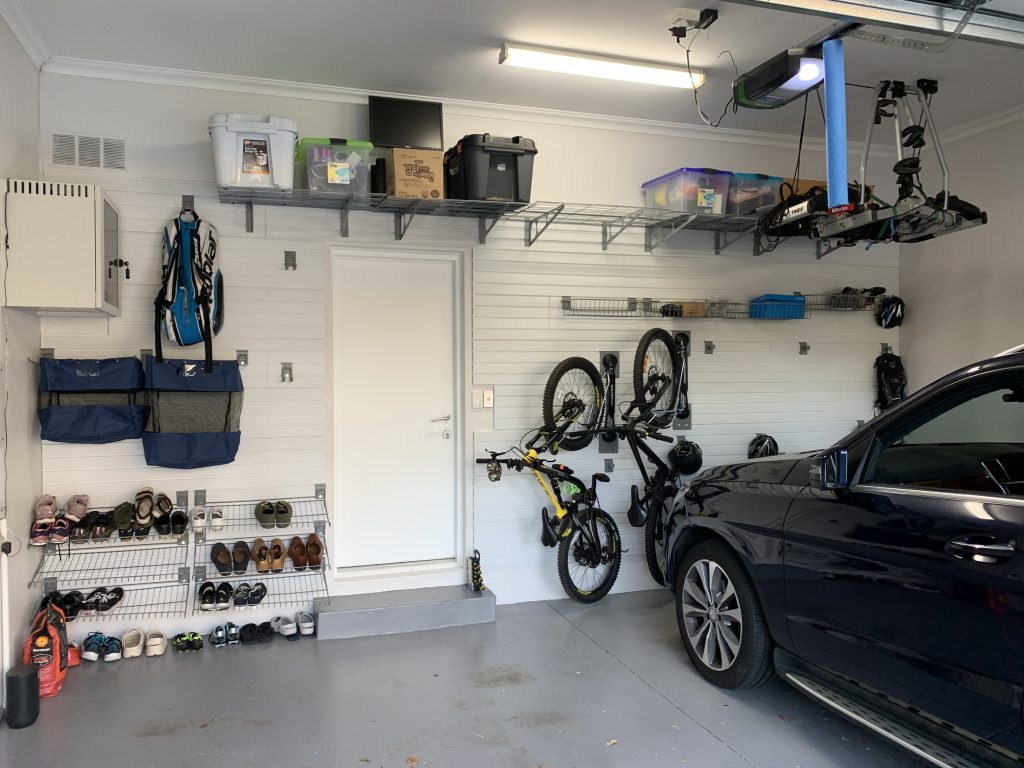
- Visual Appeal: A well-organized garage wall storage system can significantly improve the look of your garage, transforming it from a cluttered catchall to a tidy and efficient space.
Implementing Wall Mounted System in Your Garage
1. Assess Your Needs: Start by taking inventory of what you currently store in your garage. Group items by category and consider how often you use them. This will help you determine the type of storage solutions that will work best for your space.
2. Choose the Right System: There are several types of garage wall storage systems to choose from, including:
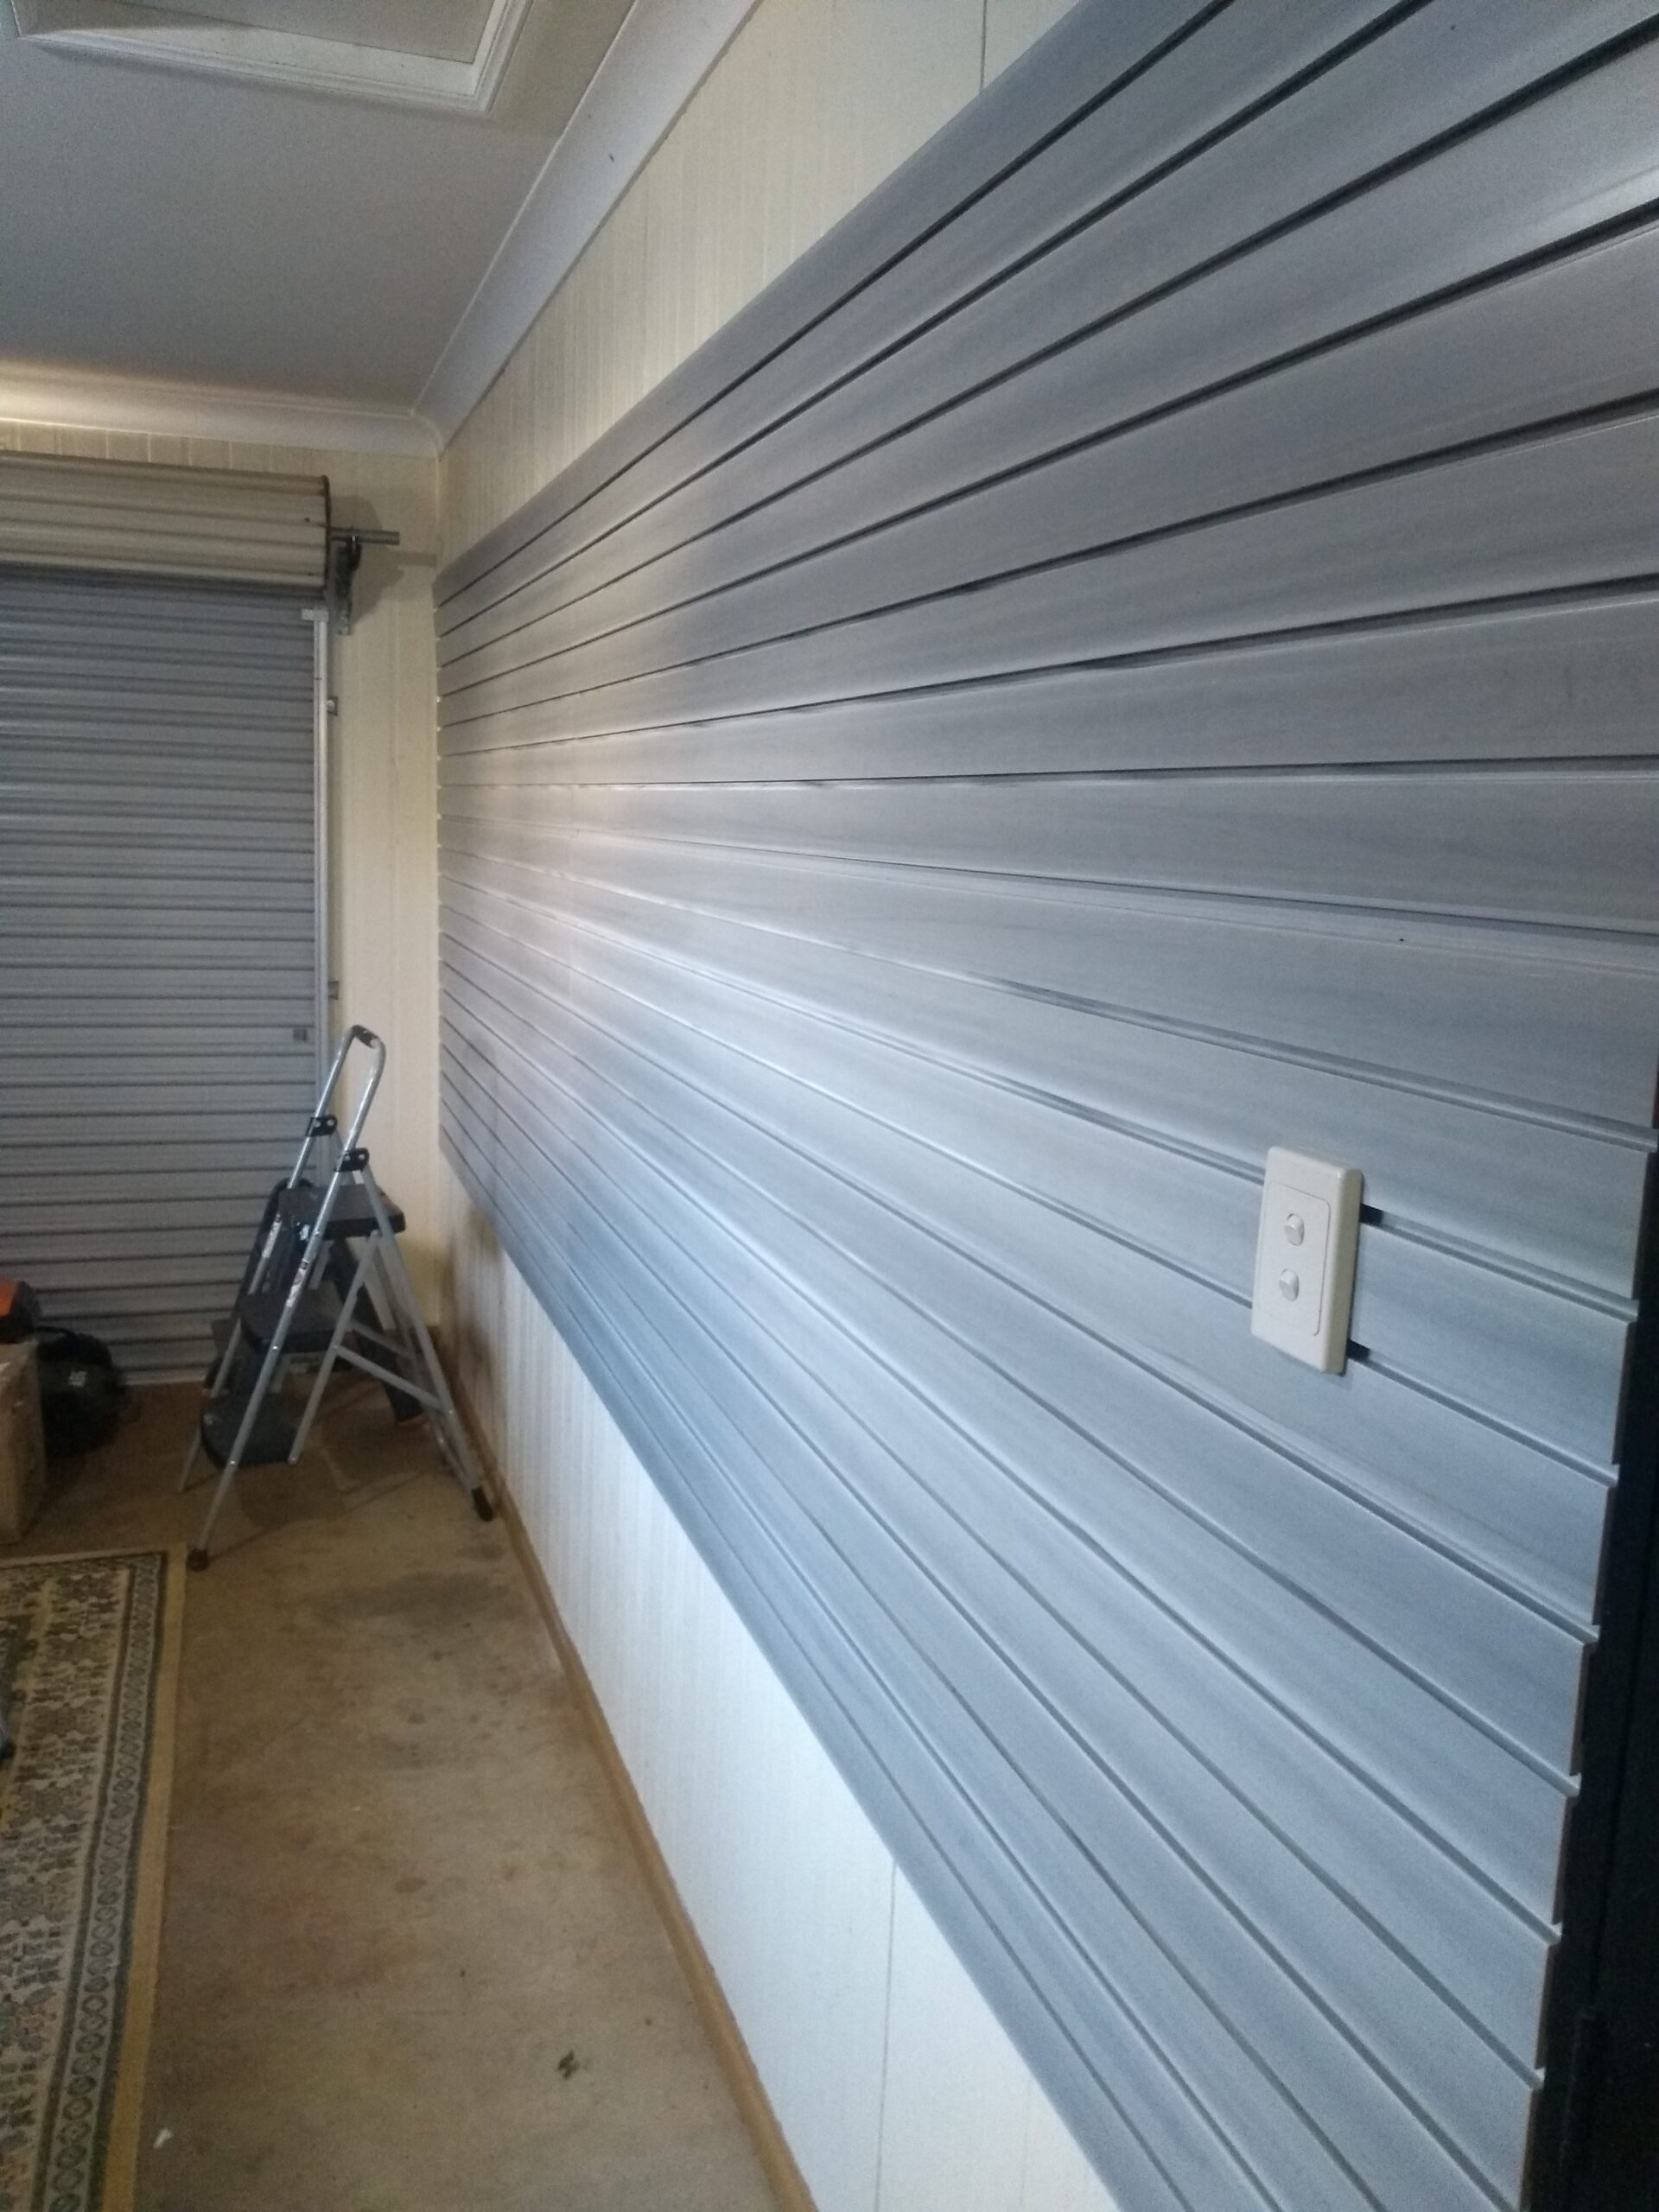
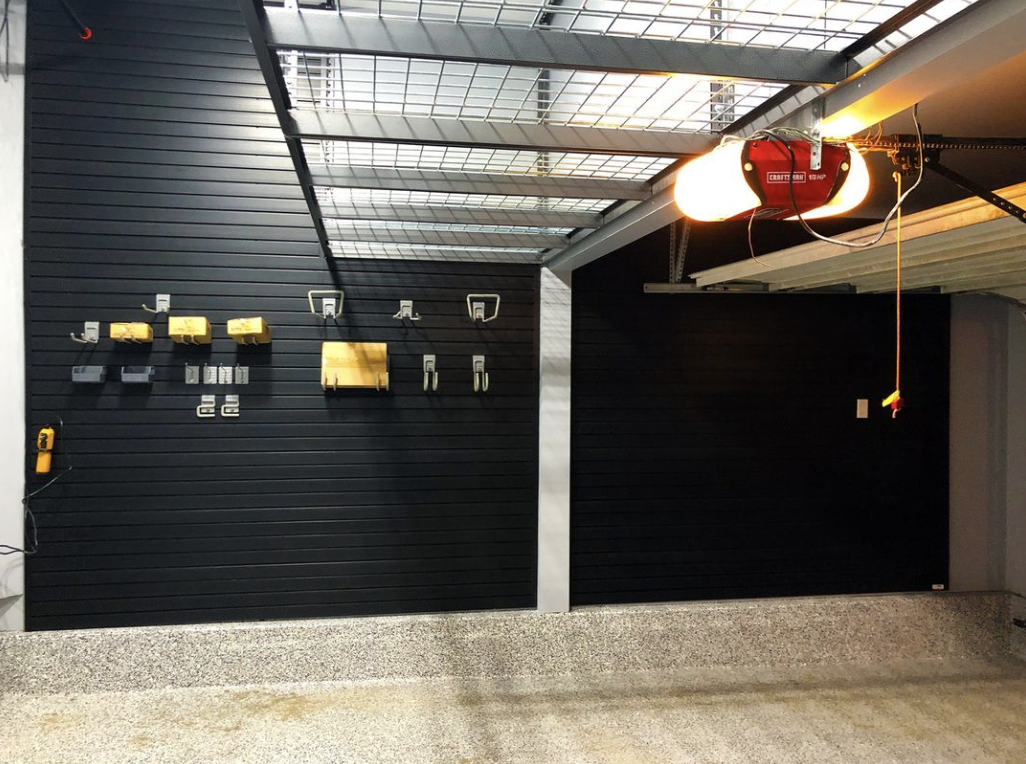
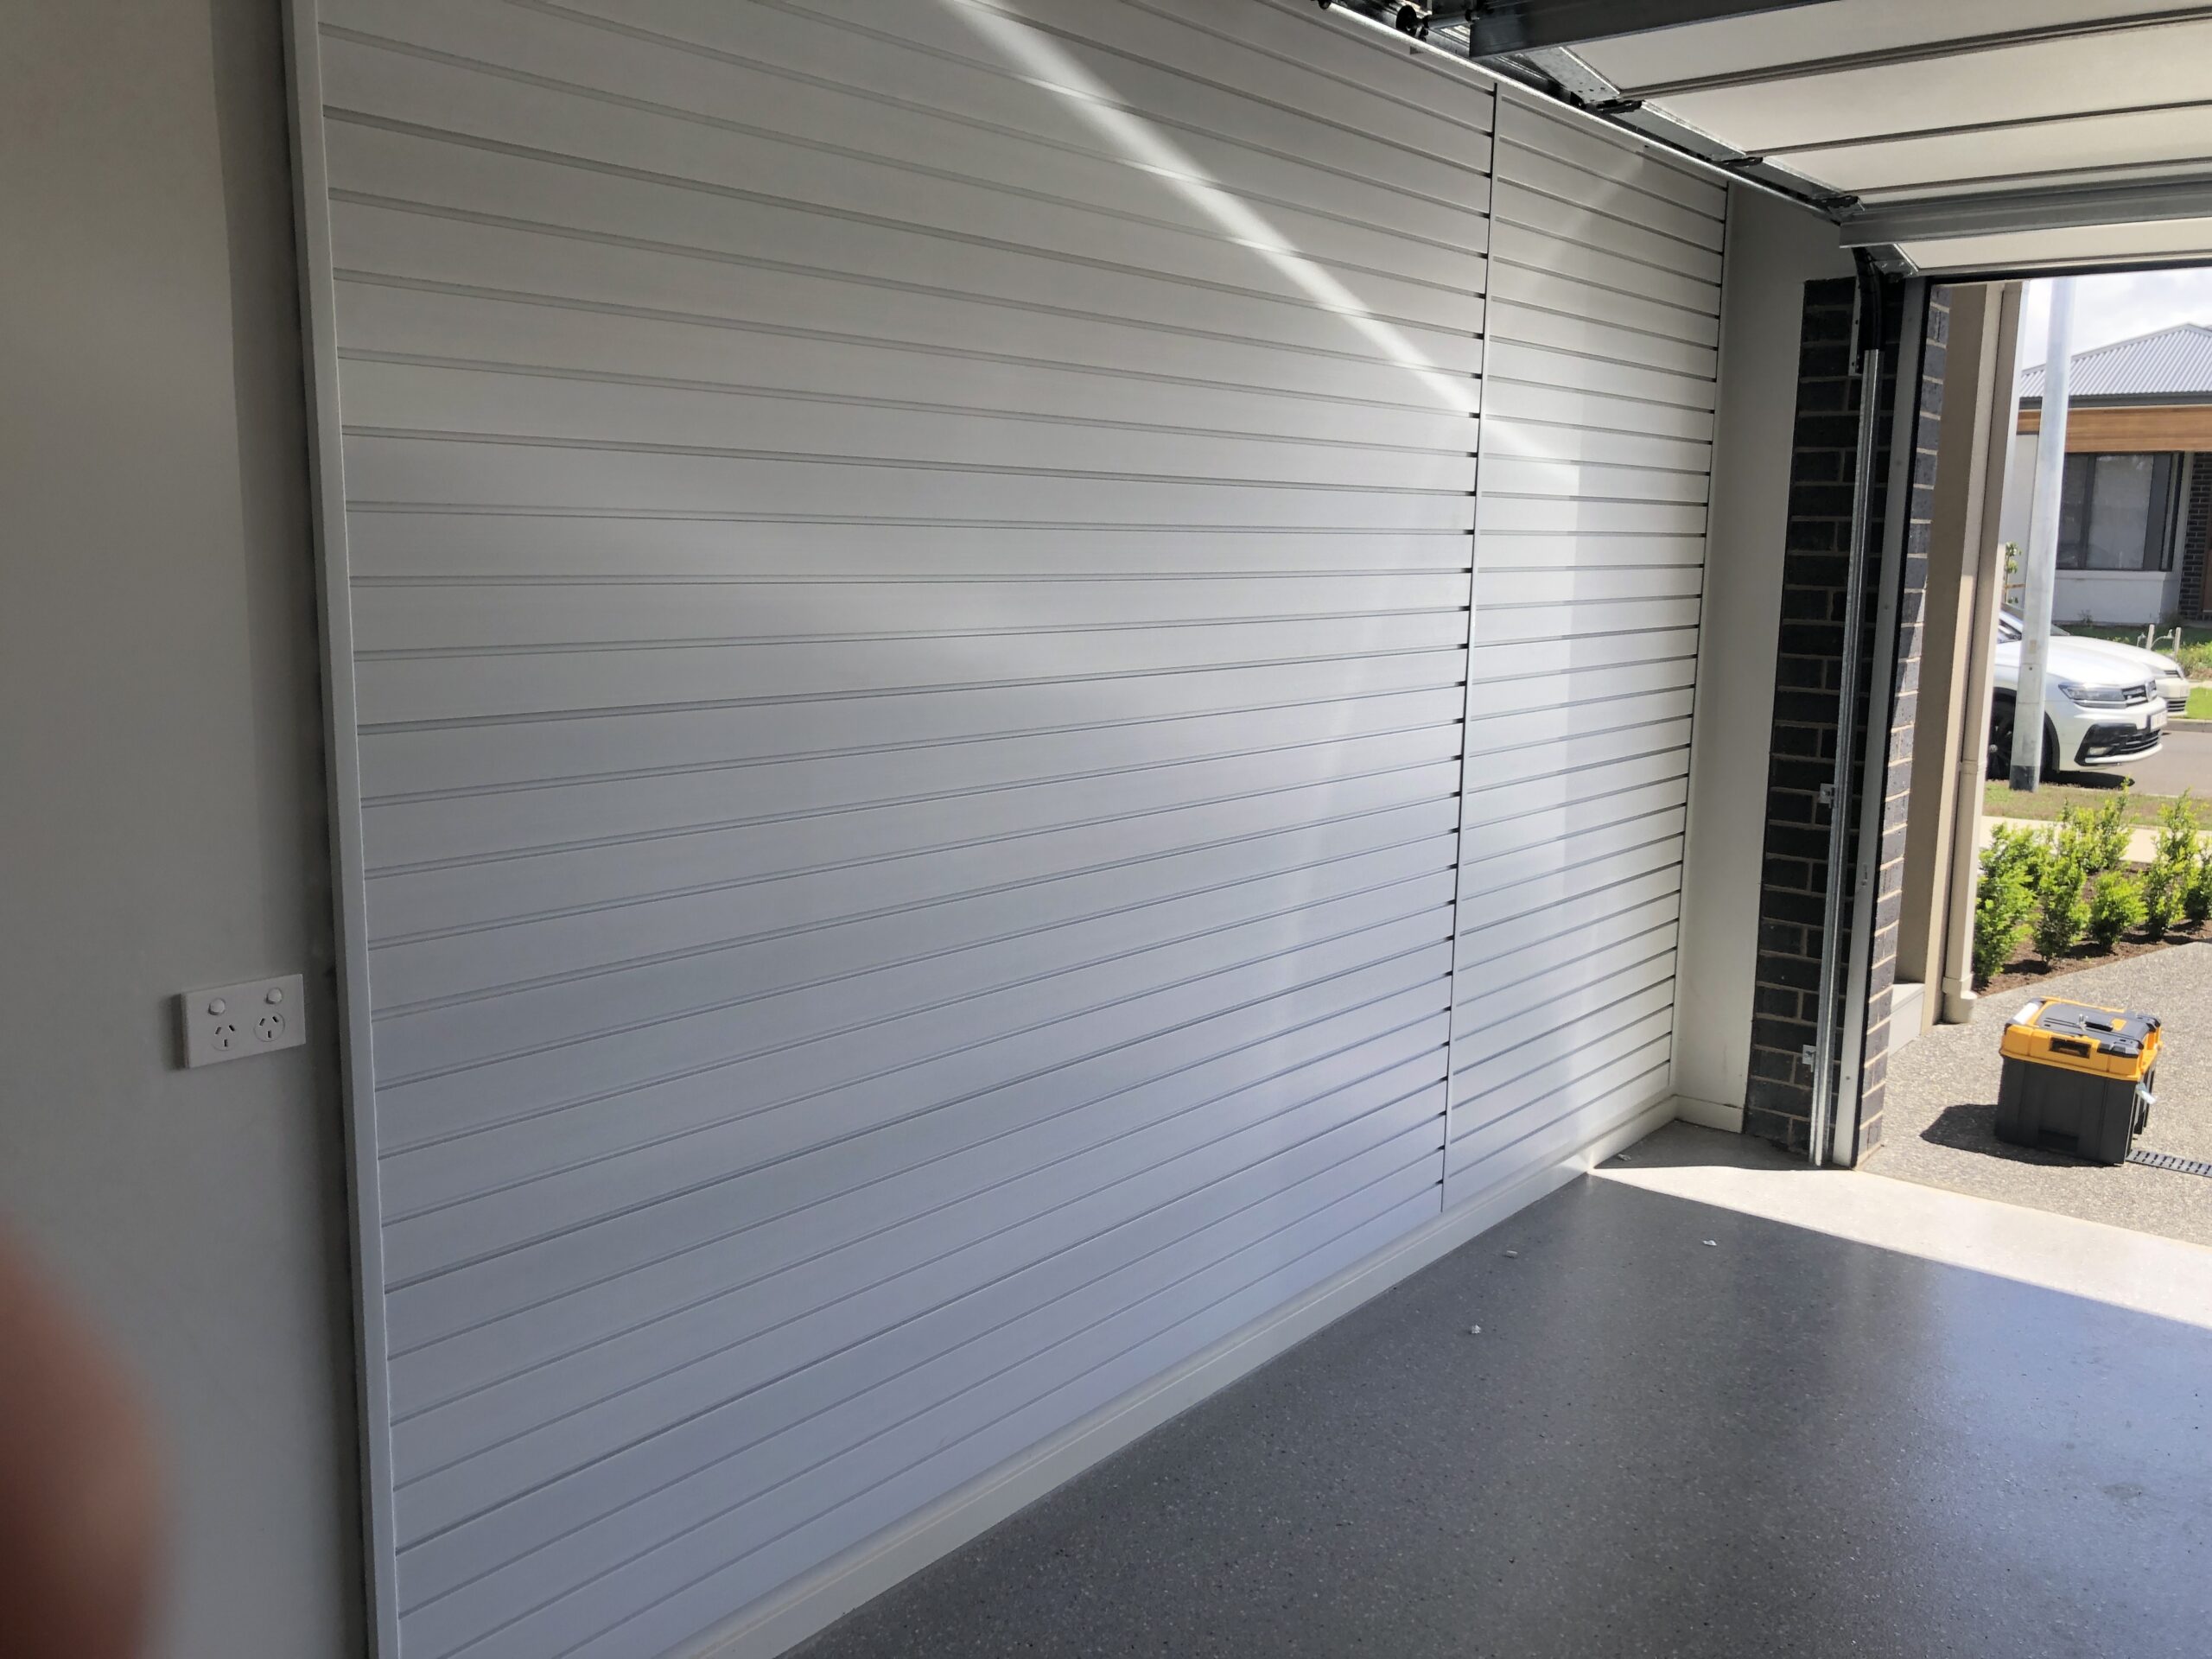
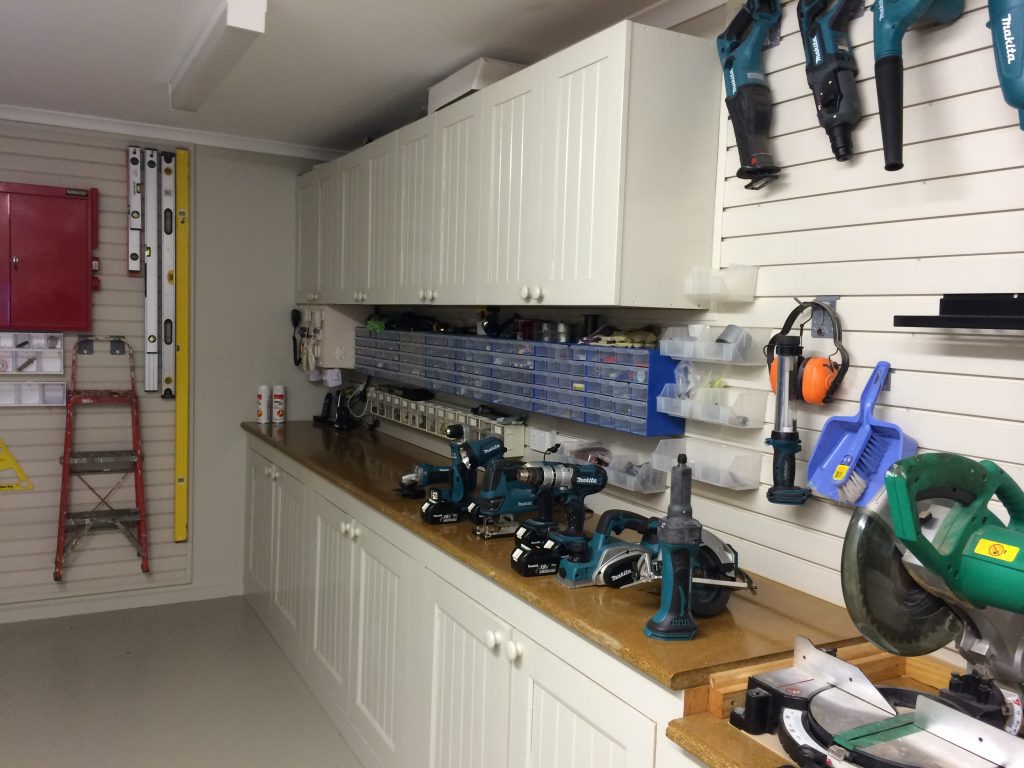
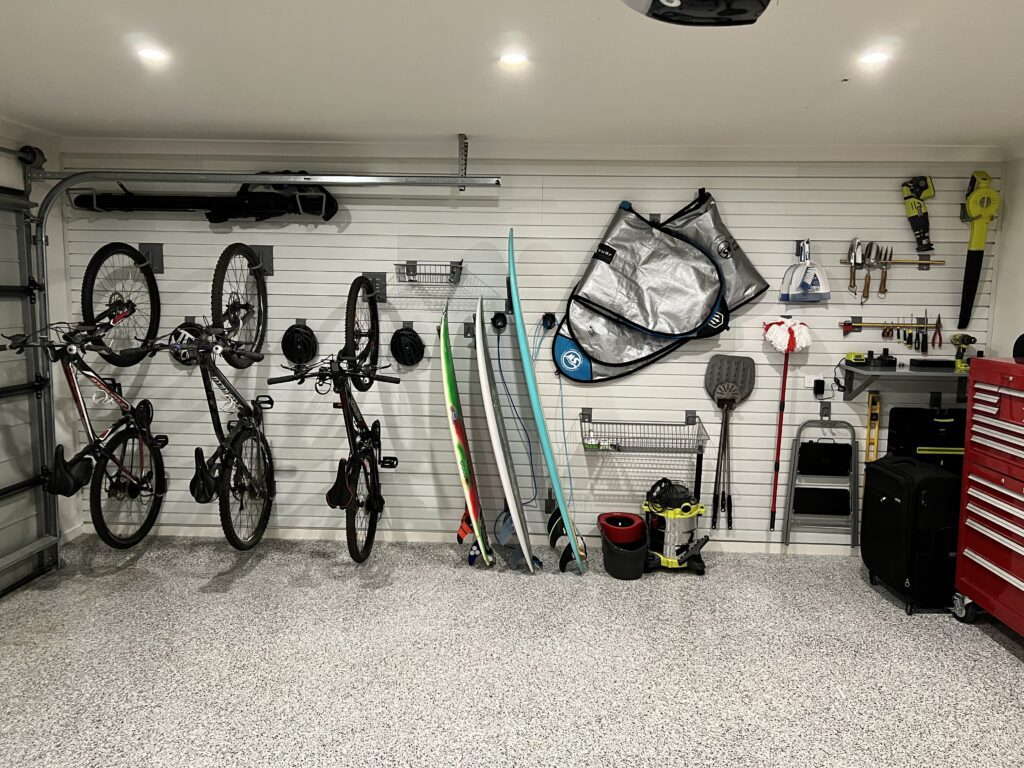
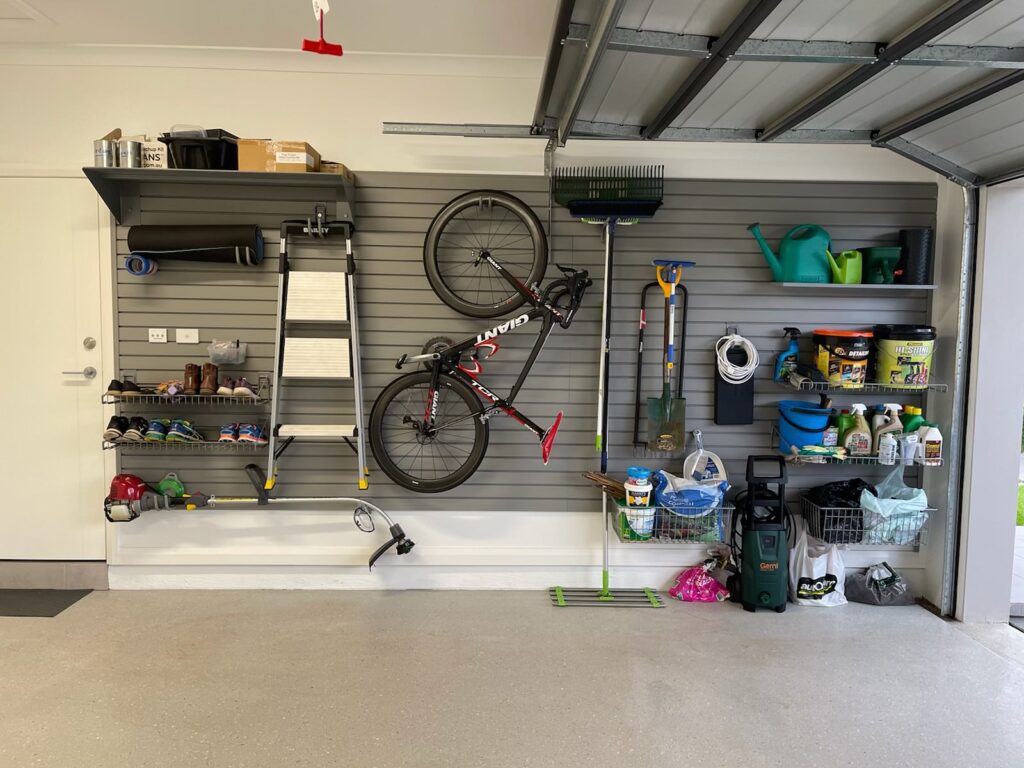
- Slatwall Panels: These are great for versatile storage needs, allowing you to attach hooks, shelves, and bins that can be easily repositioned.
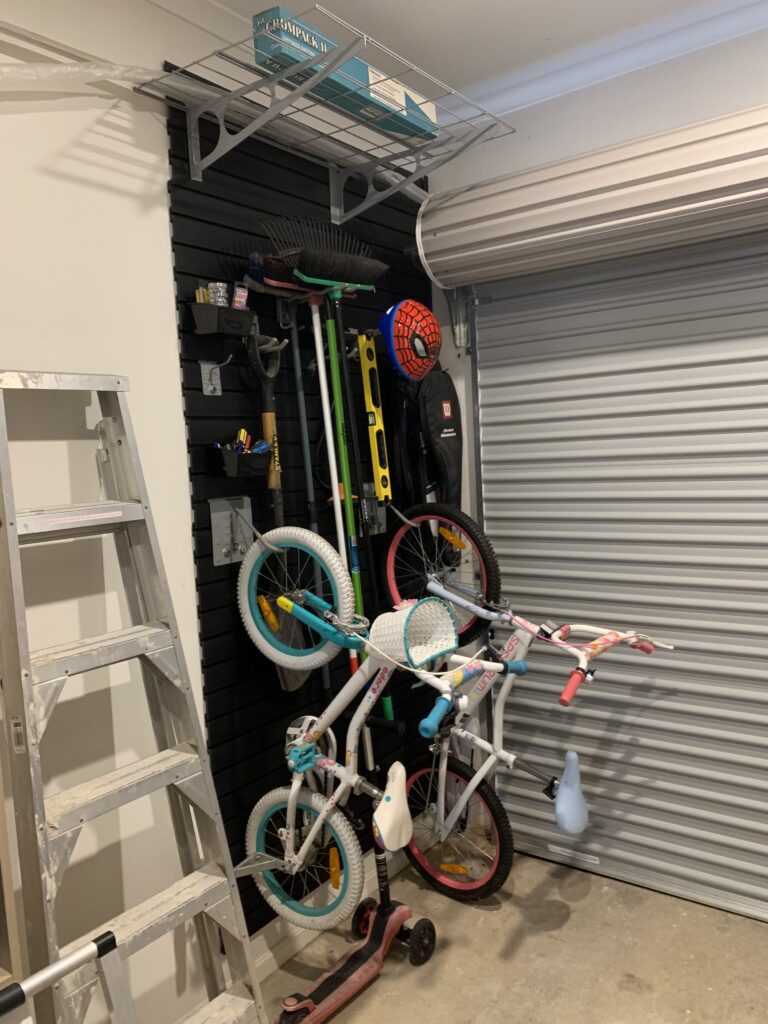
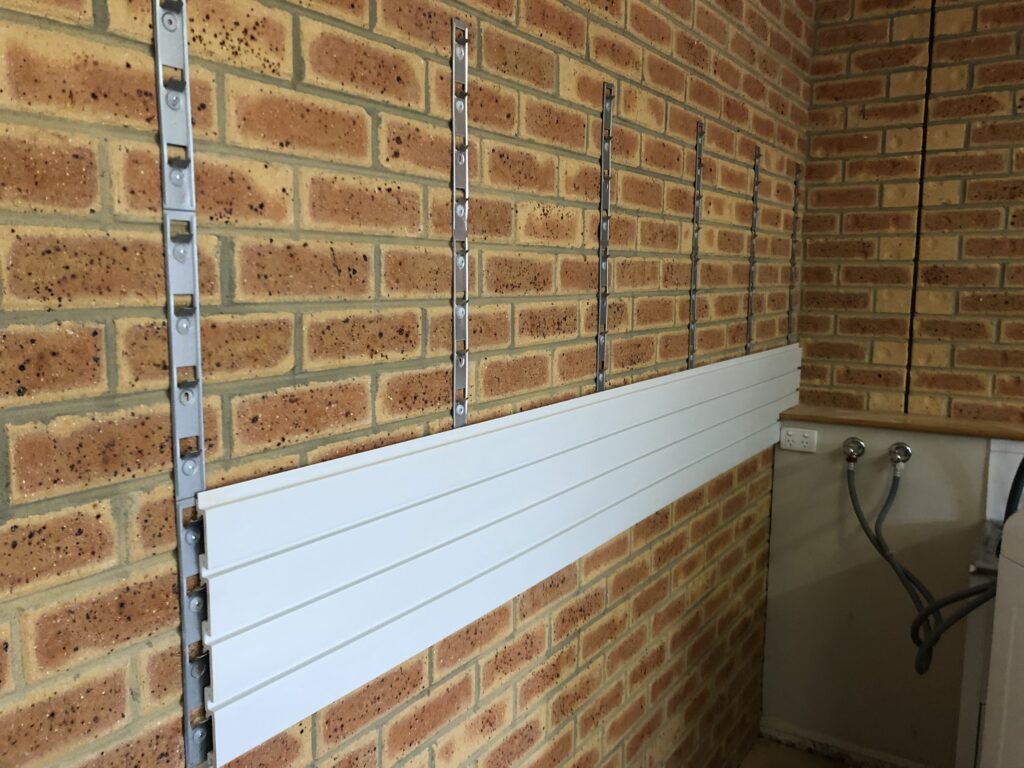
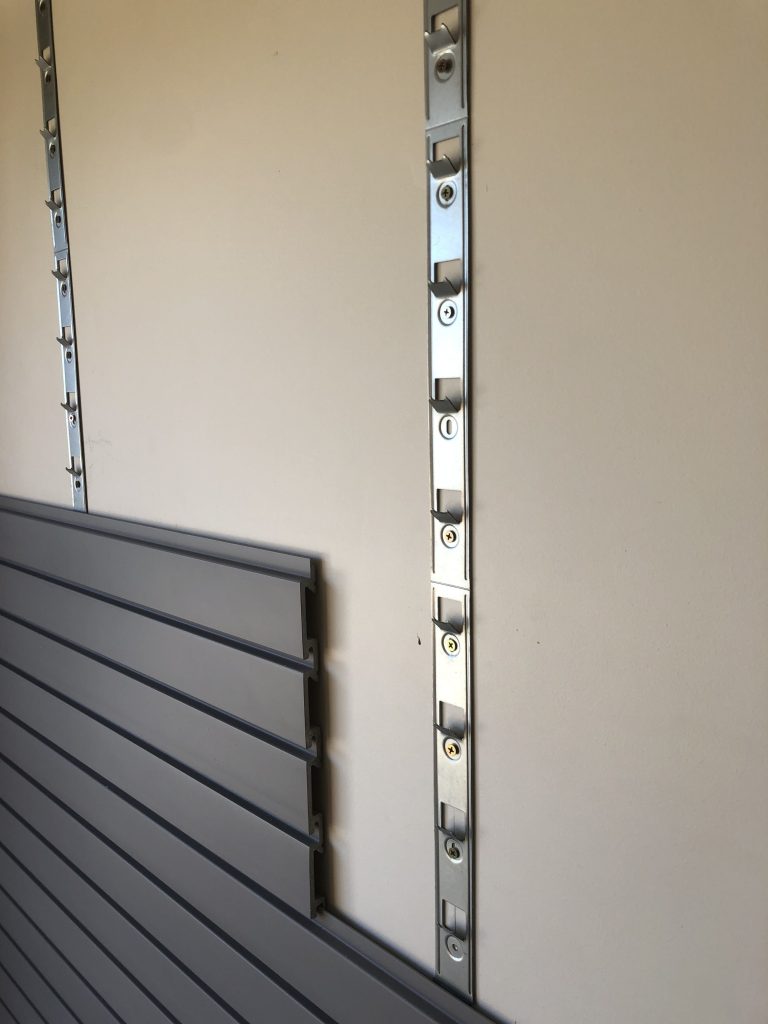
- Track Systems: Ideal for hanging larger tools and equipment, track systems offer sturdy support and can be customized with various hooks and accessories.
- Shelving Units: Fixed or adjustable shelving units are perfect for storing boxes, bins, and larger items that don’t hang well.
3. Plan Your Layout: Before installing any system, plan your layout carefully. Consider placing frequently used items at arm’s reach and seasonal or rarely used items higher up or in less accessible spots.
4. Installation: While many wall-mounted systems are designed for DIY installation, ensure you have the right tools and follow the manufacturer’s instructions carefully. It’s crucial to secure storage systems to studs in the wall to provide adequate support for your items.
5. Organize and Label: Once your storage system is in place, organize your items logically and consider labeling shelves, bins, and hooks to make it easy to find and return items to their rightful spot.
Garage Wall System – Conclusion
Wall-mounted garage storage offers a smart and effective way to tackle the clutter in your garage. By taking advantage of vertical space, you can create a more organized, accessible, and visually appealing space. Whether you’re a DIY enthusiast, a sports fanatic, or just looking to declutter, there’s a wall-mounted garage storage solution that can meet your needs. Start planning your garage transformation today and enjoy the benefits of a well-organized space.