When it comes to organizing your garage, adding a few shelves might seem like the easiest solution. While shelves certainly have their place, relying on shelving alone for garage storage can leave you with limited flexibility, wasted space, and ongoing organization challenges. In this article, we’ll explore the limitations of garage shelving, and what alternatives or additions you might consider to truly maximize your garage storage.
Limitations of Garage Shelving
Garage shelving provides some utility, but it often falls short in addressing the diverse storage needs of a garage. Here are some of the limitations that can arise:
Wasted Vertical Space
Standard garage shelving typically leaves a significant amount of vertical space unused. This space could otherwise be used for storing tools, equipment, or seasonal items. Without utilizing the full height of your walls, you may find yourself quickly running out of space and struggling to keep everything accessible.
Difficulty Organizing Small and Medium-Sized Items
Shelves are best suited for large, stackable items or bins, but they can make it difficult to store small and medium-sized items efficiently. When stored on open shelves, items like tools, sports equipment, or cleaning supplies can quickly create clutter and become hard to locate when you need them.
Limited Flexibility
Once installed, traditional shelves can be hard to adjust or reorganize, especially if you’re dealing with fixed or heavy-duty shelving units. Garages often require adaptable storage options that can change with your needs, and shelving alone doesn’t always offer this flexibility.
 Risk of Clutter and Accessibility Issues
Shelving alone encourages stacking items, which can lead to clutter, making it difficult to access what’s stored in the back. As shelves fill up, it’s easy for items to become piled or hidden, which not only makes organization harder but can also increase the risk of items falling and causing damage.
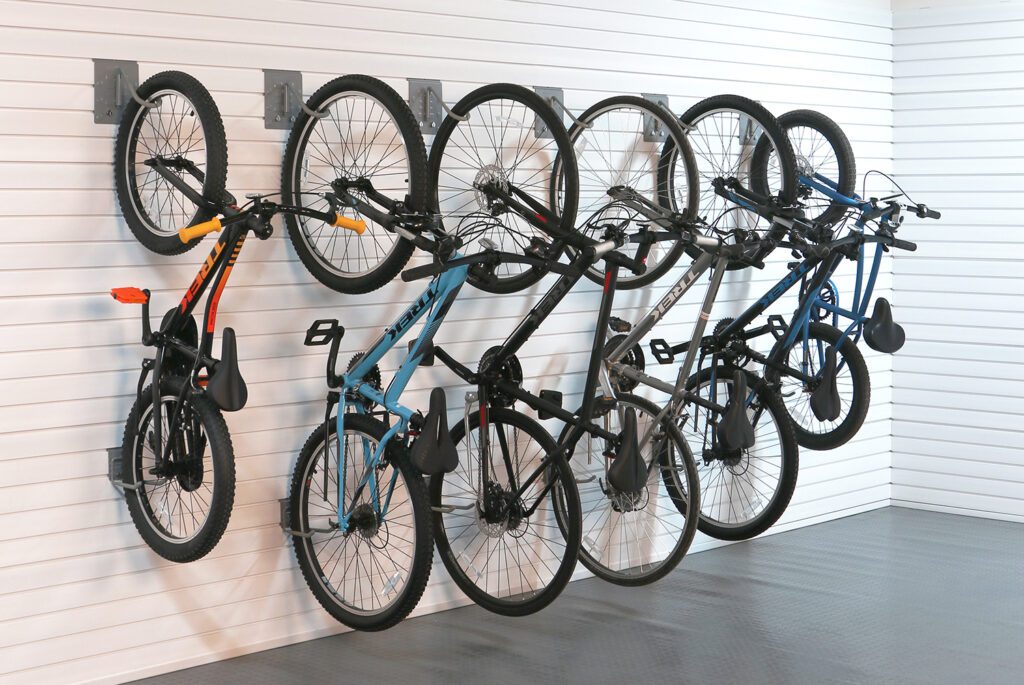
Underutilized Wall and Ceiling Space
Shelving takes up valuable floor space while leaving the walls and ceiling areas largely unused. This is a missed opportunity, especially in garages where space is at a premium. Ceiling racks, wall panels, or other modular solutions can make better use of these areas and free up floor space for other uses.
Alternative and Complementary Storage Solutions
To make the most of your garage storage, it’s worth exploring other storage options that can work alongside shelving to create a more comprehensive and efficient setup.
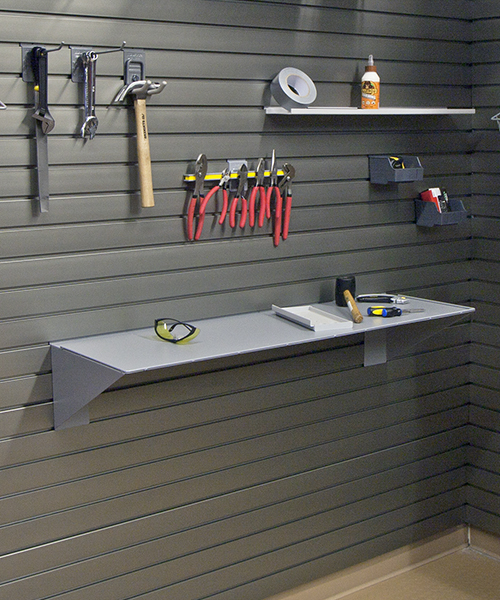
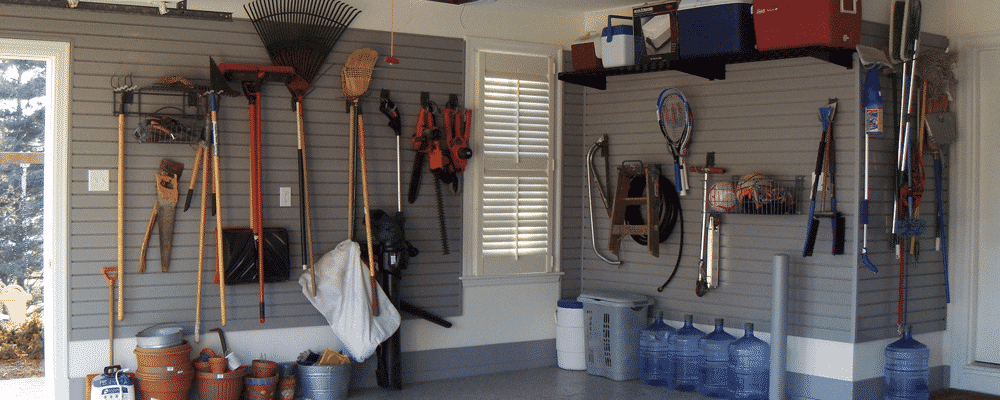
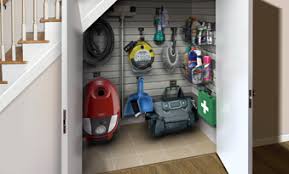
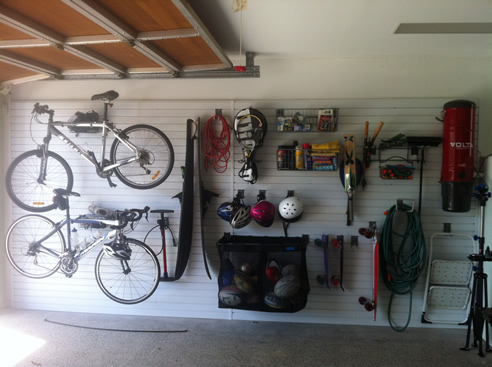
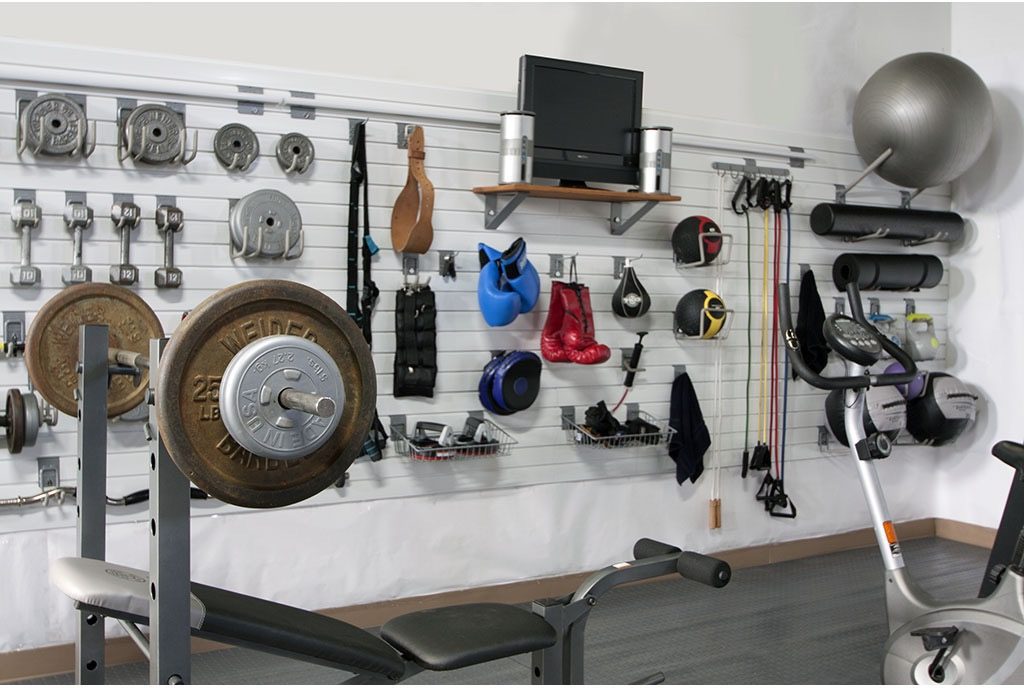
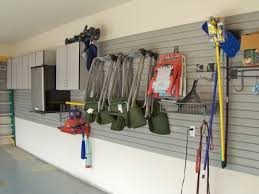
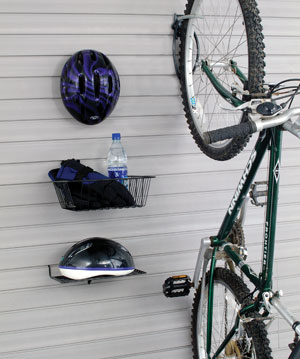
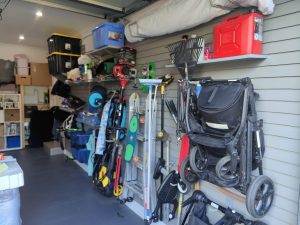
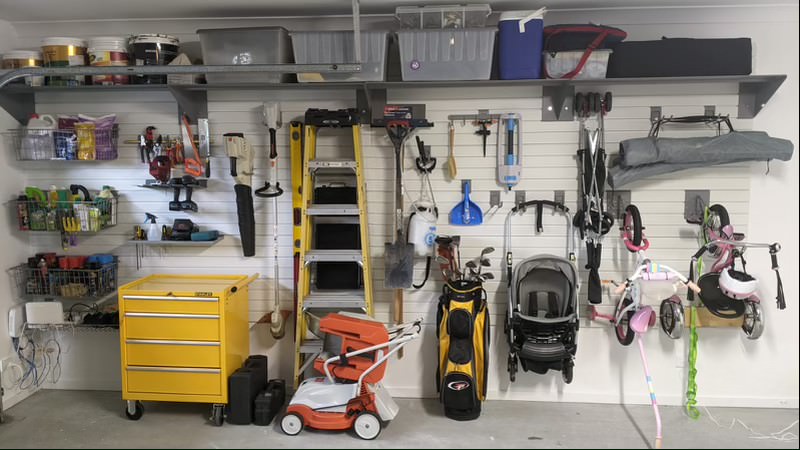
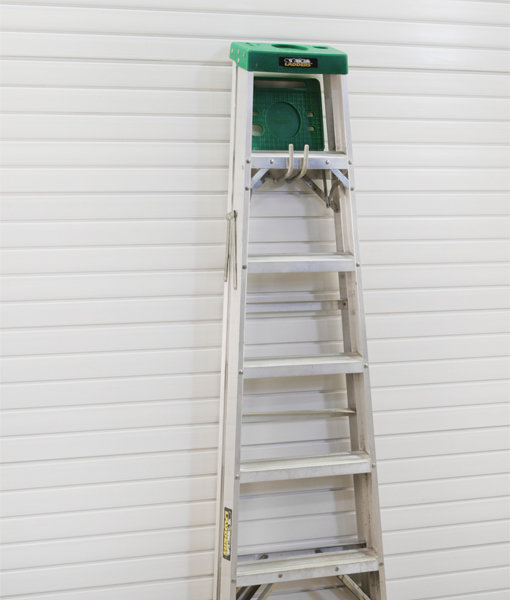
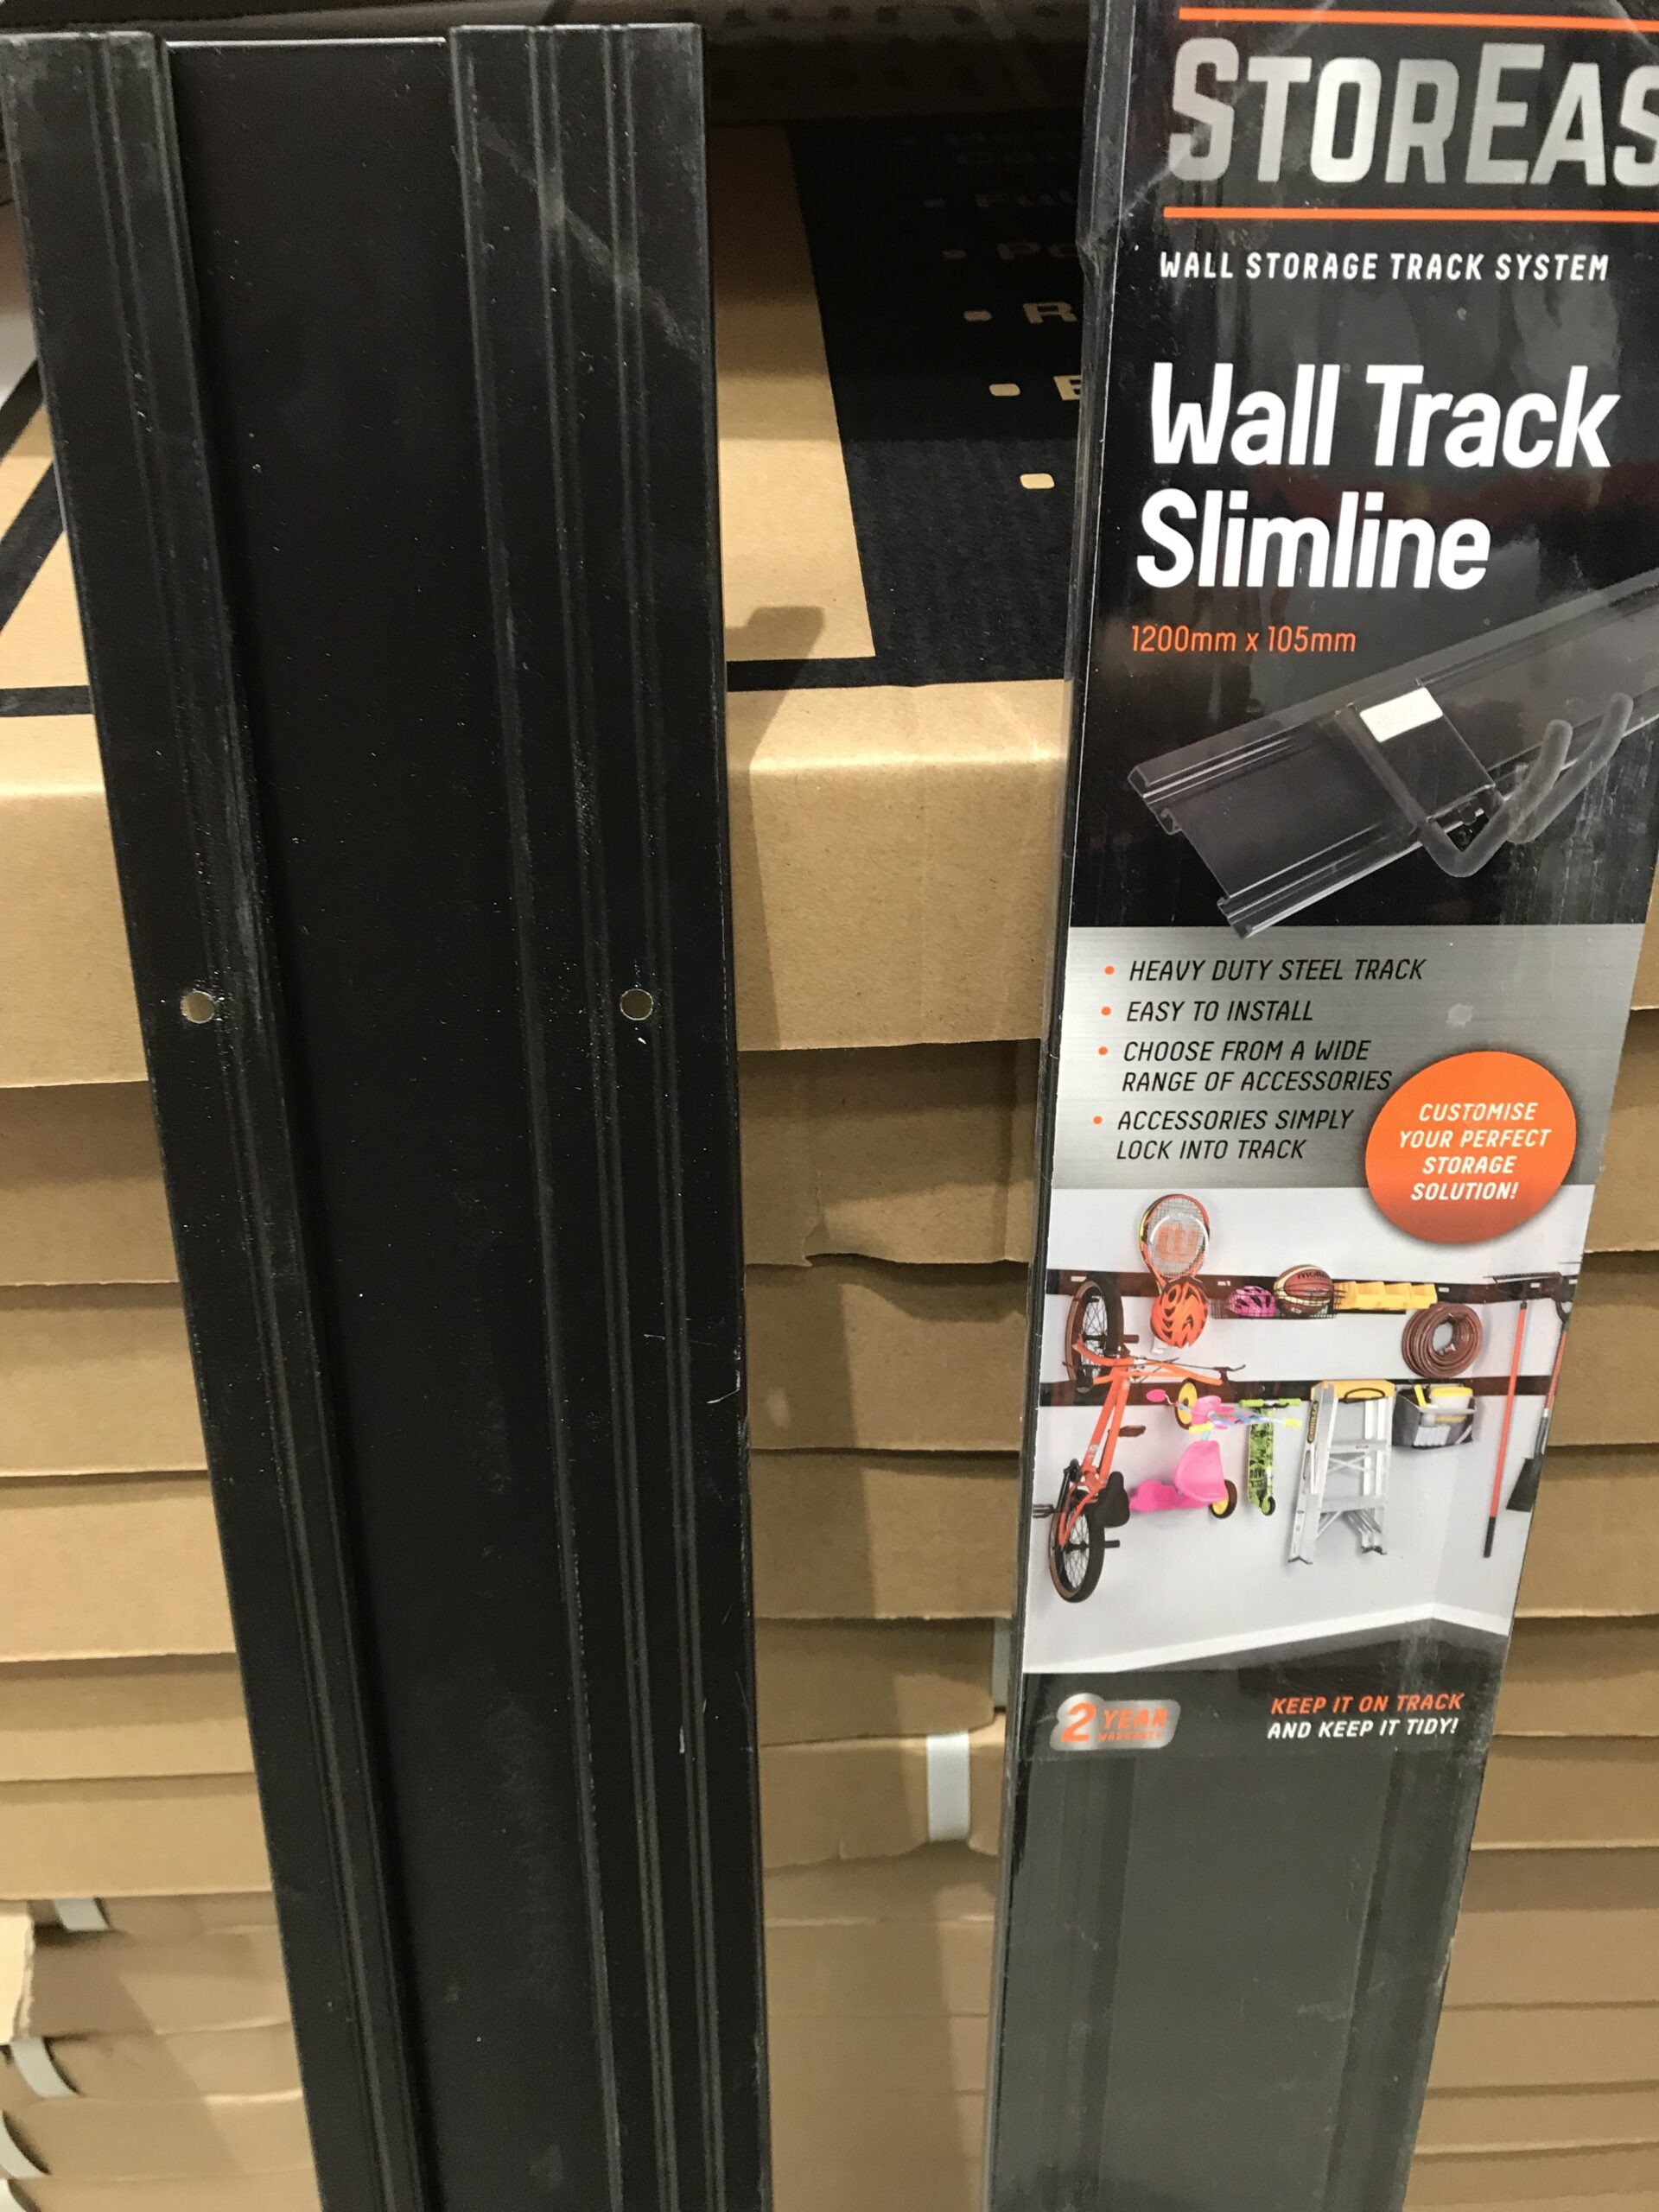
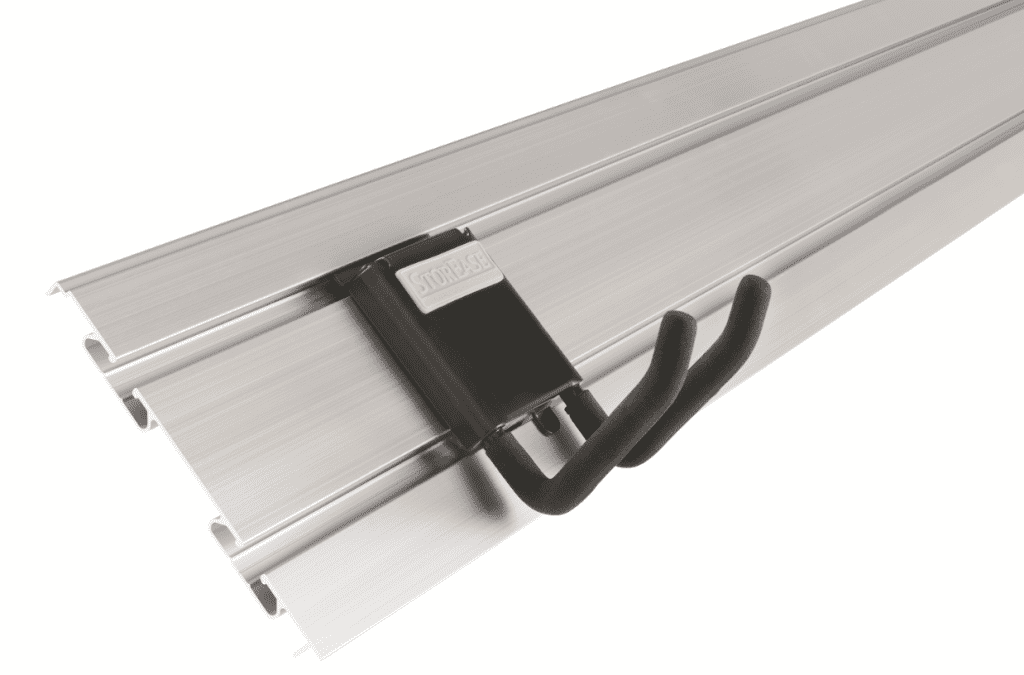
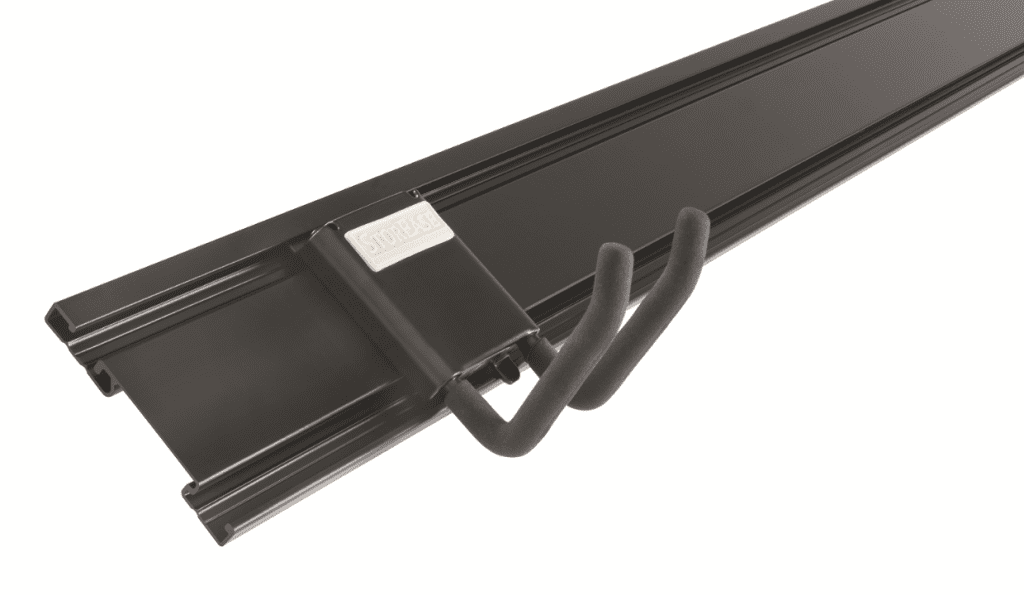
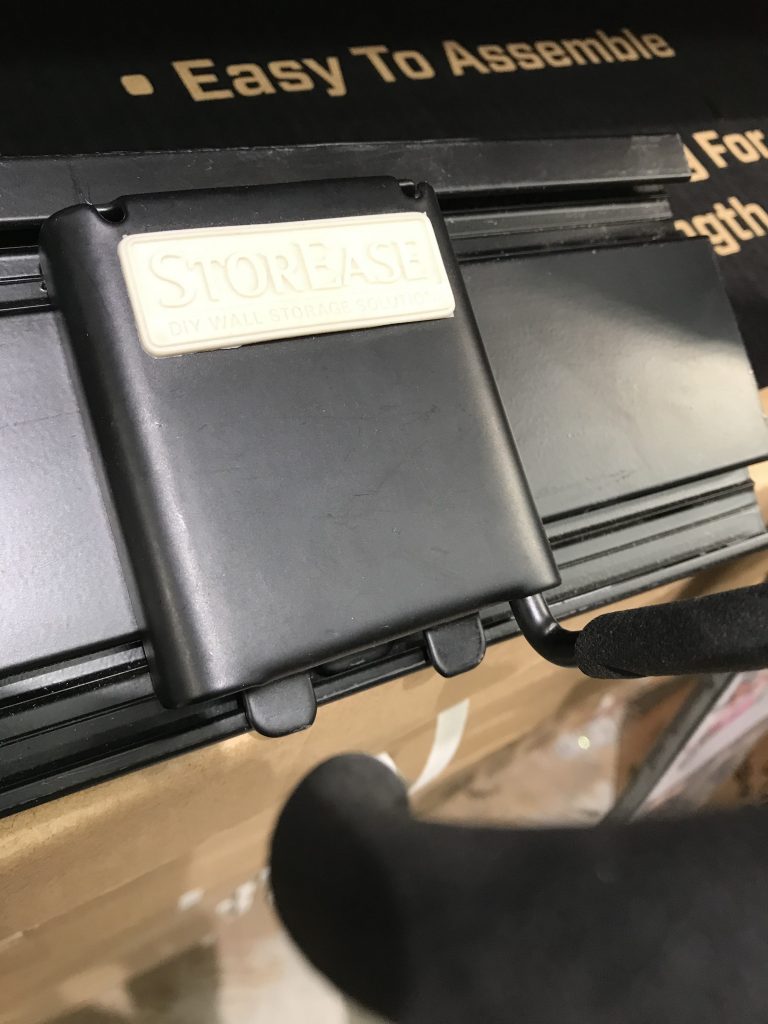
Slatwall and Wall Panel Systems
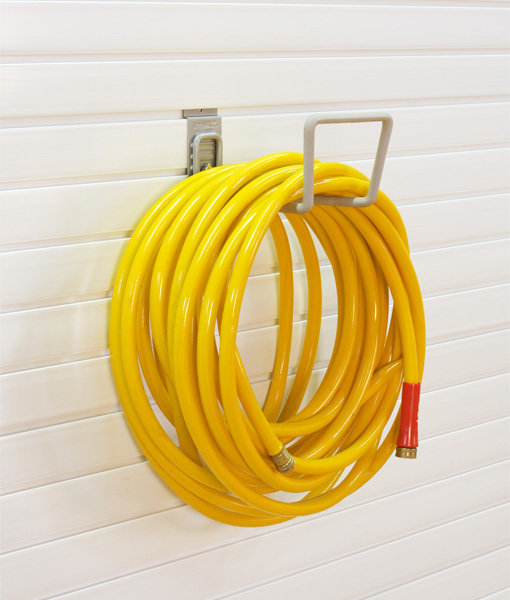
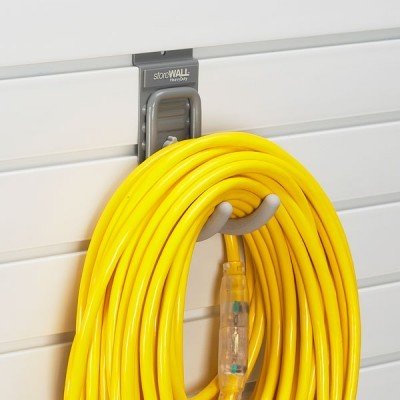
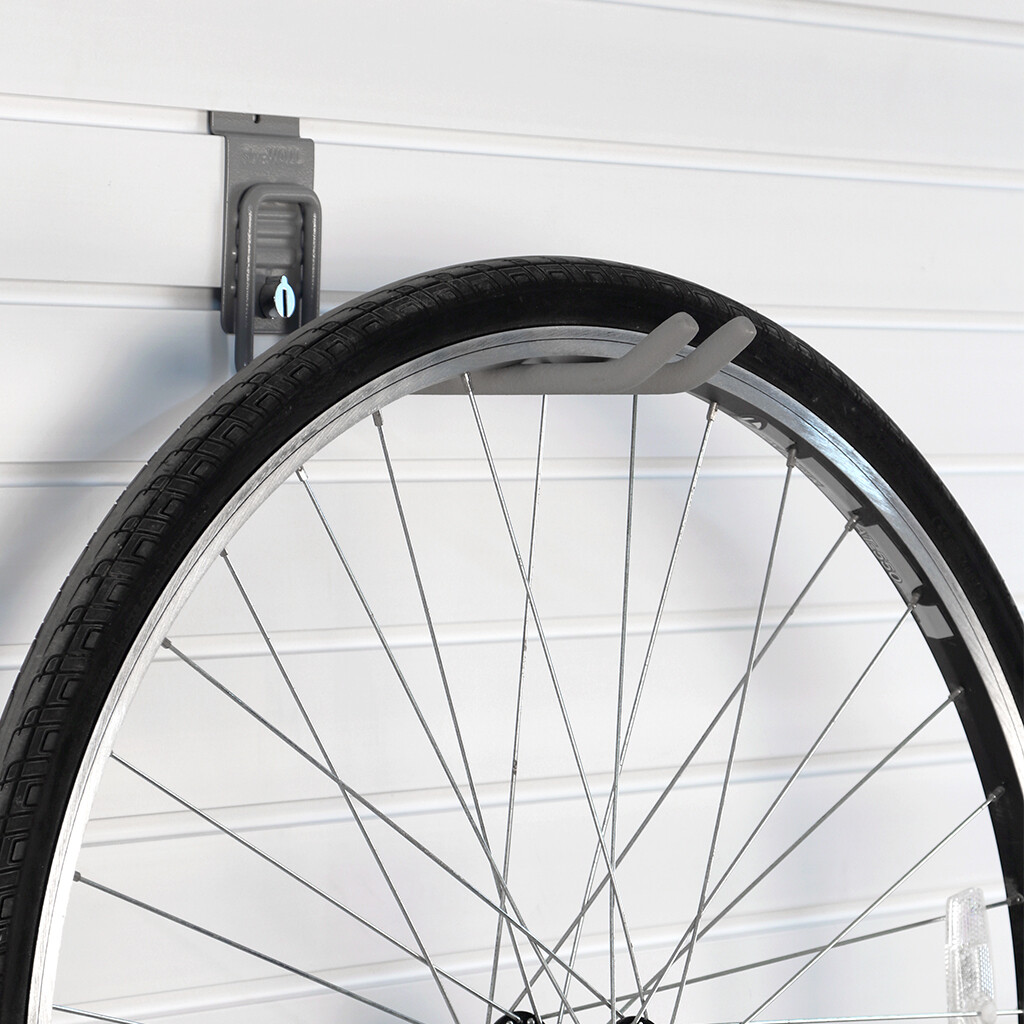
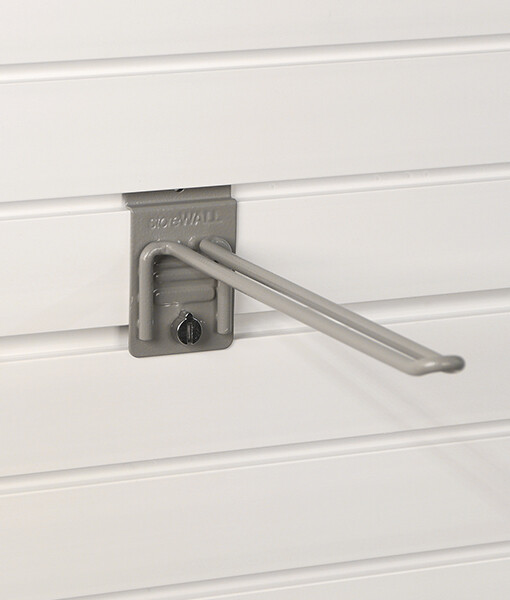
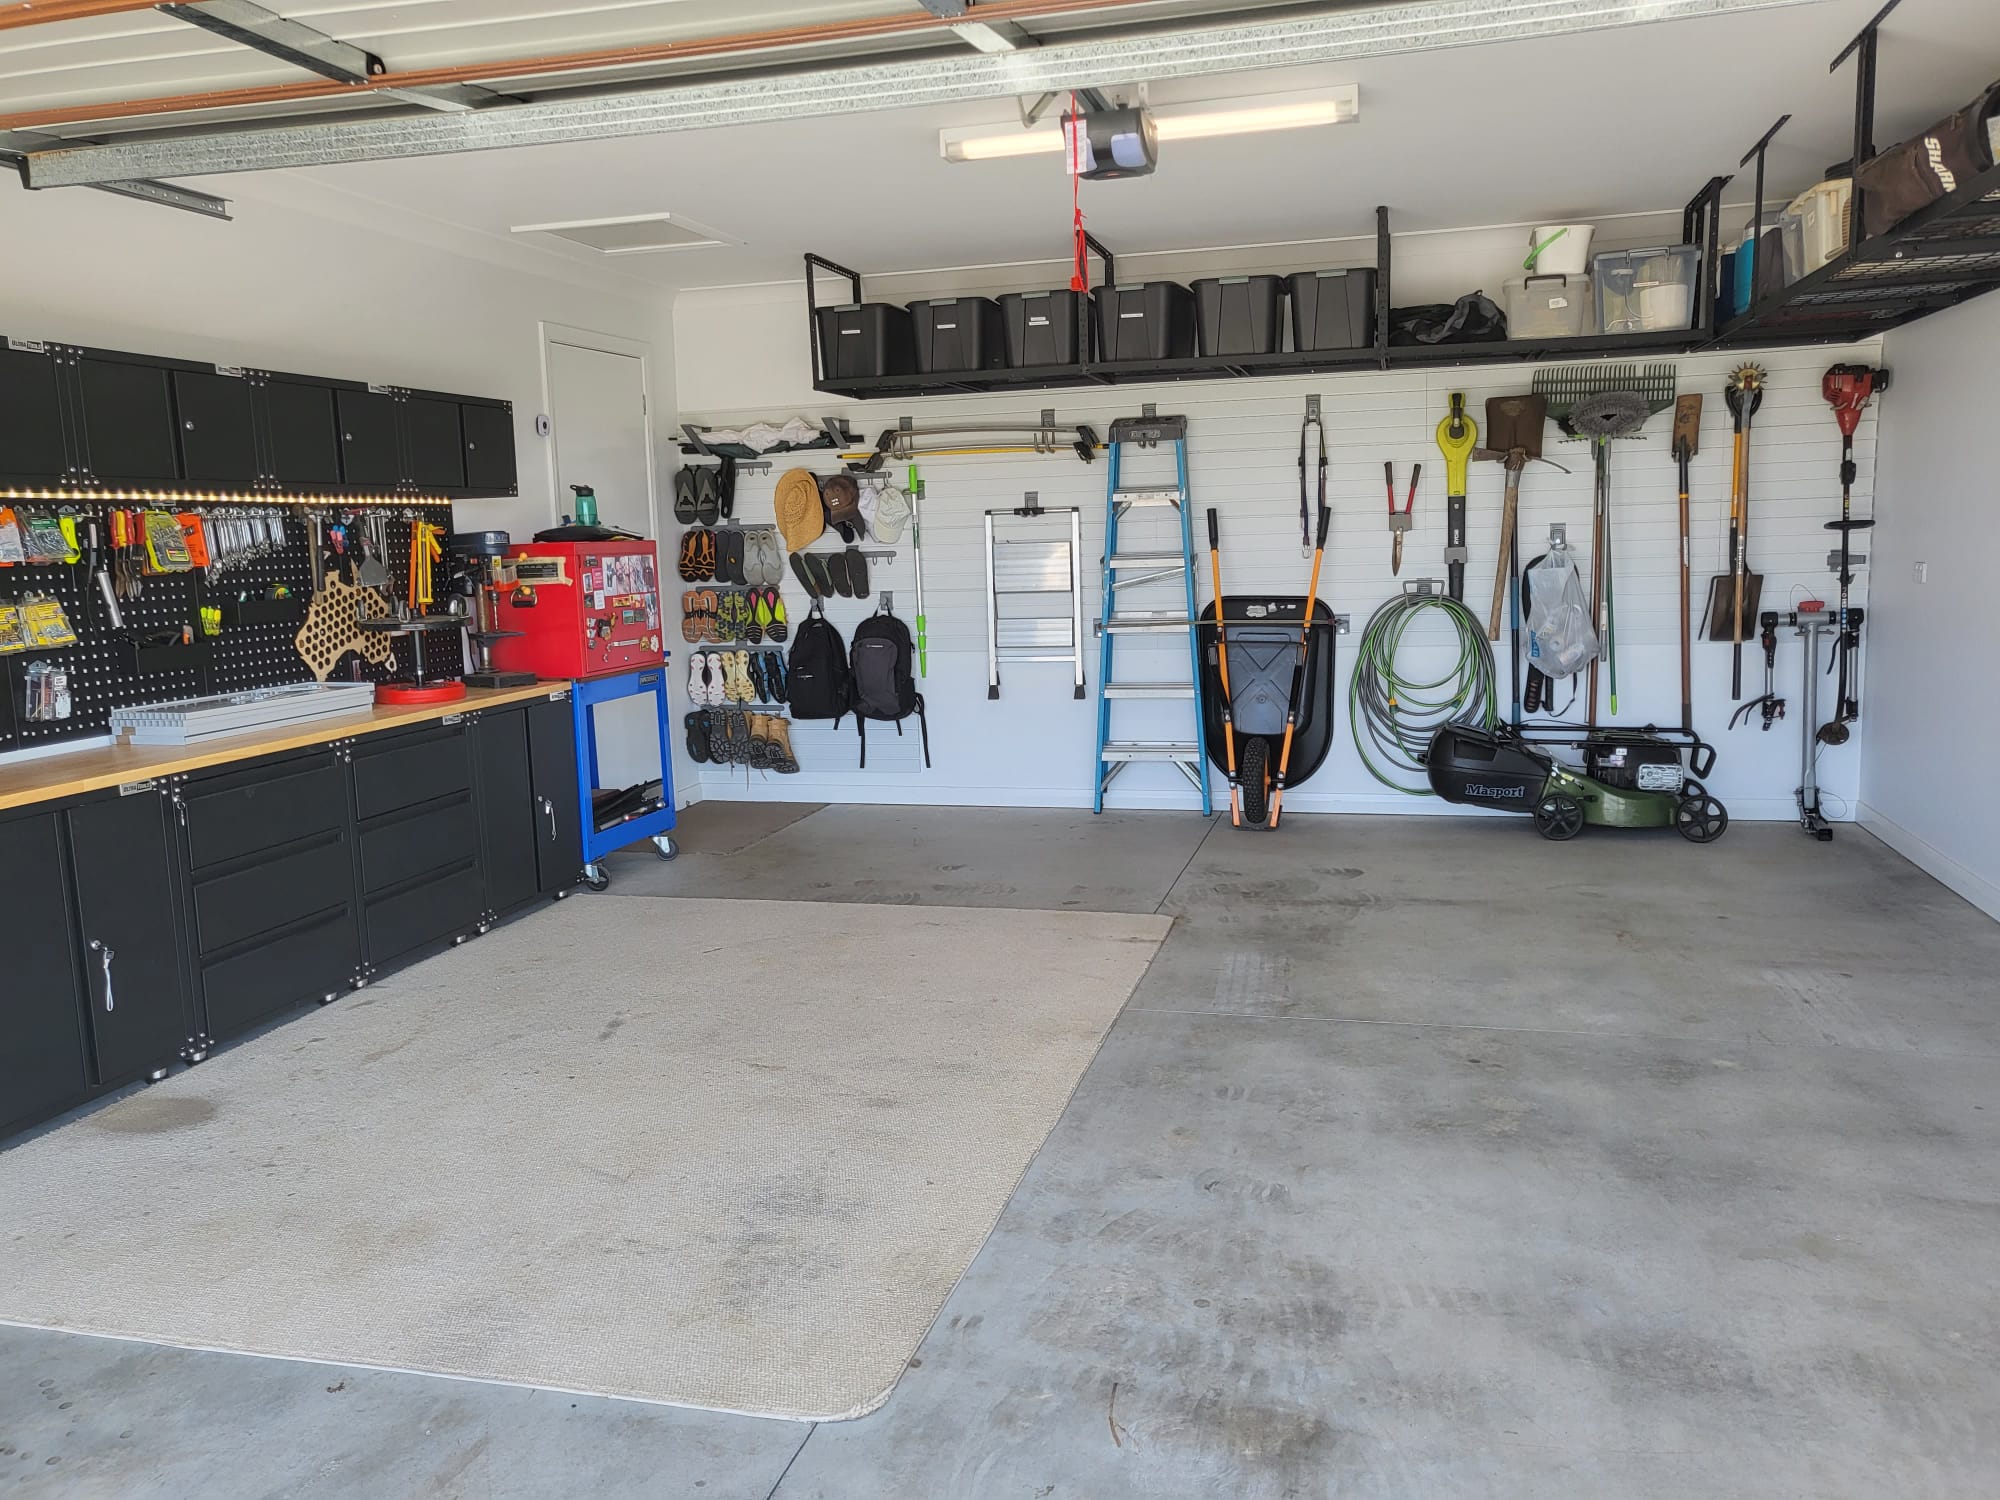
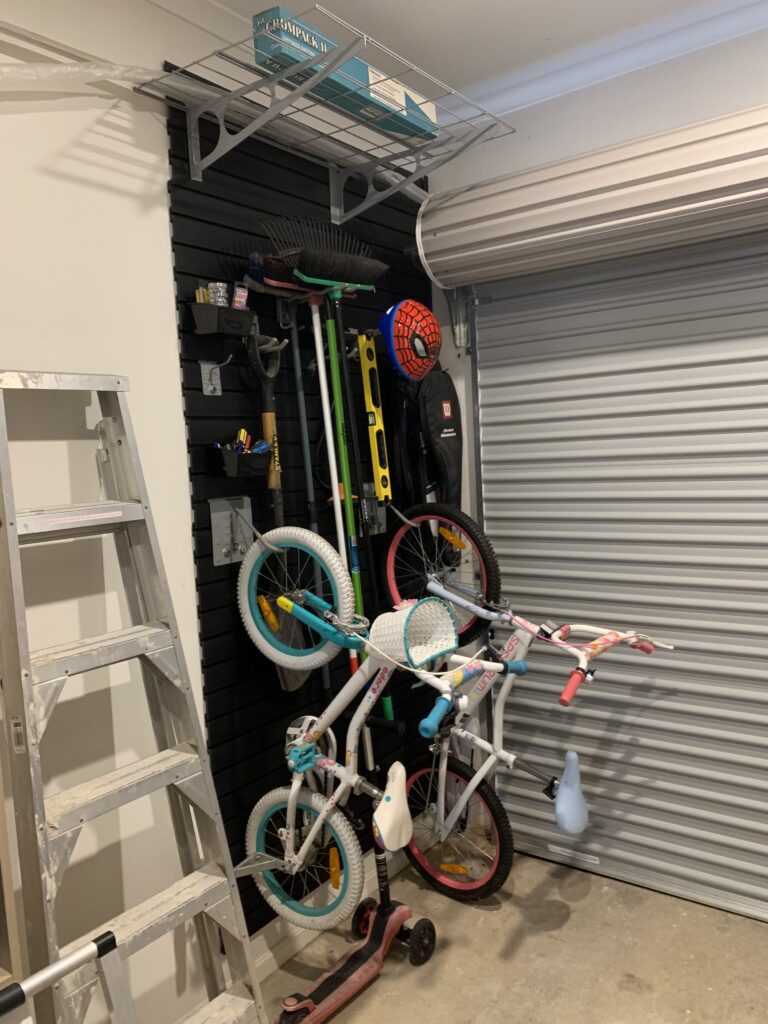
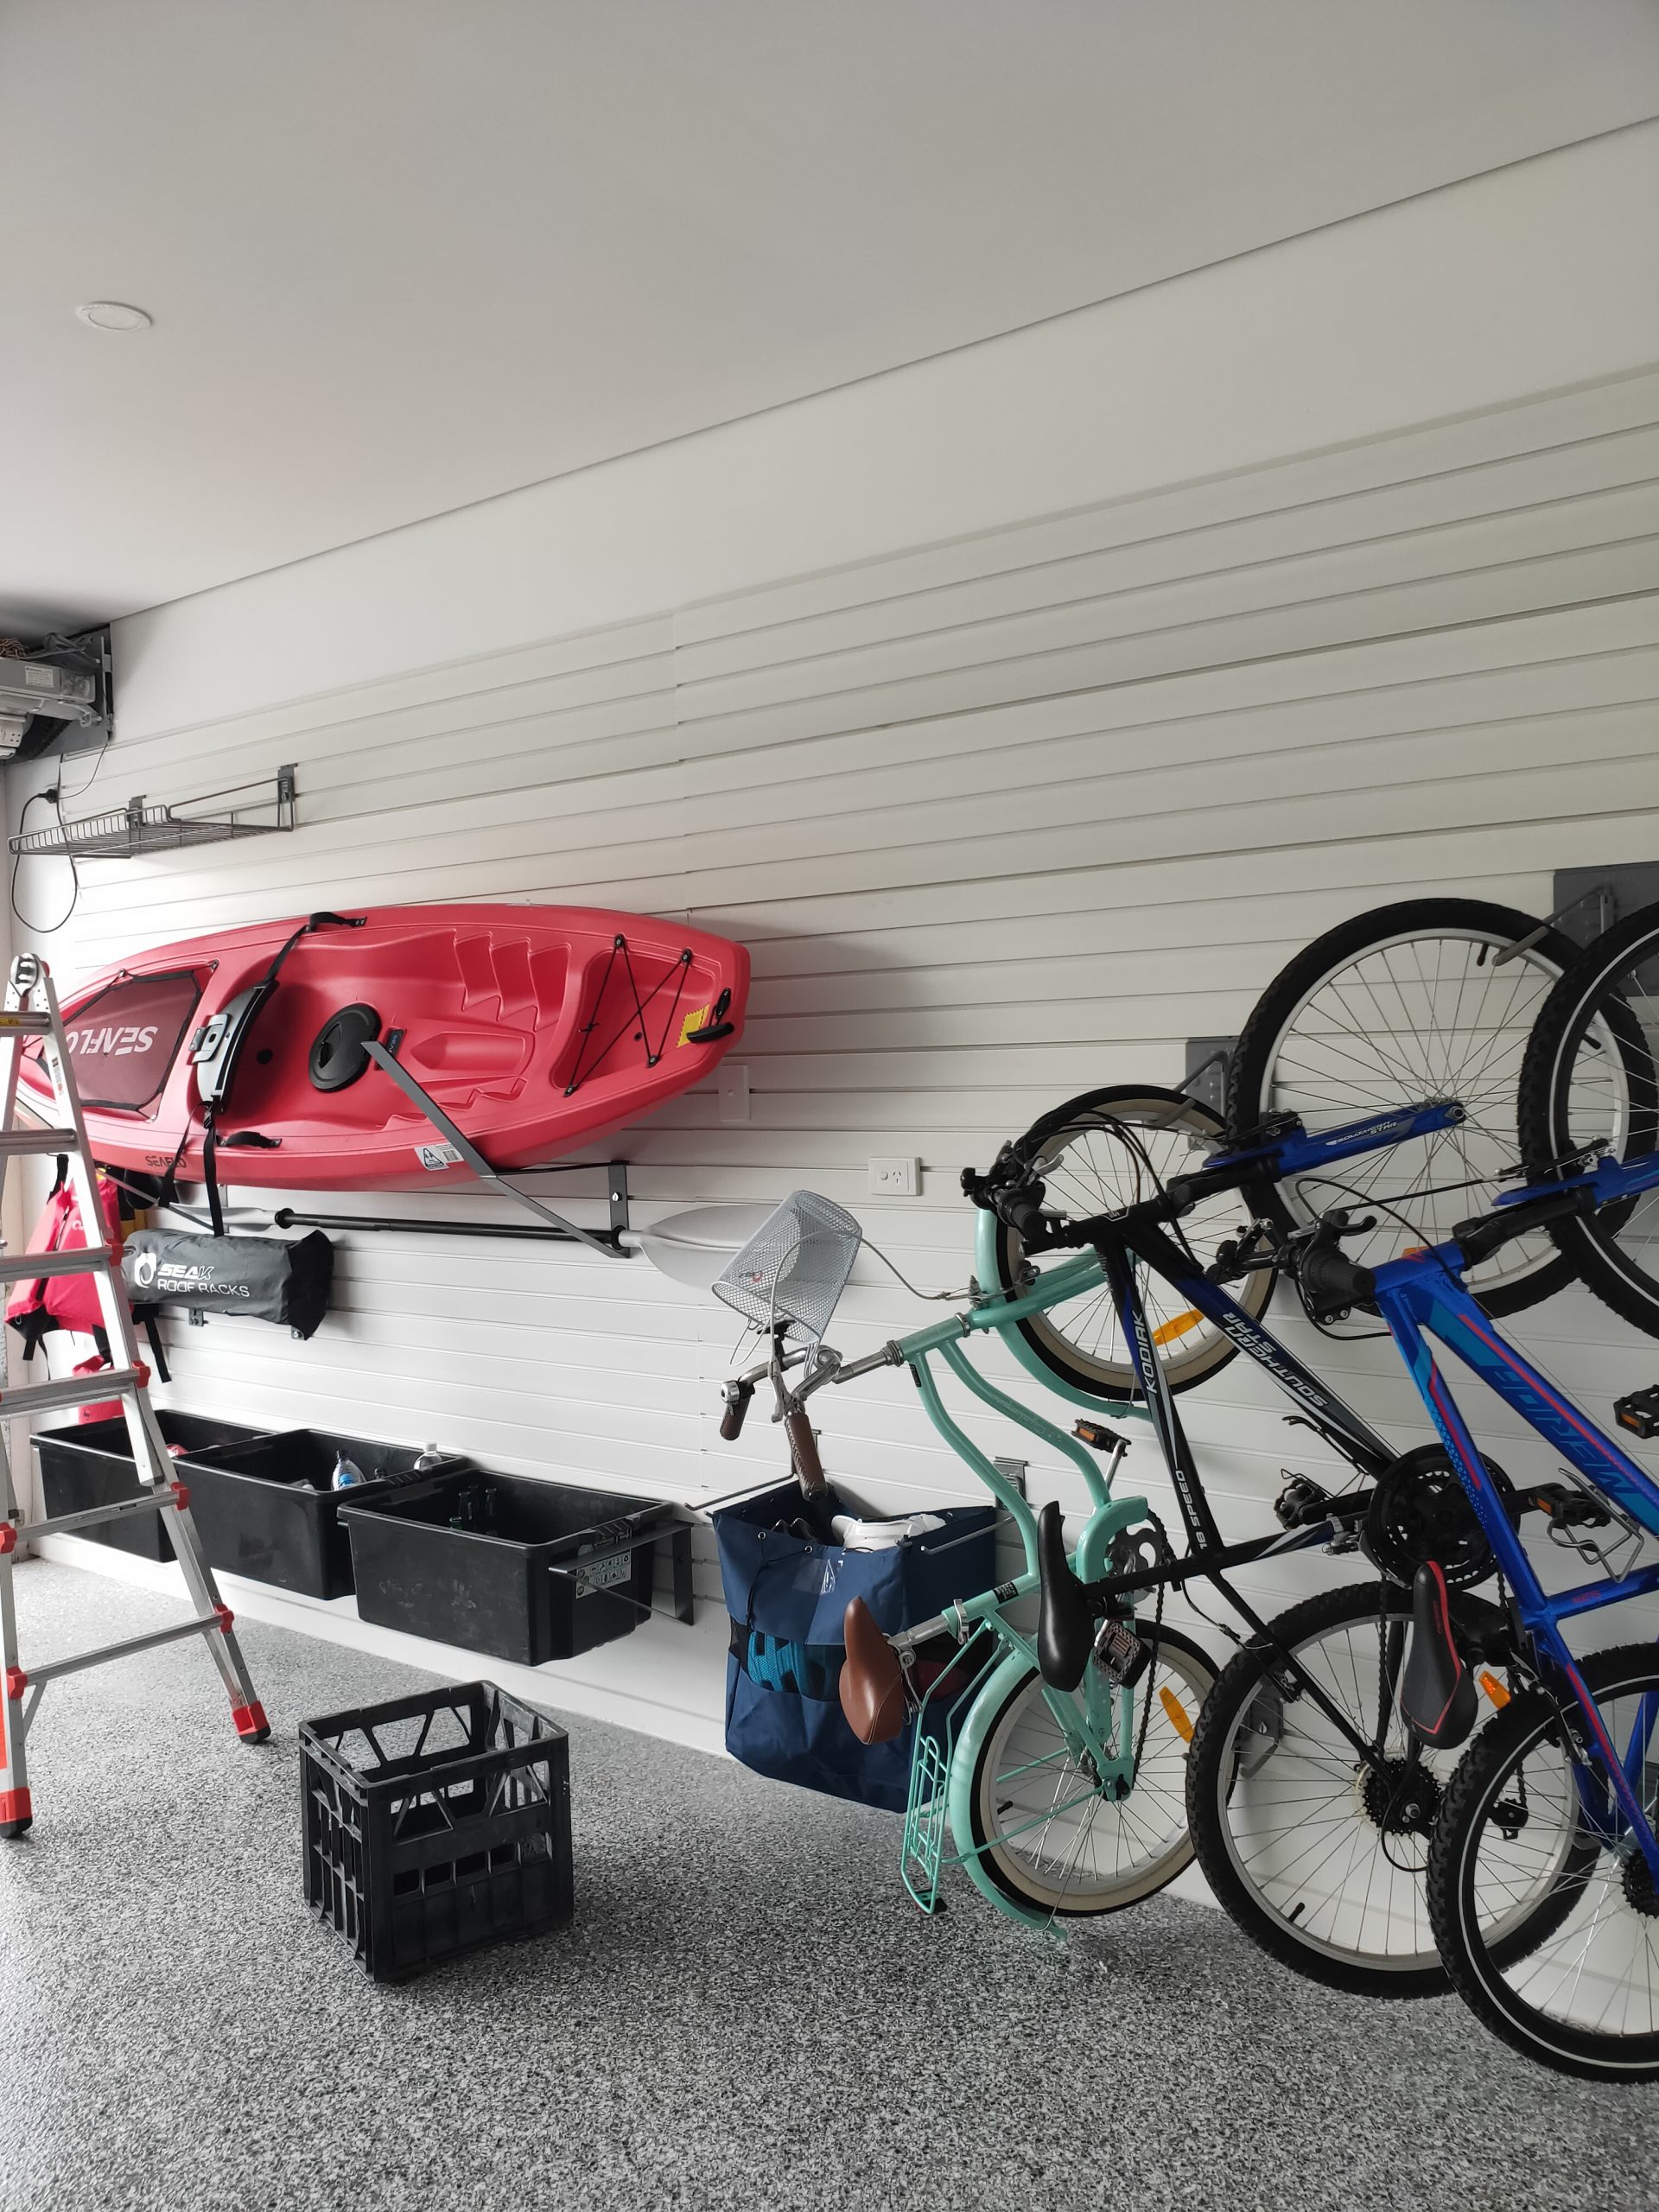
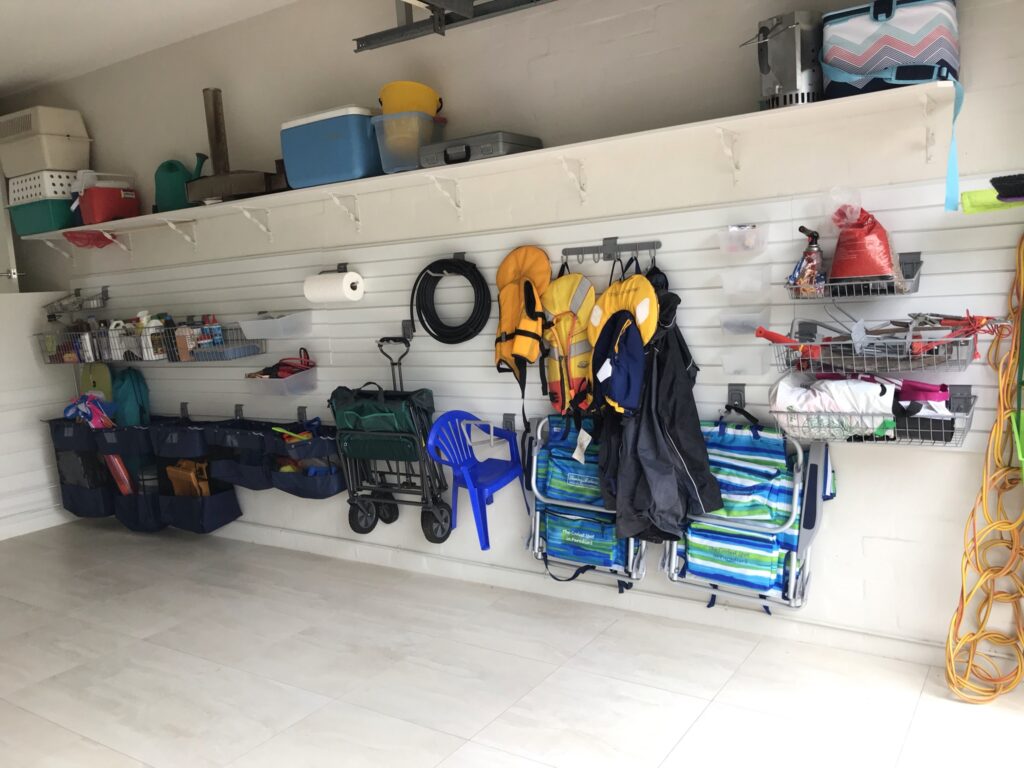
Slatwall systems, like those from StoreWALL, are versatile garage wall storage solutions that allow you to hang hooks, shelves, baskets, and brackets. Unlike traditional shelving, these panels make it easy to store items of varying sizes, such as tools, sporting goods, and gardening supplies. Wall panels allow you to use your walls effectively, keep items accessible, and prevent clutter on shelves.

Pegboards and Tool Racks
Pegboards and tool racks provide customizable storage for smaller and lighter items. By mounting them on the wall, you keep your tools organized and within reach, while also freeing up valuable shelf space for larger, bulkier items.
Overhead Storage
Overhead racks or ceiling storage solutions are ideal for items that aren’t needed regularly, such as seasonal decor, camping gear, or spare tires. By using the ceiling space, you maximize storage without taking up floor or wall space. Overhead storage keeps these items safe, organized, and out of the way until they’re needed.
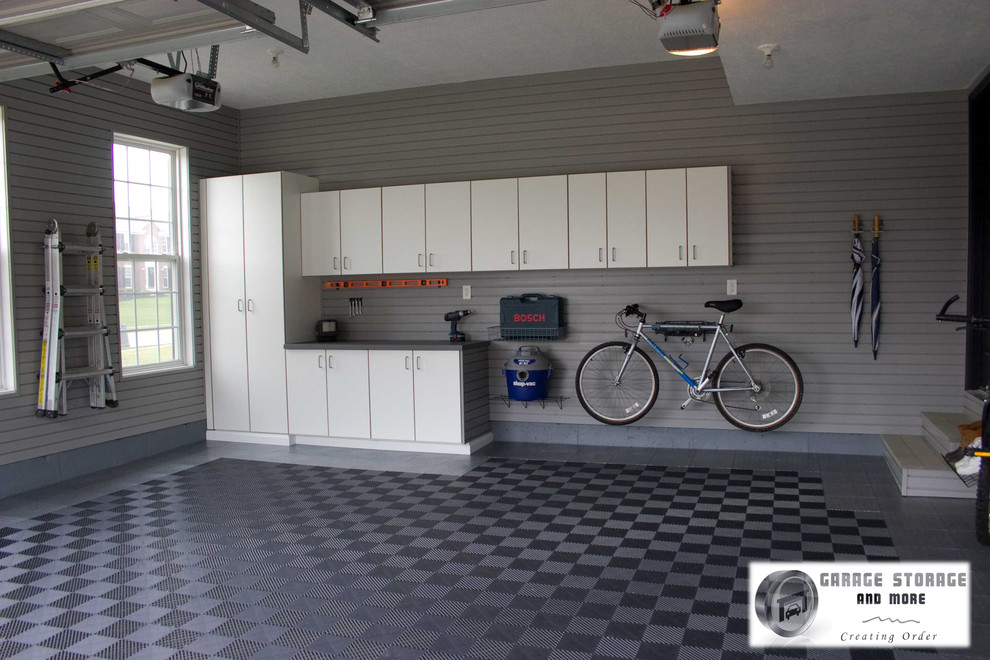
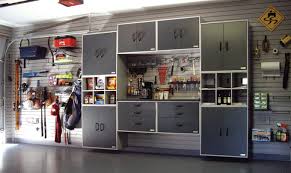
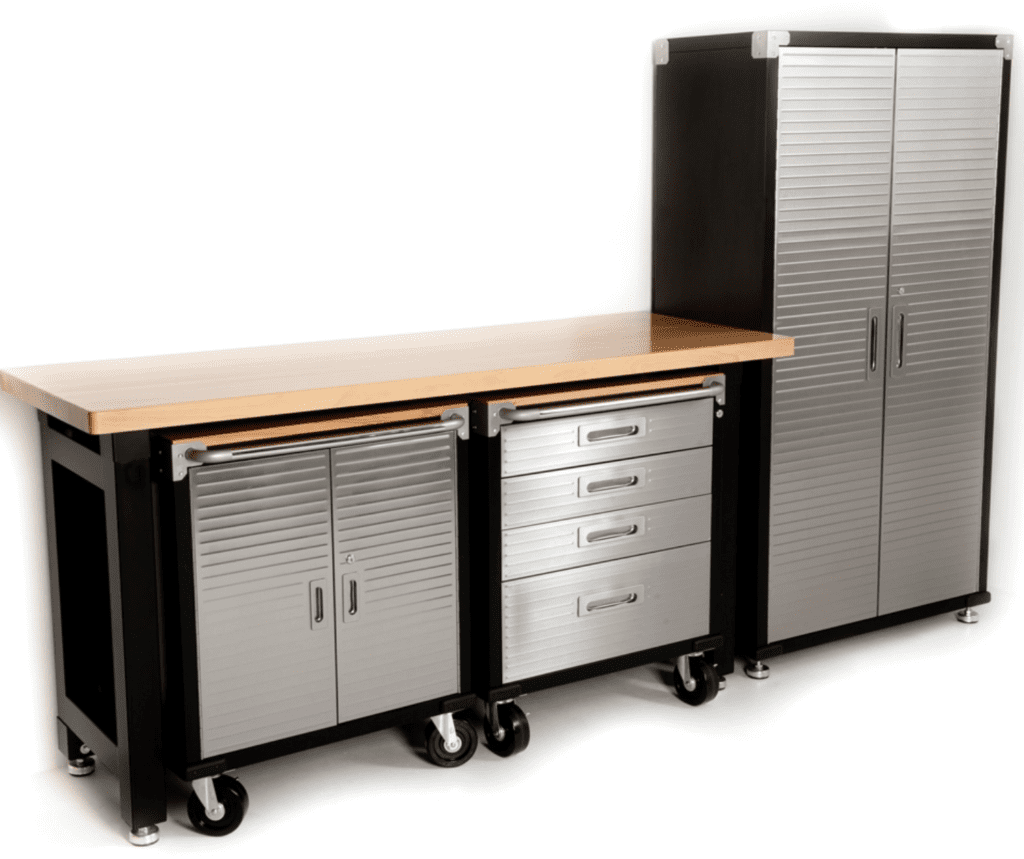
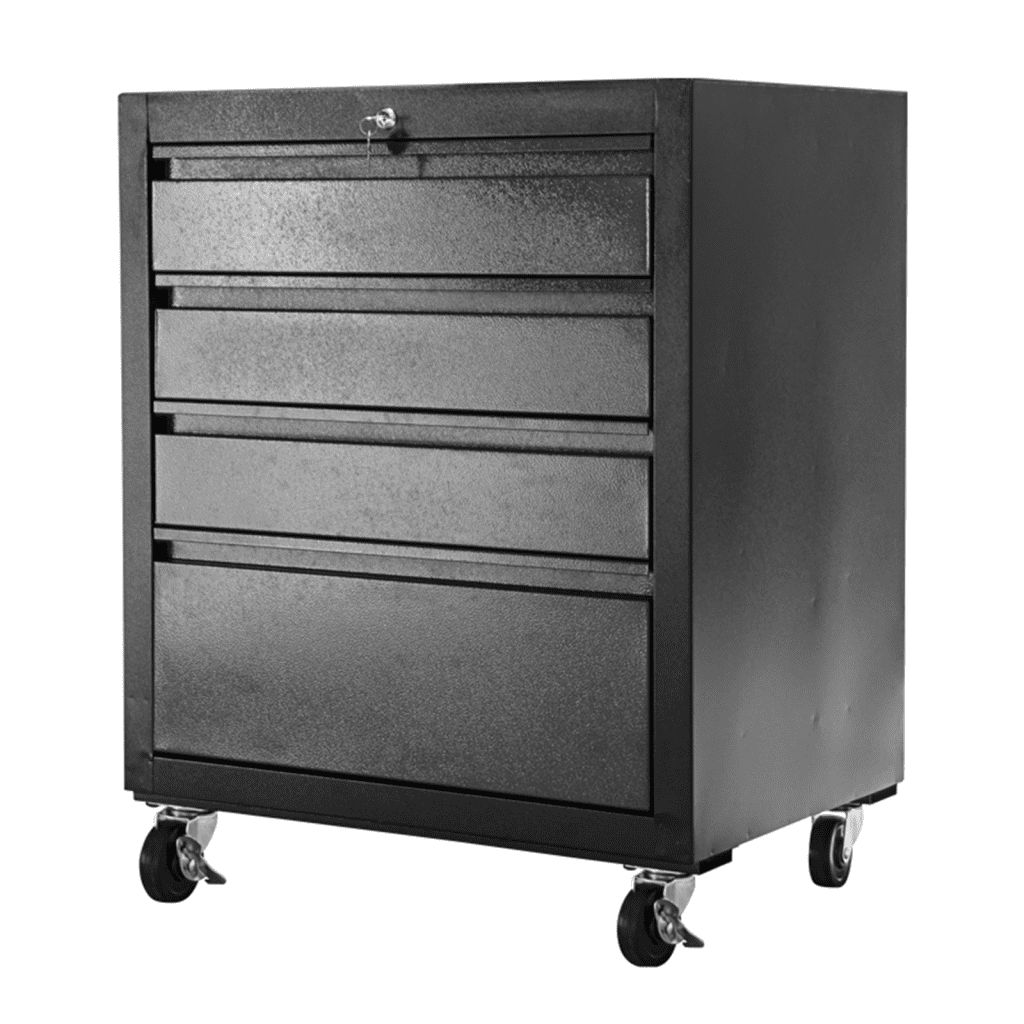
Cabinets and Drawer Units
Cabinets and drawer units offer enclosed storage, which helps reduce dust accumulation and keeps items hidden for a tidier look. Cabinets can house a variety of items that don’t need to be on display, and drawer units work particularly well for storing smaller tools, hardware, or crafting supplies. Additionally, locking cabinets can be useful for securing chemicals, paints, and other hazardous materials safely out of reach.
Bins, Baskets, and Specialized Holders
Adding bins, baskets, and specialized holders (e.g., for sports equipment or gardening tools) can help you organize items that are hard to store on shelves alone. Labelled storage bins allow you to categorize items for easy access, while baskets can hold oddly shaped items like balls, hoses, or extension cords. These can be attached to wall panels or placed on shelves in an organized manner.
Benefits of a Mixed Storage System
Incorporating a variety of storage options in your garage enables you to overcome some of the limitations of garage shelving.
Increased Space Efficiency
By utilizing the walls and ceiling alongside shelving, you can dramatically increase your available storage without sacrificing floor space. Combining shelving with slatwall, overhead storage, and cabinets ensures every inch of the garage is working for you.
Better Organization and Accessibility
A mixed storage system allows you to assign specific places for each type of item, so they’re easy to find and access when needed. You can store frequently used items within reach and keep seldom-used items out of the way.
Improved Safety and Clutter Reduction
A well-organized garage reduces the risk of accidents caused by items falling off overcrowded shelves. Hazardous materials can be safely locked away, and bulky or heavy items can be securely stored on racks or in cabinets, making the space safer for family members.
Enhanced Flexibility for Changing Needs
As your storage needs evolve, a versatile system that includes slatwalls, pegboards, and ceiling storage can adapt with you. You can reconfigure your setup to accommodate new tools, equipment, or seasonal items without a complete overhaul.
Getting Started: Creating a Balanced Storage Plan
To get the most out of your garage, start by assessing your storage needs:
Identify What You Need to Store
- Make a list of the items you currently store in your garage and those you’d like to add. This helps you determine the types and sizes of storage solutions you’ll need.
Map Out Your Space
- Measure your garage and sketch a rough layout, marking where you could install shelving, wall panels, ceiling racks, and cabinets. Aim to balance storage across floor, wall, and ceiling areas to avoid overcrowding any one area.
Choose a Combination of Storage Solutions
- Based on your list and layout, choose a combination of storage options to fit your needs. If you have many small items, prioritize pegboards or slatwall with baskets. For larger items, consider overhead racks or dedicated shelving.
Install and Organize
- Start by installing the more permanent fixtures, such as slatwall or ceiling racks, before adding smaller storage accessories. Once everything is in place, arrange your items in a logical, accessible way to ensure easy access and organization.
Conclusion – Limitations of Garage Shelving
While garage shelving is a useful storage tool, relying on it alone can limit your options and lead to a cluttered, inefficient space. By combining shelving with wall-mounted systems, ceiling racks, cabinets, and specialized storage accessories, you can create a well-organized and highly efficient garage that meets all your storage needs.
Explore StoreWALL for high-quality slatwall solutions, hooks, baskets, and other accessories that will take your garage organization to the next level. With a thoughtfully designed setup, your garage can become a clean, accessible, and functional space tailored to you.


 if its in good condition) out enough without causing a family WW3. The clean-out is import because it will free up space for more stuff. It’s also important because in order to install any new garage storage solution, you will need room to work.