Posted on

Wall Mounted Storage for your Garage

storewall sale

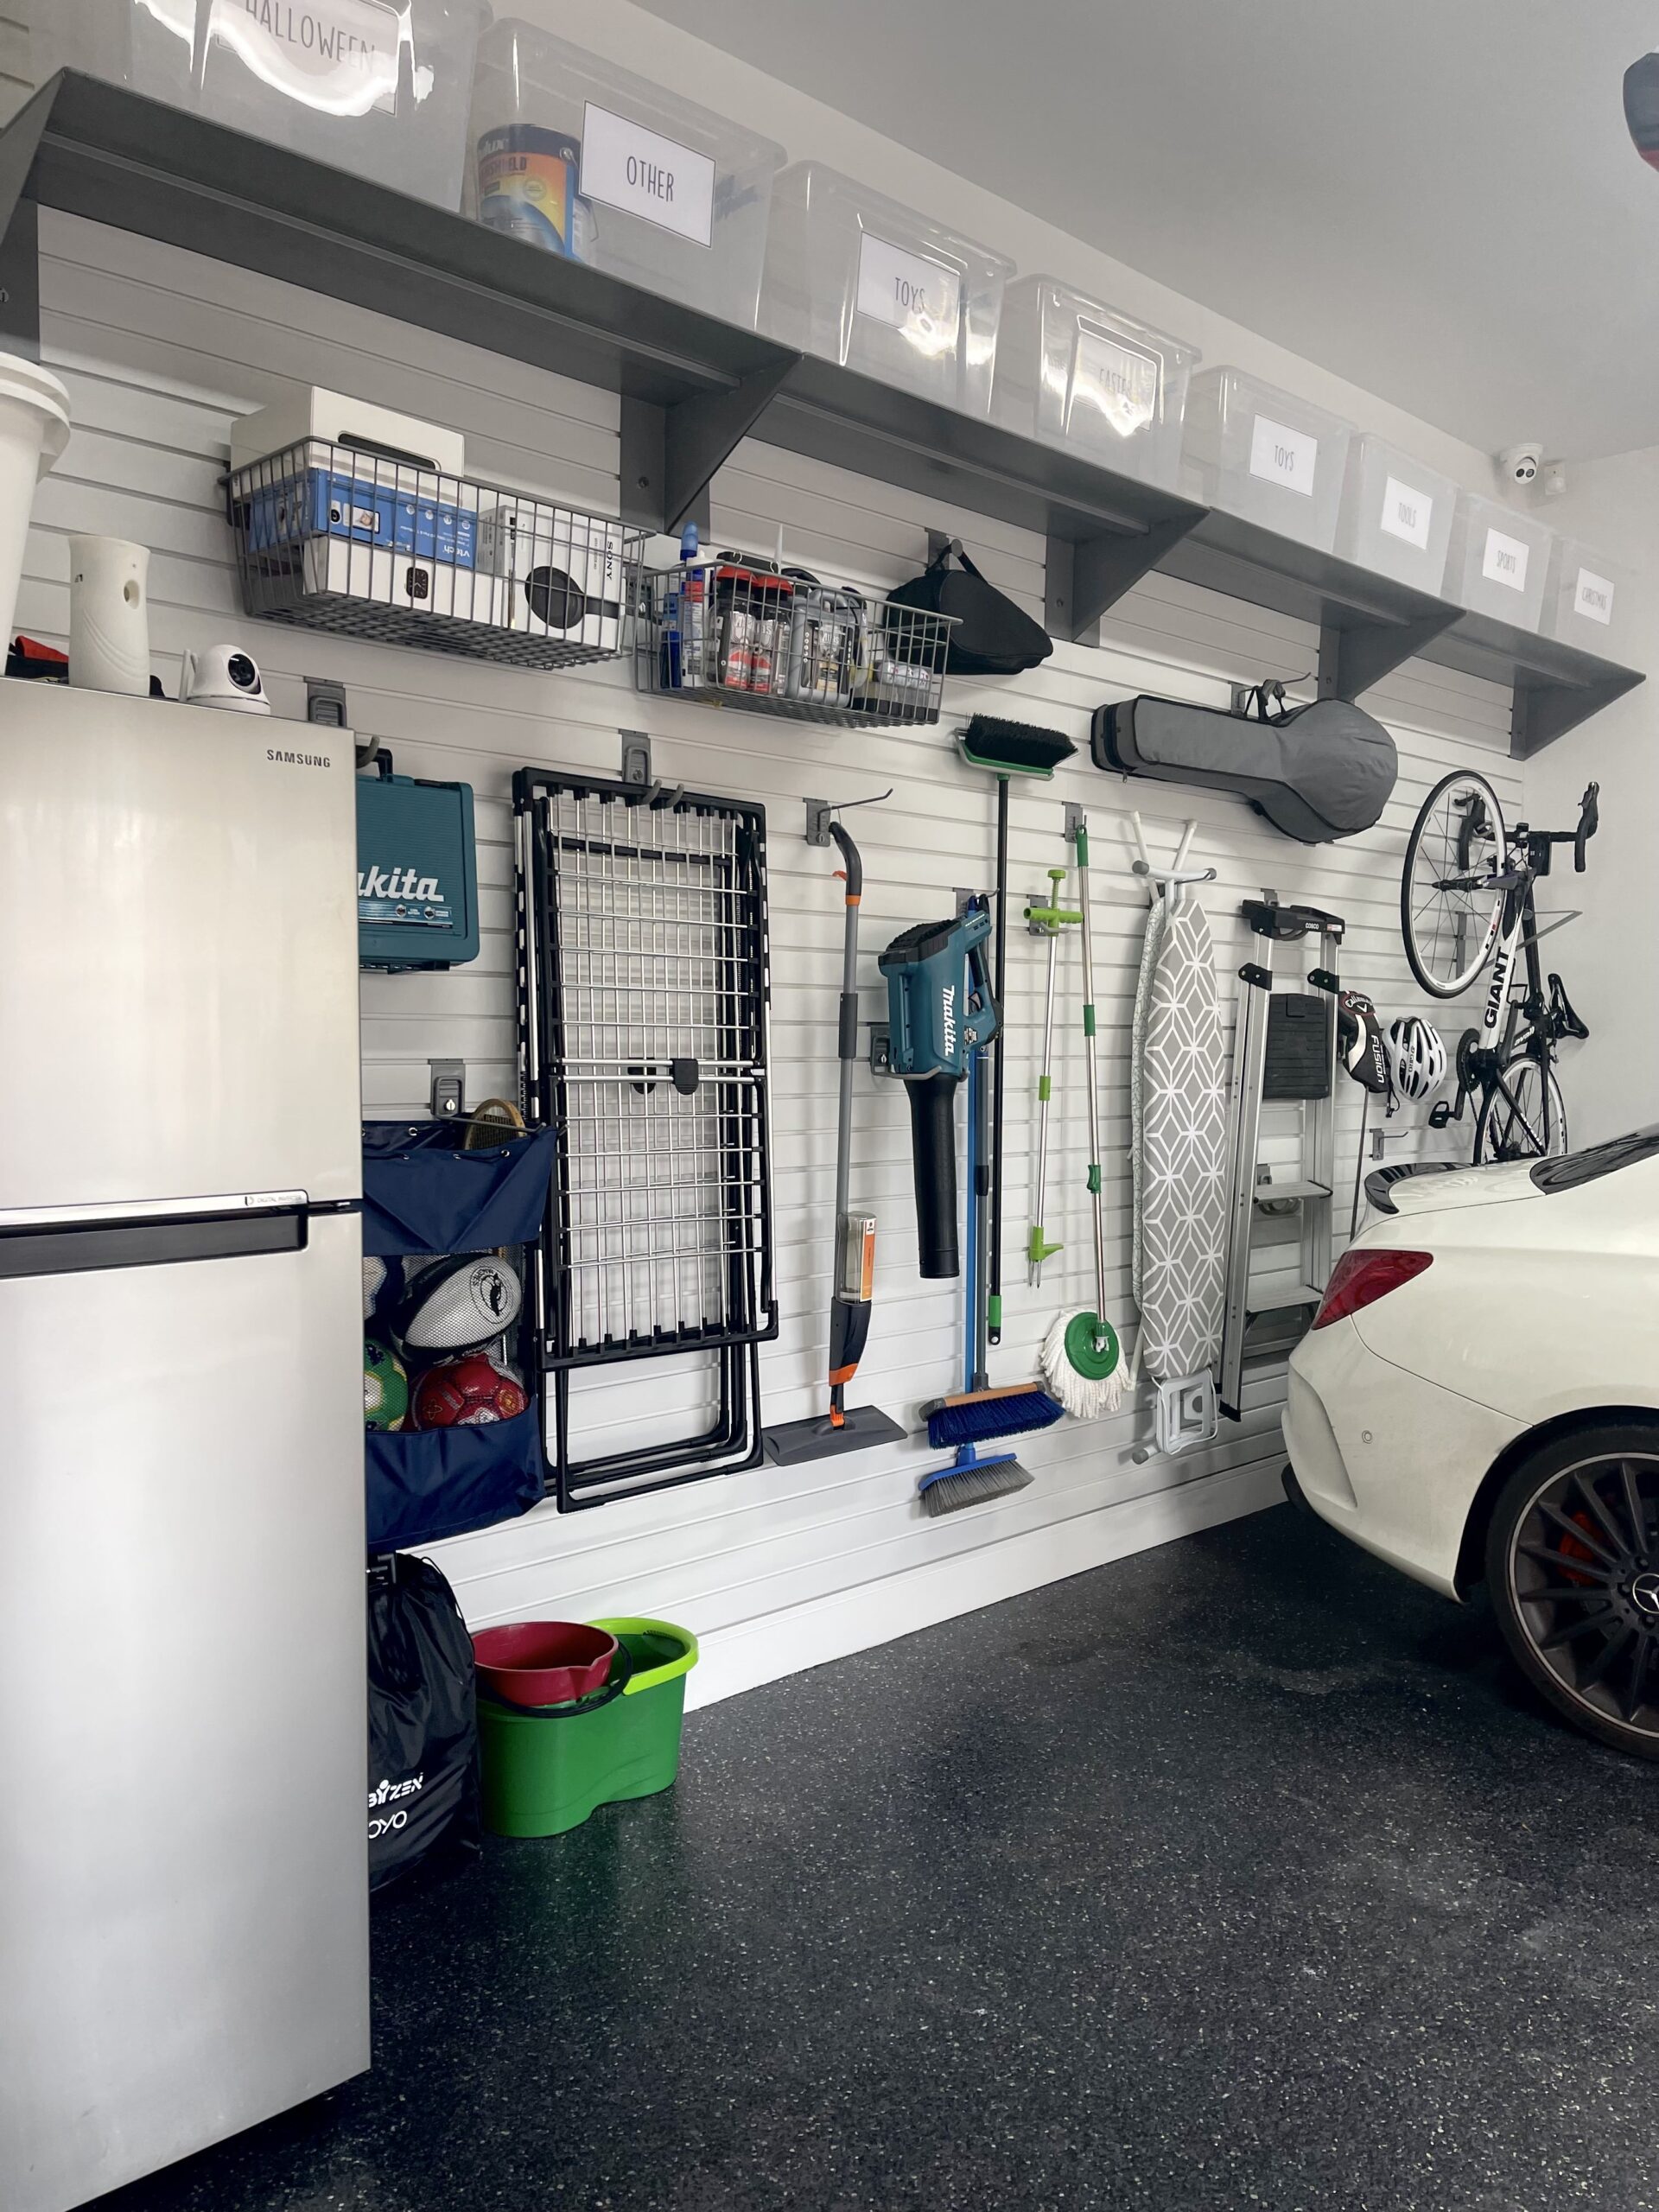
Maximizing Your Space Efficiently

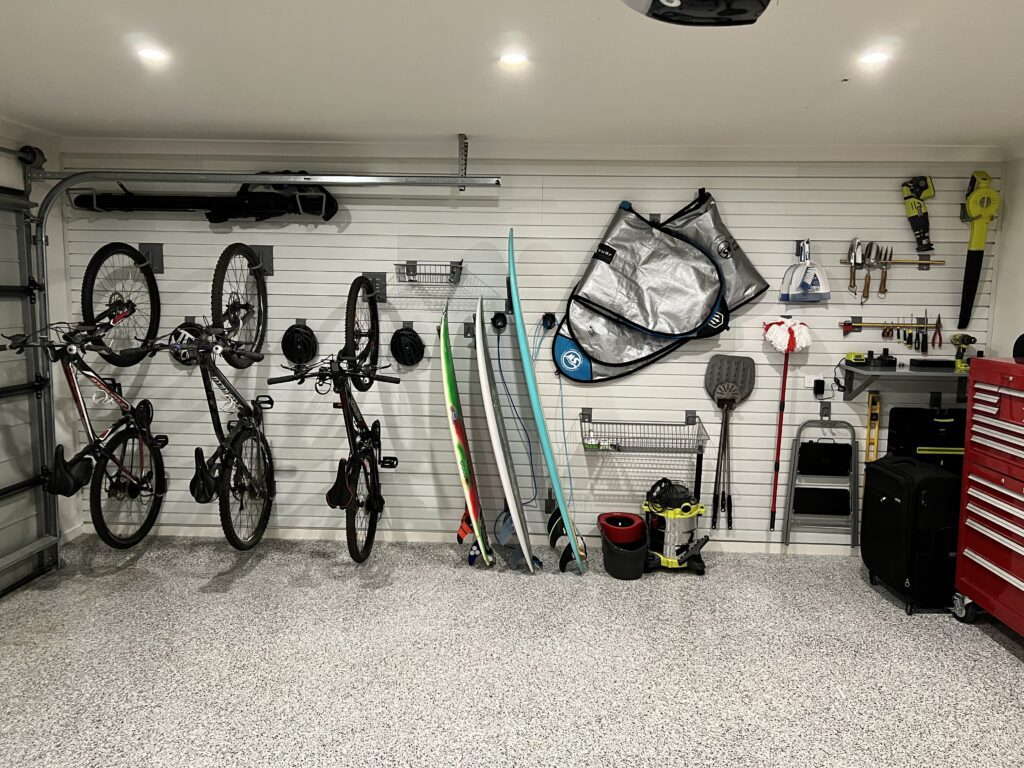
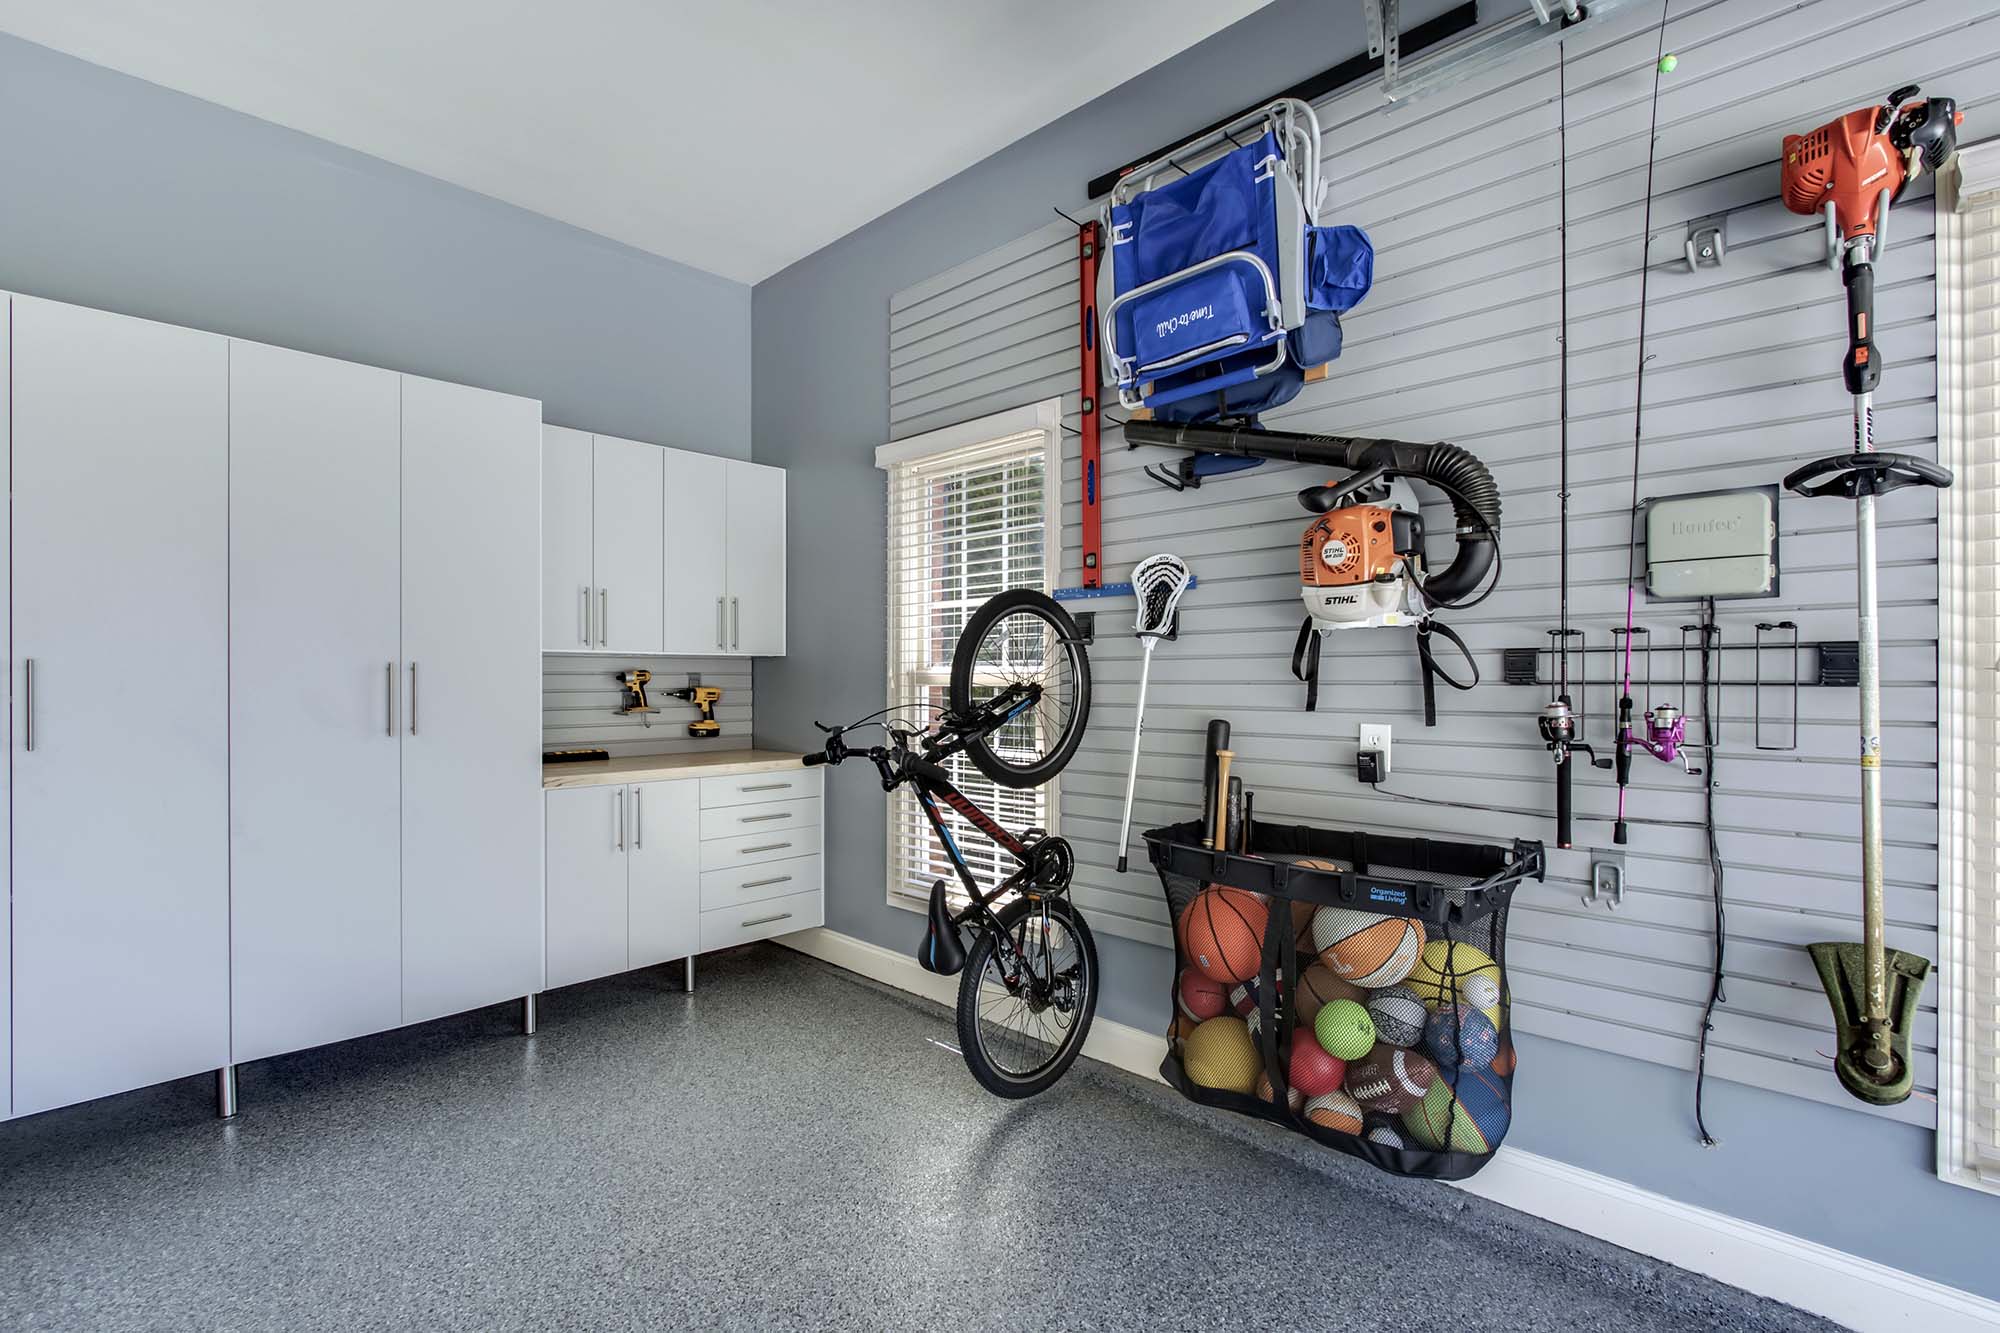
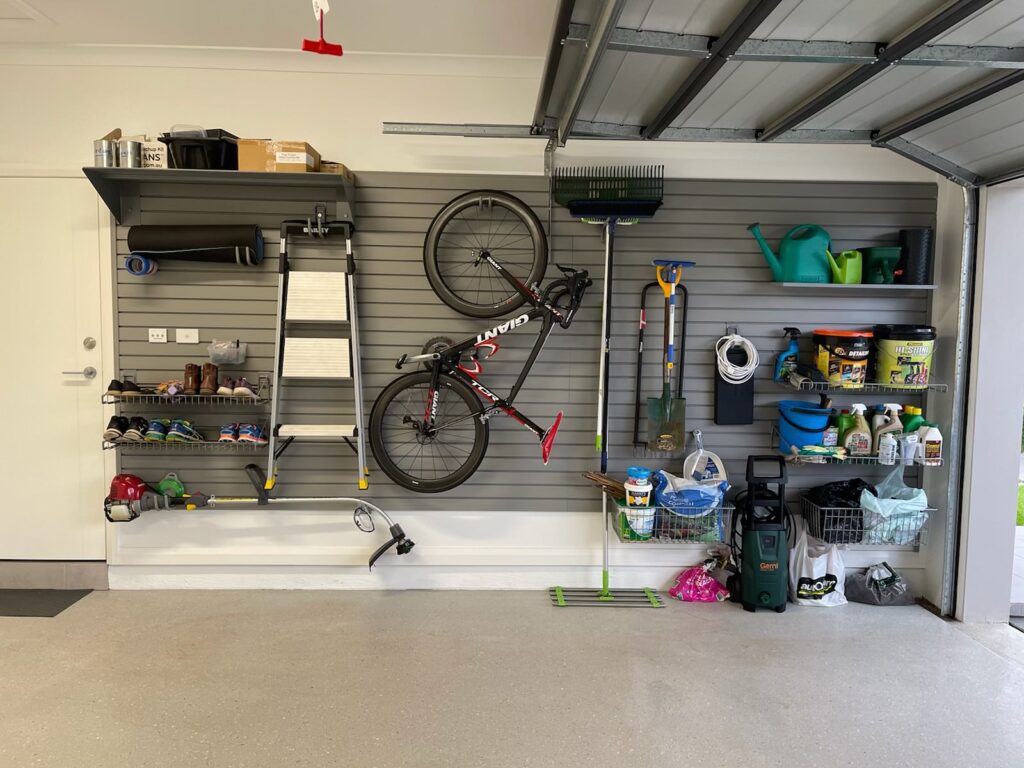
Are you constantly battling with clutter in your garage? Do you find yourself struggling to locate tools, sports equipment, or holiday decorations when you need them? If so, wall mounted garage storage could be the game-changer you’re looking for. By leveraging the vertical space in your garage, you can significantly increase your storage capacity, organize your belongings efficiently, and create a more functional and accessible workspace. Let’s delve into the benefits of wall mounted storage solutions and how you can implement them in your garage.

The Advantages of Wall Mounted Storage

  • Maximized Space Utilization: One of the most compelling reasons to opt for wall-mounted systems is the ability to free up floor space. This approach allows you to store items off the ground, making it easier to clean the floor and move around.
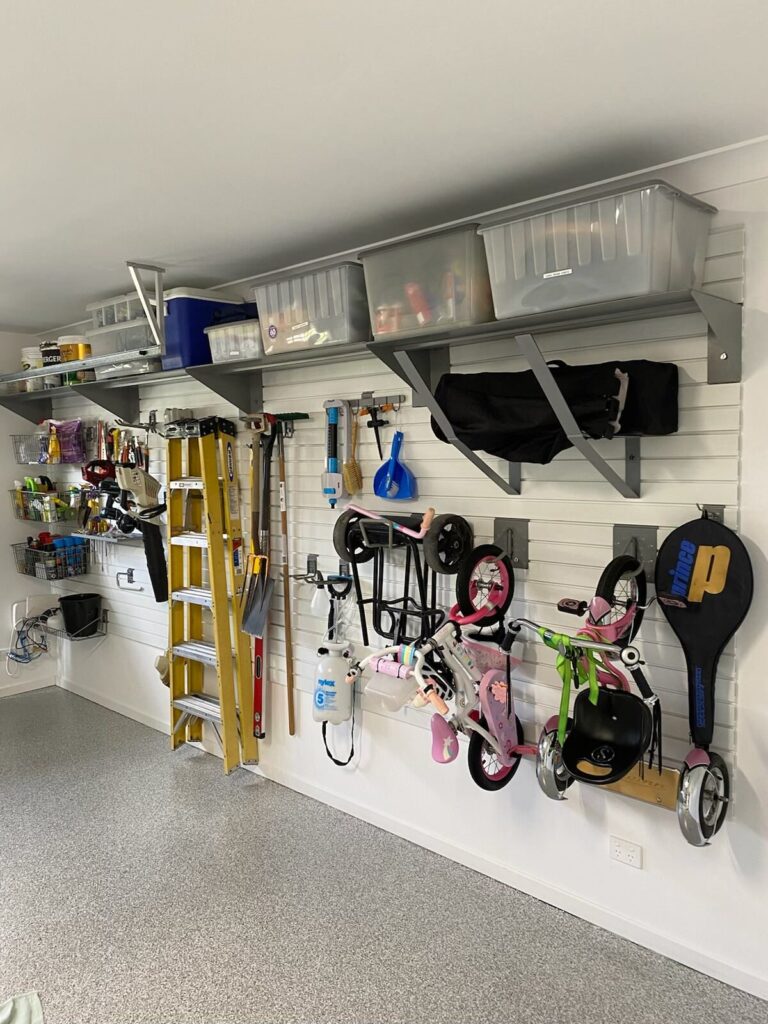
  • Enhanced Organization: Wall-mounted systems often come with a variety of shelving, hooks, and bins that can be customized to suit your storage needs. This means you can have a dedicated spot for every item, from garden tools and sports gear to automotive supplies and woodworking equipment.
  • Improved Accessibility: By keeping items off the floor and at eye level, garage wall systems make it easier to find and retrieve what you need without digging through piles or boxes.
  • Visual Appeal: A well-organized garage wall storage system can significantly improve the look of your garage, transforming it from a cluttered catchall to a tidy and efficient space.
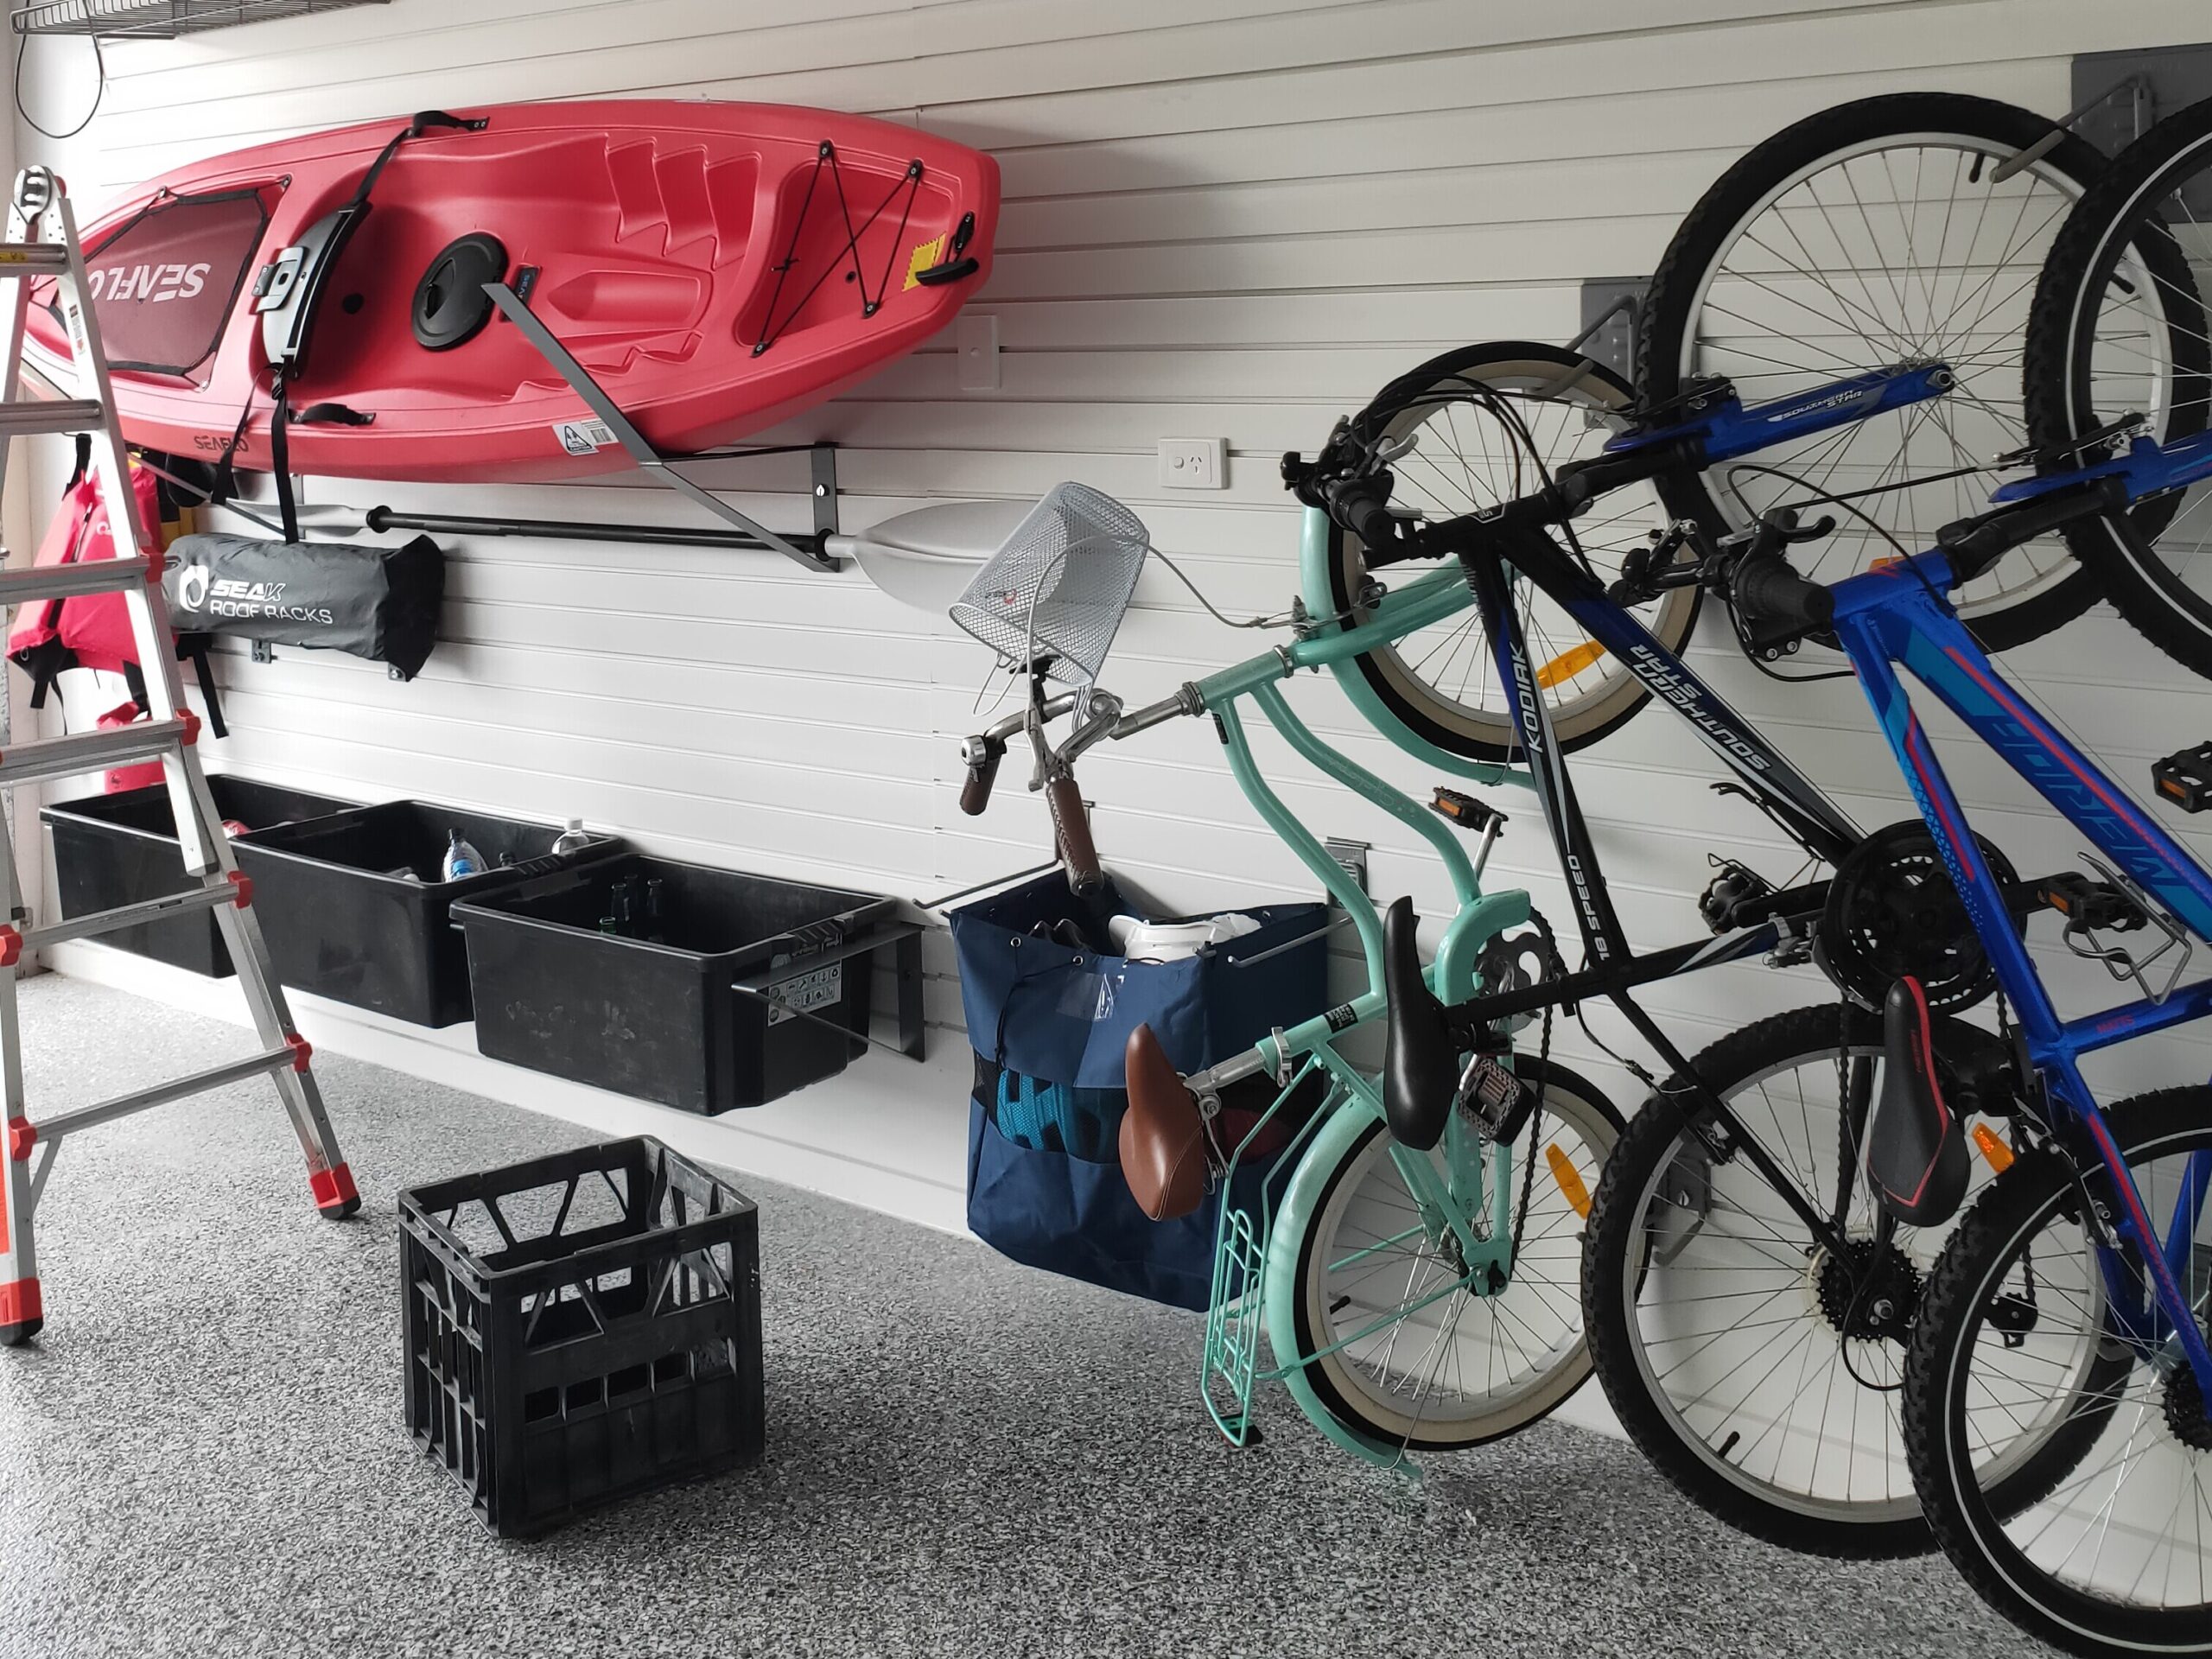
wall mounted storage

Implementing Wall Mounted System in Your Garage

1. Assess Your Needs: Start by taking inventory of what you currently store in your garage. Group items by category and consider how often you use them. This will help you determine the type of storage solutions that will work best for your space.

2. Choose the Right System: There are several types of garage wall storage systems to choose from, including:

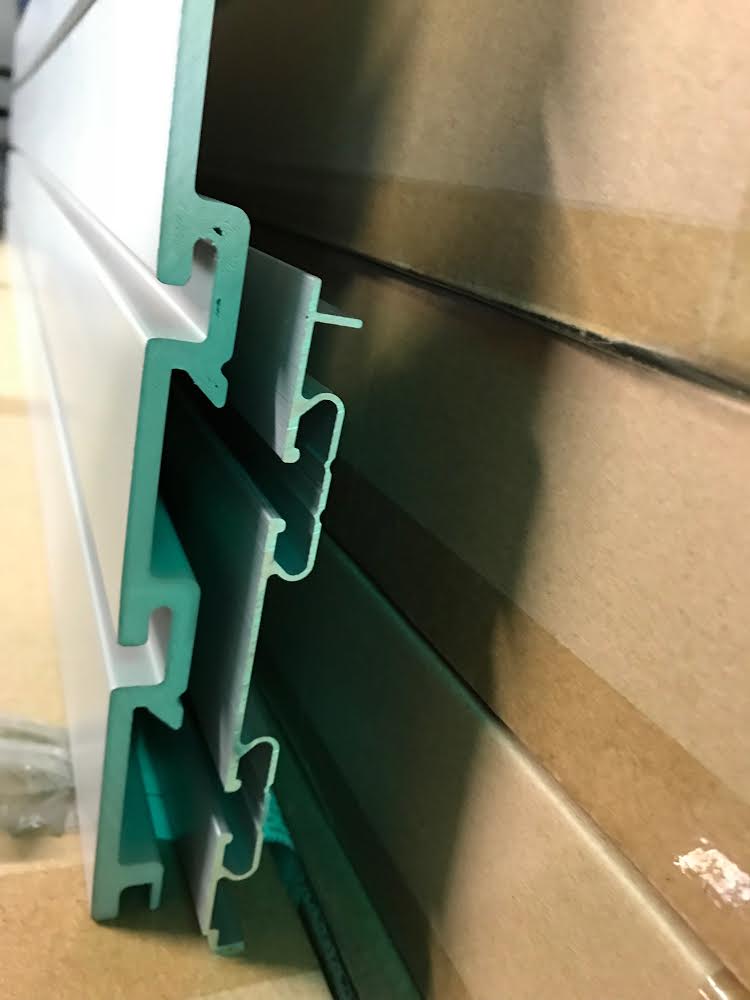
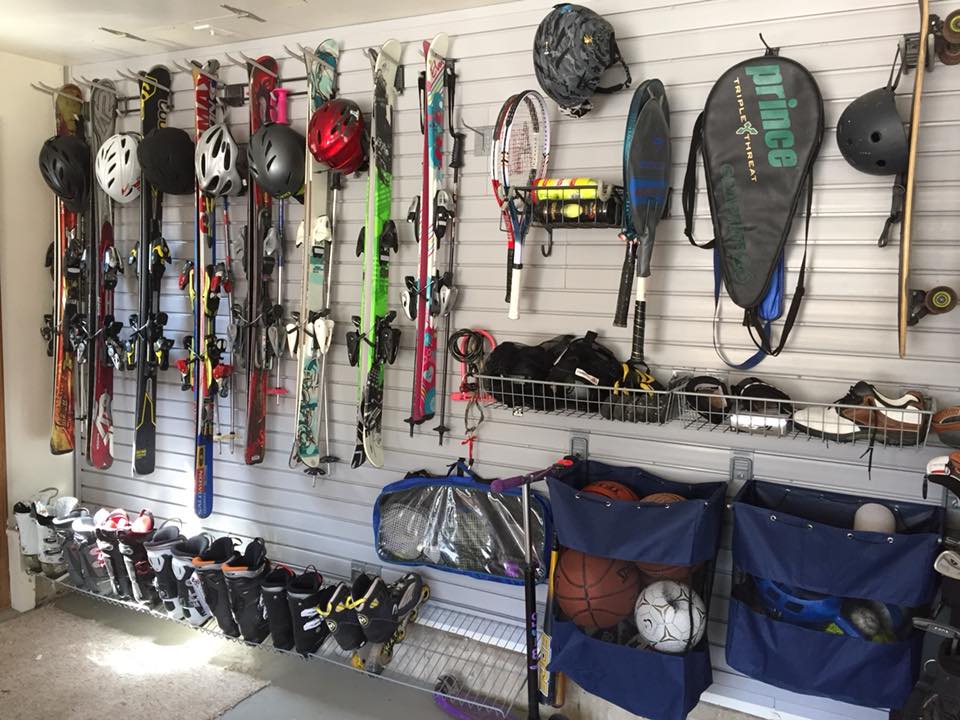
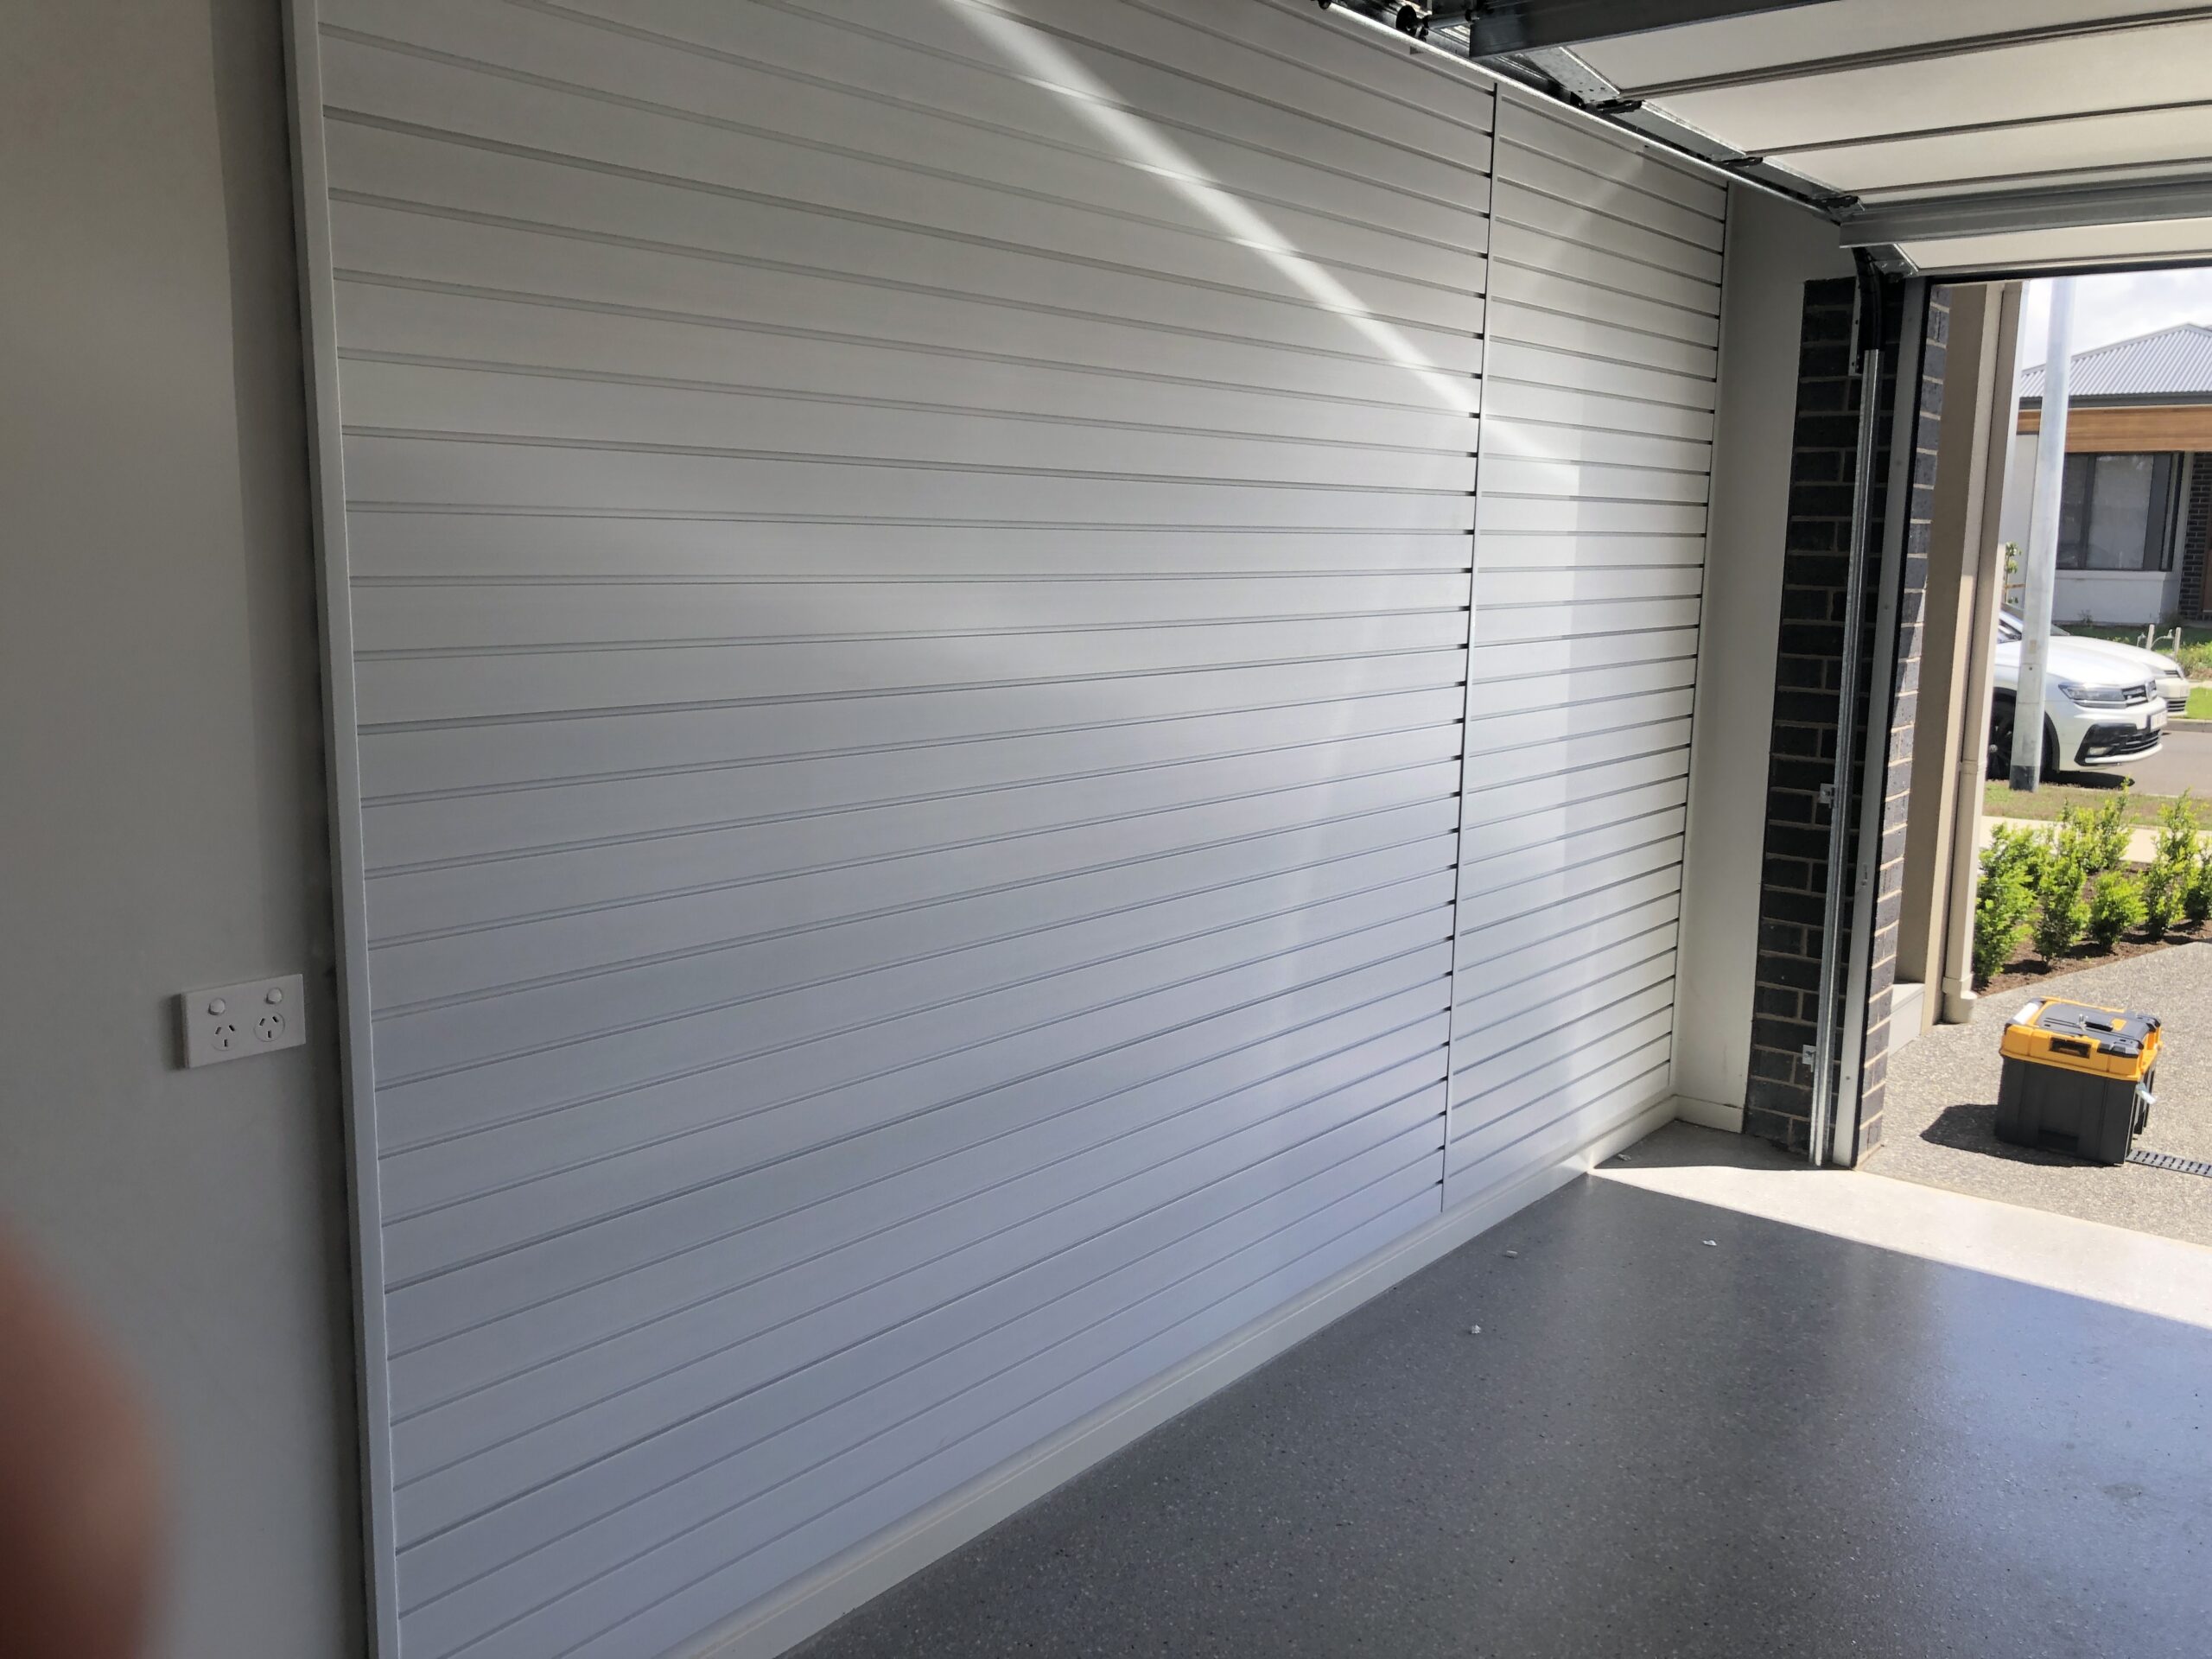
  • Slatwall Panels: These are great for versatile storage needs, allowing you to attach hooks, shelves, and bins that can be easily repositioned.
  • Track Systems: Ideal for hanging larger tools and equipment, track systems offer sturdy support and can be customized with various hooks and accessories.
  • Shelving Units: Fixed or adjustable shelving units are perfect for storing boxes, bins, and larger items that don’t hang well.

3. Plan Your Layout: Before installing any system, plan your layout carefully. Consider placing frequently used items at arm’s reach and seasonal or rarely used items higher up or in less accessible spots.

4. Installation: While many wall-mounted systems are designed for DIY installation, ensure you have the right tools and follow the manufacturer’s instructions carefully. It’s crucial to secure storage systems to studs in the wall to provide adequate support for your items.

5. Organize and Label: Once your storage system is in place, organize your items logically and consider labeling shelves, bins, and hooks to make it easy to find and return items to their rightful spot.

wall mounted storage system

Garage Wall System – Conclusion

Wall-mounted garage storage offers a smart and effective way to tackle the clutter in your garage. By taking advantage of vertical space, you can create a more organized, accessible, and visually appealing space. Whether you’re a DIY enthusiast, a sports fanatic, or just looking to declutter, there’s a wall-mounted garage storage solution that can meet your needs. Start planning your garage transformation today and enjoy the benefits of a well-organized space.

Posted on

Securing Your Slatwall Panels

Securing Your Slatwall Panels

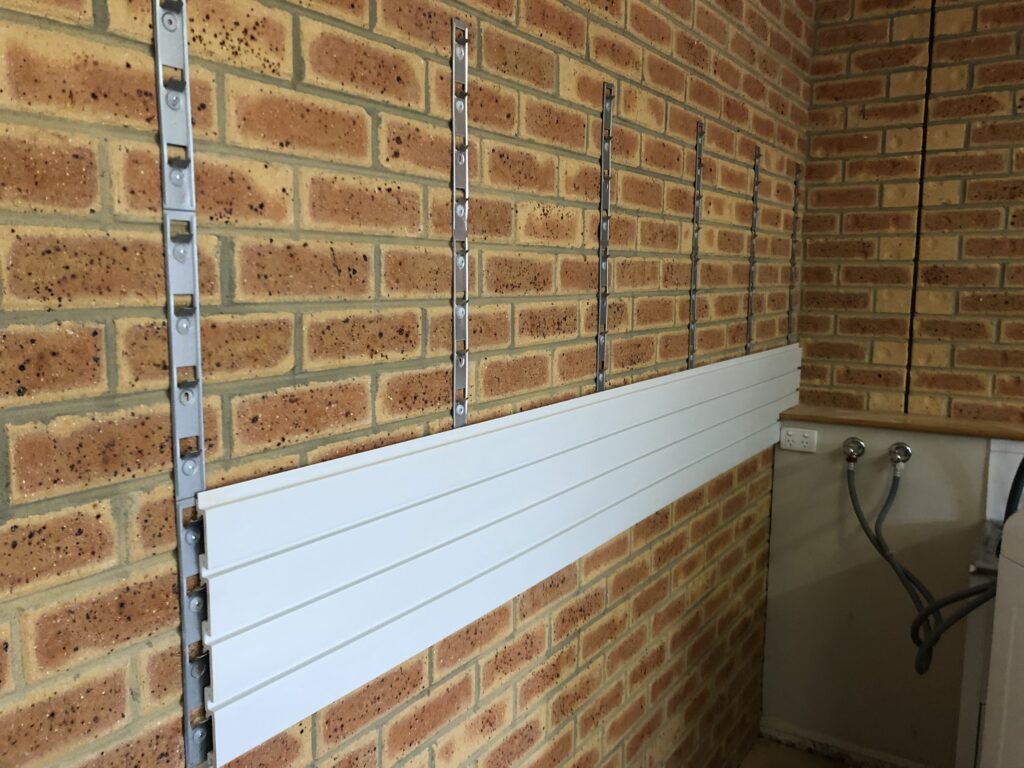
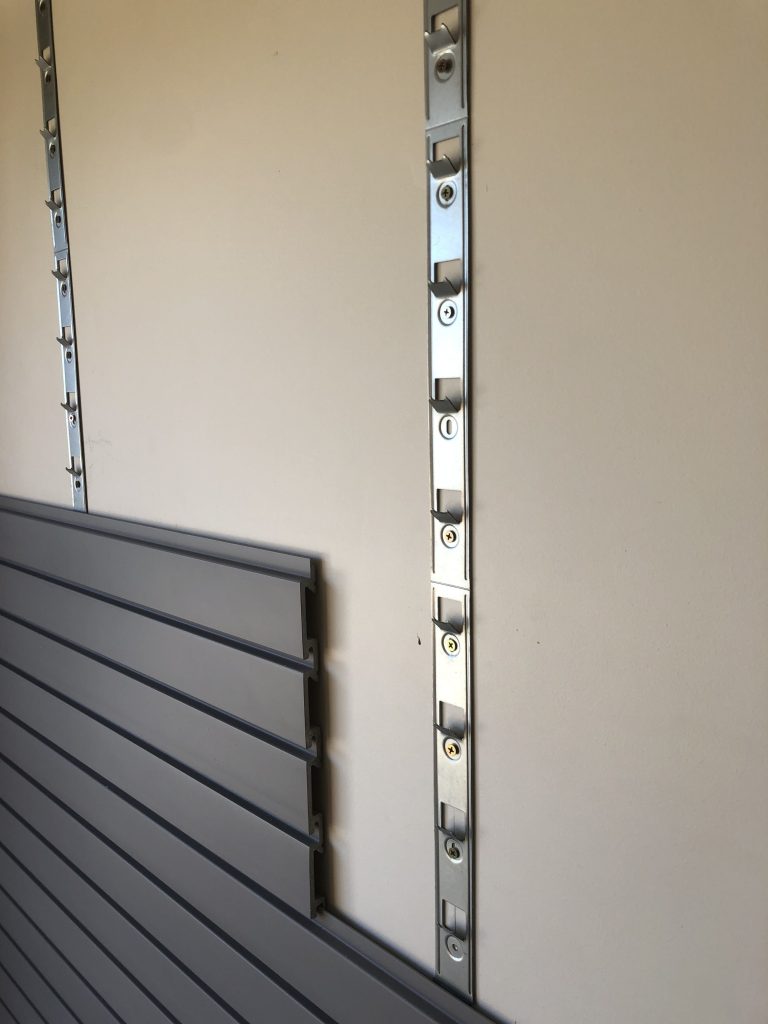
StoreWALL’s garage wall panels are designed to be installed with Installstrips. Installstrips are what we use to effectively secure your slatwall panels.

I was told earlier this week, that another local supplier of PVC slatwall panels (no affiliation with StorewALL) recommends that they be secured to the wall using Liquid Nails or a similar professional adhesive. Maybe I had misunderstood. I hope so.

Securing Your Slatwalls with Adhesive

Let’s assume it is correct, what is wrong with this approach?

If all I was hanging on my slatwall panels were lightweight screwdrivers, paper rolls, and maybe some clothing, it would probably be OK. However, you must consider what you are securing your Slatwall panels to. If your wall is plastered which most are, then the adhesive is secured to the paper face of the plaster, nothing more. You might add a few screws here and there but all you still have is the paper holding onto the PVC slatwall panel. Not good.

What about securing your slatwall panels using adhesive to a brick wall? This is better, but still not great. At least the brick wall surface is the actual brick wall, not an outer layer that can peel away.

What about the holding capacity of the slatwall panel? The adhesive might hold the panel to the wall but does it do anything to help hold the weight, 12 months from now, 3 years from now?

I would also add that any specifications listed by the supplier for wall panel strength and storage capacity needs to be retested for this novel installation method.

What makes installstrips better?

Installstrips are made from steel. Each one holds a minimum of 12 screw holes. You screw through the installstrip and onto the stud behind the plasterboard. Or you screw into the actual brickwork. Therefore not only do you have the strength of the installstrip supporting the slatwall panel, you also have the fastener and its grip on the wooden stud or brick.

Securing Your Slatwall Panels
Installstrips on a brick wall

Securing Your Slatwall Panels
Installstrips on a plastered wall

Removing Your Slatwalls

Should you ever need to remove your slatwall panels, installstrips allow you to do this with very little effort. You don’t even need a screwdriver. When installed with Installstrips, the panels hang on the installstrips, so they can be lifted and removed. You won’t damage the panels and they can be returned when your work is done.

Let’s assume you used adhesive to secure your slatwall panels, and at some stage you needed to remove one panel? If that panel was at the bottom, the whole wall would need to be ripped off the plasterboard or brickwork. A disaster!

Check Before You Buy

A garage renovation just like any enhancement to your home requires an investment. Before you order your slatwall panels or agree to have a company install them for you, check how they will be installing them.

If the supplier doesn’t use Installstrips, then ensure that they will still fasten the slatwalls to your wall using screws or brick fasteners.

Posted on

Hanging Your E-Bike

steadyrack bike hook

E-bikes are becoming ever more popular. They might look like your regular bike, but your e-bike is probably 10kgs or even 20kgs heavier. Hanging your e-bike safely is a key concern for many e-bike owners.

I recently helped a customer from the Toowoomba area in Qld, who had a long list of items she needed to store in her garage. During one of our many calls, Amey (not her real name) told me that on her list was an e-bike.

E-bike Weight

Not having owned an e-bike, I was a little naive as to the weight that an e-bike carries. StoreWALL offers a very broad range of bike hooks that are very popular for your regular bikes. Our standard bike hook will support a weight of over 30kgs, which is much more than a regular bike will weigh. The StoreWALL Rotating Bike Hook can support 100kgs. In terms of weight support, you can’t beat 100kgs.

A key consideration when using bike hooks is the process of adding and removing your bike from the actual hook. By this I mean, raising your bike on its back wheel and lifting it off the ground to attach it to your hook. This process might not mean much to a young man, however, some older folk and even females might not be so confident.

Hanging Your e-bike

Amey, however, expressed concern about the weight of her e-bike which is closer to 30kgs+, and her ability to lift her bike on and off the StoreWALL Rotating Bike Hook. The video below shows the process for you.

StoreWALL Rotating Bike Hook in action

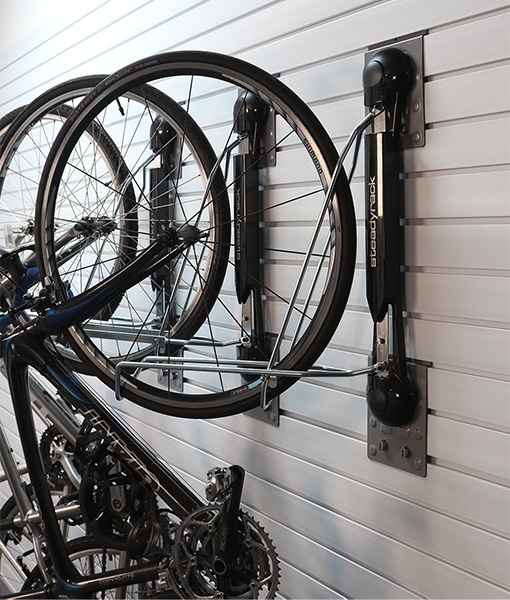
I showed her the Steadyrack accessory we also offer and how it works with the actual SteadyRack Bike Bracket. The option of just lifting your bike and rolling it into the SteadyRack Bike Bracket suited Amey better for hanging her e-bike. Video below shows the process.

Steadyrack Bike Brackets being used with StoreWALL

SteadyRack Bike Brackets are sold by many bike stores including 99 Bikes (no affiliation with StoreWALL). StoreWALL sells a pair of brackets that allow you to secure the SteadyRack Hook to your StoreWALL Wall Panels. The brackets use CamLok which gives you the added advantage of being able to move your SteadyRack Bike Hook around your wall as you need to. This is a much better option compared to fixing it directly to your wall.

SteadyRack Vs StoreWALL’s Rotating Bike Hook

When asked this question, I usually tell my customers that there is a big price difference between the two solutions if they want to use them with their StoreWALL wall panels. If you already own Steadyrack, then the choice is much simpler. Roughly, when you combine Steadyrack and the StoreWALL bracket to use it on the wall panels, you are looking at $250 per bike. The StoreWALL Rotating Bike Hook is around $100 and will deliver the same solution for you.

In general, the hooks do very much the same thing in that they allow you to hang your bike perpendicular to the wall and then also allow you to swing your bike left or right in order to save space. The main difference is in the action needed to latch the bike to the actual hook. Once on the wall, both hooks are engineered to safely hold the bike in place.

Posted on

Best Way To Store Bike In Garage

Bike use in Australia has exploded in the past few years. Some of this surge in use is linked to the limited exercise available whilst being in lockdown for Covid-19. With so much more bike use, and more bikes being owned in every household, the challenge of storing your bikes is ever more relevant. StoreWALL offers you several options when it come to the “best way to store bike in garage”.

Bike Storage Solutions

The challenge with bike storage is that it needs to be easy for everyone. This includes your 5 or 10 year old child who will ride their bike for 10 minutes at a time leaving in the yard most of the day. It needs to be easy to access your bike (amongst the others owned by your family members) and it needs to be easy to return it as well. When your household owns 3 or more bikes, storage is problematic because bikes are not small and take up a lot of room. Even a mid sized bike for a 10 year old is close to 2m long, 1m in height with a handlebar width of atleast 40cm.

Bike Storage Hooks

If you are looking for a standalone hook for your bike(s) then you might be best to jump to this bike storage article I wrote a little while ago which explores the many bike storage solutions available on the market today. Alternatively, just search “Bike Hooks” and you might be pleasantly surprised at just how many options exist.

This article is focused on what StoreWALL can do for you and how its many bike hooks can provide your wall and garage for that matter with more space for your garage items as well as storing your precious bikes.

Best Way To Store Bike In Garage

The best way to store bike in garage is the one that allows you to easily and safely retrieve it and return it. All the while not taking up all of the room in your garage so you can’t store your vehicle or other garage household items. Bikes don’t need to take over your garage!

If I take my bike as the typical bike, its measurements are: 1700m length, 1070mm in height and 620mm in depth.

The storage options when using StoreWALL are to hang the bike:

  • horizontally on the wall, which will consume about 1.8sqm of wall space
  • vertically (hanging flat up against the wall) on the wall, which will also consume about 1.8sqm of wall space
  • perpendicular on the wall, which will consume about 1sqm of wall space but .66sqm of garage floor space
  • perpendicular on the wall, but then swing it so that it sits flat up against the wall when I need to.

Bike Storage Brackets

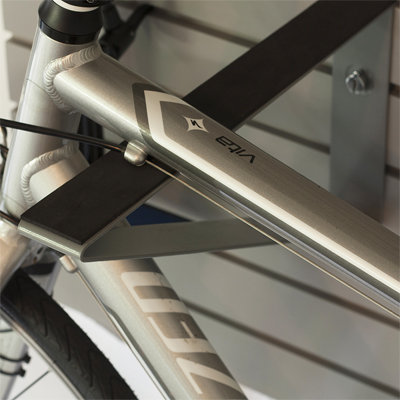
StoreWALL allows you to store your bike(s) horizontally on your garage wall by using our 381mm Metal Brackets or even our Angle Rack Hooks. StoreWALL’s 381mm brackets can be placed to support the frame of the bike and or the seat. Each bracket extends 381mm from the wall and can have padding added to prevent any scratching of your bike frame. See photo below of what this looks like on your wall.

Depending on how high you place your brackets and bike, horizontal bike storage could be a very easy way to access and return your bike to the garage. Could this be the “best way to store bike in garage”?

Best Way To Store Bike In Garage
Horizontal Bike Storage
Best Way To Store Bike In Garage
Bike bracket with padding

Bike Storage Hooks

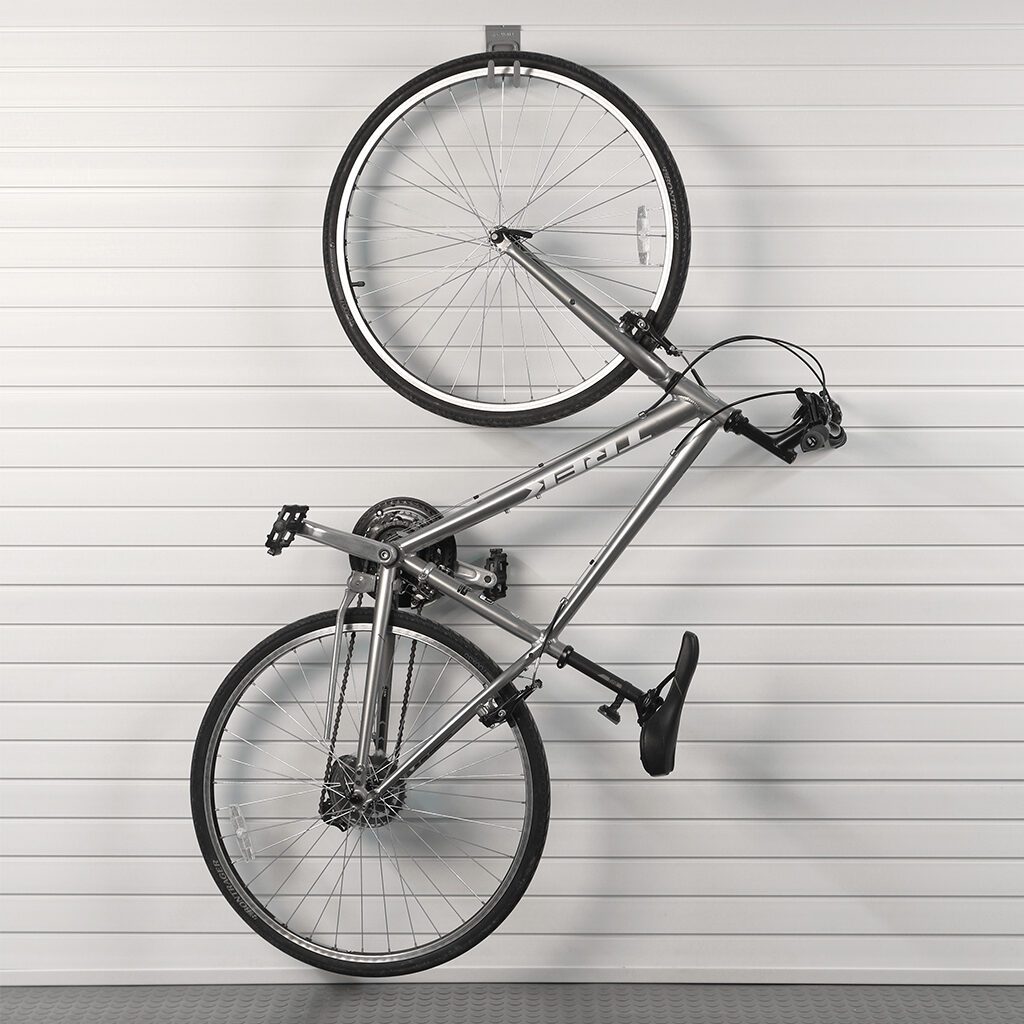
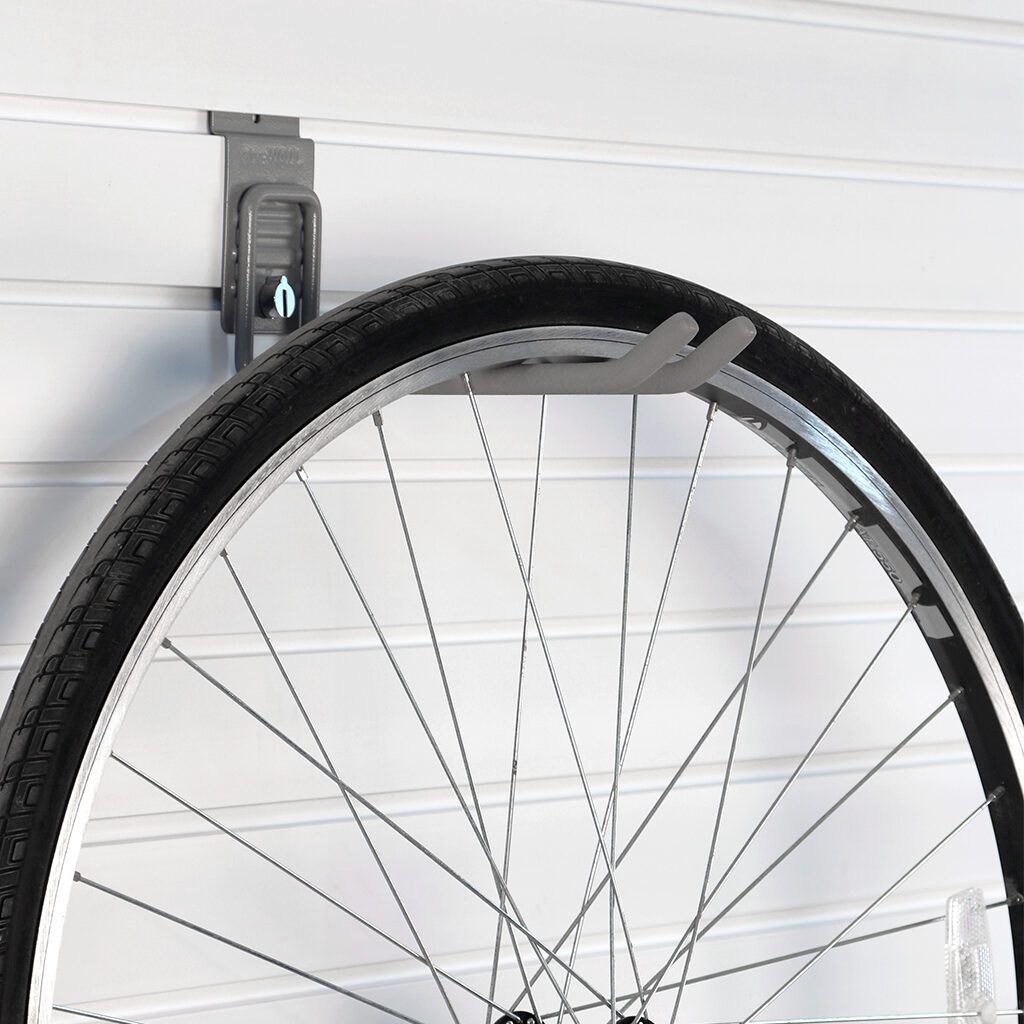
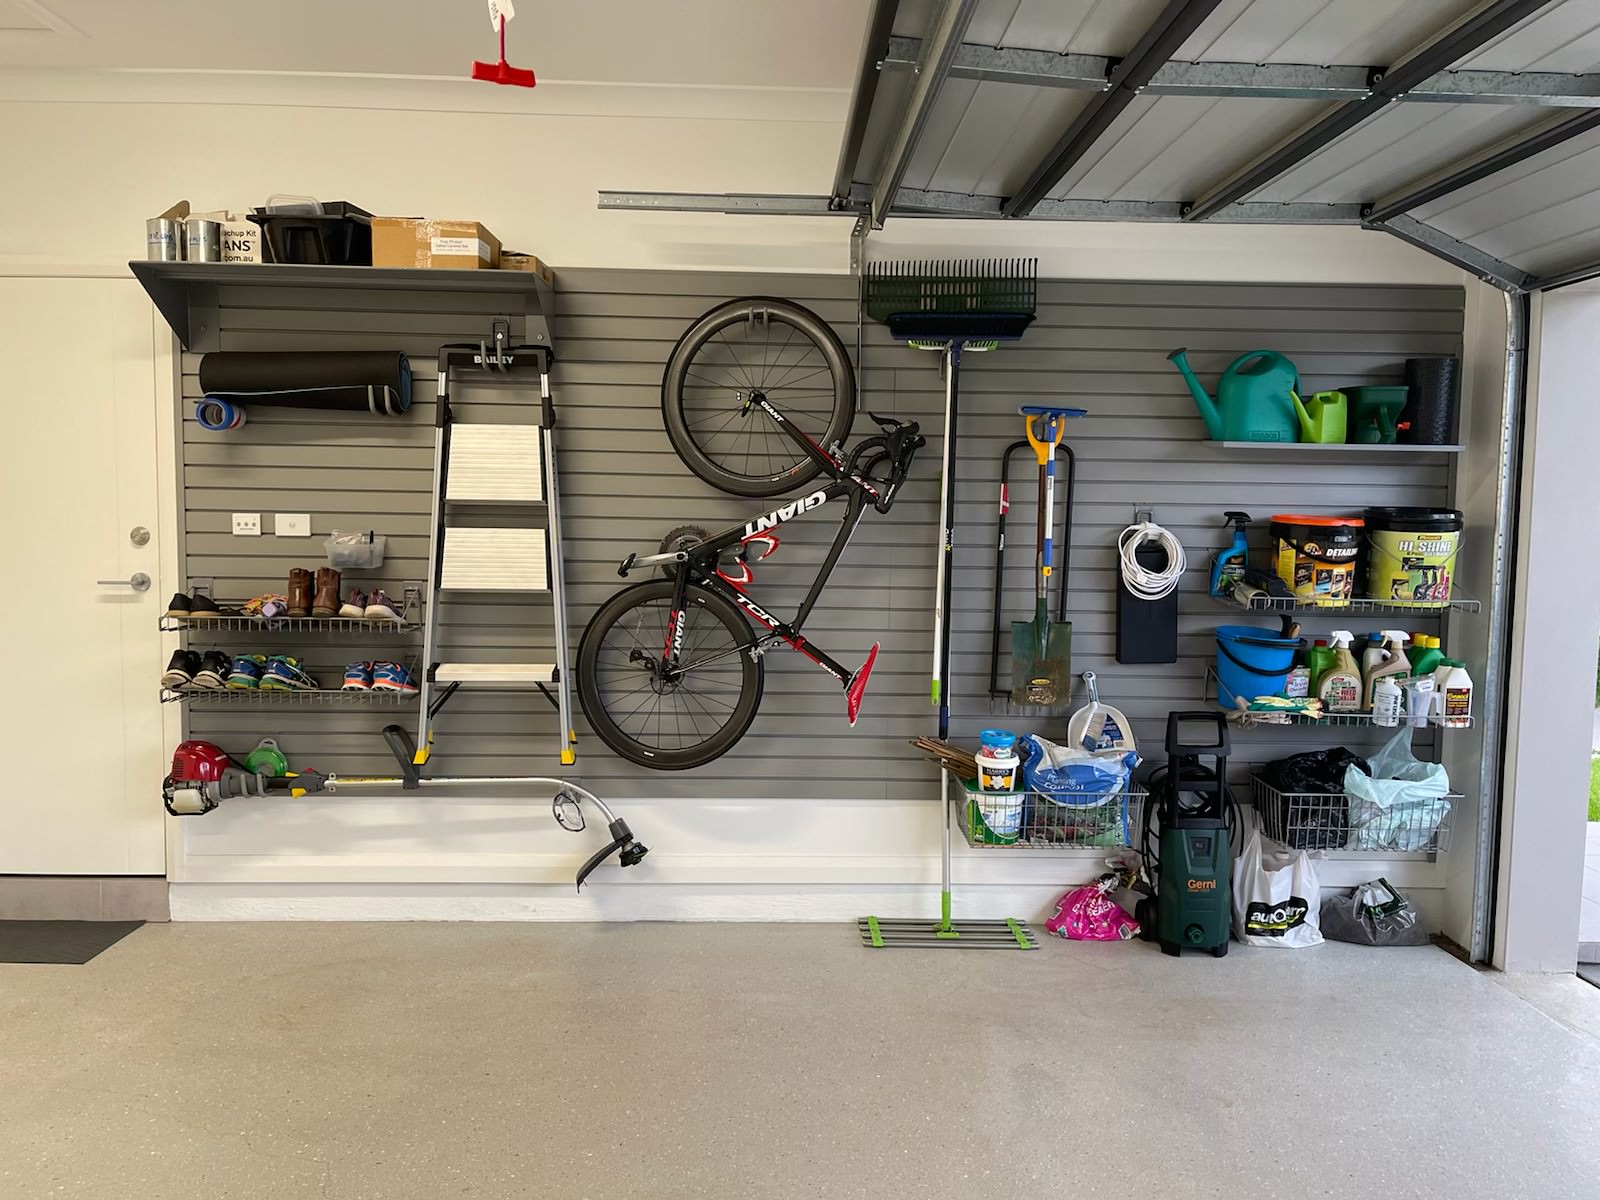
StoreWALL’s Heavy Duty Universal Hook or even Cradle Hook can be used to hang your bike vertically on your wall. These hooks can be used to grab the rim of your front tyre and then hold the weight of your bike. You can have the bike hang fully off the ground or have the bottom tyre resting on the ground.

Similar to the Horizontal storage option, vertically hanging your bike takes up quite a bit of wall space. It however doesn’t encroach into the garage floor area allowing you to more easily also fit a vehicle.

In terms of bike access and return, this option is easier for an adult than it is for a child as it can require you lifting the bike upright but also slightly off the ground.

So depending on your available wall space, this could be the “best way to store bike in garage”.

Best Way To Store Bike In Garage
Vertical Bike Storage

Bike Storage Hooks (Perpendicular Storage)

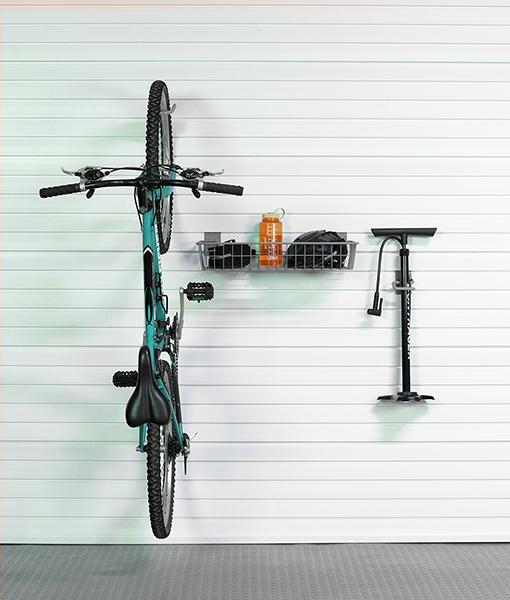
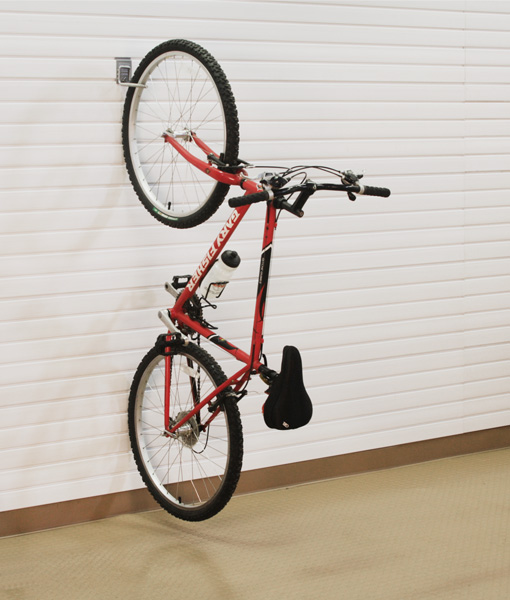
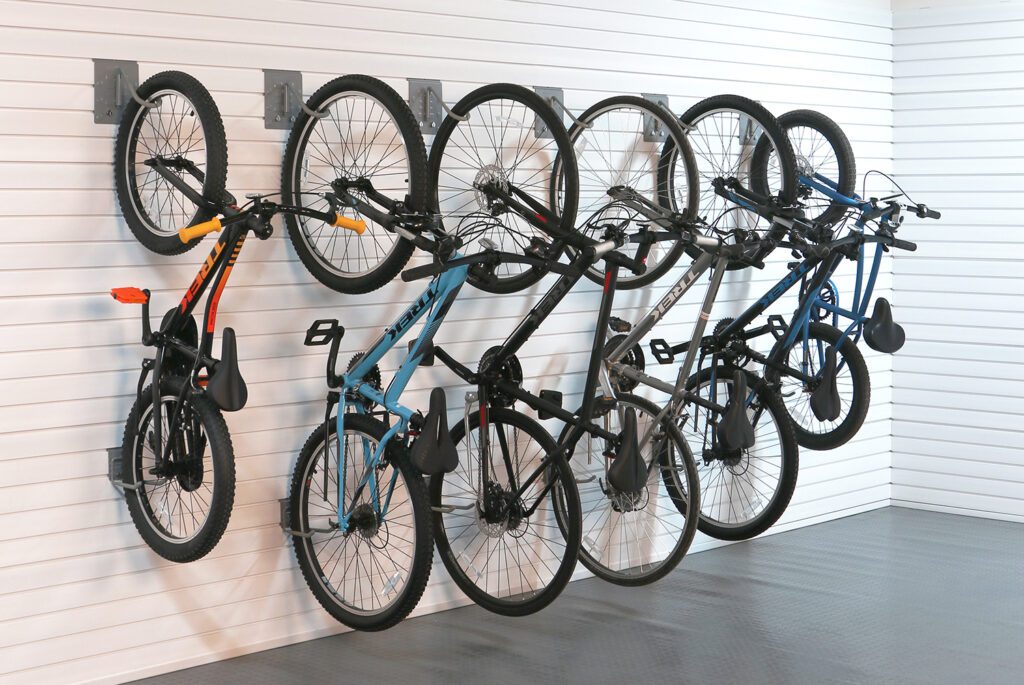
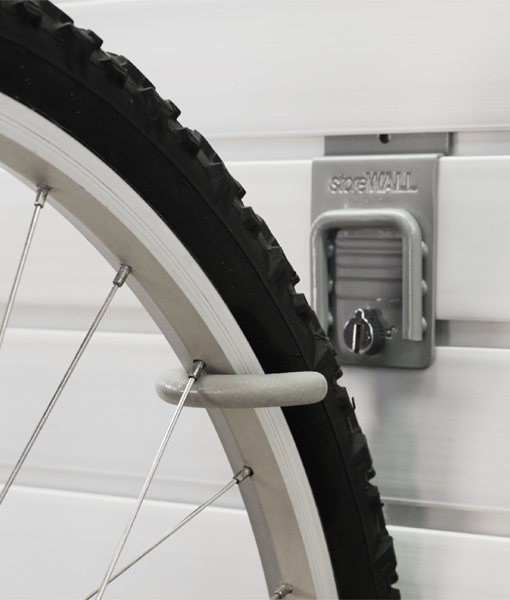
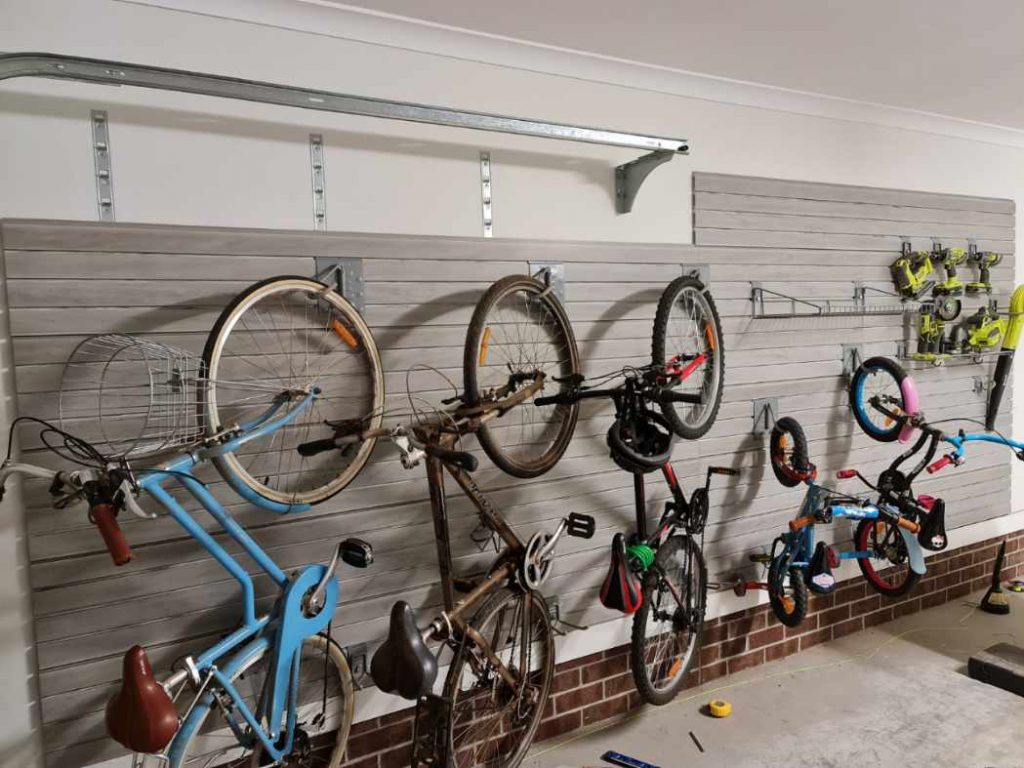
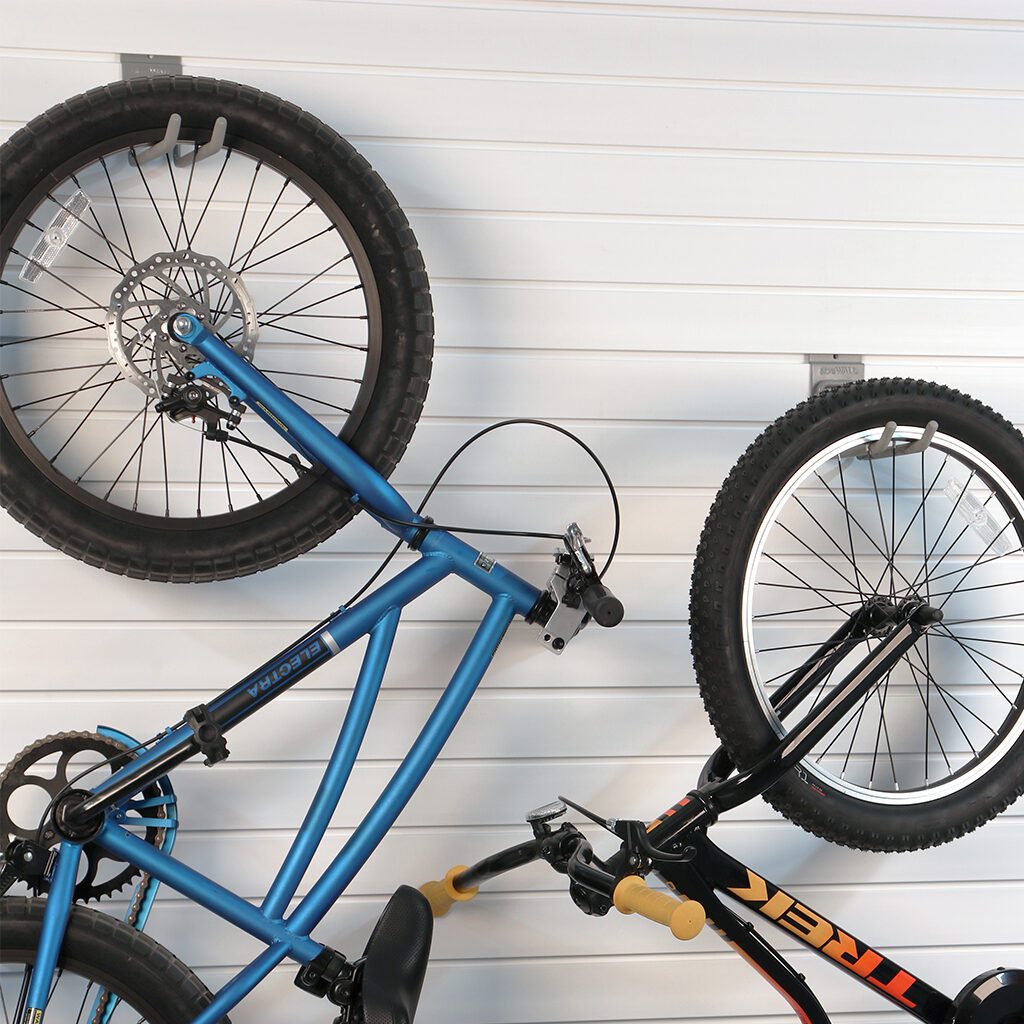
Perpendicular bike storage is by far our most popular way of storing bikes on your StoreWALL garage wall panels. The StoreWALL J (Bike) Hook allows you to hang your bike upright against the wall with the front tyre supported by the StoreWALL J Hook.

The J hook wraps itself around the rim of your tyre holding it firmly against the wall.

If you don’t want the rear tyre pressing up against the wall, you can use a second hook ie Wide Hook to place it into.

In order to remove and replace your bike it will need to be lifted upright and then positioned correctly on the J Hook.

Perpendicular storage frees up space on your wall but uses up valuable floor space. However, careful planning of where you situate your bikes could help you minimise the impact on your floor space allowing plenty of room for easy entry and exit of your vehicle.

Best Way To Store Bike In Garage
Perpendicular Bike Storage

Bike Storage Hooks (Swivel)

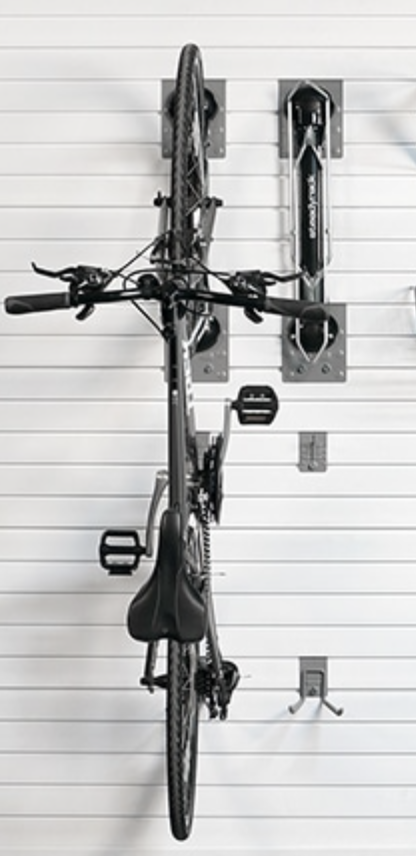
Whilst Perpendicular storage is our most popular bike storage option, StoreWALL has gone one better by improving the on our popular J Hook. The StoreWALL Rotating Bike Hook is the J Hook on steroids. It allows you to swing your bike left or right so that it sits perpendicular but also flat up against the wall.

So even if you have limited options on where to actually place your bikes in your garage, having them sit upright and flat on your wall now offers you many more options and better access to your valuable garage space.

In terms of access on and off the Rotating Bike Hook, this option is the same as J Hook in that the bike will need to lifted upright and positioned correctly on the hook so that it can be secured.

hanging bike storage
Swivel Bike Hook
kayak storage racks

Steadyrack Brackets

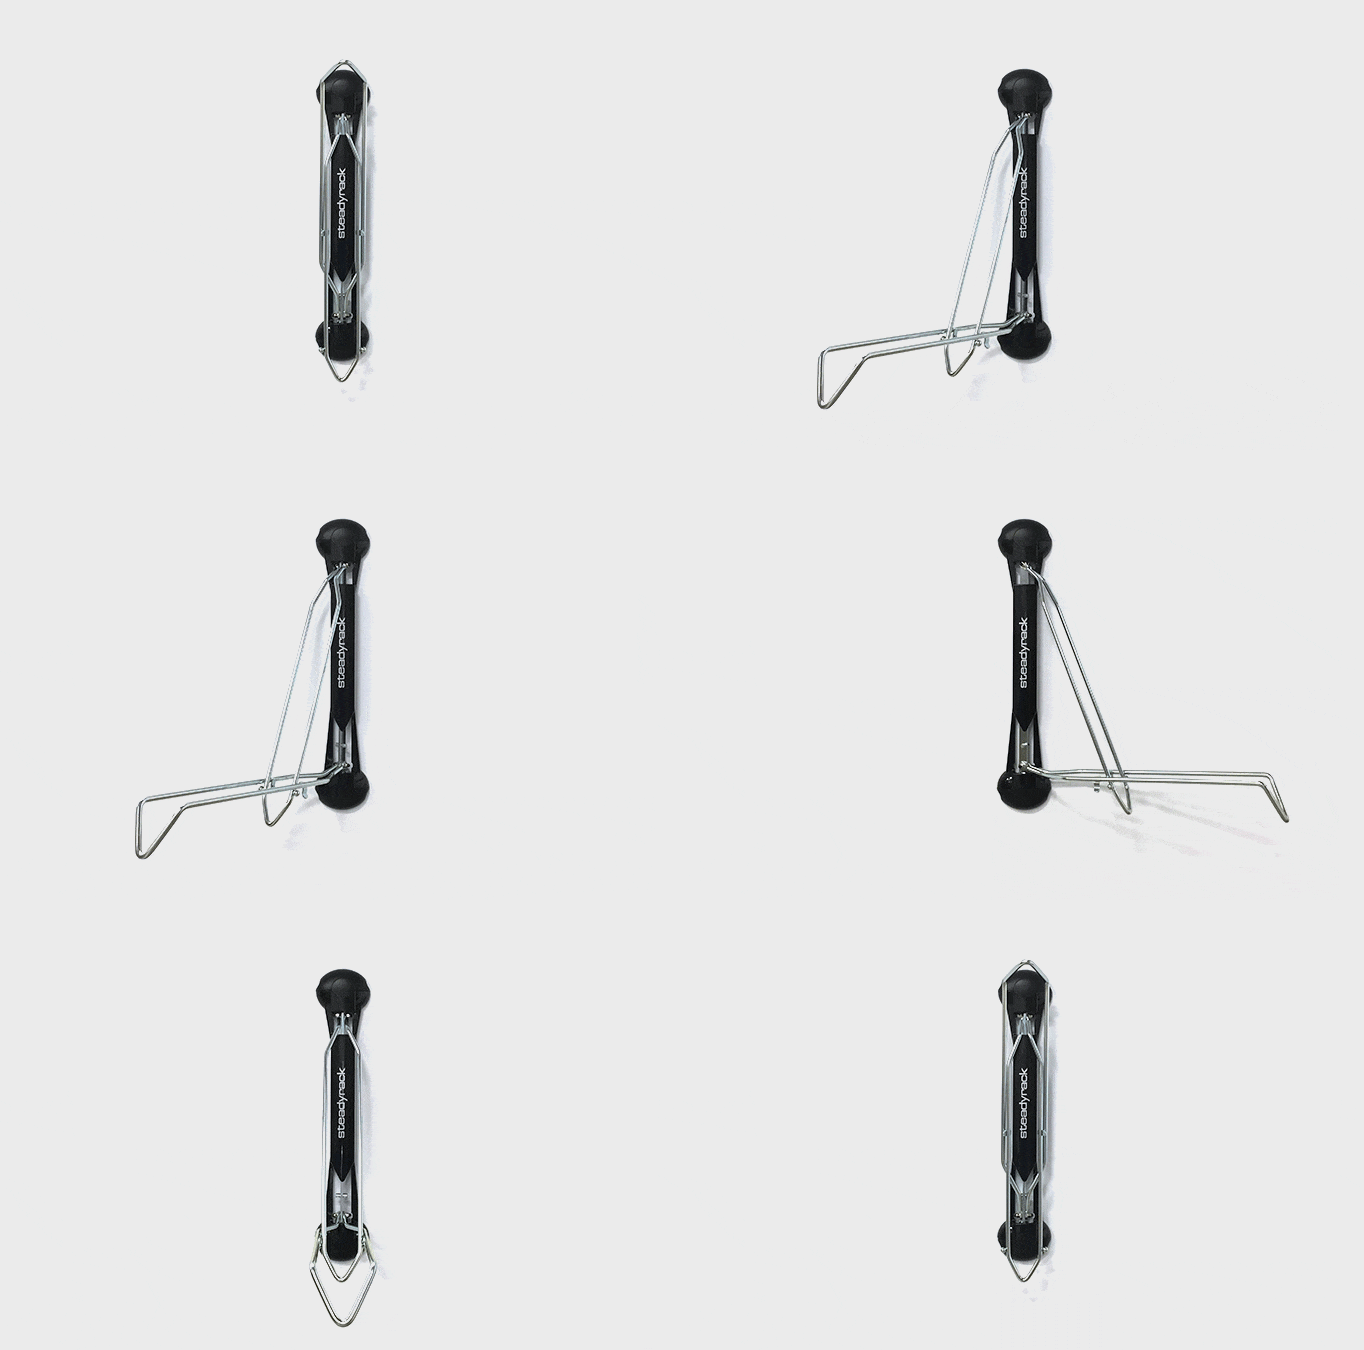
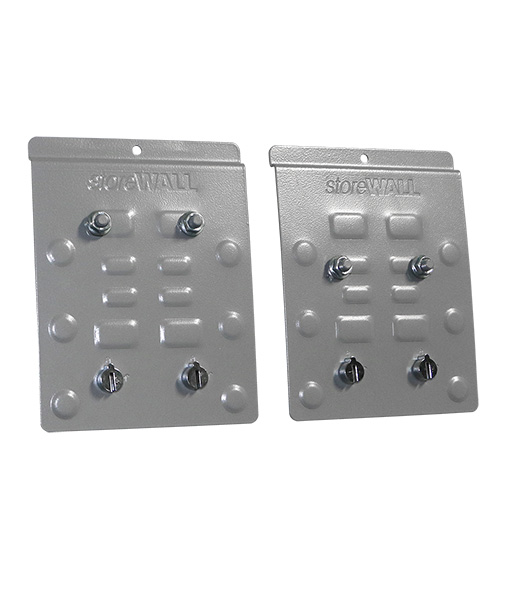
Steadyrack Bike Brackets are a very popular Australian designed bike bracket. StoreWALL has designed a backplate which allows you to now install your Steadyrack bike bracket to your StoreWALL wall panels. Therefore, if you have already invested in Steadyrack brackets and prefer them to the StoreWALL options you can continue to use them on your wall panels.

Best Way To Store Bike In Garage - steadyrack
Steadyrack Bike Bracket

We hope the many bike storage options offered by StoreWALL will meet your personal needs. If they don’t we are sure your local bike shop can also help you with more options.

Posted on

Rotating Bike Hook

Ever heard of a Rotating Bike Hook?

Bike riding has become really popular during the many COVID19 lockdowns we have had to endure. So much so that many bike suppliers have had issues keeping up with demand. Bike Hooks have therefore also become popular as people start to wonder where they will safely store their bike.

StoreWALL’s slatwall system offers over 20 different types of hooks for managing the many items stored in your garage or shed. One of the more popular hooks is the Bike Hook (see image below)

Storewall bike hook
StoreWALL Regular Bike or J Hook

The StoreWALL Bike or J Hook grabs hold of the bike’s front tyre and stores the bike hanging perpendicular to the wall. See image below. There are many similar bike hooks on the market. The key difference with the StoreWALL Bike Hook is the CamLok locking mechanism which is super secure. This locking mechanism also allows for the relocation of the bike anywhere on the slatwall system.

Hanging Bike Challenge

The challenge with hanging a bike perpendicular off the wall is that it takes up a lot of room in the garage or shed. A typical bike is up to 1m tall. When it stands perpendicular tyre to wall, it also takes up a lot of room on the garage floor. For many people this limits how many bikes they can store.

What if you could swing that bike around so that it stood flat up against the wall rather than poking out and taking up so much room? Enter the Rotating Bike Hook.

Rotating Bike Hook

StoreWALL offers not one but two Rotating Bike Hooks. It has enhanced its regular Bike Hook and developed a special bracket for the popular SteadyRack Bike Hook.

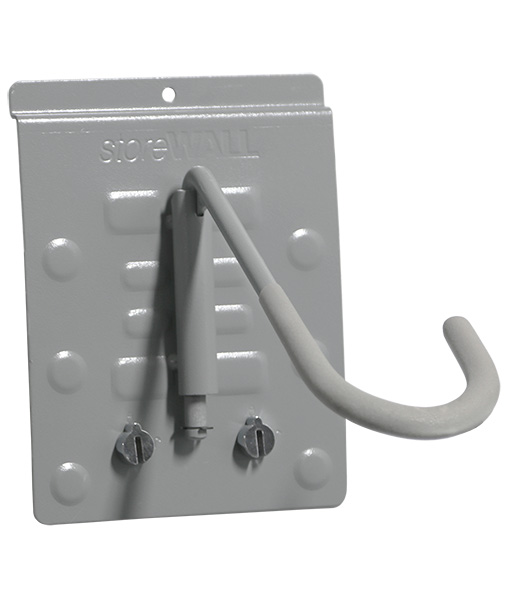
The new Rotating Bike Hook or Rotating J-Hook is similar to our original J Hook but with the added flexibility of rotation. This new feature allows you to swivel the bike to store it up against the slatwall rather than wheels-to-the wall perpendicular storage. This option opens up your storage space plus allows for multiple bikes to be stored.

rotating bike hook
StoreWALL Rotating J Hook

Below image is of an installation in Melbourne. The first customer to order the Rotating Bike Hook.

Rotating Bike Hook

Steady Rack Rotating Bike Hook

Steadyrack bike racks are easy for anyone to use, save heaps of space, engineered and built to the highest quality standards and get your bikes up and out of the way safely, with no lifting required.

Our unique loading and pivoting design enables you to store your bikes in locations that simply wouldn’t be possible with any other product on the market.

Whether you’re looking to tidy up the garage at home, save space in an apartment or fit out your office or workplace, our patented Steadyracks are the versatile bike parking solution that you’ve been searching for.

steadyrack bike hook
Steadyrack Bike Rack

Ok, Steadyrack sounds pretty good too, right. Well, if you have StoreWALL installed at your home, you now can install Steadyrack directly onto your StoreWALL panels. Best of all, you can move it around on your wall like any other StoreWALL accessory.

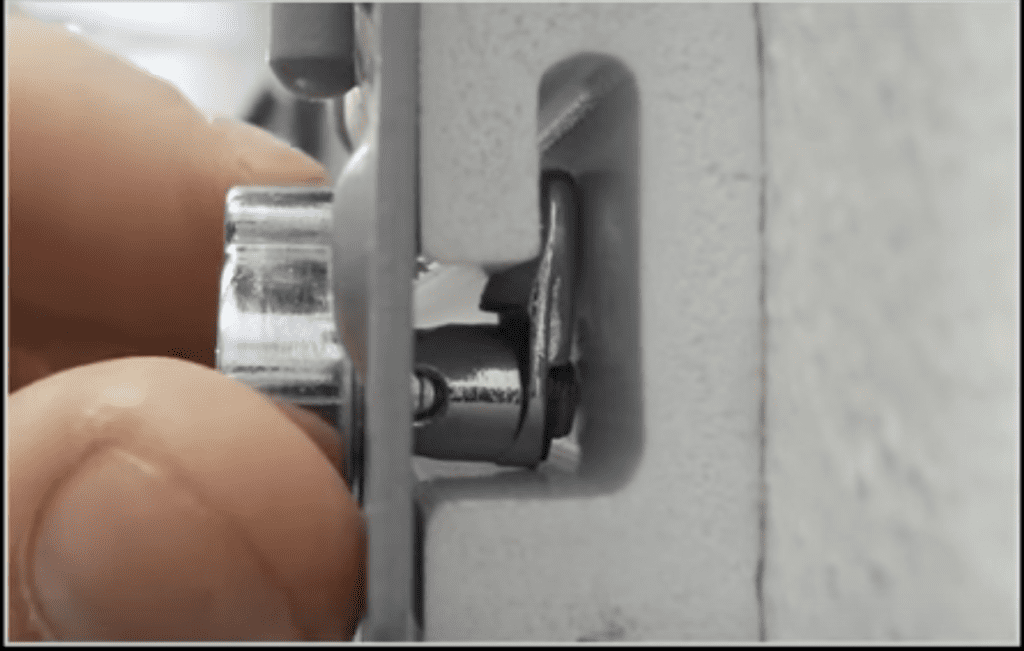
Rather than having your Steadyrack fixed to your wall (ie screwed into your wall), with StoreWALL you have the flexibility of being able to move it around (left and right, up and down). The StoreWALL Steadyrack bracket is sold in pairs and has two 2 x CamLok’s so that it is ultra secure.

steady rack brackets for storewall slatwall panels

Honestly, it doesn’t really get any better than this at the moment when it comes to storing your bikes to your wall. Rotating bike hooks are secure and they save you lots of space. Hang one bike or many!

Hanging Bike Flat On Wall

Just when you thought your were done, we have one more hanging bike storage solution for you to consider. This uses the HD Universal Hook and allows you to hang your bike flat on your wall, so that it doesn’t stick out at all.

Consider using two HD Universal Hooks to hang your bike particularly when you have a large wall space.

Posted on

How to organise your garage and bikes

How to organise your garage and bikes

Whilst garage spaces are similar from one home to another, how you use your space and what you keep in it can vary significantly. That is why tips on how to organise your garage and bikes can be useful but they can’t really delivery the full recipe for each and every person.

The benefits of being organised inside the home are exactly the same outside it. An organised garage can not only make it easier for you to find things, but it can also reduce the chance of damaging items kept in your garage like cars and the bikes themselves.

Today’s article has a focus on bikes because bike riding is becoming a whole lot more popular in Australia. Many people not only ride on the weekends, they now also ride to work. Bikes can be a much bigger investment than what they used to be, and people take that investment quite seriously.

Greater popularity also means more bikes in homes and a bigger challenge on how to how to organise your garage and bikes without compromising the bike or the rest of the garage.

The Bike Plan

The tips for your bike plan are to consider what amount of space you need for storing your bikes, ie look at the size of each bike and the space you will need around it. The last thing you want is damaging the bikes as they are taken form storage and then returned.

You will need to consider where in the garage you want them to be stored and how they will be accessed. This includes taking the bikes off and stand or hook and then returning them. Consider that you might need access to all bikes at the same time, particularly if you are riding to work on weekdays and with the family on weekends.

Storing bikes is not just about the bikes themselves, its also about the accessories. Think about helmets, pumps, shoes and other clothing. These items also take up space and can actually be quite awkward to store.

How to organise your garage and bikes

There are lots of different ways to store your bikes. Vertical storage is by far the most popular and where you will find the most storage ideas and options.

If you’re opting for indoor storage, you need to accept that any effective solution will require you to drill holes in your walls. The only other alternative is to run poles from floor to ceiling, or to consider free standing solutions which are effective but take up lots of valuable space.

We did some research and found several stores selling a variety of bike storage options. In terms of vertical storage ideas consider:

Wall mount bike storage

The most common types of indoor bike storage is a simple set of hooks screwed into your wall. One hook allows you to hang your big vertically (on its side). Two hooks allow you to hang your bike horizontally.

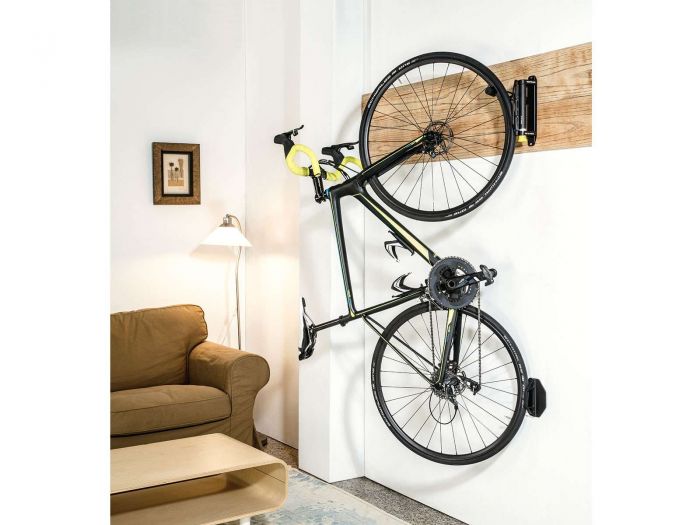
A hook designed for bikes allows you to hang your bike vertically with the tyres facing the wall. This saves you space along the wall.

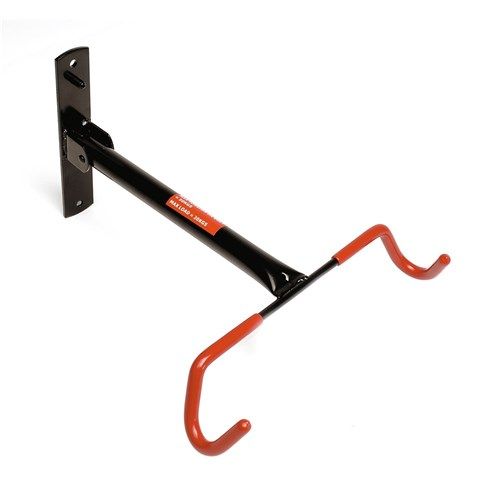
Hanging your bike horizontally on the wall requires that you either have two hooks or brackets. Alternatively there are also options like the one below which combines a bracket and two hooks. This type of hooks has the bike sitting off the wall and easy to view and admire.

How to organise your garage and bikes
Source: Catch.com.au

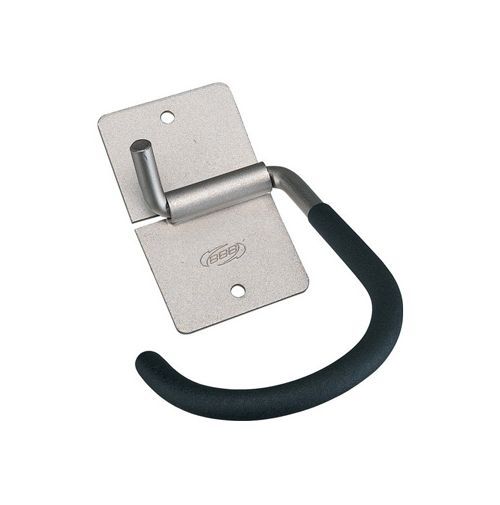
Below is a more modern hook which needs to be screwed into the wall but allows for the bike to face the wall.

How to organise your garage and bikes
Source: Catch.com.au

An alternative hook solution is the one below which has one for the top and one for the bottom. This solution enables the tyres to rest without touching the wall. In this case however two hooks also means more holes in your wall.

How to organise your garage and bikes
Source: bibelo

StoreWALL Bike Hooks

StoreWALL bikes hooks are also a great alternative for hanging your bikes vertically on your wall. The StoreWALL solution utilises a wall panel which is installed on your wall. The Bike hook is then attached to the panel.

Use of a wall panel allows the Bike Hook to be moved around as required. Additional hooks can be added for your helmets and other bike accessories.

Freestanding storage stands

If you own more than one bike or you live in a house of cyclists, then buying bike storage specific furniture may be worth investigating.

Pulley & winch systems

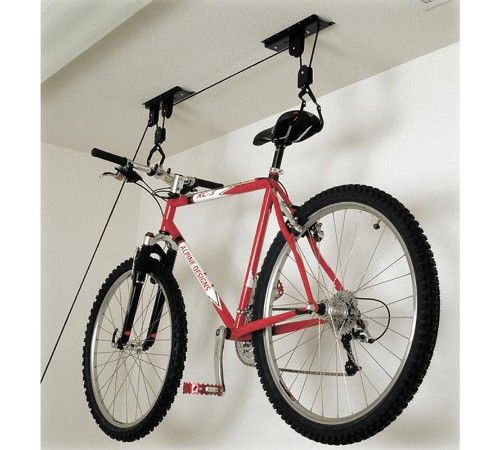
A pulley system is directly attached to the ceiling or on the wall high up. Having your bike high up has it out of the way. The Pulley and Winch system uses a harness and hook to lift the bike up towards the ceiling.

A secondary attachment is used to secure the bike from movement making it safe dangling above your head.

Using the ceiling in your garage can be useful as long as it doesn’t interfere with any garage door systems. It looks like a pretty effective way to organise your garage and bikes

How to organise your garage and bikes
Source: 99bikes

Bike Storage Sheds

If the challenge to organise your garage and bikes is getting too hard, consider a separate bike storage shed. It does require more space and quite a bit more in cost but it also get the bikes out of the garage and securely stored.

Posted on

Tips for organising your children’s sports gear

organising your children’s sports gear

Everyone agrees that having your kids spend less time in front of a screen stuck inside the house and more time outside playing sport is a good thing. The challenge in an age where we want everything nice and tidy is keeping it all organised. Having the right kind of storage system for organising your children’s sports gear is more than half the battle. Below we have provided some simple rules and tips which you can use for better management of your family’s sporting equipment.

Cricket & Baseball Bats, Hockey Sticks and Tennis Racquets

Most people stick the bats in the corner leaning up against the wall. Over time more and more gets piled on top of them and when you want to pull the bat out, its impossible to grab without knocking everything over. You can avoid this hassle and mess by keeping bats, sticks and racquets pegged onto a slatwall or pegboard. Today’s slatwall solutions come with a great range of hooks allowing for bats, sticks and racquets to be securely attached but easily accessed. Most hooks are usually long enough to hold more than one item.

Balls

Whether they are larger balls like basketballs or soccer balls, or smaller tennis or cricket balls, they can easily be kept in buckets or tote bags. StoreWALL offers a great range of Tote Bags which cater for balls of all sizes. If you don’t want a bag, consider a deep basket or a bin for organising your Children’s sports gear. What you want to avoid is finding all the balls on the ground because the kids where looking for the tennis ball which was at the bottom of the basket. Consider a container for smaller balls and one for larger ones.

Protective Gear and Clothing

A great way to organise uniforms is to either colour cod them or to arrange them by sport or family member. This makes it easy for everyone to identify whose clothing it is or which sport it belongs to. For items like gloves or cricket pads, I suggest you keep them all together with the related clothing. This ensures they don’t get misplaced or moved away.

As an example, your cricket clothing, pads and gloves could be kept in one specific basket or tote bag. Once the kids are done with using them, putting them away is as simple as placing them all back into the ONE basket.

Sports Shoes

storewall large tote bag

The ideal way to protect your soccer and football boots is to clean them after use (both training and matches). Regular cleaning with a wet rag protects the synthetic surface from scratching and staining. It also ensures whatever dirt (soccer and football being winter sports) accumulates under the shoe is not transferred to all of the other shoes or the floor.

Most sports stores sell tote bags designed for shoes. They keep the shoes aired so that they can dry out but also in a protected bag so that pairs aren’t split up. Some suggest to use peg boards to hang your shoes but I don’t find this really practical. Dirty shoes are not the nicest accessory to have on show. Use a larger tote bag or deep basket to keep your sports shoes together. If you follow the concept of having a basket for each key sport played by your kids, then you can add sports shoes to that basket as well. Preferably once cleaned.

Organising your Children’s Sports Gear

We all want our kids to spend more time outdoors than they do today. Organising your children’s sporting gear needs to be a shared responsibility. Easier to say than do, but with some discipline it can be achieved. It’s important that children learn from an early age that we don’t do everything for them. Organising their sports gear independently is one of the many things they can learn early on.

Tips on grouping sports gear

When deciding where the sports gear will live, consider:

  • Size and numbers – how much space is it taking up and how many do you have
  • Seasonality – is the gear used throughout the year, or can it be moved to a different place when not used
  • Shape – some things take up a lot of space due to their shape (e.g. balls).
  • Ventilation – it’s better to keep shoes in a well-ventilated container and room.
  • Accessibility – make sure the children can access their gear without your help.
  • Dirtiness – how dirty is the equipment.

Get the Kids into the Routine

An important key to achieving some success with organising children’s sports gear is having a routine before and after sport activities. Kids should know what they need to take with them for training and matches. Clothing, drink bottle, boots, towel, hat etc. Help them get into the habit of gathering these items before each session. The routine applies equally after the session is done ie returning everything to where they found it.

Here’s an example

  • Soccer boots get returned to the garage.
  • Put them in the soccer basket.
  • Drinking bottle is returned to the kitchen sink.
  • Put sports bag away in the laundry (where it lives).
  • Get undressed and throw everything in the laundry bin or return it to the garage with the rest of the sporting gear.

Whilst I would love to say that my kids follow all of these rules, they don’t but I have found that keeping items organised and in specific locations helps everyone find them before the game or training. It also ensures we aren’t running around looking for them for half the morning.

Posted on

Simple Bike Rack for your Garage Wall

3-bike-and-stroller-main-Banner-pg-400x400

Space is a premium in most homes and garages so finding an effective way to store your bike(s) is really important for most households. Add to this that leaving your bike outside is not a great option if you want it to last a few years (the rust will build up real soon). Finding a simple bike rack for your garage wall shouldn’t be that difficult and thankfully these days there are plenty of options to choose from. StoreWALL gives you 2 easy to setup options which ensure your bikes are no longer lying on the floor or up against the car.

We have 5 bikes in our household and they take up far too much room in the garage given the amount of use they receive. My kids love bike riding but getting them motivated to start the ride can be a challenge. Once its done they are quick to dump the bikes on the garage floor and run inside for a refreshment. It’s then up to me to set them all up again and get them out of the way.

Simple Bike Rack for your Garage Wall

Simple Bike Rack for your Garage Wall

StoreWALL has two easy to setup options enabling you to either hang your bike vertically from the wall or to have it hang horizontally. Both options are safe and secure and the choice is determined by the amount of room you have.

StoreWALL Bike Hook

The first method utilises the StoreWALL J Hook (also known as the Bike Hook). The StoreWALL Bike Hook needs to be added to your wall via the use of a slatwall panel. The slatwall panel needs to be placed at a height which allows the bike to stand on its back wheel. Ideally allow the bike to hang a foot or so off the floor. To lock the bike onto the hook all you need to do is place the rim or wheel inside the hook. Using the spokes to support your bike, it will be locked in. By hanging the bike vertically, you can actually hang several bikes in a very small area.

StoreWALL Bike Brackets

The second method has the bike hanging horizontally. Combining a StoreWALL slatwall panel and two Heavy Duty 381mm Bike Brackets, the bike frame is placed over the brackets so that it is held in position. An effective way of positioning the brackets is to place them one slat groove apart. The bracket on the left can be the higher of the two. 

Simple Bike Rack for your Garage Wall

On each bracket add some anti-slip padding so that the brackets don’t scratch the frame of the bike. Coming 381mm off the wall, there is plenty of room for the bike frame to be rested on the brackets.

The advantage of this option is that the bikes only hang a maximum 381mm off the wall (the size of the brackets). This will allow you to fit several bikes (smaller bikes sitting higher) and allows plenty of room for the actual vehicle.

Slatwall Panels

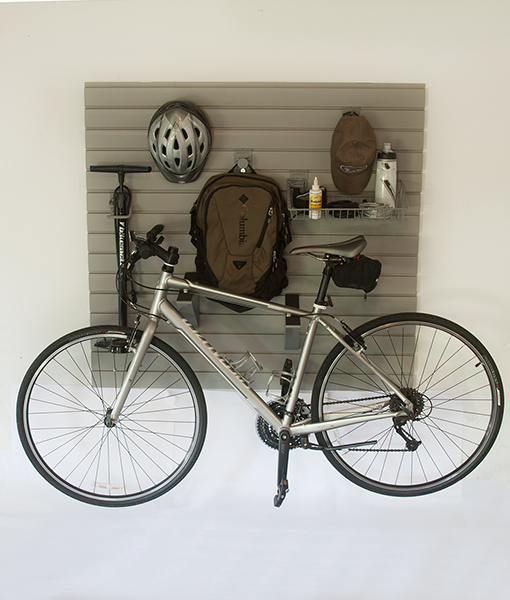
The added advantage of slatwall panels is that the panelled wall can also be used to store other items which are bike related. This includes tyre pumps, spare tyres, sporting clothes and helmets. Even if you don’t have a huge amount of room our smaller 1.2m panel can do an effective job for you. See our bundle below as an example.

StoreWALL Bike Bundle

To get you started with a simple bike rack for your garage wall we have prepared two combination StoreWALL packages that incorporate either bike hanging method mentioned above plus much more. Note this is not just a one bike solution, it will cover pretty much everything you need related to bike.

What’s included:

  • 3 – 1.2m Standard Duty wall panels
  • 3 – InstallStrips
  • 2 – 381mm Bike Brackets (with non skid padding) or 2 x J Hooks
  • 1 – S Hook
  • 1 – Disc Hook
  • 2 – 63mm Single Hooks
  • 1 – Small Angle Basket

Total cost of the bundle is around $300 depending on the hanging options you select.

Installed Dimensions: 1143mm in height and 1219 in width.