When installing shelves, it’s essential to understand how to manage the weight they will hold to prevent damage or accidents. Here’s a guide on how to effectively manage weight on your shelves and how brackets contribute to their stability.
Understanding Shelf Load Capacity
The load capacity of a shelf refers to the maximum weight it can safely support without bowing, sagging, or breaking. This capacity depends on factors such as the material that the floating shelf is made of, its thickness, length, and the quality of the brackets used for support. Overloading a shelf can cause it to warp, detach from the wall, or collapse entirely, posing safety risks and potential damage to your belongings.
Distributing Weight Evenly
To maximize the shelf’s durability, distribute weight evenly across its surface. Place heavier items closer to the wall or directly above the brackets, where the shelf is strongest. Lighter items should be positioned toward the front or on the ends. This approach minimizes stress on the shelf and prevents it from tipping or sagging.
The Importance of Brackets in Shelf Support
Brackets play a critical role in supporting a shelf’s weight. They are the primary means of transferring the load from the shelf to the wall. The number, size, and spacing of brackets directly affect how much weight a shelf can handle:
- Number of Brackets: The longer the shelf, the more brackets it will need. For example, a shelf up to 1.2 meters typically requires two brackets, while a 1.8-meter shelf requires three. Adding more brackets reduces the span of unsupported shelf length, thereby increasing the weight it can bear.
- Bracket Size and Material: Larger, sturdier brackets provide better support and can hold more weight. Choose brackets that match the depth of your shelf and are made of strong materials, such as metal, to ensure durability.
- Spacing Between Brackets: Brackets should be spaced evenly to distribute weight efficiently. For heavier loads, reduce the spacing between brackets to increase support. A good rule of thumb is to place brackets no more than 60 cm apart.
Recognizing Signs of Overloading
Signs that your shelf may be overloaded include bowing or sagging in the middle, the shelf pulling away from the wall, or cracking sounds from the brackets or shelf material. If you notice any of these signs, reduce the load immediately and consider adding more brackets for reinforcement.
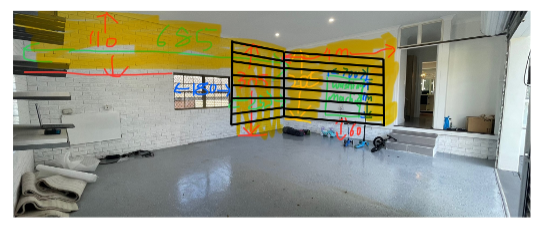
 Examples of incorrect spacing, 2 or 3 brackets over 2.4m
Choosing the Right Wall Anchors
The effectiveness of your brackets also depends on the wall anchors used. Anchors should be appropriate for the wall type (drywall, plaster, brick, etc.) and strong enough to handle the combined weight of the shelf and its contents. Heavy-duty anchors, such as toggle bolts or molly bolts, are recommended for heavier loads.
Regular Maintenance and Safety Checks
Periodically check your shelves and brackets for signs of wear, damage, or loosening. Tighten any loose screws, replace damaged brackets, and ensure the shelf remains level and secure. Regular maintenance helps prevent accidents and prolongs the life of your storage solution.
Proper weight management on shelves and the strategic use of brackets is crucial for creating safe and functional storage spaces. By understanding load capacity, distributing weight evenly, and choosing the right brackets and anchors, you can maximize the utility of your shelves while ensuring they remain secure and stable.

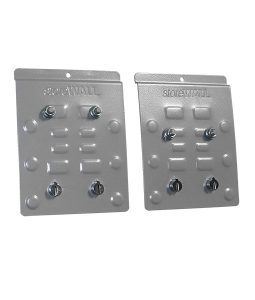


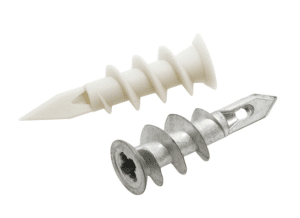 Nail Anchors
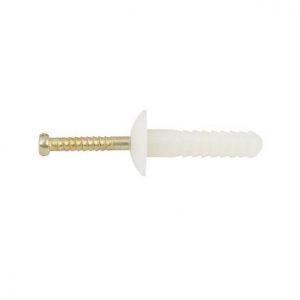

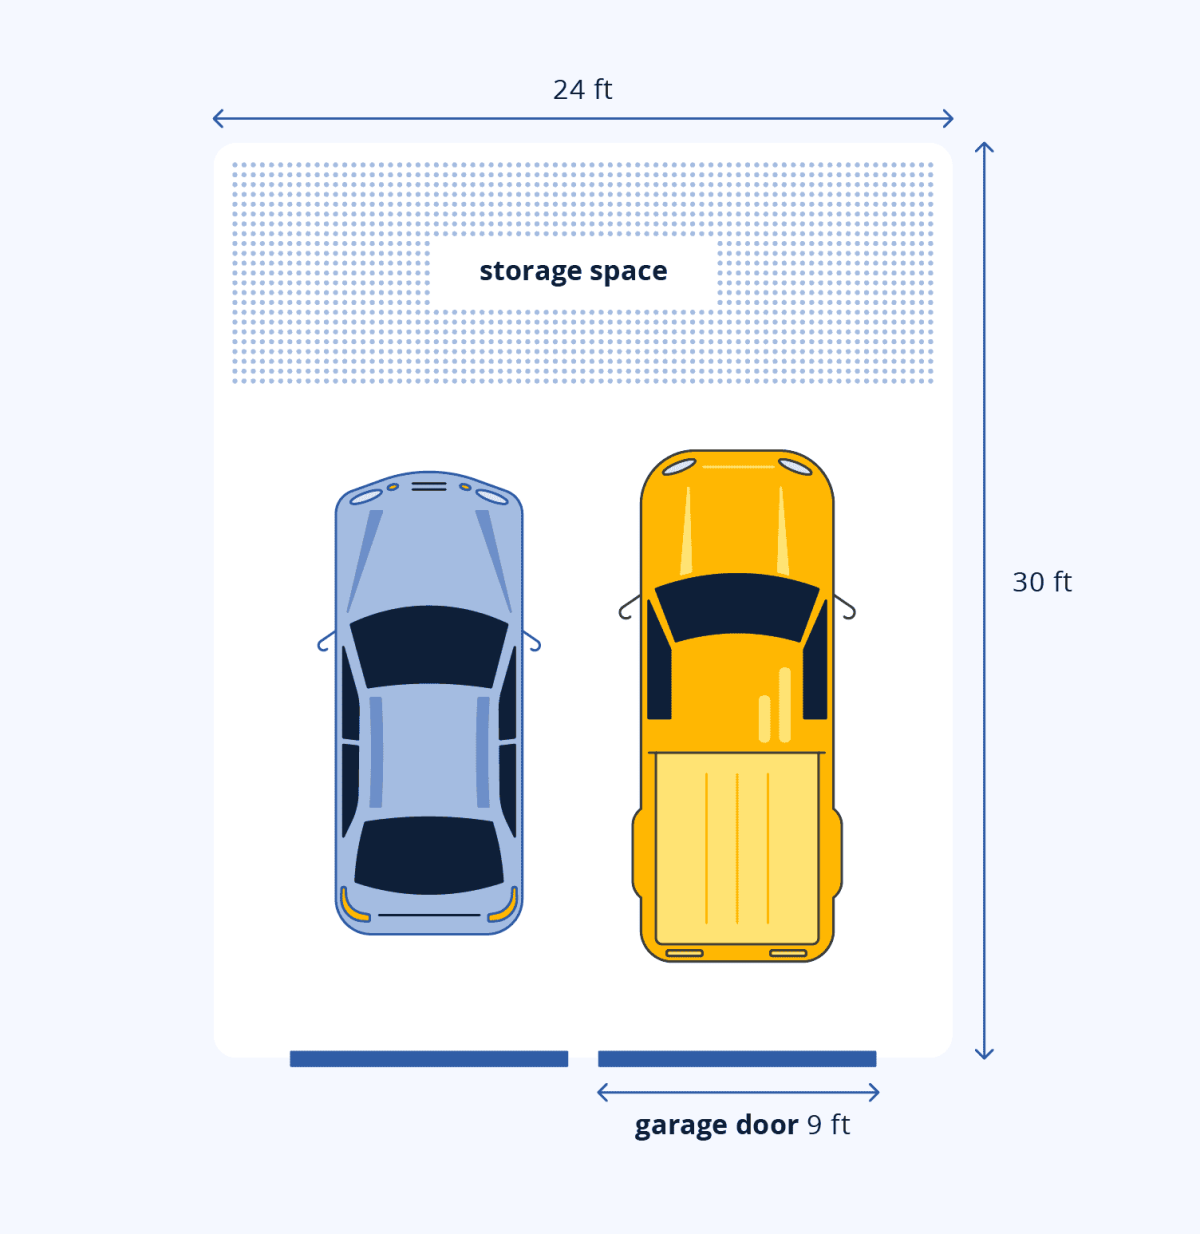
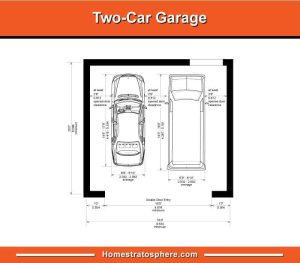
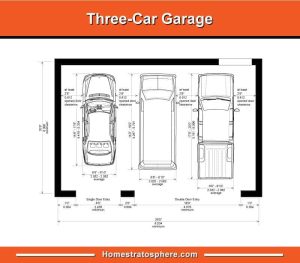 Vehicle Size
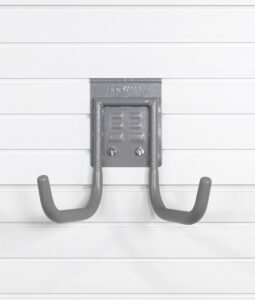 2. Ultra Duty Utility Hook
 3. Ultra Duty 635mm Surf & Paddle Board Bracket
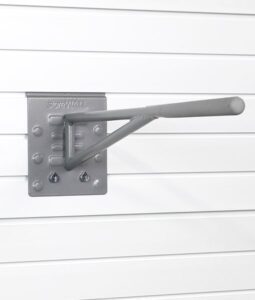 4. Ultra Duty 381mm Surf & Paddle Board Bracket
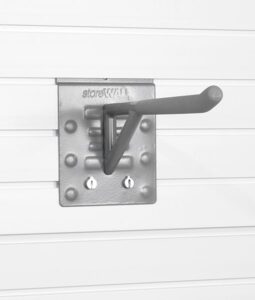 What Makes the Ultra Duty Garage Hook Range Unique?