She Sheds: The Ultimate Guide to Your Personal Sanctuary
In recent years, the concept of a She Shed has blossomed from a quirky trend to a lifestyle staple. Whether it’s a cozy nook for creativity, a peaceful escape, or a stylish extra living space, She Sheds offer a refreshing spin on how we define personal space — and they’re only getting more popular.
What Is a She Shed?
A She Shed is a dedicated space — typically a garden-shed-style structure or converted outdoor room — designed for personal use, relaxation, and creative pursuits. Think of it as the female counterpart to the classic “man cave” — but with its own unique vibe.
📌 Key features often include:
- Comfortable seating
- Soft lighting and textiles
- Personal decor and art
- Space for hobbies (painting, reading, yoga, crafting)
- Often placed in a backyard or garden
Unlike traditional garden sheds used for tools or storage, She Sheds are all about function meets sanctuary.
How People Use Their She Sheds
She Sheds vary widely in purpose, but here are the most common uses:
1. Creative Studio
Many women use She Sheds as a space for painting, writing, sewing, journaling, or any other creative outlet without interruption.
2. Quiet Retreat
Busy lives demand downtime — and a She Shed offers peace for reading, meditation, or yoga.
3. Home Office
With hybrid work staying popular, some She Sheds double as light-filled remote workspaces.
4. Entertainment or Hosting Space
Larger She Sheds can be fitted with comfy seating, speakers, and even a mini bar — ideal for hosting friends or family.
5. Hobby Headquarters
From gardening hubs to crafting corners, a She Shed becomes your hobby’s home.
Who Has a She Shed — and Why?
She Sheds appeal to a wide range of people, but some common profiles include:
🌸 Busy mums seeking a place to recharge
🎨 Creative professionals and hobbyists needing dedicated workspace
📚 Readers and contemplators looking for peace
💻 Remote workers who want separation between work and home stress
🌿 Garden lovers who want a stylish complement to their outdoor space
In short — anyone who wants a dedicated personal space away from daily hustle can benefit from a She Shed.
How Popular Are She Sheds?
The She Shed trend has grown significantly over the past decade — especially with the rise of remote work and outdoor-living lifestyles. According to search trends and interior design interest reports:
📈 Searches for “She Shed ideas” have quadrupled since the early 2010s.
🌿 Pinterest shows thousands of boards tagged with She Shed inspiration.
💡 She Sheds rank consistently among top outdoor living and home improvement trend topics.
They’re especially popular in the US, UK, Australia, and Canada — practically the new backyard staple.
She Sheds vs. Man Caves: What’s the Difference?
While both provide dedicated personal space, the vibe and cultural meaning differ:
| Feature | She Shed | Man Cave |
|---|---|---|
| Atmosphere | Light, cozy, stylish, peaceful | Comfortable, entertainment-focused, often techy |
| Design | Soft décor, plants, textures | Darker finishes, gaming or sports elements |
| Typical Uses | Creative hobbies, relaxation | TV/games, watching sports |
| Cultural Roots | Newer trend tied to lifestyle & wellness | Older pop-culture concept |
Both are valid forms of personal space — just tailored to different tastes and priorities.
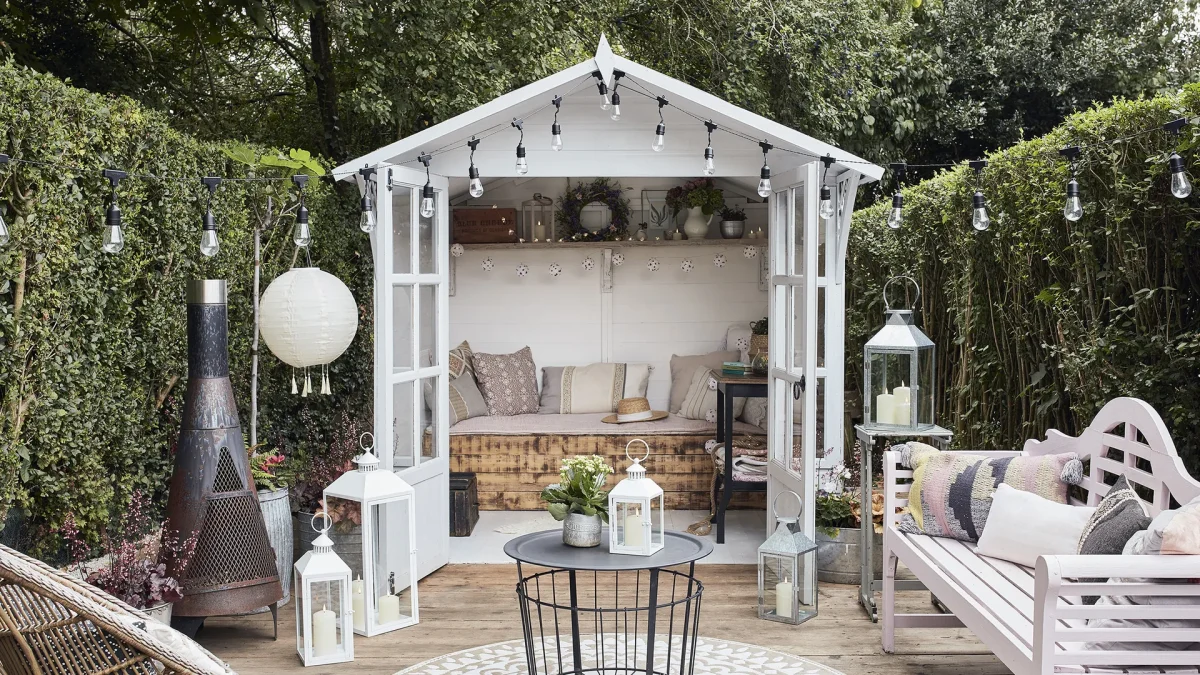
She Shed Ideas to Inspire You
Here are some popular She Shed themes to spark your creative planning:
🌸 Boho Reading Nook: Rugs, pillows, twinkle lights, bookshelf walls.
🎨 Art Studio: Easel, paint storage, gallery wall, plenty of natural light.
📚 Mini Library: Floor-to-ceiling shelves and a cozy armchair.
🧘 Wellness Retreat: Quiet spot with yoga mats and soft colors.
🌿 Garden Room: Surrounded by planters with roll-up windows.
How to Create Your Own She Shed — Step-by-Step
You don’t need a big budget to build a dreamy She Shed. Here’s a practical plan:
1. Set Your Purpose
First, decide what the space is for — creativity? work? chill time? That will shape everything else.
2. Choose the Space
Options include:
🏡 Garden shed
🚪 Converted garage
📦 Prefab studio
🚐 Repurposed tiny cabin
Tip: A small footprint is fine — it’s about function and feel, not size.
3. Insulate & Weatherproof
Make it usable year-round with:
✔ Insulation
✔ Weatherproof flooring
✔ Window seals
4. Add Lighting & Electricity
Natural light + good interior lighting = magic.
Think: fairy lights, task lamps, LED strips.
5. Decor That Reflects You
Choose a style — modern boho, vintage, minimalist — and bring it to life with:
✨ Cozy furniture
✨ Soft rugs and cushions
✨ Plants and wall art
✨ Personal knick-knacks
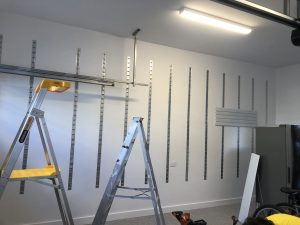
6. Organise to Maximise Space
Use clever storage:
📦 Floating shelves
🧵 Wall hooks
🪑 Foldaway tables
7. Finishing Touches
Add those personal elements that make it yours: candles, speakers, throw blankets, even a comfy rug.
Tips for Making a She Shed on a Budget
💡 Buy second-hand furniture
💡 Repurpose old shelves
💡 Use paint to transform inexpensive materials
💡 Add plants from your garden
💡 DIY decor like macramé or painted signs
This makes your She Shed personal and affordable.
Why She Sheds Matter — Beyond Aesthetics
She Sheds are more than pretty buildings — they represent:
✨ Personal time in a busy world
✨ A space to grow, create, and reflect
✨ A physical boundary between life zones
✨ A statement of self-care and intentional living
For many, they’re not just sheds… they’re sanctuaries.
Final Thoughts
In a world where home has become multifunctional, She Sheds are the fresh, stylish answer to reclaiming personal space. Whether you’re after artistic inspiration, peace, or a comfy place to escape, these little retreats are here to stay — and they’re only getting bigger in homes, gardens, and hearts around the globe.


 PVC for Pressure and Hot Water — What Changes?
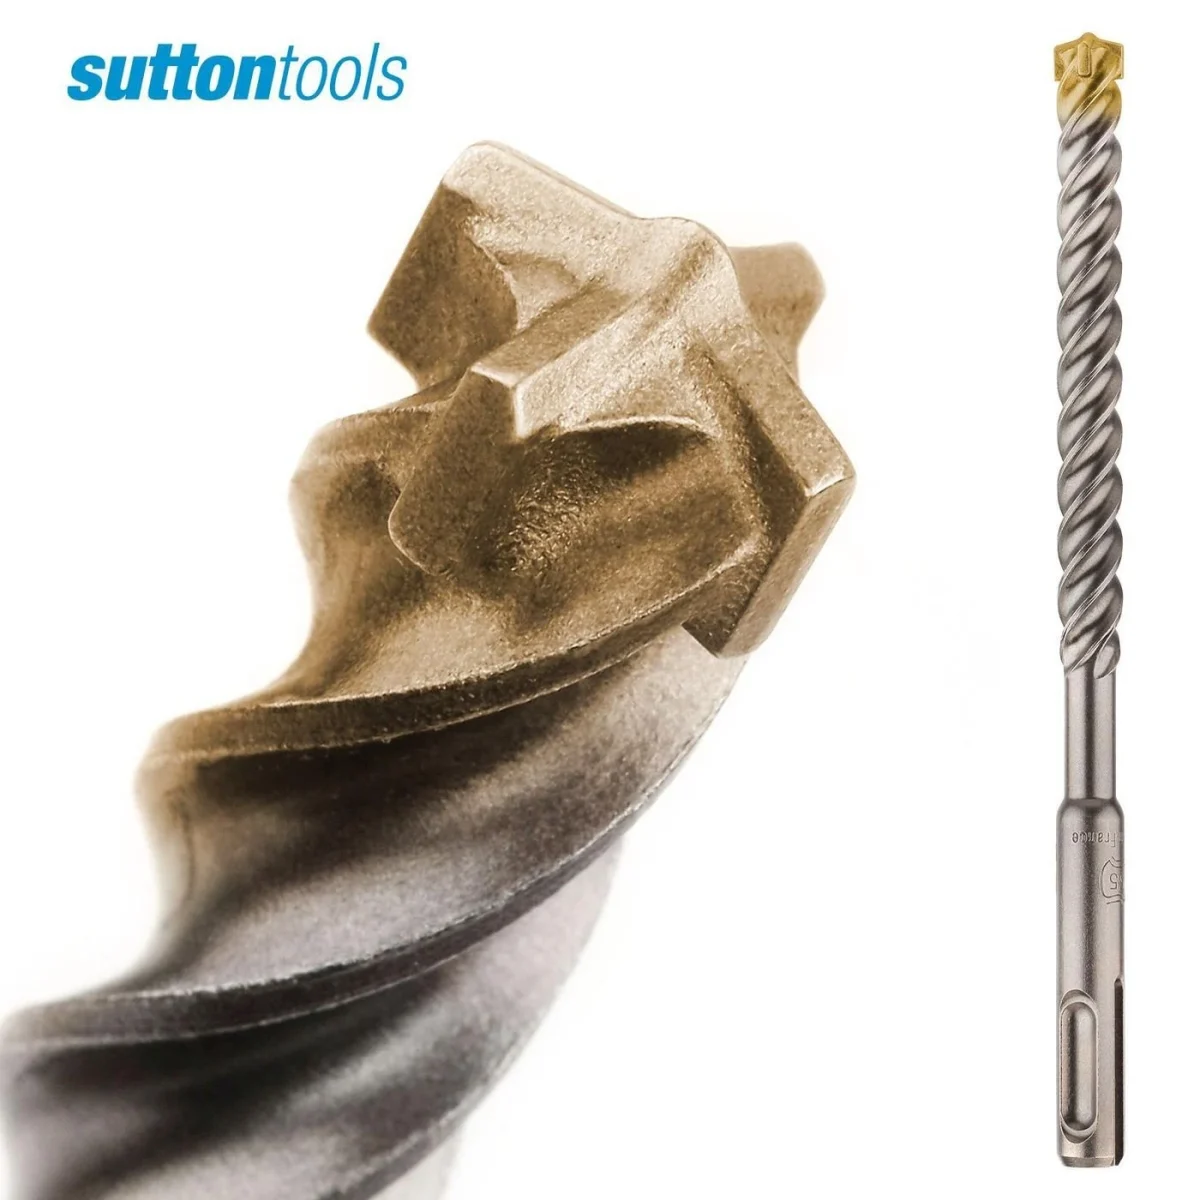
 Why 4-Cutter (4-Cross) Masonry Bits Are Better

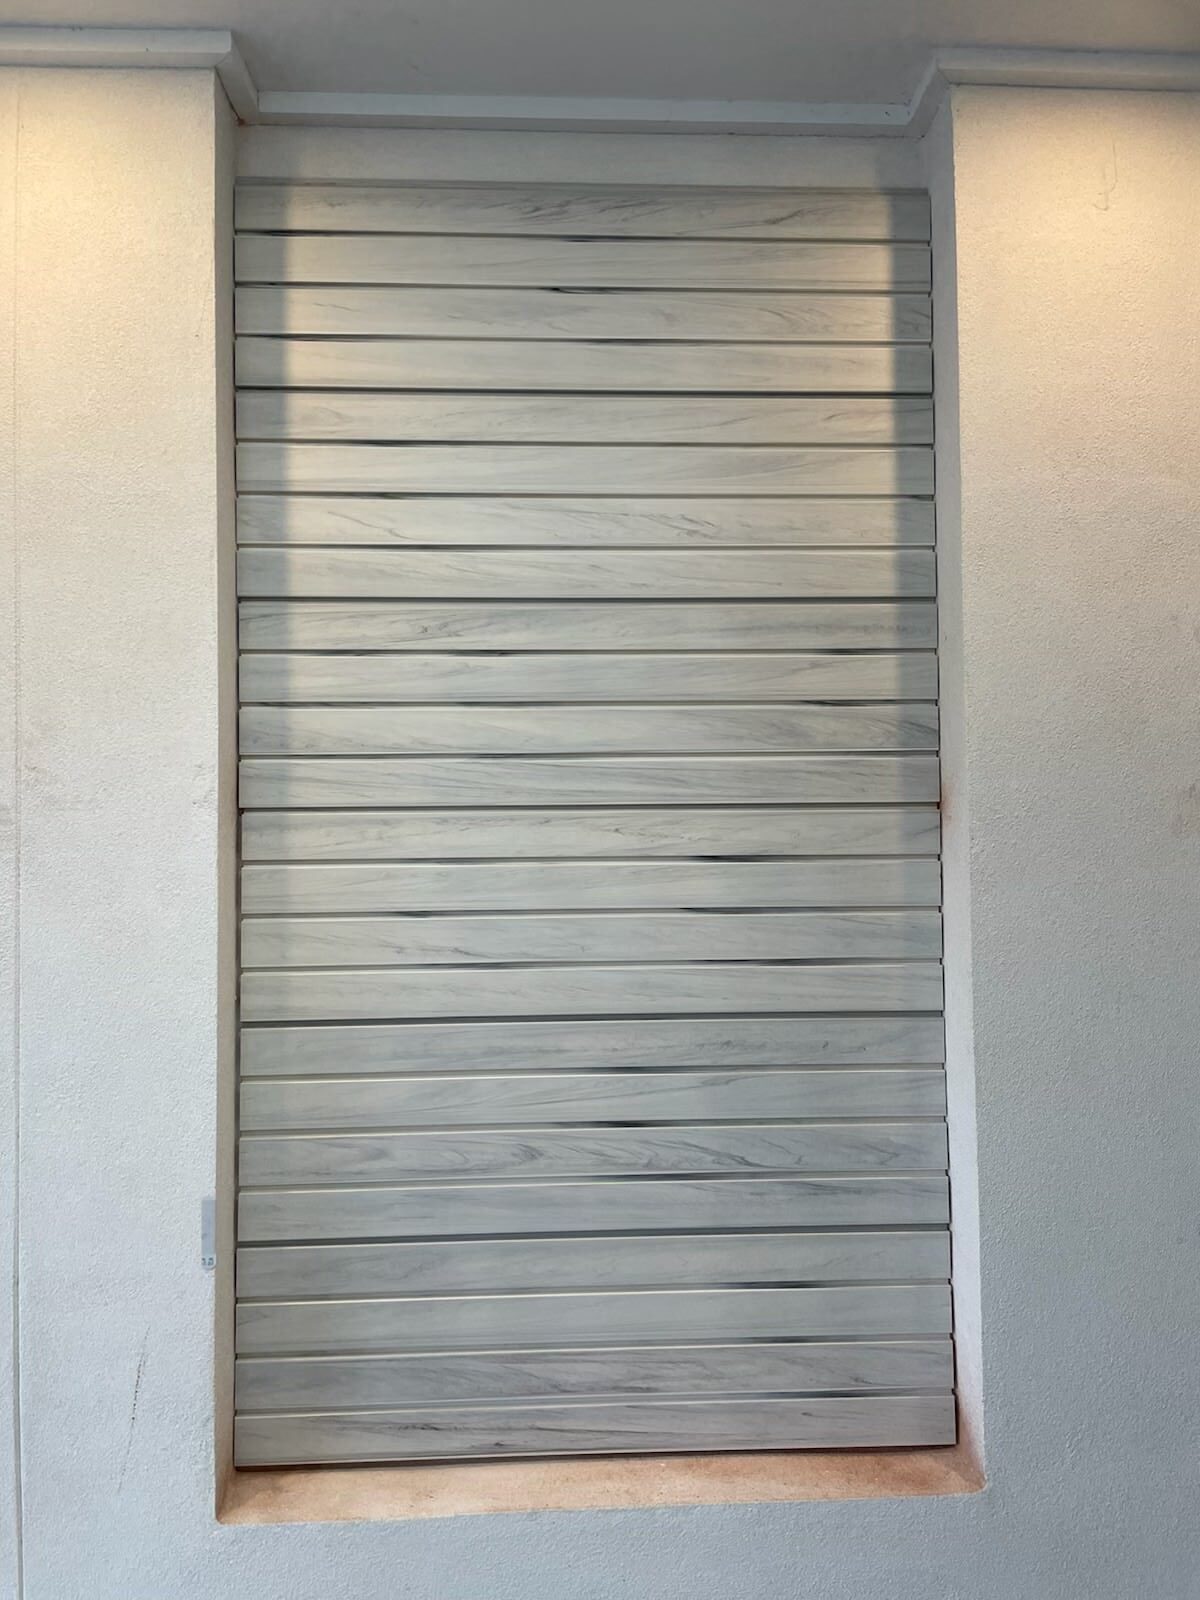
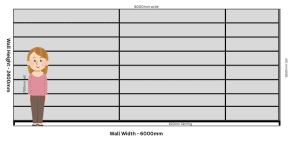
 StoreWALL Compatibility
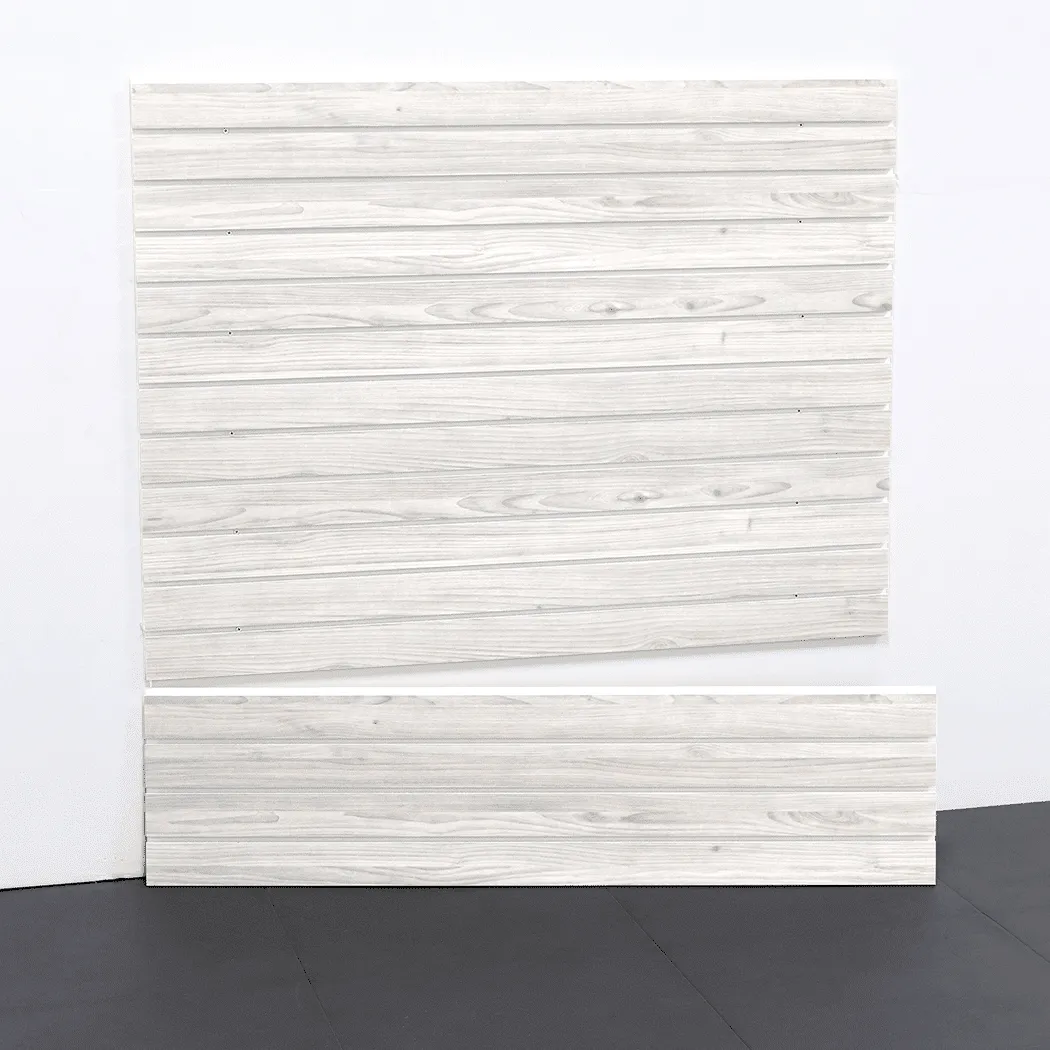
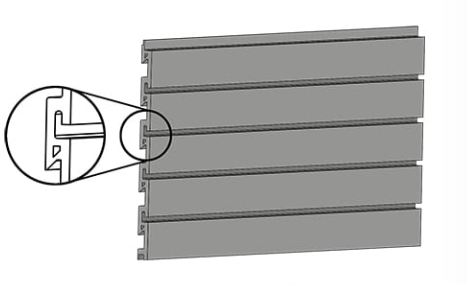
 Standard Duty Wall Panels