Access an Additional $20 Off All 2438mm Wall Panels!
CALL US

0411 280 646

Categories
Brick Walls Dot & Dab Wall Fixings garage design Garage Ideas garage makeover Garage Walls

How to Use Heavy Duty Dot & Dab Wall Fixings

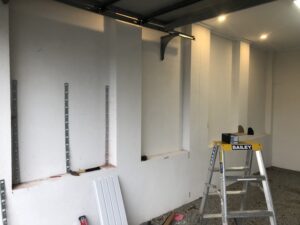
When working with dot and dab walls — also known as drylined or plasterboard walls fixed to masonry with adhesive — finding the right method to securely mount heavy items can be tricky. Standard wall plugs or plasterboard fixings often aren’t enough to hold significant weight, which is where Heavy Duty Dot & Dab Wall Fixings come in.

These specialised fixings are designed to bridge the gap between the plasterboard and the solid wall behind it, ensuring your shelves, cabinets, slatwall panels, or other heavy items are securely anchored.

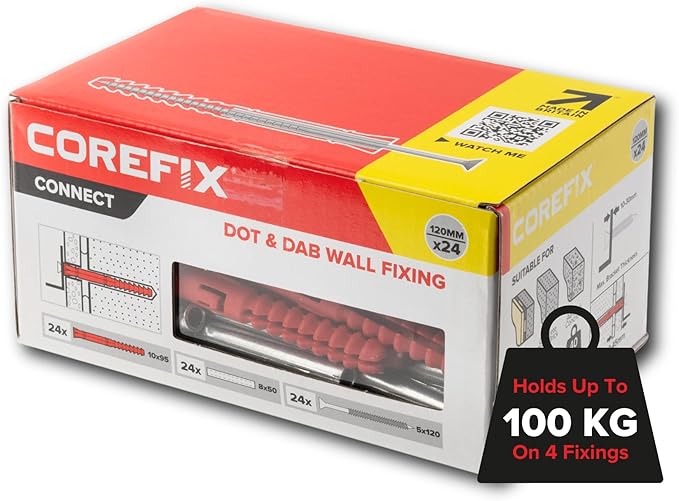
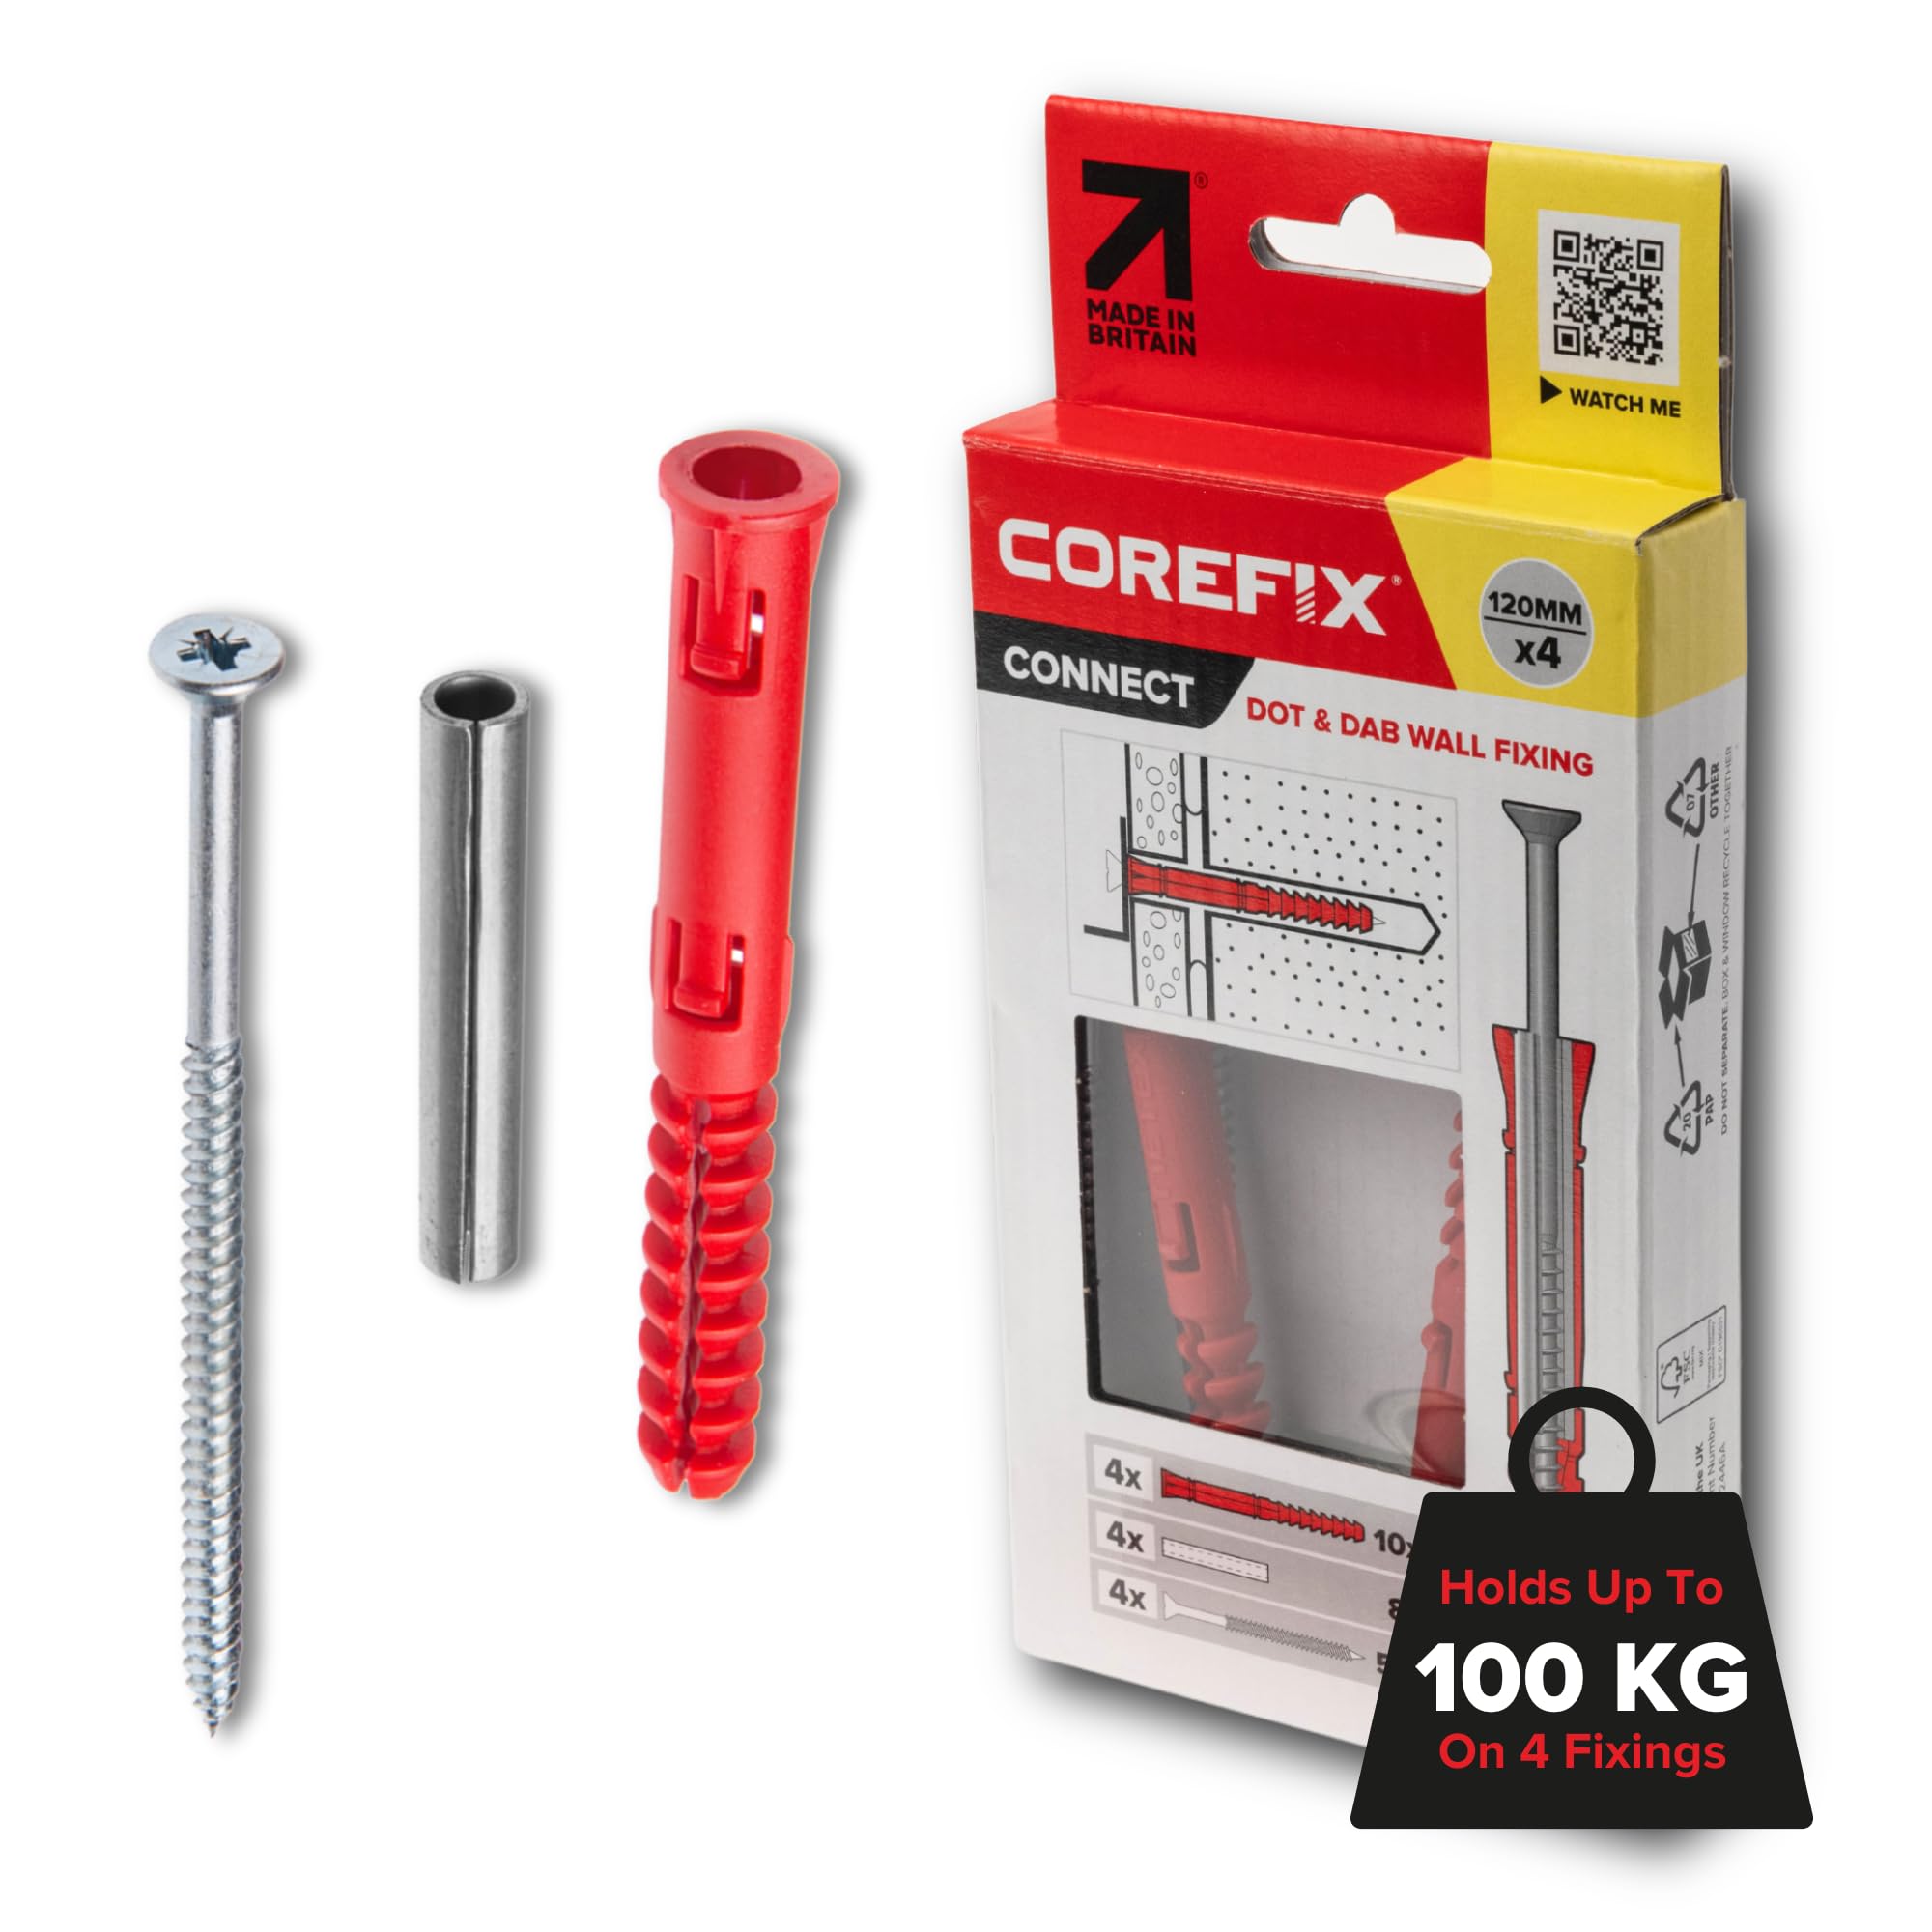
Heavy Duty Dot & Dab Wall Fixings

Understanding Dot & Dab Walls

A dot and dab wall is constructed by applying adhesive “dots” or “dabs” to a solid wall, then pressing plasterboard sheets onto it. This leaves small cavities between the plasterboard and the masonry surface.
While this method is quick and efficient for building, it presents challenges for securing heavy loads because:

  • The plasterboard alone cannot hold significant weight.
  • Standard wall plugs may spin or loosen due to the gap behind the plasterboard.

Why Use Heavy Duty Dot & Dab Wall Fixings?

Heavy Duty Dot & Dab Wall Fixings are specifically engineered to overcome these issues. They:

  • Span the gap between the plasterboard and masonry.
  • Expand or grip firmly in the solid wall behind.
  • Support much heavier loads than regular plasterboard fixings.
  • Provide a flush, neat finish once installed.

Typical uses include:

  • Kitchen wall cabinets
  • Slatwall or garage wall panels
  • Heavy shelving
  • Large mirrors or TVs
  • Tool racks and garage storage systems

Tools and Materials You’ll Need

Before you start, gather:

  • Heavy Duty Dot & Dab Wall Fixings (with the correct length to bridge your gap)
  • Masonry drill bits
  • Hammer drill
  • Screwdriver or impact driver
  • Measuring tape
  • Pencil for marking
  • Spirit level
The Strongest Dot & Dab Fixing - Corefix, Fischer DDF or Rigifix?

Step-by-Step Guide to Using Heavy Duty Dot & Dab Wall Fixings

Measure the Gap

Use a thin probe or measure the plasterboard thickness plus the adhesive gap to the solid wall. This ensures you select fixings of the right length.

Mark Your Fixing Points

Use a pencil and spirit level to mark exactly where each fixing will go. For heavy loads, use multiple fixings spaced evenly.

Drill Through the Plasterboard

Using the correct-sized drill bit (as per the fixing instructions), drill through the plasterboard until you reach the solid wall behind.

Drill Into the Masonry

Switch to a masonry drill bit and continue drilling into the solid wall to the depth recommended for your fixing type.

Insert the Fixing

Push or tap the Heavy Duty Dot & Dab Wall Fixing through the plasterboard until it reaches the solid wall. Some designs use a sleeve or spacer to bridge the gap.

Secure the Screw

Drive the screw into the fixing. The fixing will expand or grip into the solid wall behind, locking everything tightly in place.

Mount Your Item

Once all fixings are secure, you can mount your shelf, panel, or other item with confidence.

Safety and Weight Limits

  • Always check the manufacturer’s maximum load ratings for your specific fixings.
  • Distribute weight evenly across multiple fixings where possible.
  • For very heavy installations (like garage slatwall systems), ensure fixings are into masonry at multiple points.

Final Thoughts

Installing on a dot and dab wall doesn’t have to be a headache. Heavy Duty Dot & Dab Wall Fixings give you the strength and reliability needed for secure, long-lasting installations. Whether you’re hanging garage storage panels, shelving, or other heavy equipment, the right fixing will make all the difference in safety and durability.

Categories
Brick Walls Power Tools

Why You Need a Hammer Drill for Brick Walls

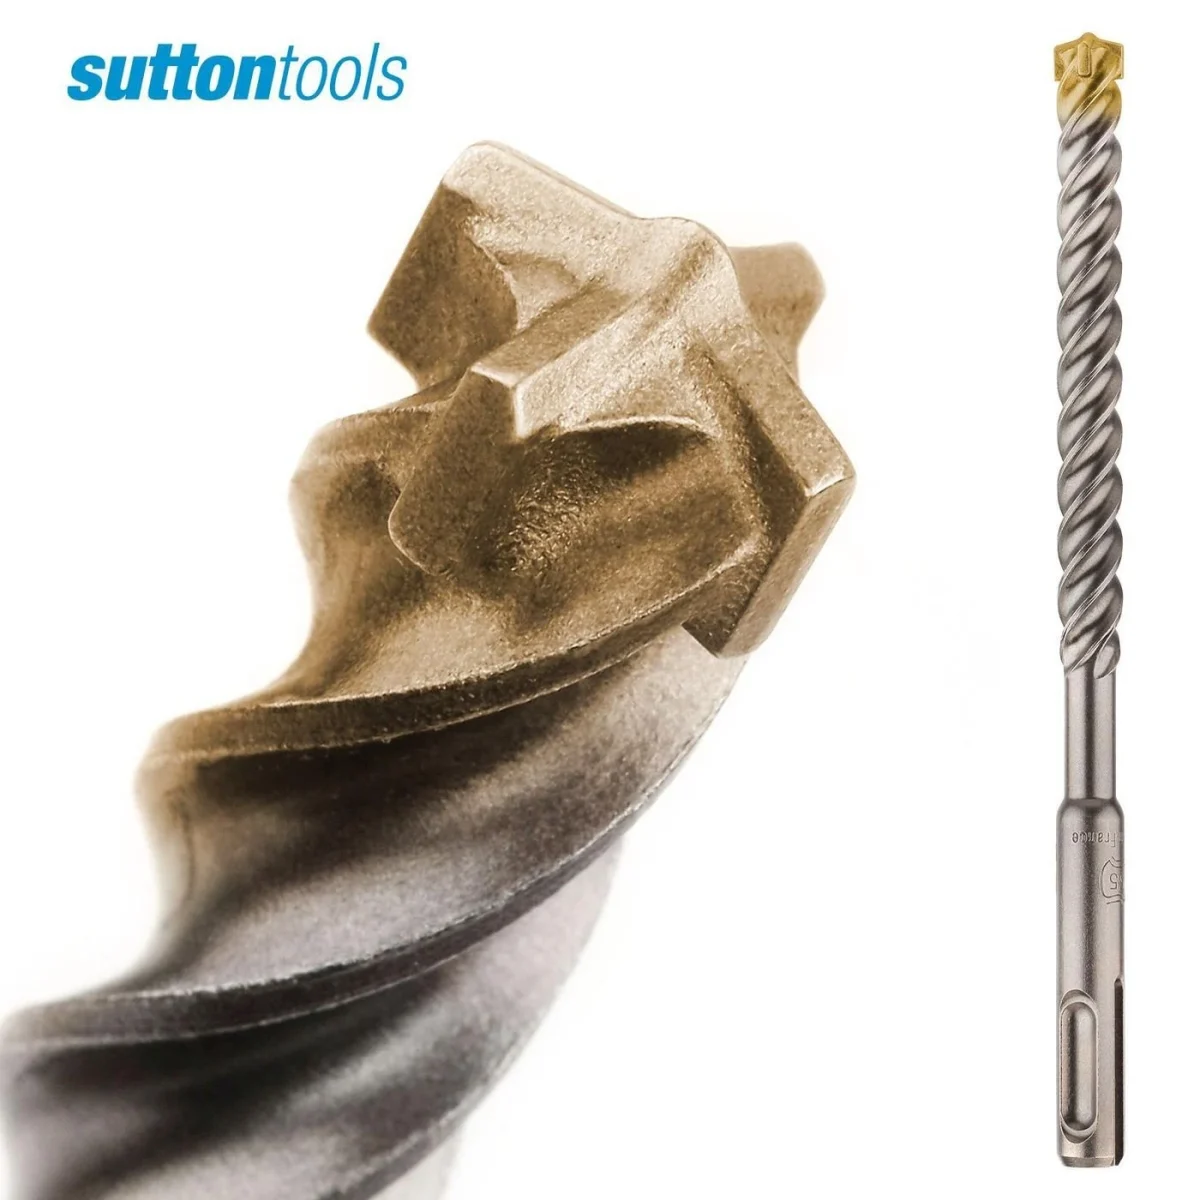
Drilling into brick or masonry is very different to drilling into timber, plasterboard, or steel. Many DIYers assume a standard power drill will do the job, only to find the bit overheating, the hole drifting off-centre, or progress grinding to a halt altogether. This is where a hammer drill becomes essential—and where the right masonry drill bit makes all the difference.

Why a Regular Drill Struggles with Brick

A standard power drill works by rotating the drill bit to cut through material. This method is effective for softer materials like wood or metal, but brick and masonry are dense and brittle, designed to resist wear and impact.

When using a regular drill on brick:

  • The bit relies purely on friction and cutting
  • Heat builds up quickly, dulling the bit
  • The drill can “polish” the surface instead of penetrating it
  • Holes often wander, making fixings less secure

The result is slower drilling, uneven holes, and a higher risk of damaging both the drill bit and the wall.

What a Hammer Drill Does Differently

A hammer drill combines rotational motion with a rapid hammering action. This hammering motion creates small, repeated impacts that help fracture the brick or masonry while the bit rotates and clears debris.

In simple terms:

  • The hammer action breaks up the brick
  • The rotation removes material efficiently
  • Less pressure is required from the user
  • Holes are drilled faster and more accurately

For tasks like mounting wall panels, shelves, or heavy-duty garage storage systems, a hammer drill ensures fixings are seated correctly and securely.

Why You Need a Hammer Drill for Brick WallsWhy 4-Cutter (4-Cross) Masonry Bits Are Better
Not all masonry drill bits are created equal. Traditional masonry bits typically feature a 2-cutter tip, which can cause vibration, chipping, and uneven holes—especially in harder brick or concrete.

4-cutter masonry bits (also known as 4-cross or quad-head bits) offer several advantages:

1. Cleaner, More Accurate Holes

The four cutting edges stay centred as the bit drills, reducing wobble and producing cleaner, rounder holes.

2. Less Vibration and Chipping

With cutting forces spread evenly across four edges, there’s less stress on the brick, helping prevent cracking or blow-out.

3. Faster Drilling in Hard Masonry

4-cutter bits are designed to work efficiently with hammer drills, allowing the bit to break and clear material more effectively.

4. Longer Bit Life

Because the load is distributed across multiple cutting edges, wear is reduced, meaning the bit stays sharper for longer—especially important when drilling multiple holes.

The Right Combination for Safe, Secure Fixing

When drilling into brick walls—particularly for load-bearing installations like garage wall storage—the best results come from:

  • A hammer drill with the hammer function engaged
  • A high-quality 4-cutter masonry bit
  • Correct hole depth and appropriate wall fixings

This combination ensures fixings sit properly in the wall, reducing the risk of movement, loosening, or failure over time.

Hammer Drill Tips

  • Cordless vs. corded: Cordless drills offer greater flexibility and are ideal for most DIY jobs, but corded versions often give stronger sustained power for repetitive masonry drilling.

  • Brushless motors: These are more efficient, run cooler and deliver better battery life.

  • SDS or standard chuck: For frequent heavy masonry work, an SDS-plus rotary hammer like the Makita model handles tough brick and concrete more effectively.

  • You can find a great and broad range at your local hardware store. Check out Bunnings and Total Tools.

Final Thoughts

Using the wrong tool for masonry isn’t just inefficient—it can compromise the strength and safety of what you’re installing. A hammer drill paired with a 4-cutter masonry bit delivers faster drilling, cleaner holes, and more reliable fixings, making it the correct choice for brick walls every time.

Whether you’re installing shelving, wall panels, or heavy-duty storage systems, investing in the right drilling setup pays off in performance, durability, and peace of mind.

Categories
Brick Walls garage design Garage Ideas garage makeover Garage Storage On TV Garage Walls Slatwall StoreWALL

Battening out a brick wall

Battening out a brick wall is a common practice in construction and renovation, but it’s not always necessary for every project. Understanding when and why you should batten out a brick wall can help ensure the longevity and stability of your installations, whether you’re adding insulation, installing garage wall panels, or creating a smooth surface for new finishes. In this article, we’ll explore the situations that require battening, the benefits of the process, and a step-by-step guide on how to do it.

What Does Battening Out Mean?

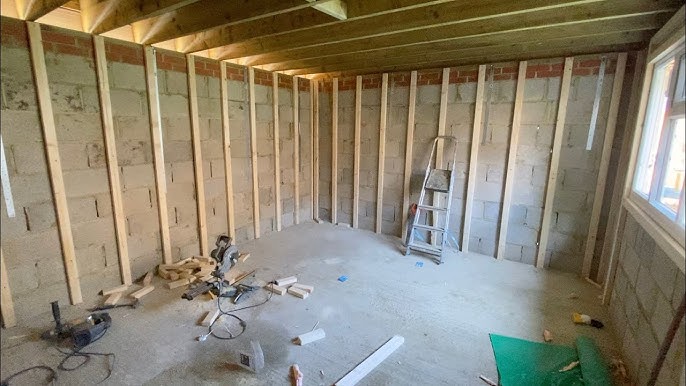
Battening out a brick wall refers to the process of attaching vertical wooden battens (strips of timber) or metal furring strips to a brick or masonry wall. These battens create a framework that allows you to attach various materials, such as plasterboard, insulation, or garage panels, while maintaining an air gap between the wall and the new surface. This method is commonly used when the surface of the wall is uneven, damaged, or needs extra support for the materials being attached.

When is it Necessary to Batten Out a Brick Wall?

Not every brick wall will need battening out, but there are several situations where it becomes essential:

Uneven or Damaged Brickwork

  • If the brick wall is uneven or damaged, it’s challenging to achieve a smooth, level surface using plasterboard or panels alone. Battening out the wall creates a uniform, level framework for attaching these materials, ensuring a better finish and stronger support.
Adding Insulation
  • If you’re renovating an old building or a garage and need to add insulation, battening out the wall is often necessary. Battens create the space needed for insulation boards or rolls to fit securely between the wall and the interior cladding. This not only improves energy efficiency but also helps prevent moisture buildup.

Installing StoreWALL or Similar Garage Wall Panel Systems

  • Heavy-duty slatwall systems like StoreWALL require a stable and even surface to support their weight and functionality. If the brick wall is very uneven, damaged, or if you need to create a gap for wiring and other installations, battening out the wall provides the necessary support and structure for secure installation.

Moisture and Damp Issues

  • If the brick wall is prone to moisture or dampness, battening out the wall can help create an air gap that improves ventilation and reduces the risk of moisture-related damage. This is particularly important in basements, garages, or older buildings where damp issues are common.

Accommodating Electrical and Plumbing Systems

  • When installing electrical wiring, pipes, or other systems that need to run behind the interior surface, battening out the wall creates the space needed to conceal these elements safely and effectively.

Benefits of Battening Out a Brick Wall

  • Creates a Level Surface: Ensures that the final surface, whether it’s plasterboard, panels, or tiles, is level and professional-looking.
  • Improves Insulation: Allows for the addition of thermal or acoustic insulation, enhancing energy efficiency and soundproofing.
  • Provides Support: Offers a stable structure for mounting heavy items like shelving, wall panels, or large installations.
  • Moisture Control: Helps manage moisture by creating an air gap that improves ventilation and reduces the risk of damp issues.
  • Flexibility for Services: Allows for the easy routing of cables, pipes, and other utilities behind the wall surface.

Step-by-Step Guide to Batoning Out a Brick Wall

If you determine that battening out your brick wall is necessary, follow these steps for a successful installation:

Tools and Materials Needed:

  • Wooden battens or metal furring strips
  • Electric drill with masonry bit
  • Wall plugs and screws
  • Tape measure
  • Spirit level
  • Pencil or marker
  • Saw (if cutting battens)
  • Insulation boards or rolls (if insulating)

Steps:

  1. Measure and Mark the Wall
    Begin by measuring the height and width of the wall where you’ll be installing the battens. Mark the positions where each batten will be placed, typically spacing them 400–600 mm (16–24 inches) apart. Ensure that the markings are level using a spirit level. A typical interior wall has studs at 450mm intervals. You can use this as your guide for spacing out your battens.
  2. Cut the Battens to Size
    If using wooden battens, ensure you select wood that is as straight as possible. Cheap bent wooden battens will not fix an uneven brick wall. Cut the battens or furring strips to the required length using a saw. Ensure they are cut precisely so they fit snugly from floor to ceiling.
  3. Drill Holes in the Wall
    Using an electric drill with a masonry bit, drill holes at the marked positions where you’ll attach the battens. These holes should be deep enough to accommodate wall plugs and screws.
  4. Attach the Battens to the Wall
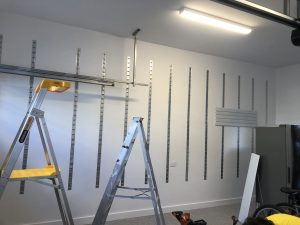
    Insert wall plugs into the drilled holes. Place the batten against the wall and drive screws through the batten into the wall plugs. Check each batten with a spirit level to ensure it is vertical and aligned properly. Tighten the screws securely to hold the battens in place.
  5. Install Insulation (Optional)
    If you’re adding insulation, cut the insulation boards or rolls to fit between the battens. Fit them snugly into place, ensuring there are no gaps that could reduce the effectiveness of the insulation.
  6. Attach the Cladding or Panels
    Once the battens and insulation (if applicable) are securely in place, you can proceed with attaching the cladding, plasterboard, or garage wall panel system. Use the battens as the framework for securing these materials, ensuring they are level and securely fastened.
  7. Final Checks
    Once everything is installed, check that the new surface is level and free of gaps or movement. Make any necessary adjustments before finishing with paint, wallpaper, or other finishing touches.

Conclusion

Battening out a brick wall is a practical solution in many renovation and construction scenarios. Whether you’re dealing with uneven brickwork, adding insulation, or installing a heavy-duty system like StoreWALL, battoning ensures a secure and professional finish. By following the steps outlined in this guide, you can achieve a stable and effective installation, improving both the aesthetics and functionality of your space.

If you’re planning a project that involves battening out a wall, ensure you have the right tools and materials on hand, and always consult a professional if you’re unsure about the wall’s condition or structure.

Categories
Brick Walls garage design garage makeover Garage Wall Accessories Garage Walls GarageSmart Home Gym Installation Slatwall

Installstrips

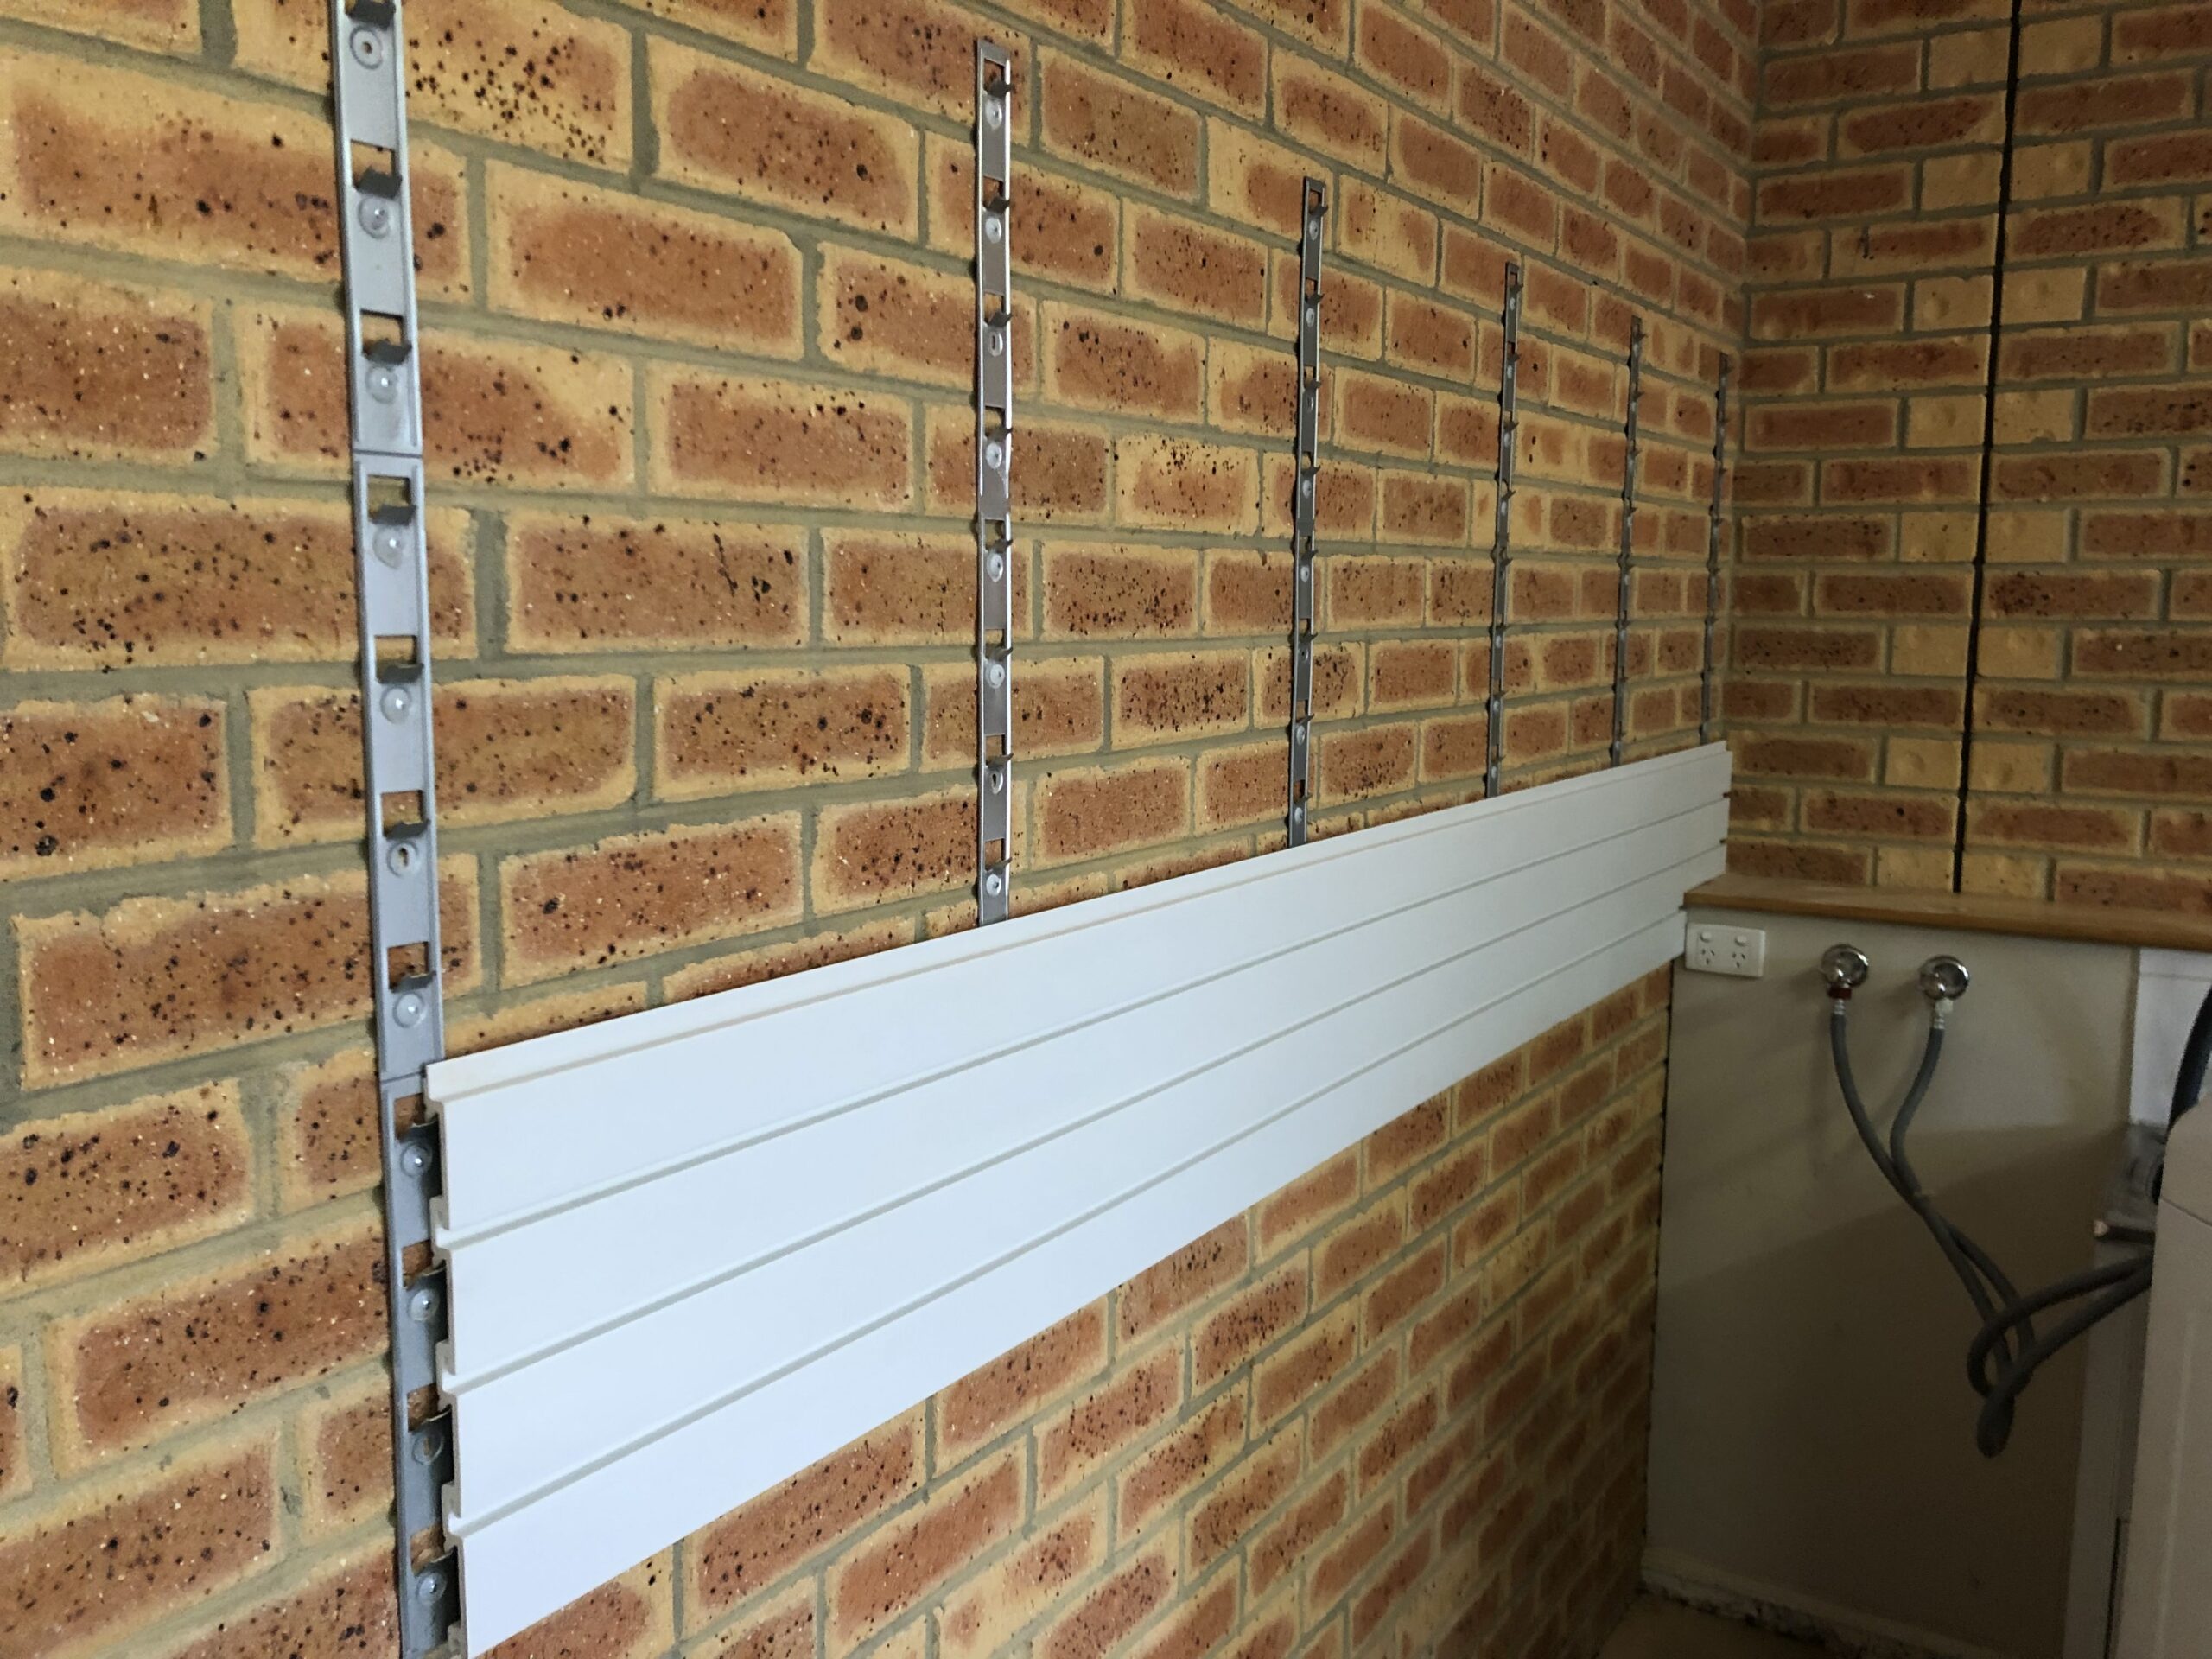
We often get asked how StoreWALL wall panels differ from many others available in Australia. A key difference is our use of InstallStrips, which are metal brackets designed to securely mount the panels to wall studs. Hanging wall panels on InstallStrips screwed into studs is significantly stronger than directly screwing the panels into the studs because of the following reasons:

Load Distribution & Weight Support

  • Installstrips which are metal brackets, act as a structural support system, evenly distributing the weight of the wall panels and anything mounted on them.
  • When panels are directly screwed into studs, the weight is concentrated at each screw point, increasing the risk of failure over time, especially with heavy loads.

Increased Shear & Pull-Out Strength
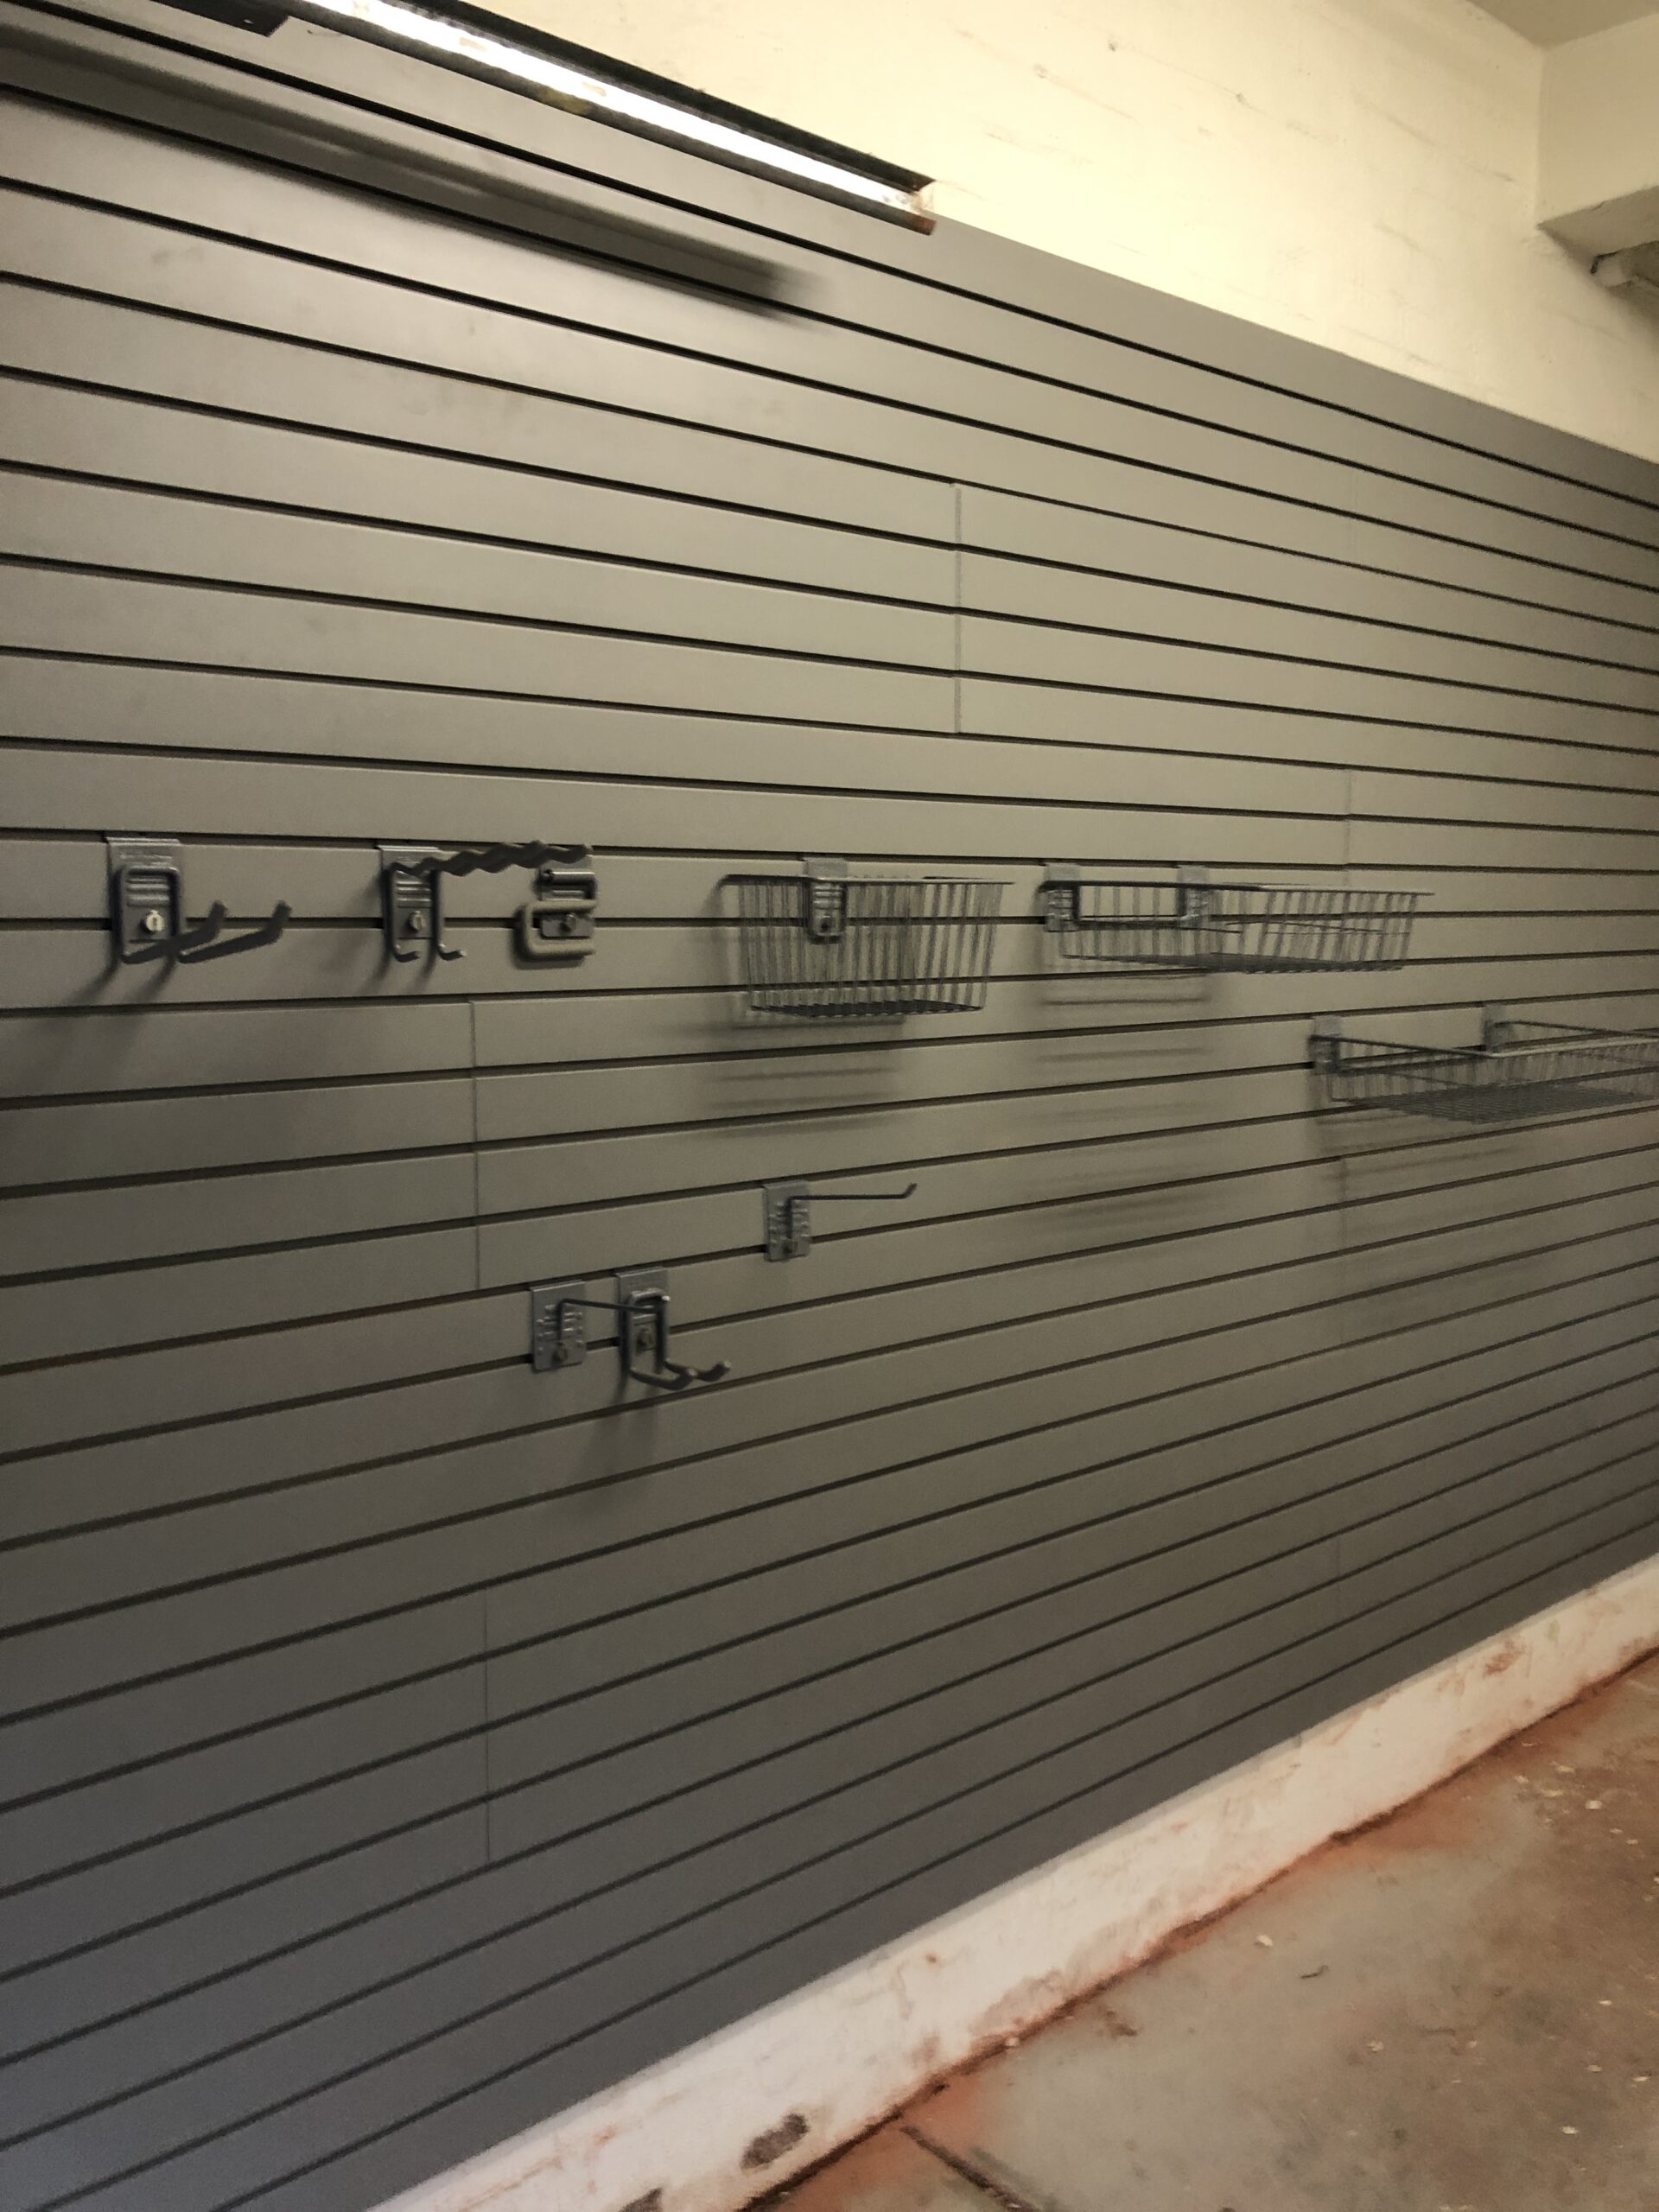
  • Screws alone can shear under load or pull out if too much force is applied, especially if the panels are loaded with heavy items.
  • Metal brackets provide additional resistance to pulling forces by creating a rigid structure that holds the panels securely.

Enhanced Stability & Reduced Panel Flexing

  • Metal brackets create a firm mounting base across multiple studs, reducing panel movement and flexing.
  • Directly screwing panels to studs means each panel section is only as strong as its attachment points, which may cause bowing or movement under weight.

Easier Installation & Adjustability

    • Brackets allow for more precise alignment and level installation of panels.
    • If adjustments are needed, panels can be repositioned more easily compared to unscrewing and reattaching directly to studs.

Installstrips – Long-Term Durability

  • Over time, screws directly in the panel can loosen or strip out from repeated loading and unloading.
  • Brackets provide a reinforced anchor point that remains strong over years of use.

Wall Protection

  • Brackets create a small gap between the wall and panels, allowing air circulation, reducing moisture buildup, and protecting both the panels and the wall from damage.

Conclusion

Using Installstrips to mount wall panels ensures stronger, more stable, and longer-lasting installation compared to directly screwing panels into studs. The brackets distribute weight, enhance durability, and provide a more secure mounting system—especially for garages, workshops, and commercial applications where heavy-duty storage is needed.

Categories
Black Slatwall Brick Walls garage design Garage Ideas garage makeover Man Cave

30 Years of Garage Location Trends

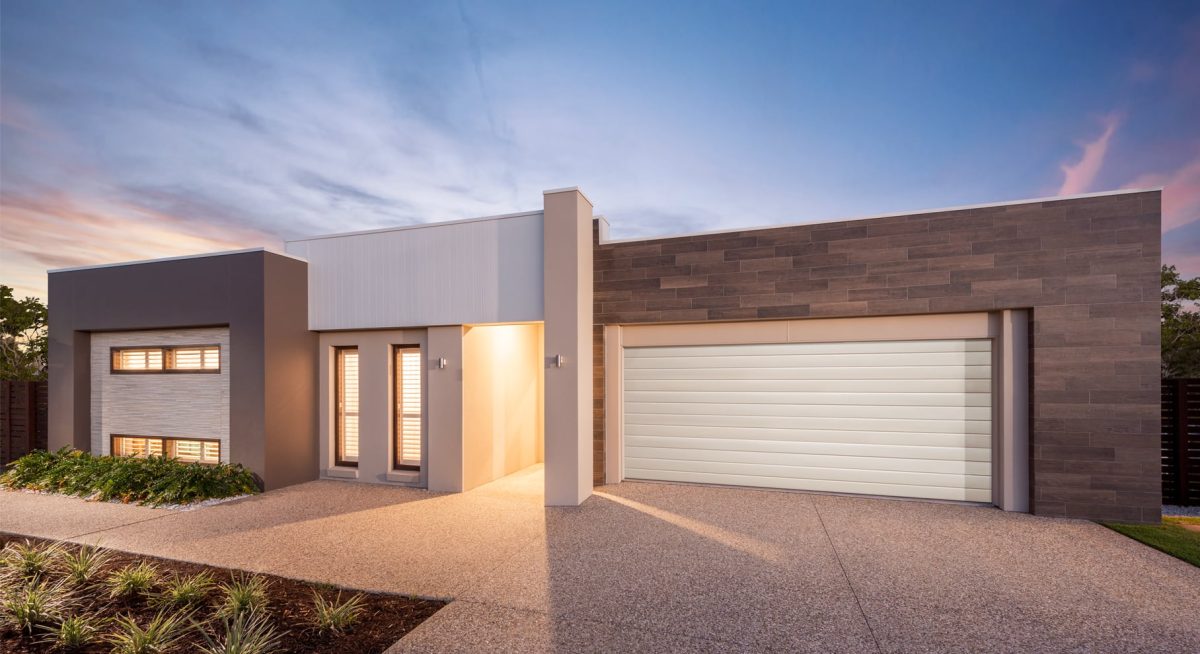
The garage is more than just a space to park your car—it’s a reflection of how we live, what we value, and how residential design has evolved. Over the past three decades, the position and prominence of garages on homes have shifted significantly, shaped by urban development patterns, lifestyle needs, and design aesthetics. We explore 30 years of garage location trends and what it says about how we live today.

1990s: Front and Center

In the 1990s, suburban expansion was in full swing. As more families moved into tract-style homes in planned communities, garages became a dominant feature—often located at the front of the house, facing the street.

Key Characteristics:

  • Double or triple garage doors were a focal point of the home’s facade.
  • Garage doors were often prominent and unadorned, prioritizing function over form.
  • This design catered to families with multiple vehicles, and commuting was a daily necessity.

Why It Worked Then:

  • Developers aimed for efficiency and affordability—placing the garage at the front reduced driveway length and allowed smaller lot sizes.
  • The garage became an extension of the front yard, often used for storage, home projects, or informal entry.
30 Years of Garage Location Trends

2000s: Garage as a Lifestyle Hub

As homes grew larger in the early 2000s, so did the garages. The garage was still front-facing in most suburban neighborhoods, but the trend began to shift toward more integrated designs.

Key Trends:

  • Three-car garages became more common, often arranged in L- or tandem layouts.
  • Builders began to hide garages slightly behind the main front elevation, sometimes offset or recessed.
  • Homes included mudrooms or laundry rooms between the garage and the interior, reflecting its role as the main entry point for families.

The Lifestyle Factor:

  • The garage became not just for parking, but a multifunctional space—used for fitness equipment, hobby workspaces, or even secondary living areas.

2010s: De-emphasizing the Garage

In the 2010s, design-conscious homeowners and architects began pushing back against garages dominating curb appeal. The modern homeowner wanted cleaner aesthetics, better street presence, and more usable outdoor space.

Design Shifts:

  • In urban infill and townhome developments, garages were often moved to the rear of the home and accessed via alleyways.
  • In custom homes or high-end developments, garages were placed side-facing or hidden behind landscaping or architectural features.
  • There was a growing focus on garage door design, with materials and styles selected to complement the overall home.

Driving Forces:

  • Walkability and streetscape appeal became more important.
  • The rise of alternative transportation (biking, ride-shares) made large garages less essential in some urban areas.
  • Storage systems and organization tools like slatwall panels and overhead racks became popular, helping homeowners maximize garage functionality.
30 Years of Garage Location Trends

2020s: Flexibility, Function, and Hidden Design

Today, garage design is all about blending form with function. While many homes still feature front-facing garages, there’s a clear move toward less visual dominance and greater functional flexibility.

Current Trends:

  • Detached garages are making a comeback in some markets, offering space for ADUs (accessory dwelling units) or home offices above.
  • Side-entry and rear-facing garages are favored for upscale homes.
  • Integrated garages with seamless interior transitions and smart storage are in high demand.
  • Garages are increasingly being built with EV charging stations, insulated doors, and climate control.

Cultural and Technological Influence:

  • The rise of remote work and home-based businesses has transformed garages into workshops, studios, and gyms.
  • Design software and 3D modeling tools allow homeowners to better visualize and customize garage layouts.
  • Sustainability and energy efficiency are influencing the materials and positioning of garage spaces.

Why This Evolution Matters

The changing location and role of the garage reflect deeper shifts in how we live:

  • A move toward intentional design
  • Increased focus on curb appeal and community aesthetics
  • A broader view of the garage as a versatile, integral space

As we continue to rethink how our homes function in a digital, mobile, and flexible world, the garage is evolving right alongside us.

30 Years of Garage Location Trends

30 Years of Garage Location Trends – The Future

Over the past 30 years, garages have moved from front-facing functional spaces to discreet, flexible extensions of the home. Whether it’s for storing a vehicle, working on a passion project, or charging your electric car, the garage’s role is no longer one-dimensional.

As homeowners continue to demand more from their living spaces, expect garage design—and location—to keep evolving in creative and thoughtful ways.

Categories
Best Garage Storage Solutions for 2024 Bike Storage Brick Walls garage design Garage Ideas garage makeover

How to Solve Your Garage Storage Challenges Without Breaking the Bank

Creating an organised, efficient garage is about more than just clearing clutter—it’s about making a smart investment in your home. A well-designed garage storage solution ensures your belongings are secure, easy to access, and stored in a way that enhances the space, not crowds it. In our latest article we will look a recent case study, where we helped a Sydney customer solve her garage storage challenge.

Garage Storage Isn’t Just About Shelving

If your goal is to simply shove items out of sight, a few basic shelves from your local Bunnings might do the trick—until you need something buried at the back. But when you’re looking for long-term efficiency and flexibility, shelves alone fall short. They often become overcrowded, making it hard to retrieve specific items without moving others.

This is where a garage wall storage system shines.

Once installed, StoreWALL’s wall panels transform your garage walls into customisable storage hubs. Need to hang bikes this year and swap to golf gear and water skis next summer? No problem. With the right slatwall system, you can easily change your layout as your needs evolve—without drilling new holes or installing more shelves.

The Smart Way to Plan Garage Wall Storage

We recently worked with a homeowner in Sydney who had a wide garage with two key usable wall spaces: the rear wall and the right-hand side wall. Their goal? To neatly store plastic tubs, bikes, sports gear, and large items like an ironing board.

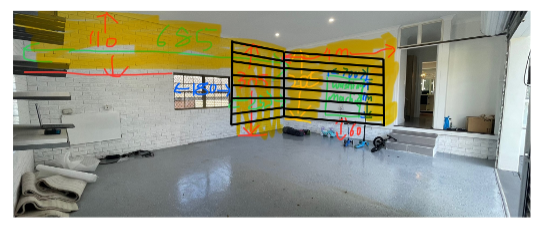
Our initial proposal was to install wall panels across the full height of both walls—covering around 18 square metres with 27 StoreWALL Standard Duty panels (2.4m each). The cost to deliver this was approx $4700. While this would have provided complete flexibility and coverage, the quote exceeded their budget. See above picture of what was originally requested.

Smart Savings Without Sacrificing Function

One of the many advantages of the StoreWALL slatwall system is that it can be dialled down by reducing the amount of wall panels used and therefore the overall initial cost of the project. At a later stage, it can also be dialled back up again with additional panels added to expand the solution.

We took another look at the room for the client, this time focusing on how we can continue to make it functional but with a lower initial investment. By reducing the panel height from full-wall to either 1.8m or 2.1m, and limiting the wall coverage to strategic sections, we delivered a far more cost-effective solution that still met their storage goals.

  • Rear wall (right of window): 2.4m wide x 2.1m or 1.8 high
  • Right-hand wall: 3.6m wide x 2.1m or 1.8m high
  • Total coverage: Over 6m of width at 1.8–2.1m height = approx. 12–13sqm of wall coverage
  • Budget of $3100

By reducing the wall coverage by 30%, we also reduced the budget by a similar figure.

This gave them ample room for high shelving to hold plastic tubs, with bikes stored neatly on the rear wall, and sports gear hung along the side wall.

The Result?

A tailored solution that met their needs without over-investing in unnecessary materials. And best of all, they retained flexibility for future changes—something you simply don’t get with fixed shelves.

StoreWALL Garage Wall Panels offer the ultimate in versatility, durability, and long-term value. Whether you’re starting with one wall or upgrading your entire space, we’ll help you maximise every square metre—on your terms and within your budget.

Categories
Brick Walls Garage Walls Slatwall StoreWALL

Solid Red Brick Walls

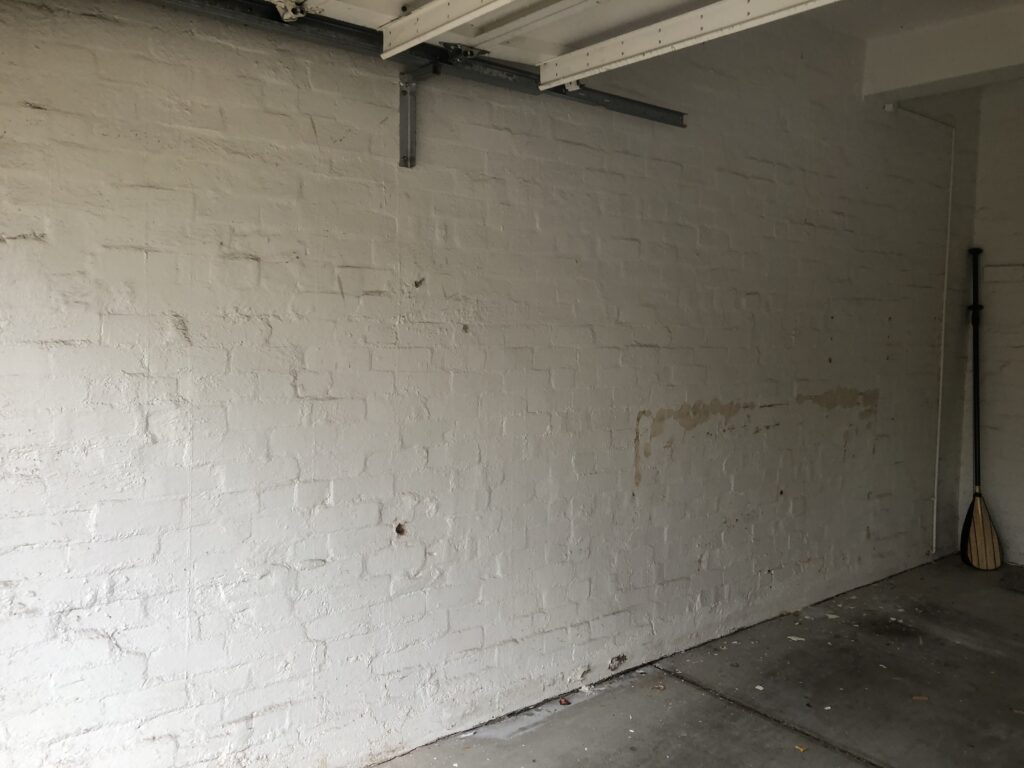
Our latest installation in the suburb of Toorak (Melbourne) was in an old garage made from solid red brick walls.

The garage had a couple of really old StorEase panels and some accessories. They were screwed straight into the wall. We removed these. The owner of this house was in the middle of undertaking some renovations and we were asked to install StoreWALL on both sides of the garage.

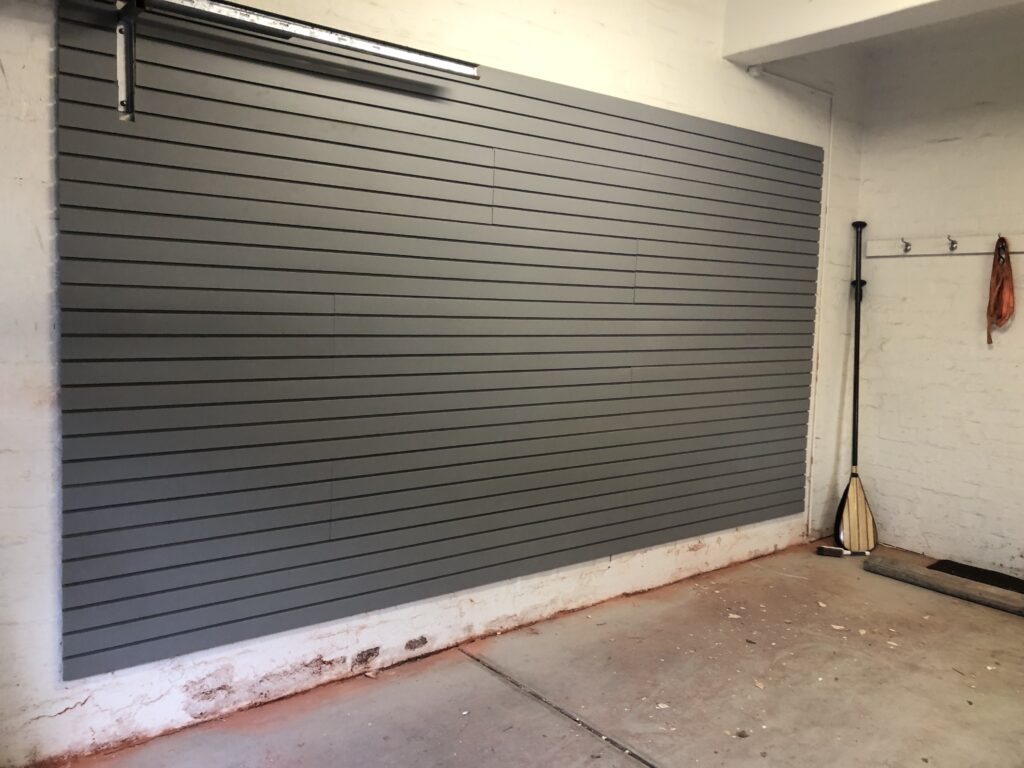
The first wall area measured 4m in length and 2.1m in height. On the opposite side, we installed a smaller section of 2m x 2.1m.

Wall 1 – 4m Solid Red Brick Walls

For Wall 1, we used 1 x 2.4m panel plus a second 1.5m panel. This gave us our 4m. We also used the smaller off-cuts in the wall in order to reduce waste. To reach the 2.1m height we used 7 x Standard Duty Slatwall Panels.

I have installed lots of brick wall garages. Old and new. Many older homes have sold red brick walls. These are tough bricks to drill into. The other challenging feature of these garage walls was just how irregular they were. To cover this up they had semi-rendered the walls and painted them so they looked smooth (kind of).

Solid Red Brick Walls

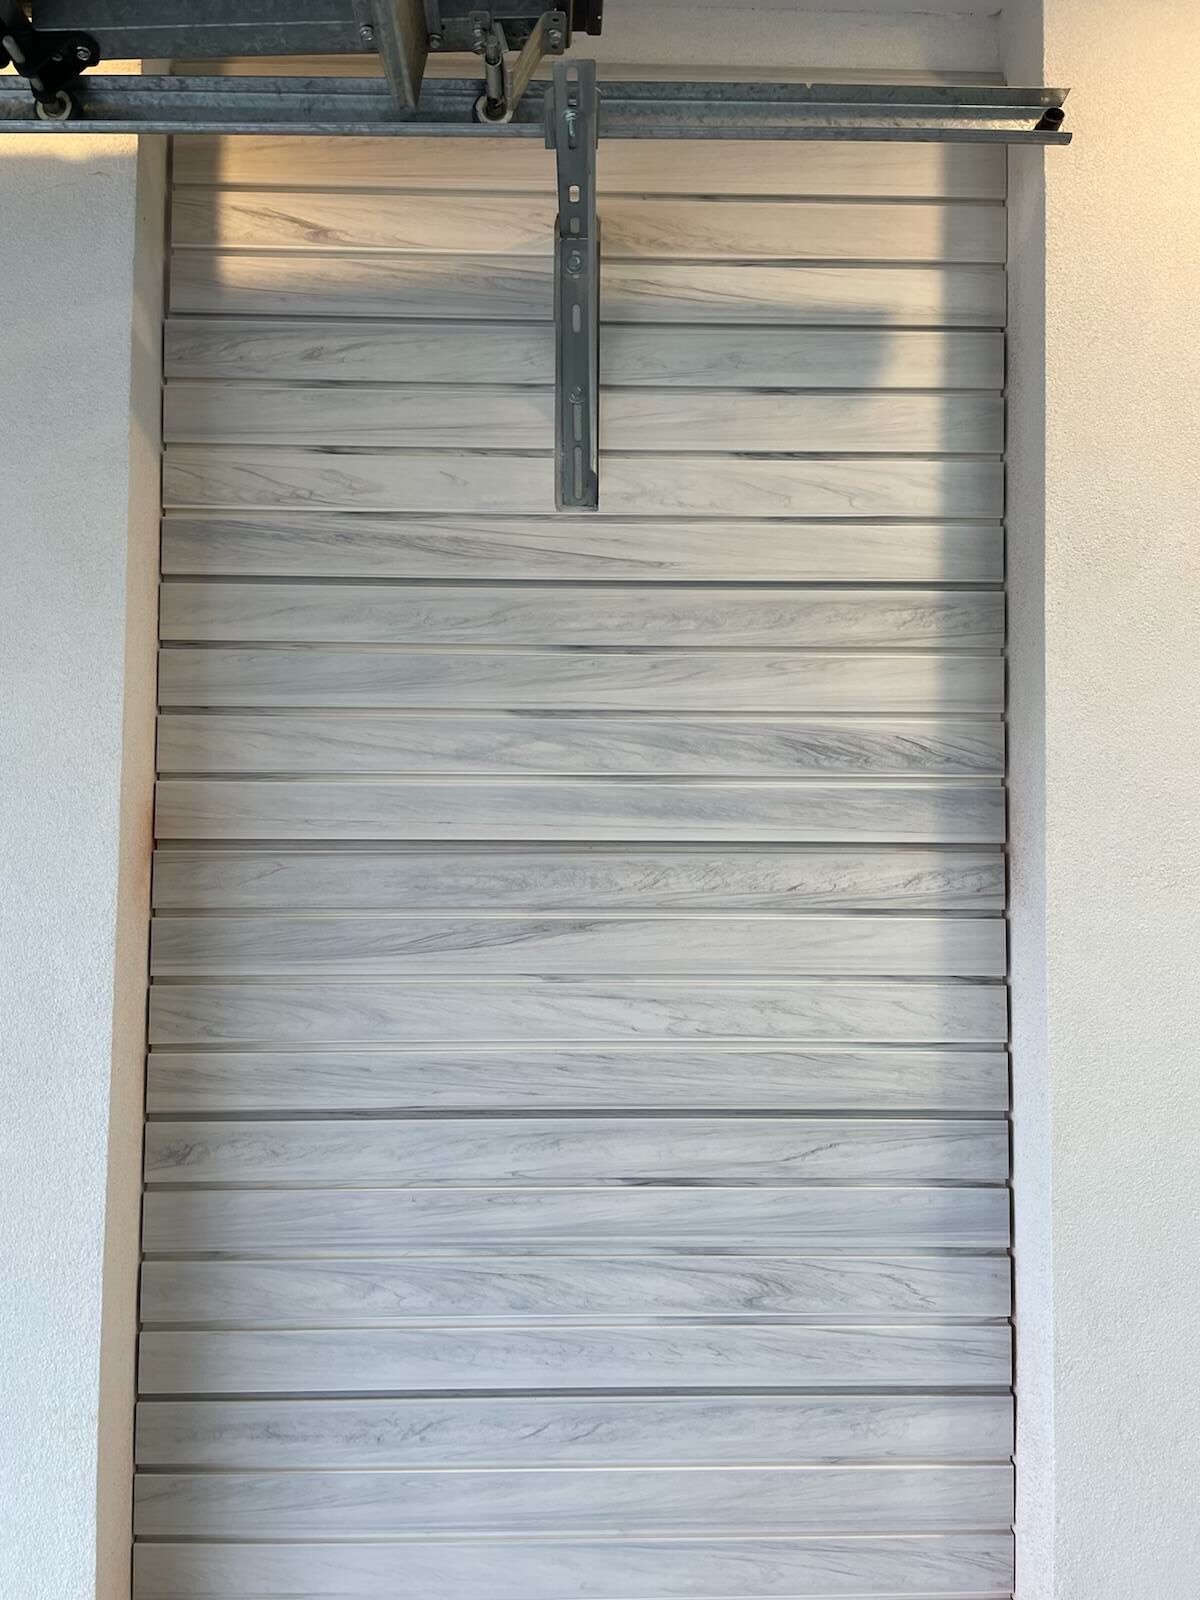
You can also see that above the wall at about 2.1m we also had a bracket which held the garage door.

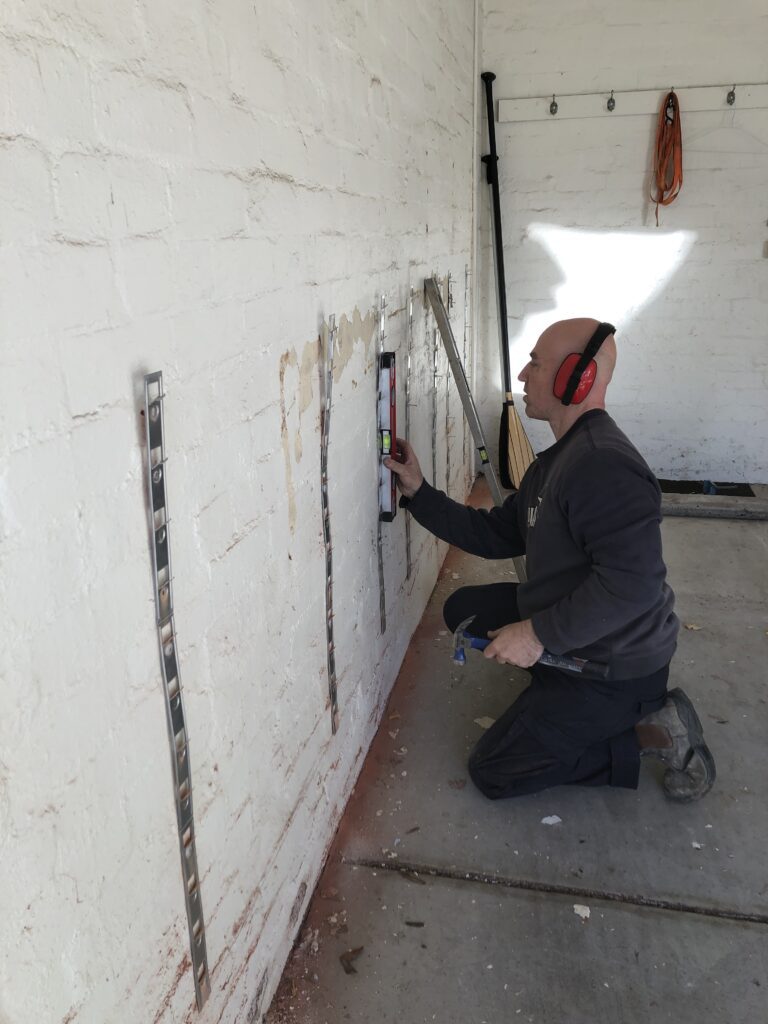
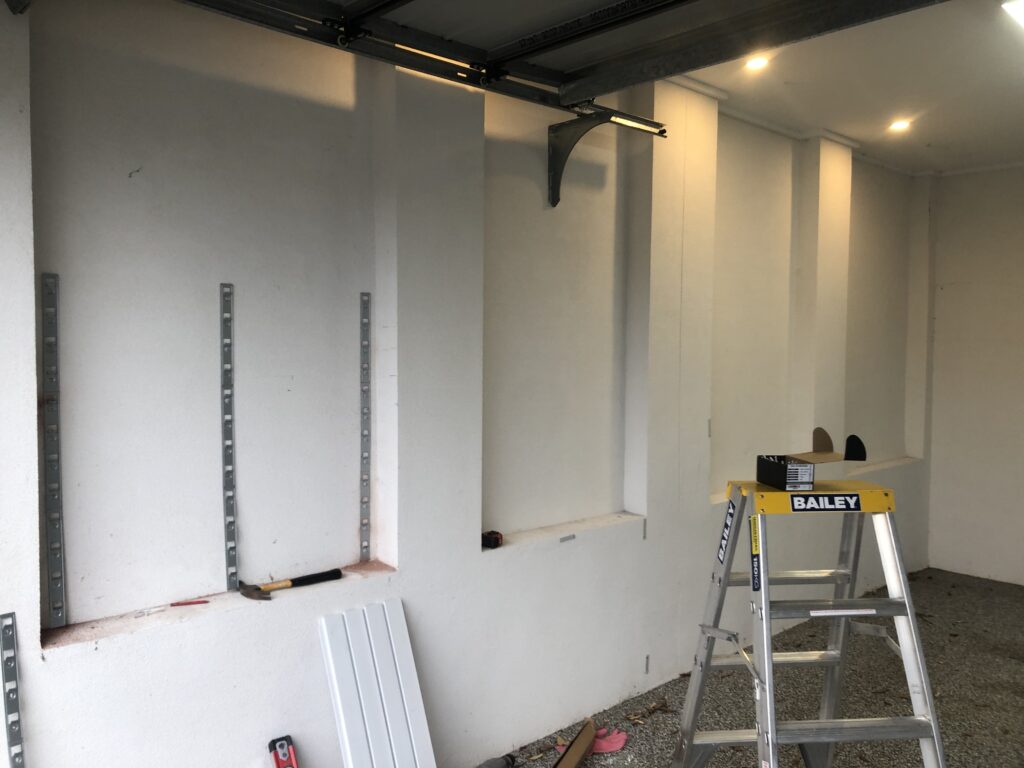
We started the installation about 245mm from the garage floor. The drilling was tough and we had to pack behind some of the installstrips in order to keep them flat. To fasten the installstrips we used Nail Anchors which we sell on our website but so do all hardware stores. We used 5mm anchors and a 5mm 4-cut drill bit. To be fair, I used several drill bits on this job as the walls chewed them up.

Each installstrip has 12 holes for anchoring to the wall. I hammered a minimum of 9 anchors for each one.

Solid Red Brick Walls

In order to hang the 7 rows of Standard Duty Slatwall Panels, we used 2 rows of installstrips and then a 3rd row of just a single installstrip section. Our installstrips were spaced about 600mm apart and we positioned them so that they sat behind any joins. Having two joining panels share an installstrip delivers a nicer, smoother join. This took a little measuring.

Tips

I am always learning with these installations as no walls are alike and brick walls, specifically Sold Red Brick Walls are the most challenging.

In order to save the customer on waste, we used the smaller offcuts on the wall. It meant more joins. If I was to do this wall again, I would have just used two panels along the wall. 1 x 2438mm + 1562mm. It would have saved a lot of effort in positioning the installstrips in the right location for the joins. The result is more waste.

My second tip relates to the 3rd row of installstrips for the 7th row of panels. Rather than using a single section of the installstrip for this top row, it can be easier to use two sections. In this case, you add the lower section on row 6 and the top section on row 7. This makes it easier when trying to align the installstrips for that top row.

Garage Door Bracket

I had to cut around the bracket in order to fit the 7th row. It was fiddly work as the bracket covered two panels. I used a jigsaw for the cut. The 6th panel was cut at the top, the 7th panel was cut from the bottom.

Grey Slatwall Panels

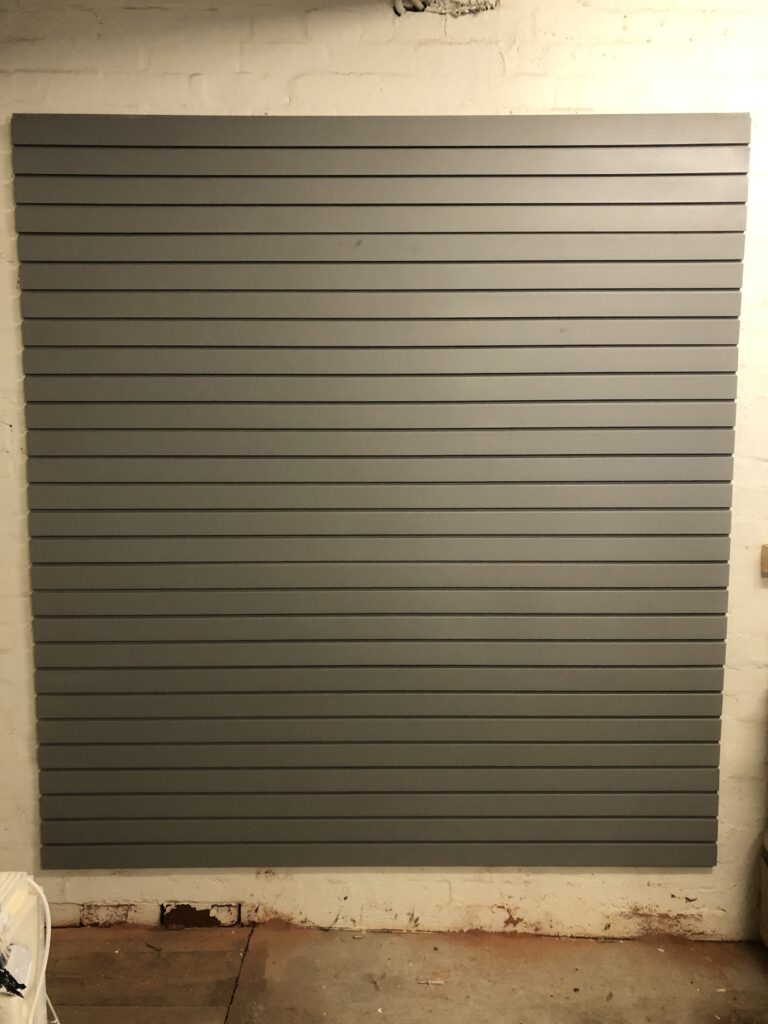
Wall 2 – 2m x 2.1m Solid Red Brick Walls

The second wall was covered with 1 panel cut to 2m. As per wall one, we had 2 rows of 3 section installstrips to support the first 6 panels. The top row used just one section of the installstrip.

As there were no joins on this wall, it was must quicker to panel. The biggest challenge we had were the bricks. A section of wall 700mm x 700mm was made from much harder bricks and so the drilling took longer.

Solid Red Brick Walls

Conclusion

The red bricks were hard work. This job took 1.5 people (junior support) about 7hrs to complete. I drilled over 120 holes. The outcome is a garage storage solution that will last for years and allow the owner to hang almost anything they store in their garage.

Categories
Brick Walls

Brick Wall Hooks

Earlier this month (June 2022), I received a call from a local Ashburton resident who was looking for some help with turning his impossible garage brick wall into useful garage storage area. Tim was keen on purchasing a road bike that he wanted to hang with brick wall hooks as well as clean up the gardening tools and ladder that were sitting on the garage floor.

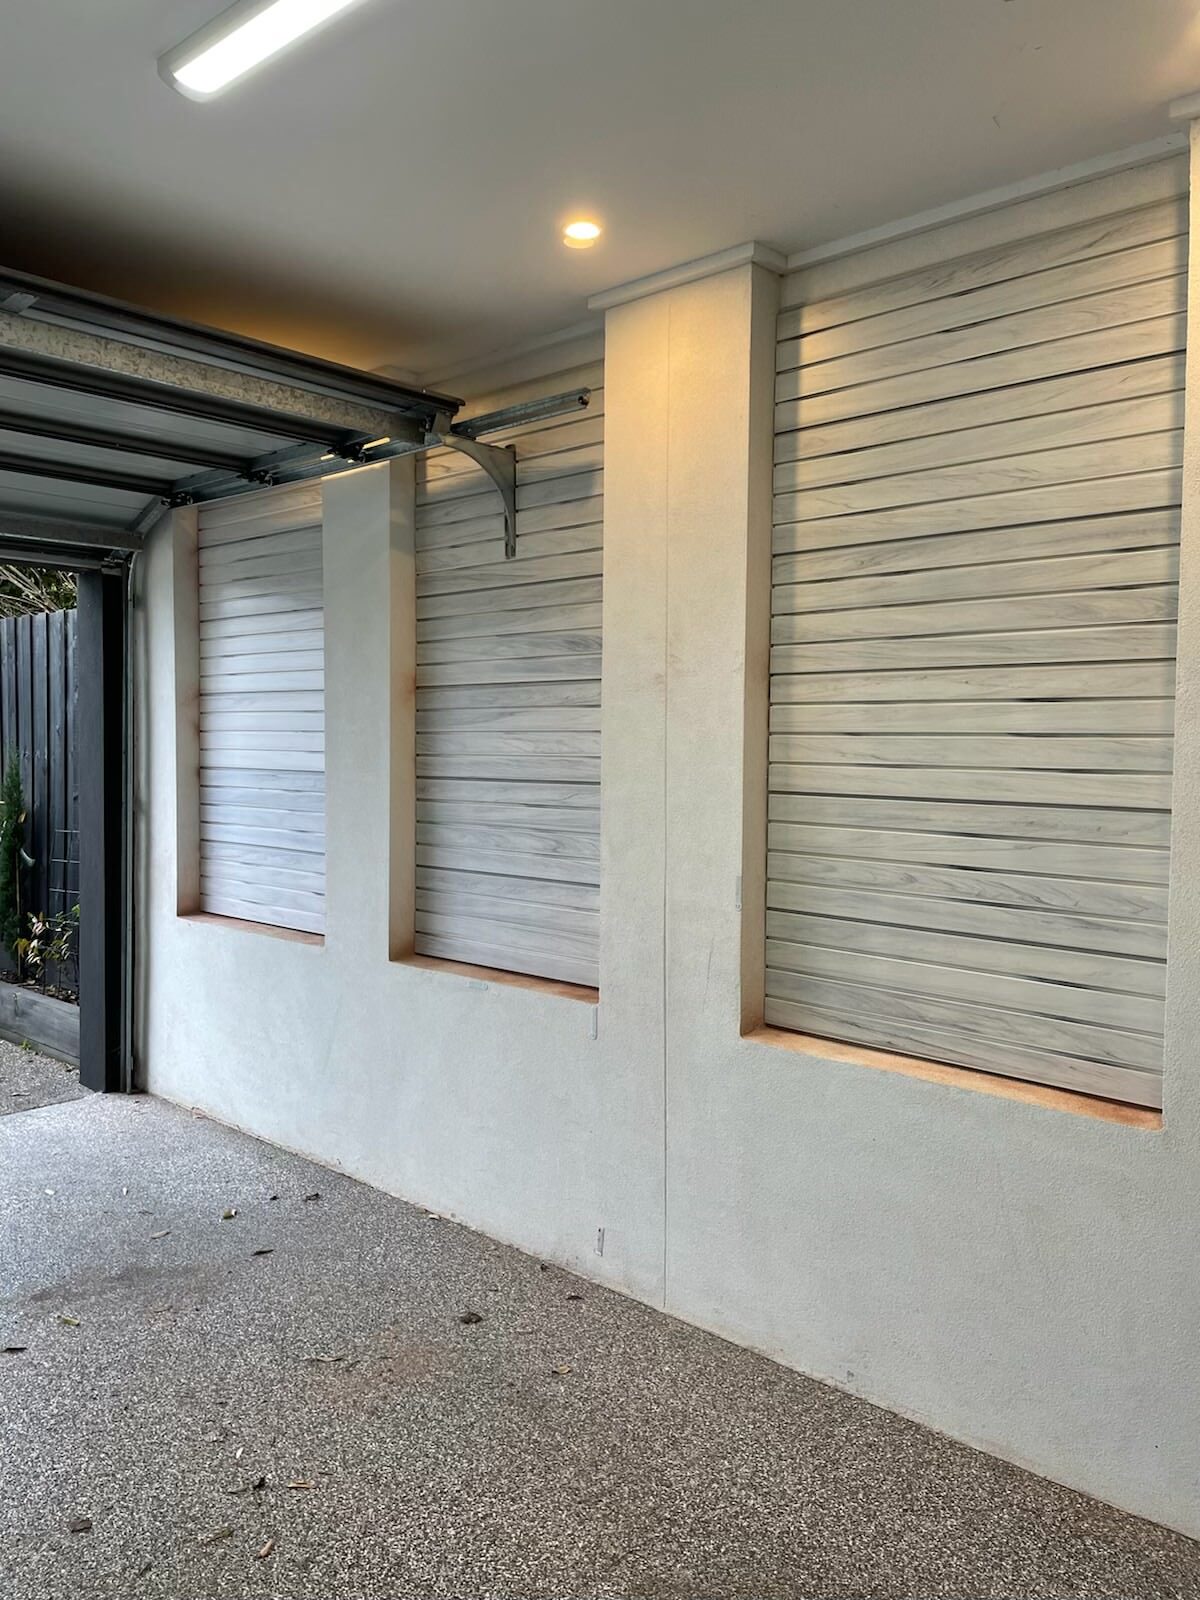
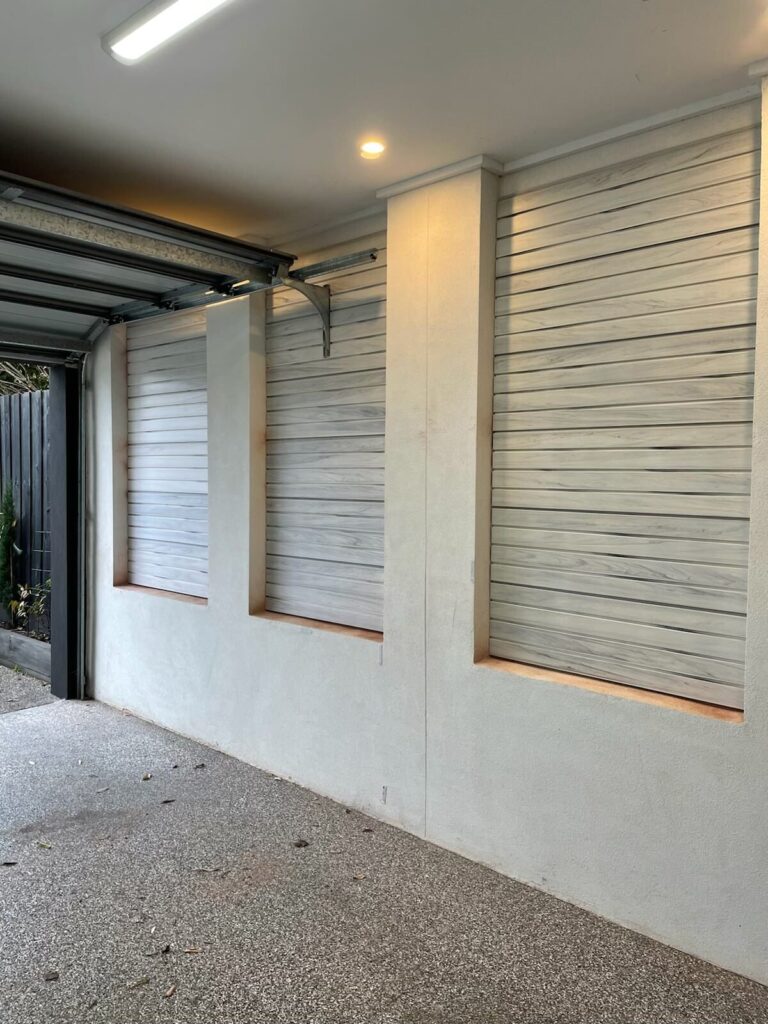
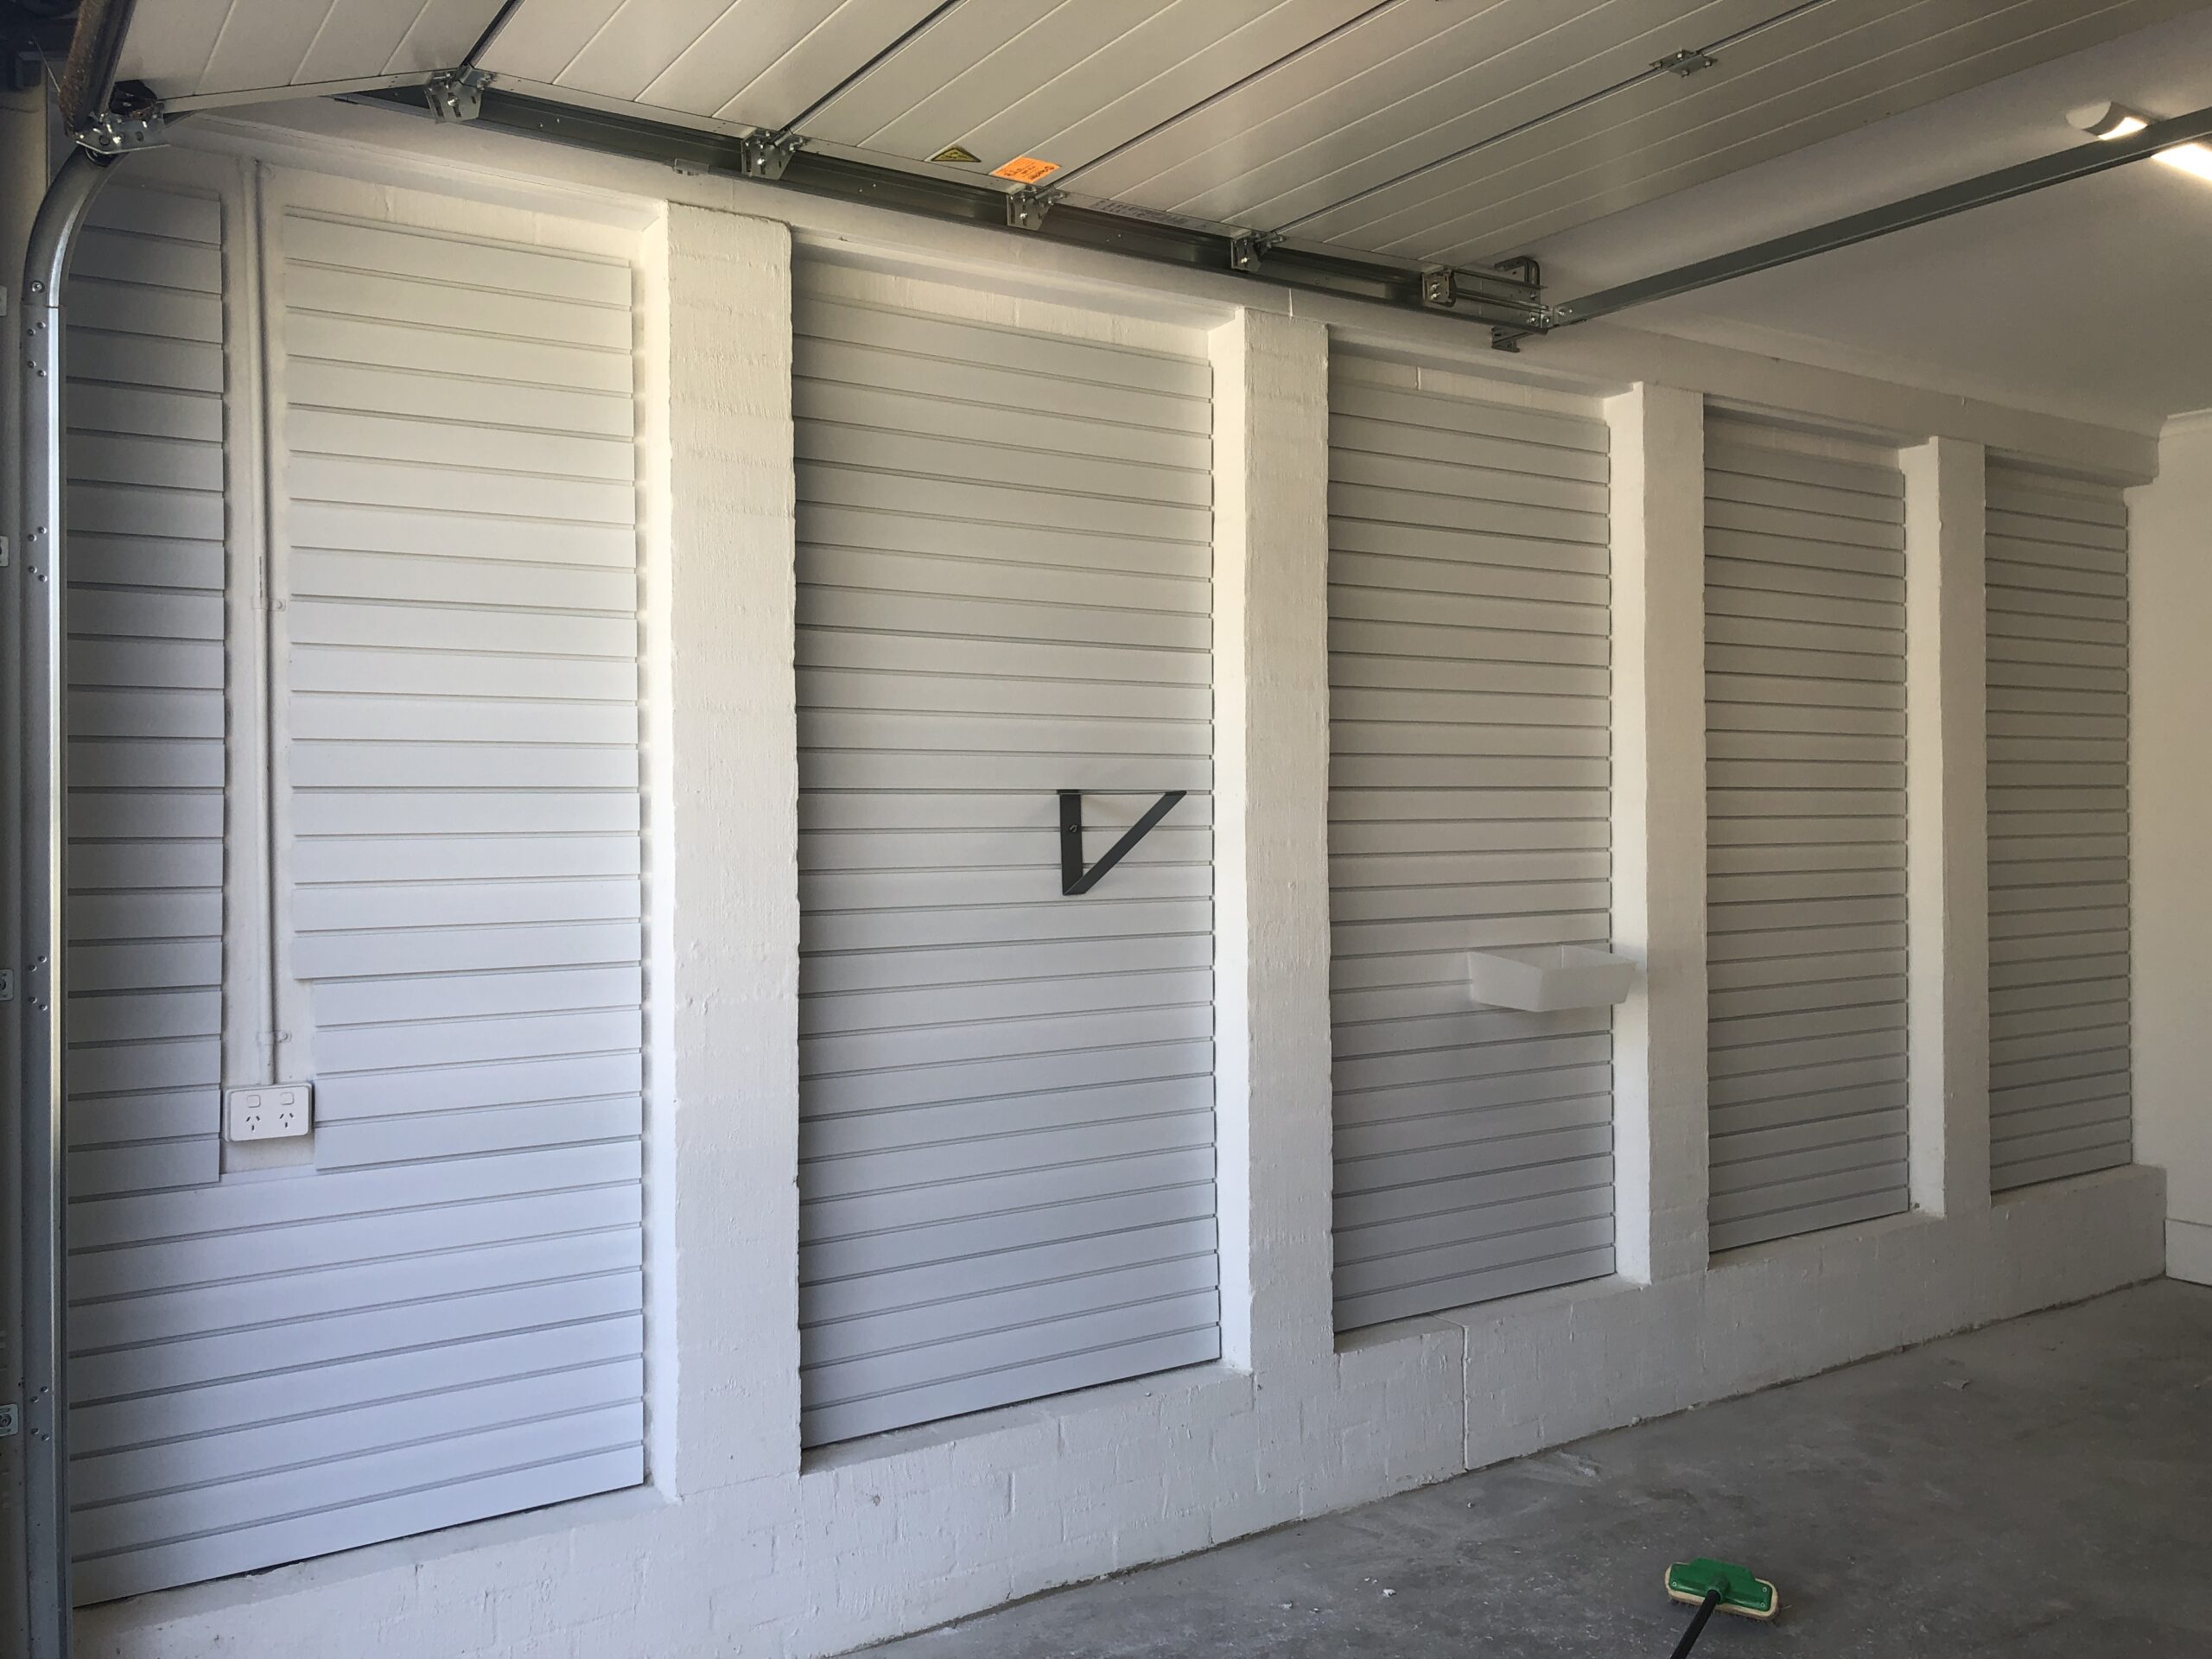
There is something about drilling into walls that scares the hell out of people. Tim’s garage is large enough for 2 vehicles and is split between brick and some plastered areas. The left wall which was brick was where he wanted to install brick wall hooks, shelving and baskets. This wall area was split into 4 sections separated by pillars (see photo below).

brick wall hooks

Each section was about 1100mm wide and the height was about 1800mm. The middle (second) section had the garage door bracket at the top end of it.

Impossbile Brick Wall

The challenge for most people installing brick wall hooks is choosing the correct fasteners to secure them with and having the right tools to actually create drill holes into the brickwork. Then you have the complexity of placing hooks in places that down the track need to be moved. For most people, these walls are generally left bare or covered with a set of standalone shelves.

Tim was caught in this trap but had watched one of the recent block series where a garage makeover was completed by one of the couples and was inspired to see if slatwalls could solve his problem.

I’ll admit we were not the first company he contacted for a price. However, we were the last.

Wall Panel Colours

Tim was keen on the Rustic Cedar colour for these walls but we were, unfortunately, a little low in stock. He and his wife settled for the Whitewood which in the end they were quite happy with.

StoreWALL’s range of PVC Garage Slatwall Panel colours is extensive. From your Whites to your Greys, Blacks, and Wood-like finishes, I don’t think there is a supplier anywhere in the world which can match us. Unfortunately, however, we do run out of stock from time to time as some colours like the whites are super popular.

Each section took 6 panels stacked one of the other. We used 3 installstrips across each section (as you can see in the first photo above). In total, we used 12 x 2438mm panels and about 24 installstrips. The garage door bracket required us to cut out a section from two panels so that we could fit it in. I did it with a jigsaw. StoreWALL panels are pretty easy to work with when it comes to cutouts.

Brick Wall Hooks

Tim purchased several accessories which are not shown in the pictures. He chose a:

  • Ledge Shelf for his car care kit.
  • Rotating Bike Hook for the bike he was looking to add.
  • Heavy Duty Utility Hook for his ladder.
  • Heavy Duty Universal Hook for his foldable chairs.
  • Heavy Duty Tool Hook for his gardening tools.
  • Several smaller hooks.
  • Heavy Duty Deep Basket.
  • Vertical Tool Hook for his garden blower.

Tim can now use all of his impossible brick wall. He can add and remove his accessories as often as he needs to. No more drilling holes nor worrying about where to place them.

Categories
Brick Walls

Brick Wall Shelving Solution

Most garages in Australian suburban homes will have their main wall built with brick. If you are lucky enough to have a double brick wall it will be a flat continuous wall. If not, you will have piers along the length of the wall. Finding a suitable brick wall shelving solution to make the most of this walled area can be challenging. Many may also turn out to be rather inflexible as a long term storage option.

Brick Wall Shelving Solutions
Garage brick wall with piers

Garage Shelving Solutions

Visit your local Bunnings or Mitre10 Hardware store and you will find lots of different types of brackets which you can install on your brick wall in order to fit it with shelving.

Brackets can be spaced within each of the piered sections of your brick wall allowing for taller and smaller items to be stored on the shelves.

This particular bracket is from FlexiStorage and is sold at Bunnings for under A$15. Specifications say that two of these can hold 60kgs. Bunnings also sells floating shelving made from MDF which can be used with these brackets.

brick wall brackets

Sounds like the perfect solution. So what’s wrong with it? Nothing really. However, once these brackets are drilled to your wall, your storage options are limited to shelving. Try hanging Rakes and Blowers on a shelf.

What happens if 3 years down the track you need more wall space for storing bikes? These brackets will need to be removed. Your storage needs are fluid, ie they change and sometimes rather quickly.

Brackets solve the shelving problem. Fixing them to your wall also makes them kind of permanent and not very flexible when you have limited garage wall space.

Another option is a separate standalone shelving unit that is not fixed to the wall. This will work as long as you can find the width suitable to the space between your piers. A separate unit is also easy to move around the garage.

Shelving is necessary in every garage but it isn’t the only storage solution you will need.

Brick Wall Shelving Solutions

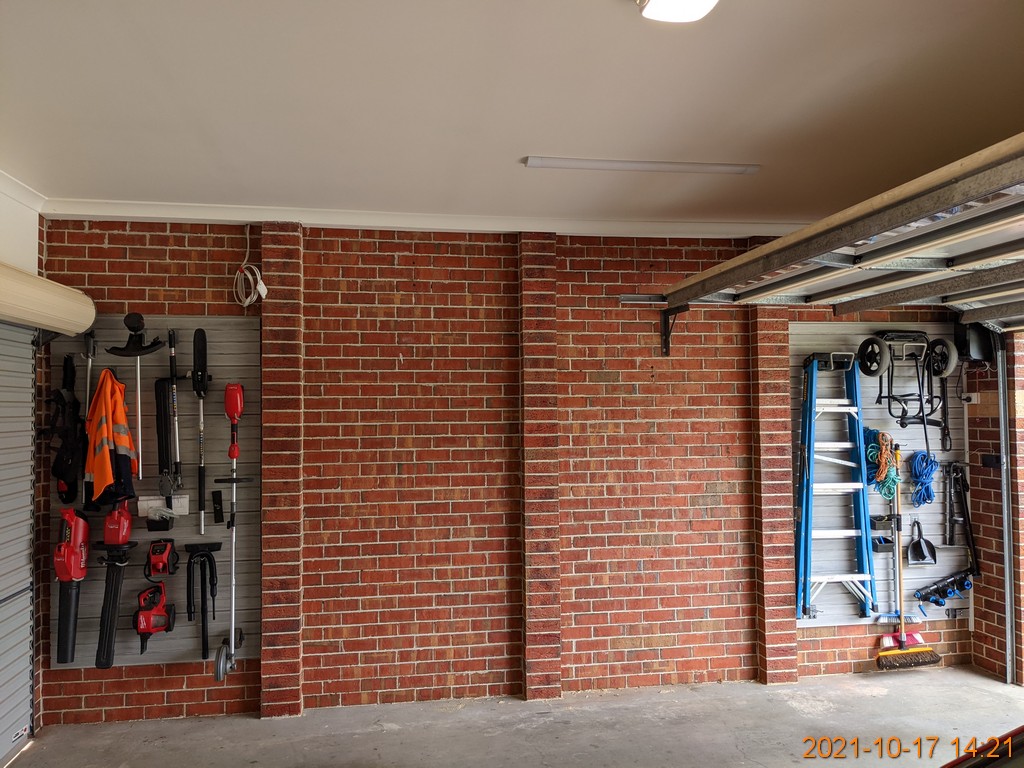
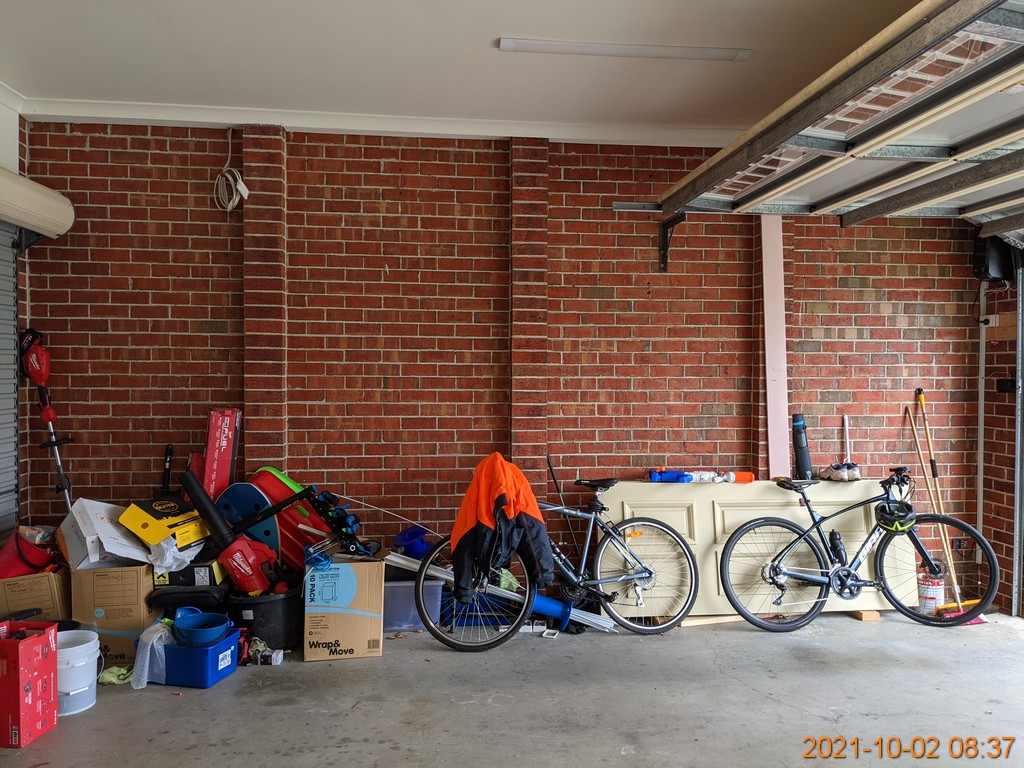
The picture of the brick wall above is from a customer in Melbourne who recently installed StoreWALL in his garage. His main garage wall was made from brick, with Piers separating 4 sections of the wall. The distance between each Pier is between 1200mm and 1500mm.

This customer had the following list of items to store on his wall:

  • Lawn edger with drive head unit
  • Blower
  • Handheld Hedger
  • Brush Cutter Attachment 
  • Hedger Extension
  • Pole saw
  • Extension Pole
  • Charger & Batteries
  • Electric Pump
  • Ladder
  • Rope/Extension Lead
  • Broom
  • Sports Balls

To help him better understand which accessories would suit his items, I invited him to visit us in Mount Waverley and to bring a few of these items with him. We tested them out using StoreWALL’s accessories and this helped him select what he needed.

StoreWALL Brick Wall Shelving Solutions

The customer decided to use StoreWALL Panels for two of these brick wall sections. We cut up 3 cartons of Barnwood Grey 2438mm panels. Four 2438mm panels were cut in half to 1219mm giving him 8 panels at 1219mm. A further 7 panels were cut to 1420mm. He used most of the panels on the two outer sections of the wall. The remainder was used in a separate shed.

Brick Wall Shelving Solution
Brick Wall Storage Solution

The picture shows just how much he was able to fit on these two wall sections. The left section holds some 14 items. The section on the right holds some 13 items. Much of what he had to store was not suited to shelving. However, I am told he is looking to add two cupboards in the middle sections for items that can be stored on shelves.

You can learn more about installing StoreWALL on a brick wall by watching our video.

Installing StoreWALL on a Brick Wall

Wall to Wall Shelving

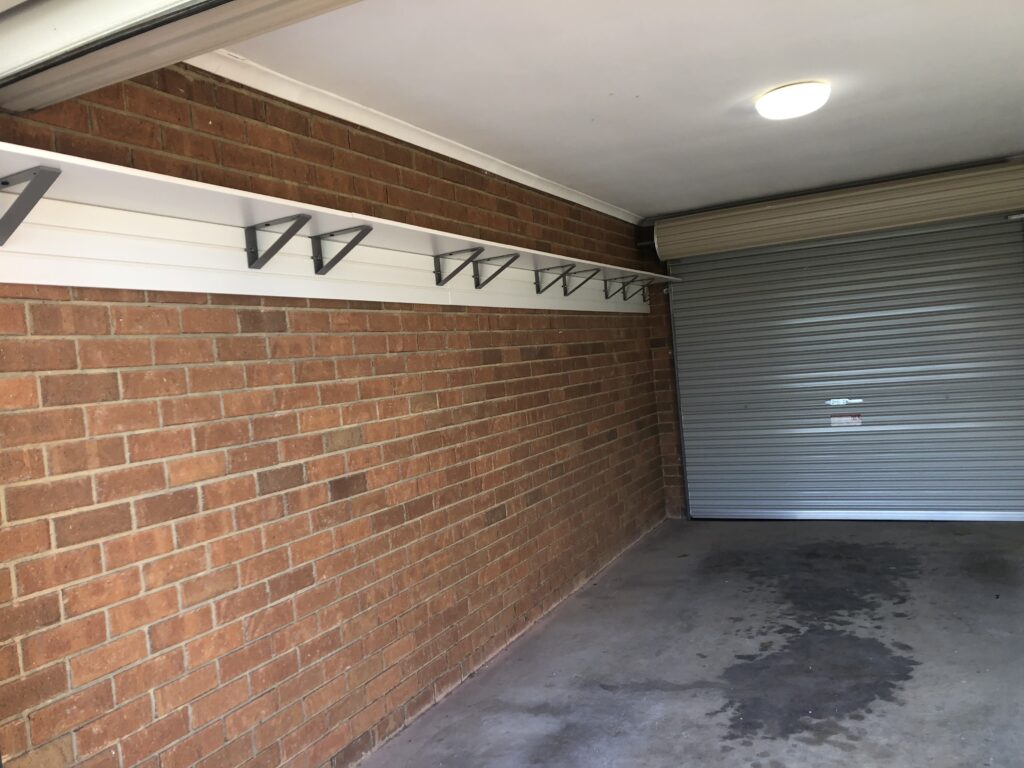
StoreWALL’s Wall Panels can also be used for shelving. See the picture below of an installation also completed in Melbourne. The requirement was shelving across the length of both walls. One was brick, the other plaster.

Brick Wall Storage

In the example above, we installed a Standard Duty Wall Panel across the length of the wall and then hung 254mm brackets and MDF floating shelves. StoreWALL’s brackets come with our exclusive CamLok locking mechanism which allows them to be fixed to our wall panels but also moved as and when needed. Moving them does not involve any messy damage to your wall.

The customer in the picture above was looking to use the shelving for household food and cleaning items. The wall panel area below the shelf could then also be used to hang all sorts of gardening and items that would normally be found leaning in the corner, or even lying on the floor.

Whilst the picture above had only part of the wall paneled, you could also achieve a brick wall shelving solution with a setup like the one below.

Flexible floating shelves
StoreWALL Shelving

In the case above, StoreWALL brackets are coupled with StoreWALL floating shelves and lined vertically on the wall. Our brackets come in two depths, 254mm, and 381mm. Each bracket is fitted with StoreWALL’s exclusive CamLok locking mechanism.

StoreWALL sells a range of PVC and metal floating shelves to suit your needs which can be fixed to the brackets. You can also create your own floating shelves.

Deep Metal Shelves

StoreWALL’s 600mm deep metals shelves can also be used with most modern slatwall wall panels. The wired metal shelves are 600mm deep and 900mm in length. They offer a great option for storing those large tubs and plastic bins that everyone has in their garage. Best of all, they are super cheap and under $80 each. Combined with StoreWALL’s wall panels, these shelves are one of StoreWALL’s many brick wall shelving solutions.

brick wall shelving
Categories
Brick Walls Garage Ideas

Rendered Brick Garage Wall

A few months ago, I received the below email from Andrew who lives in Sydney “Looking at the StoreWALL system, and am wondering if you’ve come across a Sydney based installer who can install on a rendered brick garage wall? It looks more complex than a standard install, so would rather go to someone who has previously done this”. Shortly after I received a call from him as well and we chatted in more detail about his project.

New Home New Garage

Andrew had done quite a bit of work to his home and he had now turned his attention to his garage. His garage was quite big in terms of height. Both side walls where made from brick and rendered. He also had pillars between sections. Andrew wanted a garage storage system which allowed him to make use of his new garage walls.

After researching storage wall panels, he came across StoreWALL and discussed the installation process with his carpenter. His carpenter recommended installing battens to the walls first and then installing the StoreWALL InstallStrips to these battens. There was a fear that some screws may not hit mortar and not brick and so the installation would not be as secure as it could be.

His Carpenter had a valid point, however StoreWALL’s InstallStrips (one 900mm pieces with 3 sections) have 12 screw holes each. Therefore, it was unlikely that if they used all 12 screw holes that they would not secure the wall well enough.

Rendered Brick Garage Wall

Following our phone call, I sent Andrew an email with some photos of a previous installation we had done which was also on a rendered brick garage wall. To assist him I also provided Andrew with contact details of a carpenter I knew in the Sydney area who had installed StoreWALL in the past.

“Thanks for the chat Andrew. This is a picture of what the Installstrips look like on a brick wall. I know this carpenter has done installations on brick walls before, however I am not sure on his rates.

As I explained I don’t think you need the battens.

Please send through your measurements and I can quote the materials for you.”

rendered brick garage wall
InstallStrips on a rendered brick garage wall

Andrew replied with detailed pictures of how he envisaged his wall looking and the size of panels he would require.

“I have a couple of rows of large shelves going up above (600mm deep), therefore I’m going to use a height of 1830 for StoreWALL which I based on 6 panels.

I’m thinking if I get the 2.4m panels, I can fit some of the leftover cuts in the smaller space under the window that you can see.”

Rendered Brick Garage Wall Sydney
Sydney Brick Wall Installation
Small Brick Wall in Garage

Brick walls are challenging for most home owners. This is because screwing into the walls seems harder and most people think that a brick wall gives them less storage options. To be perfectly clear, brackets with shelving is what most people focus on.

My recommendation to Andrew was the following:

Garage Storage Solution Design

Garage Wall 1

  • 6 pieces cut to 1680mm (comes in 10mm on each side)
  • This will leave you with 6 x 758mm left over. (These can be used under the window).
  • In terms of Installstrips I would have 4 columns (each 2 installstrips high). Total of 8 Installstrips.
  • Panels cut to size. No charge.

Garage Wall 2

  • 6 pieces cut to 1730mm (comes in 10mm on each side).
  • In terms of Installstrips I would have 4 columns (each 2 installstrips high). Total of 8 Installstrips.
  • You will need to also cut around the power outlet on the left. This needs to be done on site.
  • You will have 6 x 708mm pieces left over. These can be used elsewhere in your garage.
  • Panels cut to size. No charge.

Garage Wall 3 (under window)

  • You can use 4 x 758mm leftovers for this. 4 Panels will give you a height of 1219mm.
  • You will need 1 column of InstallStrips on either side (4 sections high). Total of 3 InstallStrips.

StoreWALL Required Materials

  • In total you need 12 x 2438 pieces (3 cartons). You also need a minimum of 19 Installstrips. You will still have left over panels and depending on what you do with these you may require additional InstallStrips.

It turns out that Andrew had an additional wall area which could also be covered with the remaining off-cut panels. In the end there was no waste at all and Andrew had covered as much of his wall as was possible.

StoreWALL on Rendered Brick Garage Wall

Once the order was received I got started cutting the panels and packaging them all up for Andrew. They were couriered to Sydney within a few days along with a small accessories list.

If you check out the end result, you will see he also had the shelving installed above the panels which enabled his to make great use of the height of the garage wall. I don’t have the exact measurements, but Andrew’s garage is super tall.

Garage Storage Accessories

In terms of accessories, Andrew started with a small quantity to manage some key items in his garage and once this was ready would re-evaluate.

He had some foldout chairs he wanted hung, some bikes and a ladder. To start with the accessories list looked like this:

  • 4 x HD Universal Hook
  • 4 x Rotating Bike Hook Mountain Set
  • 1 x 190mm Single hook
  • 2 x 300mm Universal Hook
  • 1 x Large Tote Bag

StoreWALL on a Rendered Brick Garage Wall

Rendered Brick Garage Wall