In the quest for an organised and clutter-free garage, homeowners are turning to innovative storage solutions, and one of the most effective approaches is investing in garage wall storage systems. These systems not only optimize available space but also provide a sleek and efficient way to store tools, equipment, and other essentials. Let’s delve into the benefits and options for garage wall storage solutions.
Maximizing Vertical Space
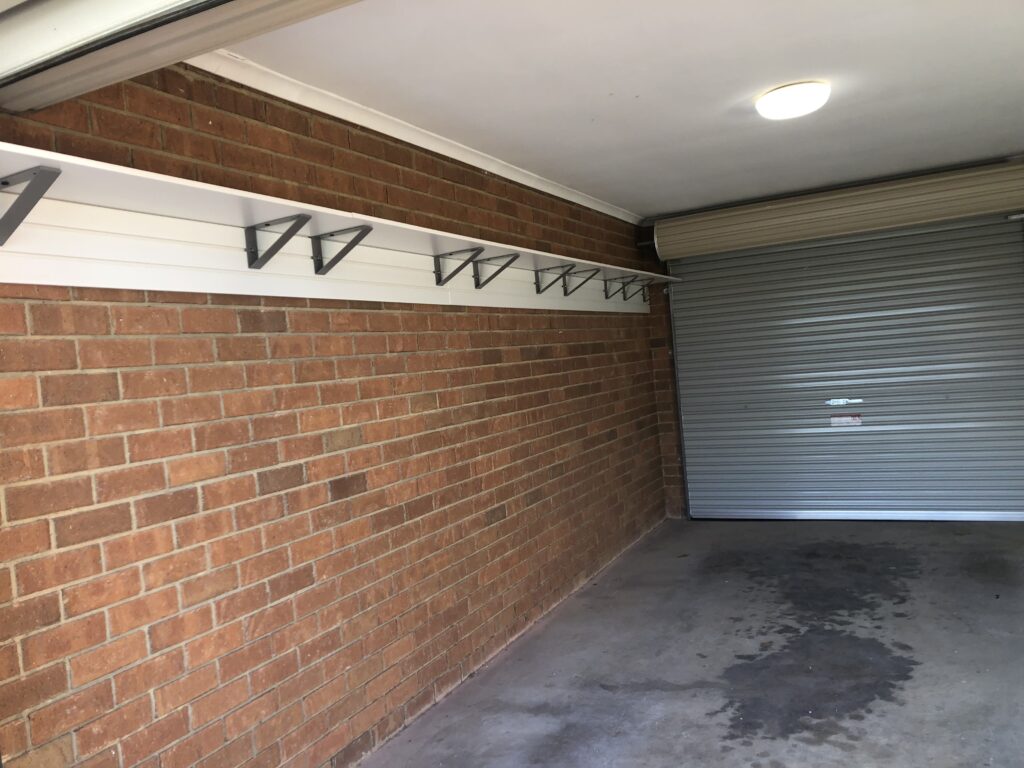
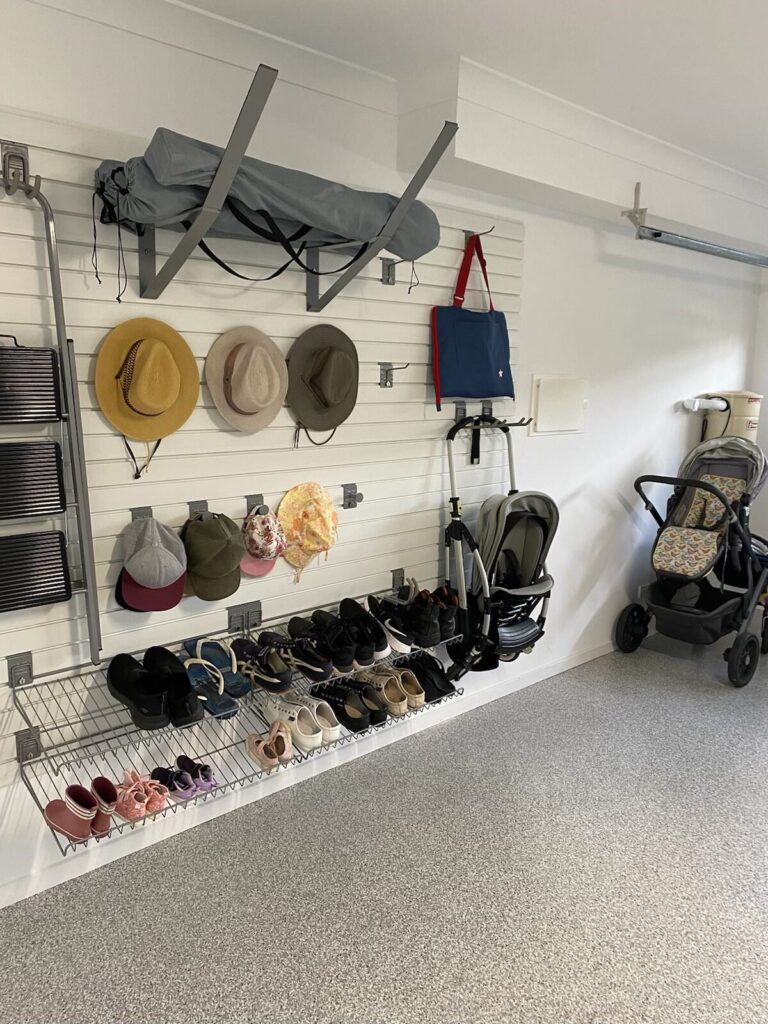
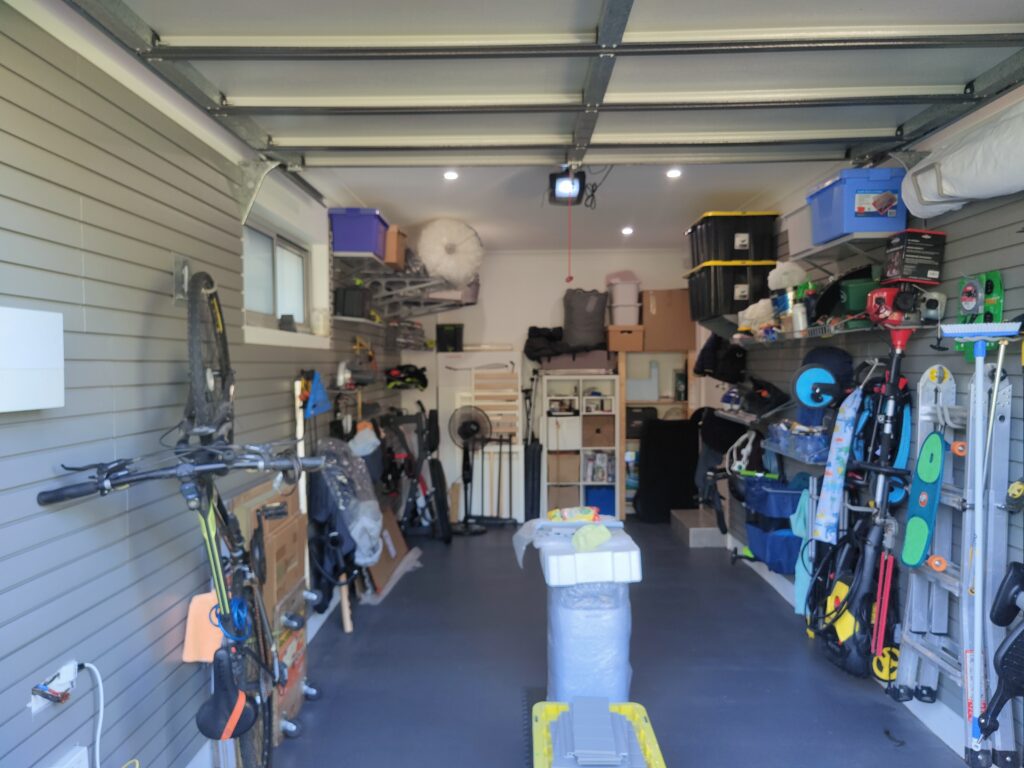
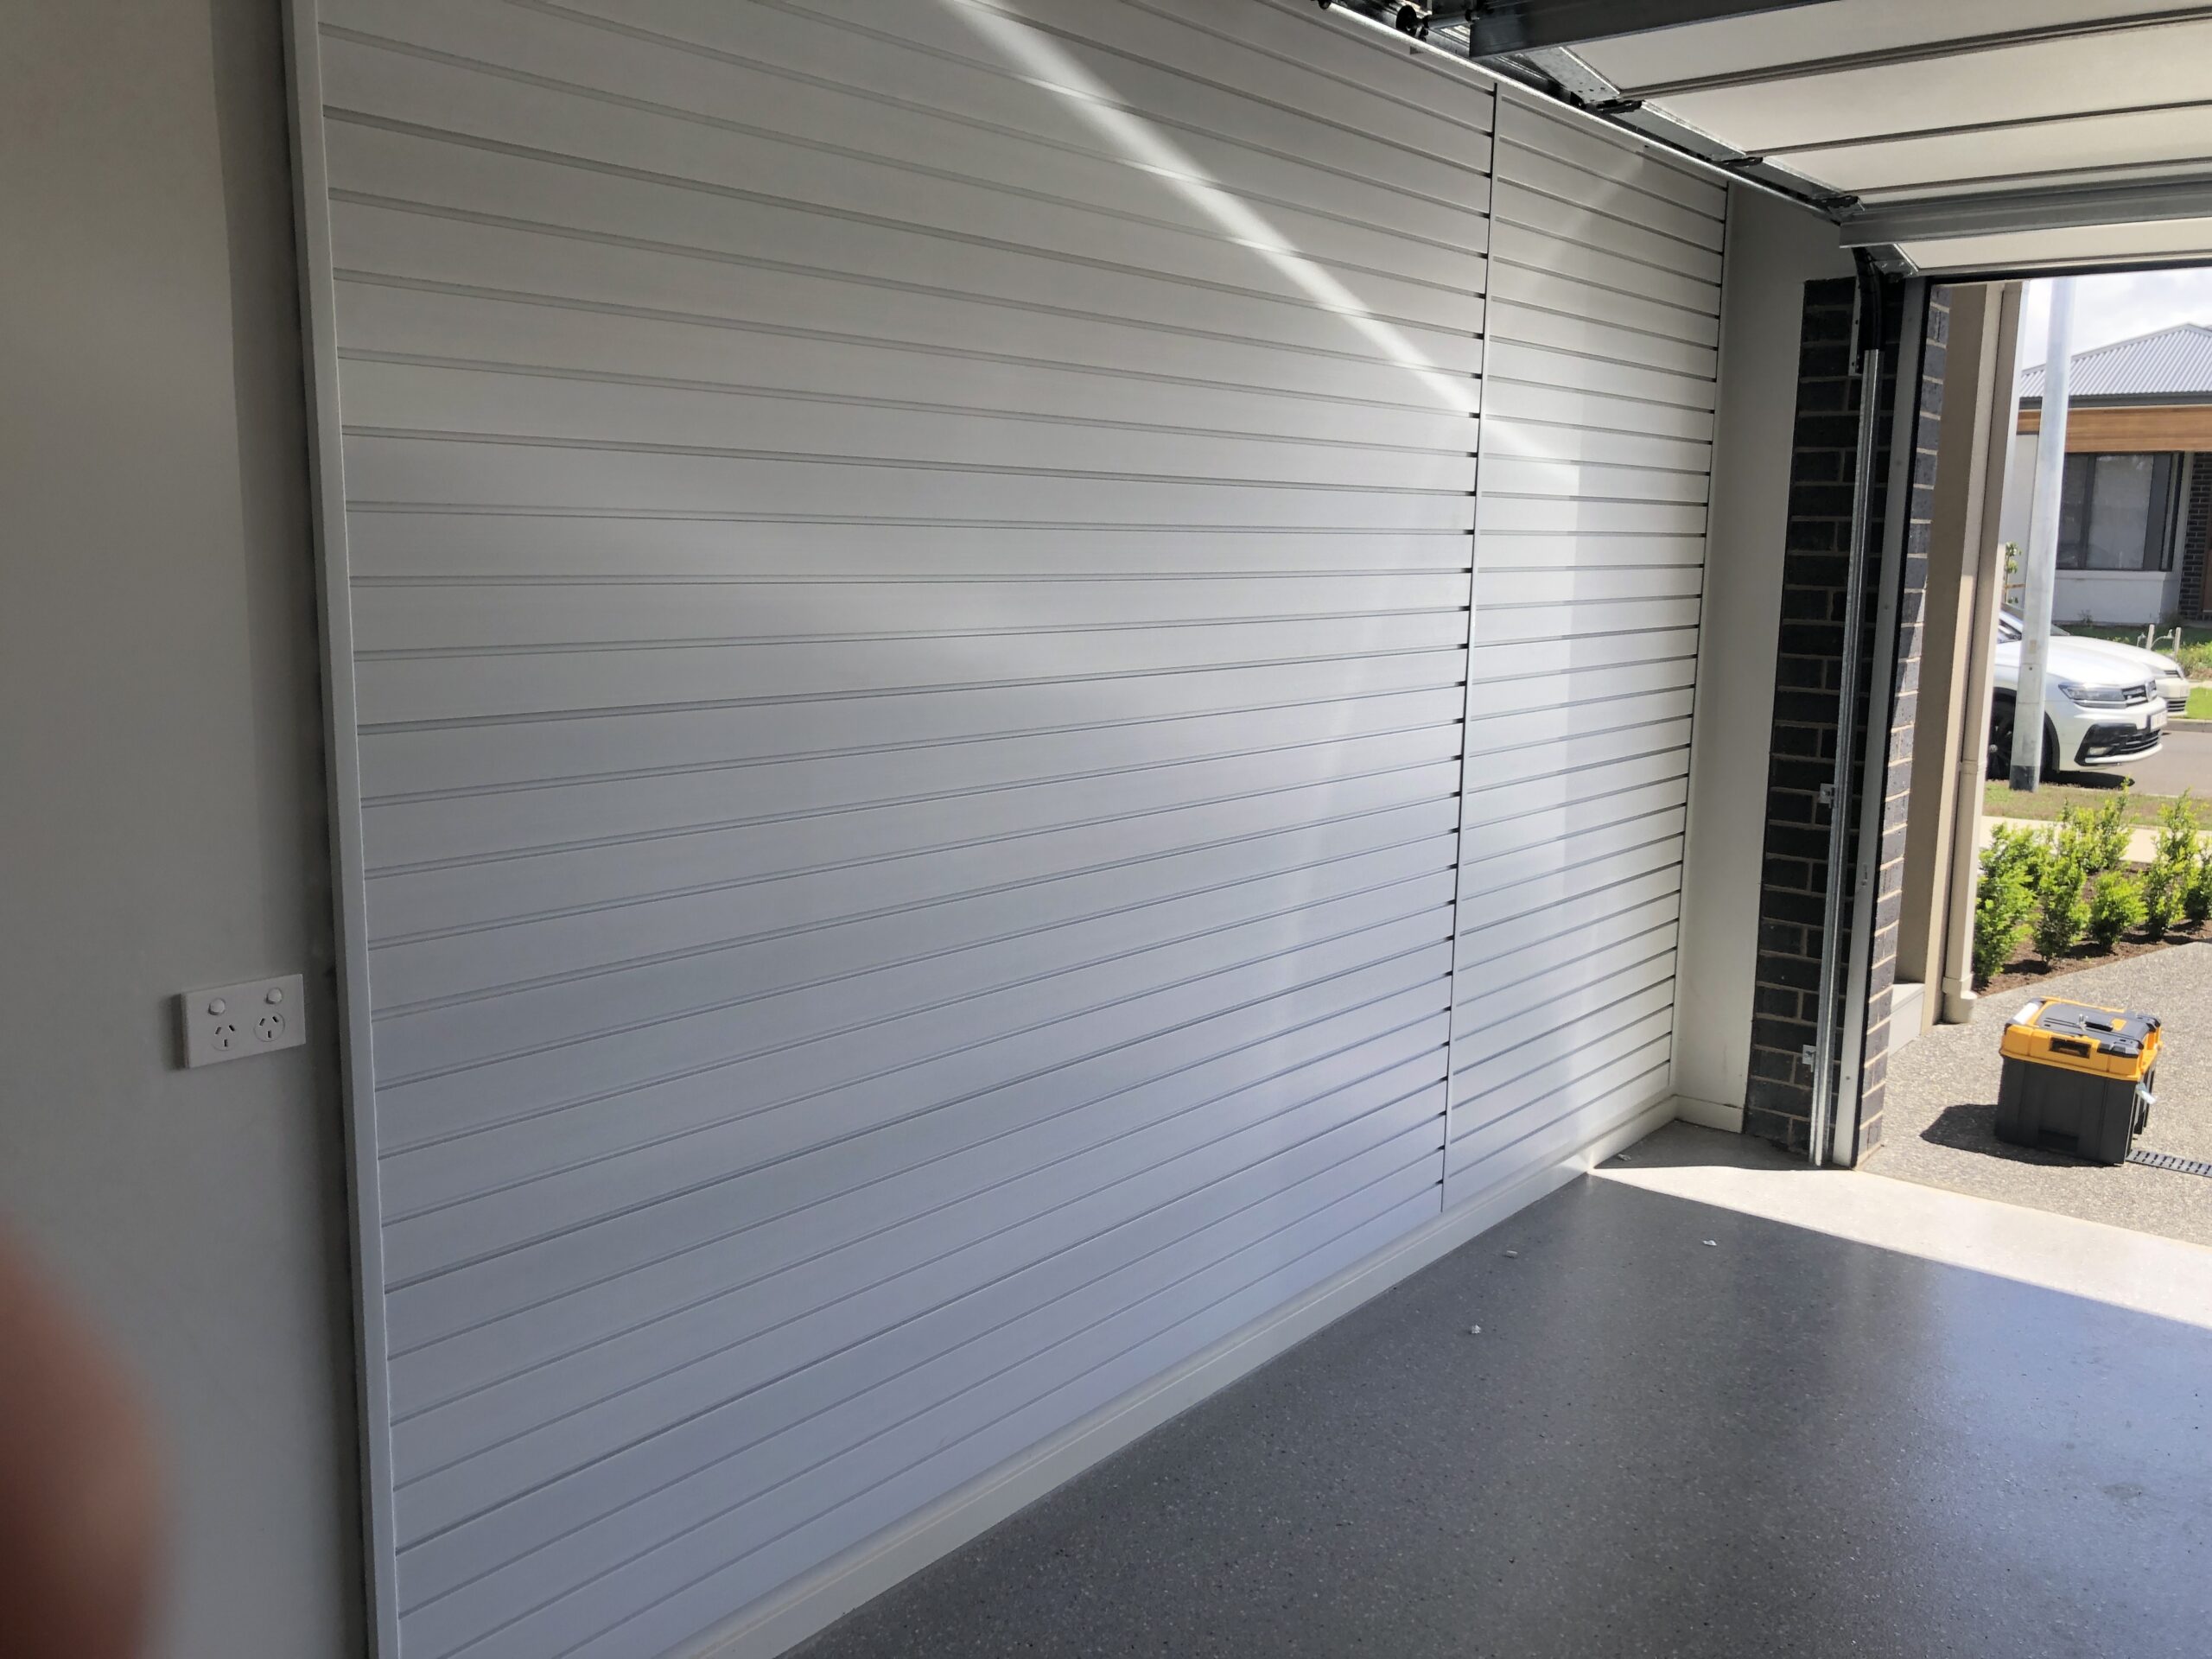
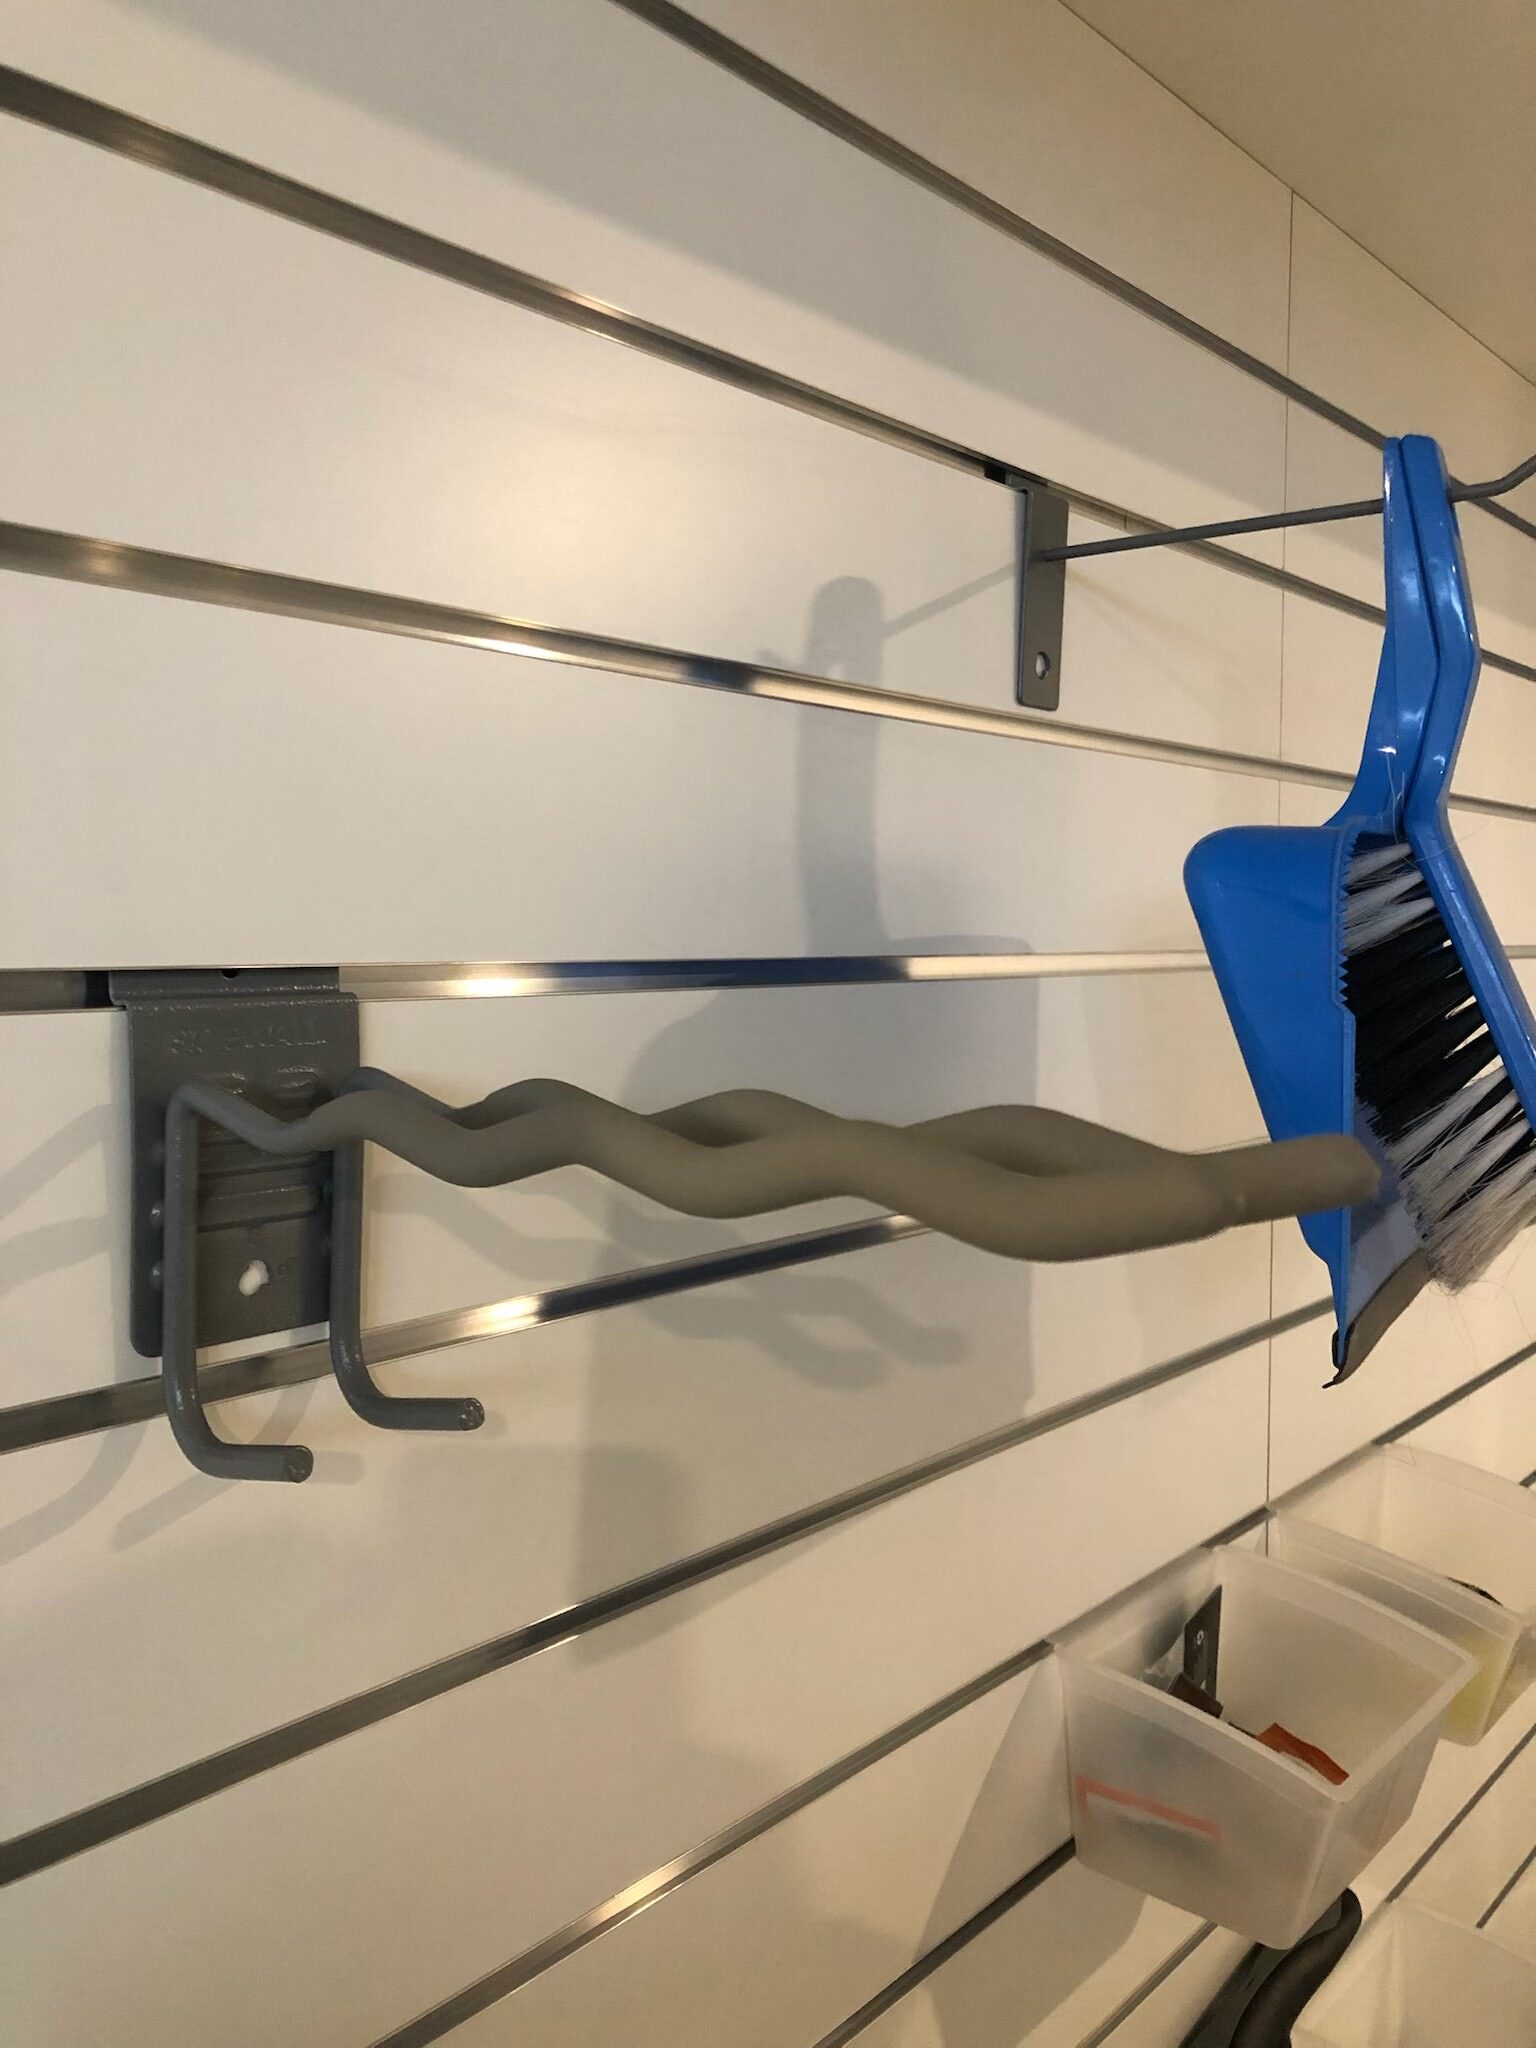
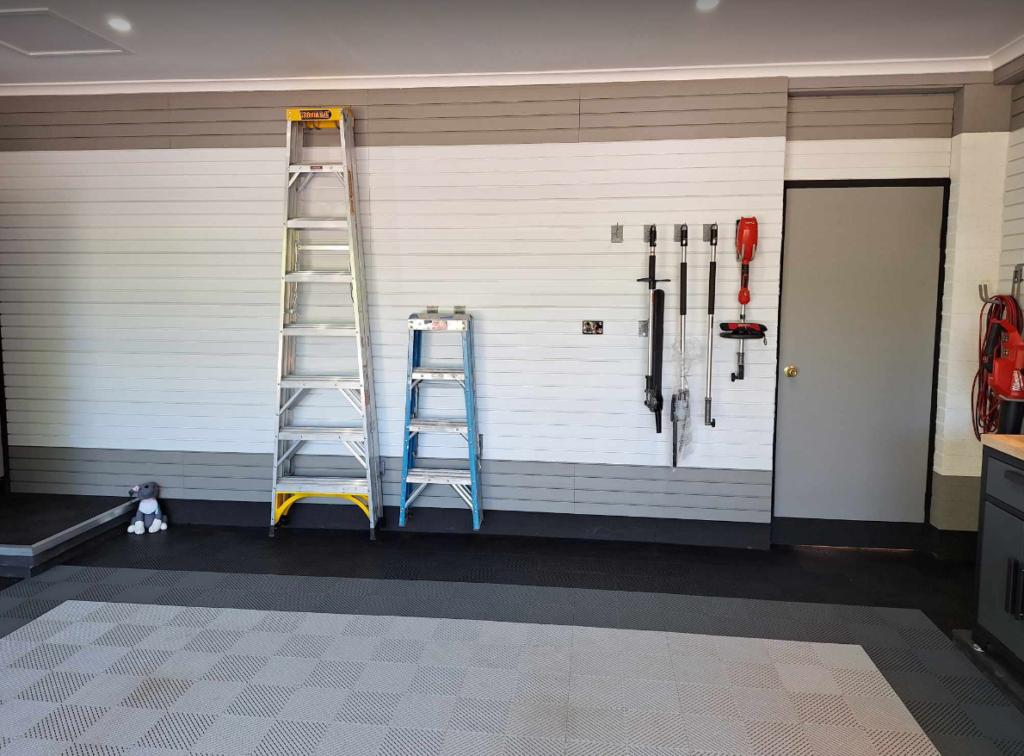
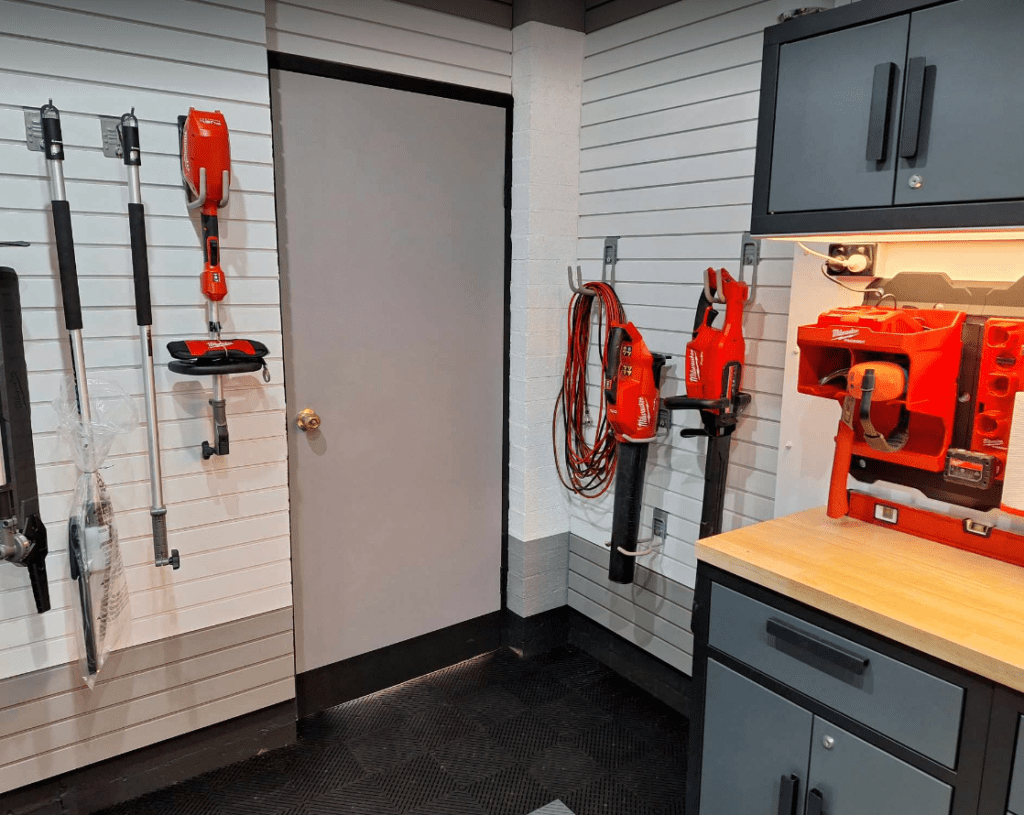
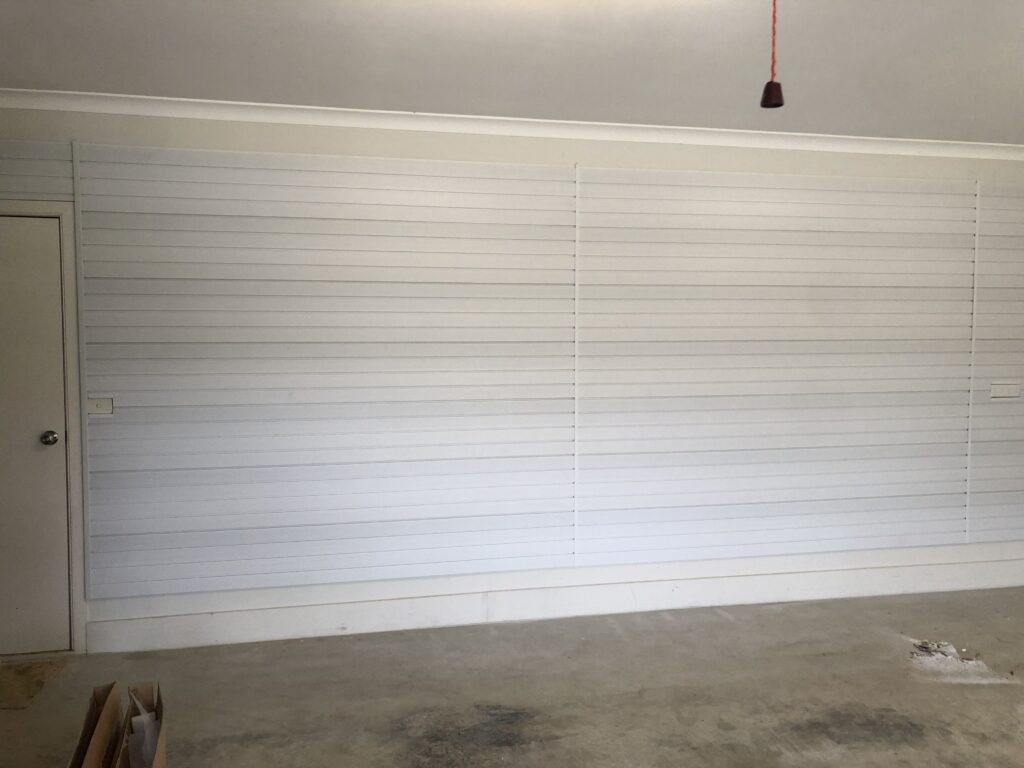
Garage wall storage solutions capitalize on often underutilized vertical space. Slatwall panels, for instance, transform empty walls into versatile storage hubs. With panels constructed from durable materials like PVC Thermoplastic, they offer strength, durability, and the flexibility to accommodate various accessories.
Versatile Panel Options
Homeowners can choose from a range of panel options tailored to their specific needs and budgets. Basic Duty panels serve as an entry-level option, perfect for home applications, while Standard Duty and Heavy Duty panels cater to more robust storage requirements in garages and workshops. These panels are available in an array of colors, providing both functionality and aesthetics.
Customization and Flexibility
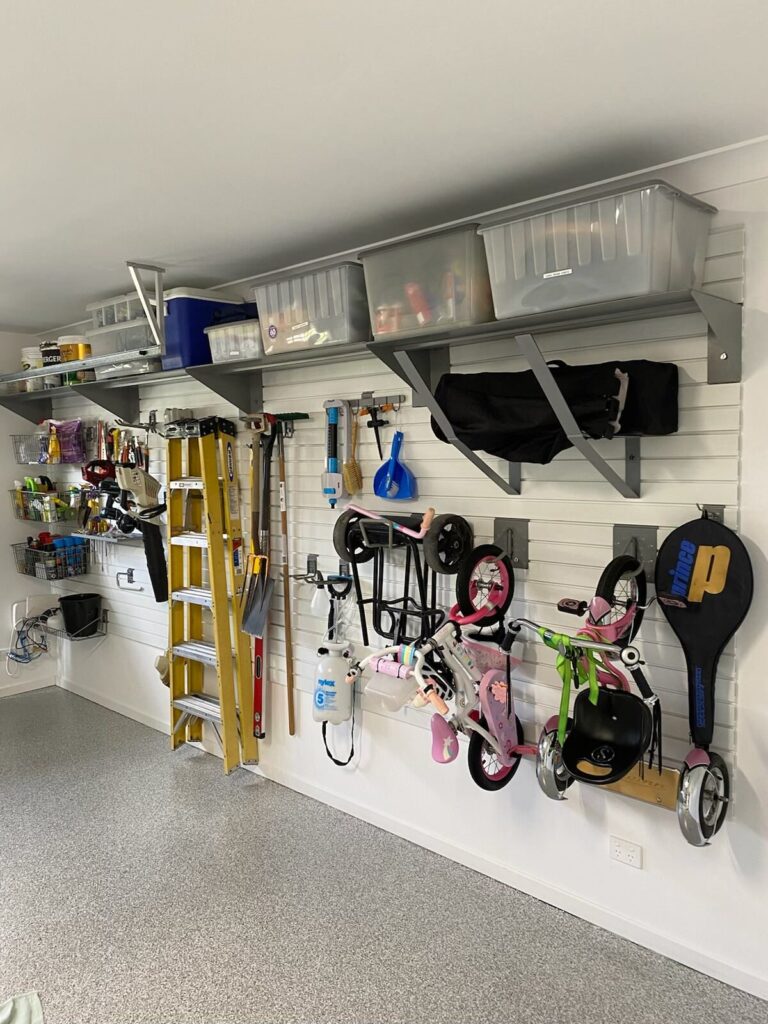
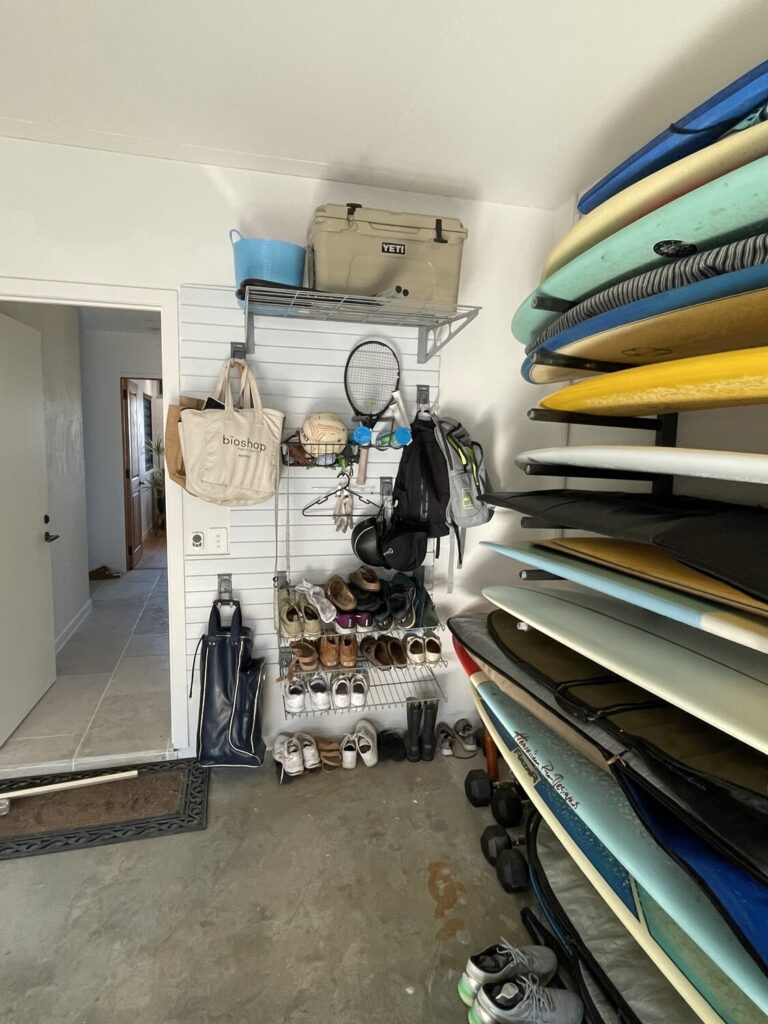
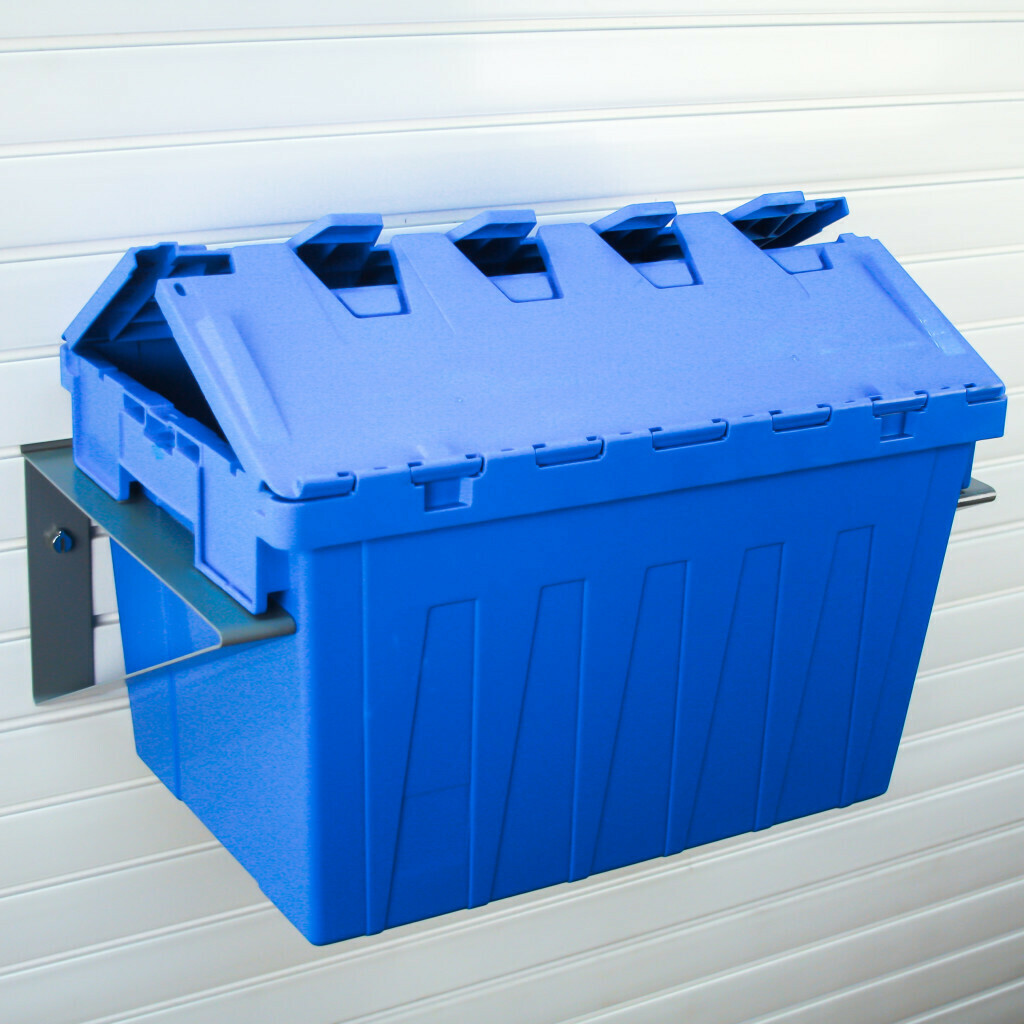
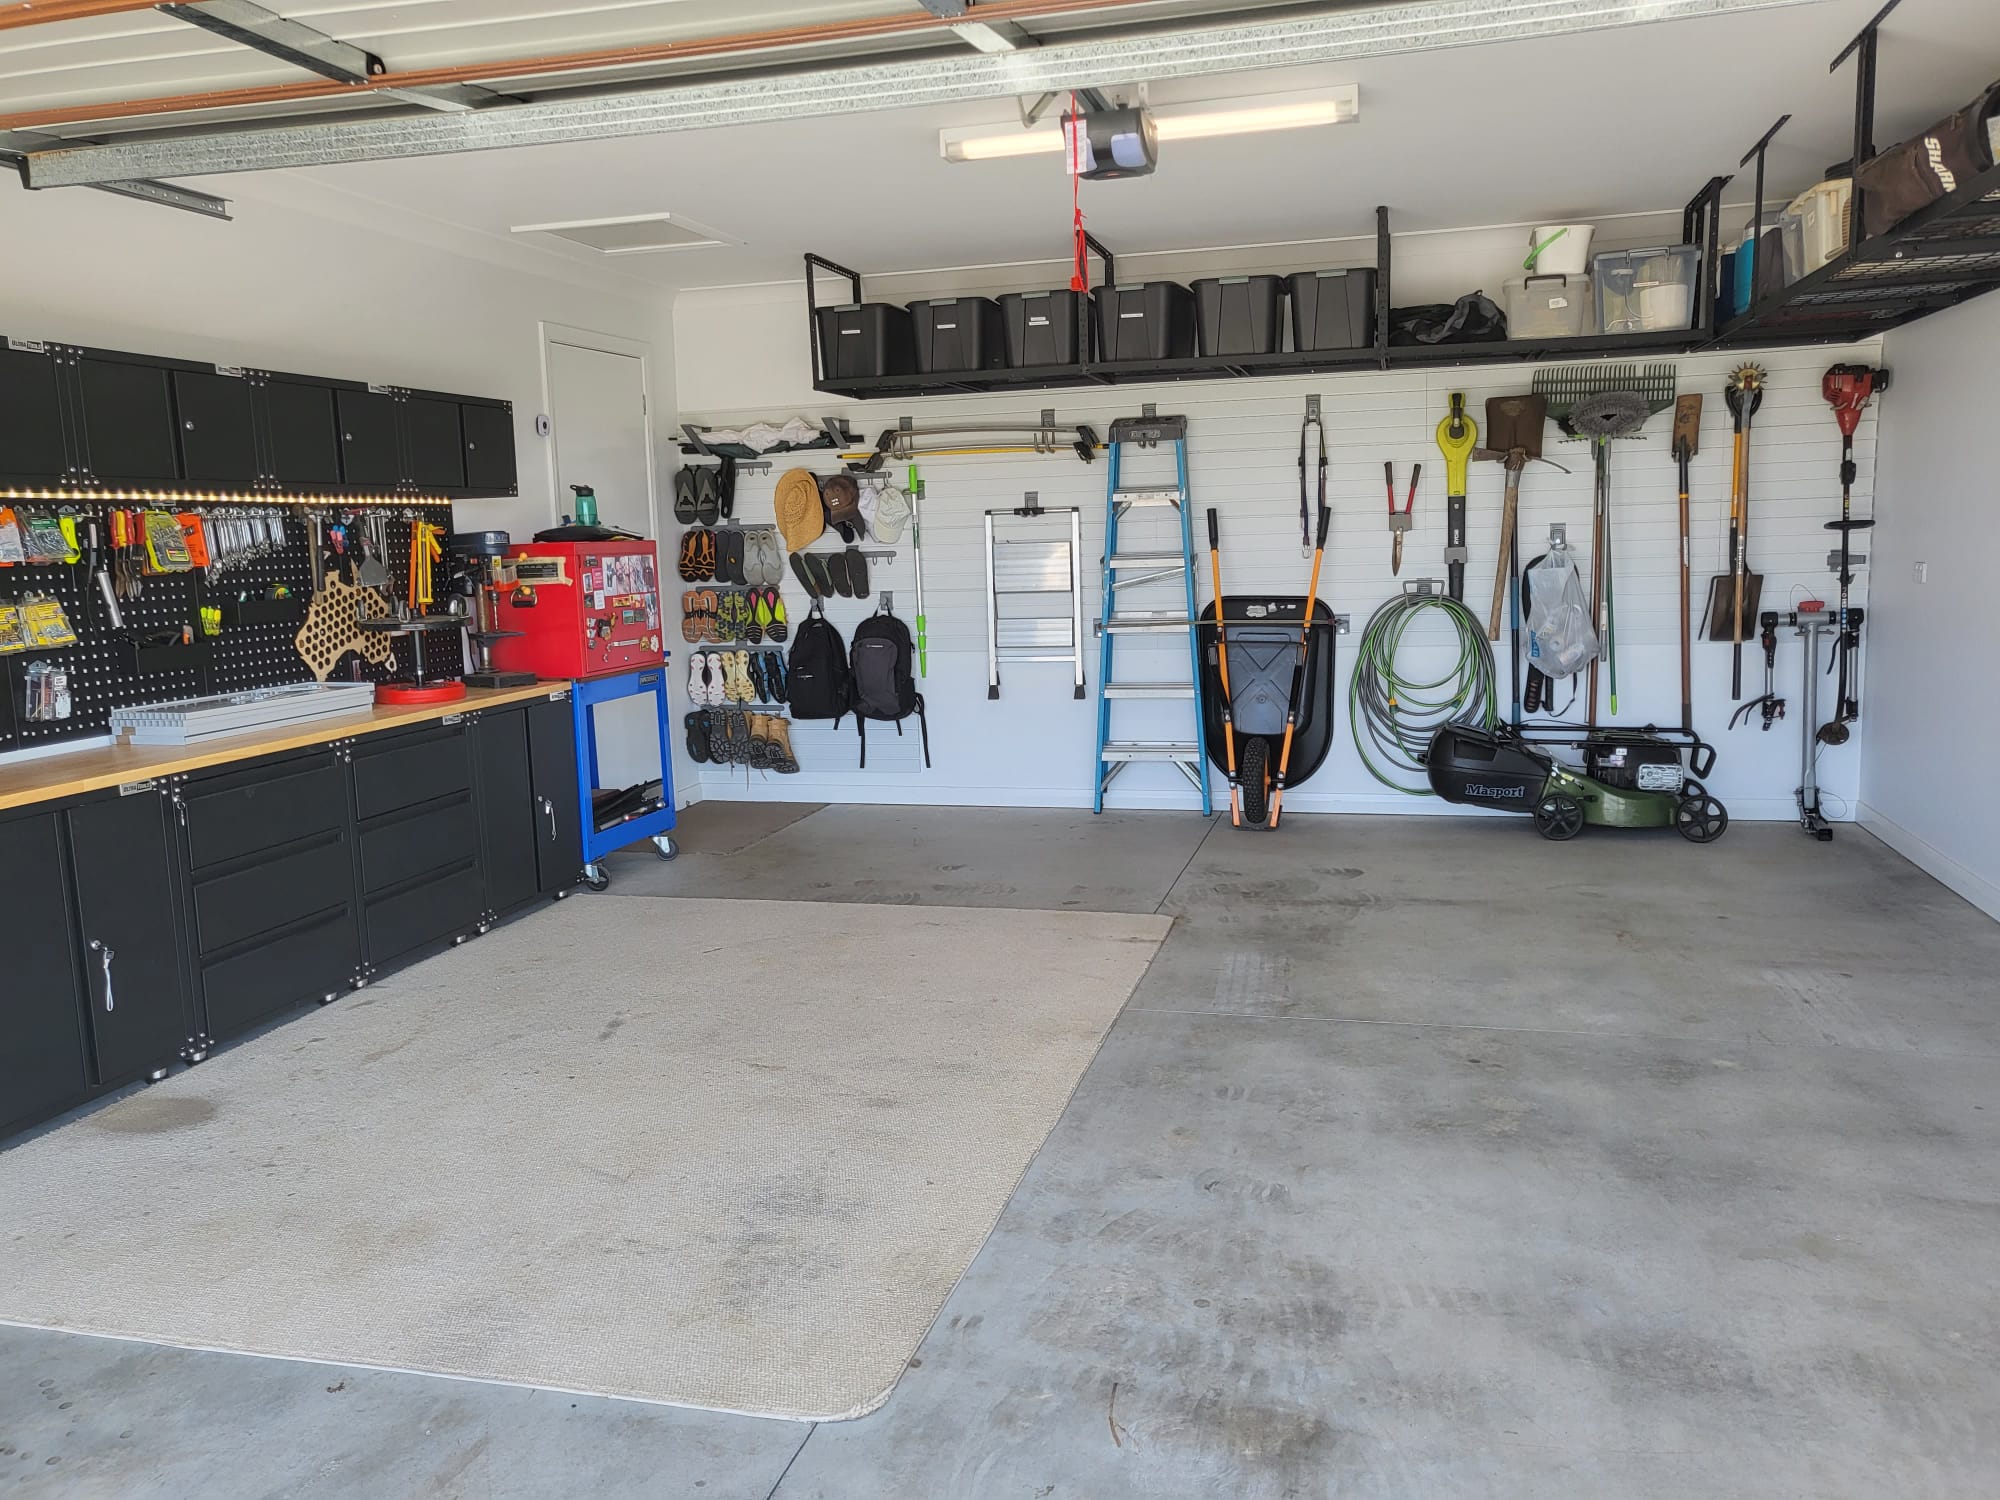
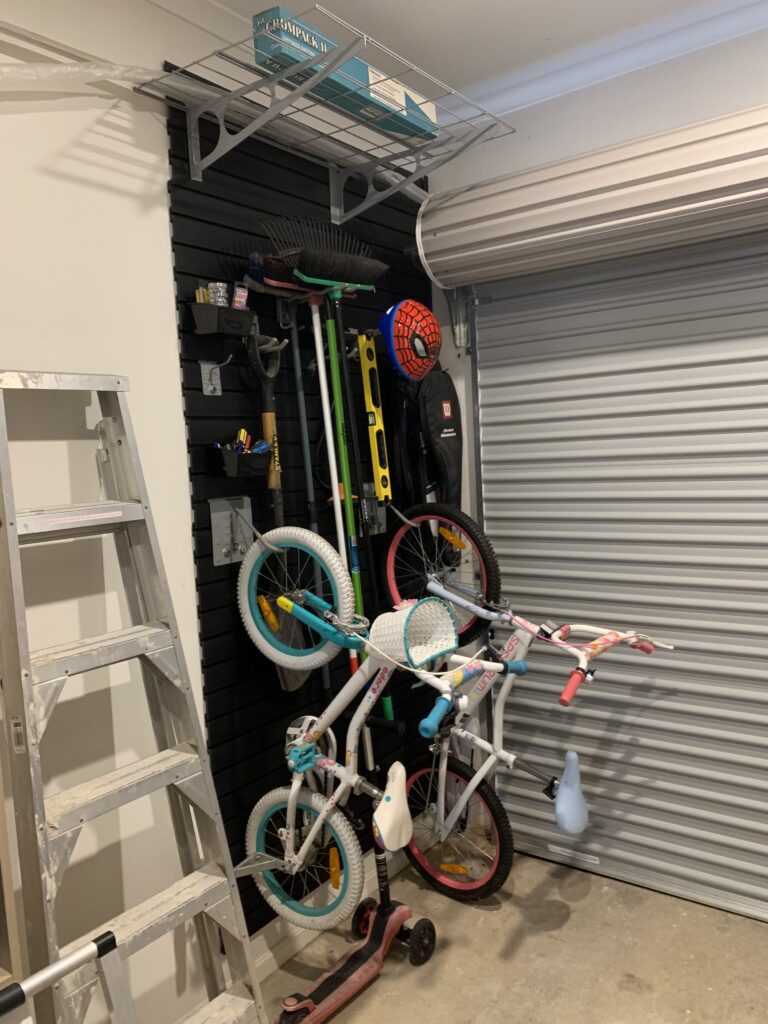
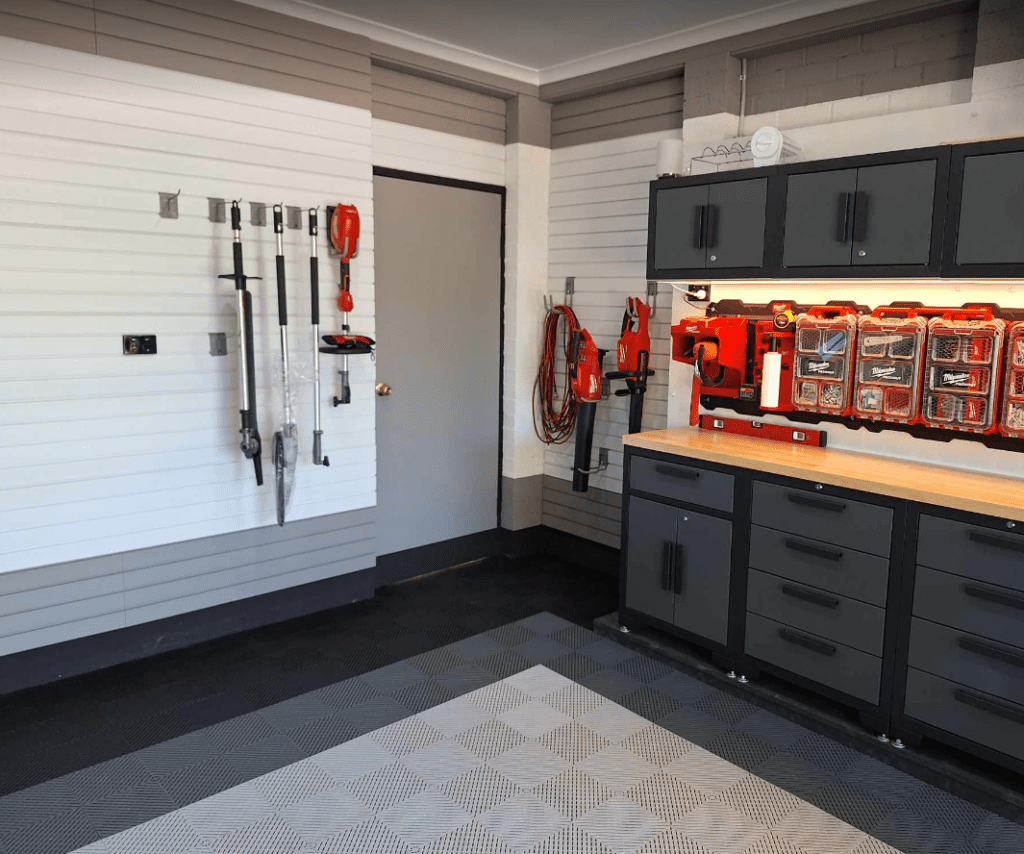
One of the key advantages of garage wall storage solutions is the ability to customize and rearrange accessories easily. Hooks, shelves, baskets, and bins can be effortlessly moved around on the slatwall panels, adapting to changing storage needs. This flexibility ensures that the storage system grows with the user and you maintain an organised and clutter-free garage.
Easy Installation
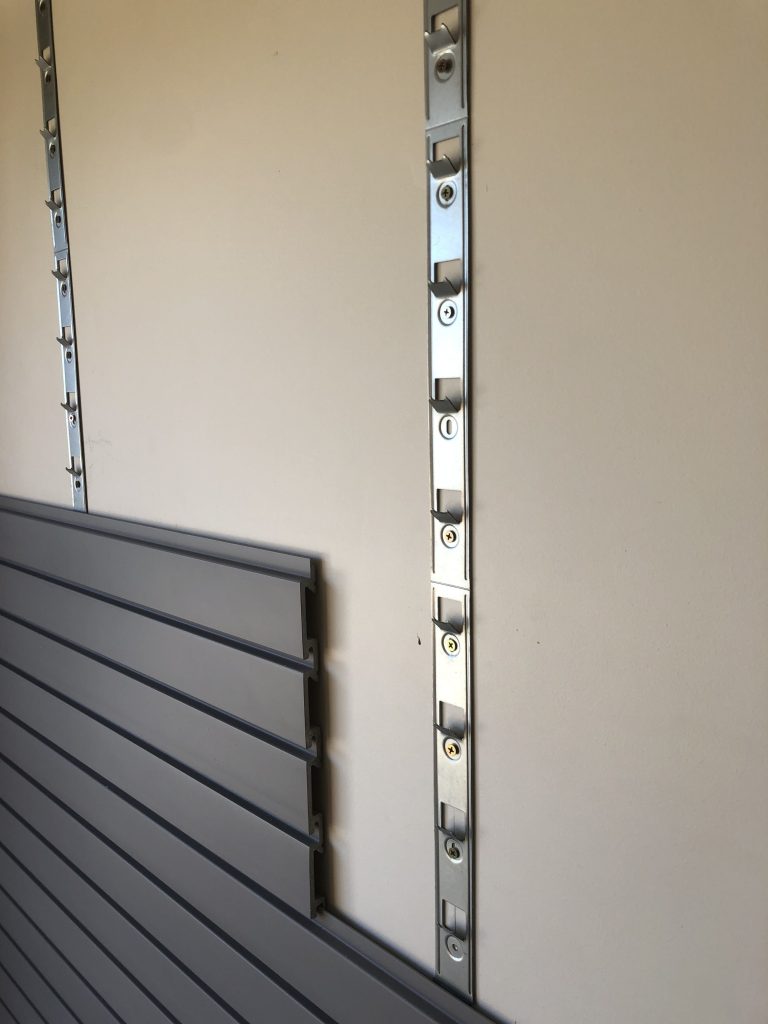
Installing garage wall storage solutions is a straightforward process. Most systems, like StoreWALL, offer simple DIY installations with the option to add InstallStrips for enhanced strength. These panels can be cut to size using basic tools, allowing for a tailored fit to any garage space.
Organizing with Accessories
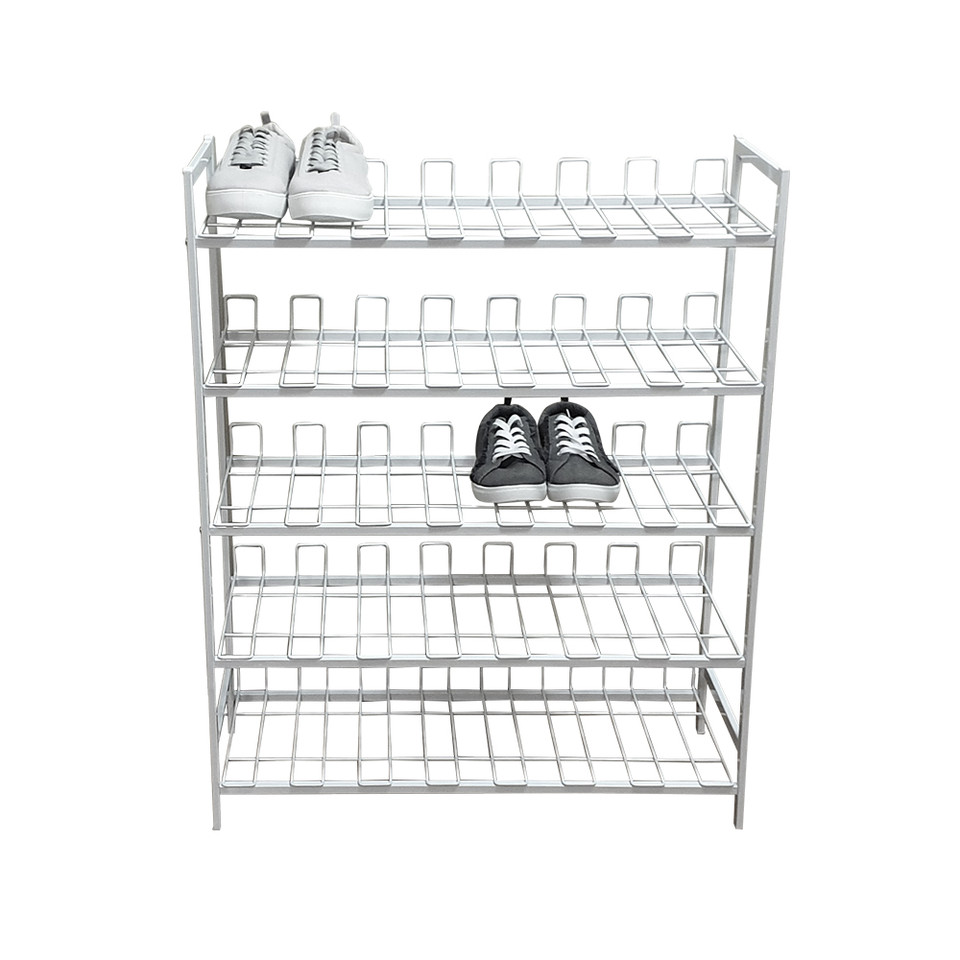
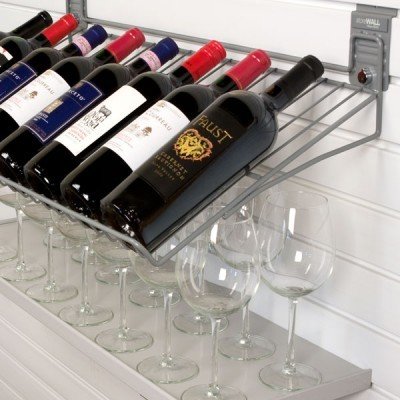
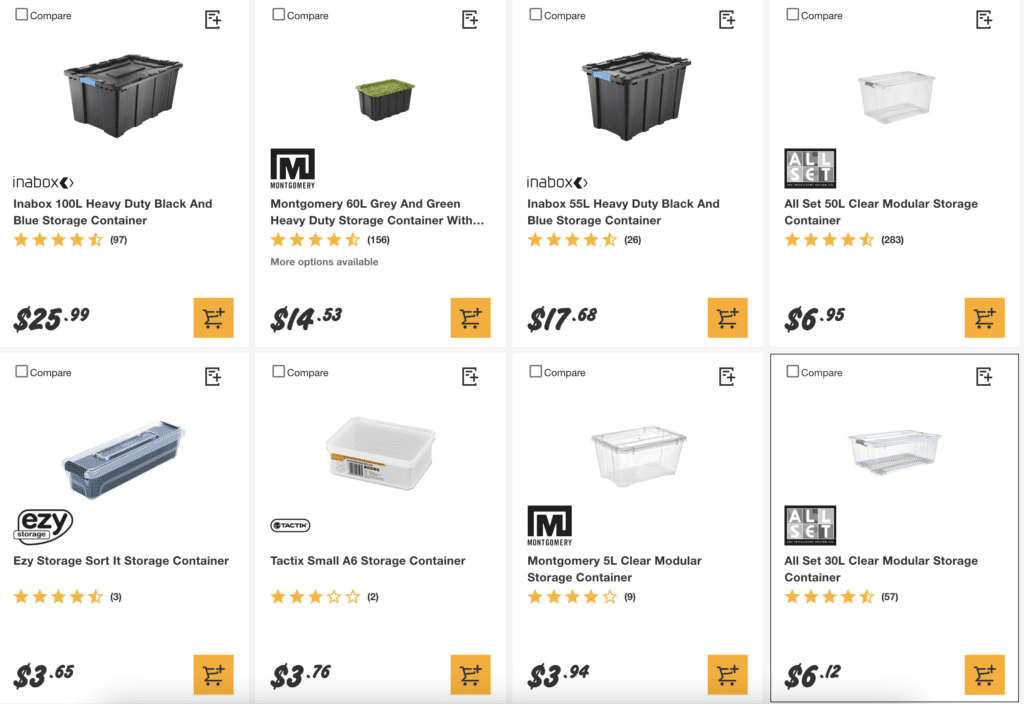
To further enhance the storage capabilities of garage wall solutions, a variety of accessories are available. From heavy-duty hooks for tools to versatile shelves and baskets for miscellaneous items, these accessories provide a designated place for every tool or belonging, keeping the garage neat and accessible.
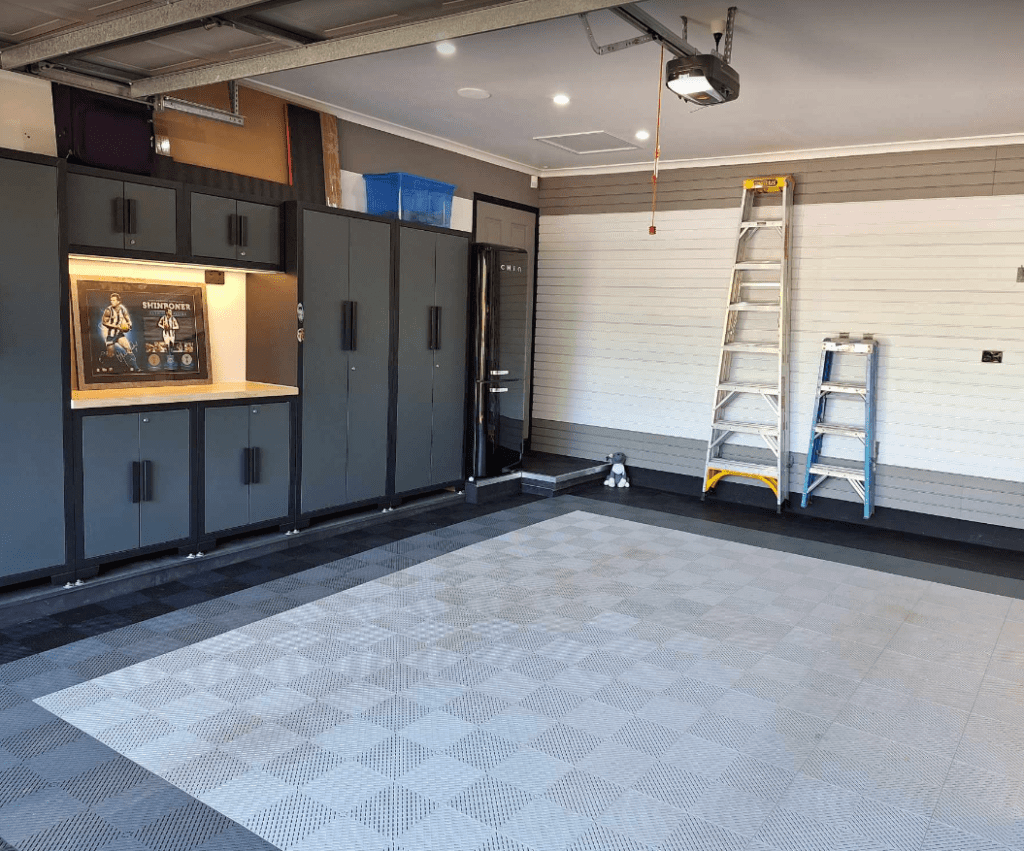
In conclusion, garage wall storage solutions offer an efficient and aesthetically pleasing way to conquer clutter and reclaim valuable floor space. Whether it’s a basic system for light home use or heavy-duty solutions for workshop needs, investing in garage wall storage is a strategic step towards an organized and functional space. Transform your garage into a well-ordered haven, where tools and equipment are not only stored but showcased in a systematic and accessible manner.


:max_bytes(150000):strip_icc():format(webp)/organized-garage-bins-paint-strips-3CKIk-xWK53B6sOjGjz5f--2000-c24c1b0d5e9c43edadb38ec109fefde1.jpg)
:max_bytes(150000):strip_icc():format(webp)/garage-organization-bike-rack-shelves-table-6e92978d-3bc8fae2750449efb0bfa215163fd91e.jpg)