
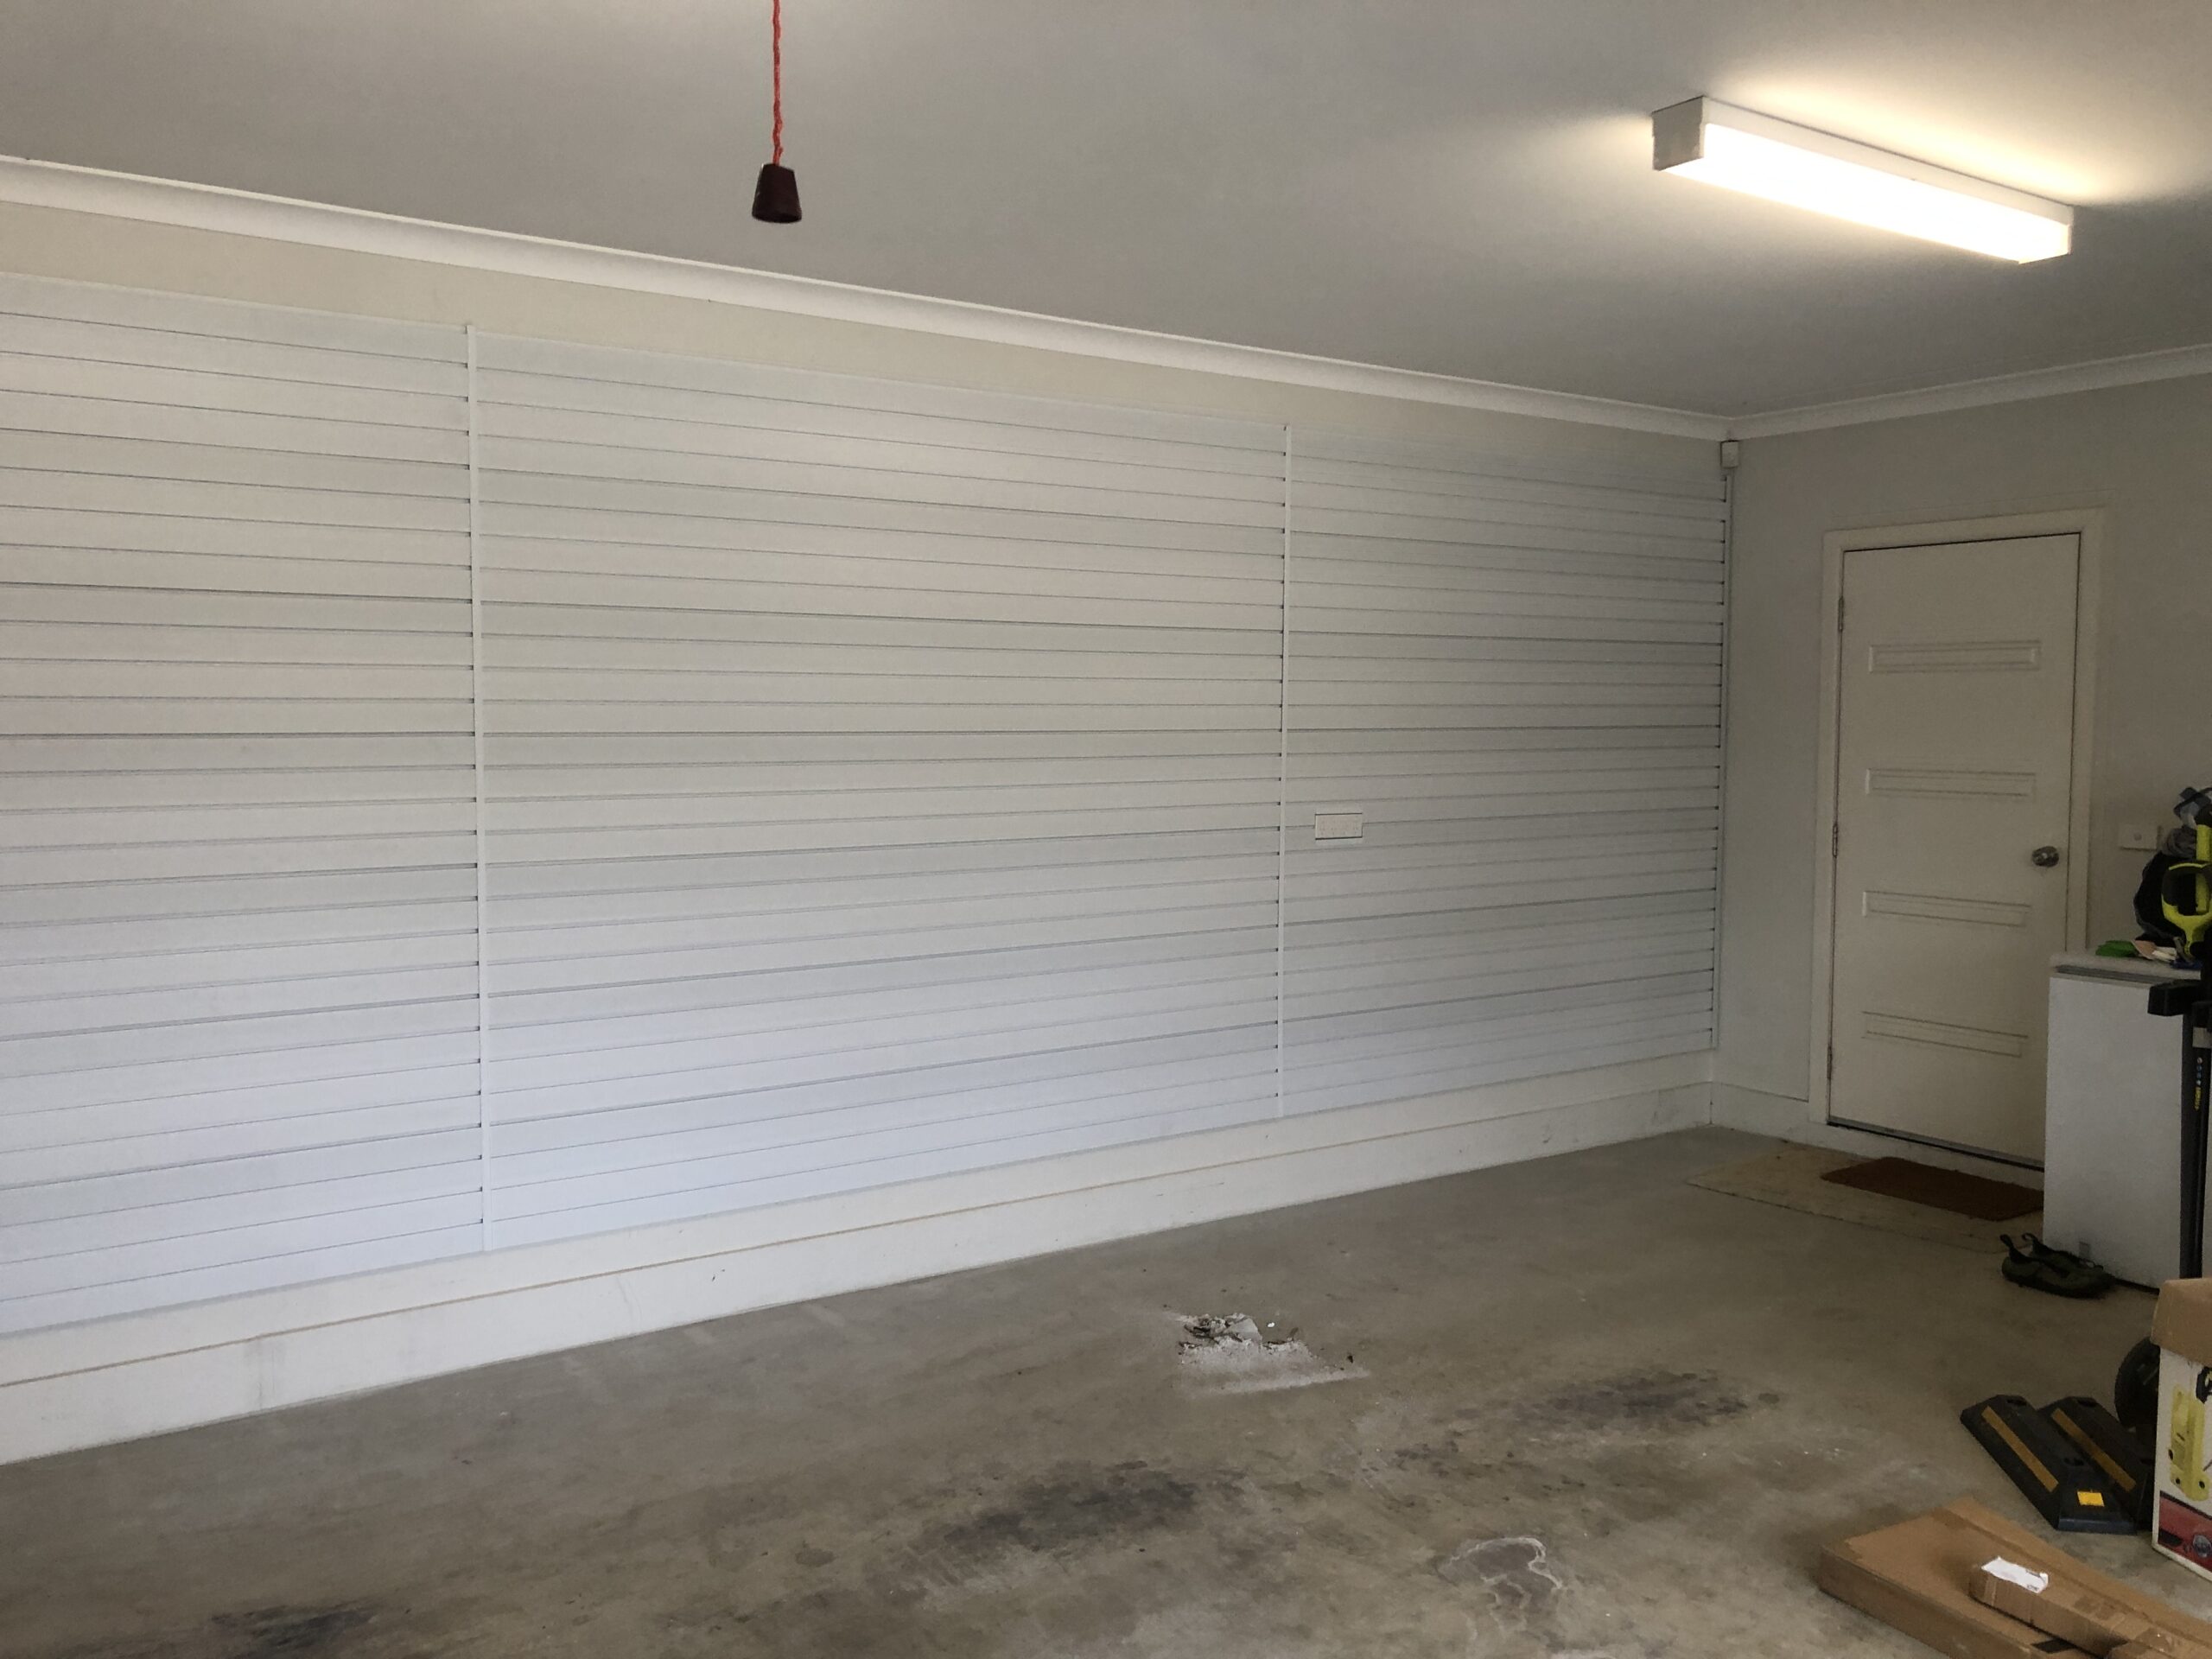
Over the weekend we completed our latest installation of White Garage Wall Storage Panels. After several months of discussion with Stephen in Chelsea, we organised the installation of StoreWALL Brite White Wall panels across the back wall of his double garage.
The back wall of Stephen’s garage was 8m wide (which included a door) and 2.4m high. It was a plastered wall backing onto a rear Hebel wall (most likely formed part of his backyard.
White Garage Wall Storage Panels – Garage Wall Design
Based on pictures sent through by Stephen, we designed a StoreWALL installation with 3 Brite White panels across the length of the wall to cover the 7000mm plastered area. With a 2.4m total height, we used 7 Standard Duty panels to reach a height of 2150mm.
Finding the Studs
I use two different battery-powered Stud Finders. They both deliver different results. They are both wrong a lot of the time. It is always easier to drill a few holes and then use 450mm or 600mm spacing to test if the next stud is where you expect it. You usually need to drill a few more holes to ensure you find the actual outer edges of the studs.
With Stephens garage, the studs were 550 or so apart but there were some different spacings as well.
Garage Wall Vertical Spacing
Stephen’s garage was about 2.4m in height. The wall had a 150mm skirting board. This left us a total wall height of about 250mm. We split this allowing about 125mm at the top and the same above the skirting board. This is where we started our first Installstrip.
With just over 7000mm in length we marked out where each wall panel would start and end, ie 0, 2438, 2439, 4876, 4877, 7000mm. The first and second panel landed in between two installstrips so they didn’t require any additional support. The third (last panel) started a little too far from its closest Installstrip. In this case, we added an additional installstrip using metal screw-in fasteners.
Stacked Wall Panel Formation
For most Installations I have completed for customers, I have opted for the brickwork design. I have always thought it looked the nicest. It does however come with some challenges when joining wall panels. The issue is that the joins show. Some just have a thin line, others have a heavier one. This can come from the cut that was made to the panel (factory or manual). It can also be due to an uneven wall.
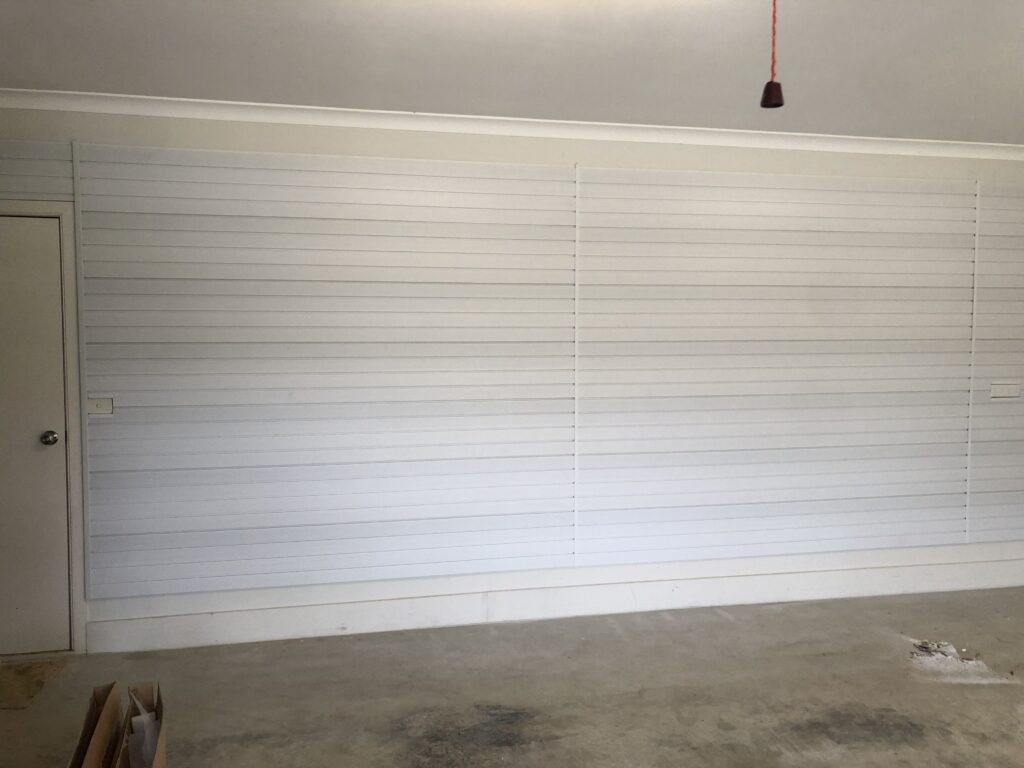
For Stephen’s installation, I opted to try the Stacked Wall formation. We used a Wide Trim at either end of the wall and a smaller joining trim along the wall at the two points where the panels would join.
I can say that using the stacked wall formation is easier than making the brick pattern and the look is just as good. I think having the joining trims on either side of each panel also gives them a little more support.
The joining trim we used was about 3m in thickness. We allowed for this when laying out our panels.
Power Outlets
Stephen’s wall had two power outlets. One was a power switch beside the door, at the beginning of the first panel. The second was a 4-gang PowerPoint at the beginning of the 3rd and final panel along the wall.
You can manage power outlets in 2 ways.
- You can screw the outlet over the panel. To do this, you can cut a hole in the panel at the location of the outlet. The hole needs to be large enough to pass the power outlet through it. Once you pass it through the hole, you can use longer screws to screw it back into its original bracket in the wall.
- You can cut around the power outlet. Using a multi-tool or a jigsaw, you can cut a hole large enough so that it fits around the power outlet. This means you don’t need to unscrew it. You might want to use the joining trims to create a border around it.
For Stephen’s wall, we cut around the power outlet and added trim on the top and bottom of the hole we cut so that it framed it.
Labour Effort
In total, we installed 21 panels for this wall. It took two of us (myself and 15y/o child) about 7-8 hrs to complete the wall. We installed over 32 installstrip, each with 12 screws.