Are you looking to revamp your garage but don’t know where to start? One of the easiest and most impactful ways to give your garage a fresh look is by choosing the right color scheme. A well-thought-out color palette can transform a drab, cluttered space into an organized, inviting area that reflects your personal style. In this post, we’ll explore some stunning garage color schemes for your new garage and offer tips on how to implement them.
Why Color Matters in Your Garage
Before diving into specific color schemes, it’s essential to understand why color matters. The right colors can:
- Enhance Lighting: Bright colors reflect light, making your garage appear larger and more welcoming.
- Improve Organization: Color coding can help categorize tools and equipment, making them easier to find.
- Increase Value: A well-designed garage can boost the overall appeal and value of your home.
Top Garage Color Schemes for Your Garage
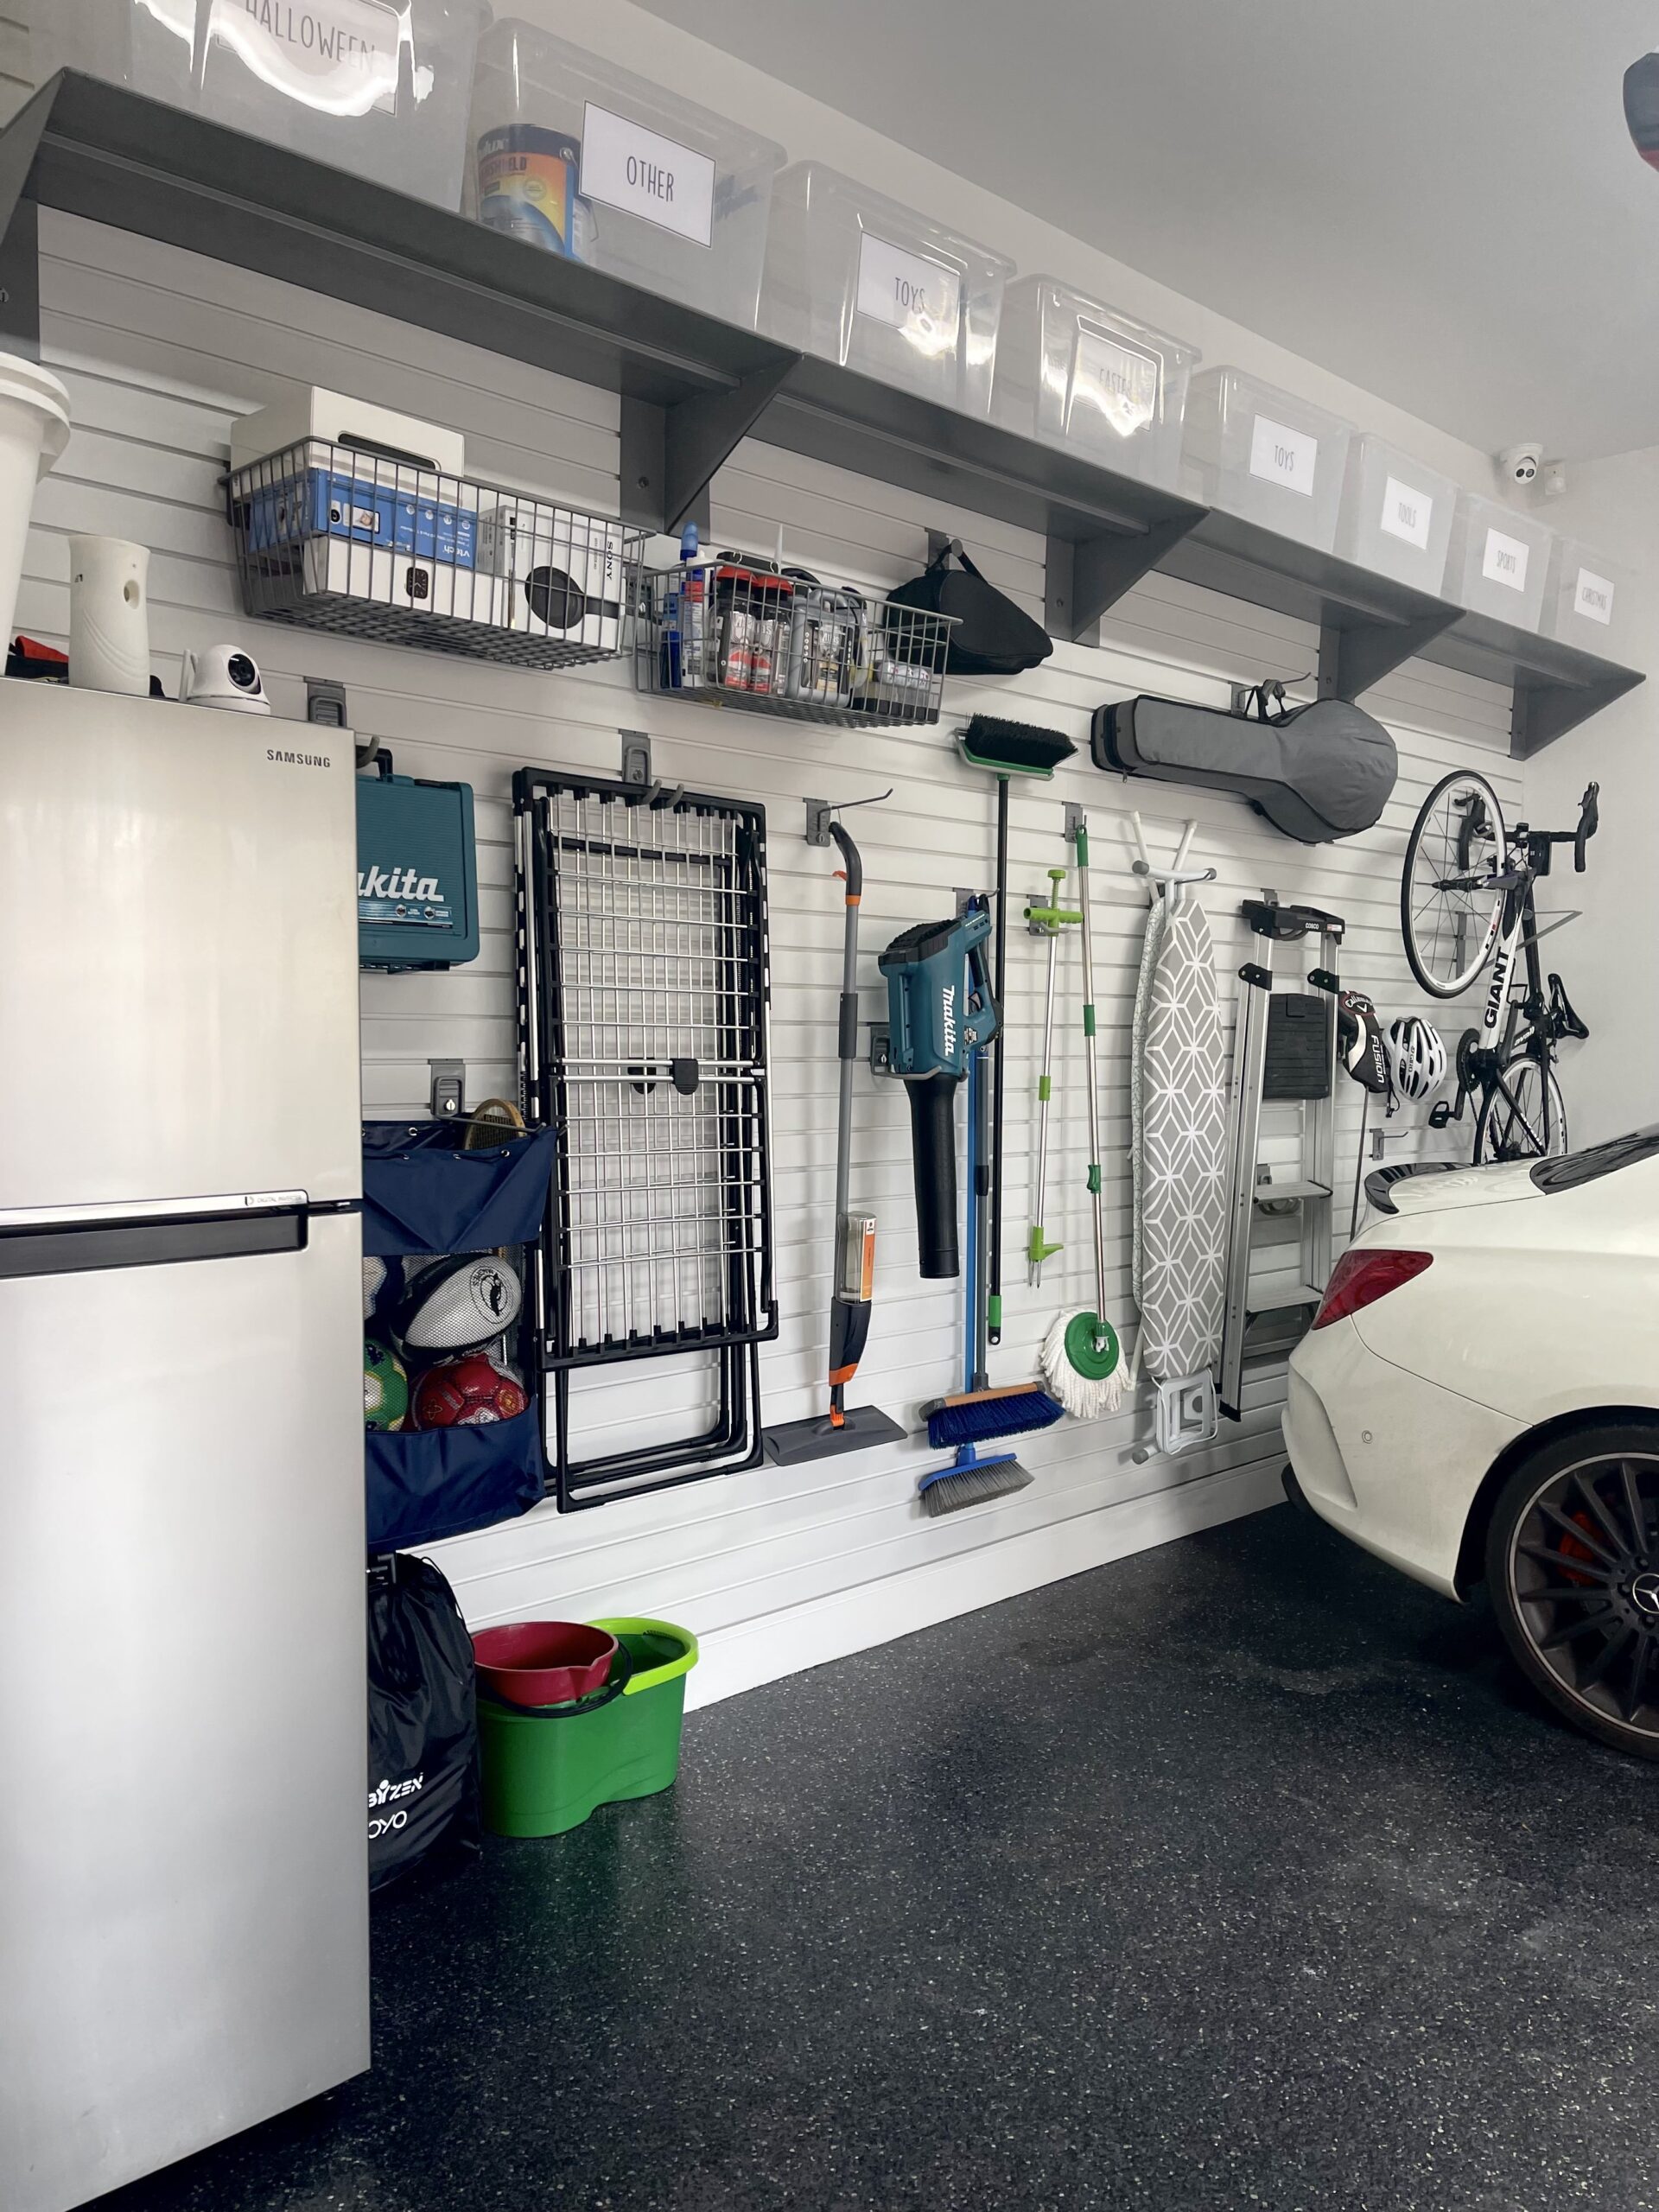
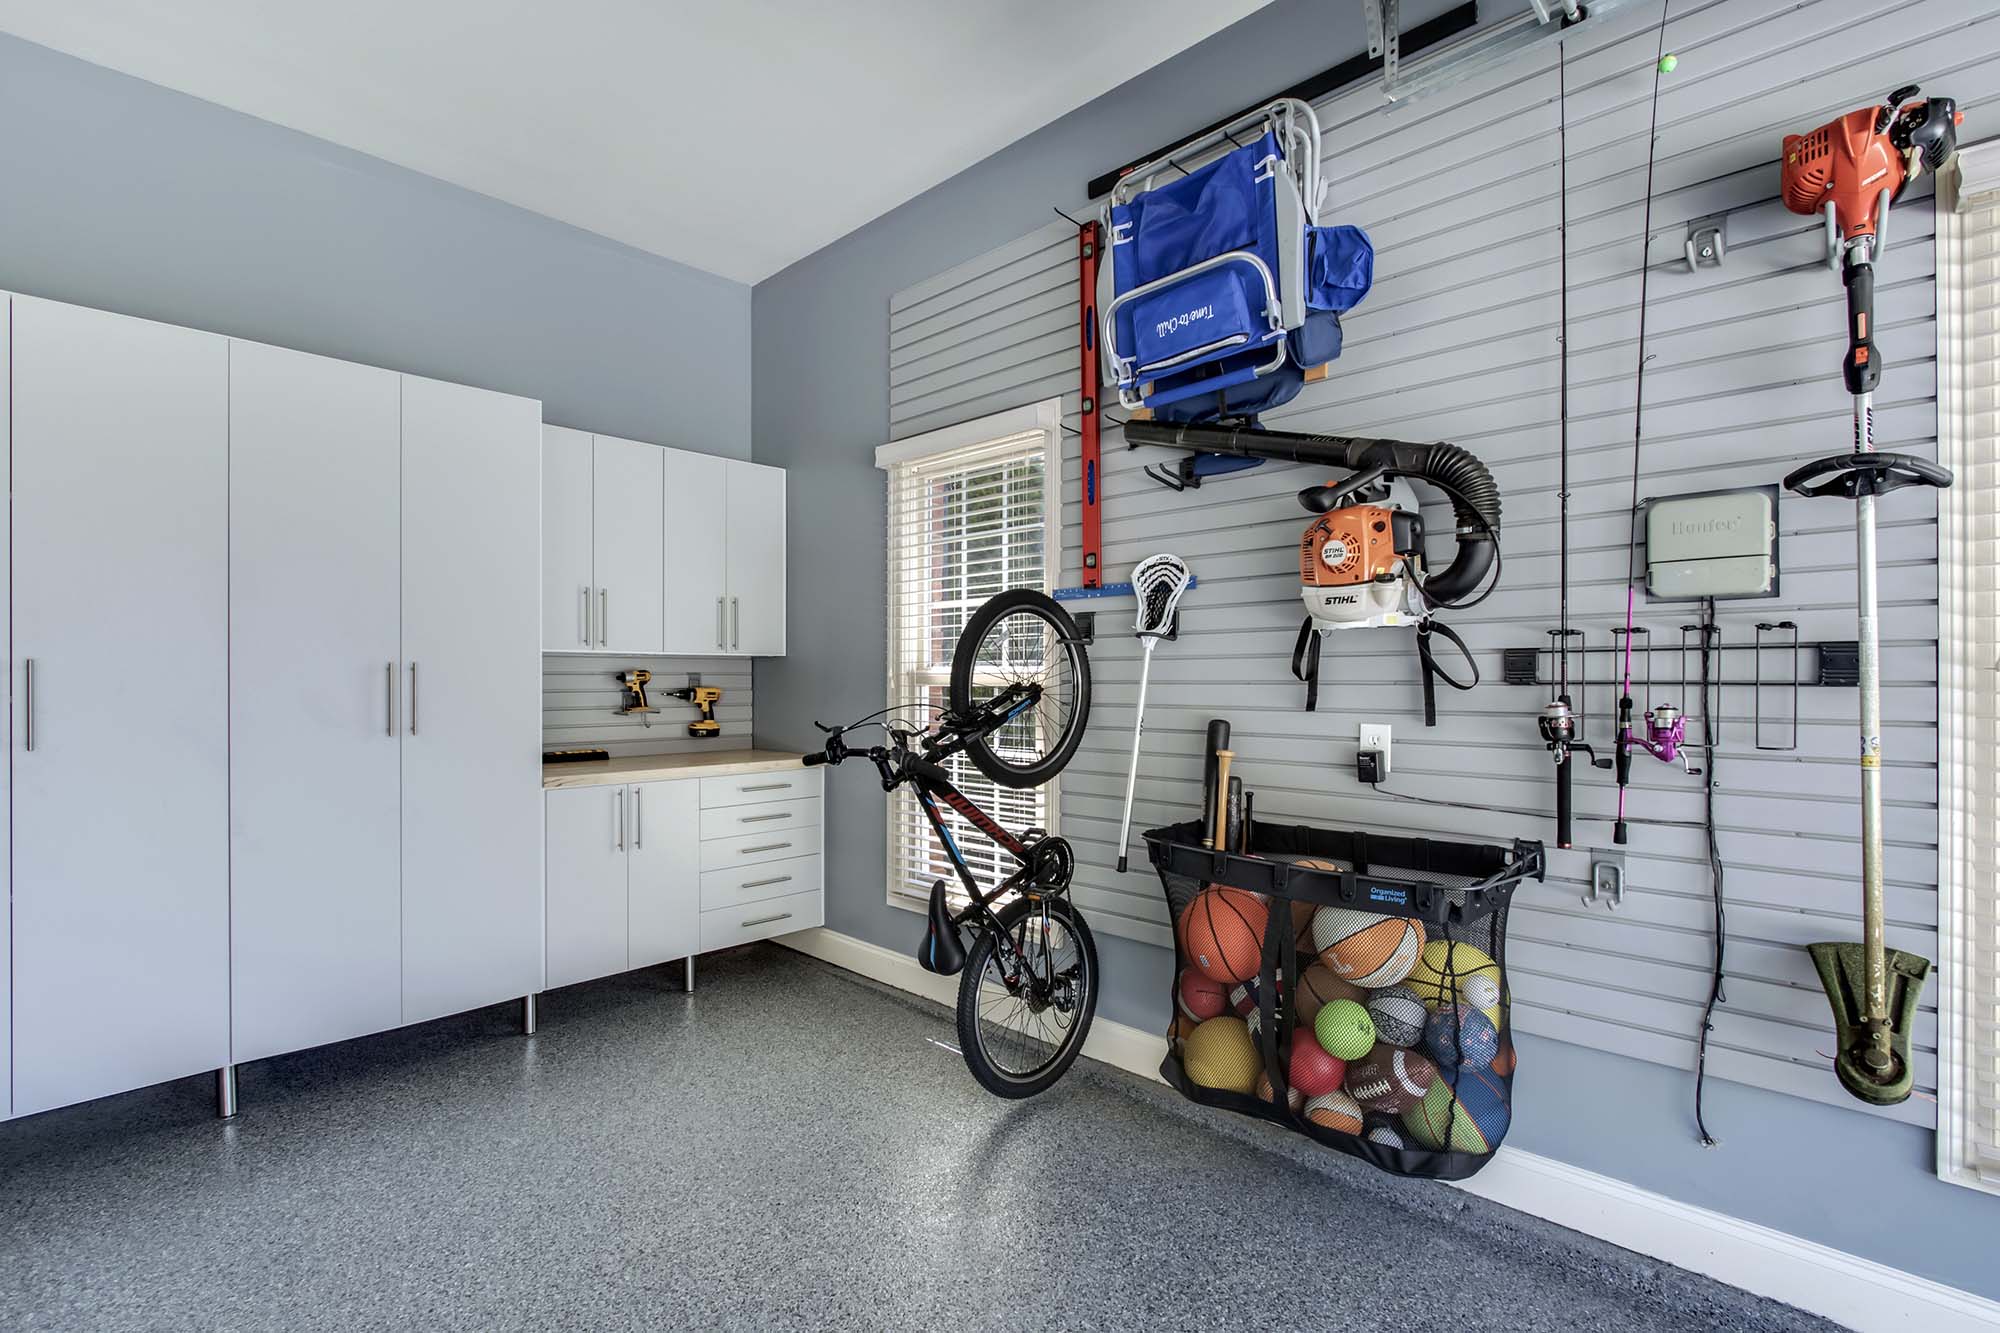
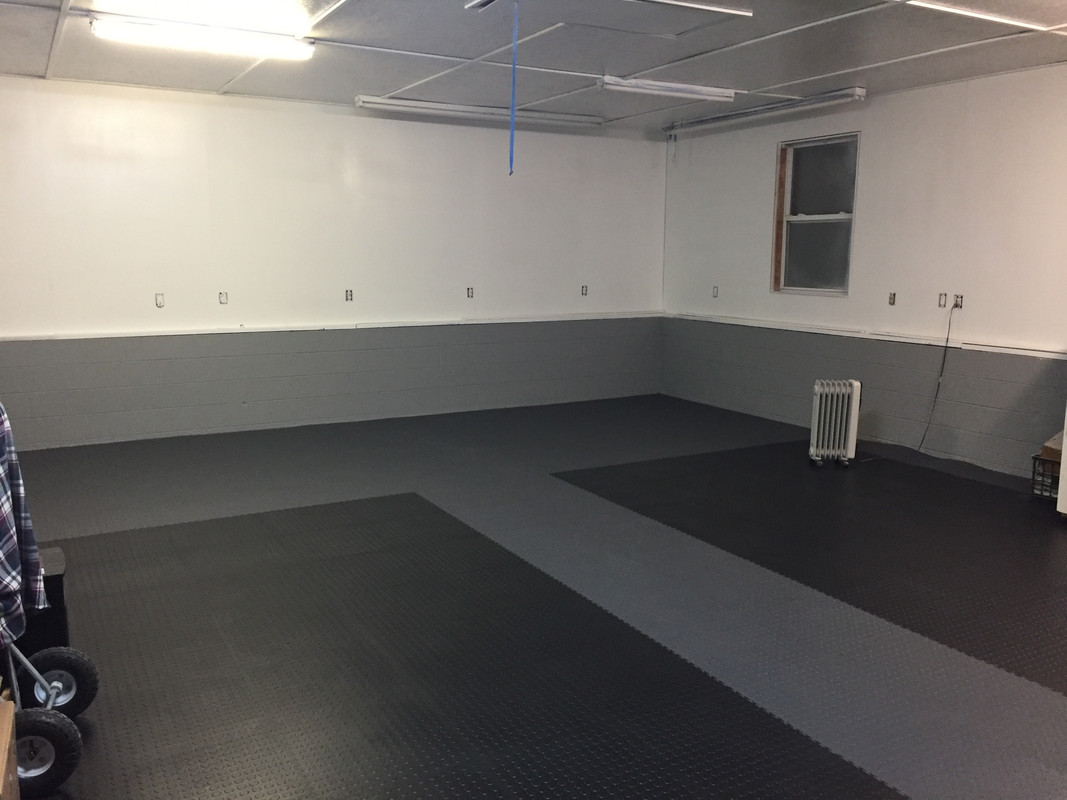
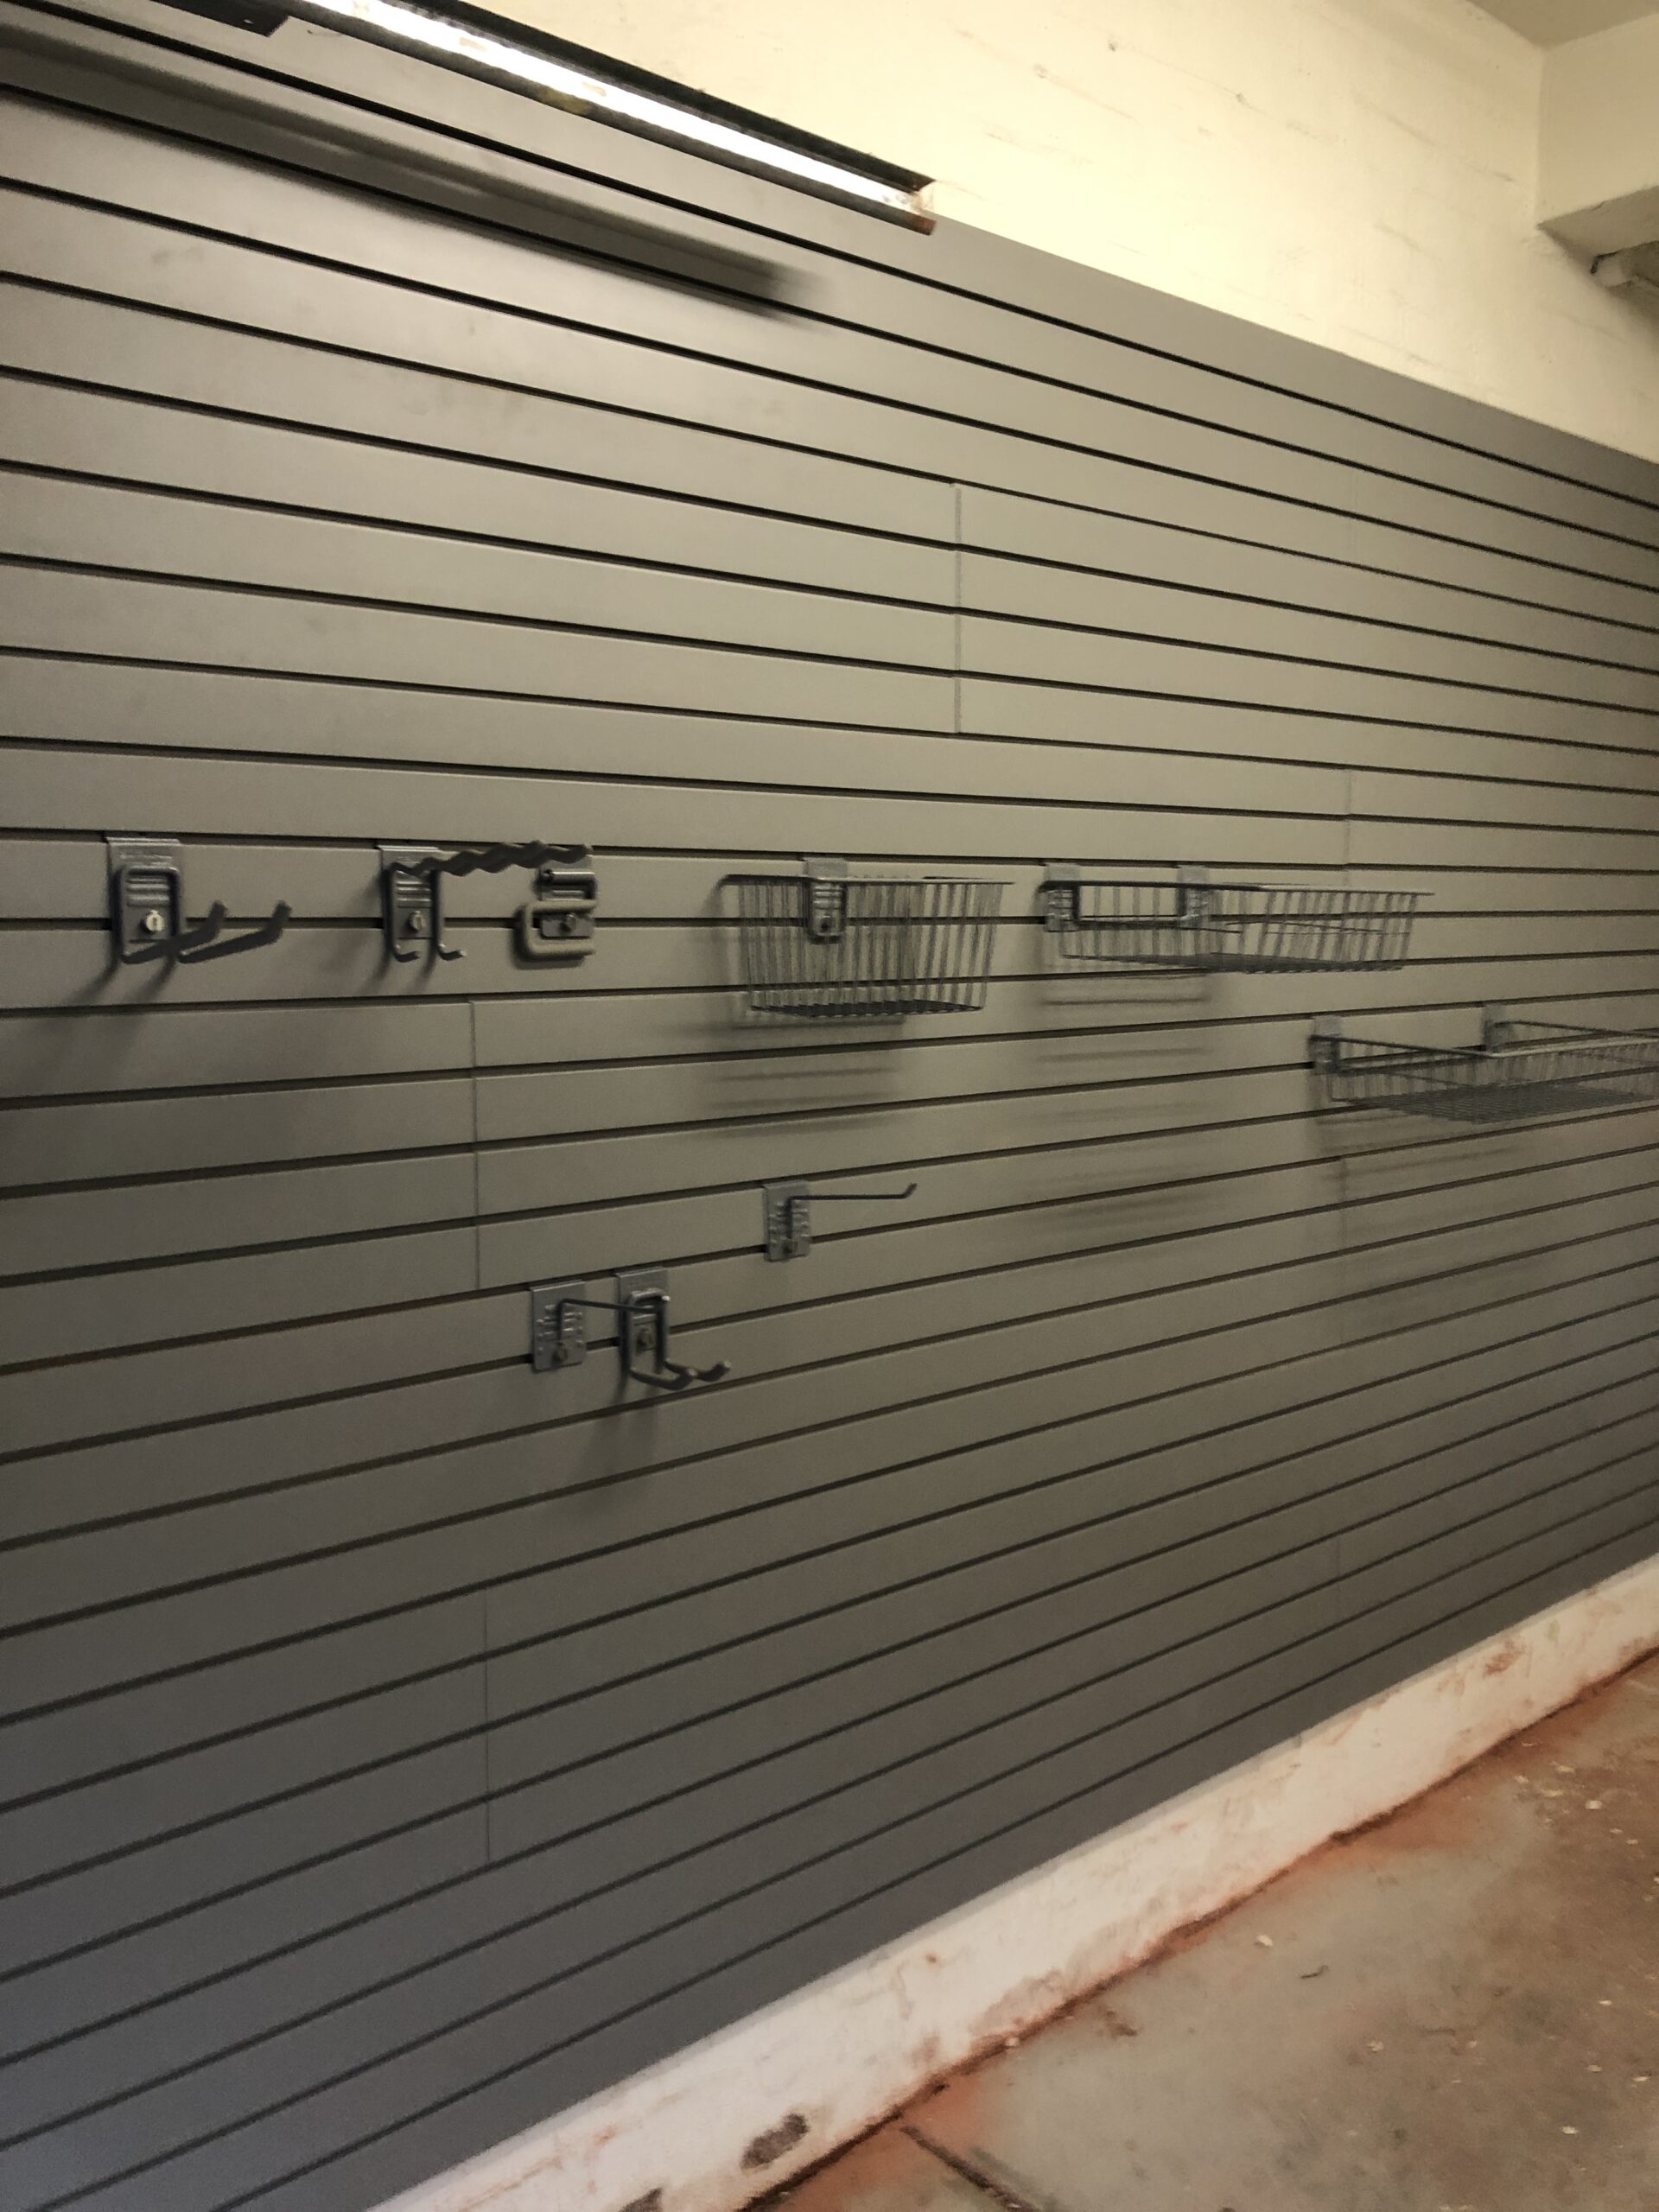
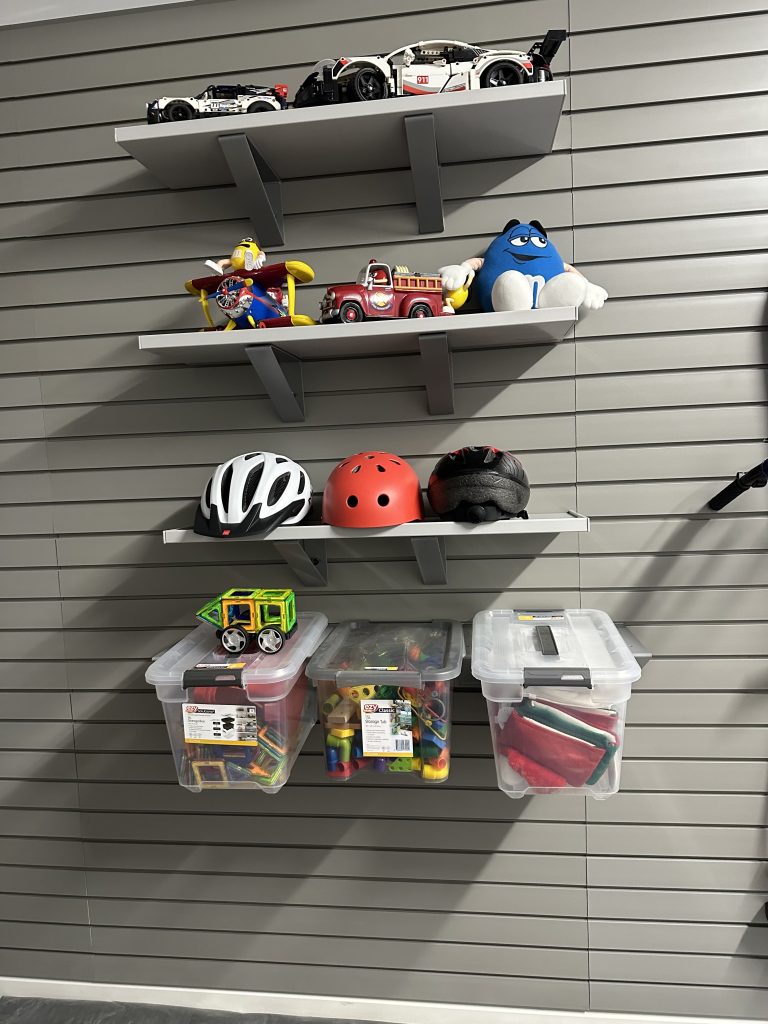
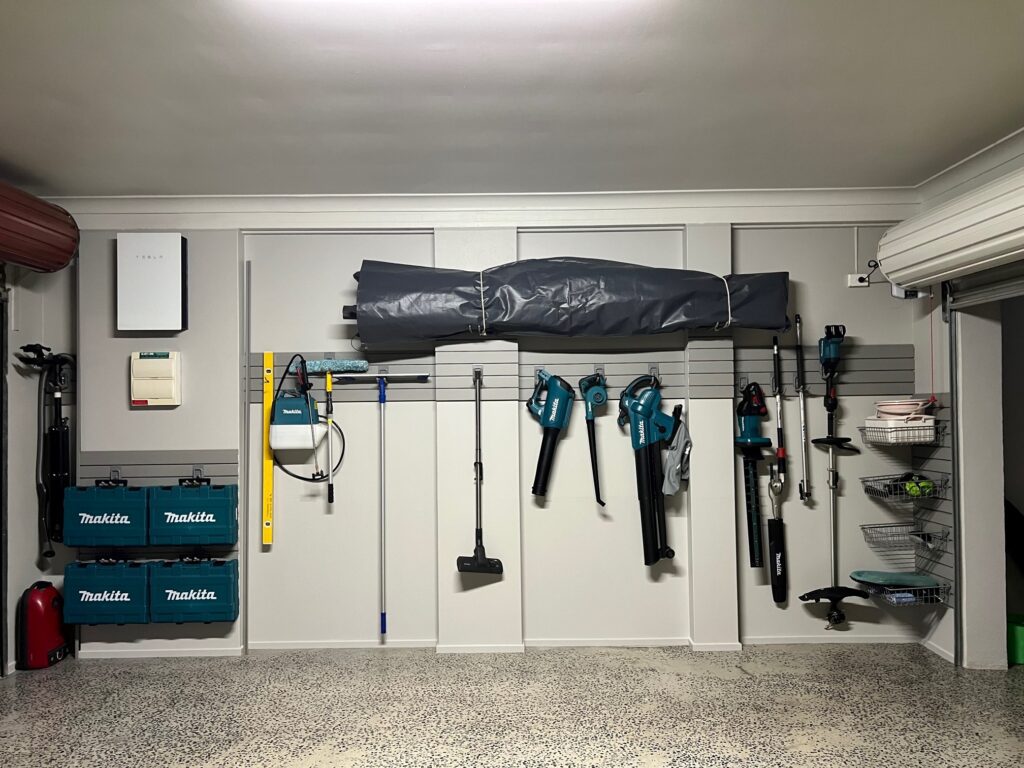
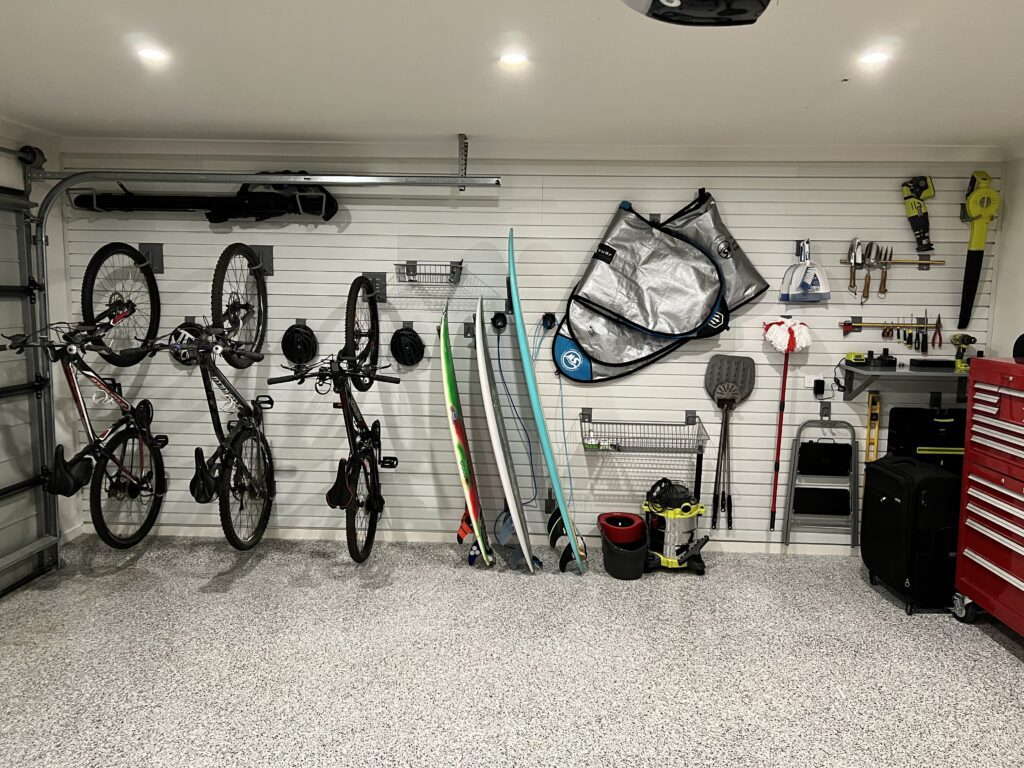
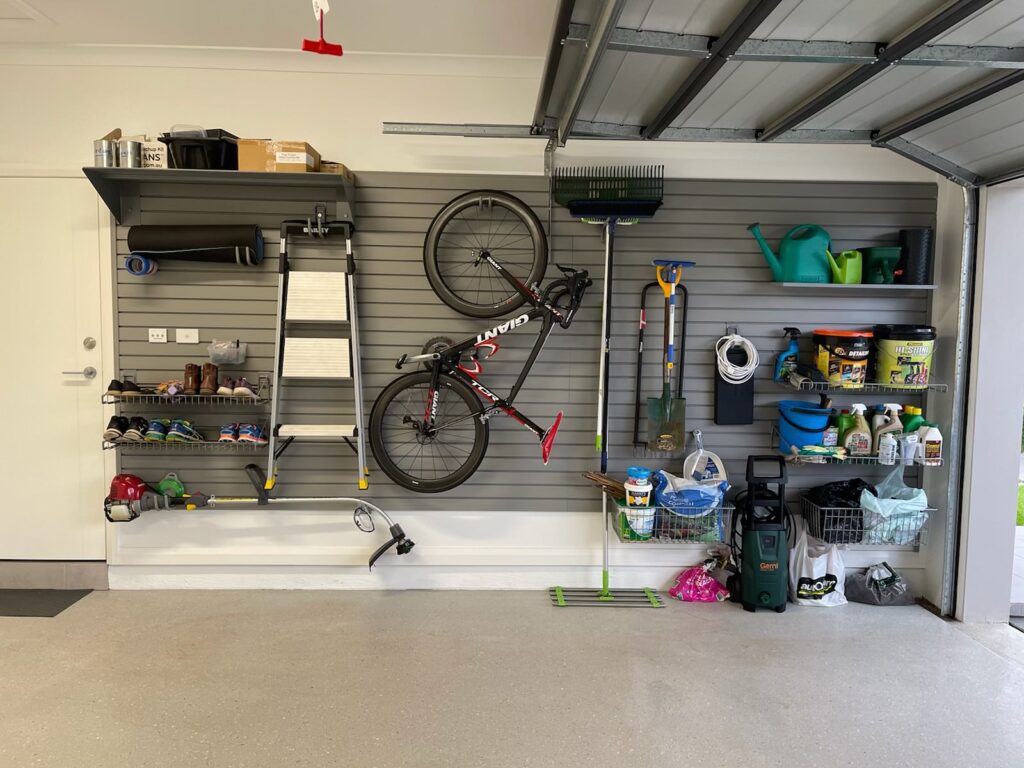
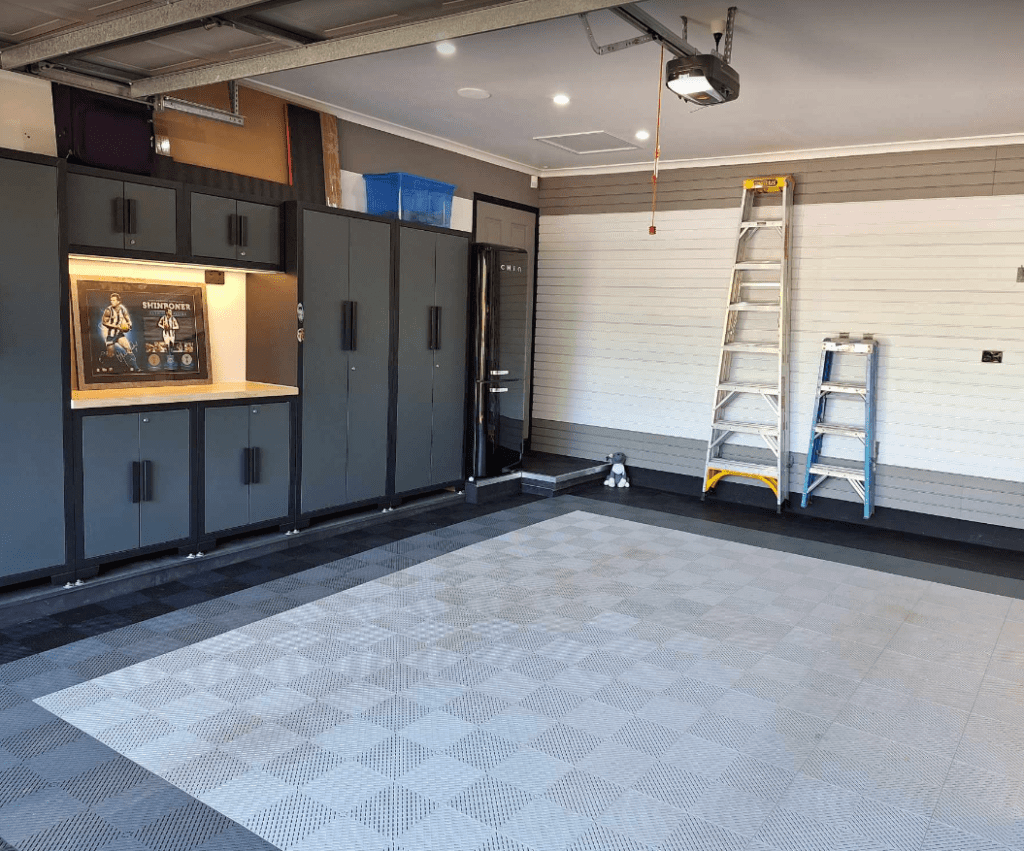
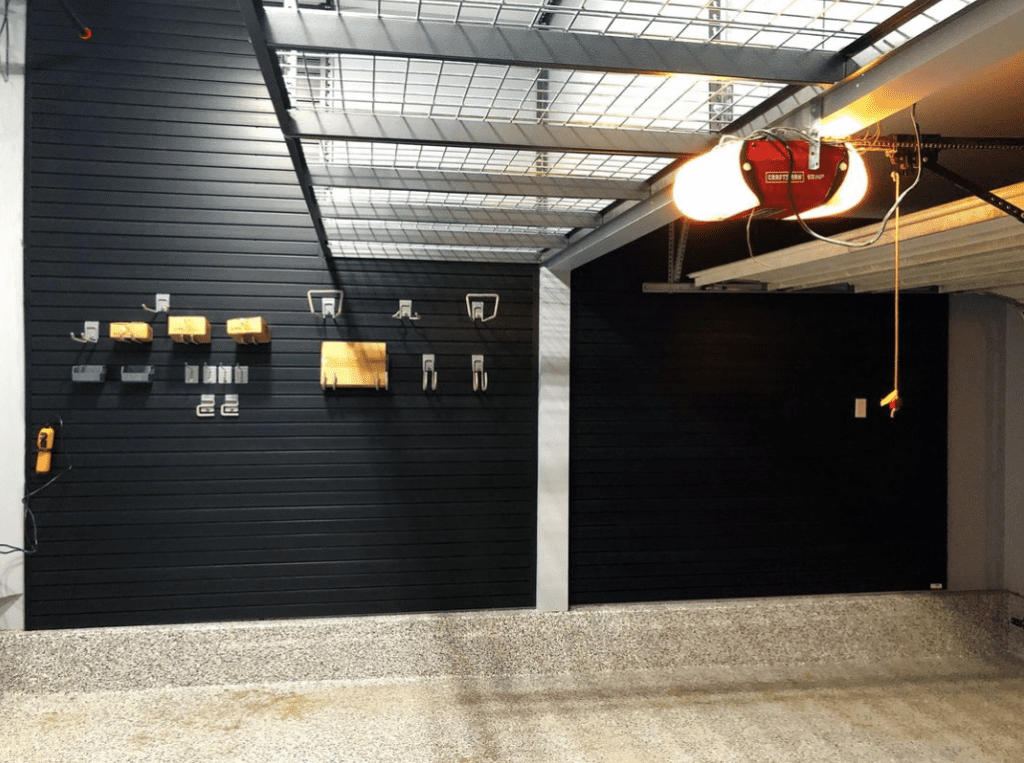
Classic Neutrals
Colors: White, Grey, Black
Why Choose It: Neutral colors are timeless and versatile. They create a clean, modern look that works well with various garage functions, from storage to a workshop.
Implementation Tips:
- Paint the walls white or light grey to brighten the space.
- Use black or dark grey for cabinets and shelving to create contrast and a sleek appearance.
- Add metallic accents to enhance the modern feel.
Bold and Bright
Colors: Red, Yellow, Blue
Why Choose It: Bright colors add energy and personality to your garage. They are perfect if you use your garage for hobbies or as a creative workspace.
Implementation Tips:
- Use a bold color on one accent wall to avoid overwhelming the space.
- Incorporate complementary bright colors in your storage solutions, such as colored bins or tool chests.
- Ensure good lighting to keep the colors vibrant and the space well-lit.
Earthy Tones
Colors: Brown, Green, Beige
Why Choose It: Earthy tones create a warm, inviting atmosphere. They are ideal for garages that double as a mudroom or a place to relax.
Implementation Tips:
- Use beige or light brown for the walls to keep the space airy.
- Incorporate green through plants or green-colored storage units to bring in a natural element.
- Wooden cabinets and shelves can enhance the earthy, rustic feel.
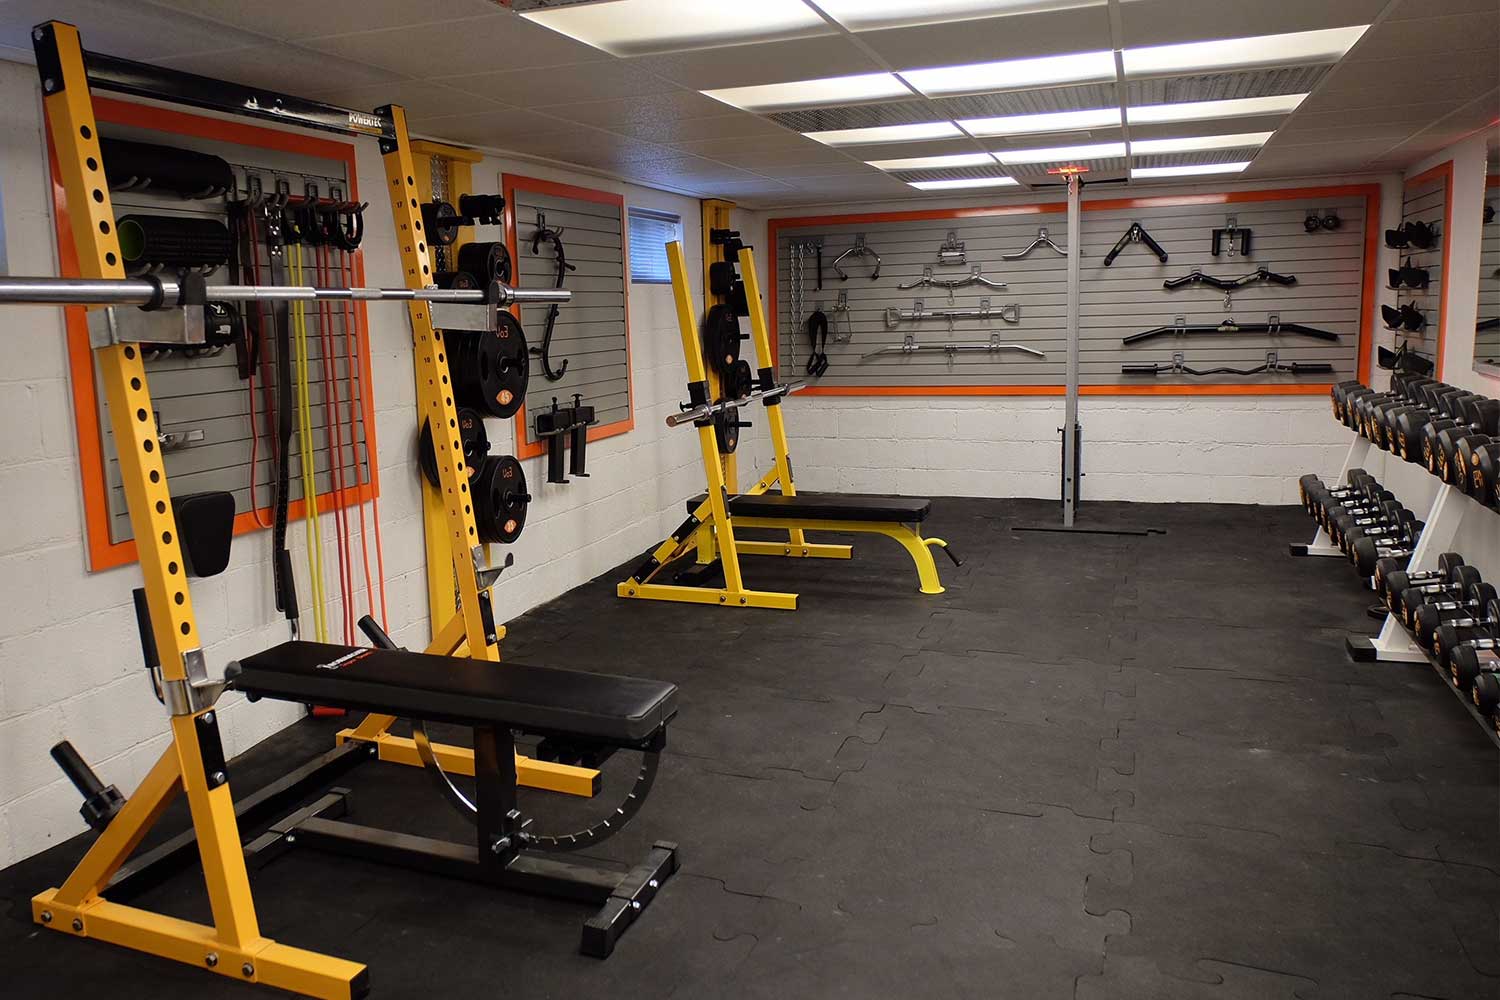
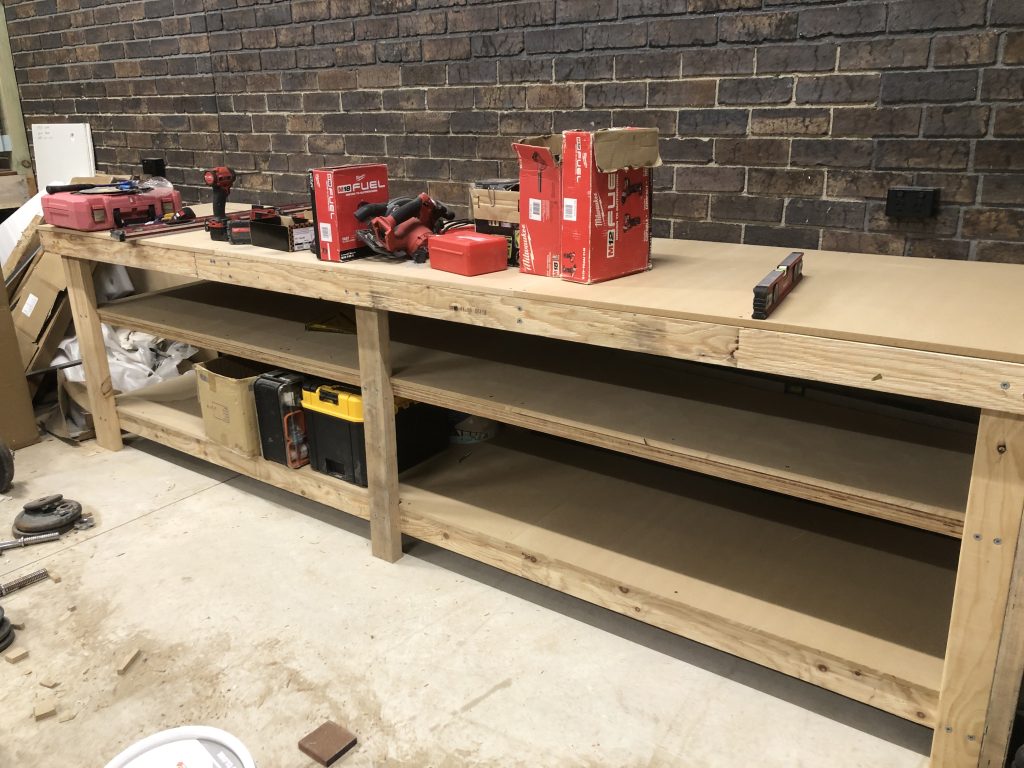
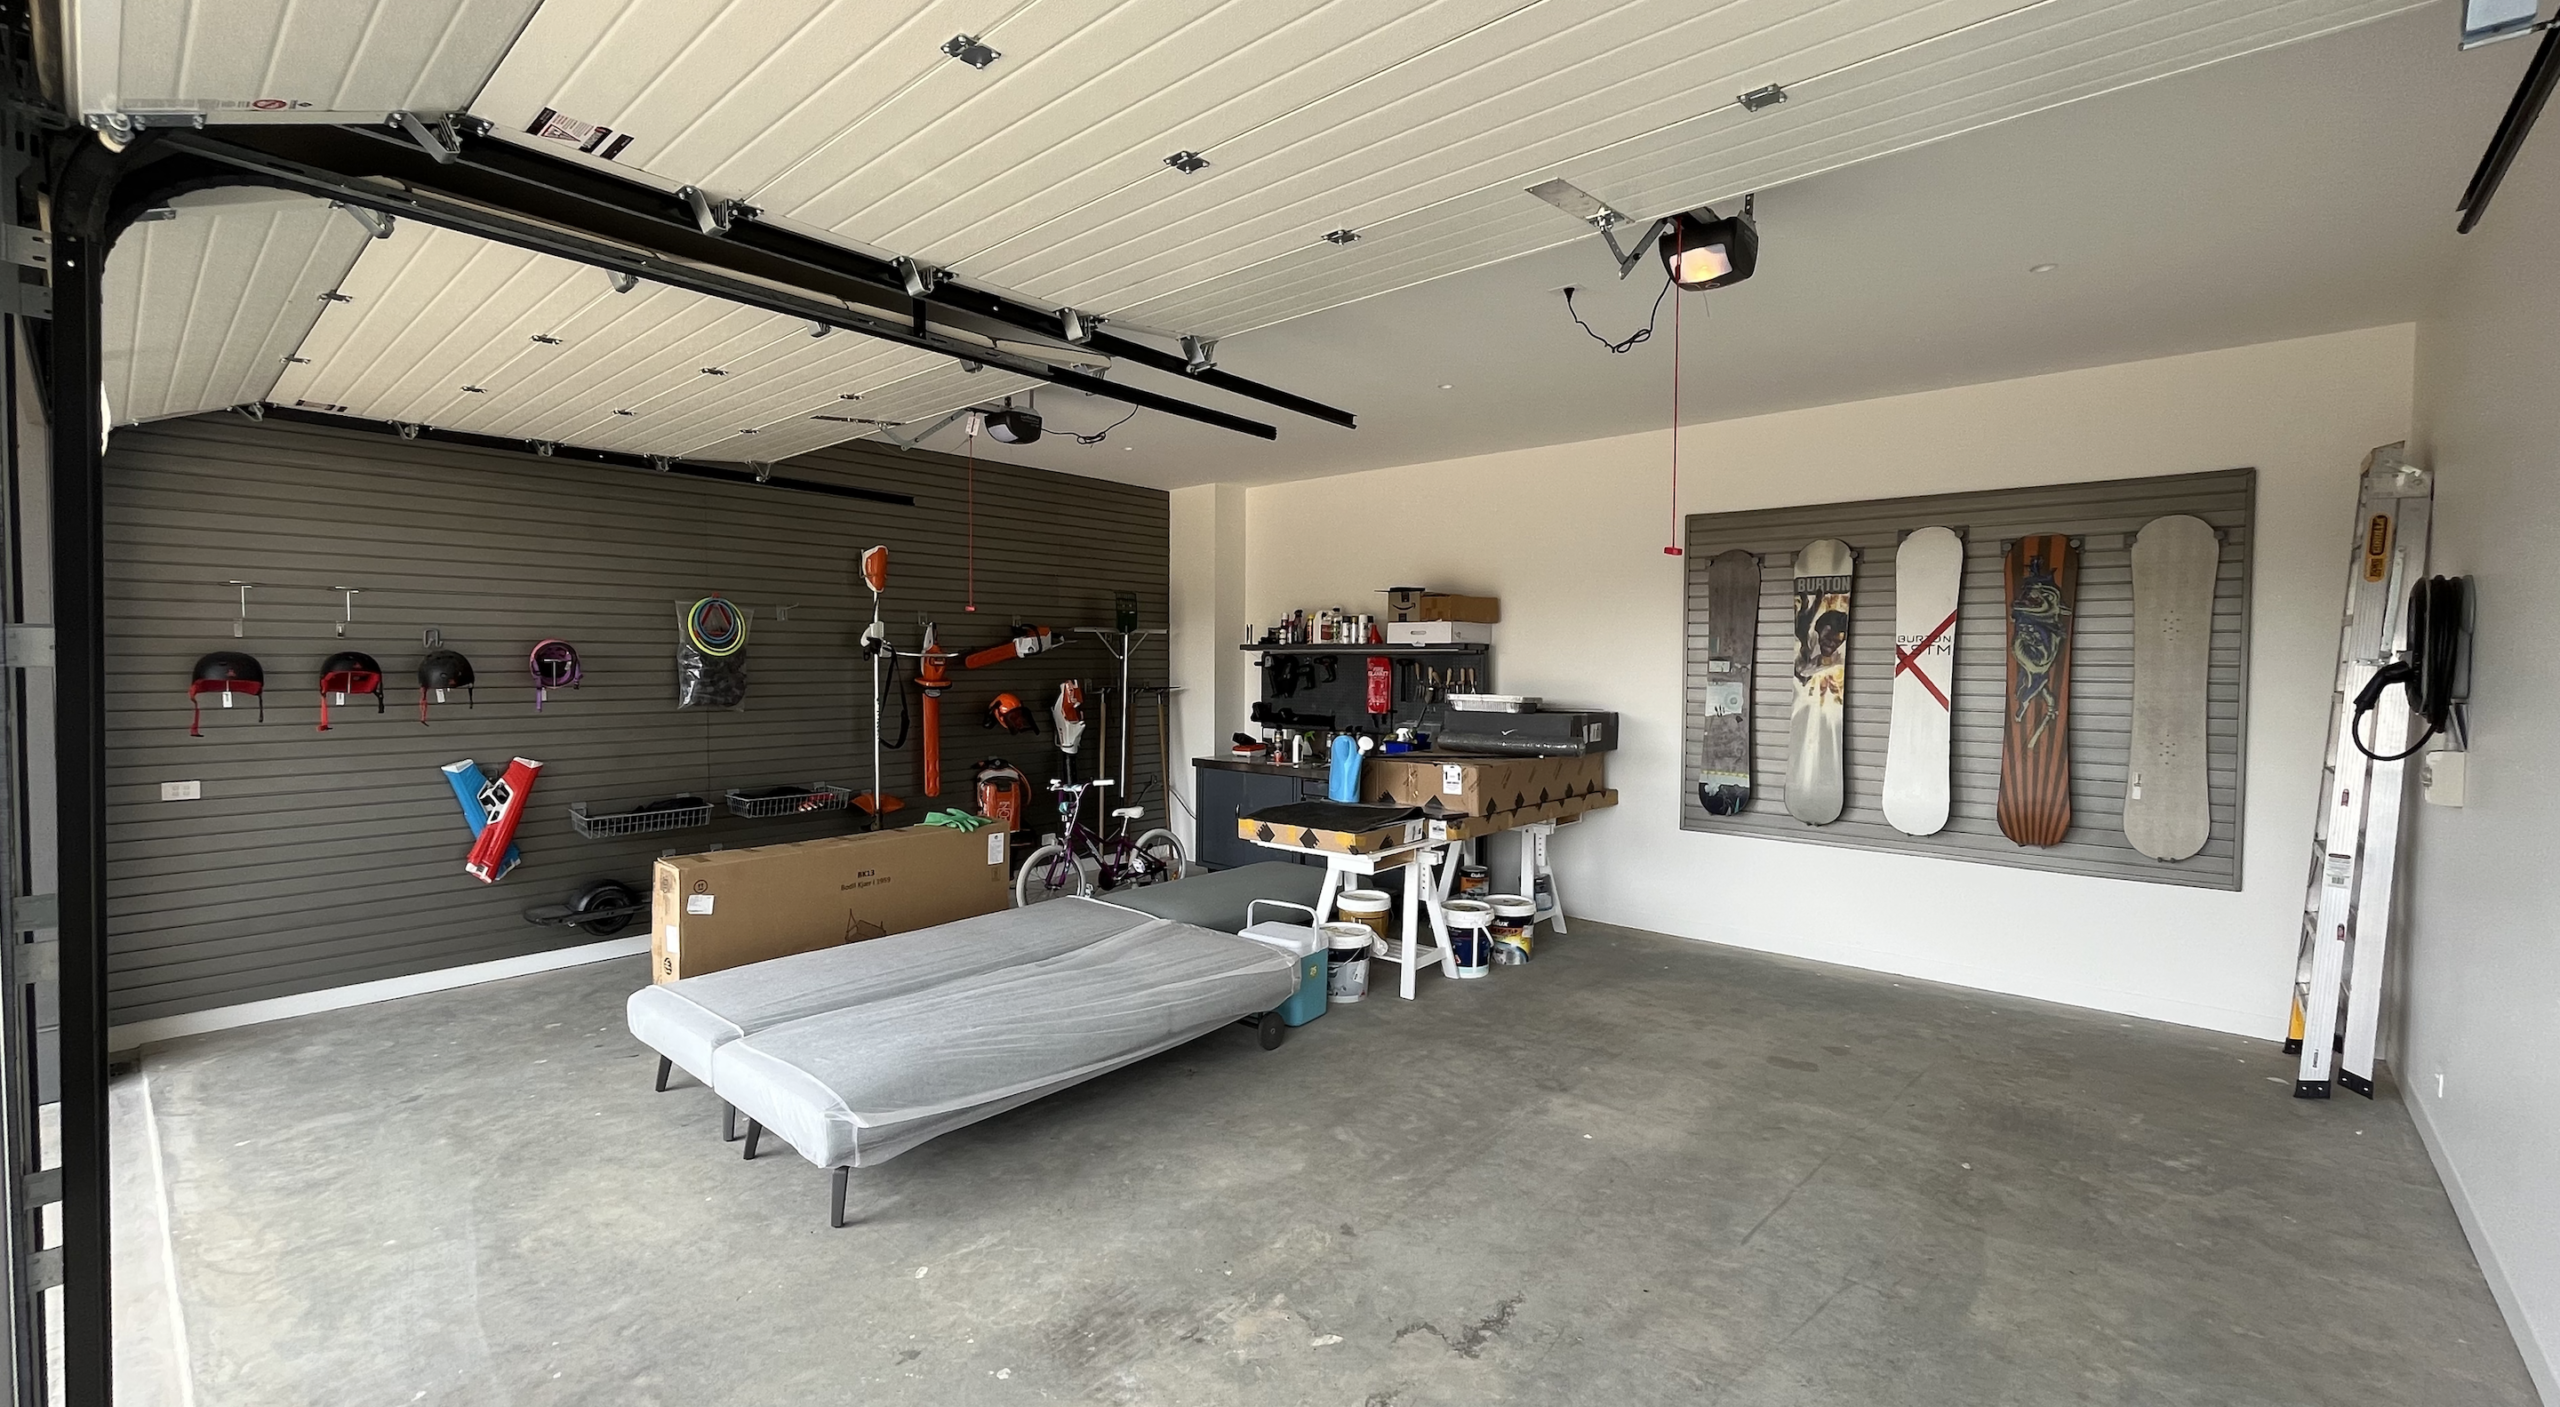
Industrial Chic
Colors: Metallic Grey, Navy Blue, Black
Why Choose It: The industrial chic look is trendy and functional, perfect for a high-use garage that serves multiple purposes.
Implementation Tips:
- Use metallic grey or navy blue for walls to create a stylish, modern backdrop.
- Black storage units and workbenches add to the industrial vibe.
- Exposed brick or concrete floors can enhance the overall aesthetic.
Tips for Choosing the Right Garage Color Scheme
- Consider the Purpose: Think about how you use your garage. If it’s primarily for storage, opt for light colors to enhance visibility. For a workshop, consider colors that are easy to clean and maintain.
- Assess Lighting: Natural light can greatly influence how colors appear. Test paint samples at different times of the day to see how they look in various lighting conditions.
- Coordinate with Your Home: Your garage is an extension of your home. Choose colors that complement your home’s exterior and interior design for a cohesive look.
- Test Before Committing: Always test your chosen colors on a small section of the wall before committing. This helps you see how the color works in the actual space and lighting.
Conclusion
Updating your garage with the perfect garage color scheme can make a significant difference in its functionality and aesthetics. Whether you prefer classic neutrals or bold and bright hues, there’s a color palette that can transform your garage into a stylish and organized space. Ready to start your garage makeover? Pick your favorite color scheme and get painting!