Creating an organised, efficient garage is about more than just clearing clutter—it’s about making a smart investment in your home. A well-designed garage storage solution ensures your belongings are secure, easy to access, and stored in a way that enhances the space, not crowds it. In our latest article we will look a recent case study, where we helped a Sydney customer solve her garage storage challenge.
Garage Storage Isn’t Just About Shelving
If your goal is to simply shove items out of sight, a few basic shelves from your local Bunnings might do the trick—until you need something buried at the back. But when you’re looking for long-term efficiency and flexibility, shelves alone fall short. They often become overcrowded, making it hard to retrieve specific items without moving others.
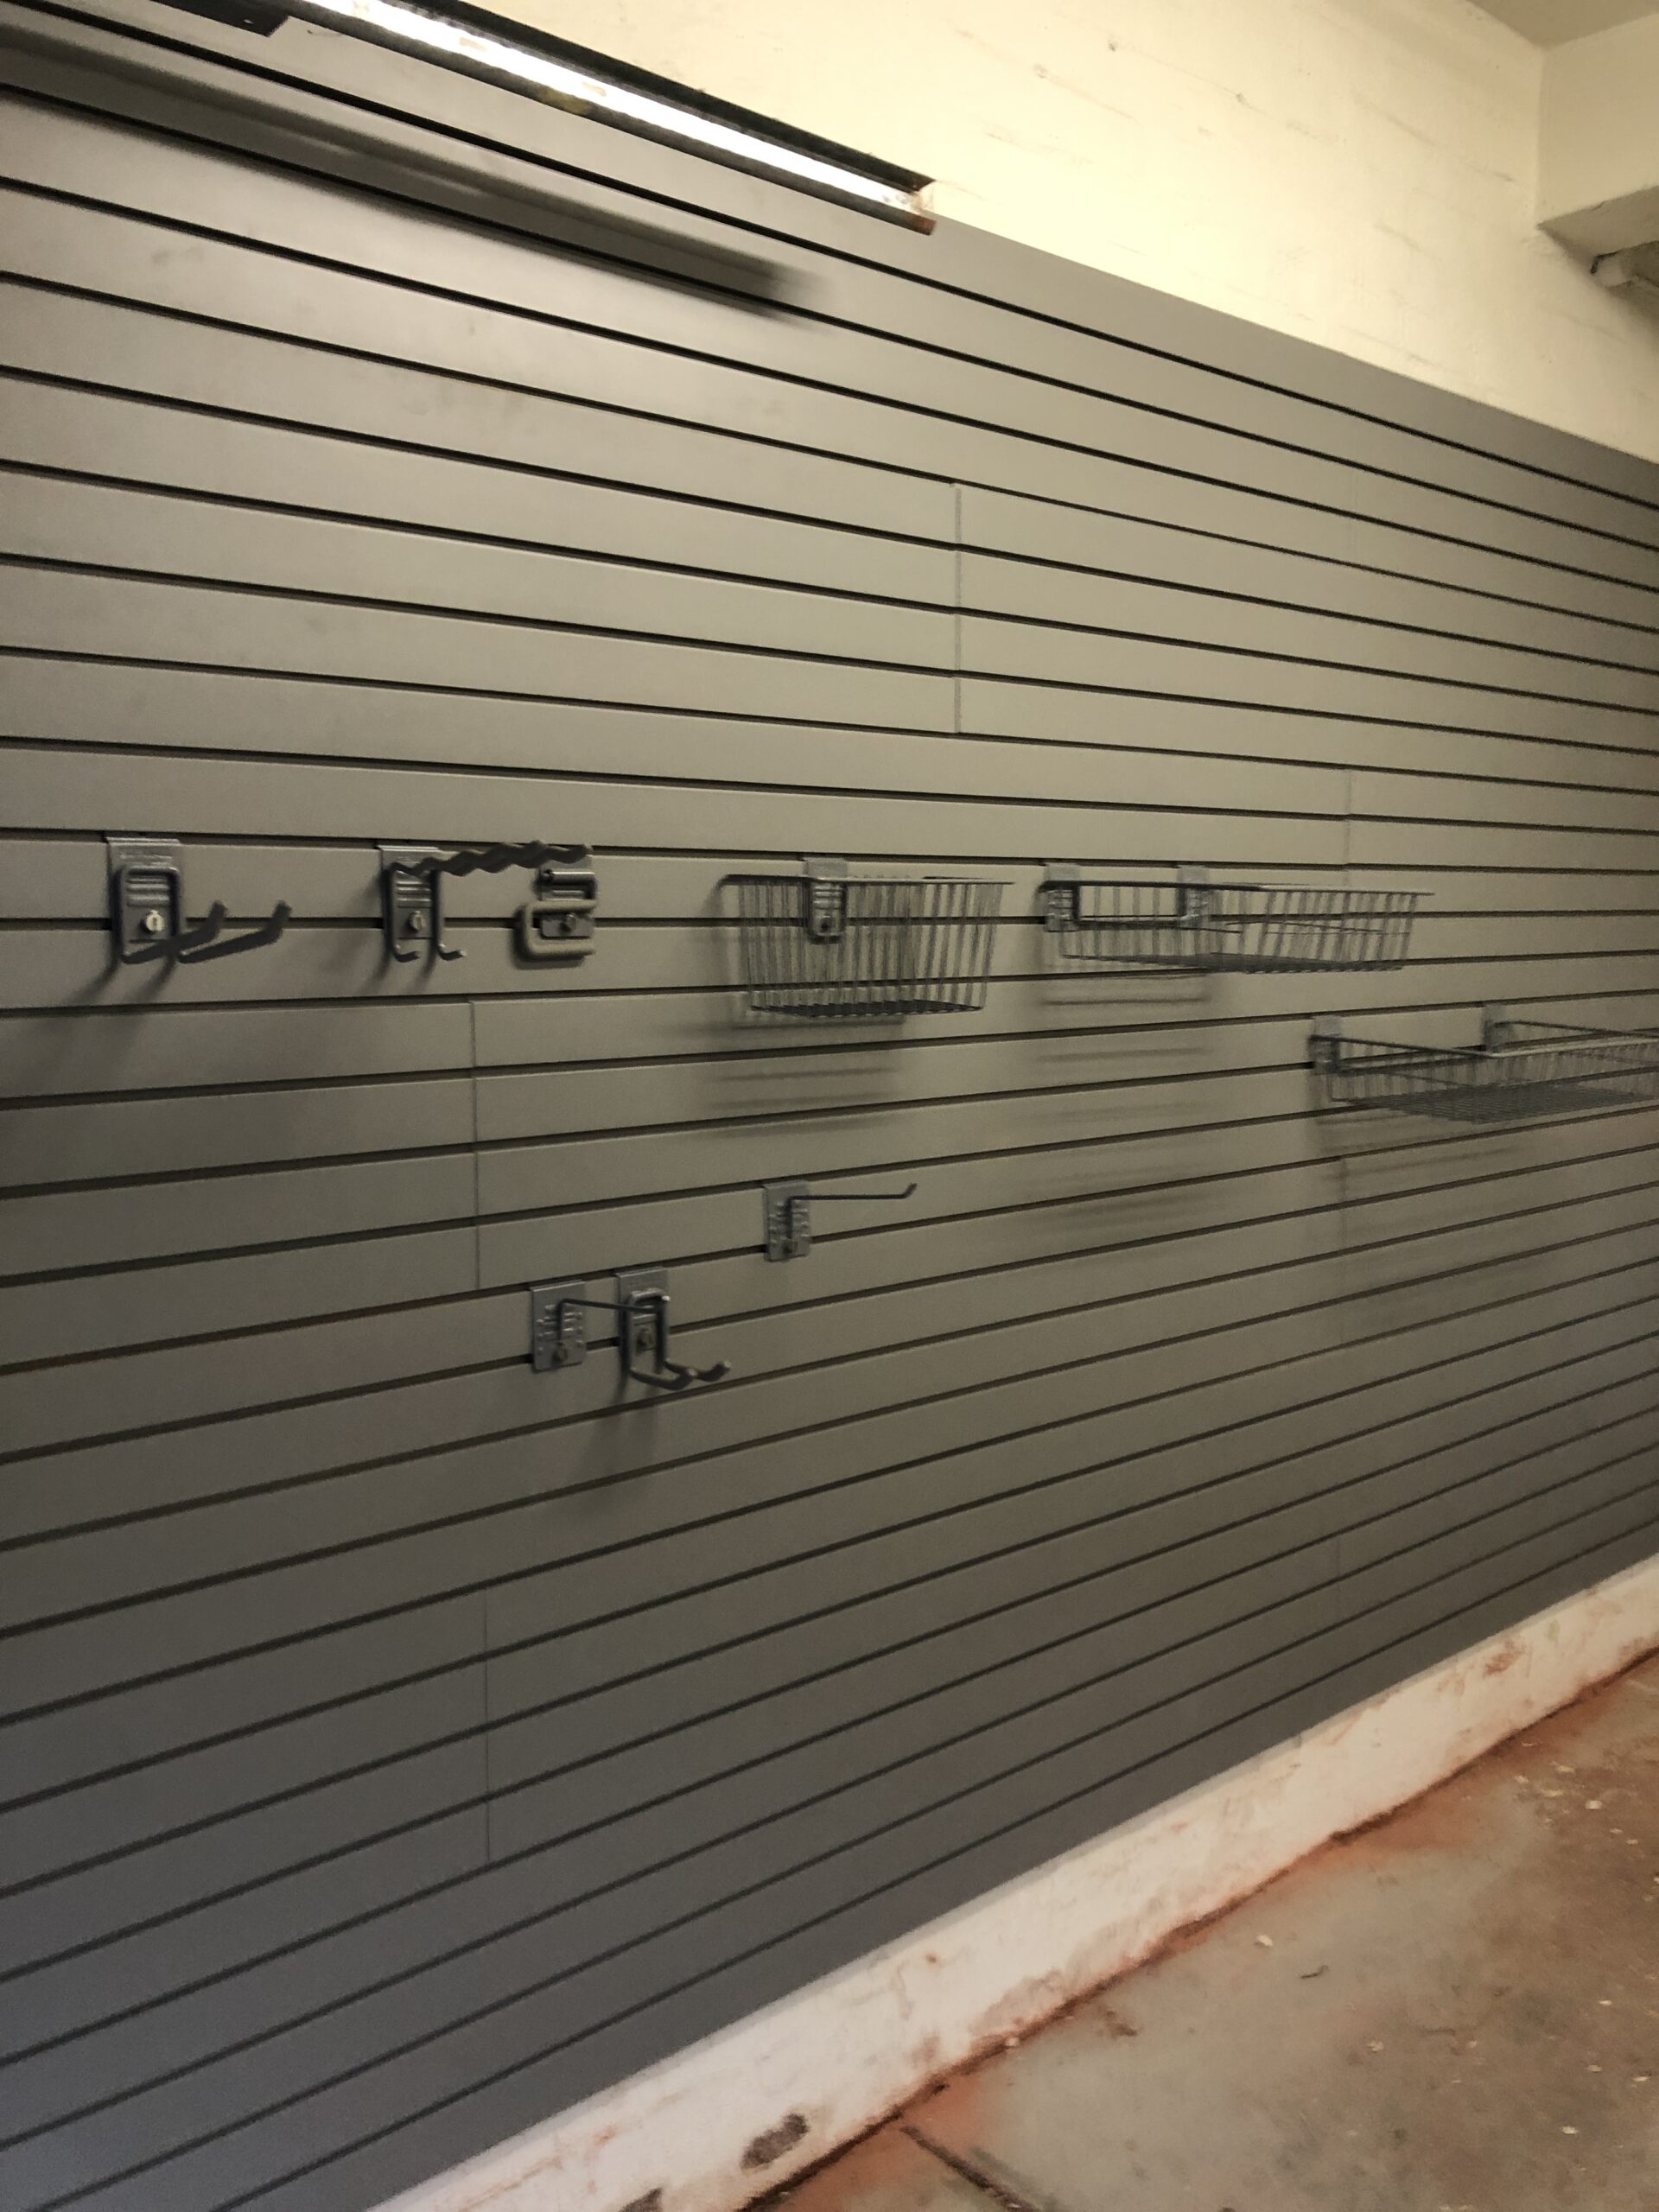
This is where a garage wall storage system shines.
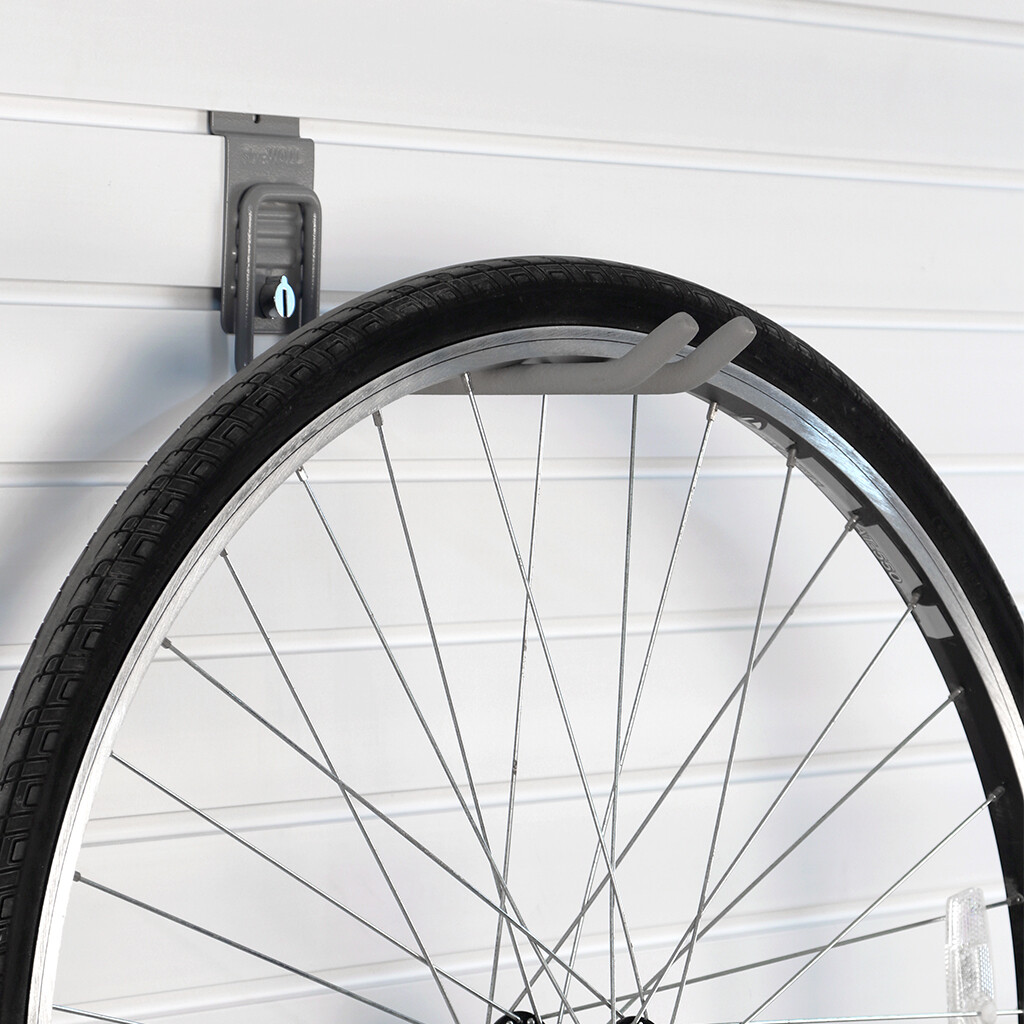
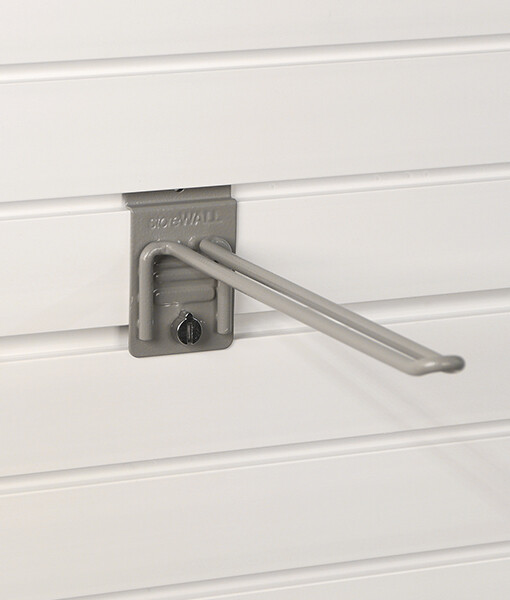
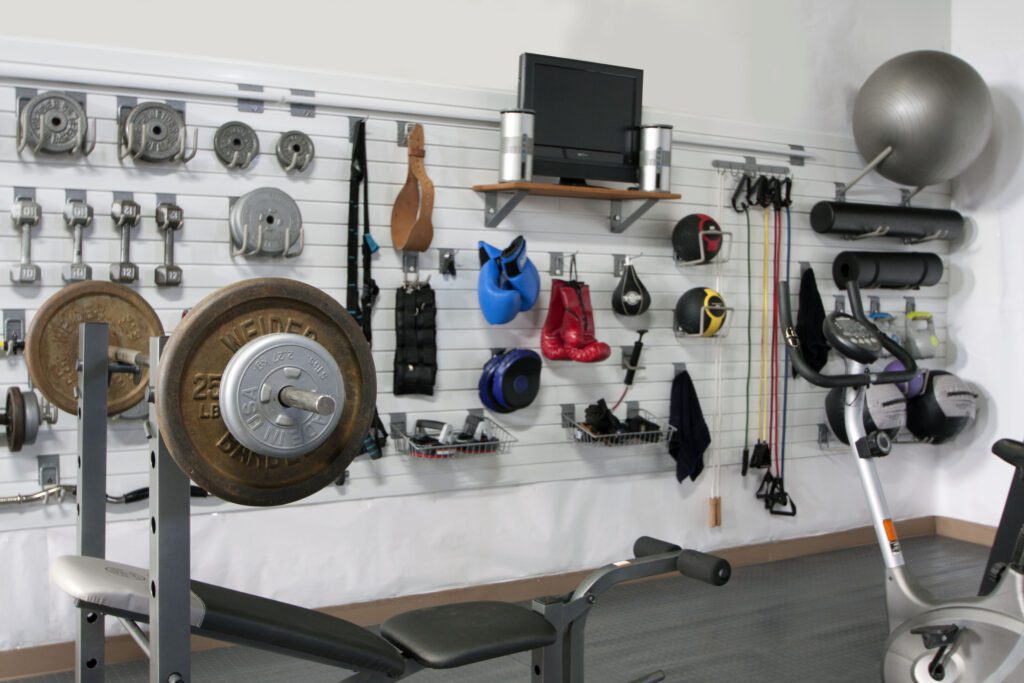
Once installed, StoreWALL’s wall panels transform your garage walls into customisable storage hubs. Need to hang bikes this year and swap to golf gear and water skis next summer? No problem. With the right slatwall system, you can easily change your layout as your needs evolve—without drilling new holes or installing more shelves.
The Smart Way to Plan Garage Wall Storage
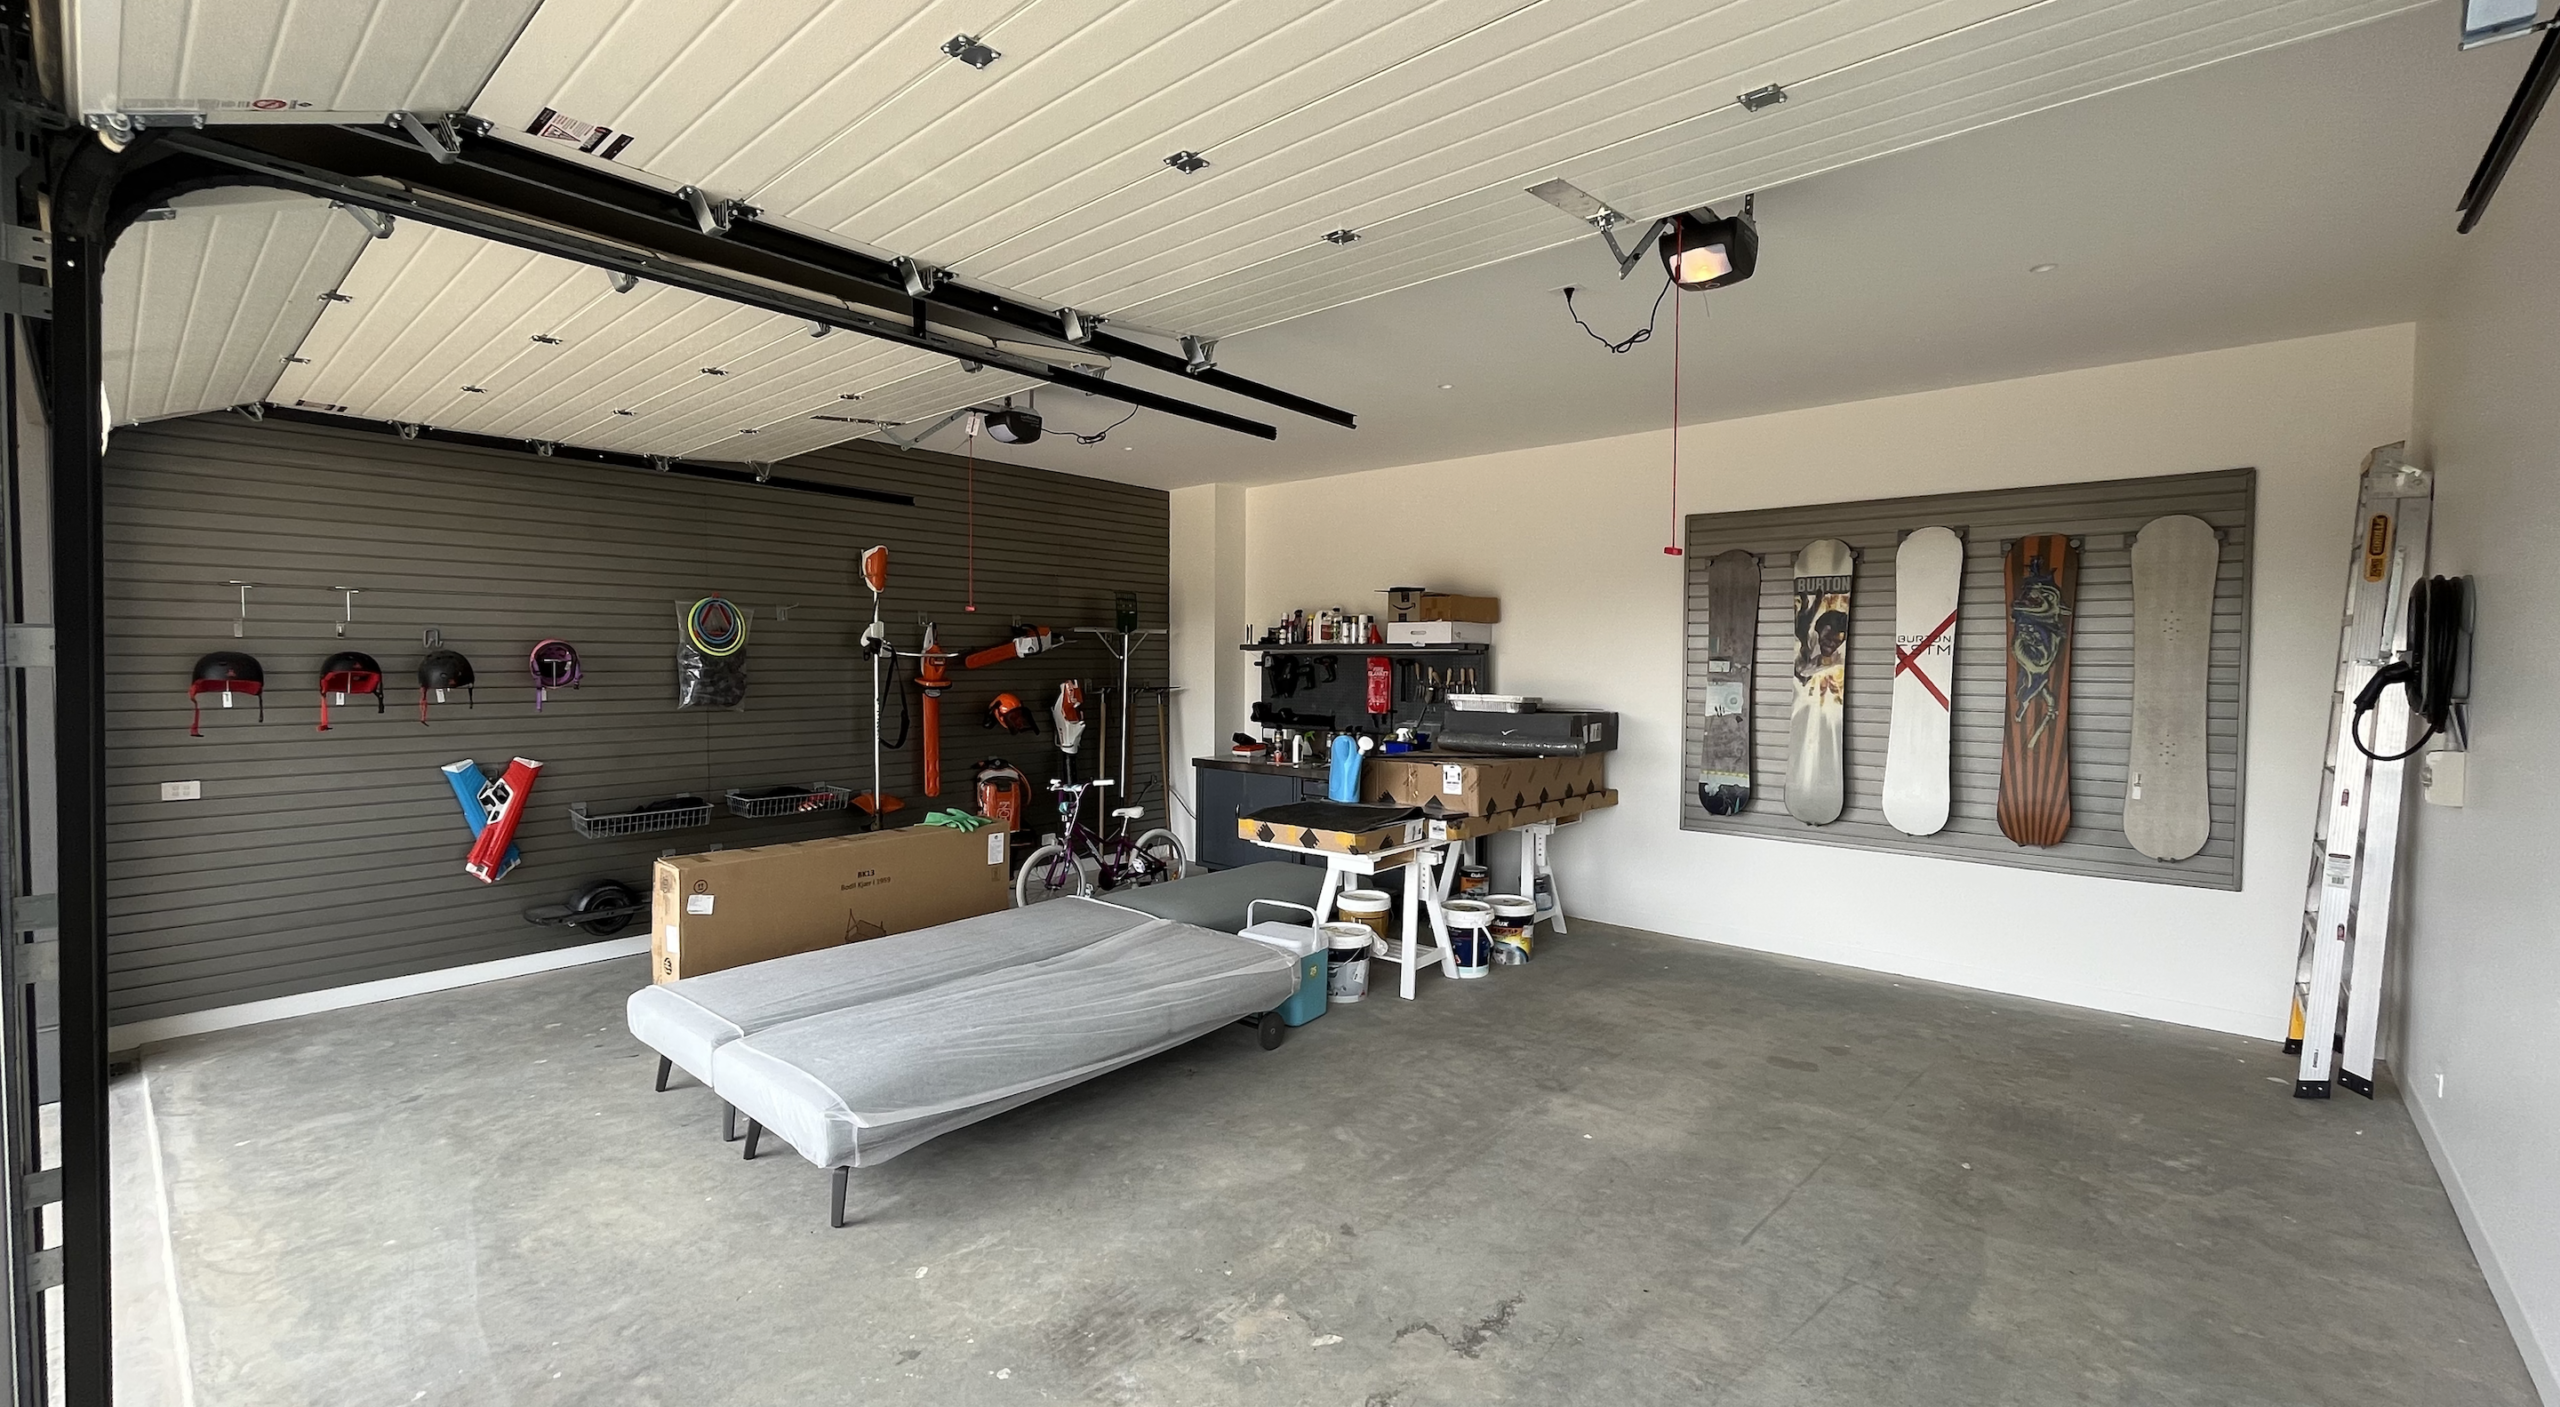
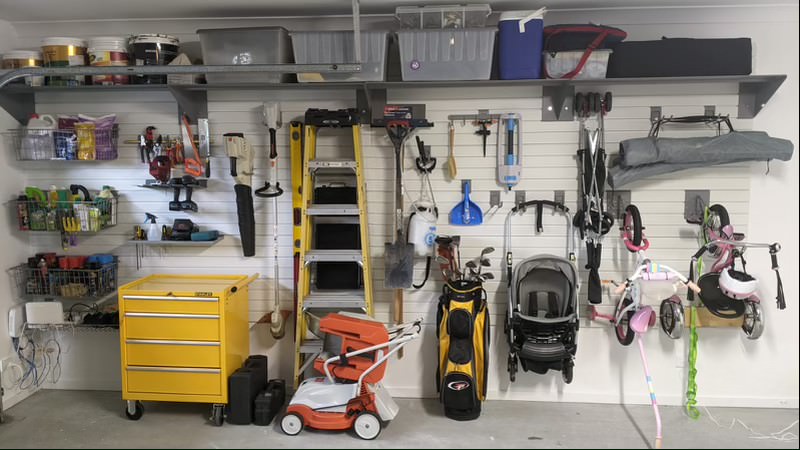
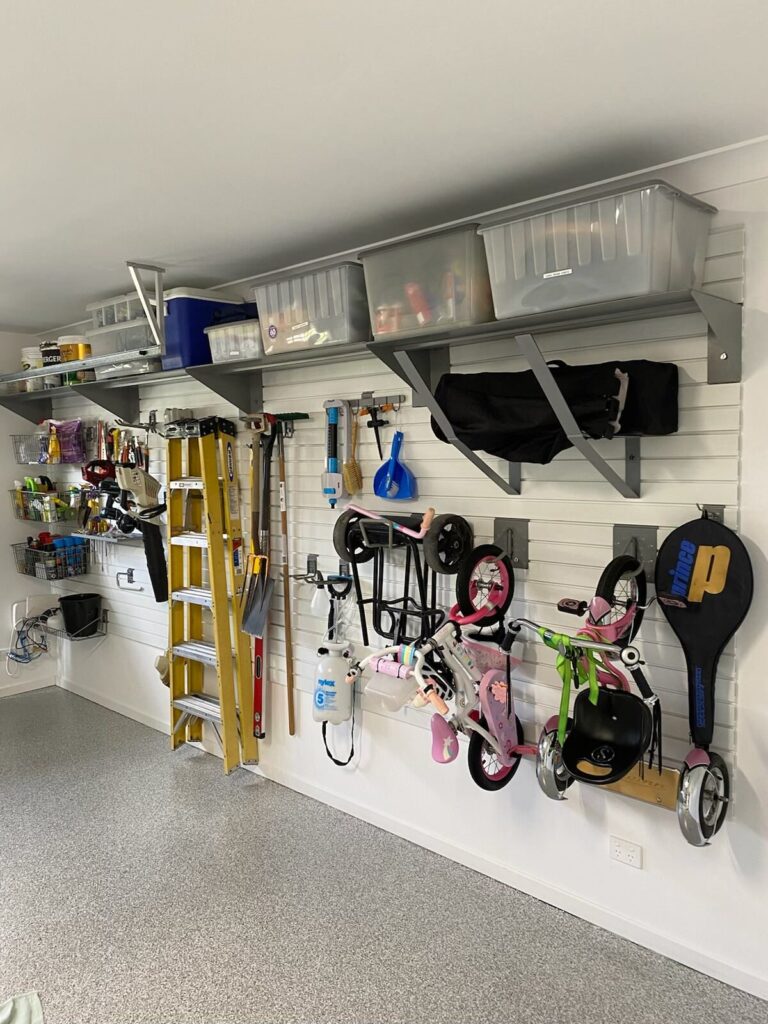
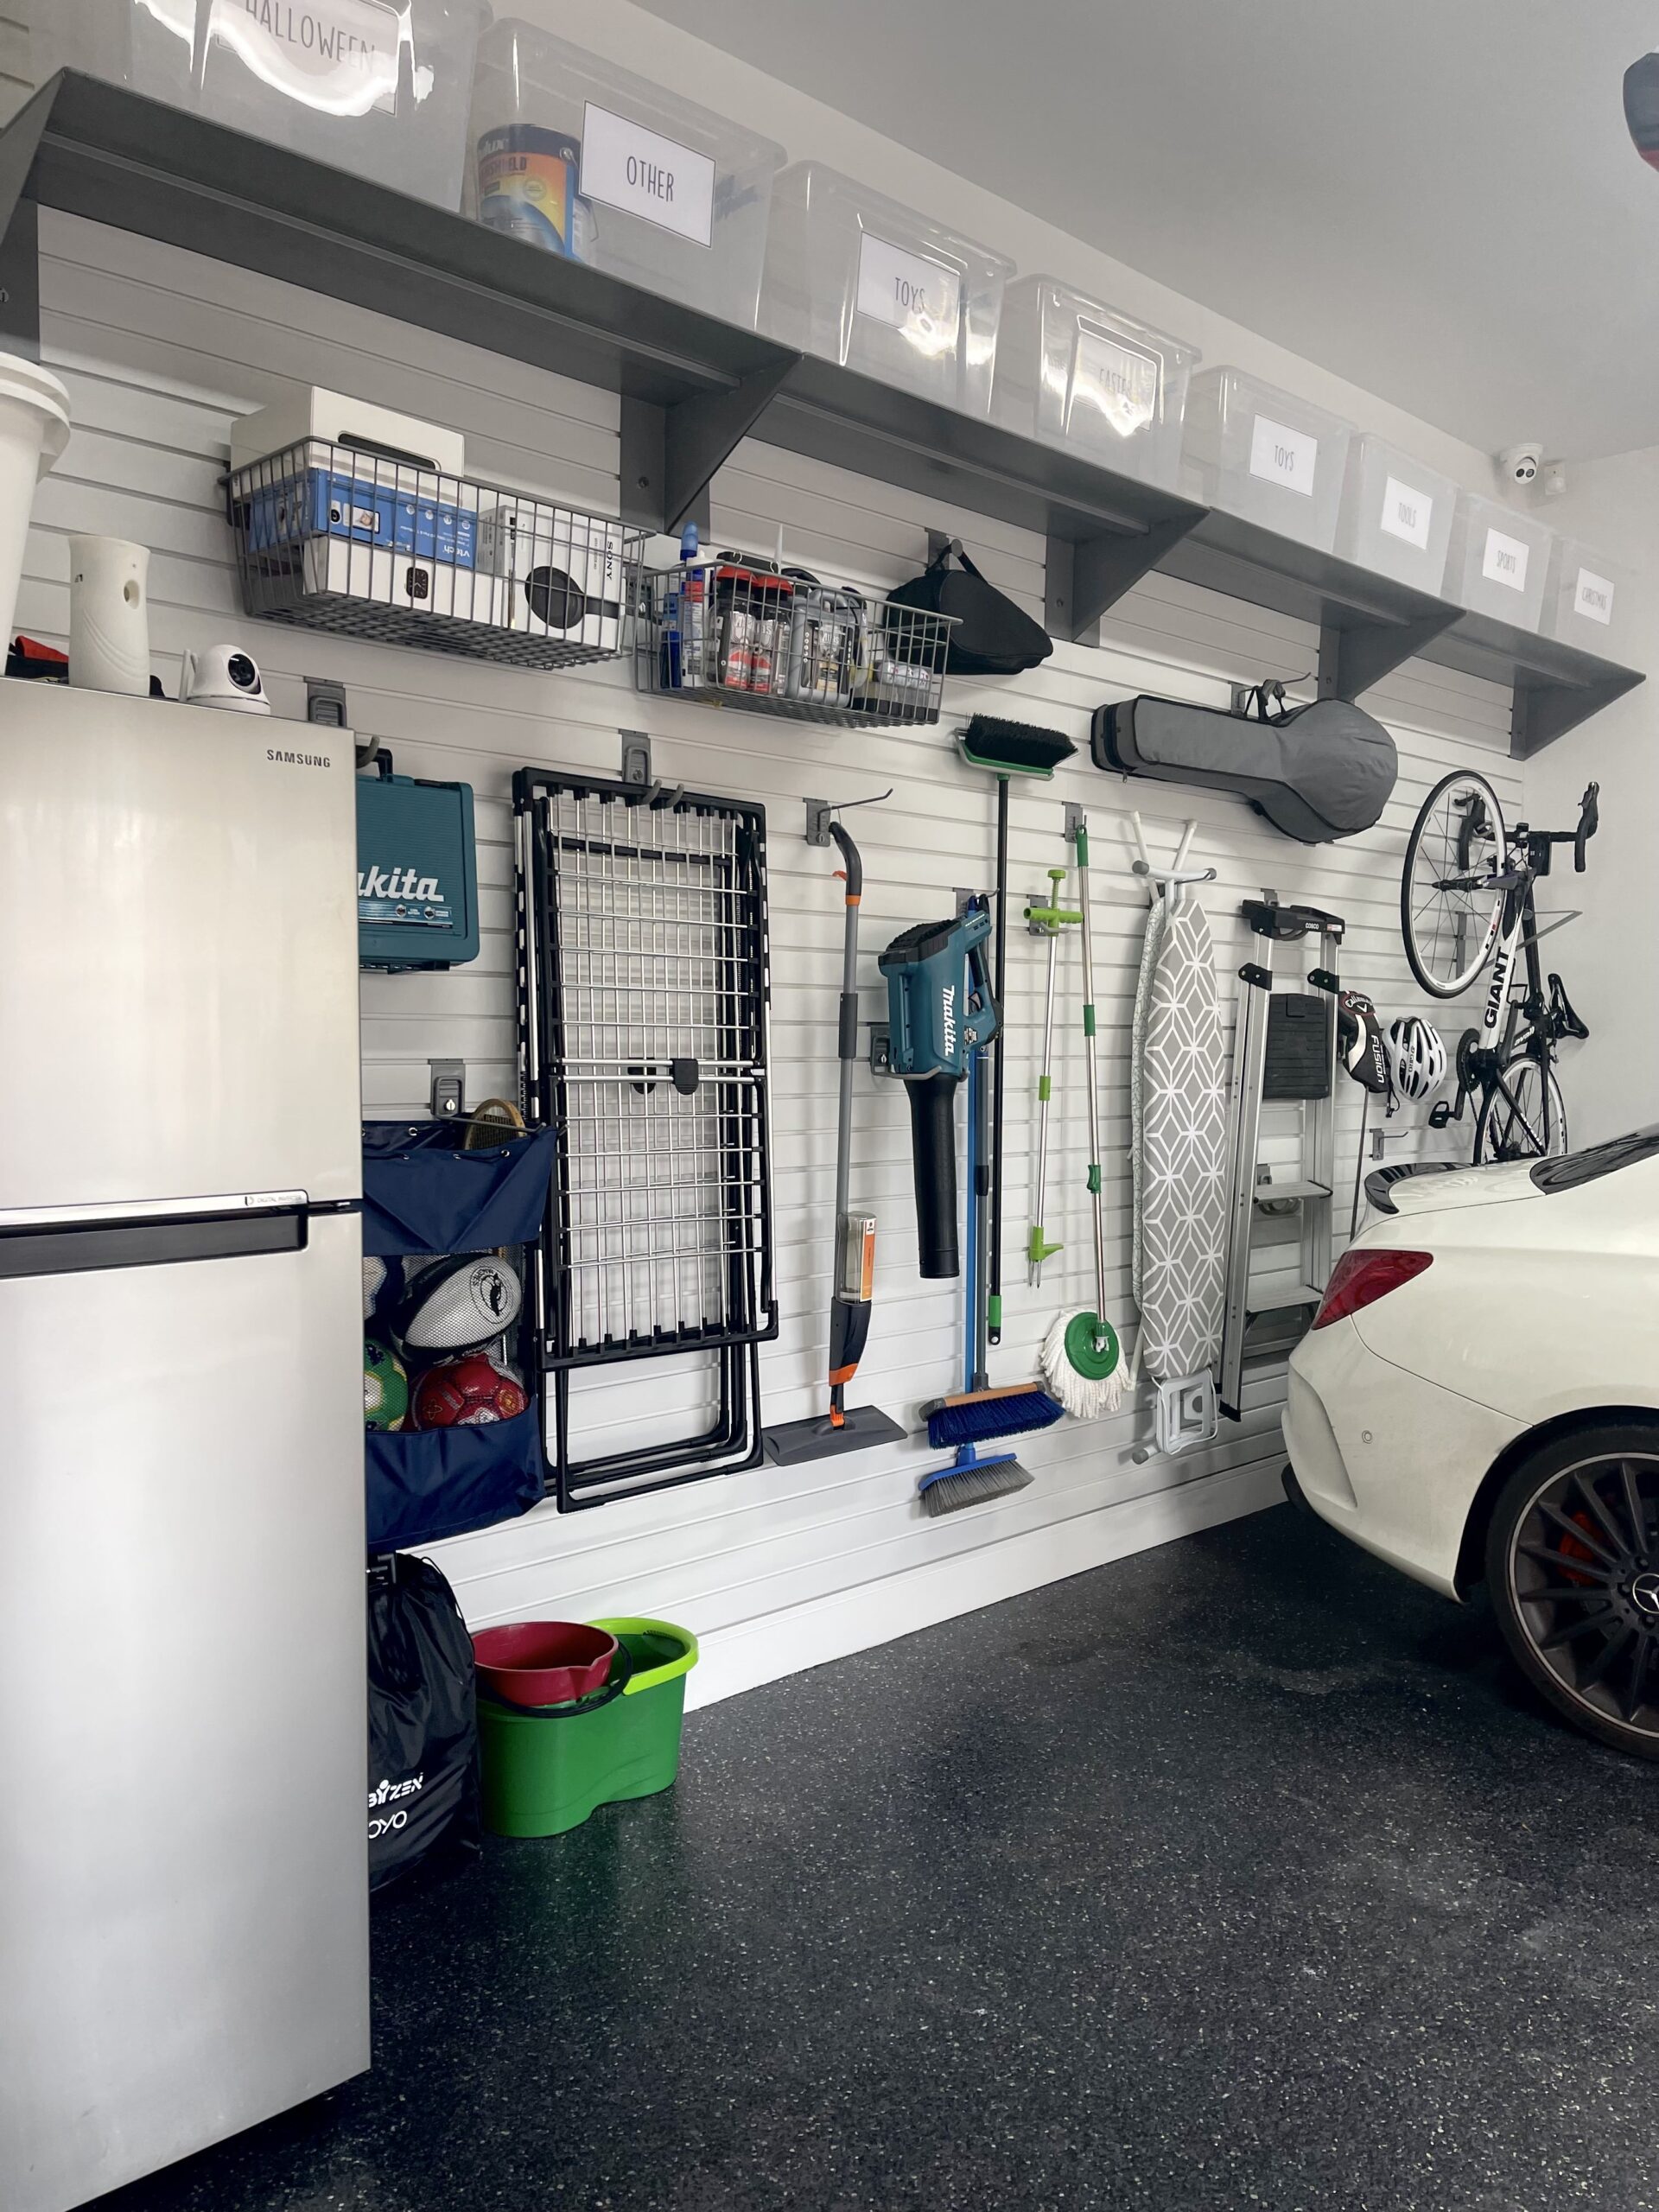
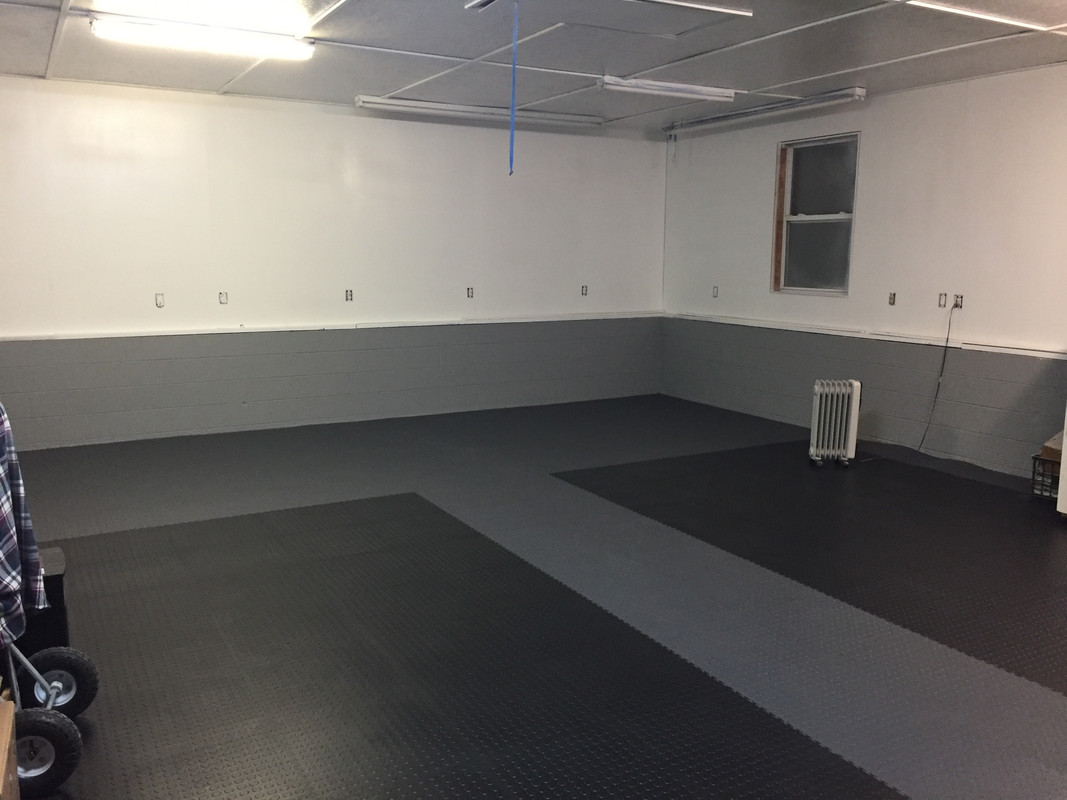
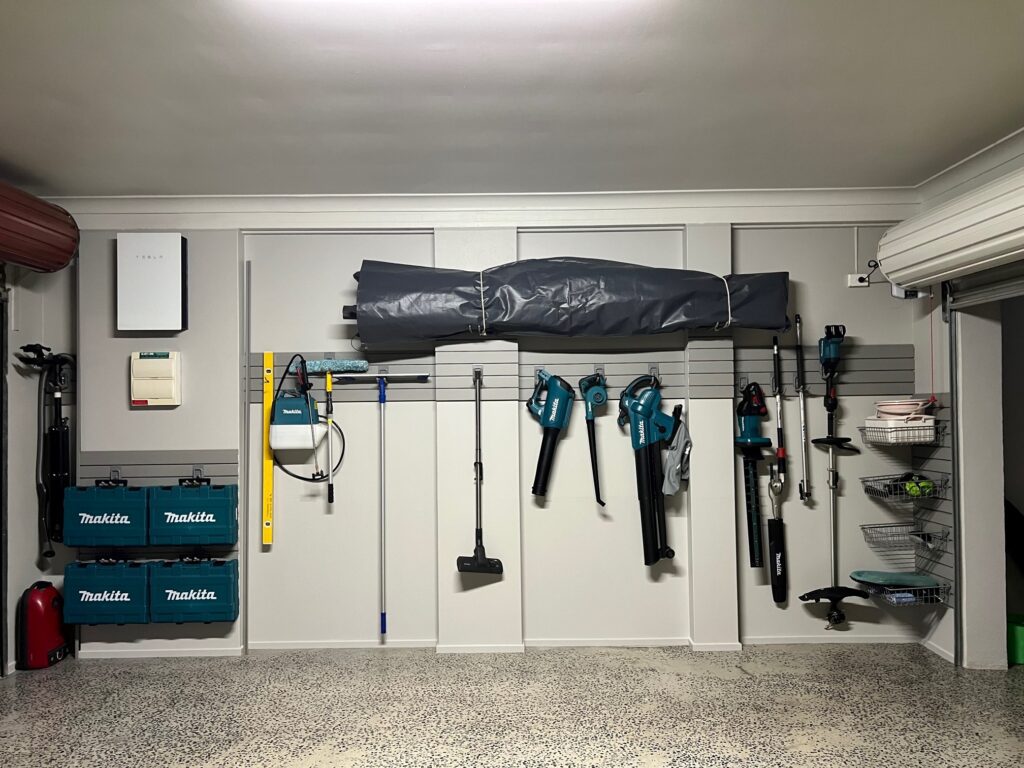
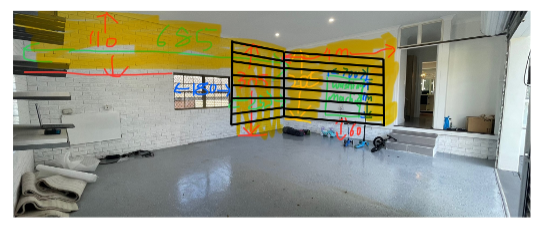
We recently worked with a homeowner in Sydney who had a wide garage with two key usable wall spaces: the rear wall and the right-hand side wall. Their goal? To neatly store plastic tubs, bikes, sports gear, and large items like an ironing board.
Our initial proposal was to install wall panels across the full height of both walls—covering around 18 square metres with 27 StoreWALL Standard Duty panels (2.4m each). The cost to deliver this was approx $4700. While this would have provided complete flexibility and coverage, the quote exceeded their budget. See above picture of what was originally requested.
Smart Savings Without Sacrificing Function
One of the many advantages of the StoreWALL slatwall system is that it can be dialled down by reducing the amount of wall panels used and therefore the overall initial cost of the project. At a later stage, it can also be dialled back up again with additional panels added to expand the solution.
We took another look at the room for the client, this time focusing on how we can continue to make it functional but with a lower initial investment. By reducing the panel height from full-wall to either 1.8m or 2.1m, and limiting the wall coverage to strategic sections, we delivered a far more cost-effective solution that still met their storage goals.
- Rear wall (right of window): 2.4m wide x 2.1m or 1.8 high
- Right-hand wall: 3.6m wide x 2.1m or 1.8m high
- Total coverage: Over 6m of width at 1.8–2.1m height = approx. 12–13sqm of wall coverage
- Budget of $3100
By reducing the wall coverage by 30%, we also reduced the budget by a similar figure.
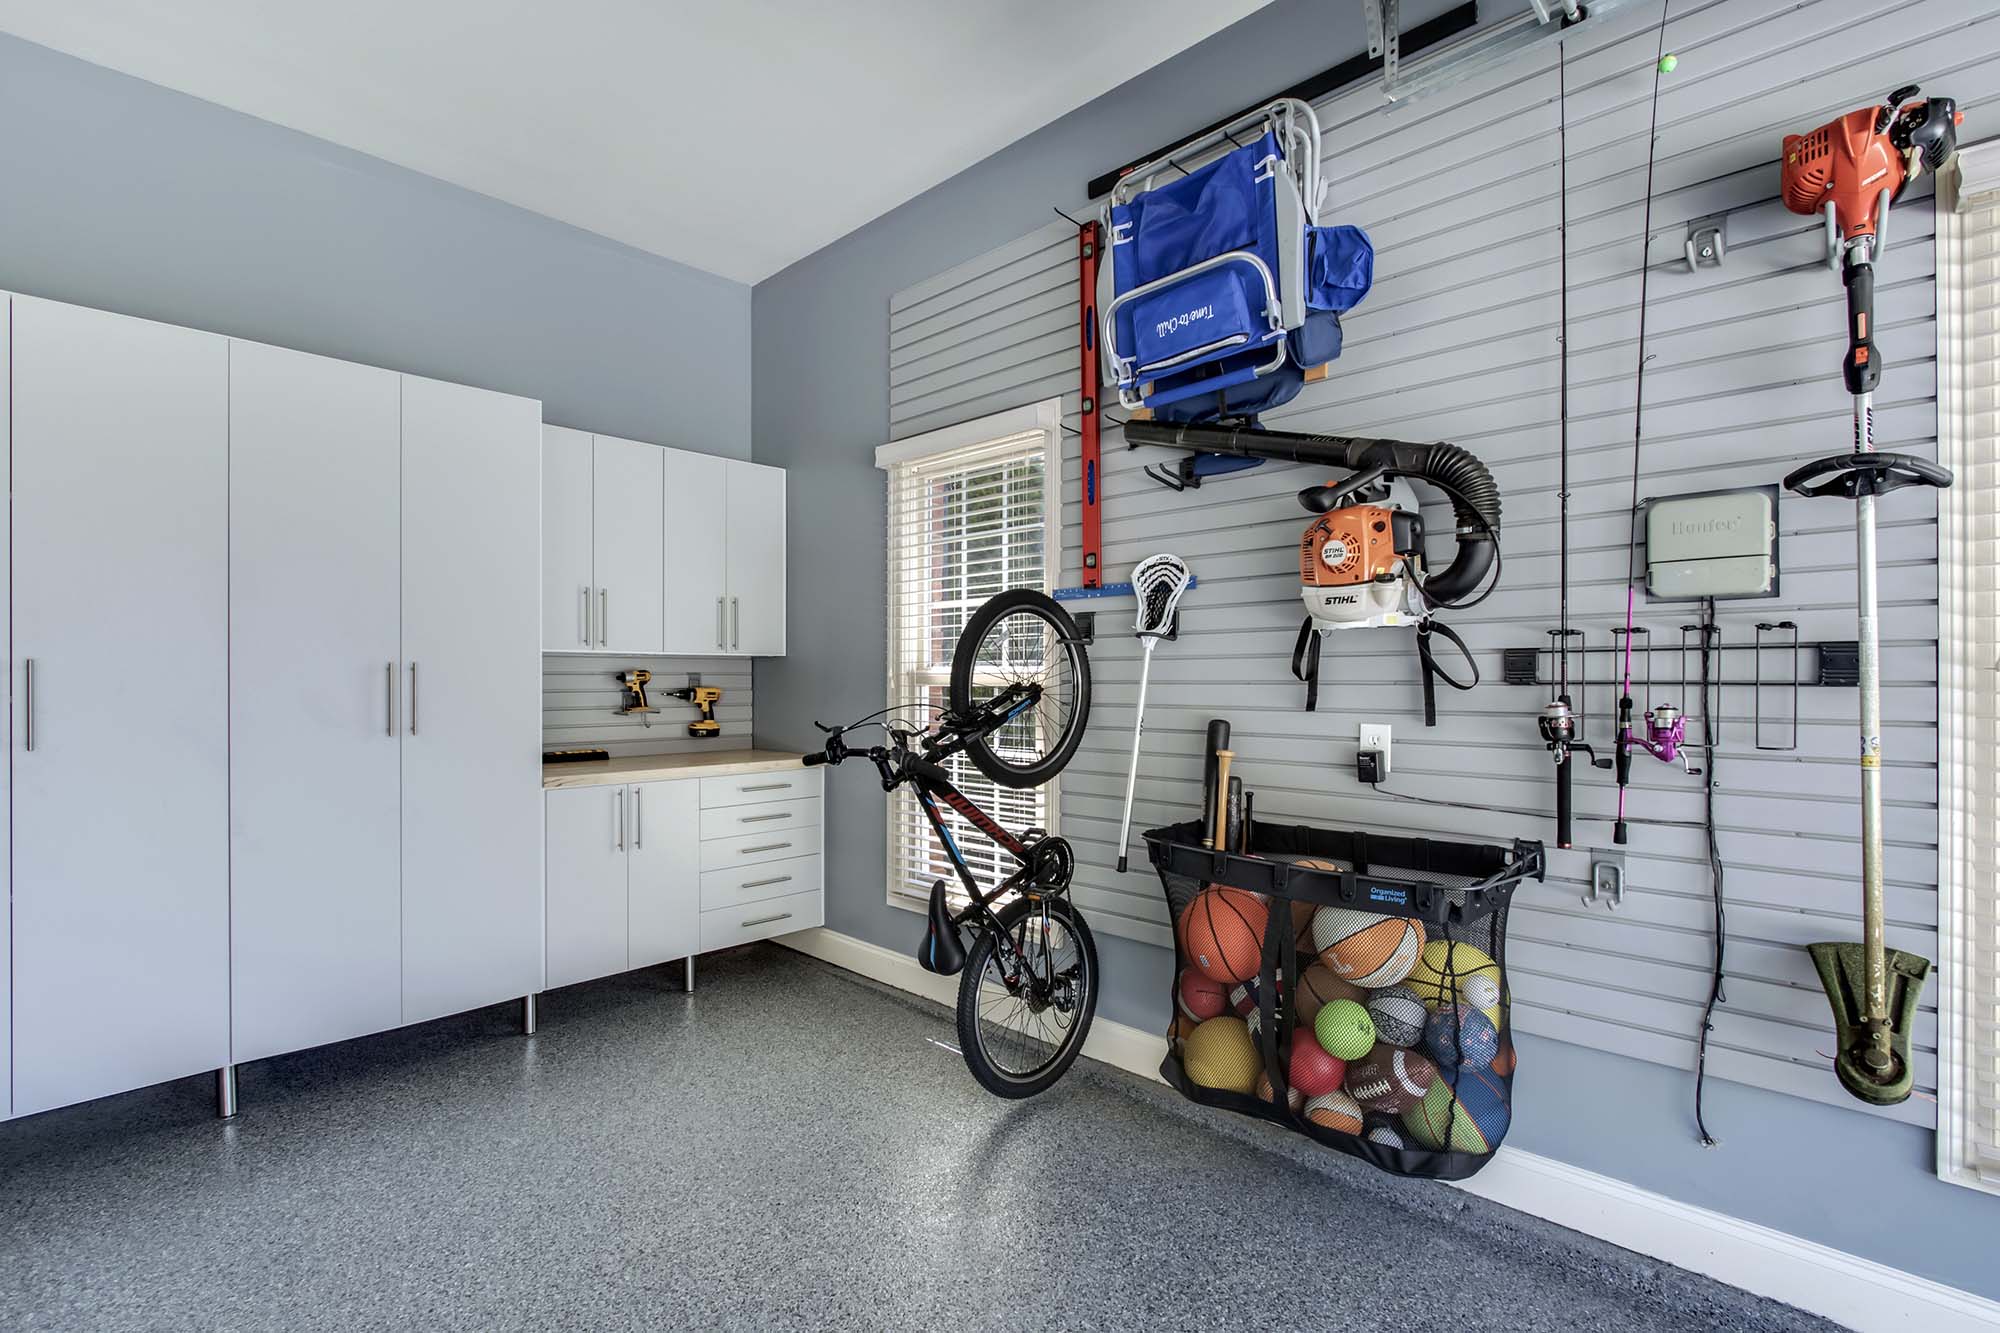
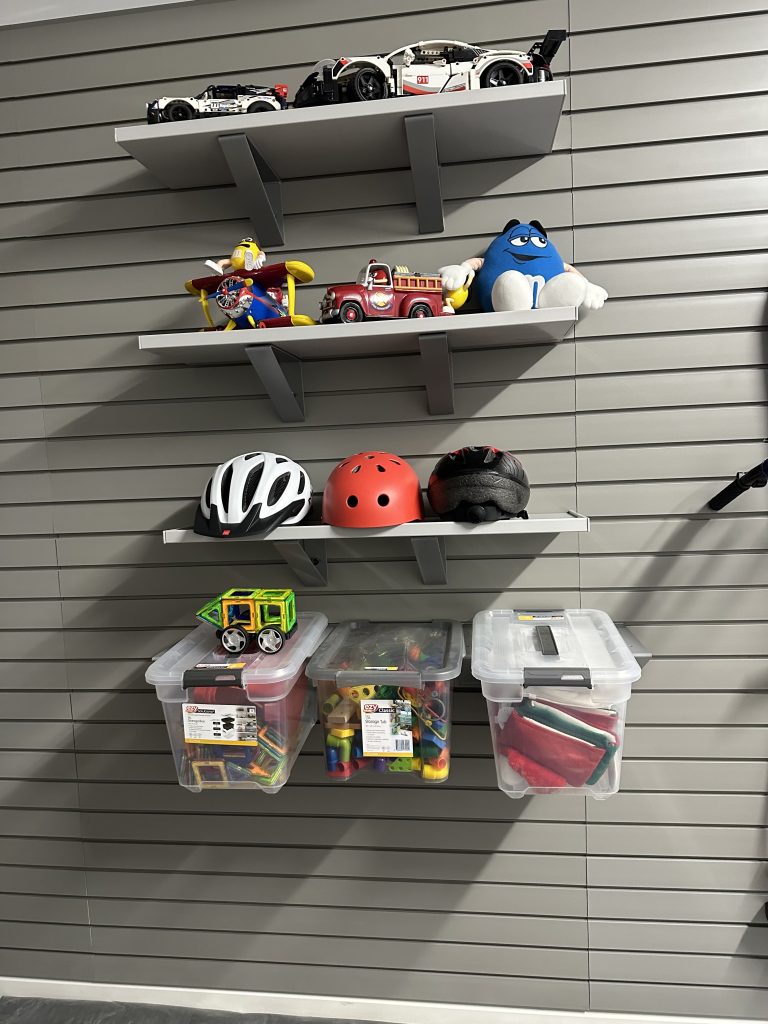
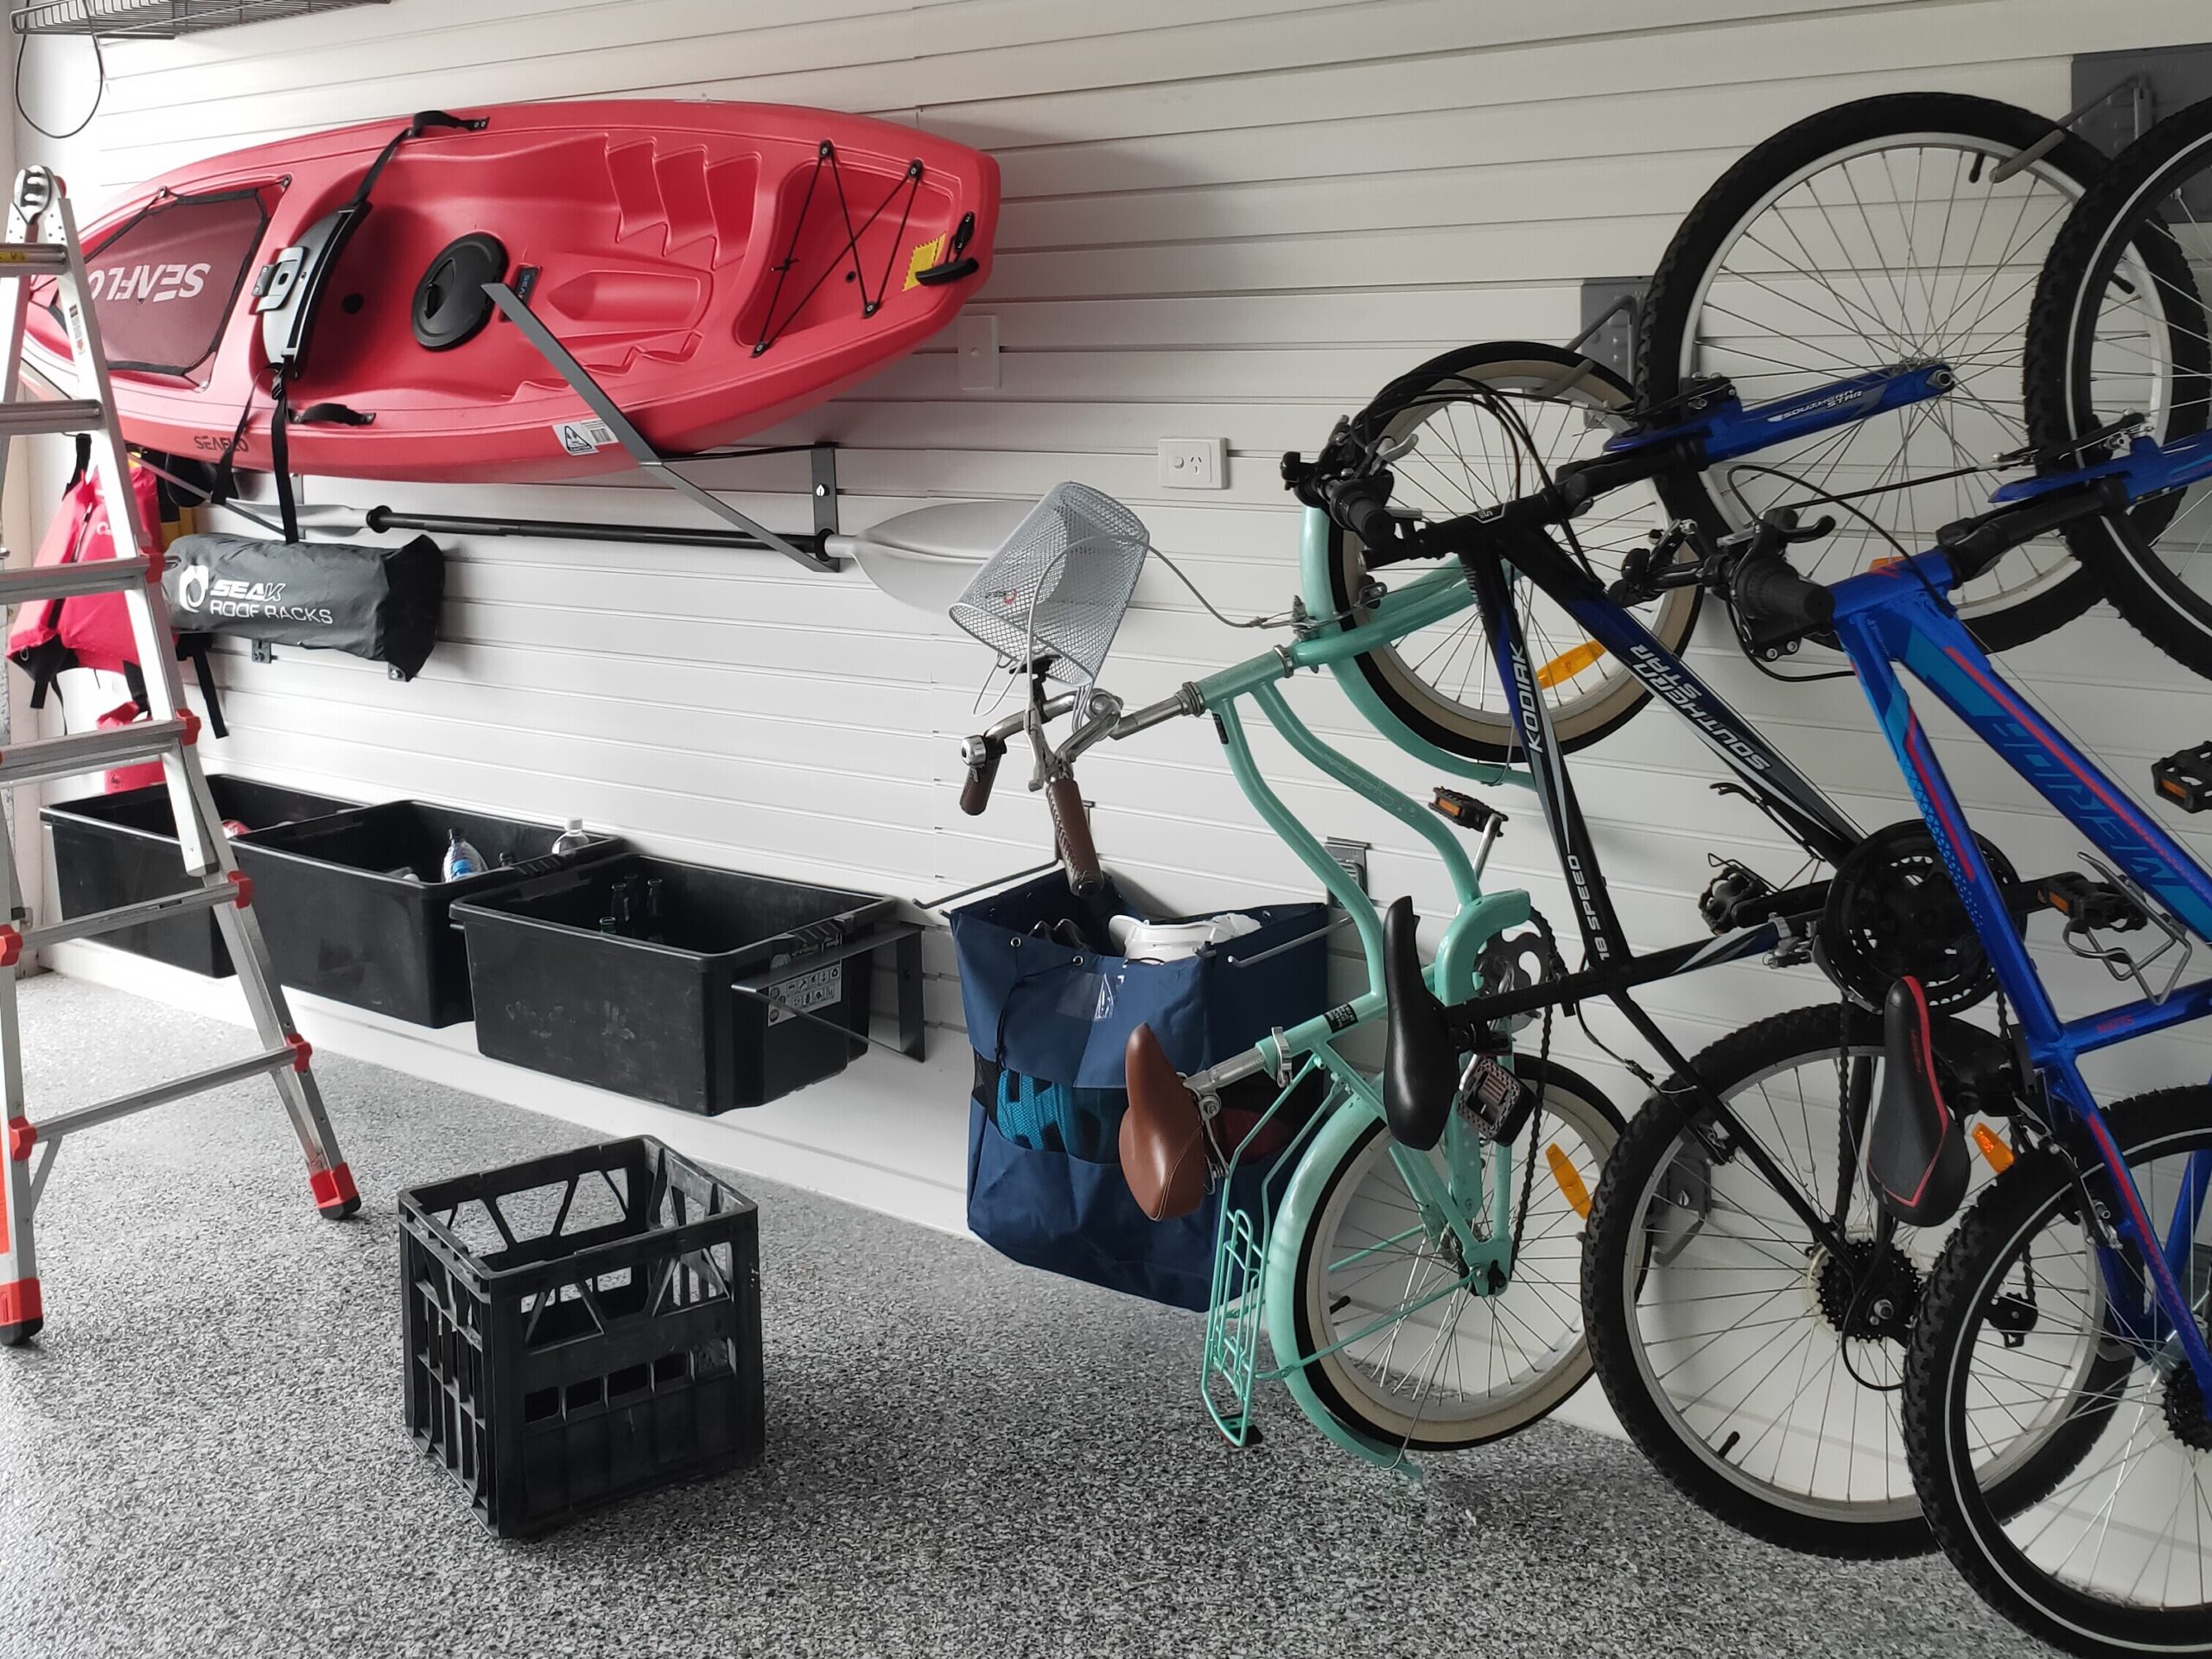
This gave them ample room for high shelving to hold plastic tubs, with bikes stored neatly on the rear wall, and sports gear hung along the side wall.
The Result?
A tailored solution that met their needs without over-investing in unnecessary materials. And best of all, they retained flexibility for future changes—something you simply don’t get with fixed shelves.
StoreWALL Garage Wall Panels offer the ultimate in versatility, durability, and long-term value. Whether you’re starting with one wall or upgrading your entire space, we’ll help you maximise every square metre—on your terms and within your budget.