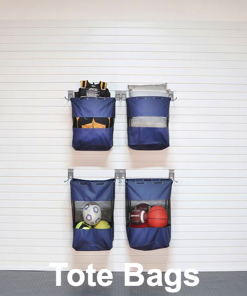
Organise Sports Balls in Your Garage with StoreWALL Tote Bags
If your garage floor is constantly covered in footballs, basketballs, soccer balls, or netballs, you’re not alone. Sports balls come in all shapes and sizes, and without the right storage system they quickly create clutter. The good news? StoreWALL Tote Bags offer a simple, flexible, and highly effective solution for sports equipment storage in your garage.
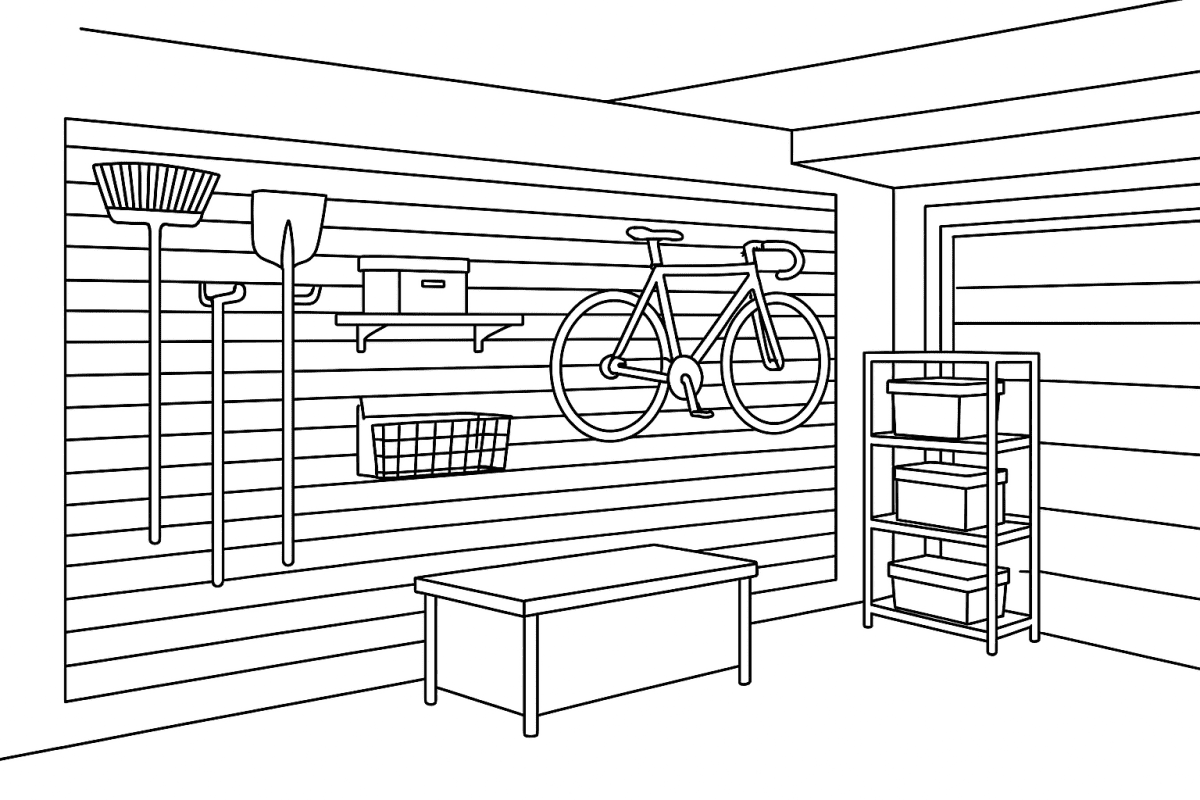
The Challenge of Storing Sports Balls in the Garage
Sports balls are awkward to store. They roll away, take up valuable floor space, and often end up damaged when piled into crates or left outside. Traditional shelving doesn’t work well either — balls fall off, become hard to access, or get buried behind other items.
That’s where vertical wall storage makes all the difference.
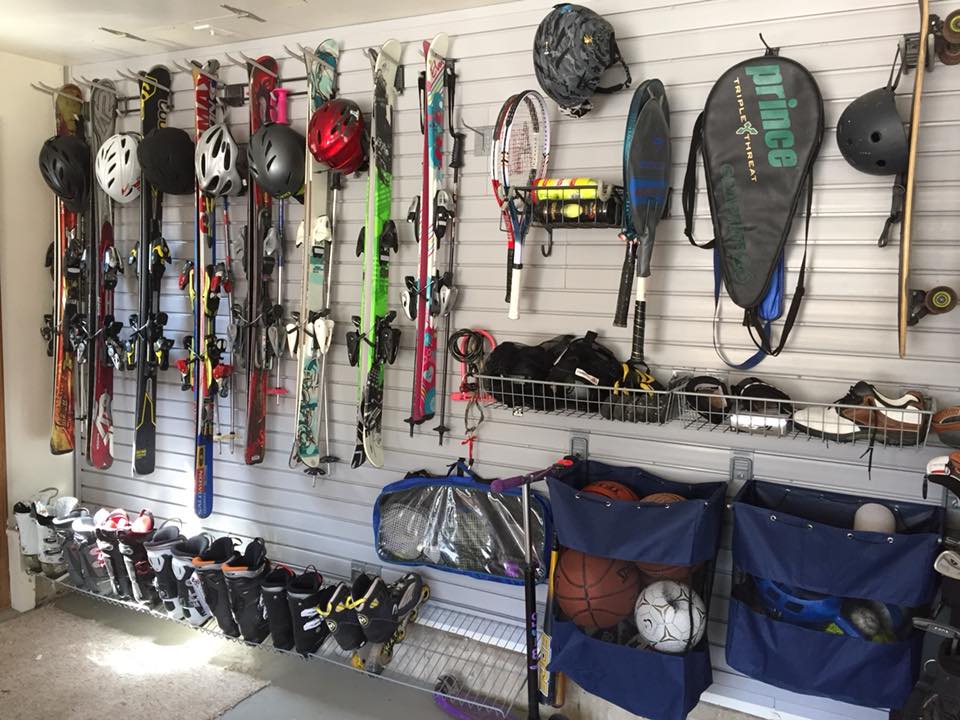
Why StoreWALL Tote Bags Are Ideal for Sports Ball Storage
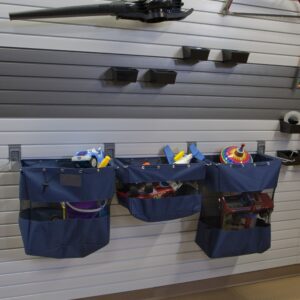
StoreWALL Tote Bags are designed to hang securely on StoreWALL wall panels, keeping sports balls organised, visible, and easy to grab. Made from durable, breathable materials, they’re ideal for storing:
- Soccer balls
- Basketballs
- AFL and rugby balls
- Netballs
- Volleyballs
- Kids’ playground balls
The open-top design allows for quick access, making it easy for kids and adults alike to grab a ball on the way out — and just as easy to put it back when they’re done.
Flexible Storage for Balls of All Shapes and Sizes
One of the biggest advantages of StoreWALL Tote Bags is flexibility. Unlike fixed ball racks, tote bags naturally adjust to different ball sizes. You can dedicate one bag per sport, or group similar items together for family-friendly organisation.
As your sporting needs change, the tote bags can be easily repositioned on the wall without tools — perfect for growing families or seasonal sports.
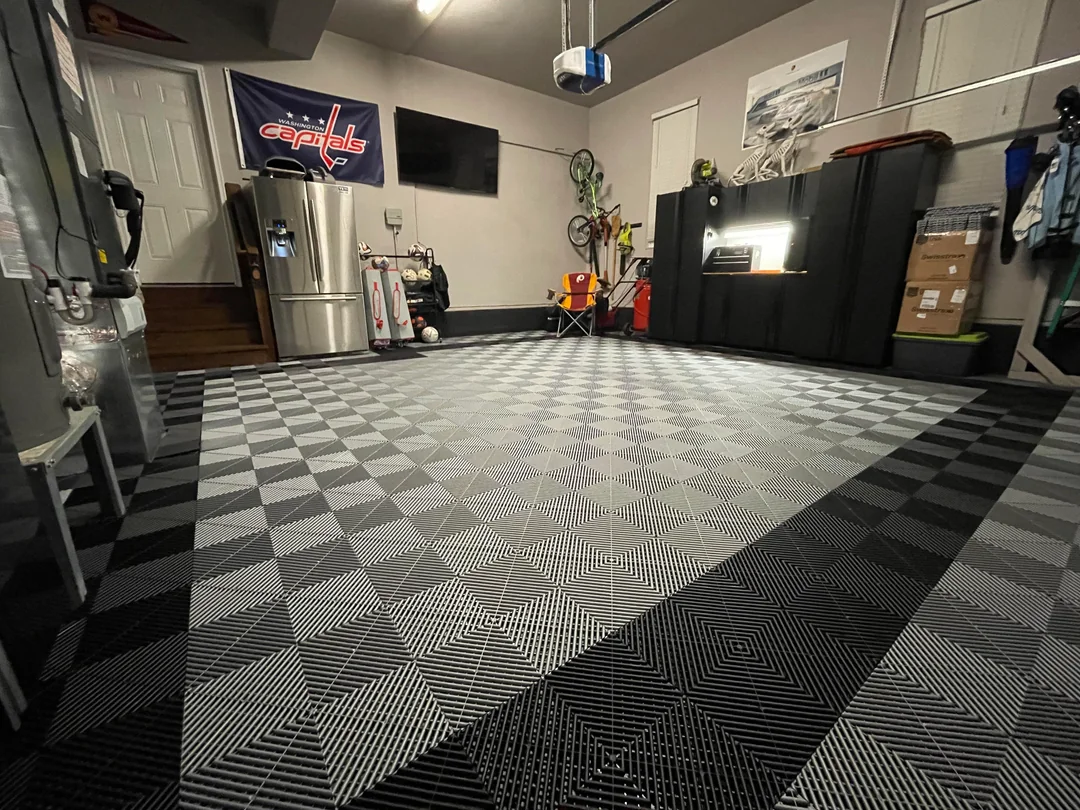
Keep Your Garage Safer and Clutter-Free
Storing balls off the ground improves garage safety by removing trip hazards and freeing up floor space for cars, bikes, or gym equipment. It also protects balls from damage caused by being crushed, exposed to moisture, or left in direct sunlight.
Combined with StoreWALL’s wall panels, tote bags create a strong, long-lasting storage solution built for Australian garages.
The Perfect Sports Storage Solution for Active Families
Whether you’re managing weekend sports, school activities, or backyard games, StoreWALL Tote Bags help keep everything organised and accessible. No more searching, no more mess — just smart, efficient garage storage.
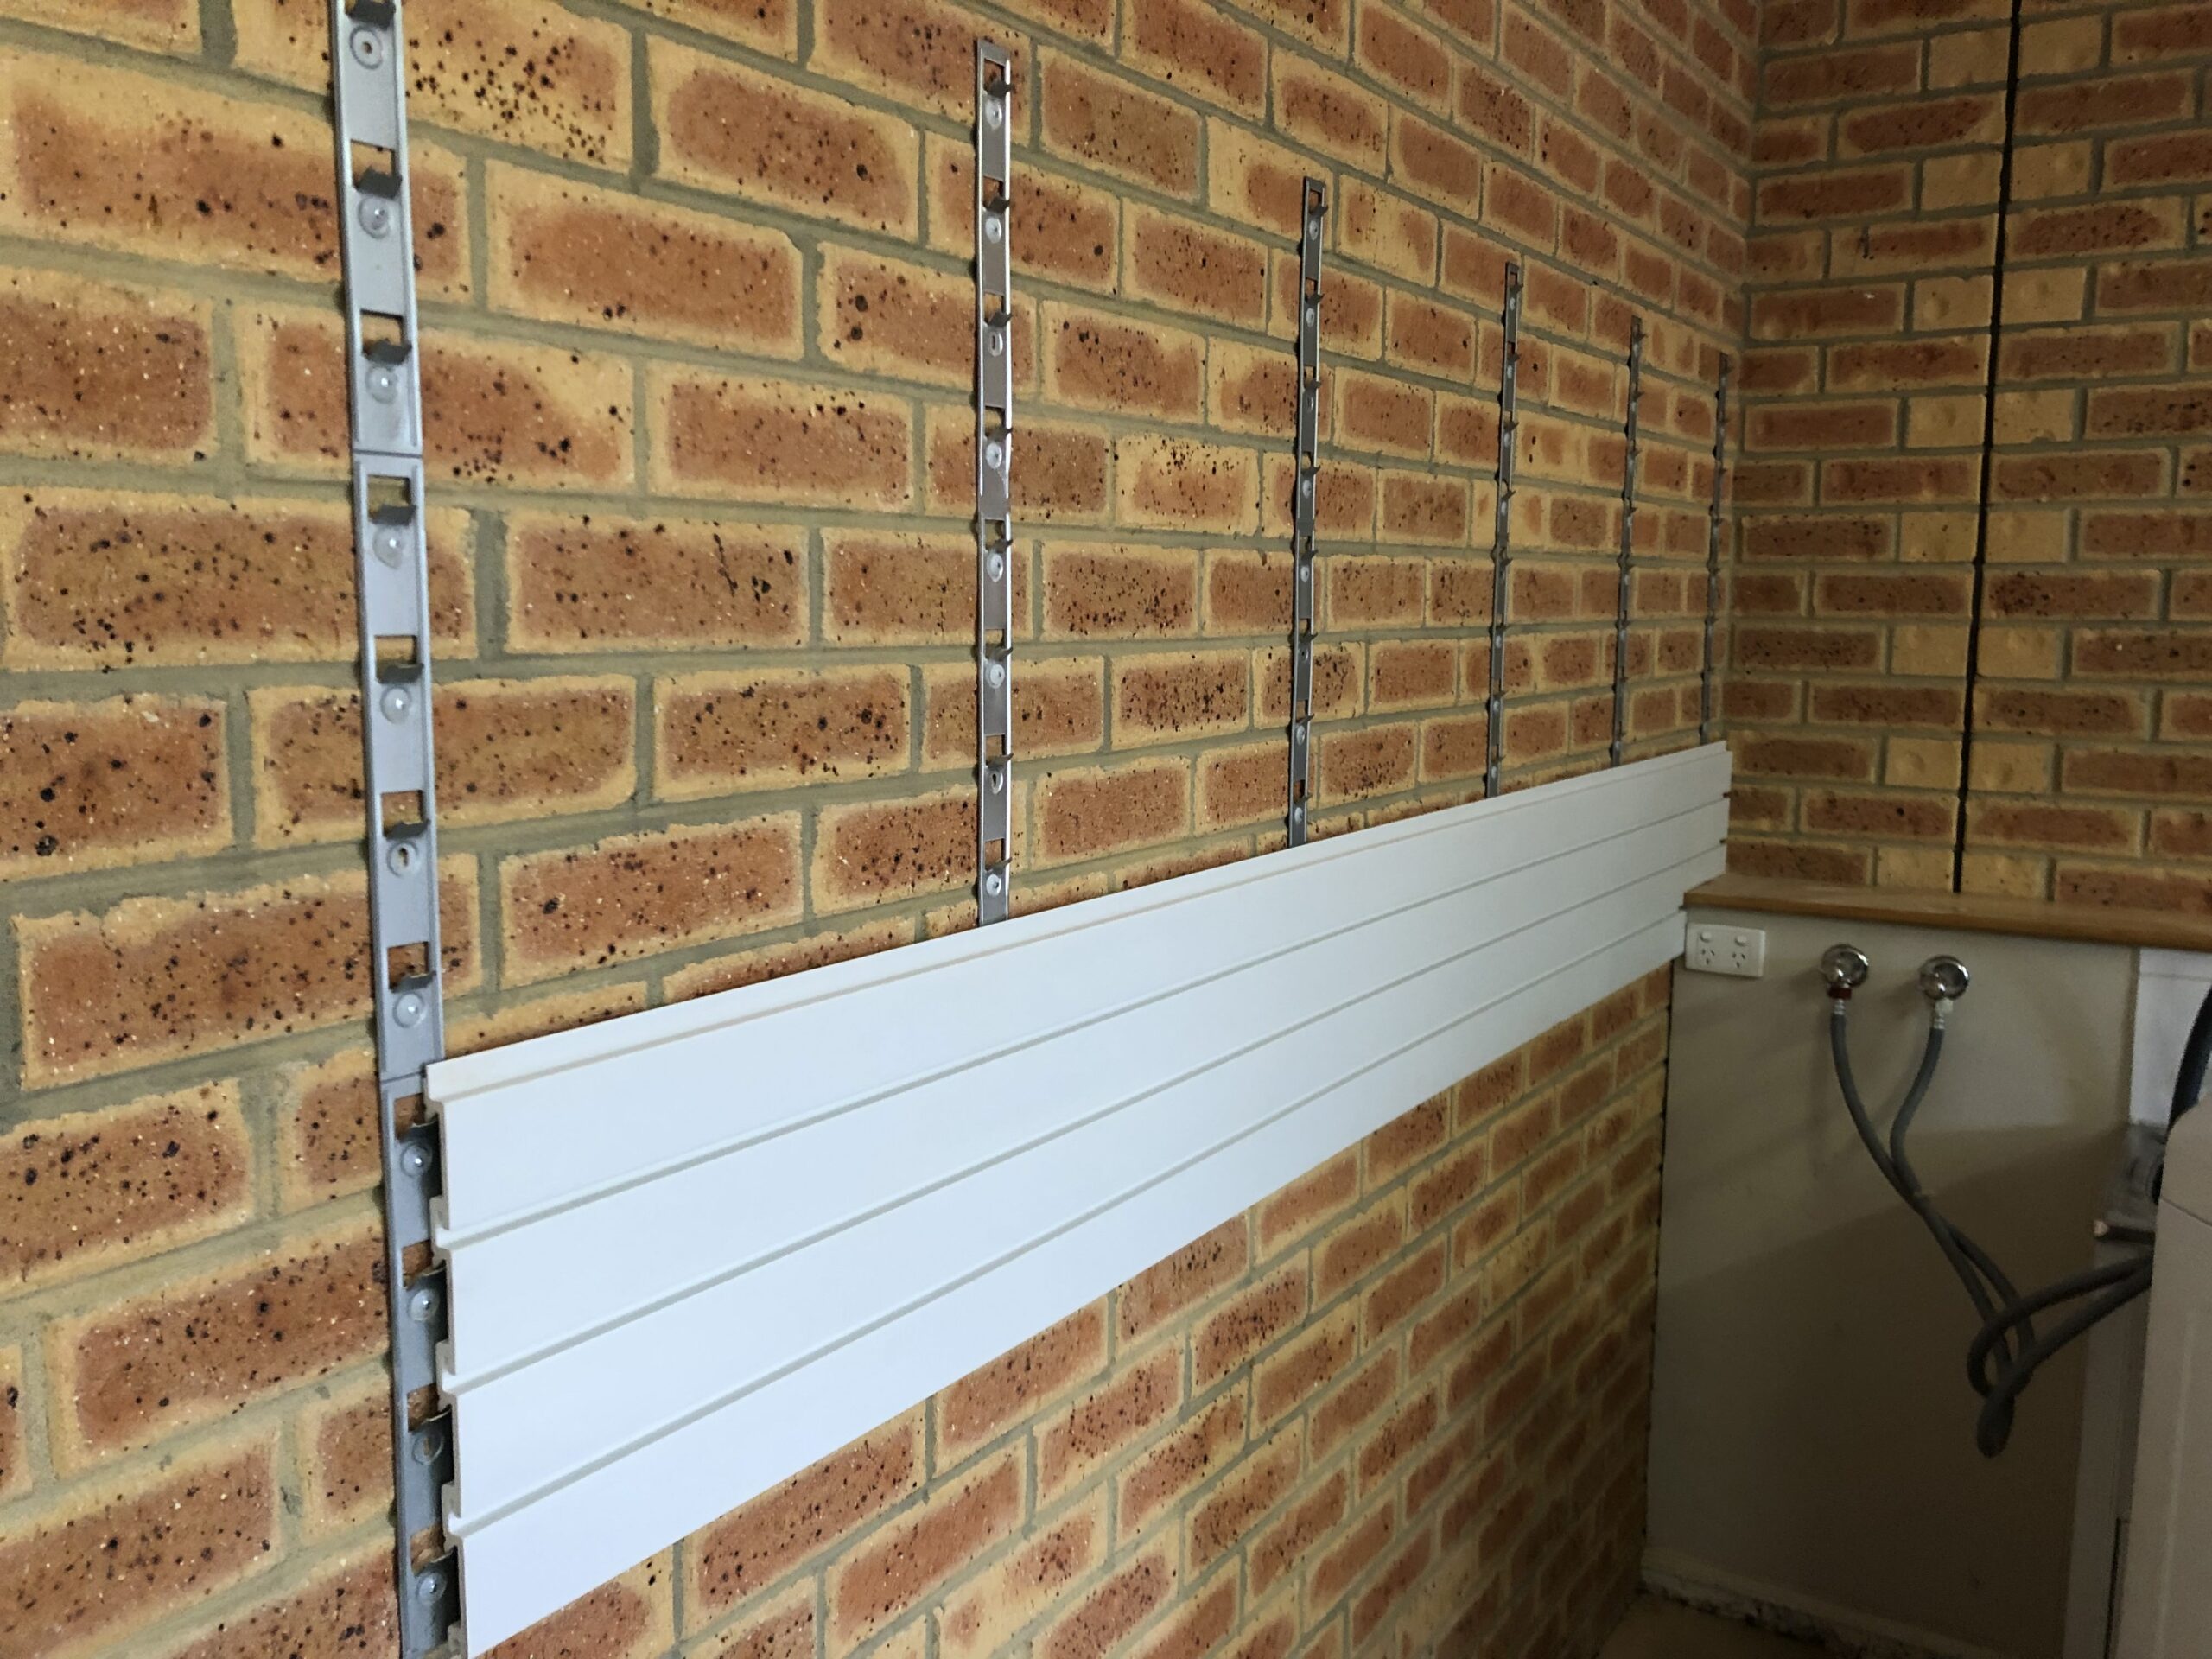
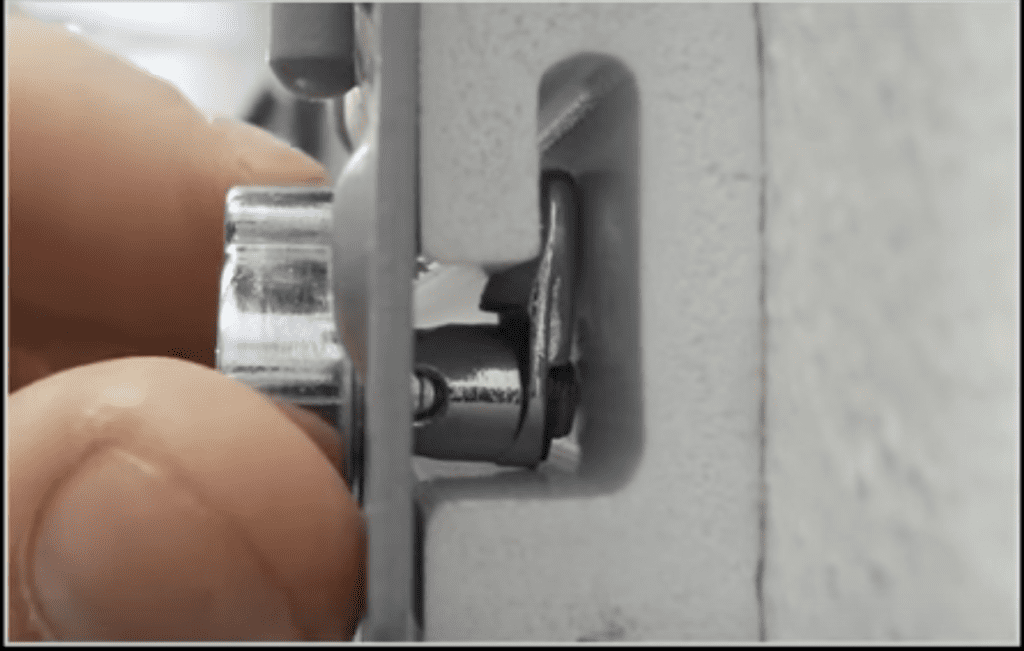
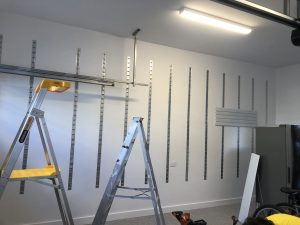 Increased Shear & Pull-Out Strength
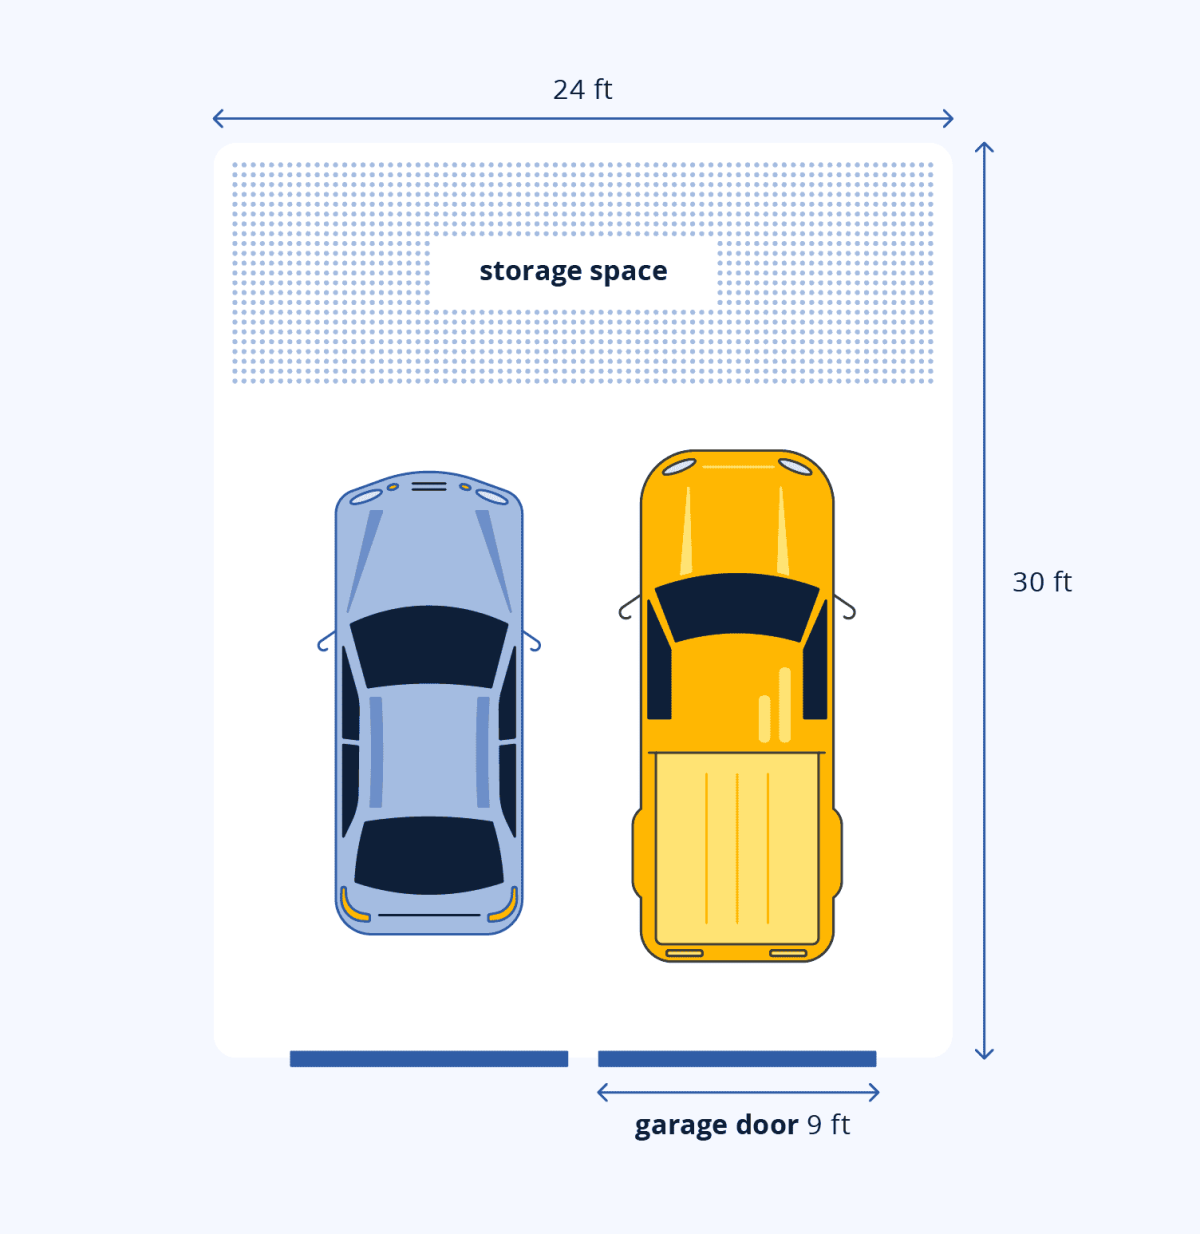
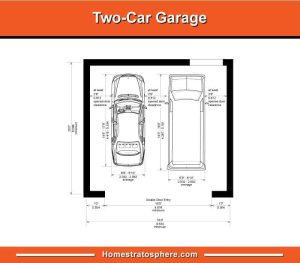
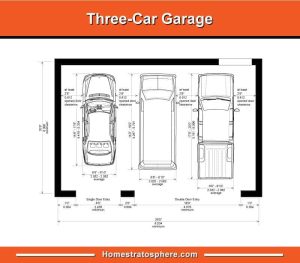 Vehicle Size
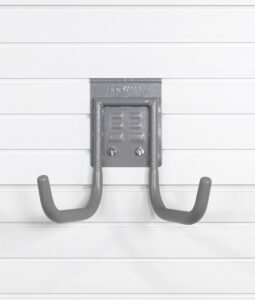 2. Ultra Duty Utility Hook
 3. Ultra Duty 635mm Surf & Paddle Board Bracket
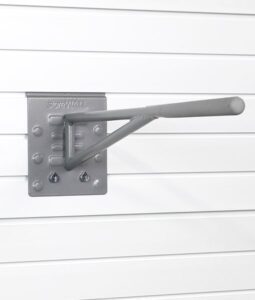 4. Ultra Duty 381mm Surf & Paddle Board Bracket
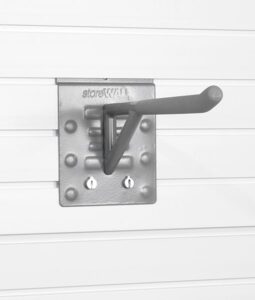 What Makes the Ultra Duty Garage Hook Range Unique?