
Unlocking the Potential of Interlocking Foam Tiles in Your Garage
Garages are versatile spaces that can be transformed with simple upgrades, such as the installation of interlocking foam tiles. These tiles are not only affordable and easy to install, but they also offer a range of benefits from improved safety to enhanced aesthetics. Whether you’re looking to create a comfortable workspace, a gym, or simply want to protect your floor, interlocking foam tiles are an excellent choice. Here’s a detailed look at how you can utilize these tiles in your garage.
What Are Interlocking Foam Tiles?
Interlocking foam tiles are made from high-density foam and are designed to fit together like puzzle pieces. They come in various thicknesses and can range in size from 12×12 inches to 24×24 inches or larger. These tiles are lightweight, shock-absorbent, and available in multiple colors and textures, allowing for customization according to your garage’s needs.
Benefits of Using Foam Tiles in Your Garage
- Comfort: Foam tiles provide a cushioned surface that is gentle on the feet, making it ideal for long hours spent on DIY projects or repairs.
- Safety: The soft material helps prevent injuries from falls and can reduce fatigue from standing, which is especially beneficial in a workshop setting.
- Versatility: These tiles can be used to designate specific areas in your garage for different activities, such as a workout area, a workspace, or a play area for children.
- Durability: Designed to withstand heavy foot traffic, foam tiles are also resistant to most chemicals and can be easily cleaned with a damp mop.
- Thermal Insulation: The tiles act as insulators, helping to keep the garage warmer in winter and cooler in summer.
- Noise Reduction: The foam absorbs sound, which is particularly useful if you use loud power tools in your garage.

How to Install Interlocking Foam Tiles
Installing interlocking foam tiles is a straightforward DIY project that requires no special tools or adhesives. Here’s how to do it:
- Preparation: Start by clearing the garage floor and sweeping it clean of any debris or dust.
- Layout: Plan your layout by placing tiles on the floor without locking them in place. This will help you figure out how many tiles you need and whether you need to cut any tiles to fit.
- Cutting: If necessary, cut the tiles to fit around corners or edges using a sharp utility knife.
- Installation: Begin at one corner of the room and work your way out. Attach tiles by aligning them and pressing the interlocking edges together. Use a rubber mallet if needed to ensure a snug fit.
- Finishing: Once all tiles are in place, install edge pieces (if provided) to create a smooth transition from the tiles to the garage floor.
Maintenance and Care
Interlocking foam tiles are low-maintenance. Regular cleaning involves sweeping or vacuuming to remove loose debris and damp mopping with mild soap and water. Avoid using harsh chemicals that might degrade the foam material.
Customization Tips
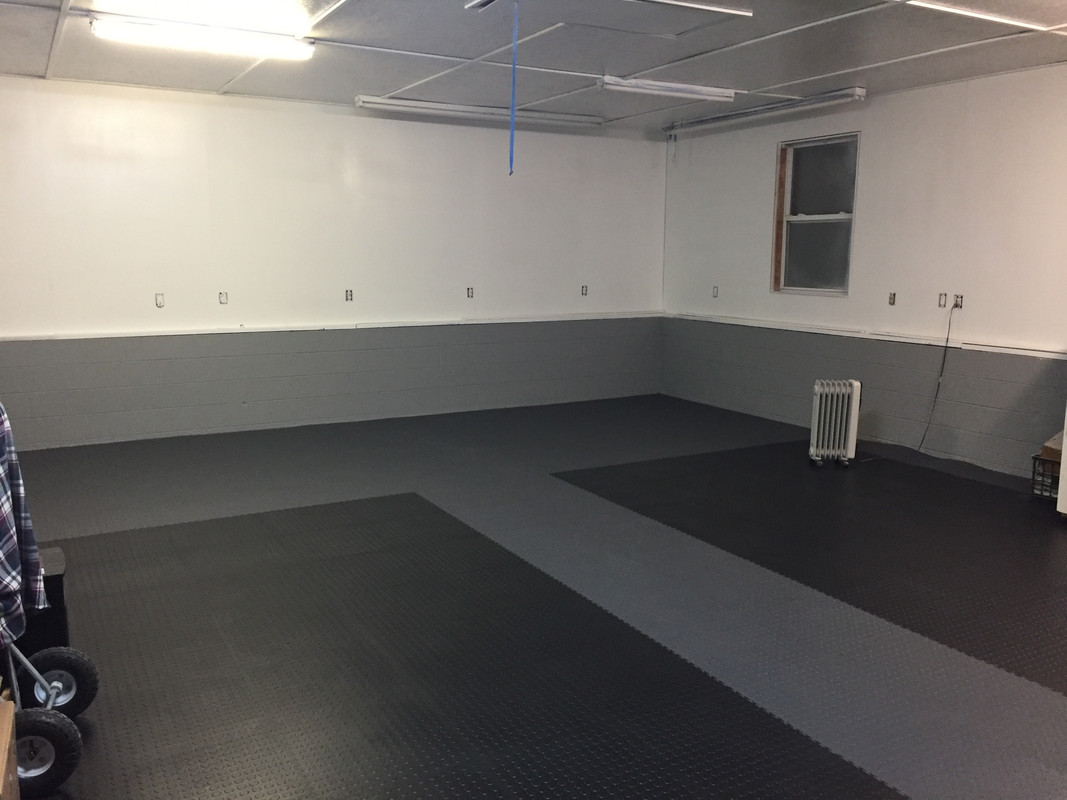
- Color Coding: Use different colors to define various zones in your garage, such as red tiles for workout areas and blue for workspaces.
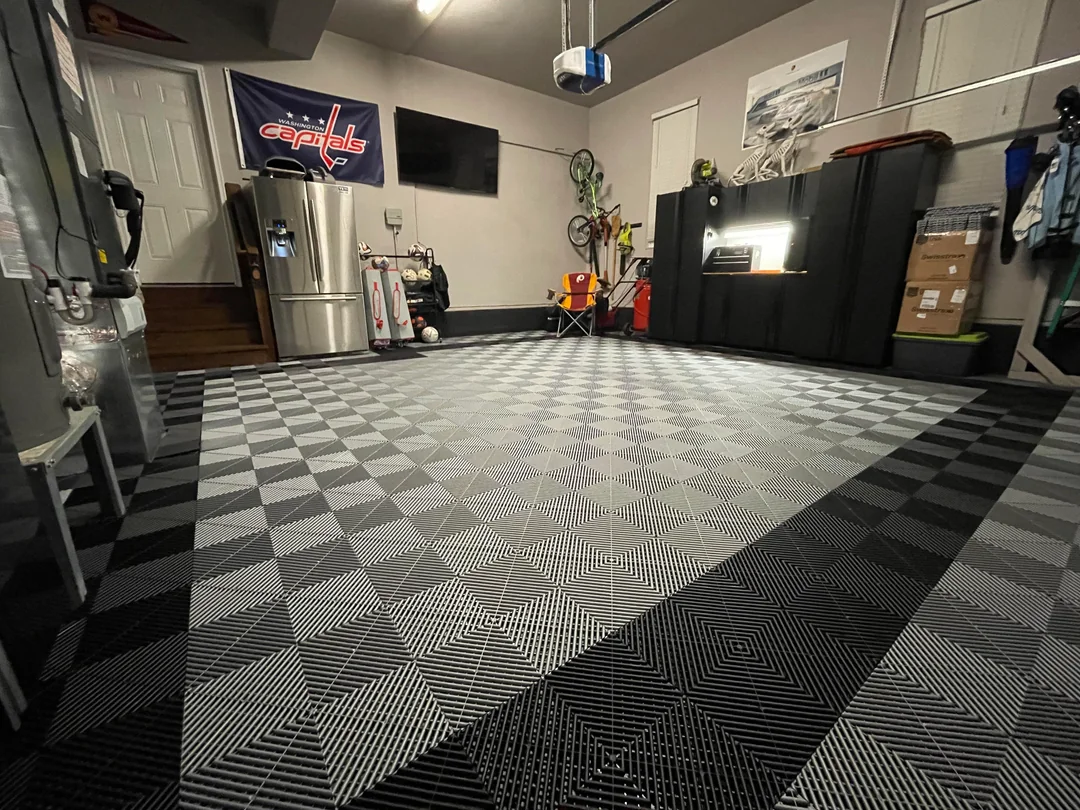
- Patterns: Arrange tiles in patterns or designs to enhance the visual appeal of your space.
- Layering: For extra comfort or insulation, consider double-layering the tiles in areas where you spend the most time.
Interlocking foam tiles offer an efficient and cost-effective way to upgrade your garage, providing comfort, safety, and style. Whether you’re turning your garage into a gym, workshop, or multi-purpose area, these tiles can accommodate your needs with ease. With their simple installation and ease of maintenance, they are an excellent choice for any homeowner looking to improve their garage space.