Access an Additional $20 Off All 2438mm Wall Panels!
CALL US

0411 280 646

Categories
garage design Garage Hooks Garage Ideas garage makeover Garage Walls Sports Ball Storage Sports Equipment StoreWALL Workbench

How to Organise a New Garage

How to Organise a New Garage

7 Things to Do Before You Move In

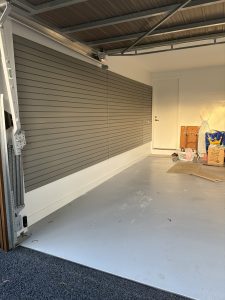
Moving into a new home is one of the few times in life you get to start from scratch. Every room is clean. Every wall is bare. The garage, especially, is a blank canvas — and it won’t stay that way for long.

Most people wait until after moving in to think about garage storage. By then, bikes are already propped against the wall, tools are in a pile on the floor, and there’s a cardboard box graveyard in the corner that no one wants to deal with. The garage becomes a dumping ground because there was no system in place before the dumping started.

The solution is simple: plan your garage storage before moving day. It takes a few hours, costs nothing extra if you buy the right system from the start, and it’s the single best thing you can do to keep your new home organised for years to come.

Here’s exactly what to do — in order.

“Every hook, shelf, and bin in a slatwall system slides in without tools. You can rearrange the entire wall in an afternoon as your life changes.”

How to Organise a New Garage

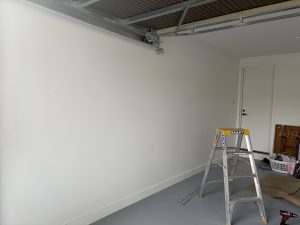
MEASURE YOUR WALLS BEFORE YOU BUY ANYTHING

Grab a tape measure and spend fifteen minutes in the empty garage. Write down the usable wall width on every wall — accounting for the garage door track, any windows, and the internal door. In a standard double garage, you’ll usually have 5–6 metres of usable wall space. A single garage gives you roughly 2.5–3.5 metres.

Also measure the wall height from floor to ceiling, and note the position of power points and lights. This tells you how many panel rows you can fit and where your working zone sits (typically 1–2 metres off the floor for tools and bikes).

DECIDE WHAT YOU’RE STORING — BEFORE CHOOSING ACCESSORIES

This sounds obvious, but most people skip it. They buy a bundle of hooks and figure it out later. The result is a wall full of accessories that don’t quite match what they need.

Instead, write a quick list of every category of item that will live in the garage: bikes, power tools, garden tools, sports gear, camping equipment, cleaning supplies, the lawn mower. Then sort the list into two groups: daily use (goes at eye level, easy to grab) and occasional use (can go up high or in a corner).

That list is your accessory shopping list. Work from it, not from what looks good in a photo.

ASK YOUR BUILDER TO ENSURE STUDS ARE CENTERED 450MM APART.

If your new home is still under construction, this is a tip that takes thirty seconds to ask for and delivers a sturdier and stronger garage wall on which to install any garage storage solution.

450mm gap between studs which is standard inside the home ensure more installstrips per wall panel and therefore a more robust garage wall storage solution.

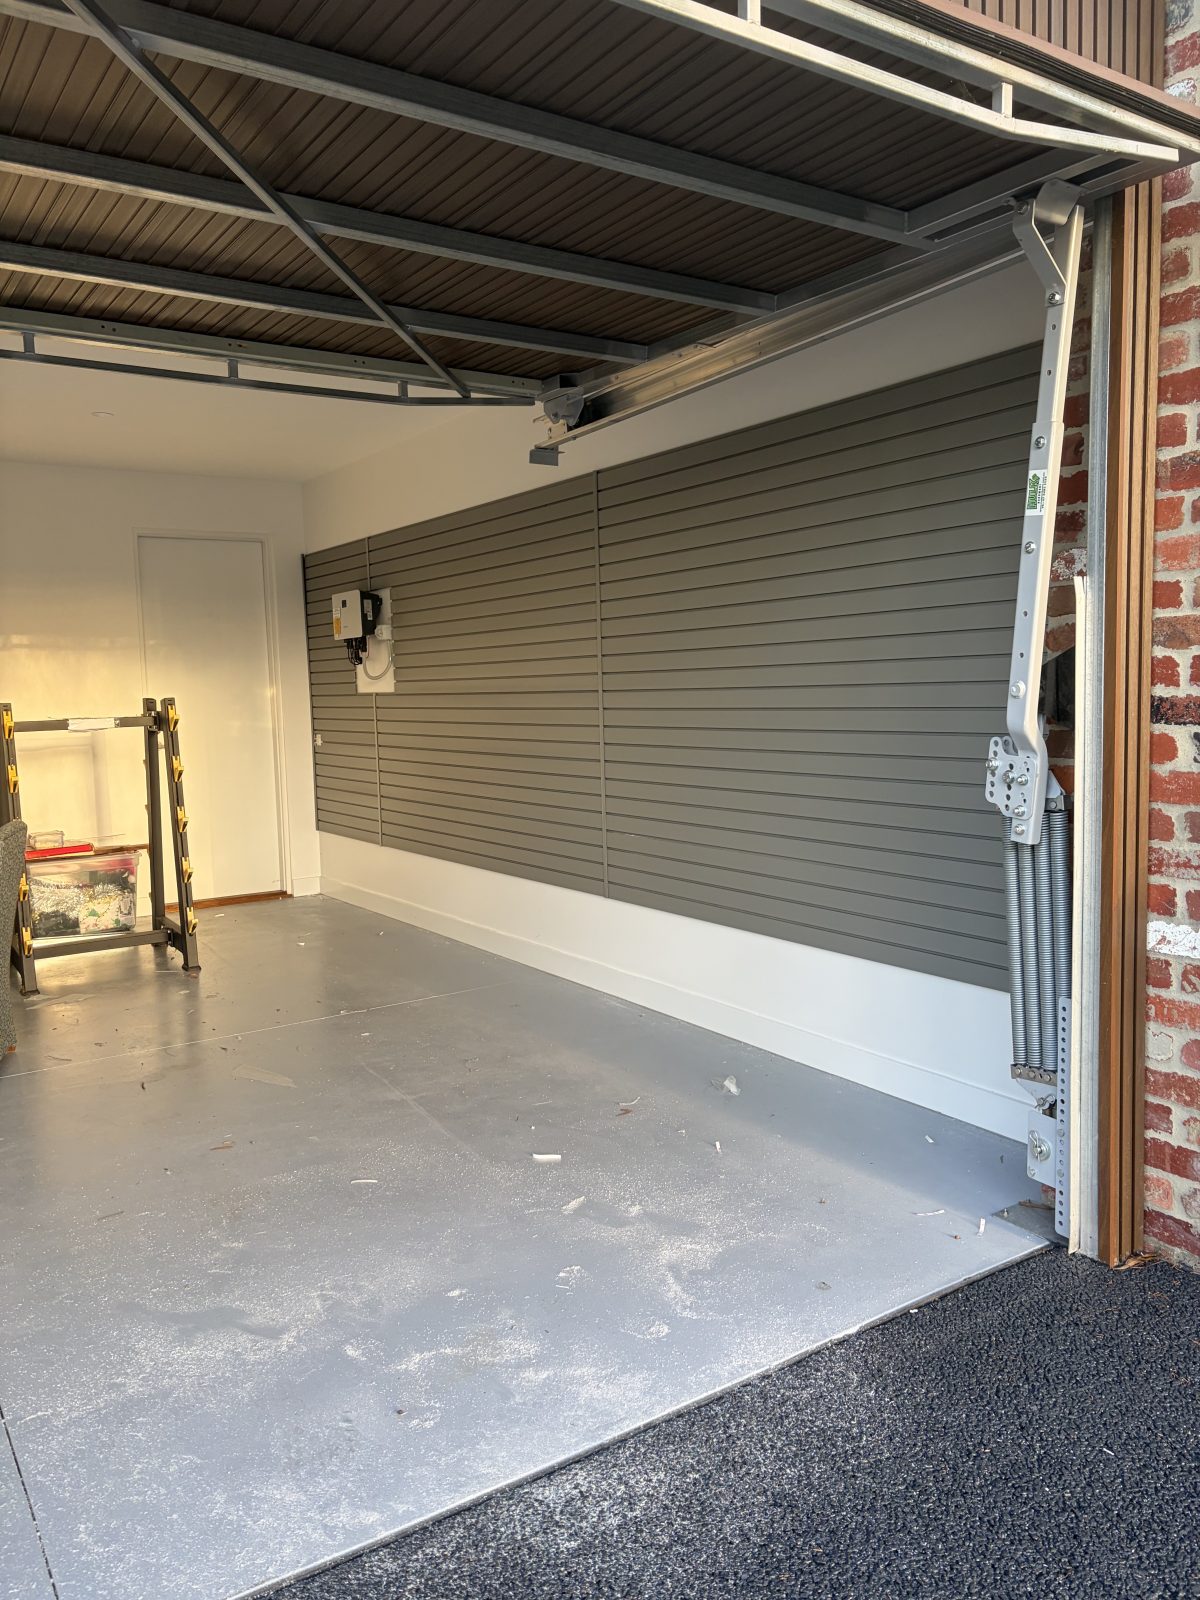
INSTALL YOUR WALL PANELS BEFORE THE FIRST BOX ARRIVES

A StoreWALL installation on a single wall takes two to three hours for two people. You need a impact driver (drill), a spirit level, a stud finder, and the right fixing screws for your wall type. The panels go up one row at a time — perfectly level, anchored to studs or masonry, clipped together at the joints.

Once the panels are up, every hook, shelf, bin, and bracket slides onto the rails without any additional drilling. That means you can change the layout as many times as you want without touching a drill again.

The key is to get the panels up before your garage fills up. Working in an empty garage is significantly easier than trying to measure and drill around bikes, tools, and boxes.

How to organise a new garage

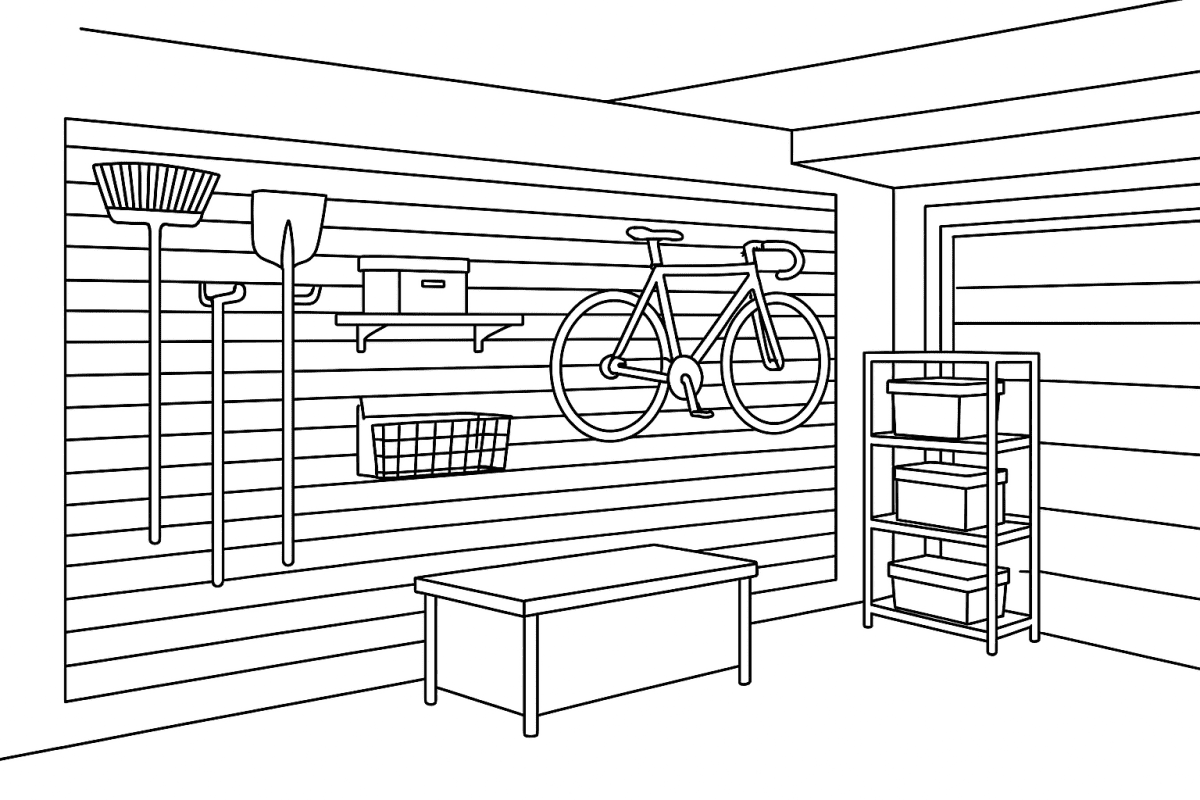
START WITH BIKES — THEY’RE THE HARDEST THING TO STORE ON THE FLOOR

Bikes take up more floor space per item than almost anything else in a garage. Two adult bikes leaning against a wall can block a third of a single garage’s floor space. Getting them on the wall immediately changes how usable the garage is.

For a double garage with two or more bikes, rotating bike hooks are the most space-efficient option — they fold the bike horizontal to the wall, staggering front and back wheels so two bikes can hang in the space of one. A J hook is ideal for a single bike or a child’s bike at a lower height.

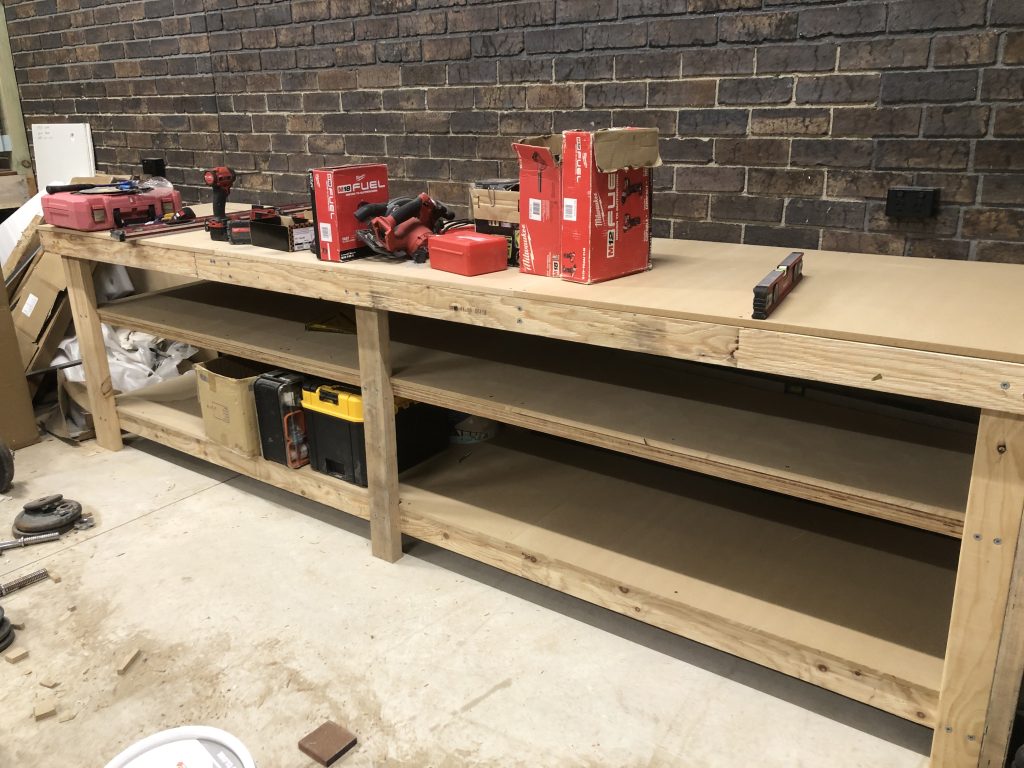
CREATE ONE DEDICATED TOOL ZONE

New homeowners often make the mistake of spreading tools all over the wall — a hook here, a bin there, a shelf in a random spot. A year later, you can’t find anything and the wall looks chaotic.

Instead, dedicate a single zone (usually the centre section of the back wall, around 1–1.5m wide) to your tool setup. A shelf at workbench height holds items you use while standing. Hooks below keep drills, saws, and hand tools visible and reachable. Bins above hold bits, fasteners, batteries, and small accessories.

Keeping everything in one zone means you always know where to look, and you build a mental map of the wall quickly.

LEAVE ROOM TO GROW — DON’T FILL EVERY SLOT IMMEDIATELY

When you install a new garage storage system, the temptation is to fill every available inch immediately. Resist this. Your storage needs will change — a new baby means a pram and a balance bike. A new hobby means camping gear or surfboards or craft supplies. A new car might need its own space.

A slatwall system’s great advantage is that it grows with you. Leave a section of your panels empty for six months and you’ll quickly discover exactly what needs to live there. Accessories slide in and out in seconds — there’s no wrong answer, and no permanent commitment.

The only rule: get the panels on the wall now, while the garage is empty. Everything else is flexible.

“The garage you set up in week one becomes the garage you have for the next five years. It takes a weekend to get right — and it’s worth every hour.”

THE BOTTOM LINE

A new home garage is a rare opportunity. You have a blank wall, no existing clutter, and a fresh start. Spending a few hours before moving day — measuring, planning, and installing a wall panel system — sets you up for a garage that stays organised as your family grows and your storage needs change.

Most new homeowners spend money on furniture, appliances, and garden plants in the first month. The garage comes last. But the garage is where you make most of your mess — and where the right system makes daily life genuinely easier.

Start with the panels. Get the bikes up. Build the tool zone. Leave room to grow. That’s it.

Categories
Bike Storage Home Gym Power Tools Shelving Sports Equipment Workbench

Garage Wall Storage Can Be a Space Maker for Your Home

Clutter in the garage is a universal challenge. Between tools, sports equipment, gardening supplies, seasonal décor, and household overflow, the garage can quickly transform from a useful storage area into a chaotic catch-all.

The good news? Systems like StoreWall and other garage wall storage solutions can reclaim that lost square footage, turning your garage into a streamlined, organized, and highly functional extension of your home.

The Problem with Floor Storage
Most garages are overwhelmed because everything ends up on the floor. Bikes lean against walls, bins are stacked precariously, and power tools are buried under holiday decorations. This not only creates frustration but also wastes valuable space that could be put to better use.

The secret lies in looking up and making use of the vertical space that often goes untouched. By shifting storage to the walls, you clear the floor for cars, workbenches, or open space, instantly making the garage feel larger and more usable.

What Makes StoreWall Different
StoreWall is a premium wall-mounted storage system that uses heavy-duty slatwall panels combined with interchangeable accessories—hooks, baskets, shelves, and bins. Unlike pegboards or basic shelves, StoreWall panels are:

  • Durable and load-bearing – Built to support heavy tools, sports gear, and bulky items.
  • Customizable – Hooks and shelves lock in place and can be moved easily without tools.
  • Moisture- and stain-resistant – Ideal for garages, which are exposed to fluctuating temperatures and occasional spills.
  • Attractive – Available in finishes that blend with your garage or home workspace, elevating the aesthetic instead of looking purely functional.

How Wall Storage Creates Space
By getting bikes, tools, and bins off the ground, you create the room needed to comfortably park your car without squeezing around obstacles.

  • Defined Zones – Wall systems make it easier to dedicate space for specific categories—gardening on one wall, sports equipment on another, and tools by the workbench. This organization reduces wasted time searching for things and prevents duplicate purchases.
  • Seasonal Rotation Made Simple – StoreWall accessories allow you to swap items in and out as seasons change. For example, hang snow shovels and sleds in winter, then easily switch to gardening tools and hoses in spring.
  • Maximizing Vertical Real Estate – Most garages have tall ceilings, and StoreWall panels can run from floor to ceiling, multiplying usable space without expanding the footprint of your garage.
  • A Safer, Cleaner Space – Getting gear off the floor eliminates tripping hazards, keeps items away from moisture, and makes sweeping or hosing down the garage far easier.
  • Beyond the Garage – Although StoreWall and similar systems are often marketed for garages, their applications extend into the laundry room, basement, craft room, or even a home gym. Anywhere clutter tends to pile up, wall storage can transform chaos into order.
  • A Smart Investment in Space and Value – Garage wall storage isn’t just about convenience; it can also add value to your home. A clean, well-organized garage is appealing to future buyers, signaling that the property is well cared for. More importantly, it gives you the freedom to truly use your garage as intended—whether that’s for vehicles, hobbies, or a workshop.

Final Thoughts
StoreWall and other garage wall storage systems aren’t just about tidying up; they’re about making space where none seemed to exist. By moving clutter from the floor to the wall, you gain room, safety, and efficiency. It’s a simple upgrade with a transformative impact on how you use and enjoy your home.

If your garage has become more of a storage unit than a functional space, it might be time to look at your walls—not your floor—for the solution.

Categories
garage makeover Man Cave Workbench

DIY Garage Wooden Workbench

Building a wooden bench for your garage can be a rewarding DIY project that not only enhances your workspace but also provides a sturdy and functional piece of furniture. Whether you need a place to sit while working on projects or a surface to hold tools and materials, a wooden bench can be a versatile addition to any garage. Here’s a detailed guide on how to build a DIY Garage Wooden Workbench.

The first step is to review the space you have and determine the size of bench you need that can fit in the space available. You may determine that a 1.8m long bench is big enough for you. The height and depth of the bench are additional considerations. Most benches in your home will 900mm high. When determining your bench, you might want to also decide on the benchtop surface you want to use. If it’s MDF or some form of chipboard, picking a pre-cut size available from your hardware store will save you a lot of time.

Materials Needed:

  • Wood: Make sure your timber is straight. Using old timber to save some money is a great idea, but it has twisted or is a bow in it, you don’t want it. Buy some framing pine from your local store. 90mm x 45mm studs are ideal.
  • Screws: You will require large screws to hold the frame together and smaller screws to secure the benchtop to the frame. For the frame, I recommend something like 14g 75mm Bugle Screws. 2 ½ inch wood screws.
  • Glue: Wood glue for extra bond. This is optional.
  • Sandpaper: Various grits for smoothing.
  • Finish: Paint, stain, or sealant depending on your preference.

Tools Required:

  • Saw: Circular saw or handsaw.
  • Drill: With drill bits.
  • Measuring tape.
  • Square.
  • Clamps: To hold wood in place as you work.
  • Paintbrush or roller (if applying finish).

Instructions for your DIY Garage Wooden Workbench

This is a bench design that I used for my own DIY Garage Wooden Workbench project. It took me 2 full days to complete. I found the instructions on this site. Whilst I used most of the design laid out in this article, I did make some adjustments.

The final measurements were 3600mm long, 950mm high, and 860mm deep. Due to the size I chose, I didn’t put the bench on caster wheels. Had it been 1800mm long, I would have. I also made two shelves under the benchtop of equal length to the bench.

DIY Garage Wooden Workbench
My DIY Garage Wooden Workbench

You will notice that I used a combination of timbers. These were all new timbers I already had and they were also straight. Most of the timber was LVL (Structural). It made the bench very heavy. You don’t need LVL for a benchtop. Your standard framing pine (90×45) is fine. For the top surface, I purchased MDF boards (1200 x 2400) which I cut to size. Three sheets covered all of the surfaces. These I needed to cut to size.

The last step in my garage wooden workbench project is to add StoreWALL Garage Wall Panels to the wall above the bench. This has now been completed. I have added 2 x Heavy Duty Weathered Grey (2438mm) panels along the bench. I have stacked two panels to give me a paneled area of 4876mm x 770mm. At one corner, I have made it slightly higher with a third piece of panel at 1000mm.