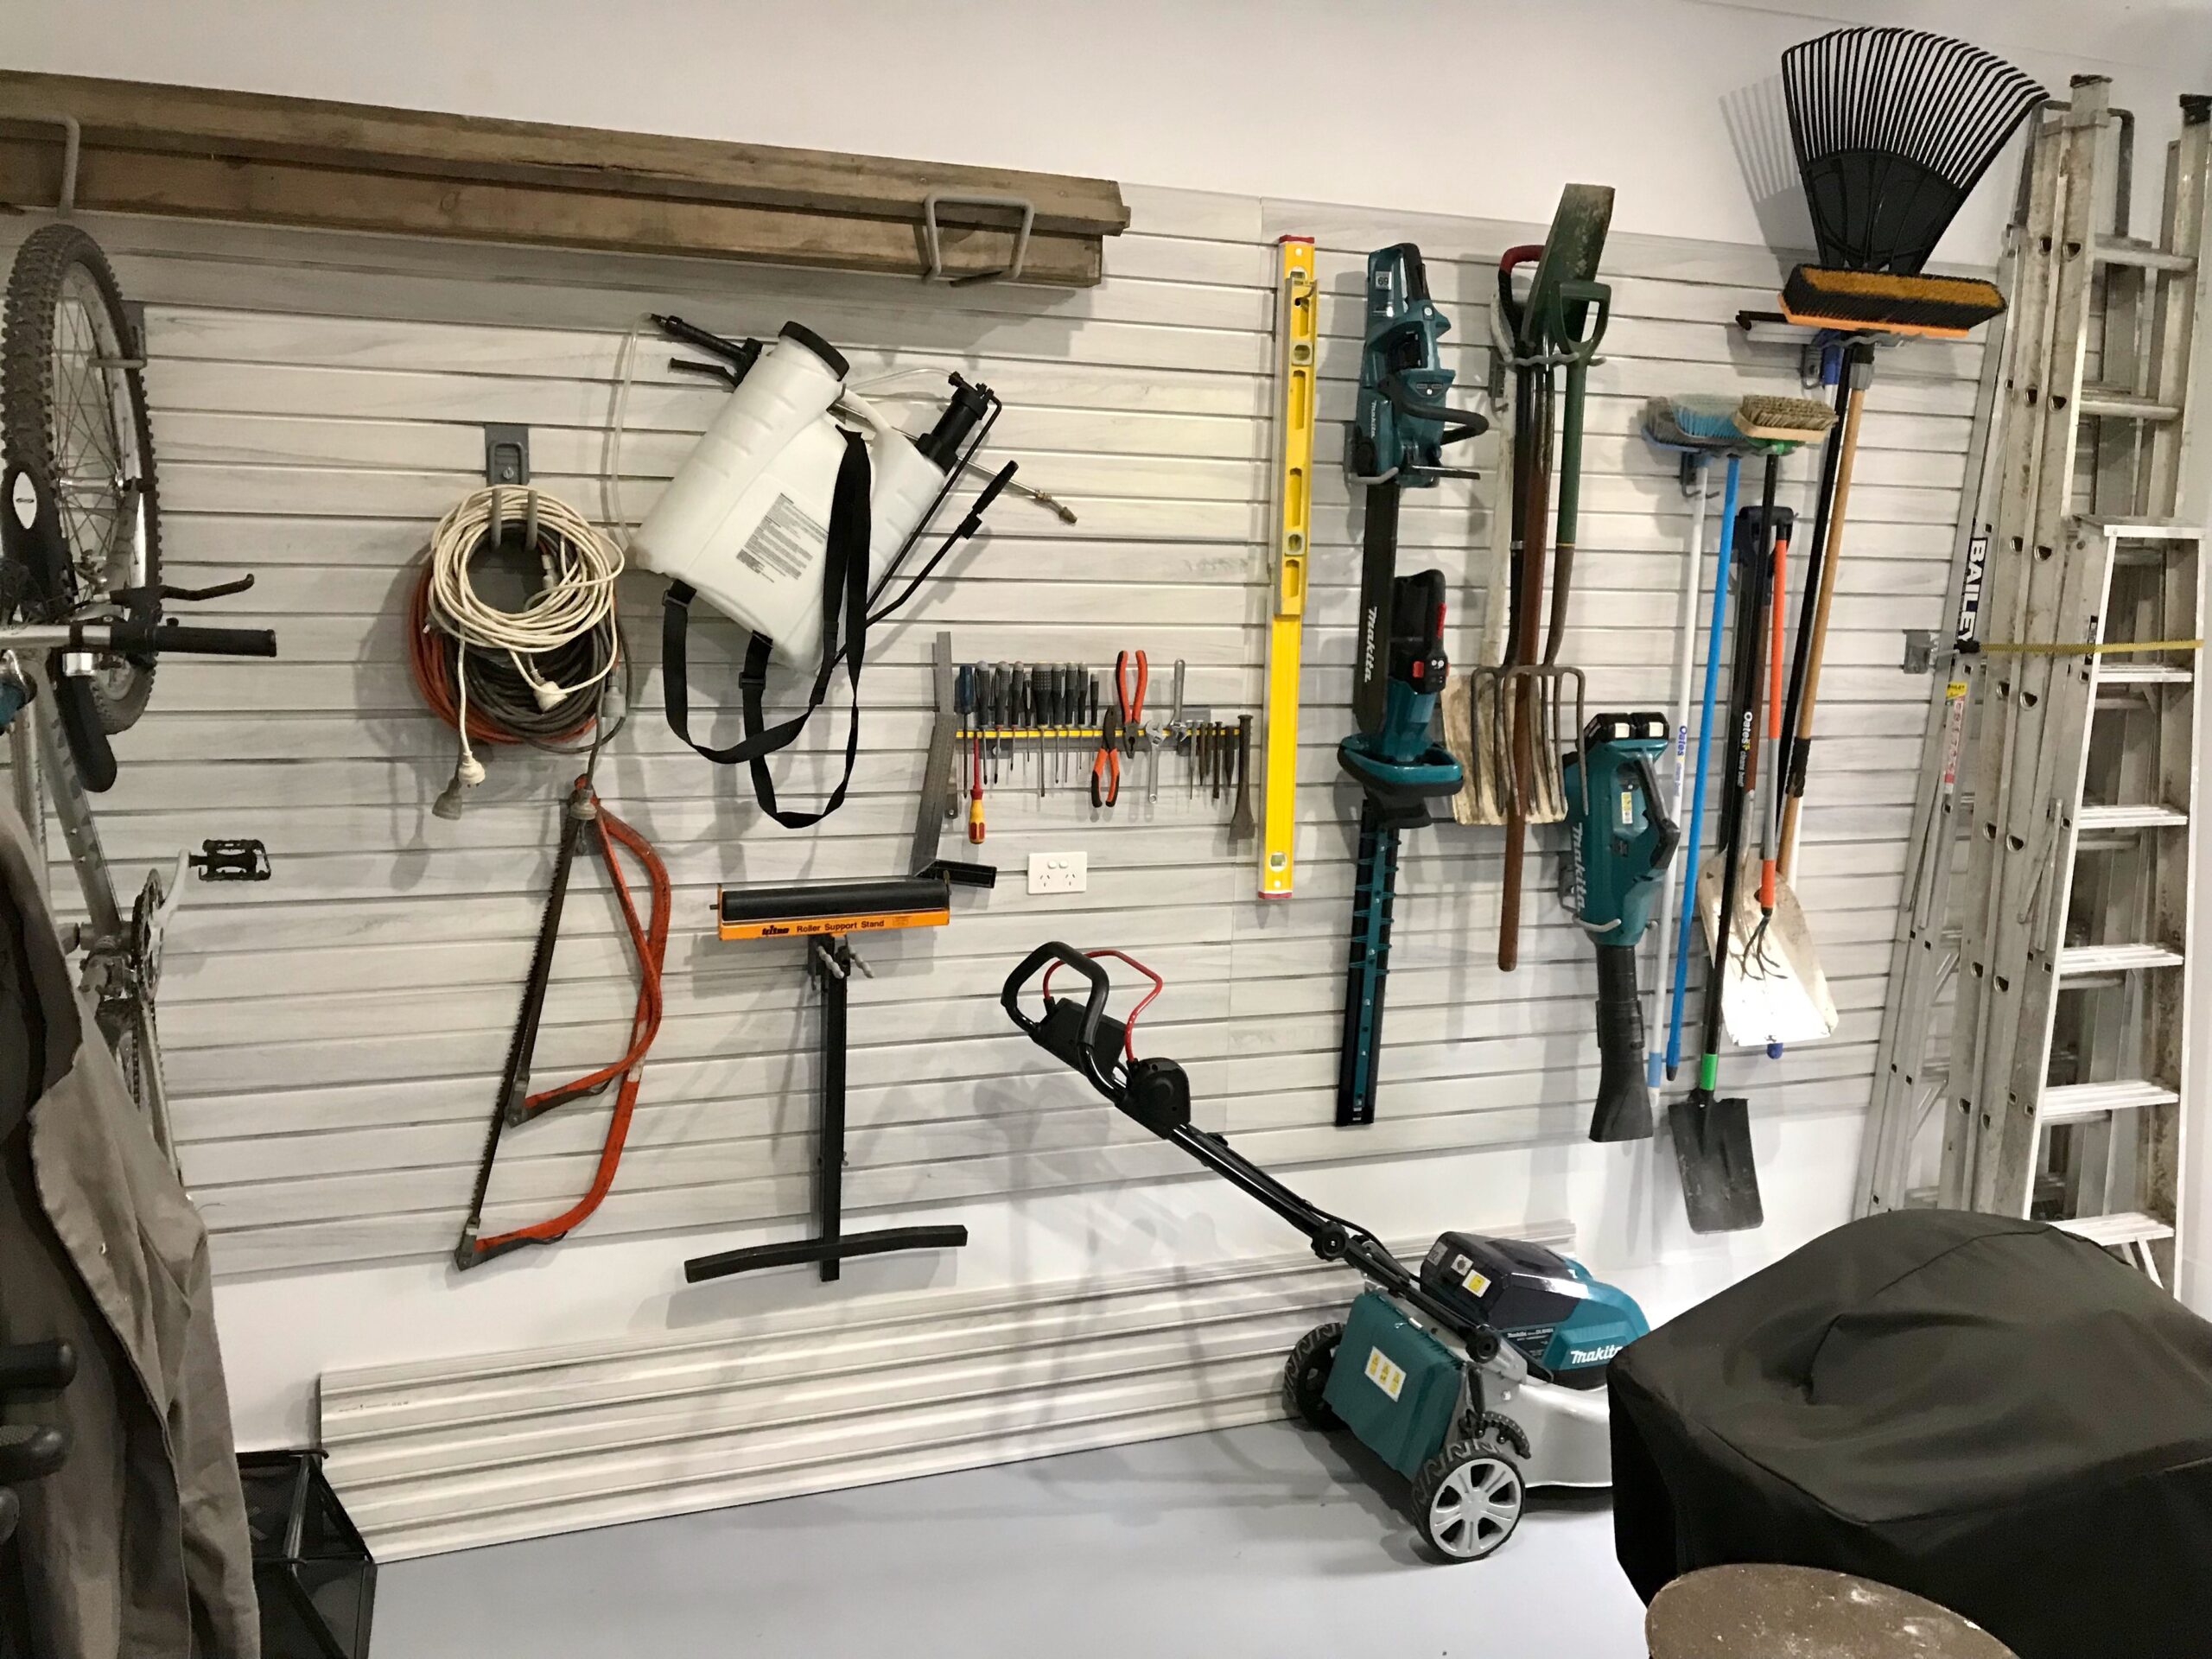
At StoreWALL, innovation never stops. We’re excited to introduce our latest offering — the Ultra Duty Garage Hook range. Built for unparalleled strength and versatility, these hooks and brackets are designed to tackle the heaviest storage needs in your home, garage, or commercial space. With the ability to support up to 80kgs per hook, this new range is the strongest yet from StoreWALL.
Here’s a closer look at the four new additions to the Ultra Duty lineup and how they can transform your garage storage solutions.
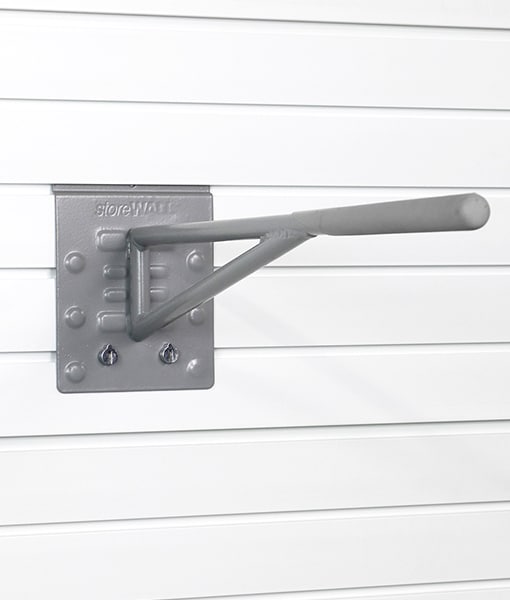
1. Ultra Duty Wide Hook
If you loved the classic StoreWALL Wide Hook, get ready to be impressed. The Ultra Duty Wide Hook is 2-3 times larger and significantly stronger. Its design allows it to hold bulky and oversized items that the standard hook just can’t handle.
Key Specifications
- Dimensions: 304mm (H) x 330mm (W) x 254mm (D)
- Weight Capacity: Up to 80 kg
This hook is ideal for holding larger tools, sports equipment, or heavy-duty power tools. Its wide design offers maximum surface contact, ensuring stability and reducing the risk of items falling.

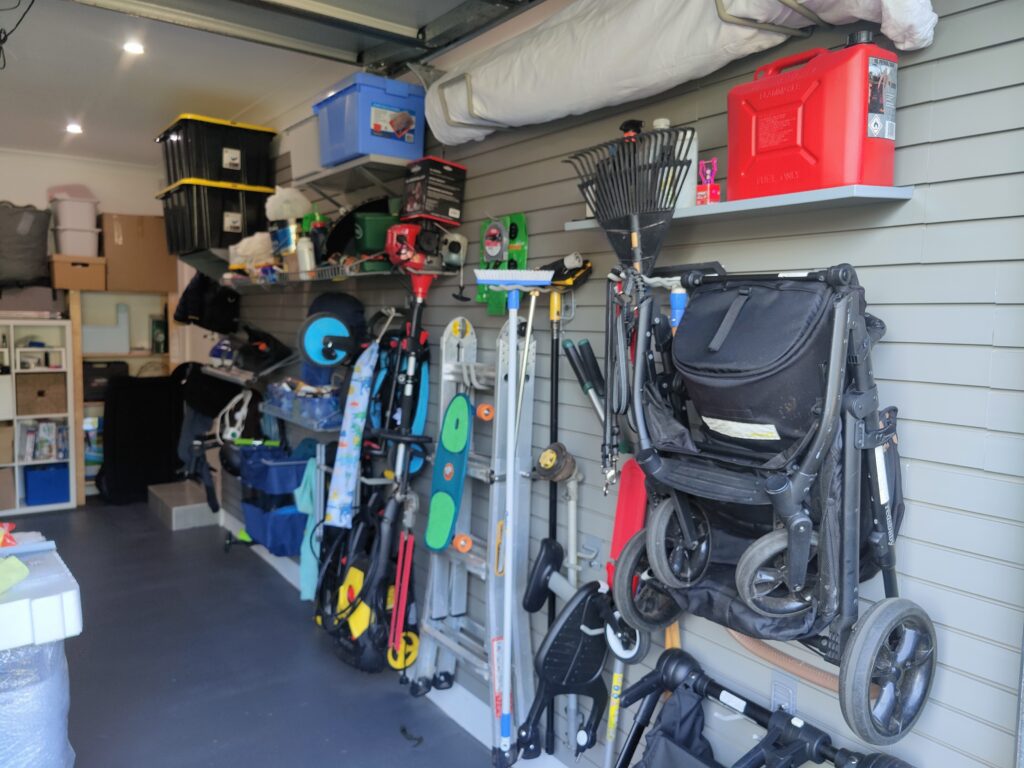
2. Ultra Duty Utility Hook
Say goodbye to storage limits with the Ultra Duty Utility Hook. Modelled after the HD Universal Hook, this new version is much larger, making it perfect for items that require deeper, more secure support.
Key Specifications
- Dimensions: 304mm (H) x 152mm (W) x 381mm (D)
- Weight Capacity: Up to 80 kg
This hook is perfect for securing large gardening tools, electrical cords, hoses, or even sports equipment. Its generous depth (381mm) gives you the flexibility to hang long, oversized items safely and securely.

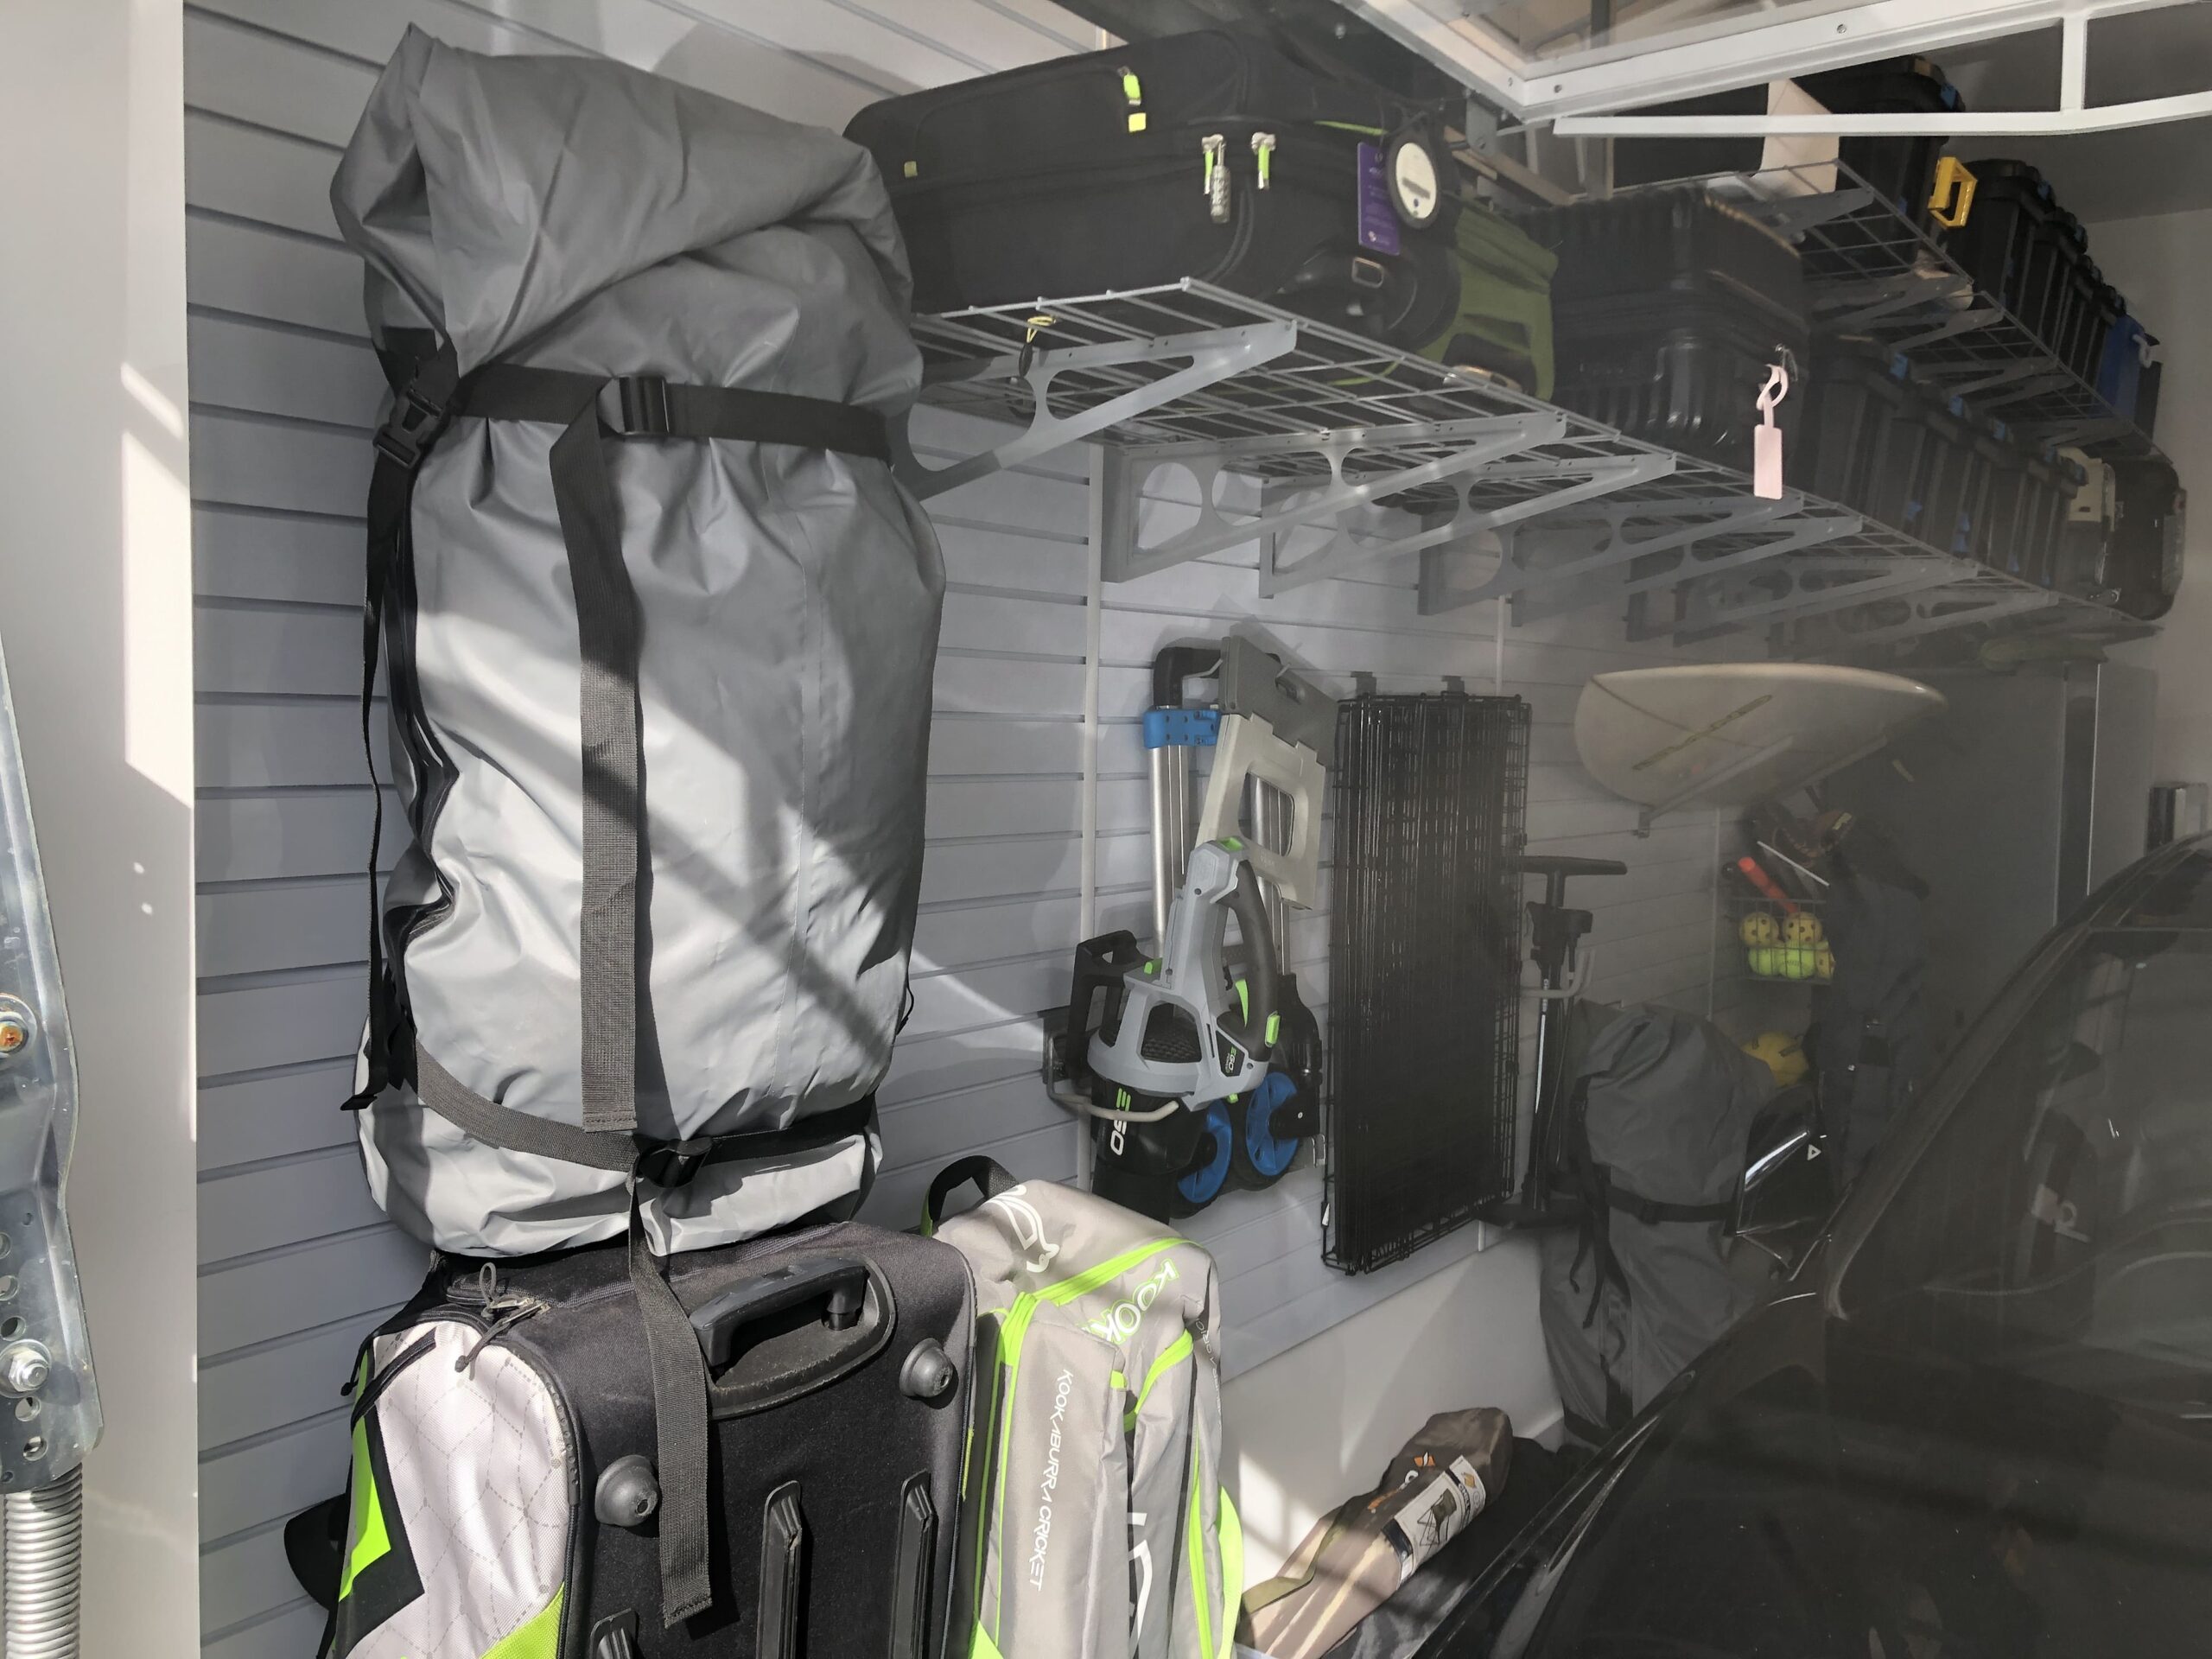
3. Ultra Duty 635mm Surf & Paddle Board Bracket
Water sports enthusiasts will love the new 635mm Surf & Paddle Board Bracket. Specifically designed to make it easier to lift and store paddle boards, surfboards, and even canoes, this bracket allows for simple access.
Key Specifications
- Dimensions: 203mm (H) x 152mm (W) x 635mm (D)
- Weight Capacity: Up to 90 kg (200 lbs)
Unlike previous board brackets, this new design sits flush against the wall, which means no awkward lifting or tilting is required. Simply slide your board in and out with ease.
4. Ultra Duty 381mm Surf & Paddle Board Bracket
For those with smaller surfboards or paddleboards, the 381mm version of the Surf & Paddle Board Bracket is a perfect fit. It’s a more compact option for people who have limited wall space but still want the same easy access.
Key Specifications
- Dimensions: 203mm (H) x 152mm (W) x 381mm (D)
- Weight Capacity: Up to 90 kg (200 lbs)
This version works well in tighter garage spaces or for those with smaller boards. It offers the same flush-to-wall design as its larger sibling but with a shorter depth, making it an ideal choice for compact spaces.

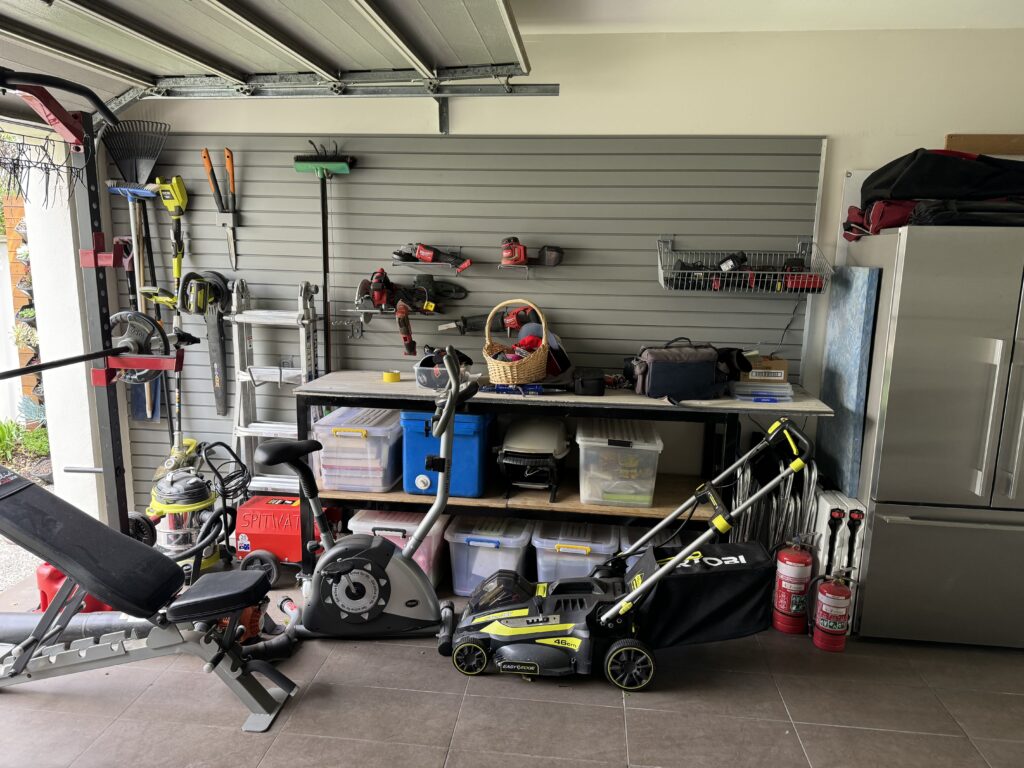
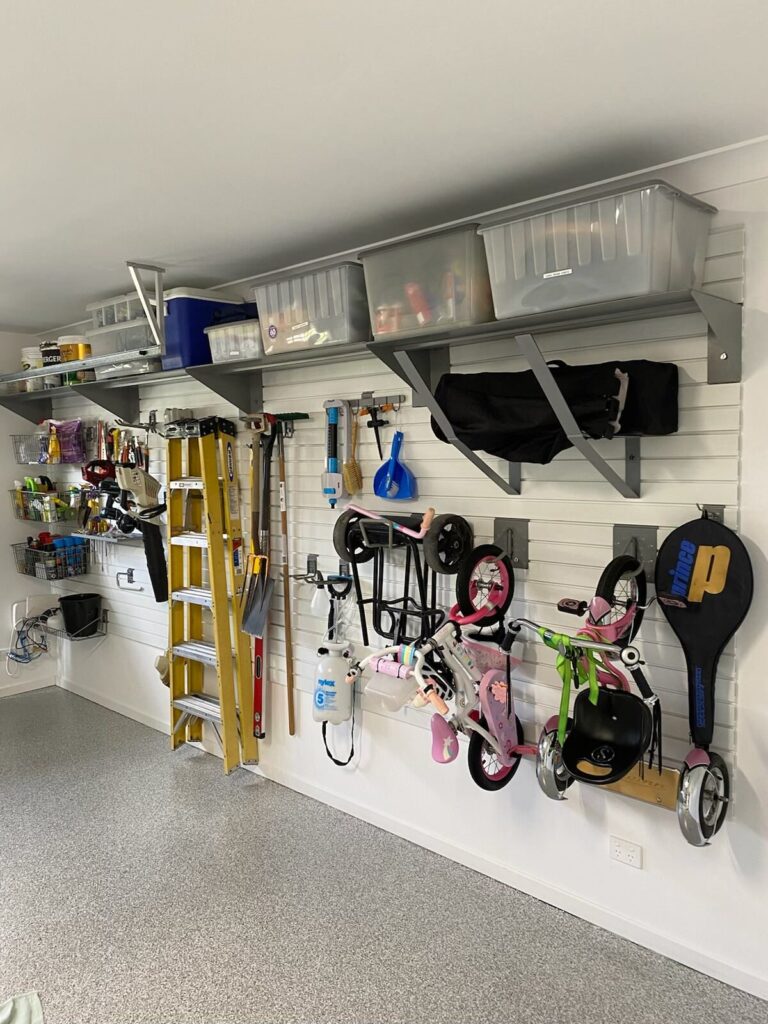
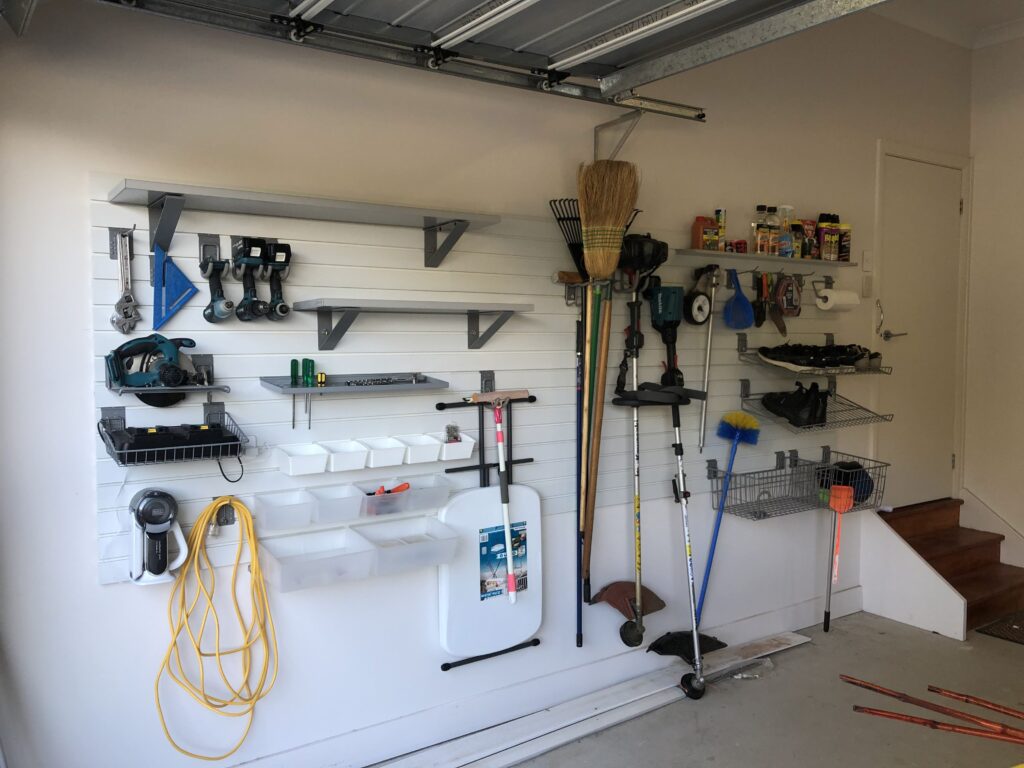
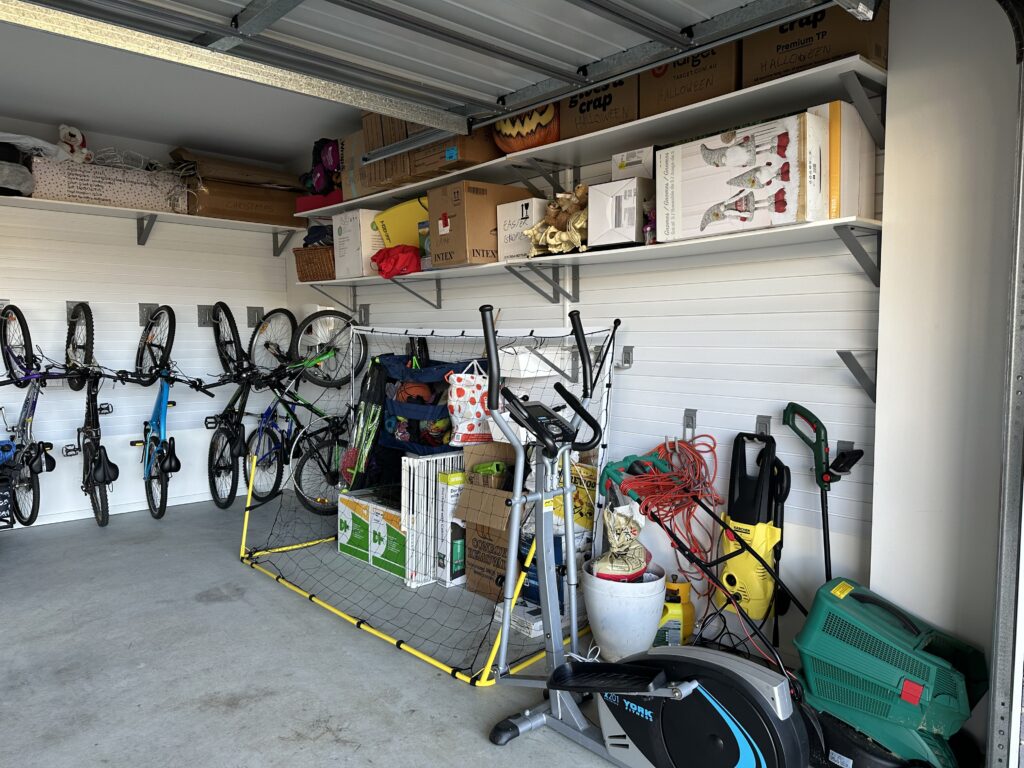
What Makes the Ultra Duty Garage Hook Range Unique?
The Ultra Duty Garage Hook range isn’t just bigger and stronger — it’s smarter too. These hooks feature:
- Two CamLoks for extra security: Unlike standard hooks with a single CamLok, the Ultra Duty hooks have two. This dual lock system provides increased grip, ensuring the hook stays firmly in place even under maximum load.
- Larger backplates for stability: The wider backplate spreads the weight more evenly, reducing pressure on any single point of the wall panel.
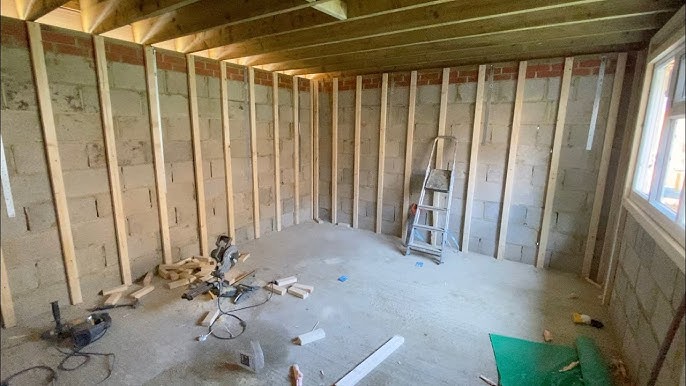
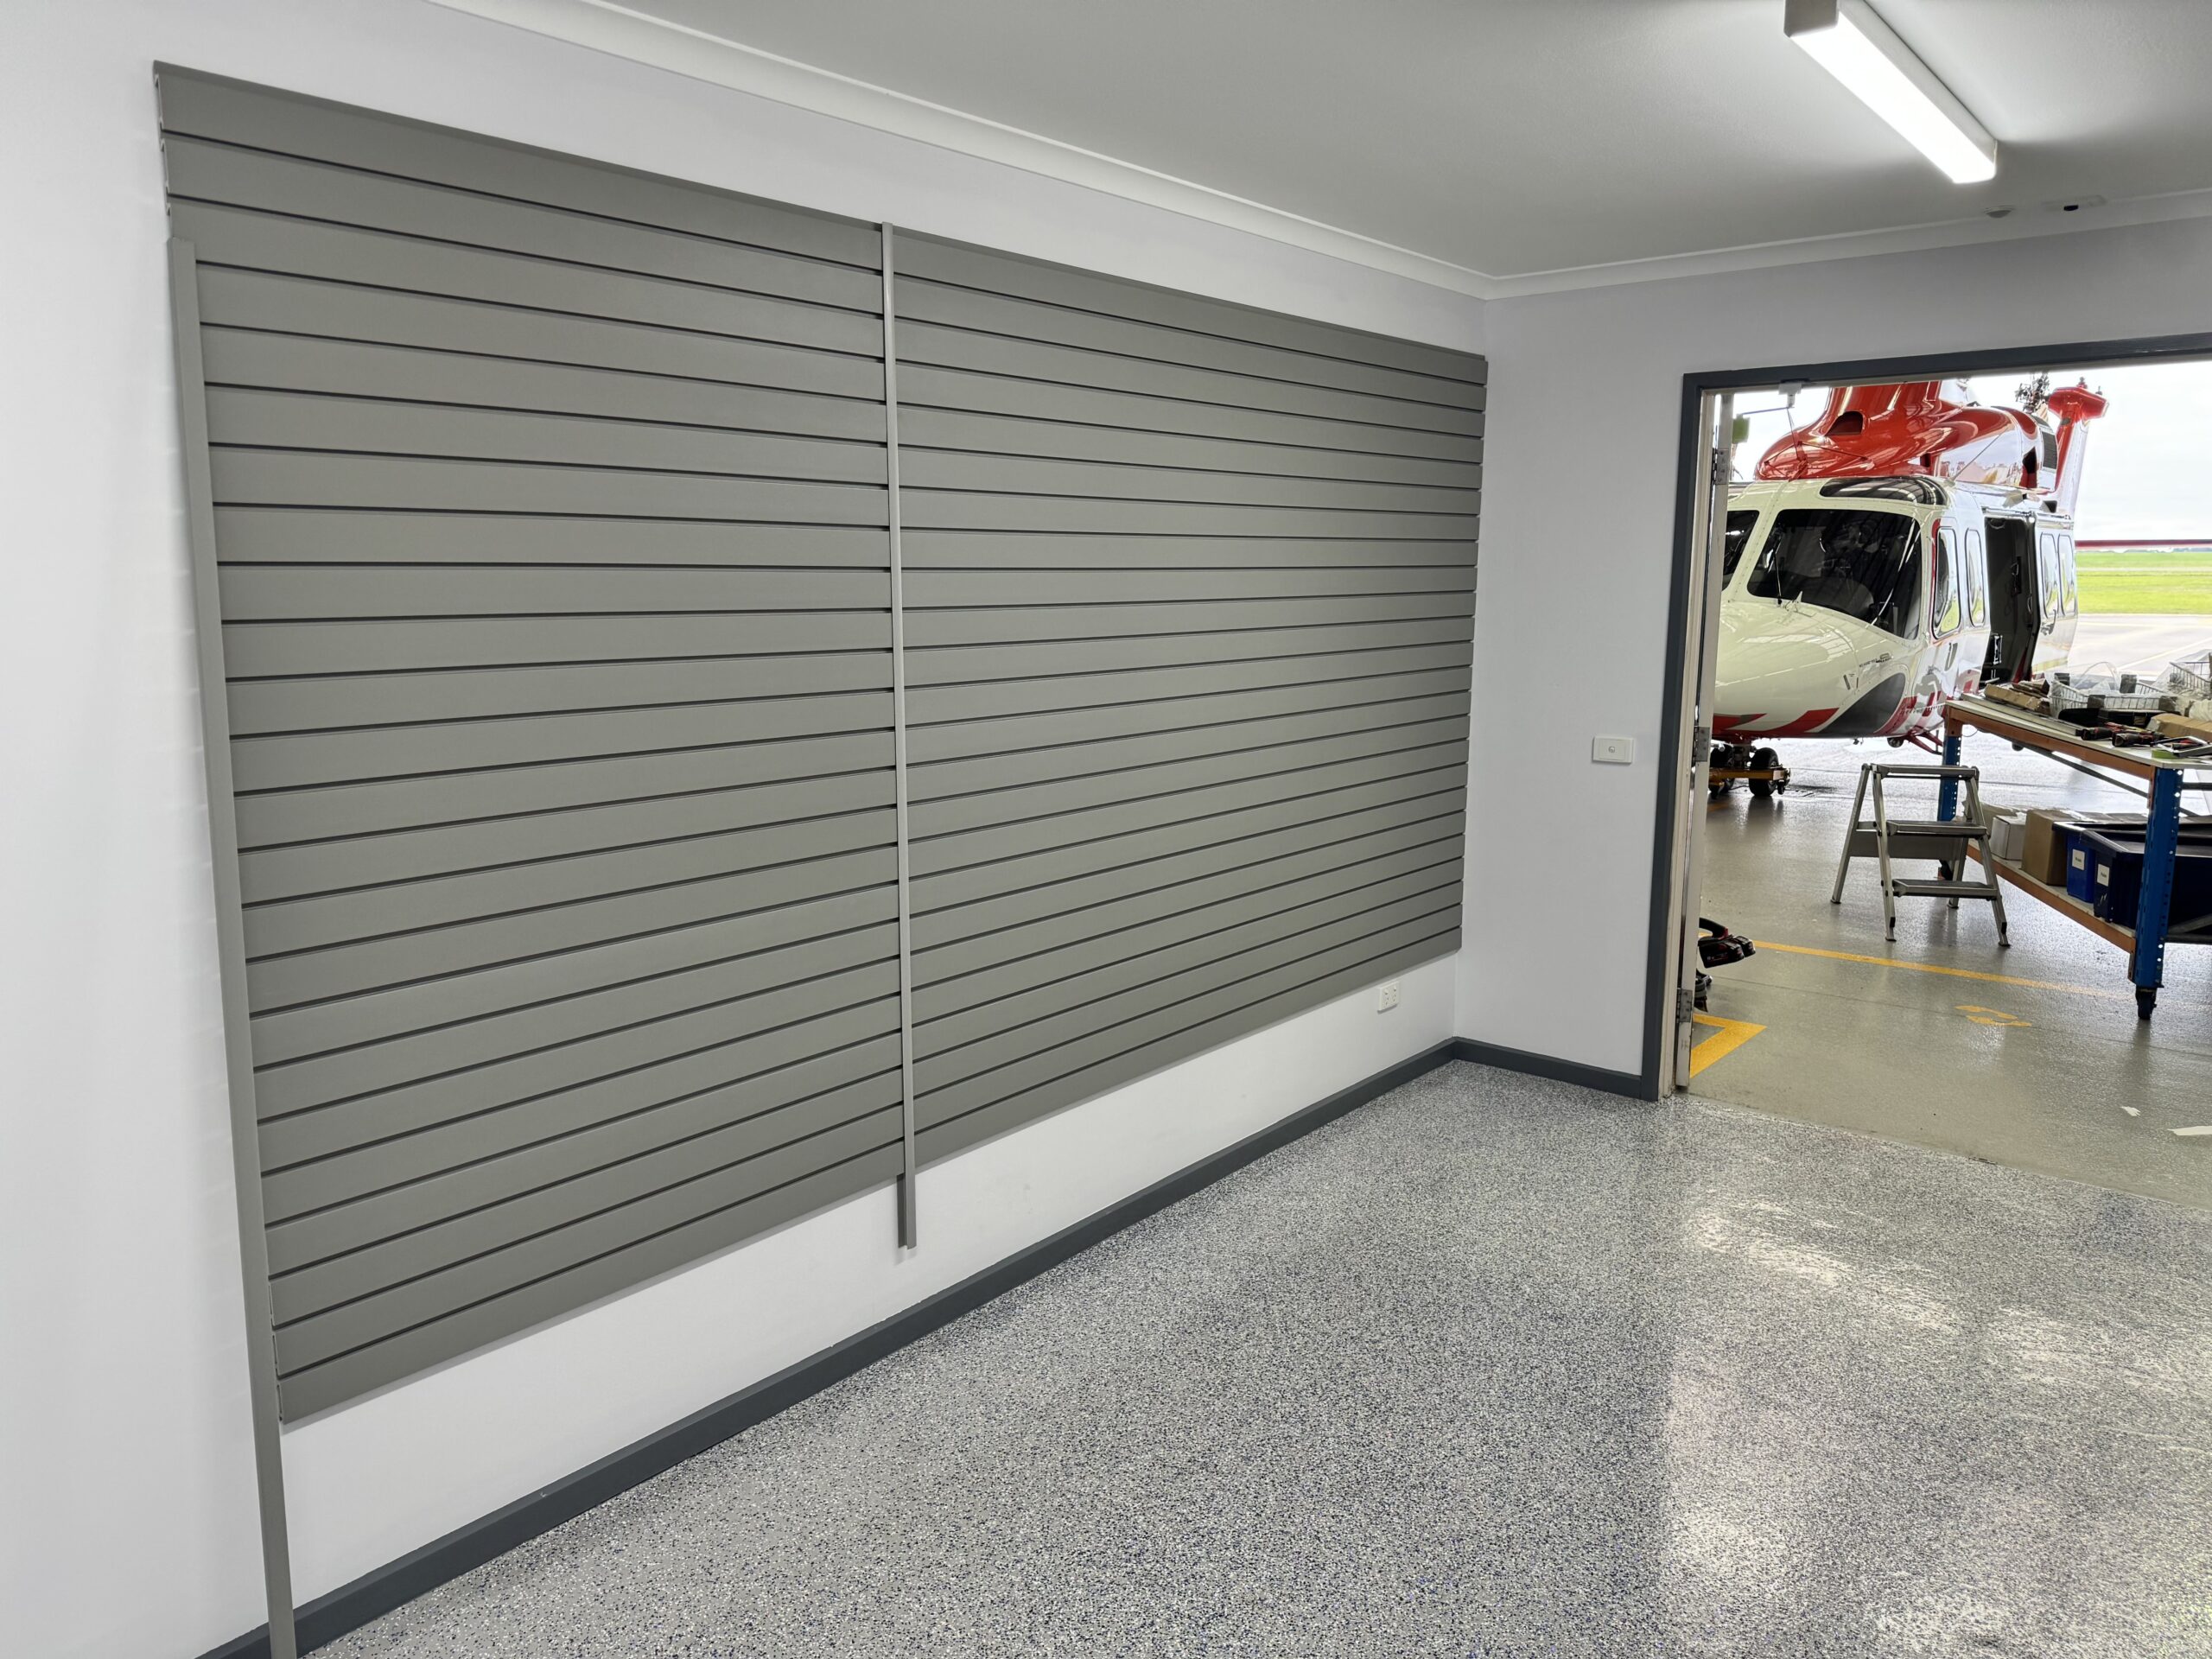
- Compatible with StoreWALL Heavy Duty Wall Panels: While these hooks work with standard StoreWALL panels, we recommend pairing them with Heavy Duty Wall Panels and HD InstallStrips if you plan to load them to their full capacity of 80 kg.
Why You Should Upgrade to Ultra Duty Hooks
If you’re looking for a smarter, stronger, and more versatile way to organize your garage, workshop, or warehouse, the new Ultra Duty Garage Hooks are a game-changer. Whether you need to hang tools, store water sports equipment, or secure heavy-duty items, this range has you covered.
With unmatched strength, dual CamLoks, and multiple size options, the Ultra Duty range gives you a level of security and reliability that standard hooks simply can’t match. Pair them with StoreWALL Heavy Duty Wall Panels to maximize their potential, especially for heavier loads.
Contact StoreWALL today or visit our website to see the full range of wall panels, hooks, and accessories designed to make your space more organized, functional, and stress-free.
Keywords for SEO:
- Ultra Duty Hooks
- StoreWALL Hooks
- Heavy Duty Wall Panels
- Garage Storage Solutions
- Surfboard Storage Brackets
- Heavy-Duty Hooks for Garage
This blog post is structured for SEO optimization, focusing on key phrases like “Ultra Duty Hooks,” “StoreWALL Hooks,” and “Heavy-Duty Wall Panels” to improve search visibility. Let me know if you’d like any changes or additions!