MKE Slatwall Launches in Australia
The demand for modern slatwall and premium storage solutions in Australia continues to grow — not just in garages, but across homes, commercial spaces, and architectural interiors. To meet this demand, we’re excited to announce the official launch of MKE Slatwall in Australia.
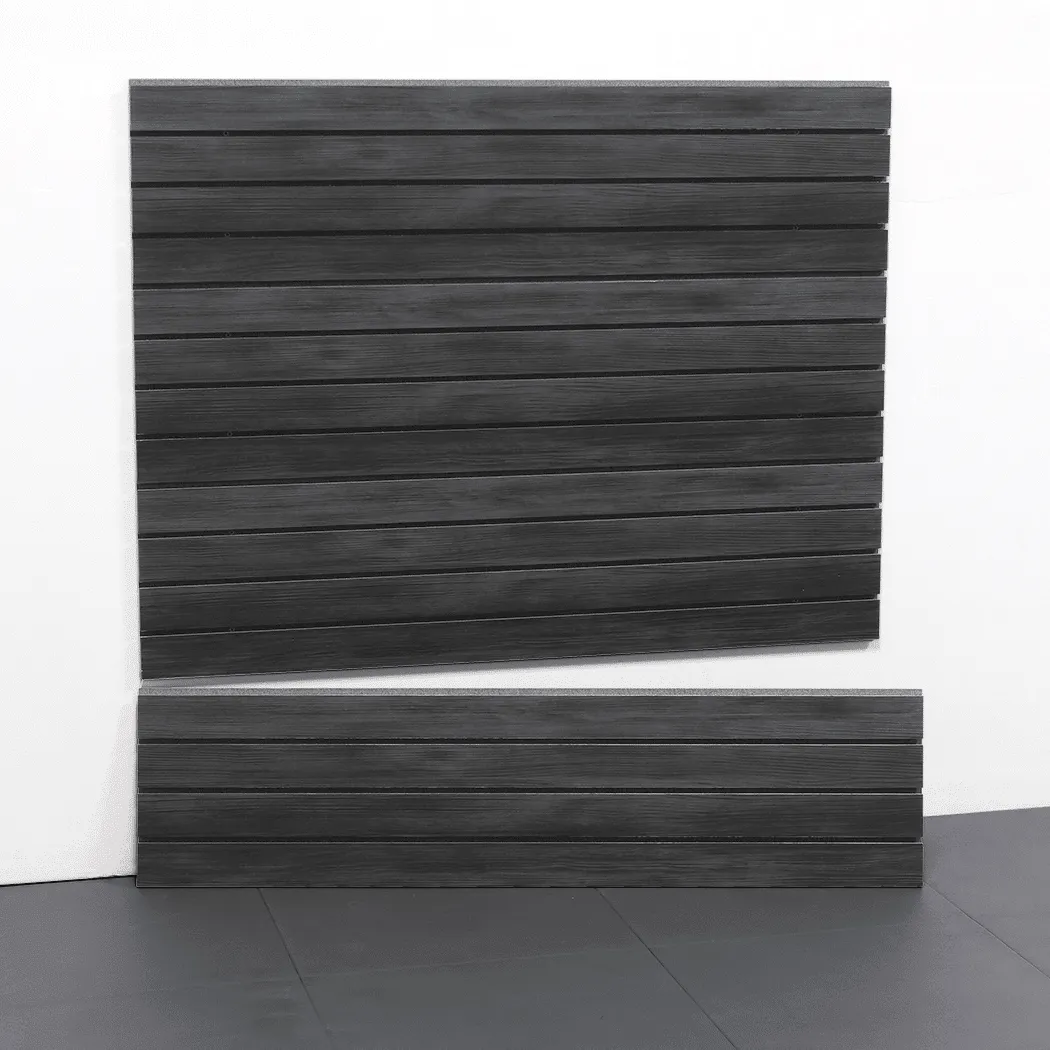
Designed with aesthetics, strength, and versatility in mind, MKE Slatwall introduces a refined approach to wall storage, including highly sought-after wood grain slatwall finishes that elevate both residential and commercial spaces.
What Is MKE Slatwall?
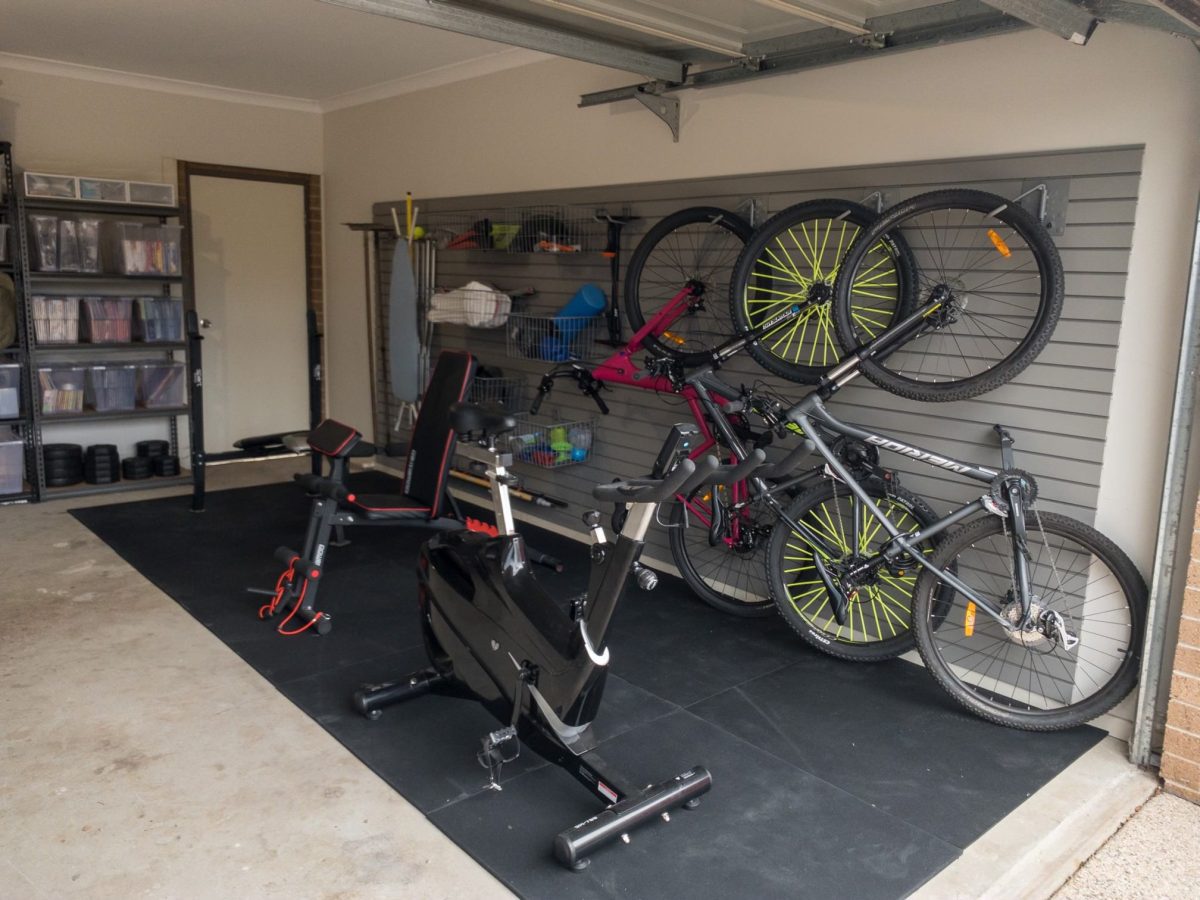
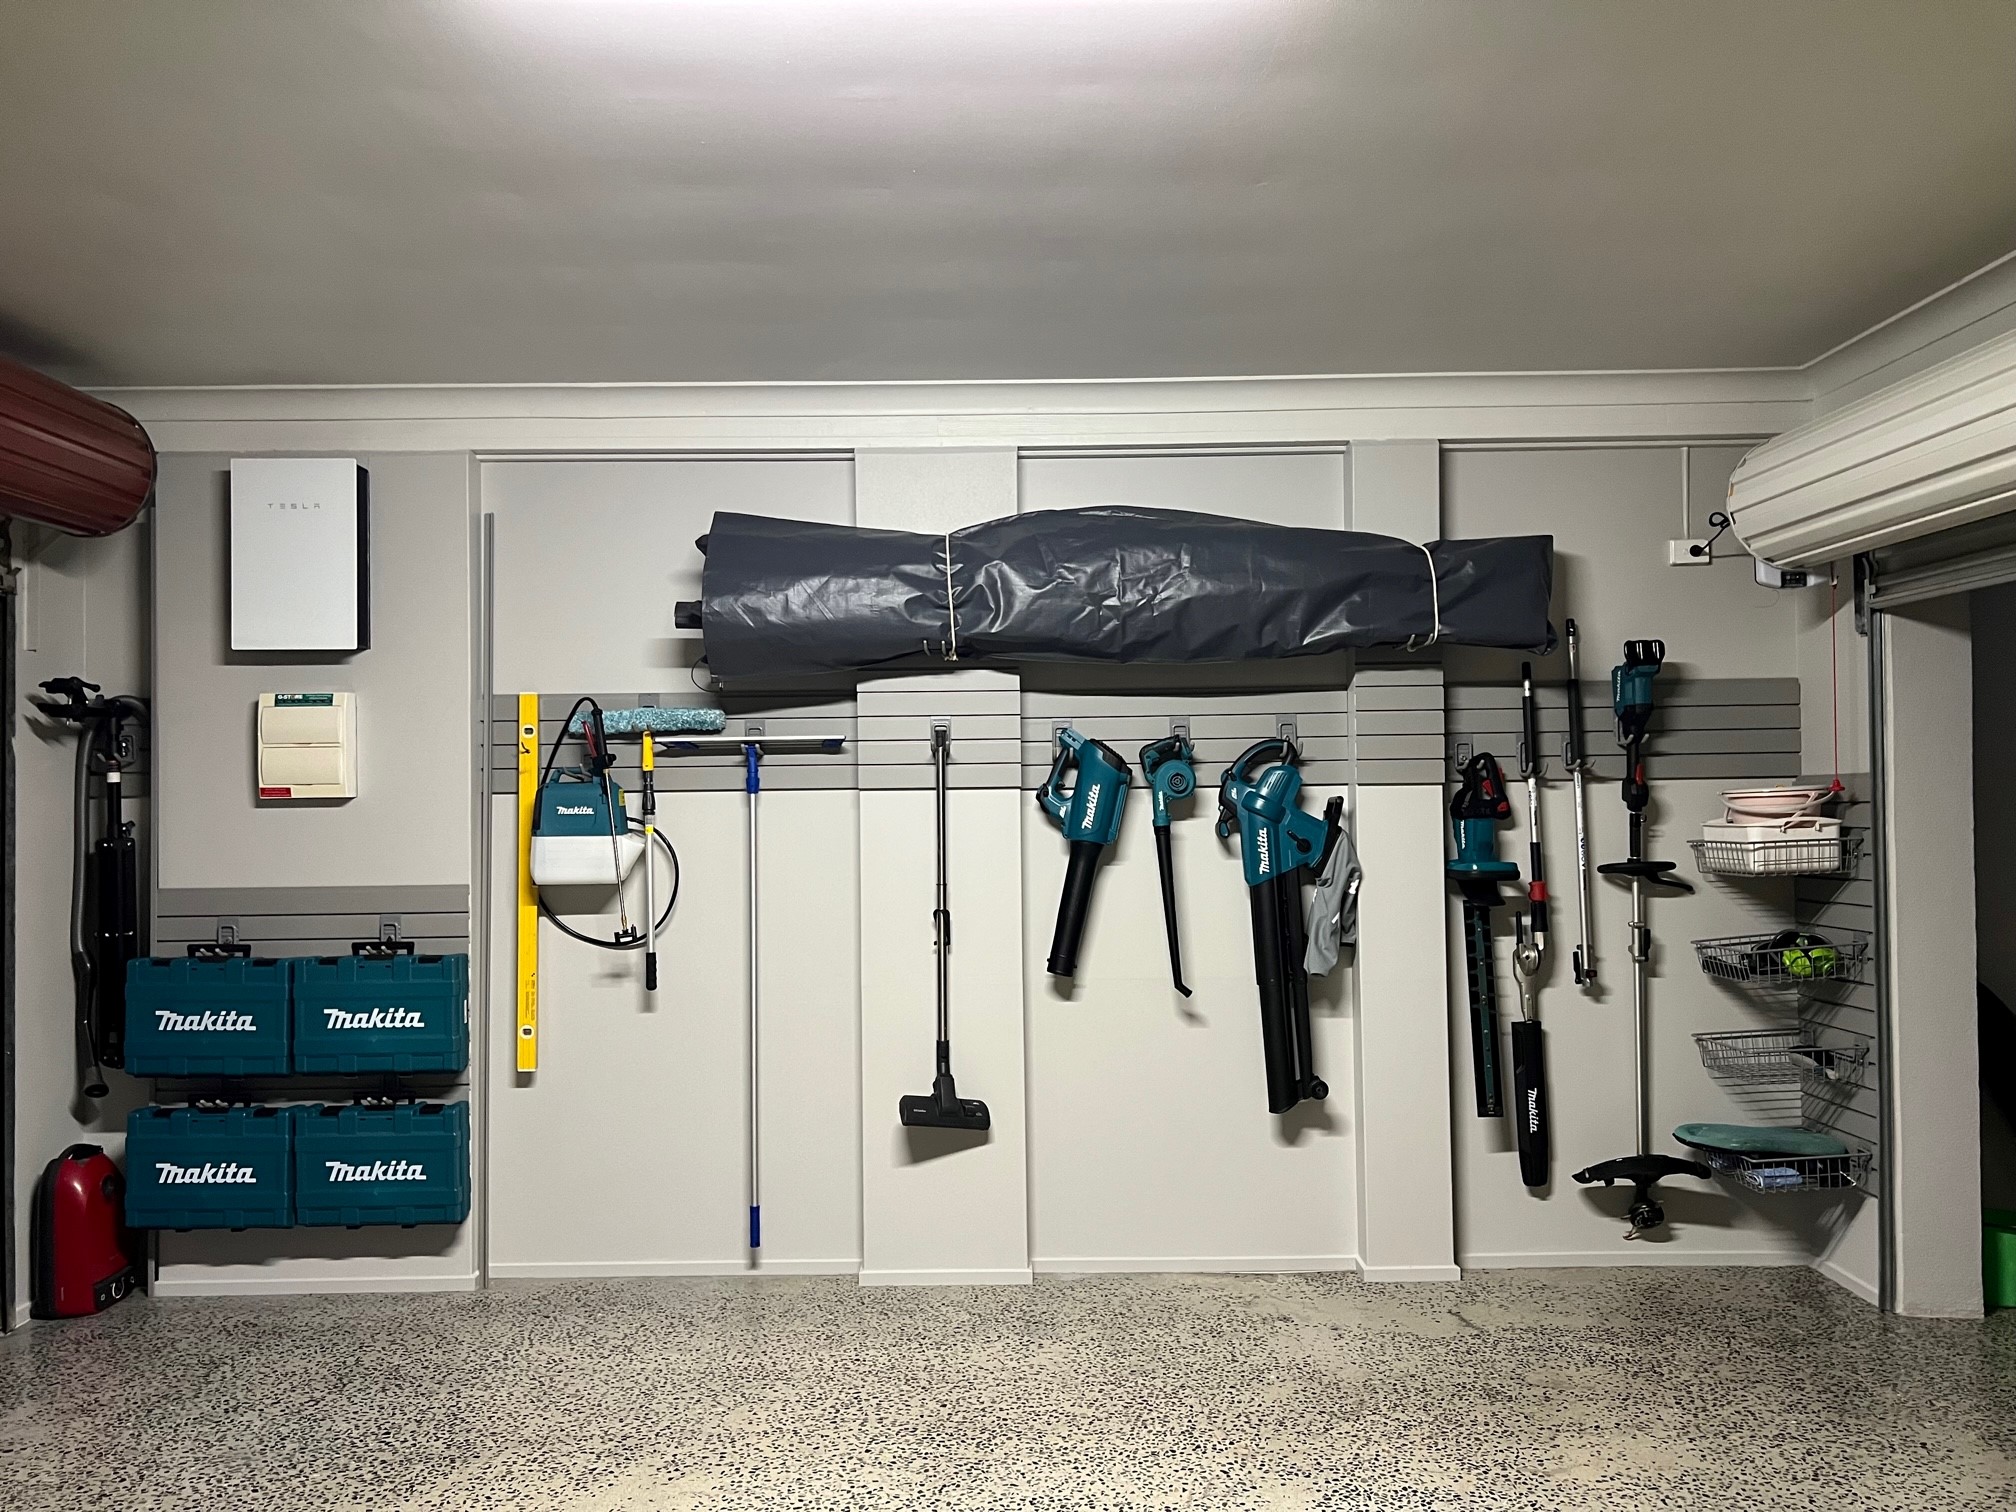
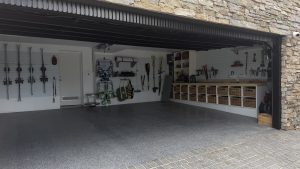
MKE Slatwall is a high-performance wall panel storage system engineered for strength, flexibility, and clean modern design. Unlike traditional slatwall systems that are purely functional, MKE combines architectural finishes with heavy-duty performance.
This makes it ideal for:
- Modern garages
- Workshops and studios
- Retail and display environments
- Home storage spaces where design matters
Wood Grain Slatwall: Storage That Looks Like Furniture
One of the standout features of the MKE range is its wood grain slatwall finish. This option is designed for homeowners and designers who want organised storage without the industrial look.
Benefits of Wood Grain Slatwall
- Warm, natural timber-style appearance
- Ideal for modern homes and high-end garages
- Blends seamlessly with cabinetry and interior finishes
- Provides the strength of engineered slatwall with a premium aesthetic
Wood grain slatwall is perfect for spaces where the garage is visible from the home, or where storage is part of the design — not something to hide.
Modern Slatwall for Contemporary Spaces
Minimalist design is no longer limited to living areas. Today’s homeowners want modern slatwall solutions that match the rest of their home.
MKE Slatwall delivers:
- Clean lines and concealed fixing systems
- Contemporary finishes to suit modern architecture
- A streamlined look without visible brackets or clutter
This makes it ideal for:
- New builds
- Renovations
- Designer garages
- Commercial fit-outs
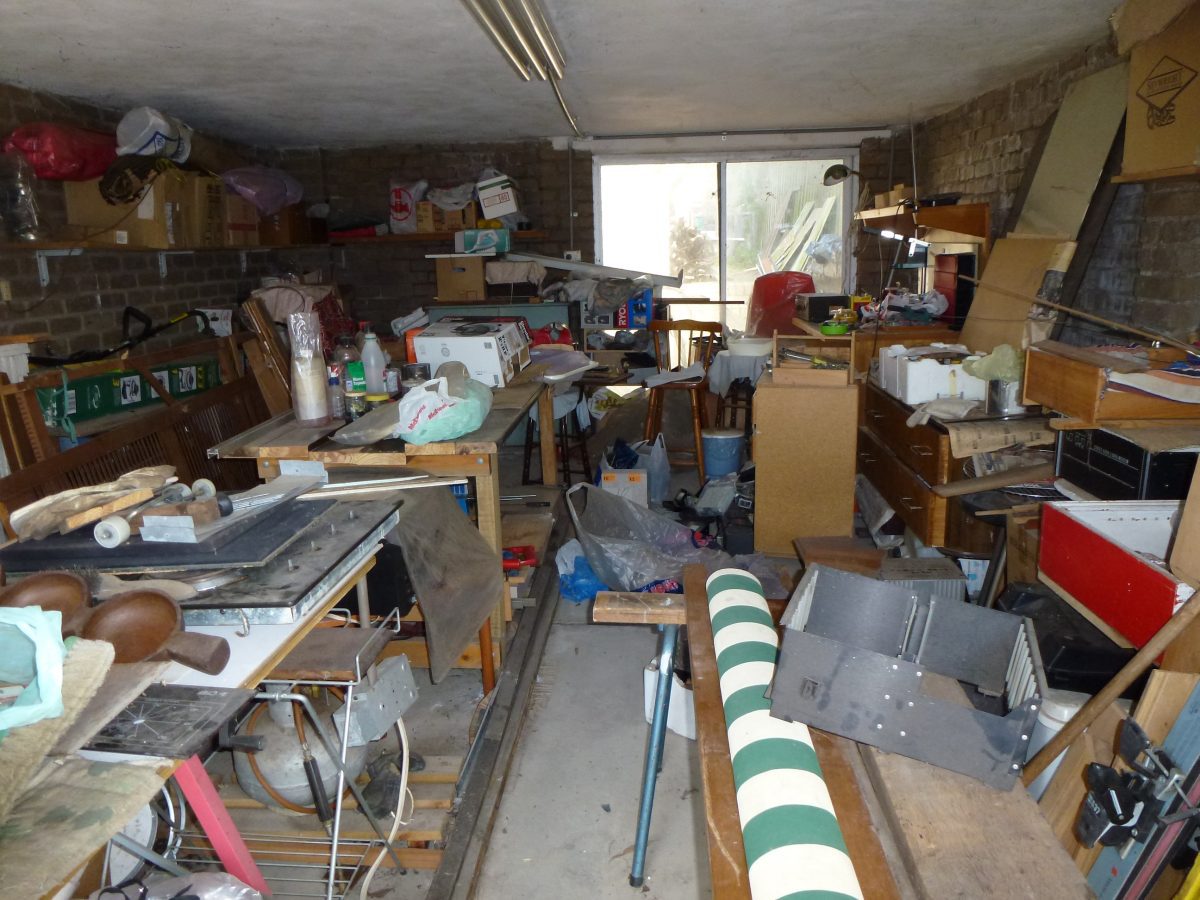
Built for Strength and Everyday Use
While MKE Slatwall looks refined, it’s built for serious performance.
Key Performance Features
- Heavy-duty slatwall panels designed for high load capacity
- Compatible with a wide range of hooks, shelves, and accessories
- Locking accessory mechanisms to minimise movement
- Designed for long-term use in demanding environments
Whether storing tools, sports equipment, or display items, MKE Slatwall is engineered to handle real-world use.
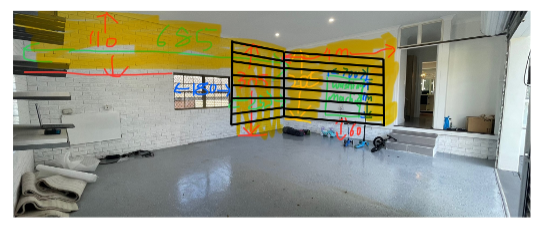
Flexible, Modular Storage That Evolves With You
One of the biggest advantages of MKE Slatwall is its modular design. Accessories can be repositioned easily without re-drilling or damaging walls.
This flexibility allows you to:
- Adapt layouts as storage needs change
- Add new accessories over time
- Keep walls clean and undamaged
It’s a future-proof storage solution — especially important for new homes and growing households.
Why MKE Slatwall Is Ideal for Australia
Australian homes increasingly demand storage systems that are:
- Strong
- Visually appealing
- Space efficient
MKE Slatwall meets these needs by combining European-inspired design with durability suited to Australian garages, workshops, and commercial spaces.
With both wood grain slatwall and modern slatwall finishes available, MKE offers options that suit a wide range of styles and applications.
Applications for MKE Slatwall
MKE Slatwall is suitable for:
- Premium garage storage
- Home workshops
- Retail displays
- Utility rooms
- Commercial and industrial spaces
Its clean appearance and load-bearing capability make it one of the most versatile slatwall systems now available in Australia.
Launching Now in Australia
MKE Slatwall is now available in Australia, bringing a new level of design and performance to wall storage systems. Whether you’re looking for a wood grain slatwall to complement your home or a modern slatwall for a clean, minimalist space, MKE offers a premium solution built to last.
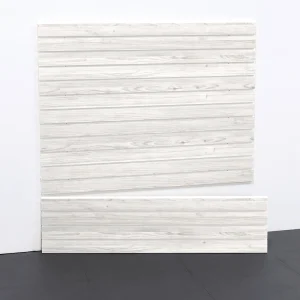
We have introduced two wall panels finishes:
- Blackwood
- Whitewood
Storage no longer needs to look industrial or temporary. With MKE Slatwall, functionality meets design — delivering a system that organises, enhances, and elevates any space.
If you’re planning a new build, renovation, or workspace upgrade, MKE Slatwall sets a new benchmark for modern wall storage in Australia.
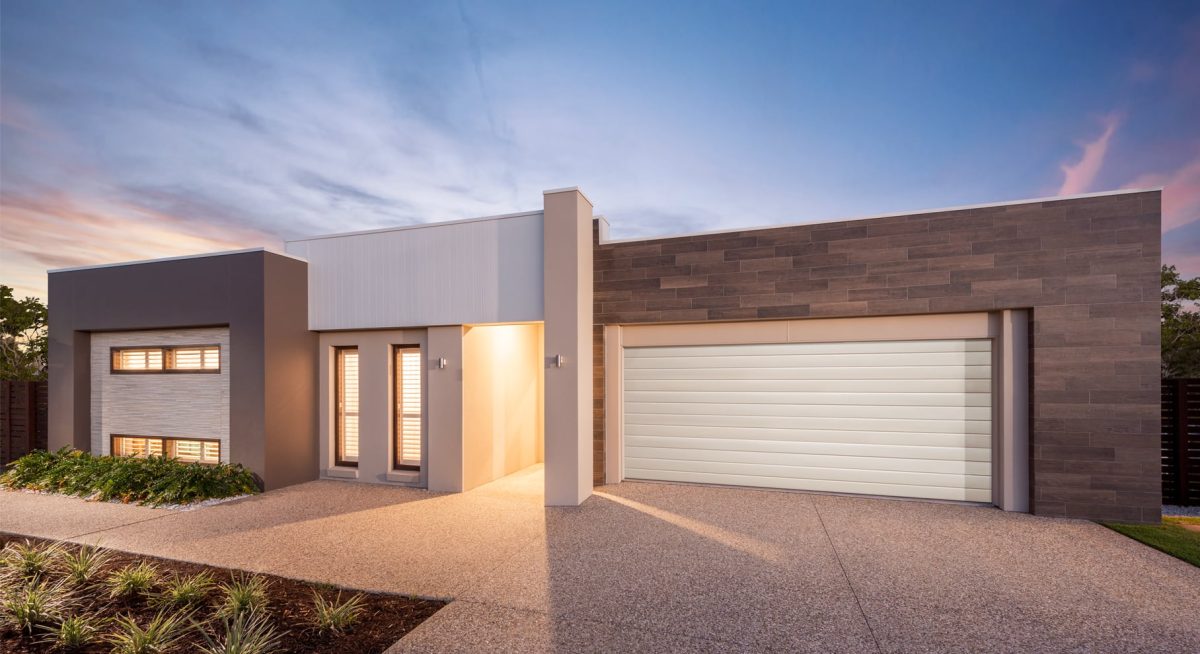


 Aesthetic Matters in a New Home