Posted on

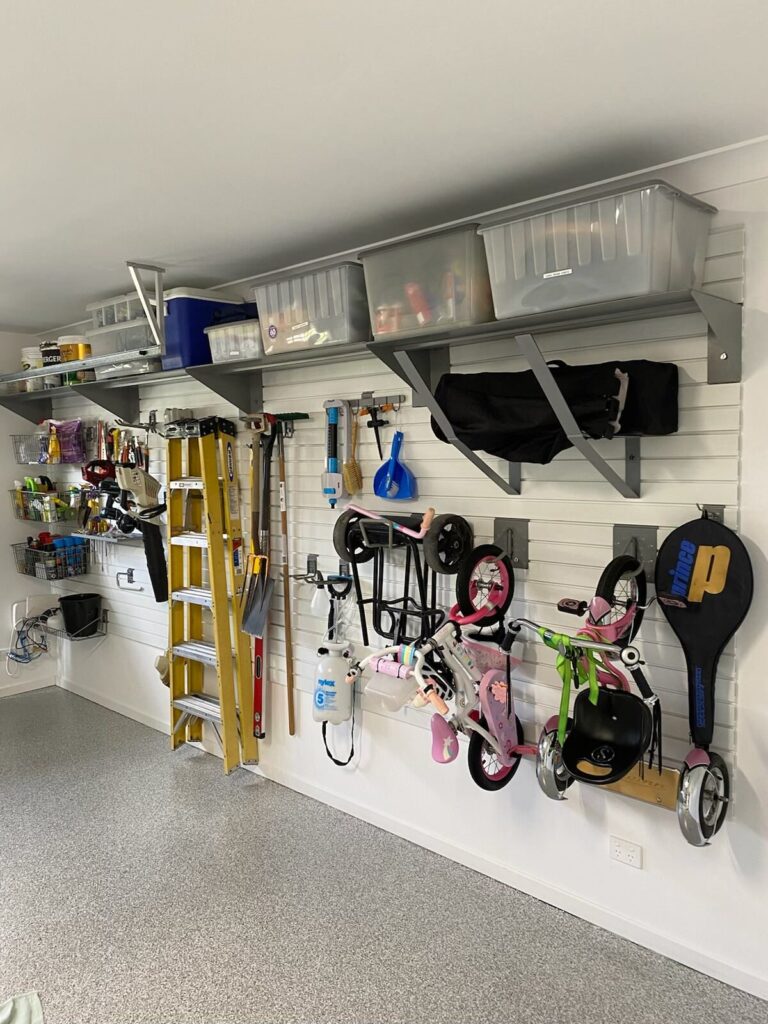
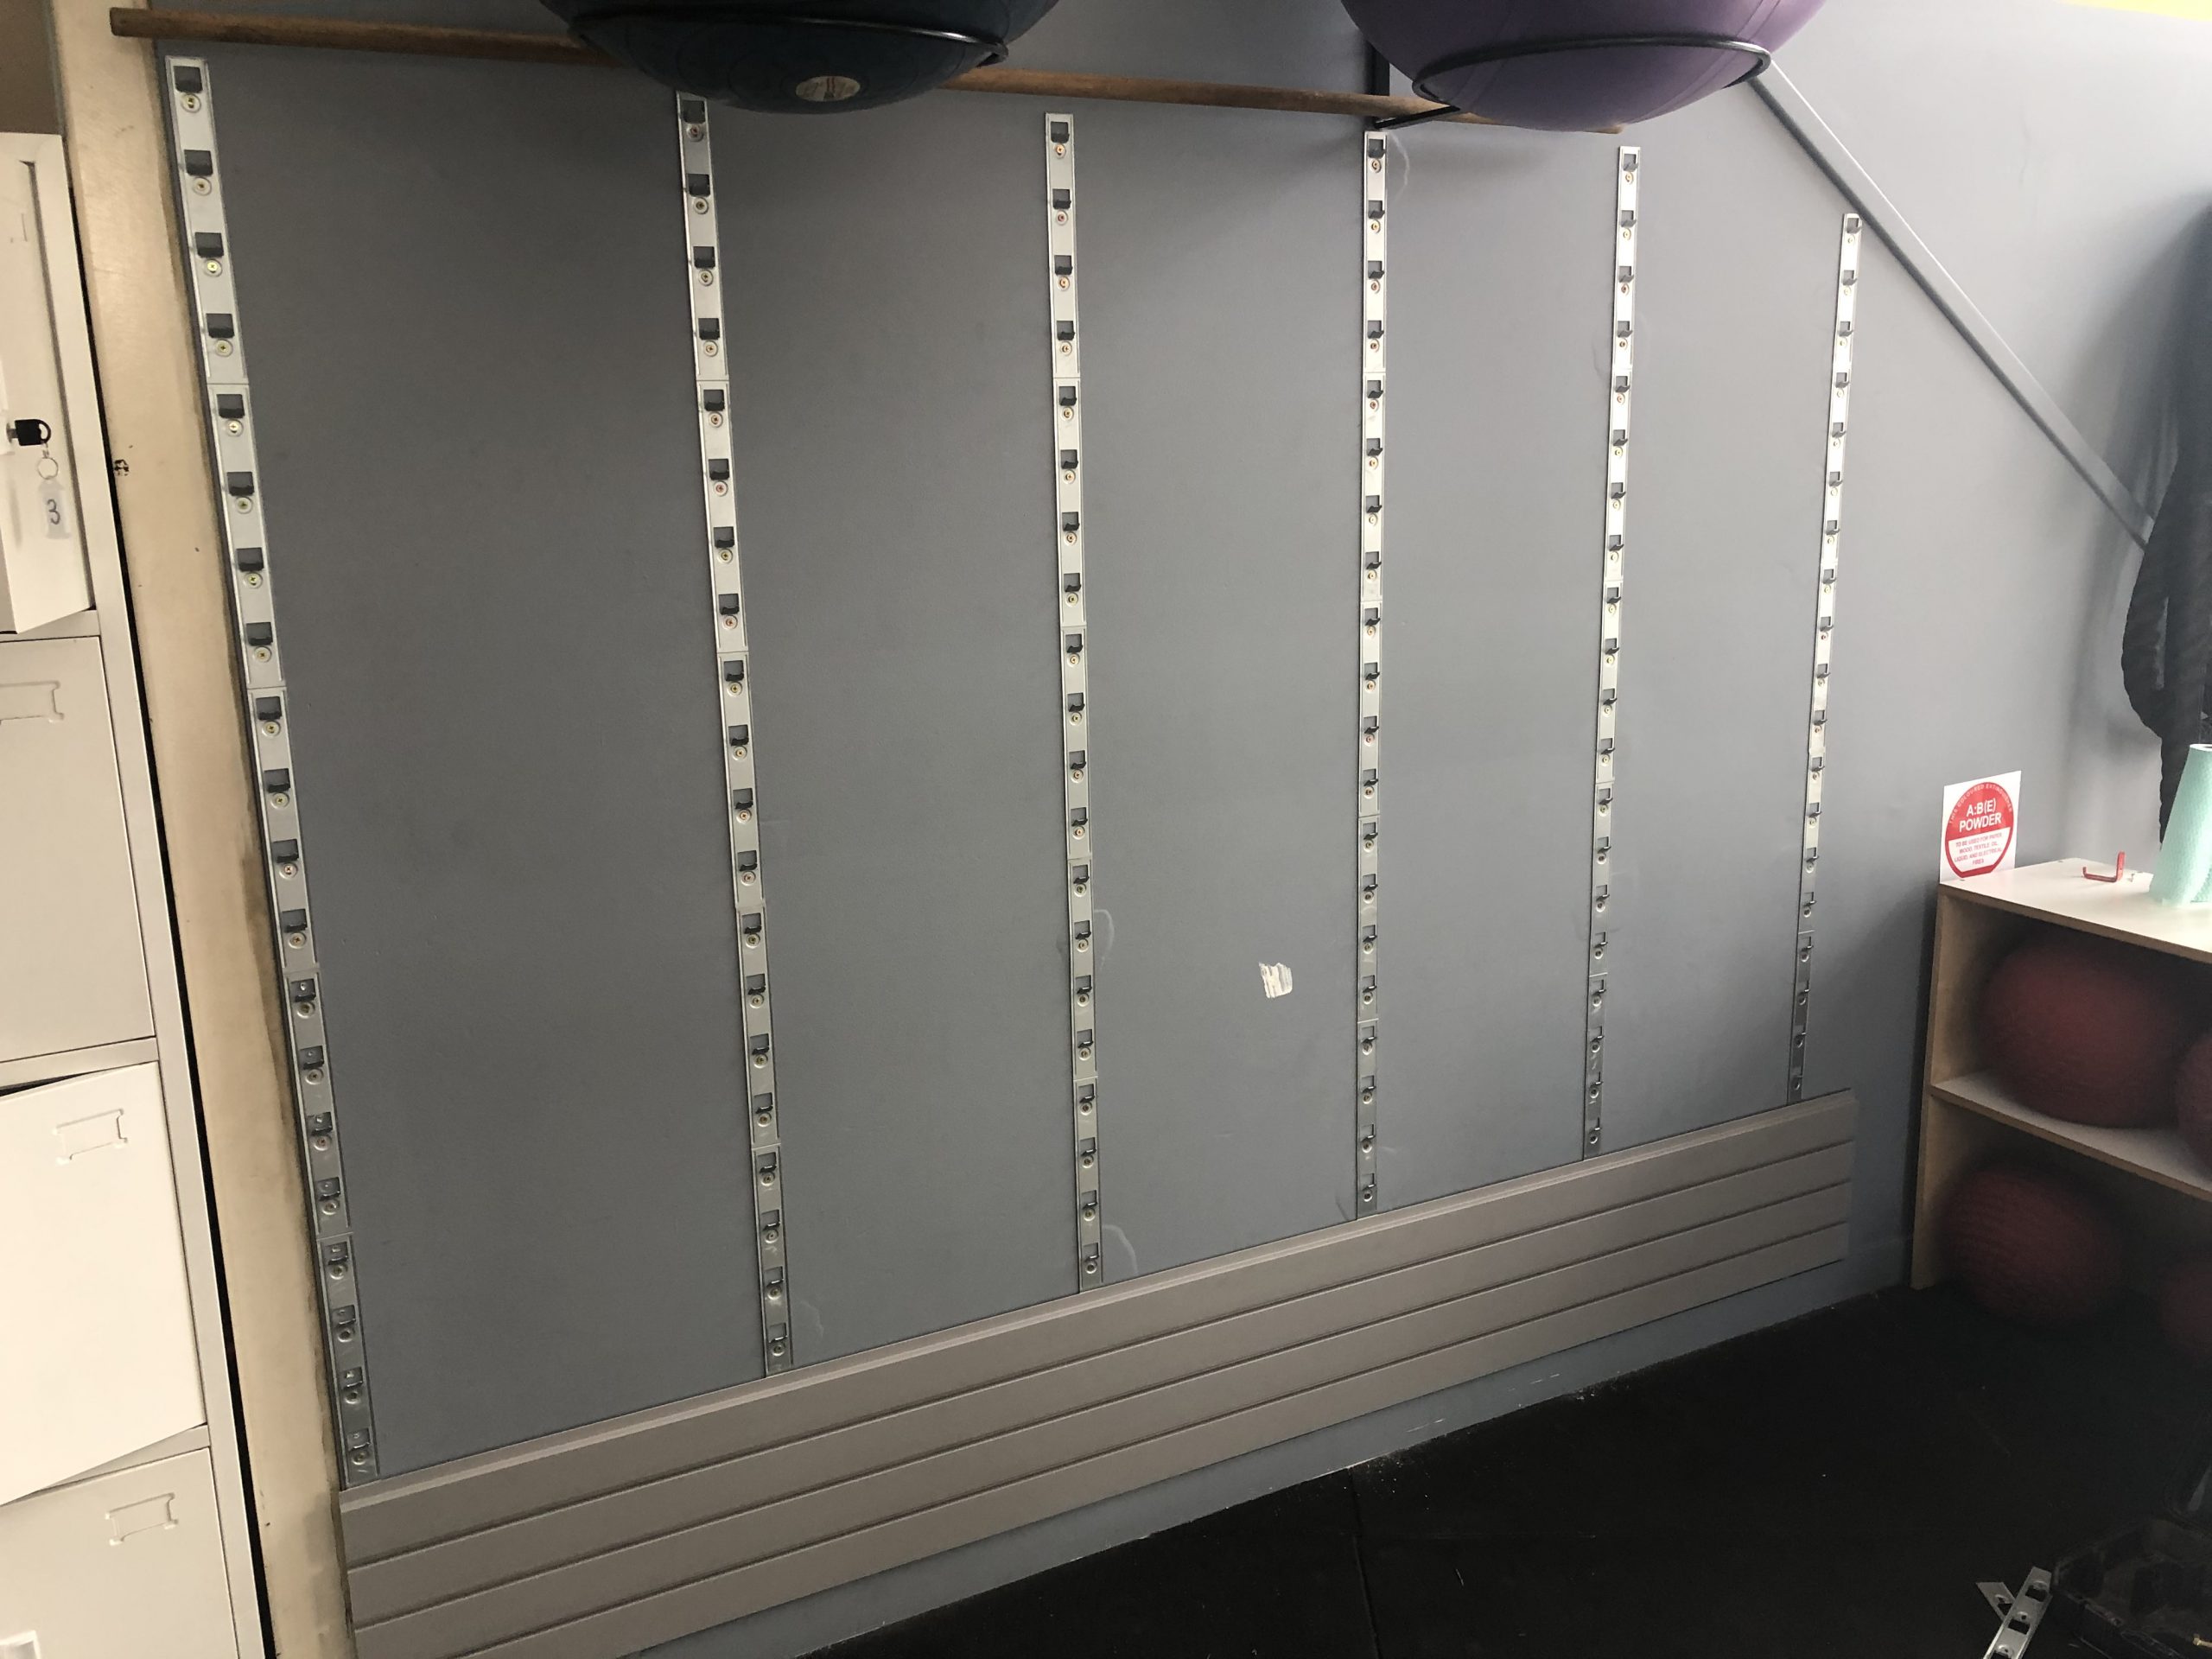
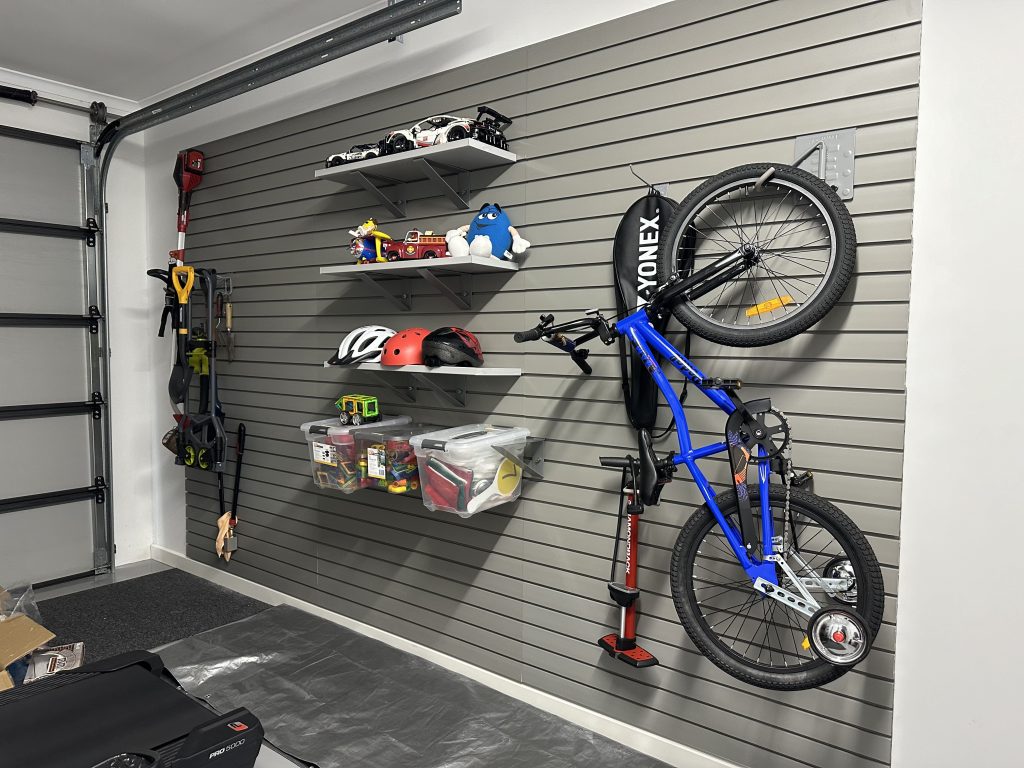
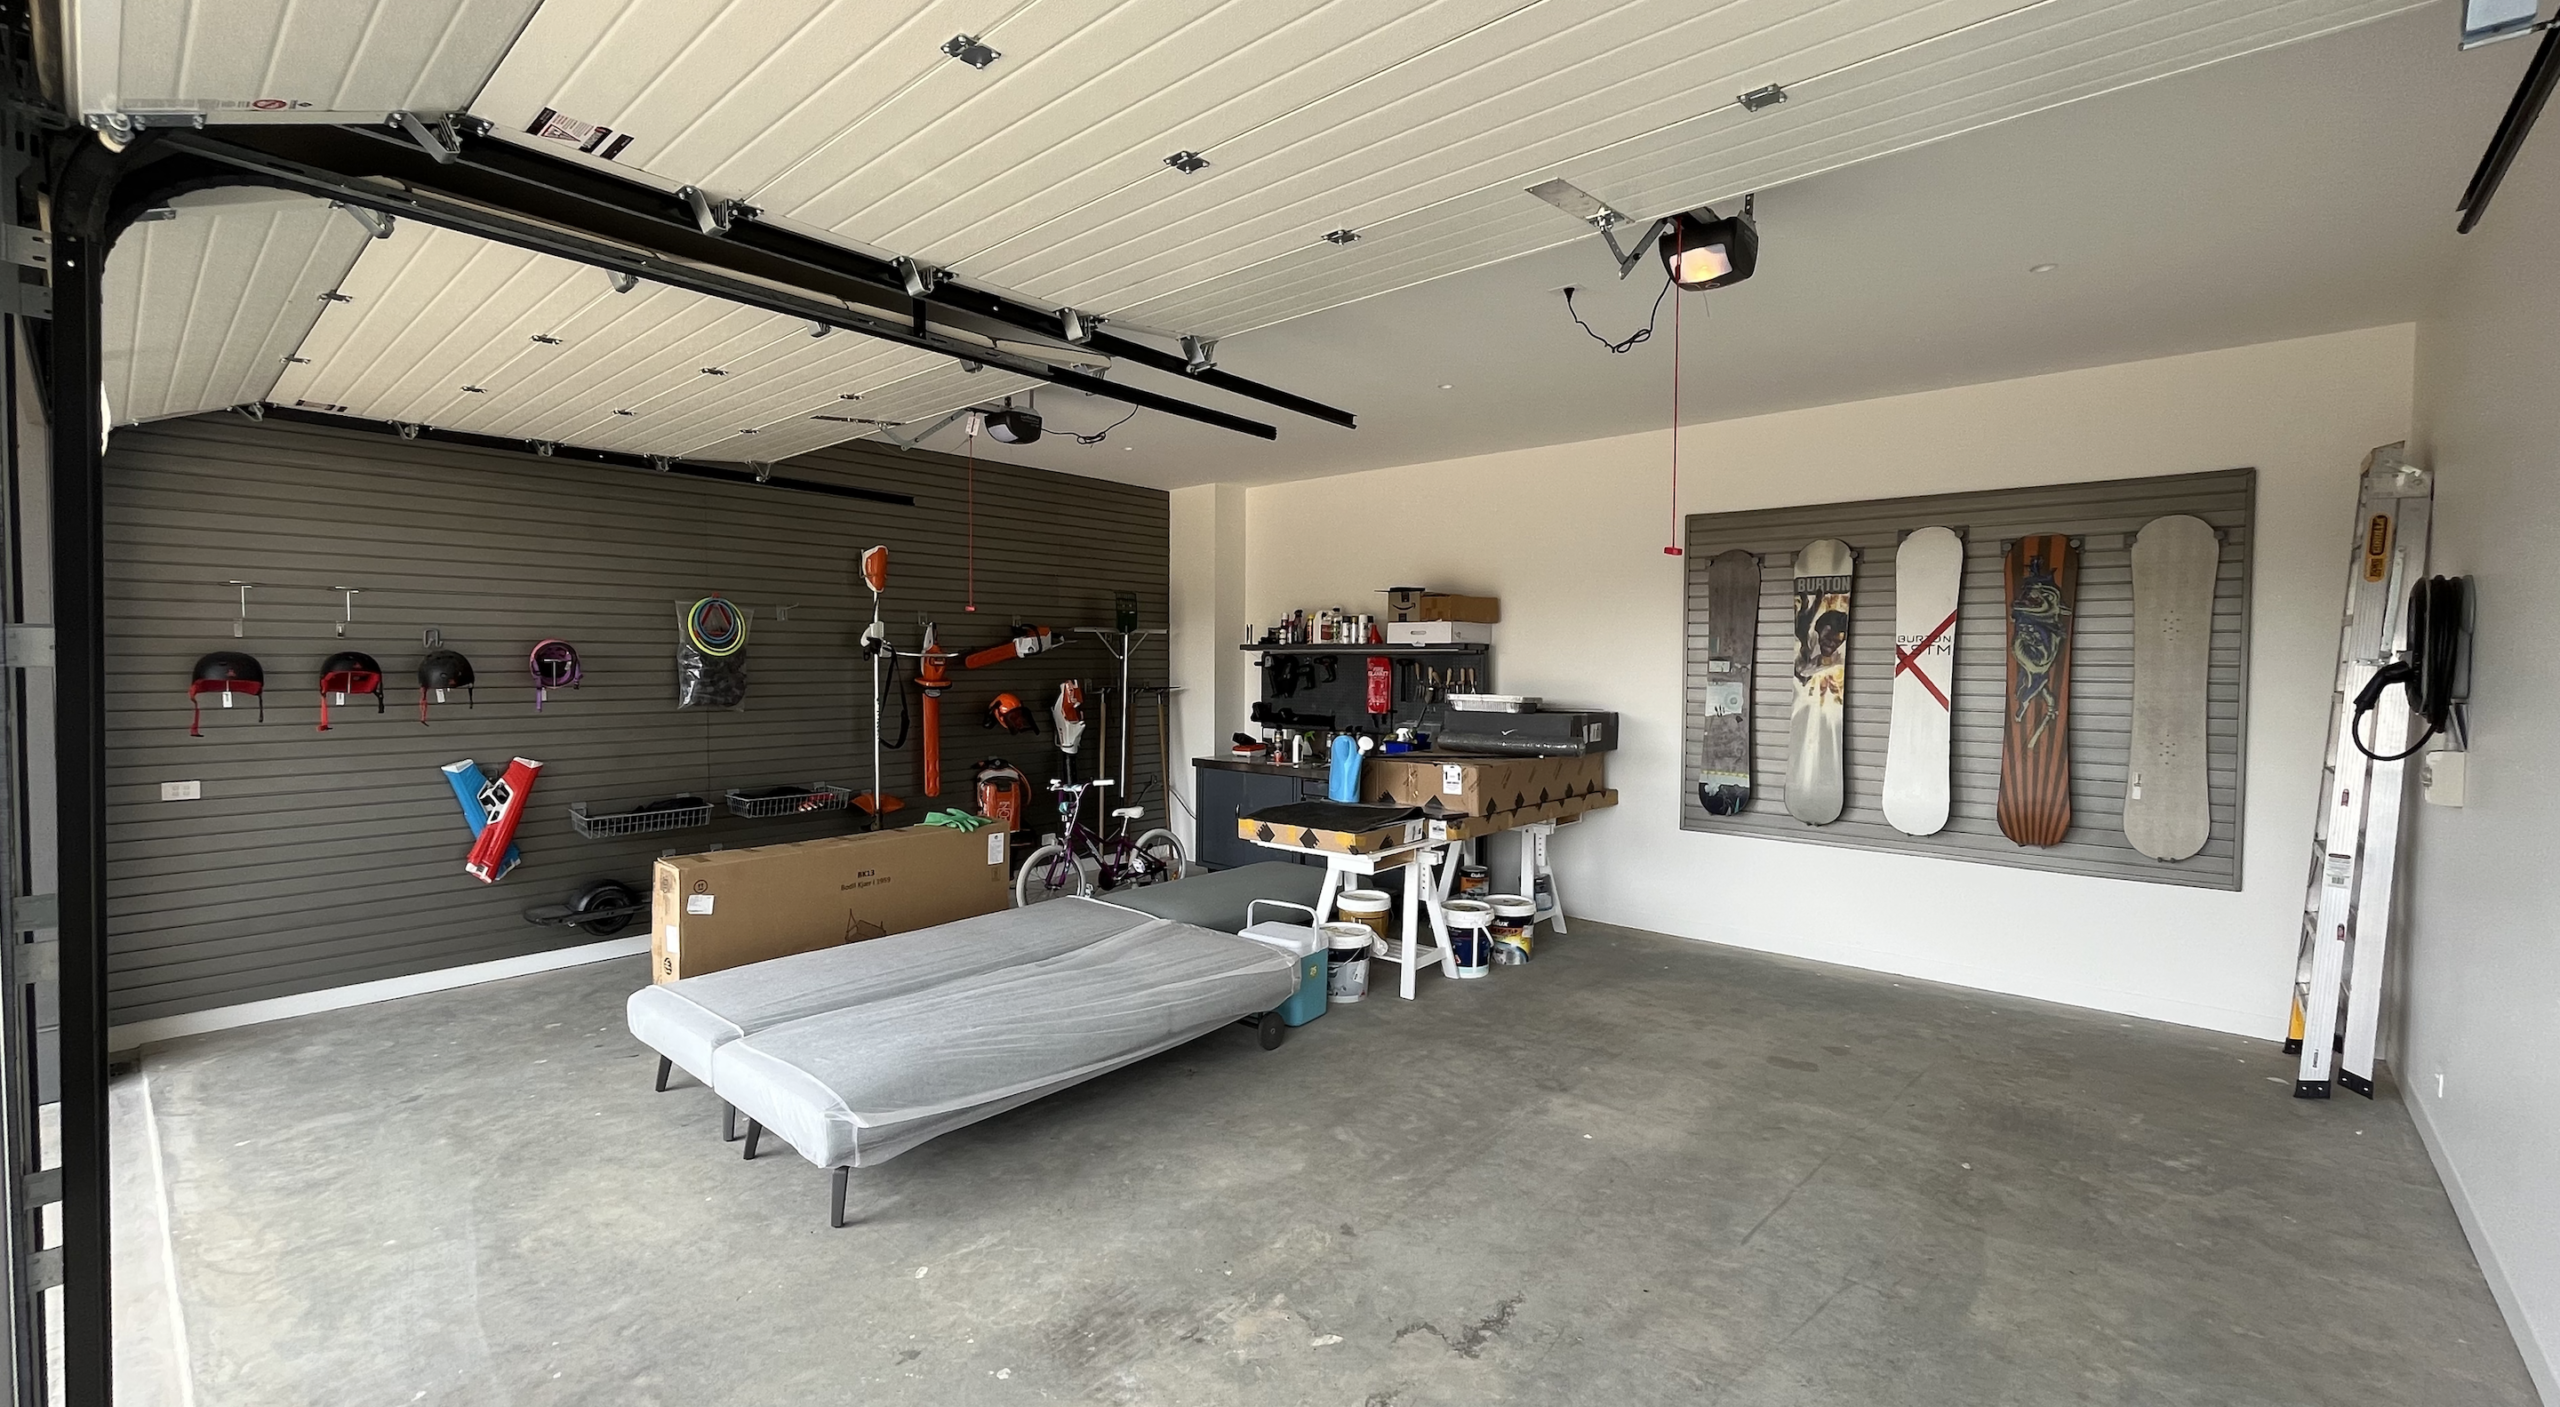
PVC vs MDF Slatwall

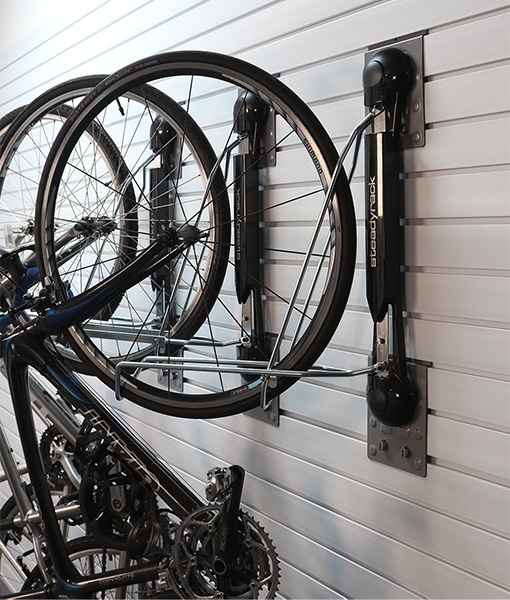
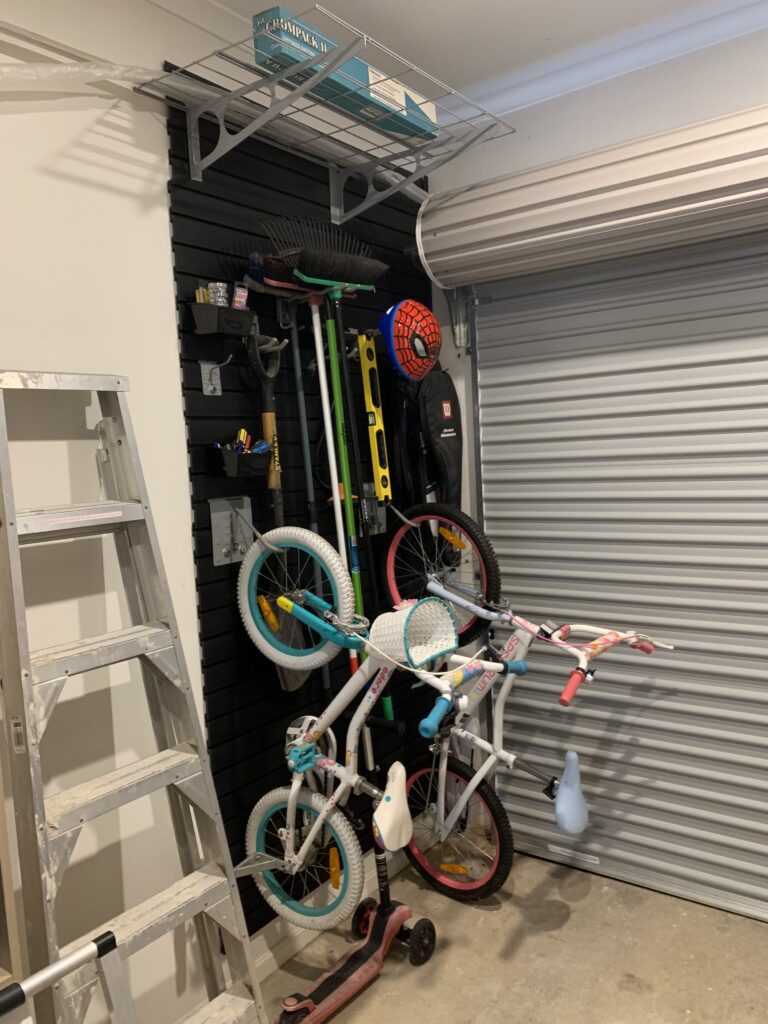
steadyrack bike hook

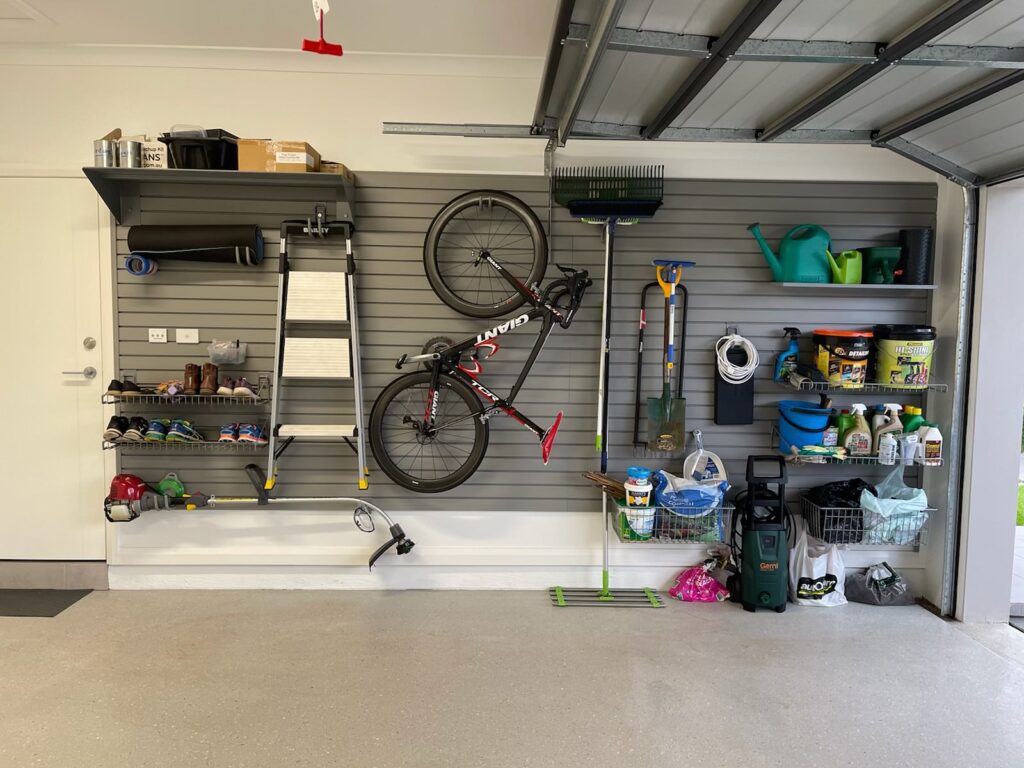
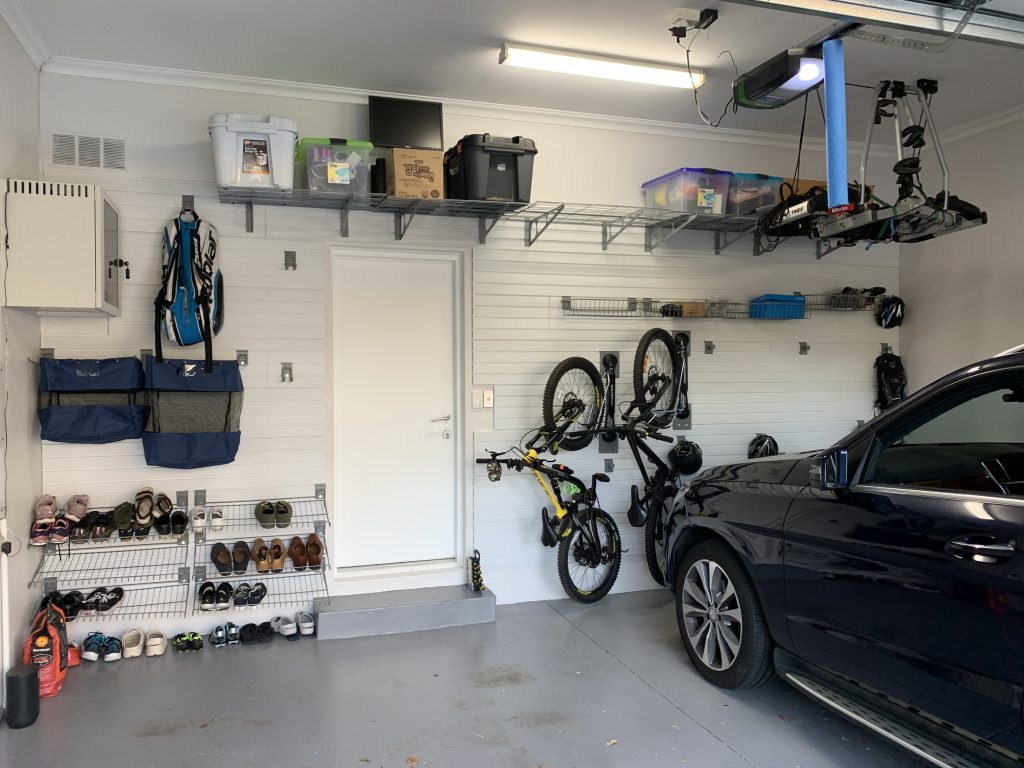
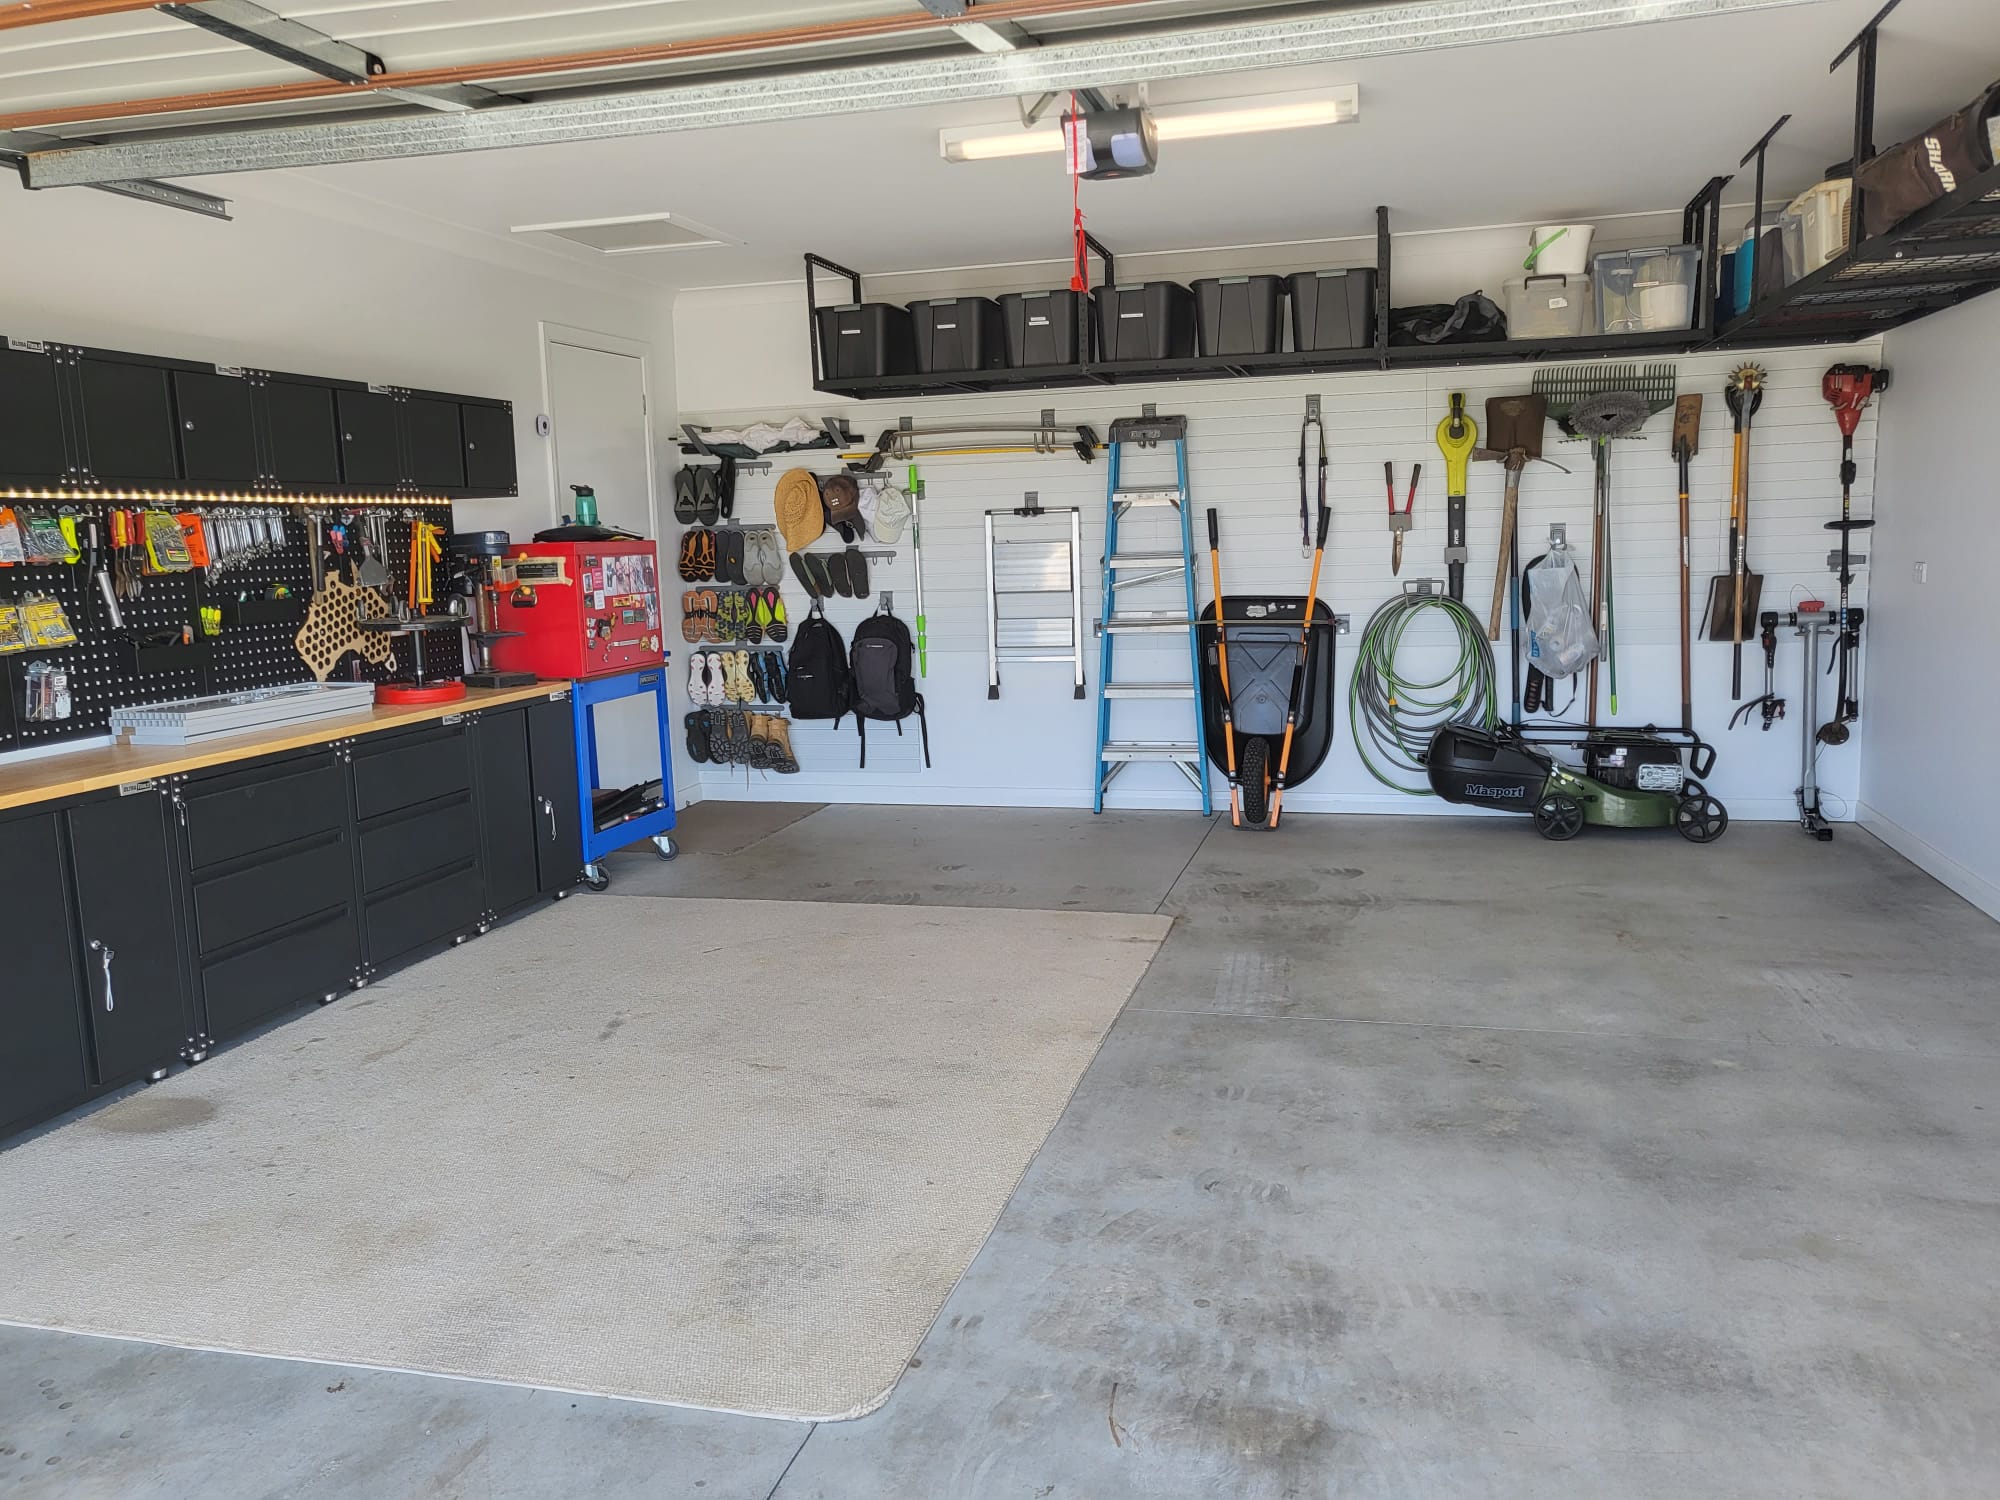
In the world of wall storage solutions, slatwall systems are a popular choice for both residential and commercial use. Two primary materials used in slatwall systems are PVC (Polyvinyl Chloride) and MDF (Medium Density Fiberboard). This article provides an in-depth comparison of PVC vs MDF slatwall, examining their characteristics, benefits, and applications to help you make an informed decision.

PVC vs MDF Slatwall

Material Composition and Properties

PVC Slatwall:

  • Composition: Made from polyvinyl chloride, a type of plastic known for its durability and resistance to moisture.
  • Properties: Lightweight, waterproof, and resistant to mold and mildew. It can be easily cleaned and maintained.
  • Aesthetics: Available in various colors and finishes, often designed to mimic wood grain or other textures.

MDF Slatwall:

  • Composition: Made from wood fibers bonded with resin under heat and pressure.
  • Properties: Heavier than PVC, with a solid, dense structure. It is susceptible to moisture and may swell or warp if not properly sealed.
  • Aesthetics: Typically comes in a smooth, painted finish, but can also be laminated or veneered to achieve different looks.

PVC vs MDF Slatwall – Durability and Strength

PVC Slatwall:

  • Durability: Highly durable and resistant to impacts, scratches, and chemicals.
  • Load Capacity: Generally supports lighter to moderate loads, depending on the thickness and quality of the PVC.

MDF Slatwall:

  • Durability: Strong and capable of supporting heavier loads. However, it is less resistant to physical damage and moisture compared to PVC.
  • Load Capacity: Typically higher than PVC, making it suitable for heavier items when properly installed.

Installation and Maintenance

PVC Slatwall:

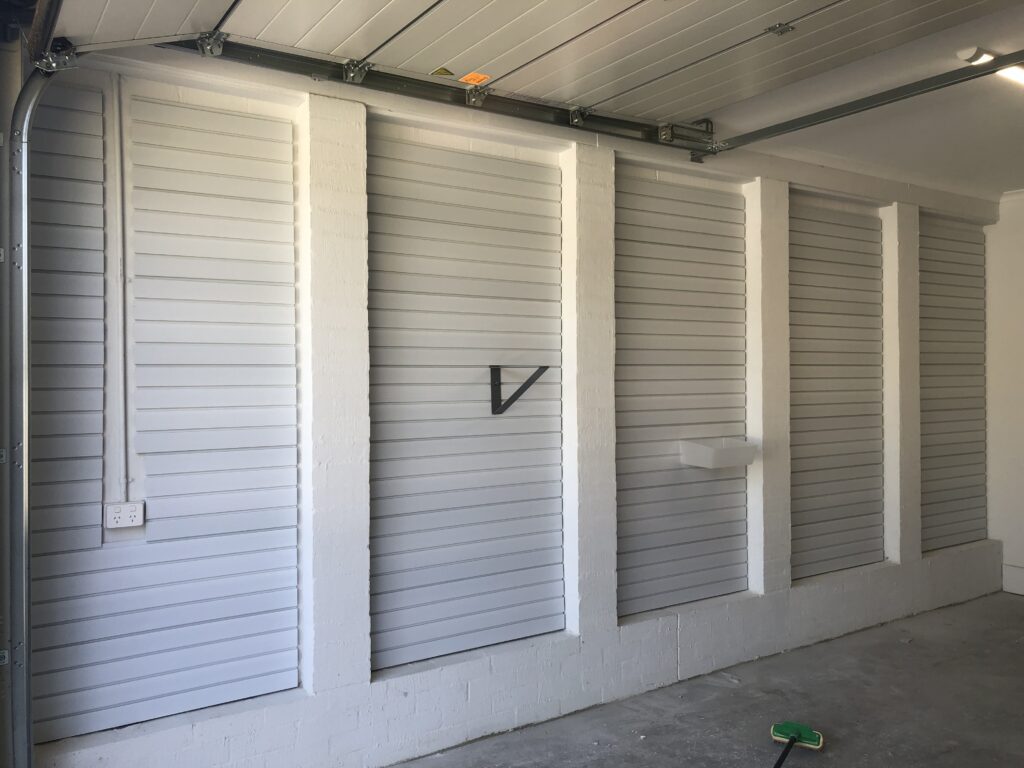
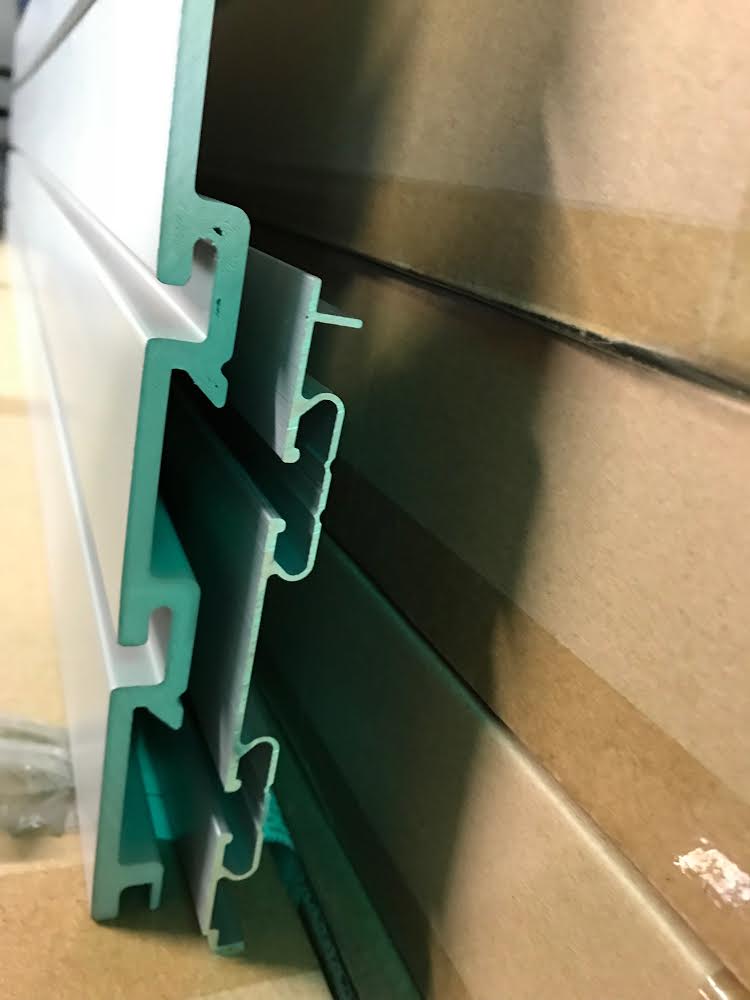
  • Installation: Easier to handle and install due to its lightweight nature. Often features interlocking panels for seamless installation. Can be easily cut to manage powerpoints and garage door brackets. The use of Installstrips makes installation less complicated and safer, delivery a very strong, robust garage storage system.
  • Maintenance: Low maintenance, requiring only occasional cleaning with mild soap and water.

MDF Slatwall:

  • Installation: Heavier and more challenging to install, requiring more robust mounting hardware and support structures. Panels are typically larger and heavier to carry, hold, and fasten to the wall.
  • Maintenance: Requires careful maintenance to avoid moisture exposure. Can be painted or refinished if scratched or damaged.

Cost and Affordability – PVC vs MDF Slatwall

PVC Slatwall:

  • Cost: Generally more expensive than MDF due to the manufacturing process and material properties. Installstrips can add to the price of the solution.
  • Long-Term Value: Offers long-term value due to its durability and low maintenance requirements. Will last over 10 years. Installstrips are galvanised eliminating rust.

MDF Slatwall:

  • Cost: More affordable upfront but may incur additional costs for sealing and maintenance over time.
  • Long-Term Value: Can be a cost-effective solution for dry environments where moisture exposure is not a concern.

Environmental Considerations

PVC Slatwall:

  • Environmental Impact: Made from plastic, which raises concerns about sustainability and recyclability. However, some manufacturers use recycled PVC in their products. StoreWALL wall panels are 100% Recyclable – Class 3 recyclable.

MDF Slatwall:

  • Environmental Impact: Made from wood fibers, which are a renewable resource. However, the production process involves the use of formaldehyde-based resins.
  • Recyclability: Can be recycled, but the presence of adhesives and finishes may complicate the process.
PVC vs MDF Slatwall

Applications and Use Cases

PVC Slatwall:

  • Best For: Environments where moisture and humidity are concerns, such as garages, basements, and retail spaces.
  • Common Uses: Ideal for organizing tools, sports equipment, and retail displays.

MDF Slatwall:

  • Best For: Indoor environments with controlled humidity, such as retail stores, showrooms, and home offices.
  • Common Uses: Suitable for displaying merchandise, organizing household items, and creating decorative wall features.

Conclusion – PVC vs MDF Slatwall

Choosing between PVC and MDF slatwall depends on your specific needs and environment. PVC slatwall offers superior moisture resistance, durability, and ease of maintenance, making it ideal for high-humidity areas and heavy-duty applications. By understanding the key differences and advantages of each material, you can select the slatwall system that best suits your storage and organizational needs.

Posted on

Interlocking Foam Tiles

interlocking floor tiles

Unlocking the Potential of Interlocking Foam Tiles in Your Garage

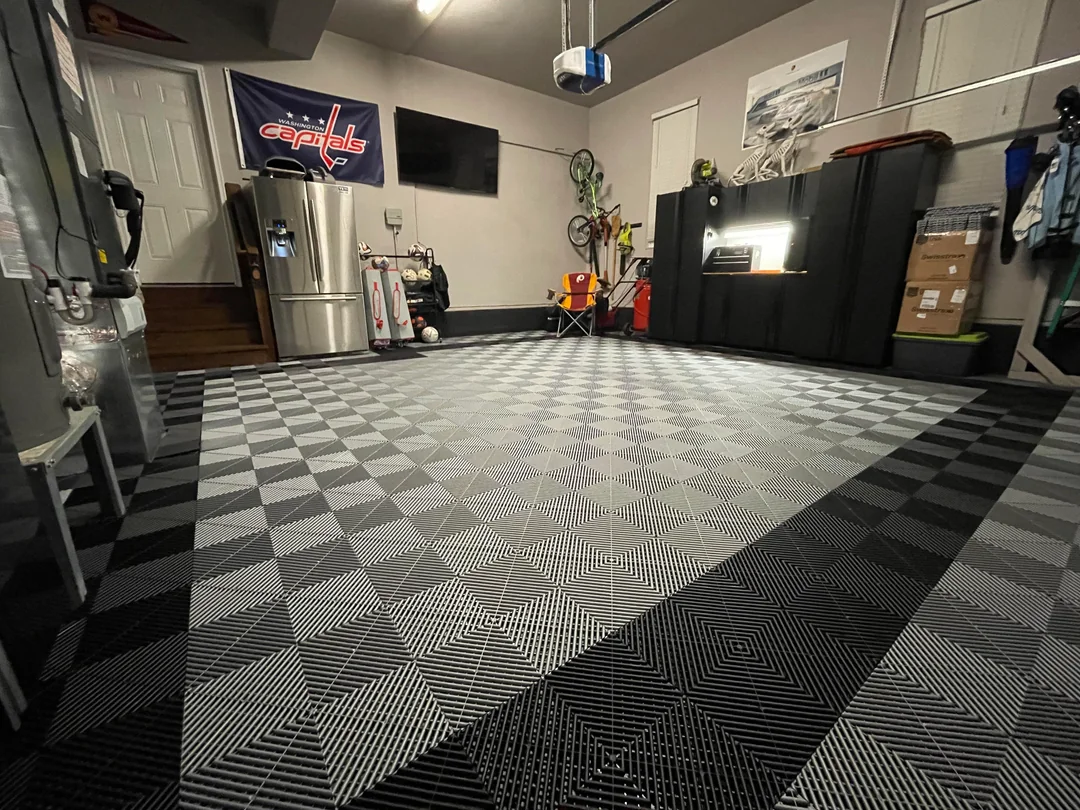
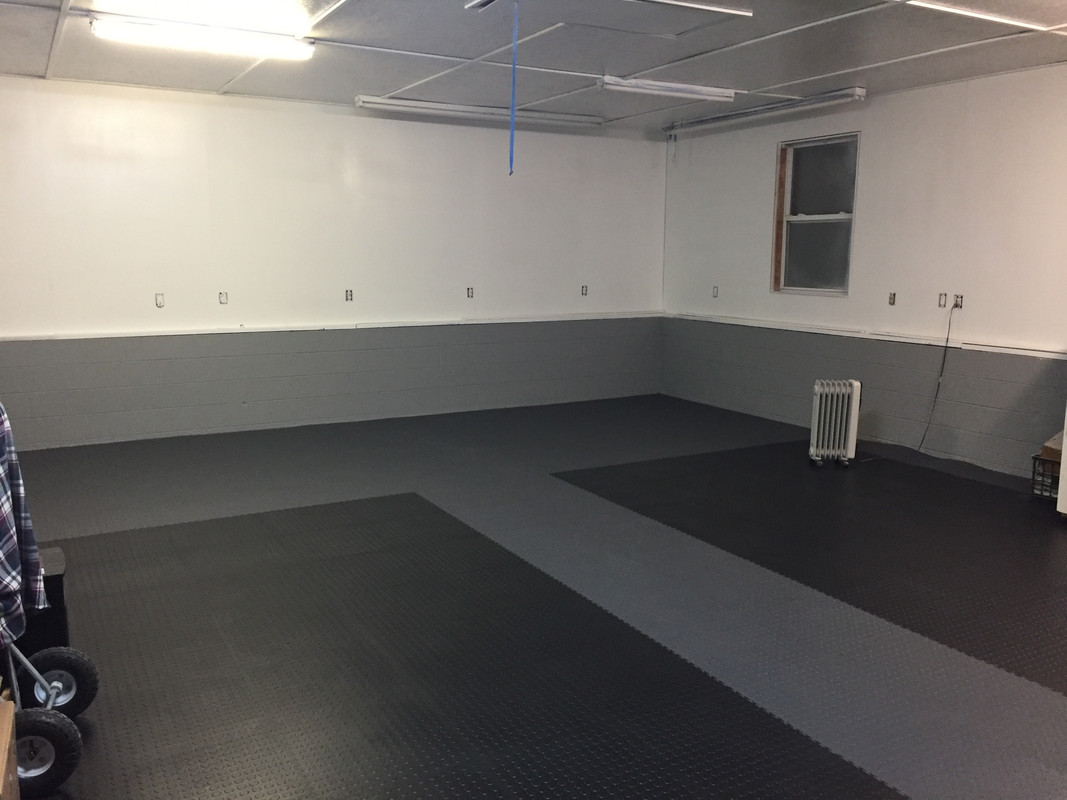
Garages are versatile spaces that can be transformed with simple upgrades, such as the installation of interlocking foam tiles. These tiles are not only affordable and easy to install, but they also offer a range of benefits from improved safety to enhanced aesthetics. Whether you’re looking to create a comfortable workspace, a gym, or simply want to protect your floor, interlocking foam tiles are an excellent choice. Here’s a detailed look at how you can utilize these tiles in your garage.

What Are Interlocking Foam Tiles?

Interlocking foam tiles are made from high-density foam and are designed to fit together like puzzle pieces. They come in various thicknesses and can range in size from 12×12 inches to 24×24 inches or larger. These tiles are lightweight, shock-absorbent, and available in multiple colors and textures, allowing for customization according to your garage’s needs.

interlocking foam tiles

Benefits of Using Foam Tiles in Your Garage

  1. Comfort: Foam tiles provide a cushioned surface that is gentle on the feet, making it ideal for long hours spent on DIY projects or repairs.
  2. Safety: The soft material helps prevent injuries from falls and can reduce fatigue from standing, which is especially beneficial in a workshop setting.
  3. Versatility: These tiles can be used to designate specific areas in your garage for different activities, such as a workout area, a workspace, or a play area for children.
  4. Durability: Designed to withstand heavy foot traffic, foam tiles are also resistant to most chemicals and can be easily cleaned with a damp mop.
  5. Thermal Insulation: The tiles act as insulators, helping to keep the garage warmer in winter and cooler in summer.
  6. Noise Reduction: The foam absorbs sound, which is particularly useful if you use loud power tools in your garage.

How to Install Interlocking Foam Tiles

Installing interlocking foam tiles is a straightforward DIY project that requires no special tools or adhesives. Here’s how to do it:

  1. Preparation: Start by clearing the garage floor and sweeping it clean of any debris or dust.
  2. Layout: Plan your layout by placing tiles on the floor without locking them in place. This will help you figure out how many tiles you need and whether you need to cut any tiles to fit.
  3. Cutting: If necessary, cut the tiles to fit around corners or edges using a sharp utility knife.
  4. Installation: Begin at one corner of the room and work your way out. Attach tiles by aligning them and pressing the interlocking edges together. Use a rubber mallet if needed to ensure a snug fit.
  5. Finishing: Once all tiles are in place, install edge pieces (if provided) to create a smooth transition from the tiles to the garage floor.

Maintenance and Care

Interlocking foam tiles are low-maintenance. Regular cleaning involves sweeping or vacuuming to remove loose debris and damp mopping with mild soap and water. Avoid using harsh chemicals that might degrade the foam material.

Customization Tips

  • Color Coding: Use different colors to define various zones in your garage, such as red tiles for workout areas and blue for workspaces.
  • Patterns: Arrange tiles in patterns or designs to enhance the visual appeal of your space.
  • Layering: For extra comfort or insulation, consider double-layering the tiles in areas where you spend the most time.

Interlocking foam tiles offer an efficient and cost-effective way to upgrade your garage, providing comfort, safety, and style. Whether you’re turning your garage into a gym, workshop, or multi-purpose area, these tiles can accommodate your needs with ease. With their simple installation and ease of maintenance, they are an excellent choice for any homeowner looking to improve their garage space.

Posted on

Maximizing Garage Space with StoreWALL Totes

kayak storage racks

The Perfect Solution for Storing Sports Balls

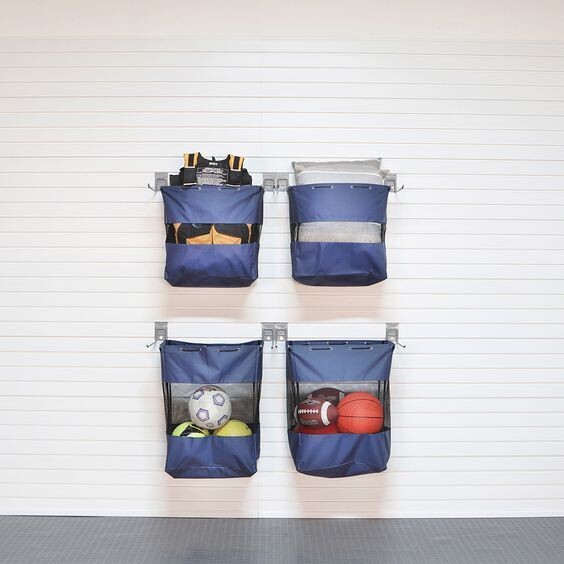
Are you constantly tripping over basketballs, soccer balls, and other sports equipment scattered across your garage floor? It’s a common scenario in homes where sports enthusiasts reside. The good news is, with the right storage solutions, you can transform your chaotic garage into a well-organized haven. StoreWALL totes emerge as a frontrunner in this quest, offering a practical and efficient way for storing sports balls and reclaiming your garage space. Let’s dive into how these versatile totes can revolutionize your storage game.

storing sports balls

Why StoreWALL Totes?

Durability Meets Design: StoreWALL totes are designed with the modern homeowner in mind, blending durability with sleek aesthetics. Made from high-quality materials, these totes withstand the wear and tear of daily use, ensuring your sports gear stays secure and accessible.

Customisable for Your Needs: One size doesn’t fit all when it comes to storage. The beauty of StoreWALL totes lies in their adaptability. Whether you have a vast collection of soccer balls or just a few tennis balls, the great range of sizes means there is always a size to meet your specific storage requirements.

Space-Saving Solutions: By leveraging vertical space, StoreWALL totes free up floor space, making your garage feel bigger and more organized. This is particularly useful for smaller garages or for homeowners looking to maximize their storage capacity.

Easy Access: Forget digging through boxes or bins to find the right ball. Storing sports balls with StoreWALL’s totes allows you to see through the mesh bag to locate the specific ball or item you are searching for. Less time searching and more time playing.

Implementing StoreWALL Totes for Sports Ball Storage

Step 1: Assess Your Inventory: Start by gathering all the sports balls that need storing. This will help you determine how many totes you’ll need and what sizes are most appropriate.

Step 2: Choose Your Setup: Decide on the layout of your StoreWALL totes. Consider factors like the height of the users (especially if children will be accessing them) and the weight of the items stored.

Step 3: Install with Ease: StoreWALL’s installation process is straightforward, allowing for a hassle-free setup. You can adjust the positioning of the totes as needed, ensuring a flexible storage system for storing sports balls.

Step 4: Organize and Label: For households with a variety of sports interests, labeling each tote can streamline the process of finding what you need. Whether it’s soccer, basketball, or volleyball, clear labels can save time and prevent mix-ups.

Enhancing Your Garage with StoreWALL Totes

In addition to storing sports balls, StoreWALL totes can be utilized for a wide range of garage storage needs. From outdoor cushions to picnic rugs, these totes offer a versatile solution to keeping your garage clutter-free.

Incorporating StoreWALL totes into your garage organization strategy not only helps in storing sports balls efficiently but also contributes to creating a more functional and visually appealing space. Say goodbye to cluttered floors and hello to a neatly organized garage where every item has its place.

Conclusion

StoreWALL totes offer a practical and stylish solution for storing sports balls, transforming cluttered garages into organized, accessible spaces. By following a few simple steps, you can take advantage of these durable, customizable totes to enhance your home’s organization and make the most of your garage space. Dive into the world of hassle-free storage and let StoreWALL totes keep your sports gear in check, so you can focus on enjoying the game.

Posted on

Wall Mounted Storage for your Garage

compare garage storage solutions

Maximizing Your Space Efficiently

Are you constantly battling with clutter in your garage? Do you find yourself struggling to locate tools, sports equipment, or holiday decorations when you need them? If so, wall mounted garage storage could be the game-changer you’re looking for. By leveraging the vertical space in your garage, you can significantly increase your storage capacity, organize your belongings efficiently, and create a more functional and accessible workspace. Let’s delve into the benefits of wall mounted storage solutions and how you can implement them in your garage.

The Advantages of Wall Mounted Storage

  • Maximized Space Utilization: One of the most compelling reasons to opt for wall-mounted systems is the ability to free up floor space. This approach allows you to store items off the ground, making it easier to clean the floor and move around.
  • Enhanced Organization: Wall-mounted systems often come with a variety of shelving, hooks, and bins that can be customized to suit your storage needs. This means you can have a dedicated spot for every item, from garden tools and sports gear to automotive supplies and woodworking equipment.
  • Improved Accessibility: By keeping items off the floor and at eye level, garage wall systems make it easier to find and retrieve what you need without digging through piles or boxes.
  • Visual Appeal: A well-organized garage wall storage system can significantly improve the look of your garage, transforming it from a cluttered catchall to a tidy and efficient space.
wall mounted storage

Implementing Wall Mounted System in Your Garage

1. Assess Your Needs: Start by taking inventory of what you currently store in your garage. Group items by category and consider how often you use them. This will help you determine the type of storage solutions that will work best for your space.

2. Choose the Right System: There are several types of garage wall storage systems to choose from, including:

  • Slatwall Panels: These are great for versatile storage needs, allowing you to attach hooks, shelves, and bins that can be easily repositioned.
  • Track Systems: Ideal for hanging larger tools and equipment, track systems offer sturdy support and can be customized with various hooks and accessories.
  • Shelving Units: Fixed or adjustable shelving units are perfect for storing boxes, bins, and larger items that don’t hang well.

3. Plan Your Layout: Before installing any system, plan your layout carefully. Consider placing frequently used items at arm’s reach and seasonal or rarely used items higher up or in less accessible spots.

4. Installation: While many wall-mounted systems are designed for DIY installation, ensure you have the right tools and follow the manufacturer’s instructions carefully. It’s crucial to secure storage systems to studs in the wall to provide adequate support for your items.

5. Organize and Label: Once your storage system is in place, organize your items logically and consider labeling shelves, bins, and hooks to make it easy to find and return items to their rightful spot.

wall mounted storage system

Garage Wall System – Conclusion

Wall-mounted garage storage offers a smart and effective way to tackle the clutter in your garage. By taking advantage of vertical space, you can create a more organized, accessible, and visually appealing space. Whether you’re a DIY enthusiast, a sports fanatic, or just looking to declutter, there’s a wall-mounted garage storage solution that can meet your needs. Start planning your garage transformation today and enjoy the benefits of a well-organized space.

Posted on

Transforming Your Garage into a Home Office

home office

In the modern quest for maximizing living spaces, transforming your garage into a home office stands out as a brilliant and practical solution. As more people embrace remote work, the need for a dedicated workspace has become paramount. This guide offers insightful advice on converting your garage into an efficient, comfortable, and stylish home office.

Assessing Your Space

Start With a Plan: Before diving into the transformation, assess the size and layout of your garage. Consider the amount of natural light, the garage door’s location, and the availability of electrical outlets. A detailed plan will help you visualise the office space and identify potential challenges.

Permits and Regulations: Check with local authorities for any permits required to convert your garage into a living space. Compliance with building codes and regulations ensures safety and avoids legal complications.

Home office

Designing Your Home Office

Insulation and Climate Control: Garages are not typically designed for comfort, so adding insulation is crucial. Insulate walls, ceilings, and the garage door to maintain a comfortable temperature year-round. Consider installing a heating and cooling system to ensure your office is conducive to productivity.

Lighting: Optimize natural light by installing windows or skylights. Supplement with artificial lighting solutions like LED desk lamps and overhead lights to create a bright and inviting workspace.

Flooring: Upgrade the garage floor for warmth and comfort. Epoxy coatings, interlocking tiles, or laminate flooring can transform the space and add a professional touch to your home office.

Furniture and Storage: Select ergonomic furniture to enhance productivity and comfort. Incorporate storage solutions such as shelving units and cabinets to organize office supplies, documents, and equipment, keeping the space clutter-free.

Technology and Connectivity

Electrical Upgrades: Ensure your garage has adequate electrical outlets to support computers, printers, and other office equipment. Hiring a professional electrician to upgrade your electrical system is advisable for safety and efficiency.

Internet Connectivity: Strong Wi-Fi is essential for a home office. If your garage has weak signal strength, consider using Wi-Fi extenders or a dedicated internet line for reliable connectivity.

Personalizing Your Space

Decor: Personalize your home office with decor that inspires creativity and productivity. Add plants, artwork, and personal items to make the space welcoming and uniquely yours.

Noise Reduction: Soundproofing your garage can help minimize distractions from outside noise. Use acoustic panels, weather stripping, and door seals to create a quiet work environment.

Final Thoughts

Converting your garage into a home office is a smart way to utilize unused space and enhance your work-from-home experience. By carefully planning and designing your office, you can create a functional and comfortable workspace that boosts productivity and creativity. Remember, a well-thought-out home office not only benefits your work life but also adds value to your home.

Posted on

Reclaim Your Garage

slatwall messy garage

In Australia, the garage has traditionally been a multifunctional space, serving not just as a shelter for cars but also as a storage area for a myriad of household items, tools, and occasionally, even as a workspace or recreational area. However, a common observation across many Australian homes is that garages tend to be particularly cluttered and messy. This phenomenon can be attributed to several factors, ranging from changing lifestyle patterns to architectural design and consumer behavior. This article delves into the reasons behind the messiness of Australian garages, shedding light on the underlying causes and potential solutions. It also introduces a range of solutions that can assist you to reclaim your garage.

reclaim your garage

Shifting Lifestyle Patterns

One of the primary reasons for cluttered garages is the evolving lifestyle of Australians. As people acquire more possessions, from sports equipment to seasonal decorations, the garage often becomes the go-to storage space. The rise of hobbies and home improvement projects has also contributed to the accumulation of tools and materials, often stored in the garage for convenience.

Lack of Adequate Storage Solutions

Many Australian homes, especially older ones, were not designed with sufficient built-in storage. As a result, garages become the overflow space for items that do not fit inside the house. Without proper organization systems such as shelving, cabinets, or racks, these items can quickly accumulate, creating clutter and disorganization.

The Consumer Culture

The surge in consumerism, driven by the ease of online shopping and the allure of sales, has led to an increase in household belongings. Many Australians find themselves purchasing items on impulse or in bulk, which, due to lack of immediate use or space inside the home, end up in the garage. This consumer habit exacerbates the issue of clutter, making garages appear messier than ever.

Multipurpose Use of Garage Space

Garages in Australia are increasingly being used for purposes other than parking cars. They serve as workshops, home gyms, and even entertainment areas. This multipurpose use, while beneficial, contributes to the clutter, as it introduces a variety of items into the space that are not always neatly organized or stored.

Procrastination and Lack of Time

The task of cleaning and organizing a garage can be daunting, especially when the clutter has been accumulating over time. Many individuals postpone this task due to its overwhelming nature or due to a busy lifestyle. This procrastination, combined with a lack of dedicated time to tackle the mess, results in garages remaining cluttered for extended periods.

reclaim your garage

Architectural Design and Planning

The design of some Australian homes does not prioritize garage storage efficiency. Garages are often designed to meet minimum size requirements for vehicles, with little consideration for storage or organization. This lack of foresight in design contributes to the challenge of keeping garages tidy and well-organized.

Seasonal and Infrequently Used Items

Garages often house seasonal items such as holiday decorations, winter clothing, and sports equipment, which are not used year-round. These items take up valuable space and contribute to the clutter, especially when not stored properly.

Reclaim Your Garage – Solutions and Strategies

Addressing the messiness of garages requires a multifaceted approach. You can adopt various strategies to mitigate this issue so you can reclaim your garage:

  • Implementing Efficient Storage Solutions: Installing shelving, cabinets, and overhead storage can maximize space and reduce clutter.
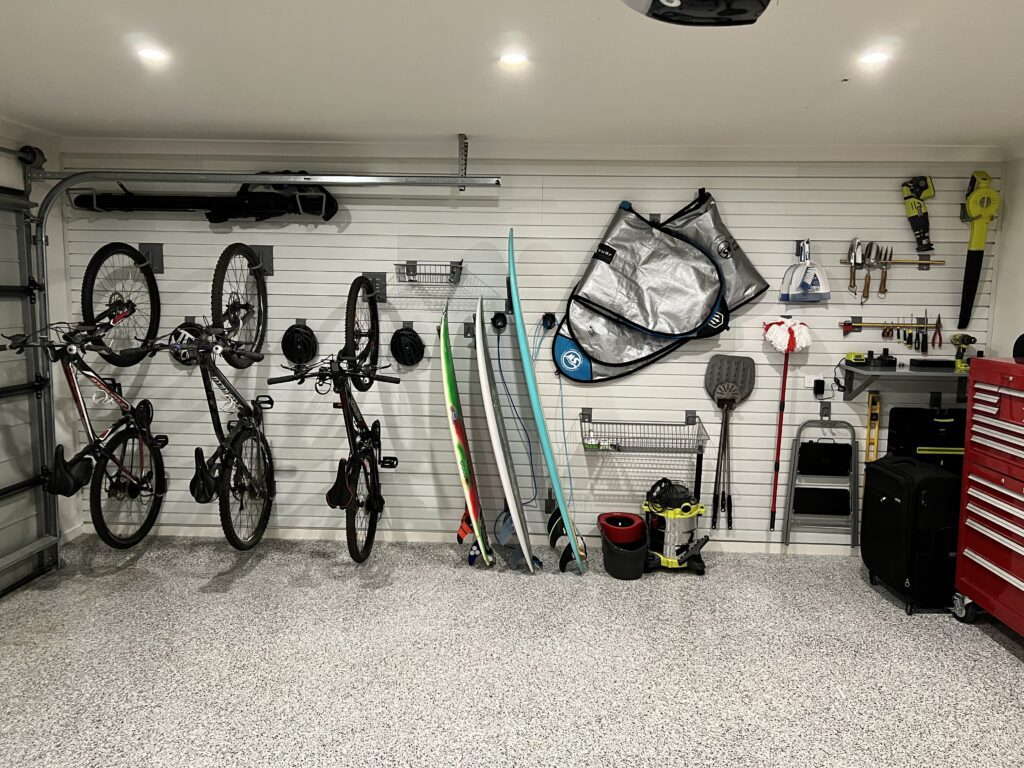
  • Utilise your walls: Wall storage solutions allow you to maximise the height and width of your walls as storage areas. Garage wall storage solutions enable the use of hooks, baskets, and shelves to safely store everything from sporting goods to power tools and even work boots.
  • Regular Decluttering: Setting aside time to sort through items and dispose of or donate those that are no longer needed can significantly reduce clutter.
  • Designating Spaces: Assigning specific areas within the garage for different types of items can help maintain organization.
  • Investing in Multipurpose Furniture: For garages used as multipurpose spaces, furniture that offers storage can be particularly useful.
  • Embracing Minimalism: Adopting a more minimalist approach to possessions can prevent the garage from becoming a catch-all storage space.

In conclusion, the cluttered state of Australian garages is a multifaceted issue influenced by lifestyle changes, architectural design, and consumer habits, among other factors. By acknowledging these causes and implementing practical solutions, you can reclaim your garage, transforming it into an organised, and functional space.

Posted on

Summer Cleaning: Transform Your Garage Into an Organised Oasis

White Garage Slatwall

As the warmer months emerge and we start to spend more time outdoors, it’s the perfect time to tackle that long-neglected space – the garage. Over the colder months, garages often become a dumping ground for all things seasonal, leaving us with a cluttered and chaotic space. This spring/summer, let’s embark on a journey to reclaim our garages and transform them into organised oases of functionality. Follow these steps to efficiently clean out and transform your garage.

transform your garage

Set a Clear Goal

Before diving headfirst into the cleaning process, set a clear goal for your garage. Determine how you want the space to function and what items are essential to keep. Whether it’s creating a workshop, a storage area, or a home gym, having a vision will guide your decisions throughout the cleaning process.

Empty Everything Out

To effectively clean and organize your garage, start by removing everything from the space. This allows you to see the extent of your possessions and provides a clean slate for reorganization. As you empty the garage, sort items into categories – keep, donate, sell, or discard. Be ruthless in your decision-making to prevent unnecessary items from finding their way back into your newly organized space.

Deep Clean

With the garage emptied, take the opportunity to give it a thorough cleaning. Sweep the floors, dust surfaces, and consider pressure washing if needed. Check for any signs of pest infestations or water damage that may have occurred during the winter months. Addressing these issues early on will contribute to a clean and healthy environment.

Evaluate Storage Solutions

Assess your storage needs based on the categories you’ve established. Invest in shelves, cabinets, and storage bins to keep items off the floor and neatly organized. Utilise vertical space to maximize storage capacity and create a designated area for each category of items. Clear storage bins are particularly useful, allowing you to see the contents without having to open each one.

Organise and Label

As you begin to reintroduce items into the garage, organise them based on frequency of use and functionality. Create zones for specific activities or types of items, such as gardening tools, sports equipment, and seasonal decorations. Labeling bins and shelves will make it easier to locate items when needed and maintain the organization over time.

Create a Maintenance Plan

To ensure your newly organised garage remains clutter-free, establish a maintenance plan. Schedule regular cleanouts and decluttering sessions to prevent items from piling up. Encourage family members to adhere to the organisation system and designate specific places for frequently used items to be returned after use.

Donate, Sell, or Dispose

Dispose of unwanted items responsibly. Donate usable items to local charities, sell items online or at a garage sale, and dispose of non-recyclable or non-donatable items properly. Recycling centers and waste management facilities often have specific guidelines for different materials.

Embarking on a spring/summer cleaning journey for your garage may seem like a daunting task, but the rewards of an organised and functional space are well worth the effort. With a clear vision, strategic planning, and a commitment to maintaining order, you can transform your garage into an oasis of efficiency and accessibility. This spring/summer, reclaim your space and enjoy the benefits of a tidy and well-organised garage.

Posted on

Garage Slatwall Options

Garage Storage Options

Garage slatwall systems are becoming more and more popular in Australia. This is because storage decisions for homes (even new ones) are often underestimated. This article is about your “garage slatwall installation” and how much of your garage wall(s) you should consider covering with slatwall.

We receive calls every week from customers who have landed on our website and like the idea of a wall-panel garage storage system. It makes good use of walls that otherwise may only hold some hooks and maybe shelves. It looks great and is mould proof and provides many options regarding the types of accessories that can used, from baskets to hooks, brackets, bins, and bags.

The question many people have, however, is how much of my wall(s) should I cover with slatwall panels?

Measuring your wall area

The first step is to determine how much wall space you have. From this measurement, you can then start to work on how much wall space you want to apply slatwall panels to. This will be determined by how much you have to store and your budget.

Measuring your walls is as easy as width x height. Just use a measuring tape on all available wall areas. Consider the two side walls and the back wall.

How much slatwall area do I need?

If you are storing adult-sized bikes, ladders, large gardening tools, and water sports equipment like surfboards and canoes/kayaks, you will require one or even two walls.

Consider that adult bikes whether stored horizontally or perpendicular to a wall are about 2m in length and 60cm in width (handlebar width). Multiply this by the number of bikes you are storing, and you might quickly fill an entire wall with bikes.

Kayaks are long and need to be stored up high and out of the way.

Do I panel a full wall or part wall?

This is a decorating/design question rather than one about storage. Some people like the fact that their entire wall looks the same, ie it has the same look/texture from top to bottom. In this case, they will panel it all from the top of the skirting board to below the cornice.

From a storage perspective, it is not necessary to slatwall your entire wall. The area 1m from the skirting board (ie your floor) and say 30cm from your ceiling can be left as is. This is because you are unlikely to hang or store items that low or high. If budget is a consideration, this is a great way to reduce total panels and therefore material and labor costs.

There are some exceptions. Whilst I write this, I can also reflect on some homes we have installed StoreWALL in, which have paneled their entire wall and used much of it. In those high areas close to the ceiling, customers have installed shelving and stored items that are irregularly used. For those lower areas close to the floor, they have hung bags and baskets.

Working out your costs

Most people starting their slatwall journey are just after a simple quote that will give them some guidance as to how much the project will cost them. Knowing your wall’s dimensions helps. This information can then be used with our Panel Estimator to calculate the potential cost. Alternatively, you can also email us @ info@storewall.com.au these dimensions and we can quote you.

Below is an example of such an email:

Hi

I am interested in your product to instal on my garage’s wall in order to organise my tools including power tools (domestic not professional):

The following are the relevant measurements:

wall number 1 the right section on the photo:height: 180 cmwidth: 117 cm
wall number 2 the left section on the photo:height: 139.5 cmwidth: 149 cm

Regards

M

This is what the customer received from us:

Garage Slatwall Installation

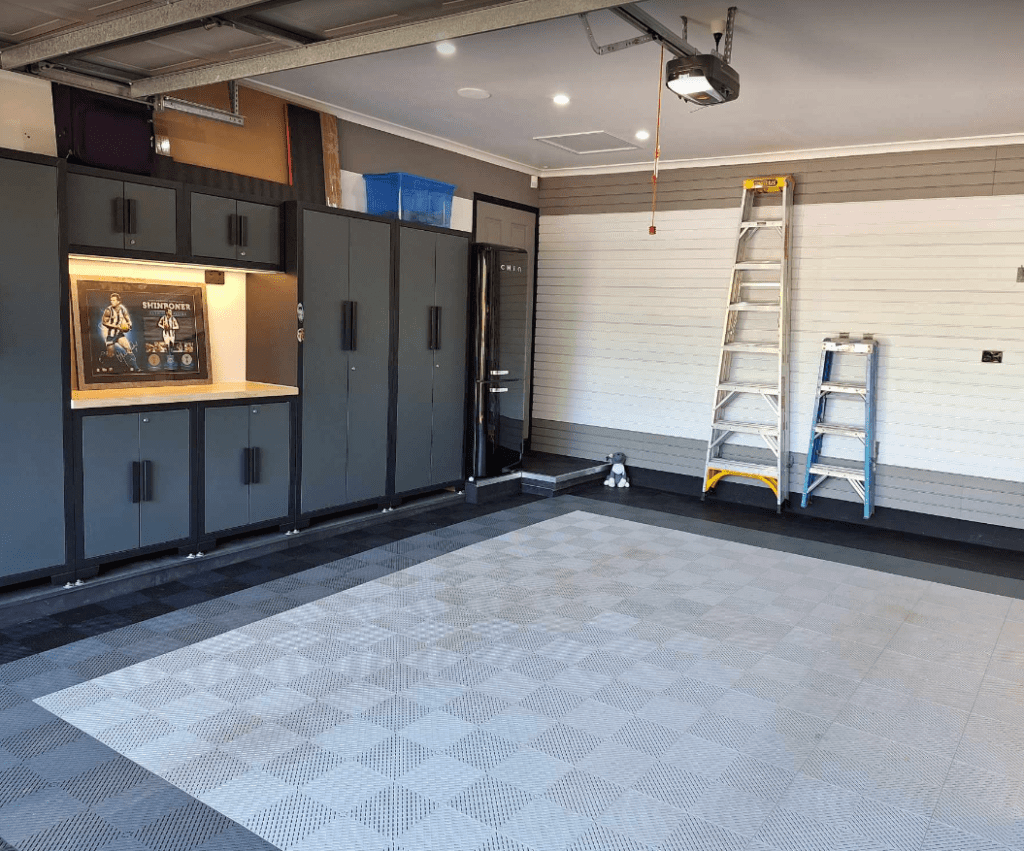
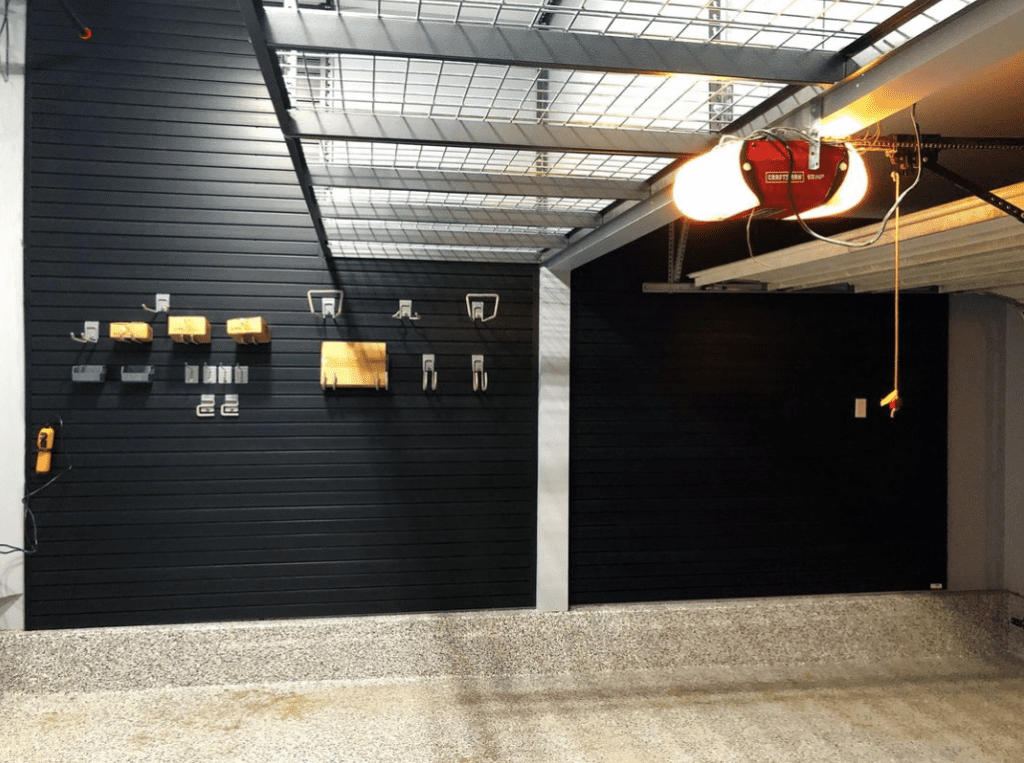
Below are examples of full and part garage slatwall installations. Some of these have been completed by us here in Melbourne and some by customers in other states. Both approaches work and have given customers with enough wall space to manage their storage needs.

In summary, your garage slatwall installation is down to your personal design preferences and your budget. We can help guide you with both of these so that you make the best choice for your storage needs.

Posted on

The Organised Garage

slatwall messy garage

2020 is a year many of us will never forget. COVID-19 has locked a lot of us in our homes with plenty of time on our hands to look around and want to mend. The organised garage is something that has been talked about in many households when I consider the amount of enquiries we have received since the lockdown began.

We have covered how to organise your garage in several previous articles on our website, but I thought a top 10 (or 11) list of how to start and what to do would be useful.

The Organised Garage

the organised garage

Whilst there are plenty of extreme garage photos out there, your typical garage will have some order about it. However, what then tends to happen is larger items start to take up space, the shelves you purchased fill up or don’t fit larger items (anymore) and things start to accumulate on the floor. Before you know it, you start to use the floor more and more until it’s impossible to move around and find anything quickly or safely.

Step 1 – Empty it out

The best way to start re-organising your garage is to clean it all out. Everything off the walls, the floor and the ceiling needs to come out. Start in the morning so you have the day ahead of you and begin the clean-out.

Step 2 – Group it

When its all out on the garden lawn or driveway, start to group it. One of the keys to attaining the organised garage is the organising bit.

When I look at what is inside my garage I have the following categories:

  • Tools
  • Sports Gear
  • Bikes
  • Food (cans/packets and excess food I store)
  • Xmas tree and decorations
  • Beach gear (boogie boards)
  • Party gear (decorations, plastic cups and plates)
  • Old kids furniture
  • Bins of books
  • Old clothes
  • Keep sake items

Step 3 – Sweep it out

Give your garage a good clean out. This includes sweeping and even hosing it down. Get all of the dust and dirt that has accumulated in the corners out. You will need to remove all the furniture to do this.

You should also look at the walls and ceiling and wipe it all down. Either by hand or with a broom. Get all of the cob webs down.

Step 4 – Keep, Dump, Not Sure

Once your sorting is done, you need to go through everything and decide to either keep it because you will use it or it has some sentimental value. Dump it because you will never use it and you know someone else will get better value from it. Or, put it into the “Not sure” list to be decided upon over the coming days.

What you decide to get rid of could go to a Salvation Army store for them to sell (and make a few dollars from). It could also be sold on Ebay or Gumtree if you have the patience. Alternatively, you could give it away to a friend/family. Finally, when hard rubbish comes around you could throw it out then.

The items that you are not sure about, should be put to the side to be looked at over the coming weeks and decided upon. Don’t add them to the Keep list unless you are certain that is where they belong.

Step 5 – Floor Plan

The floor plan is really important because it offers a way to design your layout and use of the space you have. Consider the furniture you have, its size and potential use.

Think about how you use your garage. Is it just for storage or do you do work in there. As an example, I exercise in my garage, so a certain area needs to be dedicated to my training equipment.

What about your car? Do you need to park your car in the garage? If you have bikes, think about where they can be parked or hung.

If you use the space as a workshop, consider what you will use as your bench or table.

You don’t need special software for this, a few pieces of paper will do it. However spend time thinking about the space, the objects and how you want to use it all. Think about your doorways and how you access the garage (main garage door, side door, back door).

Consider the location of the items you will keep but only use a year and those that you want to access regularly. If you have little ones accessing bikes or sporting gear, think about how they can safely move in and out of the garage.

Step 5 – Group it (part 2)

The second part of grouping relates to organising your items in tune with the garage floor plan you have designed. If you read through the many blogs on organising and watch the videos, there are tons of tips on the best approach.

With any space you are working on within your home you need to prioritise based on what you want to use the space for. If part of the space is for working, then making enough room to work is key, so is using the right furniture like a desk or bench.

Bikes, if you are regularly in and out of the garage to get a bike(s), then having these placed in an easy access area even when the car is in the garage is important. You don’t want to have to move the car to get the bikes each time.

Tools, if you are using tools or a regular basis then having your tools visible and accessible is key. This can include your smaller hand tools and all types of power tools.

power tool storage

Items which are regularly used should be easy to access. For you and the rest of your family members. Items which are used once a year (xmas tree) should be out of the way. These items can be stored high and in a harder place to access.

Remember that this step is not a once-off. Organising and re-organising happens all of the time within the house. It should be the same in the garage. The organised garage is not born overnight.

Step 6 – Using Walls

Whether your garage space is small or large using your wall space is important. Most people confuse shelving with maximising use of walls space. Sticking a few shelves on the wall is a start, it’s not the end.

Having open spare wall space in a garage is wasted space. Solutions like StoreWALL give you the ability to use your wall and change its use as needs change. Unlike a shelf which is large and can’t be easily moved around, Garage Wall Storage can change a wall from shelving to holding power tools in a matter of minutes. Accessories are unlocked and moved around as needed.

the organised garage

Use wall storage around shelving, cupboards and other furniture.

Step 7 – Use the height of your room

Use the height of your space to store larger items that you seldom use. It gets them out of the way and the lower easy to access areas are used for more frequent use items. Wall storage allows you to create shelving across the top of your wall.

However there are other garage storage options which create shelving across the ceiling of your garage.

Step 8 – Re-use old furniture

If you have furniture that can be re-used for storage, it makes sense to give it a second life. Why buy another piece of furniture if you can change its look with some paint and move it into the garage. This isn’t always practical but it can work. An old desk in the study can become a useful workbench in the garage.

Step 9 – Labelled Bins & Tubs

We all have them, coloured or clear plastic tubs with lots of stuff in them. They should be organised and clearly labelled. Some clear information on the outside of the tub will save a lot of time sifting through them all looking for that old book.

Ensure your tubs have lids and they are shut tight so that contents don’t collect dust.

Step 10 – By the Door

Keep your frequently used items by the garage door. This is the main garage door you use.

In my garage, the frequently used items are my tools, food and my gym equipment. They are all by the back door to the garage.

Step 11 – It’s not a once off

Just like any other room in your garage, it may take you a few goes to get it right. Over this time you will likely throw more stuff out and learn more about how you want to use the space you have.

Your version of “the organised garage” doesn’t need to look like what is in some of pretty staged pictures of garages. It needs to work for you, your stuff and the room you have.

If in 6 mths your needs or items may change, so should your garage.

Posted on

I need a Garage Organiser

garage organisers

I was speaking to a group of friends recently who both recently completed a major home renovation. One had just completed building a brand new home and had just moved in. The other had completed an extension to their home and had been living in the house for over a year. The common discussion point for both of them was the state of their garage and needing a garage organiser.

It is not uncommon that the garage is the last space in the home to receive any attention. It will usually take place 12 or more months after the owners have resettled. I happened to be at the home of one of the couples talking about the need for a garage organiser. We inspected their garage to take a look at what they had accumulated during and since the renovation. As expected everything was on the ground. It was a two car garage, one side had the stuff, the other the car.

I talked them through their garage organiser options and explained that there are several options depending on what type of help their thought they needed and how much they wanted to spend on the garage.

garage wall storewall garage organiser

Organising Expects

Search the net and you will quickly find the multitude of organising expects offering their design services. Most of them focus on design alone and then recommendations on how to un-clutter the area, prioritise what to keep and what to let go. From here there are recommendations on what type of storage the owners can invest in. Be it Shelving, Storage Containers, Wall Hooks, Cupboards, or Overhead Storage. The key service offered is the consultancy around advice and design.

Garage Organisers

In a similar vain, garage organisers also offer the consultancy piece but they have a focus on implementation of select storage options. By this I mean they will usually sell a range of storage equipment which is either their own or that of one or more other suppliers.

This type of garage organiser will review the space that is available and much like a kitchen designer will deliver a design and the cost to build and install.

In terms of price, the Organisers Organising Experts would tend to be more flexible with what services they can offer and therefore can cater for a lower budget easier. It’s not that the Garage Organiser is more expensive, its more that they usually offer the full deal of design, build and install.

garage organiser

Garage Solutions

The final category are services like StoreWALL, StorEase from Bunnings and many others. These services offer a more Do It Yourself option. The solutions range from full garage solutions, to basic shelving options, to wall storage solutions like that from StoreWALL. Home owners can pick and choose combining solutions to fit their space and budget. Much of the responsibility around design and even installation mainly sits with the home owner. Note that several of these solutions (including StoreWALL can also organise installation for the home owner).

Whilst it’s unfortunate that the garage is so often left as the final room of the house to be renovated, it’s important to view the garage like the kitchen. It might not warrant the same budget but it does require some design and investment. If you need a garage organiser, hopefully this article will guide you as to where you need to invest your time seeking advise on possible solutions.