A Must-Have for Merchandising Success
When it comes to designing a retail store, creating a visually appealing and functional display system is key to attracting customers and boosting sales. Enter Slatwall, a versatile and durable display solution that has become a staple in retail environments across industries. Here’s why Slatwall panels are an essential addition to your store and how to use it effectively.
Why Choose Slatwall Panels for Retail?
- Versatility for Every Product
Slatwall panels can accommodate various accessories, such as hooks, brackets, bins, and shelves. This adaptability allows you to display anything from clothing and accessories to electronics, tools, and groceries. - Maximized Space Efficiency
With vertical panels, Slatwall optimizes wall space, keeping your floor uncluttered and your store organized. - Customizable and Reusable
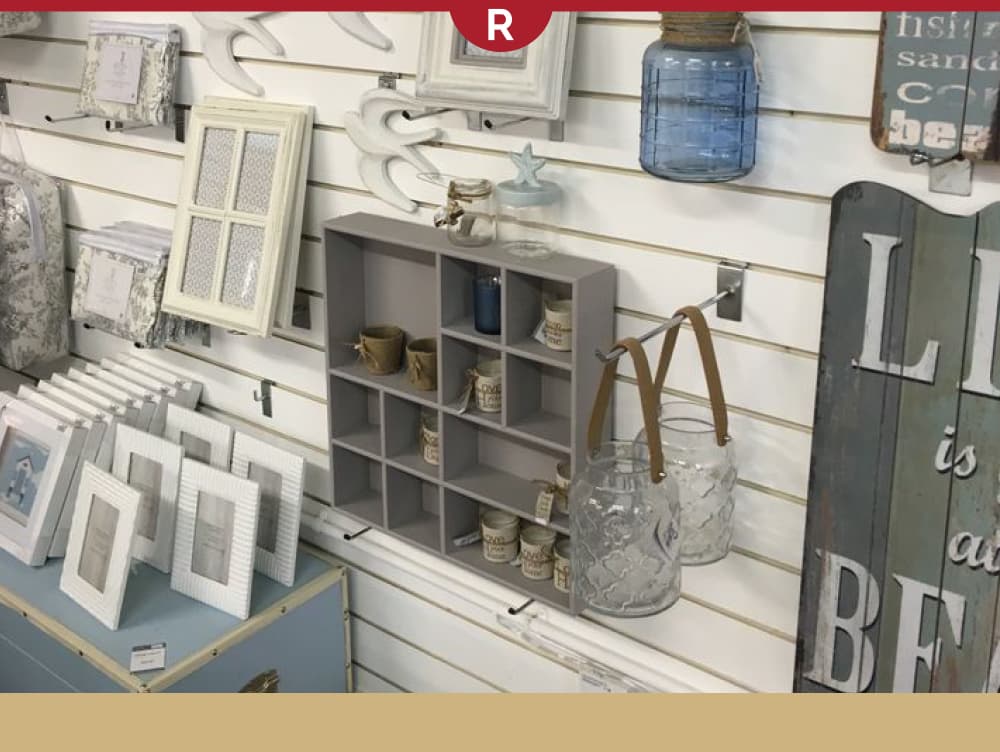
You can rearrange displays with ease to match seasonal trends, new inventory, or promotional campaigns without needing new fixtures. - Aesthetic Appeal
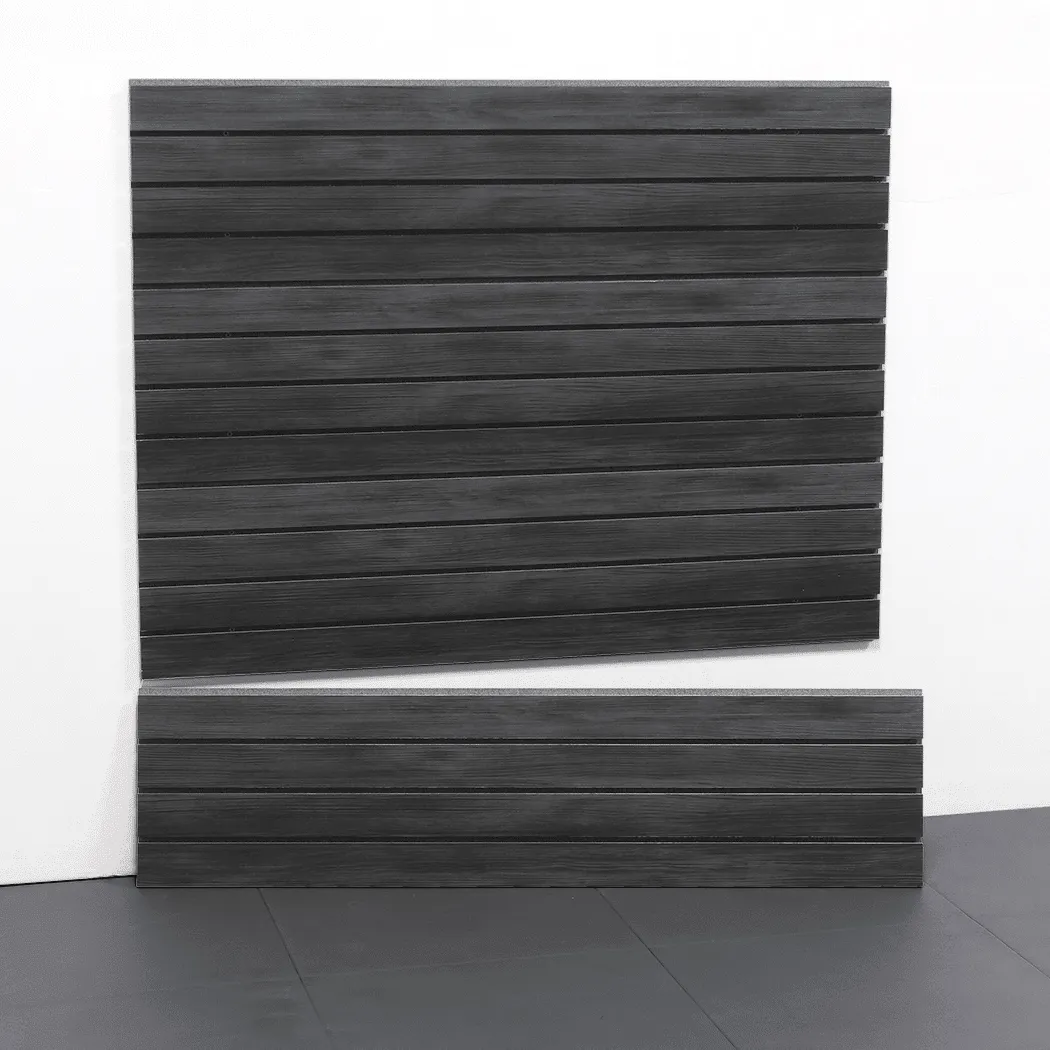
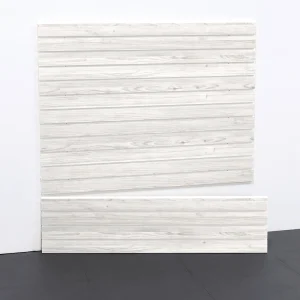
Available in a range of finishes, Slatwall can complement your brand’s style and elevate the overall look of your store. - Durability
Designed to handle heavy-duty use, Slatwall panels can support both light and heavier merchandise with the right installation and accessories.
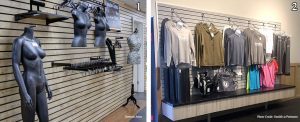
- Clothing and Apparel Stores
Use hooks to hang garments or shelves to display folded clothing. Add bins for accessories like hats or scarves to create a visually dynamic layout. - Electronics and Tech Shops
Showcase items like headphones, phone cases, or gadgets using custom brackets and holders. - Home Improvement and Hardware Stores
Display tools, power equipment, or paint supplies securely with heavy-duty hooks and sturdy brackets. - Grocery and Convenience Stores
Organize snacks, supplements, and small packaged goods on Slatwall shelves or in bins for easy accessibility. - Point-of-Sale Displays
Install Slatwall panels near checkout areas to highlight impulse-buy items, boosting sales of smaller, high-margin products.
Tips for Using Slatwall Panels Effectively
- Create Zones: Divide your panels into sections to group related items, making it easier for customers to browse.
- Change Displays Regularly: Rotate products and layouts to keep your store looking fresh and engaging.
- Incorporate Branding: Use custom finishes or branded signage to integrate Slatwall with your store’s design.
- Invest in Quality Accessories: Use durable hooks and brackets that align with your product’s weight and dimensions.
Slatwall: A Long-Term Investment
Whether you’re opening a new store or revamping your layout, Slatwall offers the flexibility, durability, and aesthetic appeal that retail environments demand. By leveraging its features, you can create a dynamic and customer-friendly shopping experience that drives sales and enhances your store’s efficiency.

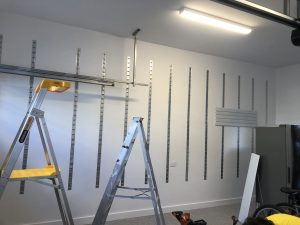 Increased Shear & Pull-Out Strength
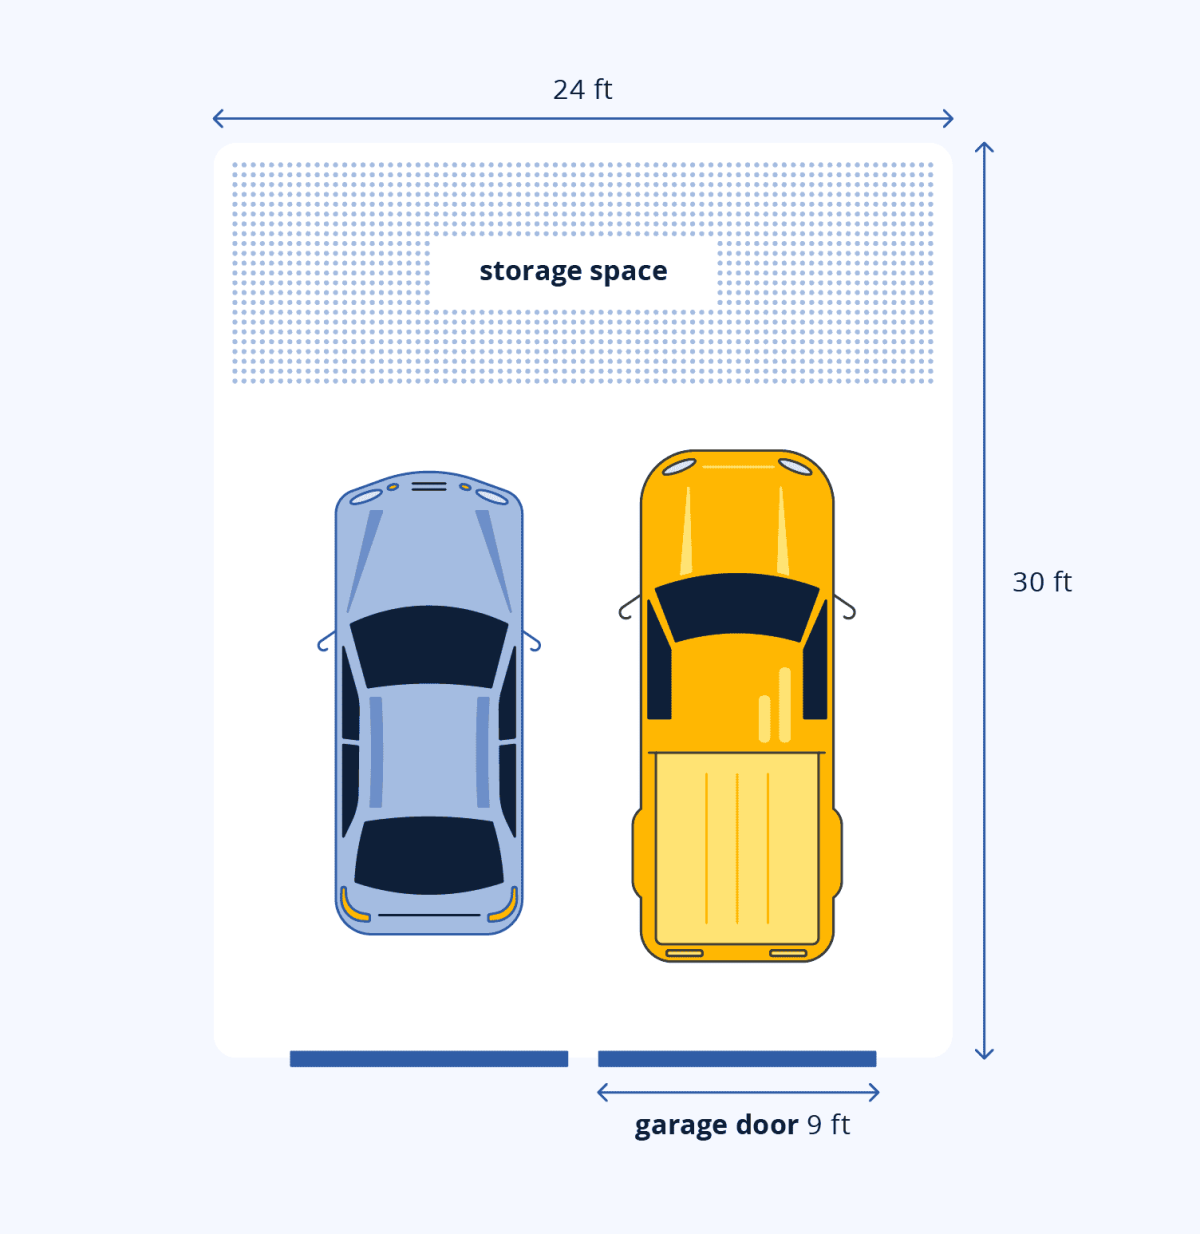
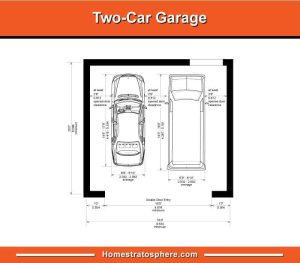
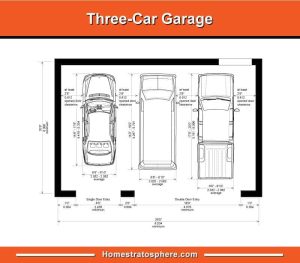 Vehicle Size
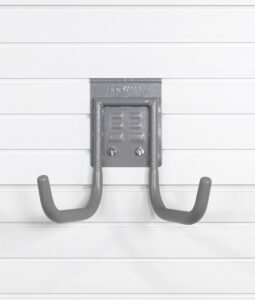 2. Ultra Duty Utility Hook
 3. Ultra Duty 635mm Surf & Paddle Board Bracket
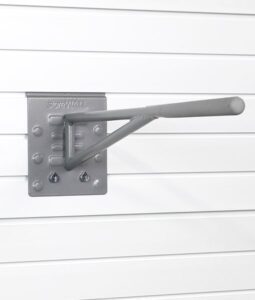 4. Ultra Duty 381mm Surf & Paddle Board Bracket
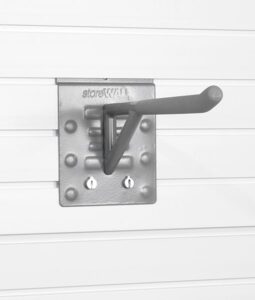 What Makes the Ultra Duty Garage Hook Range Unique?
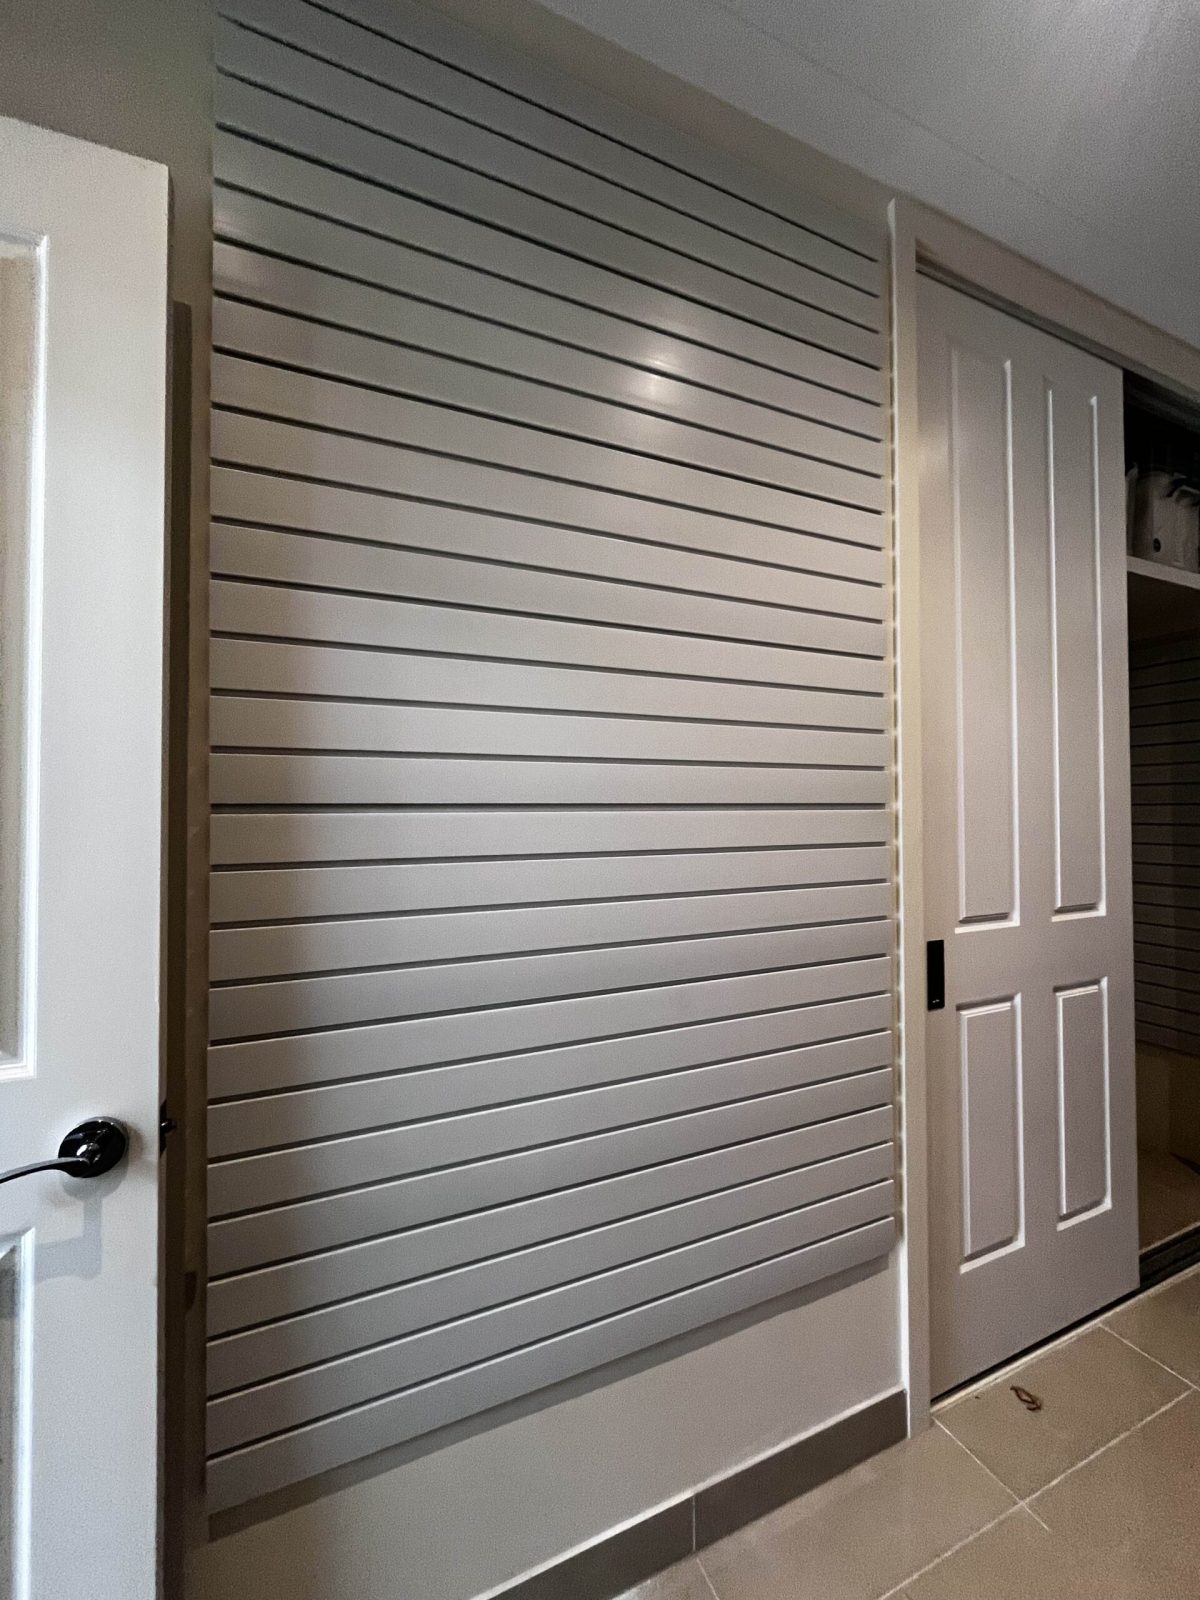
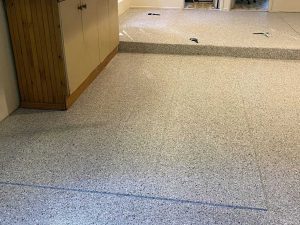
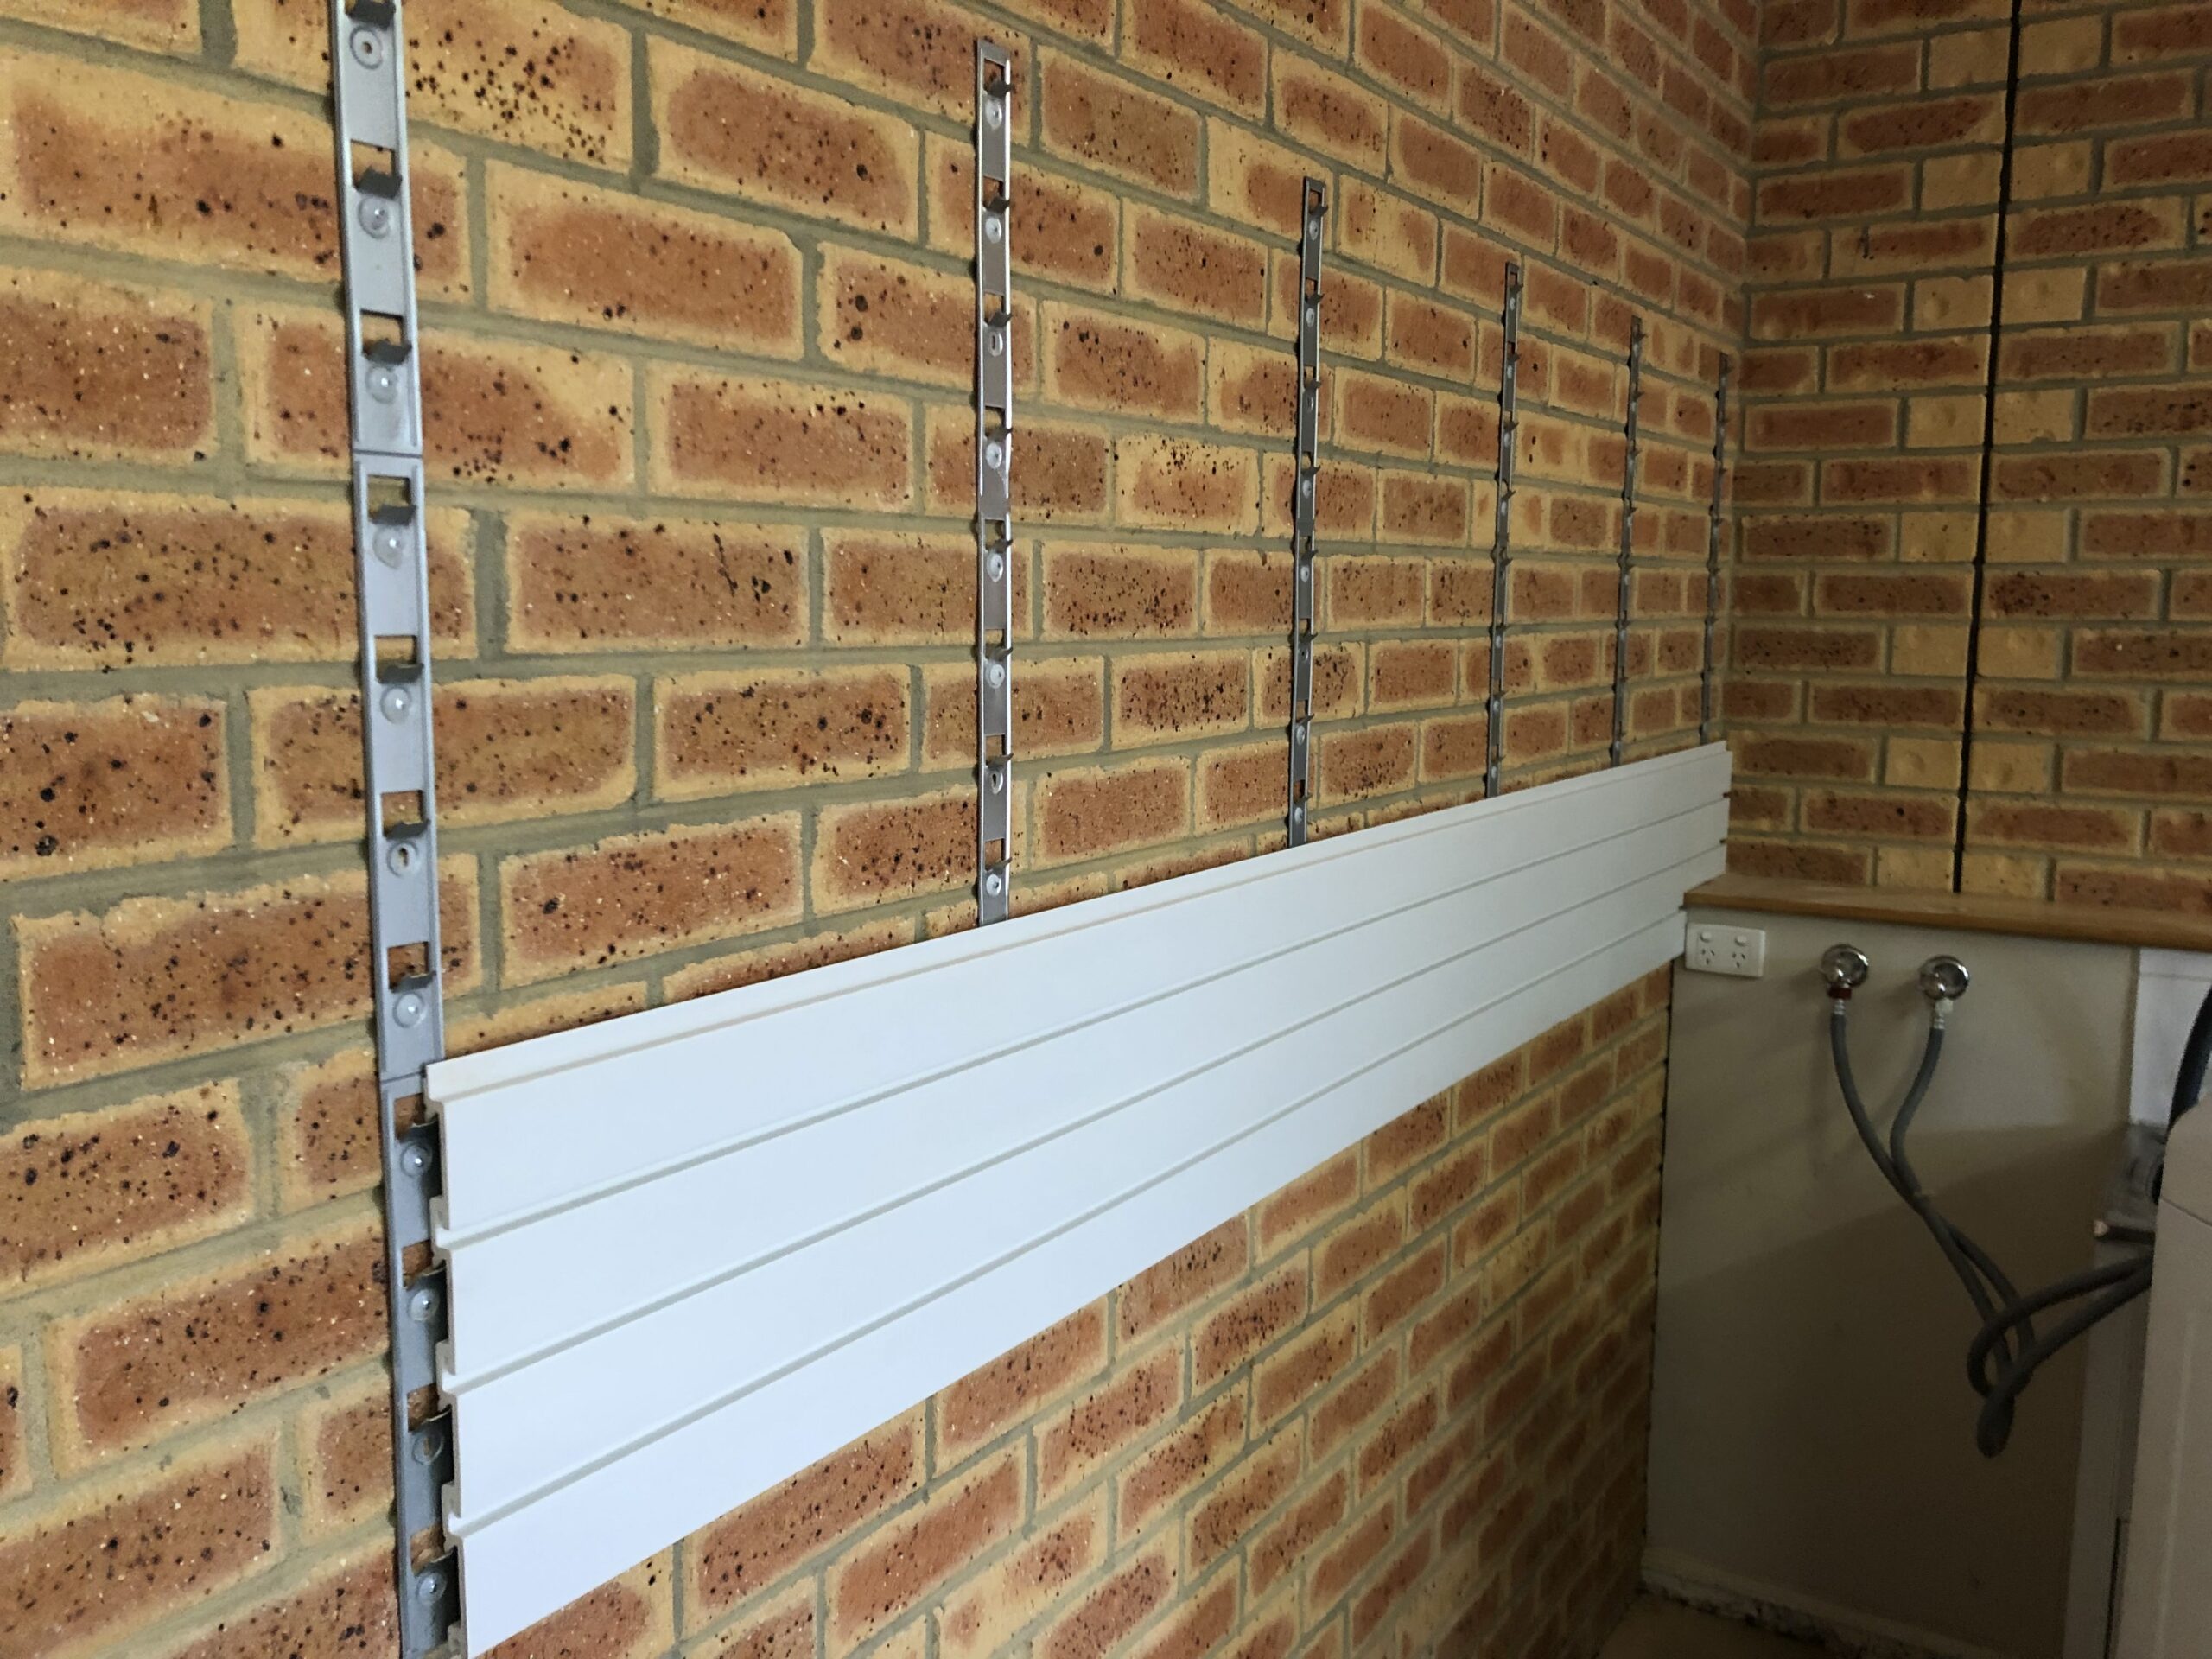
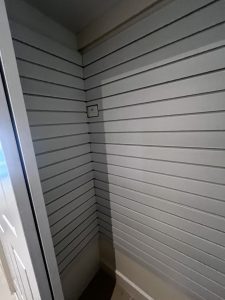 How to Use Slatwall in Your Laundry Room