Maximize Your MDF Slatwall with StoreWALL’s High-Quality Accessories
Explore the Best Slatwall Accessories for Your Home Garage
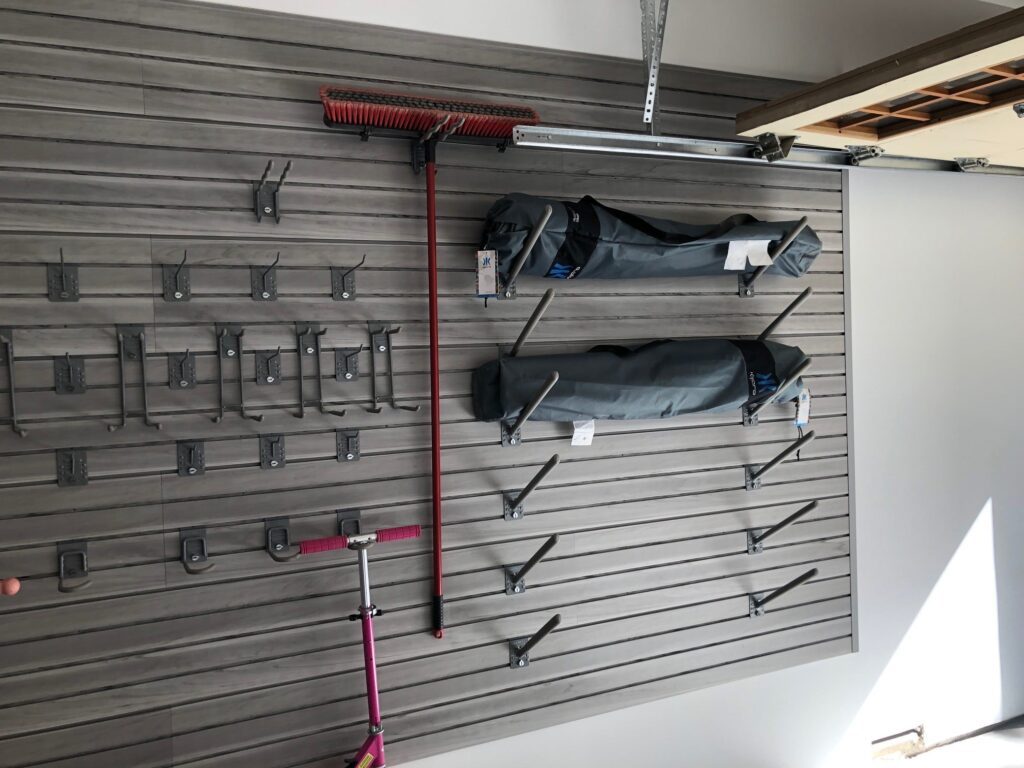
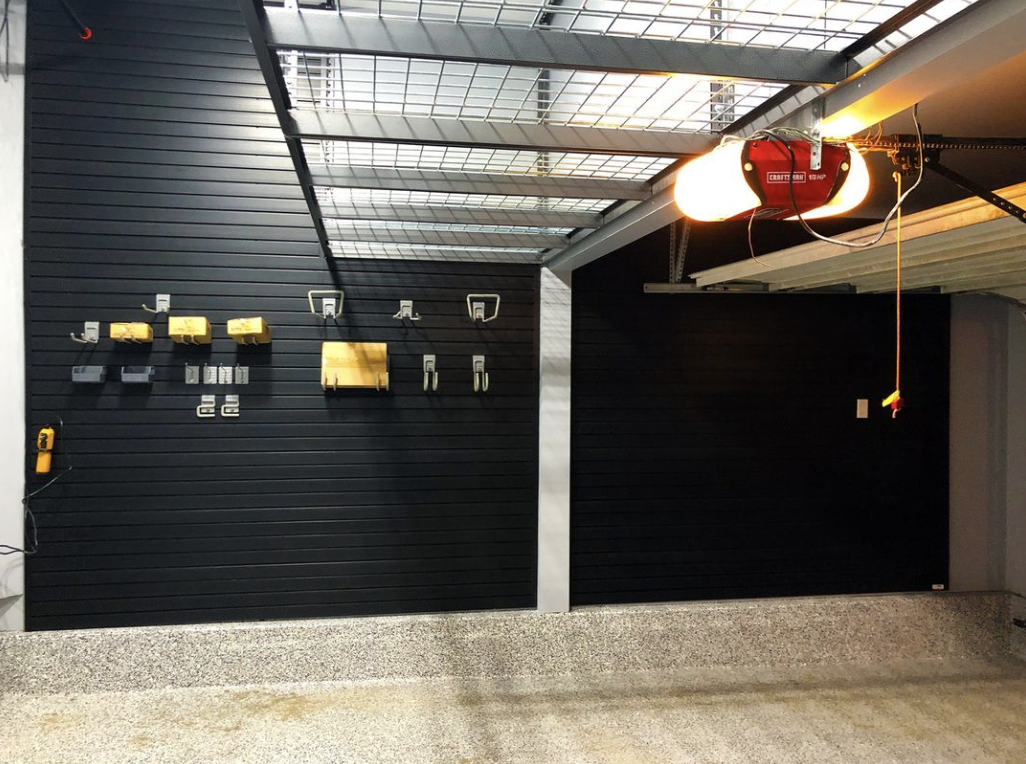
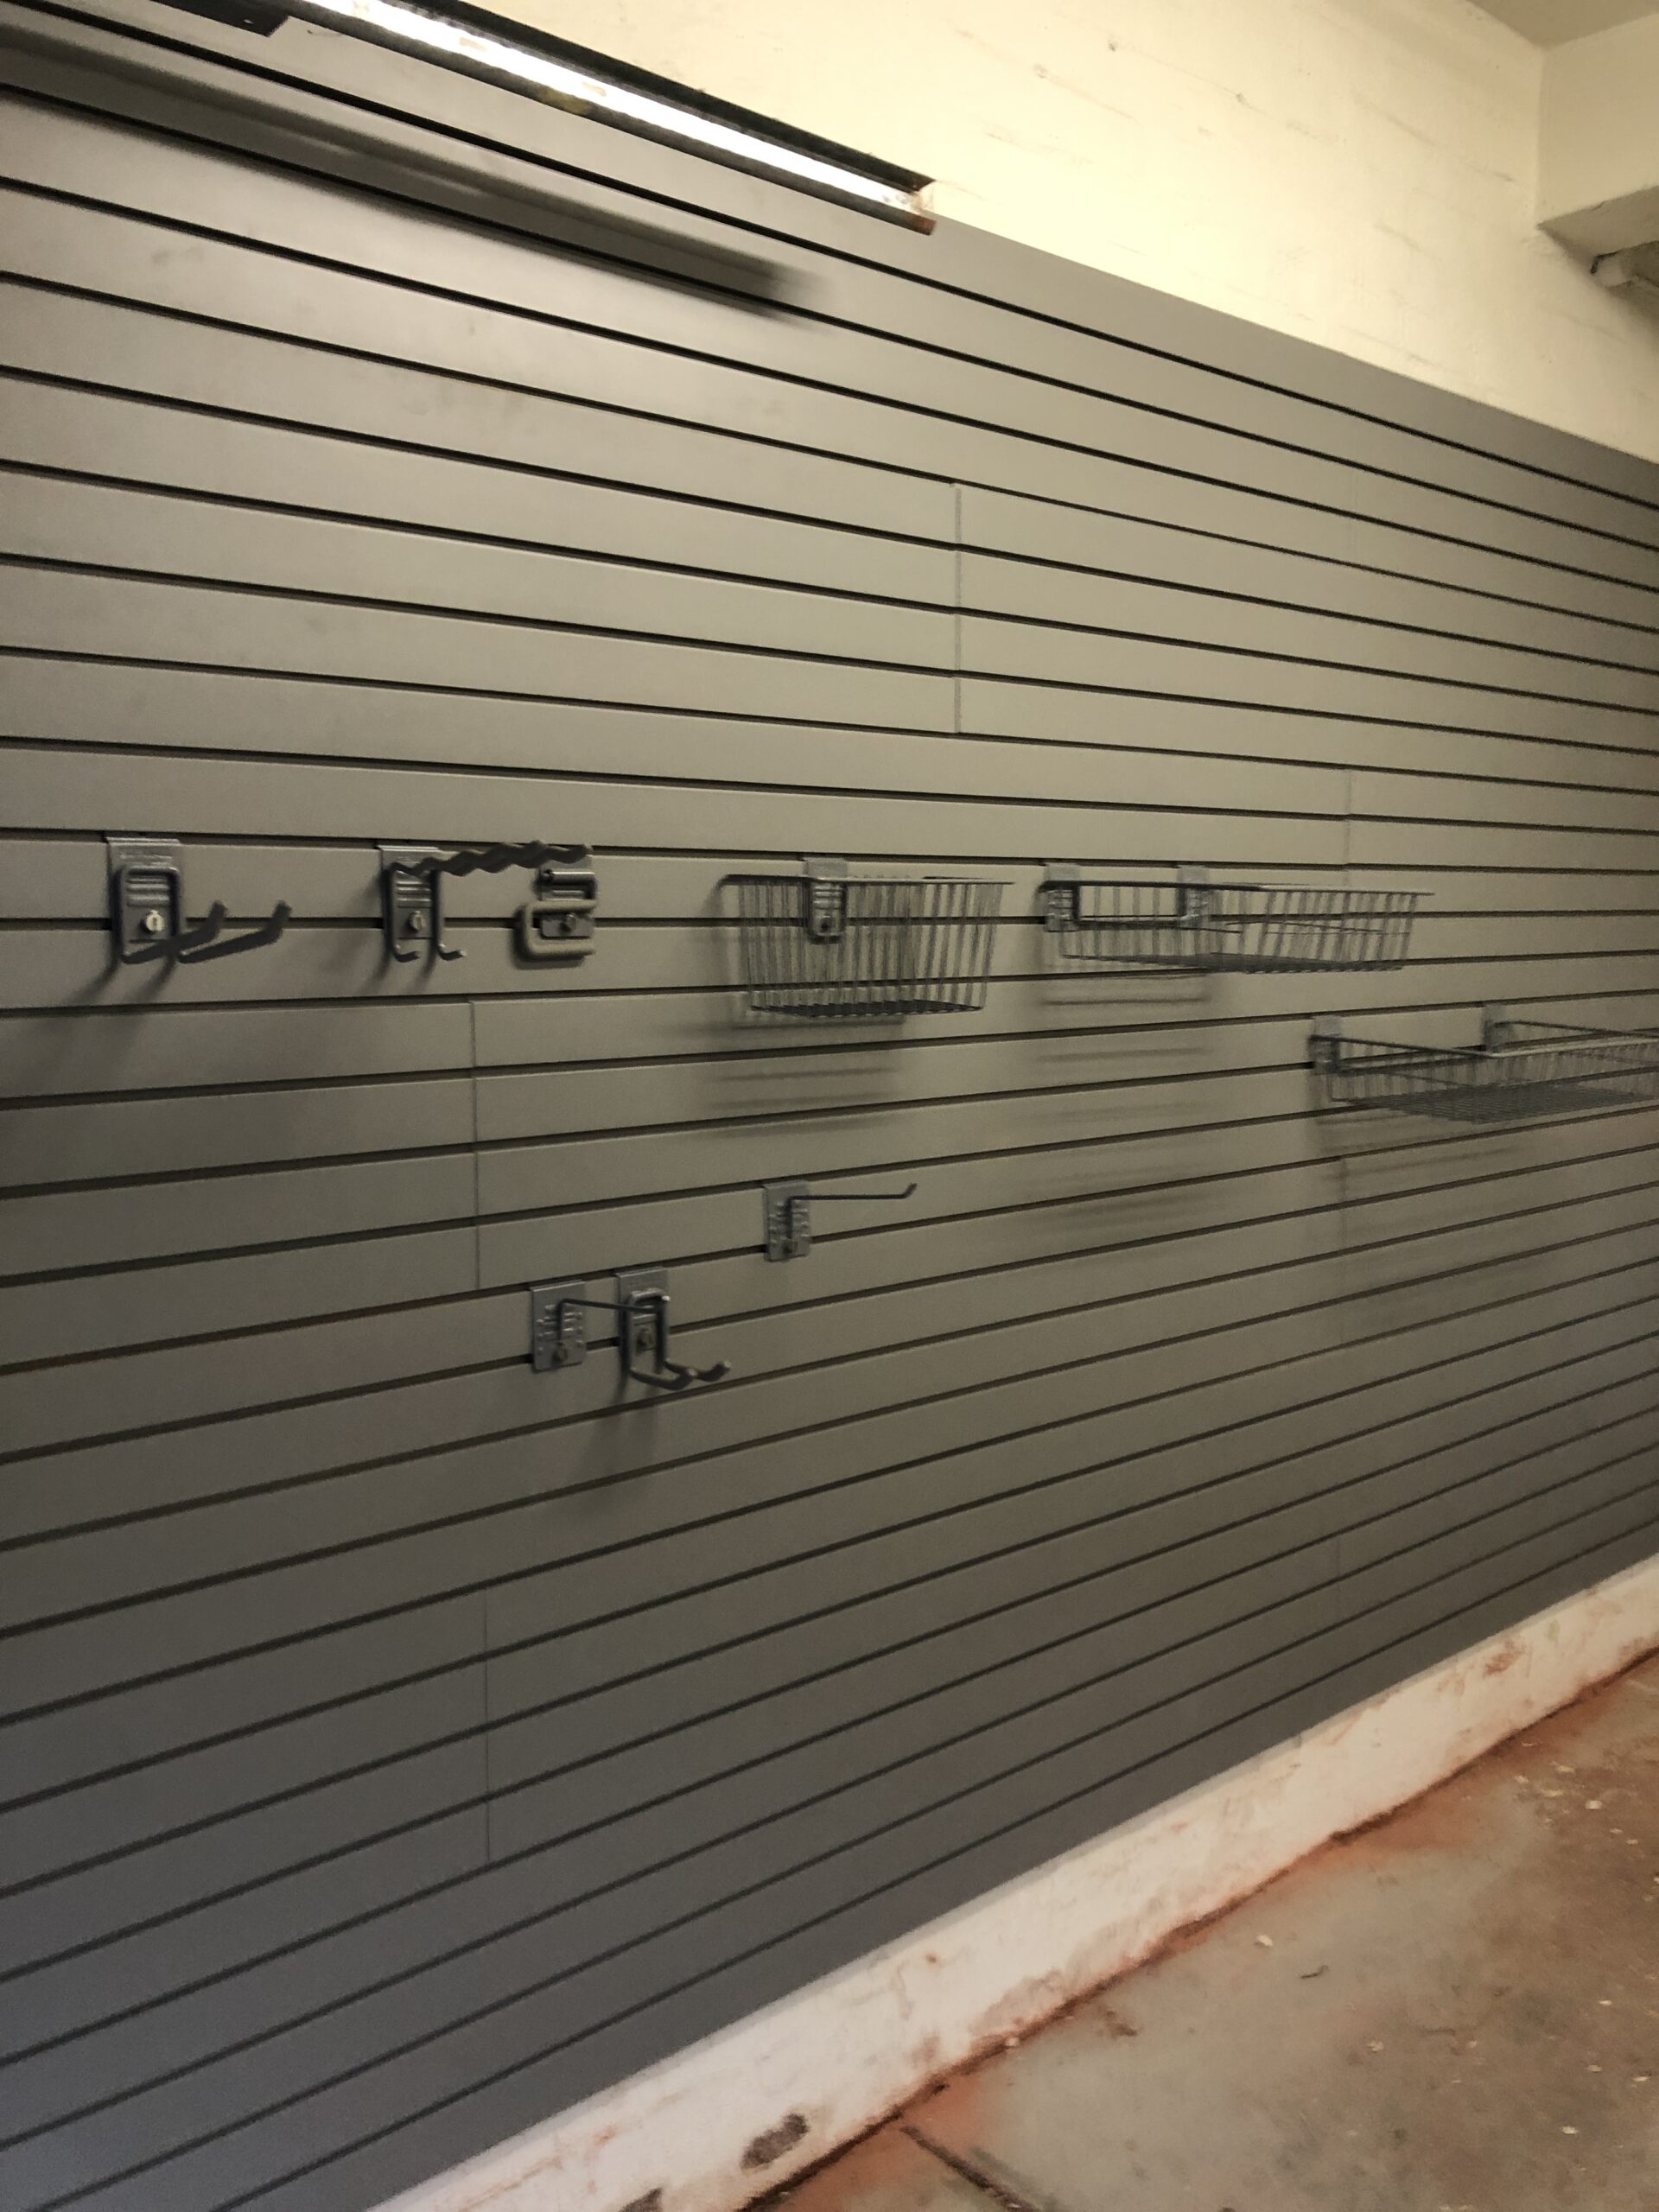
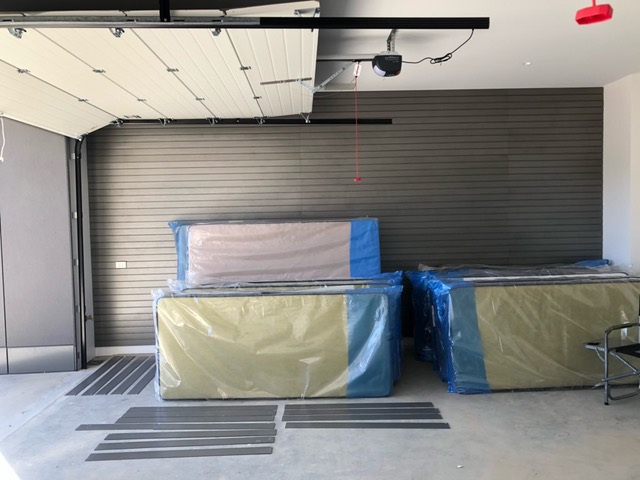
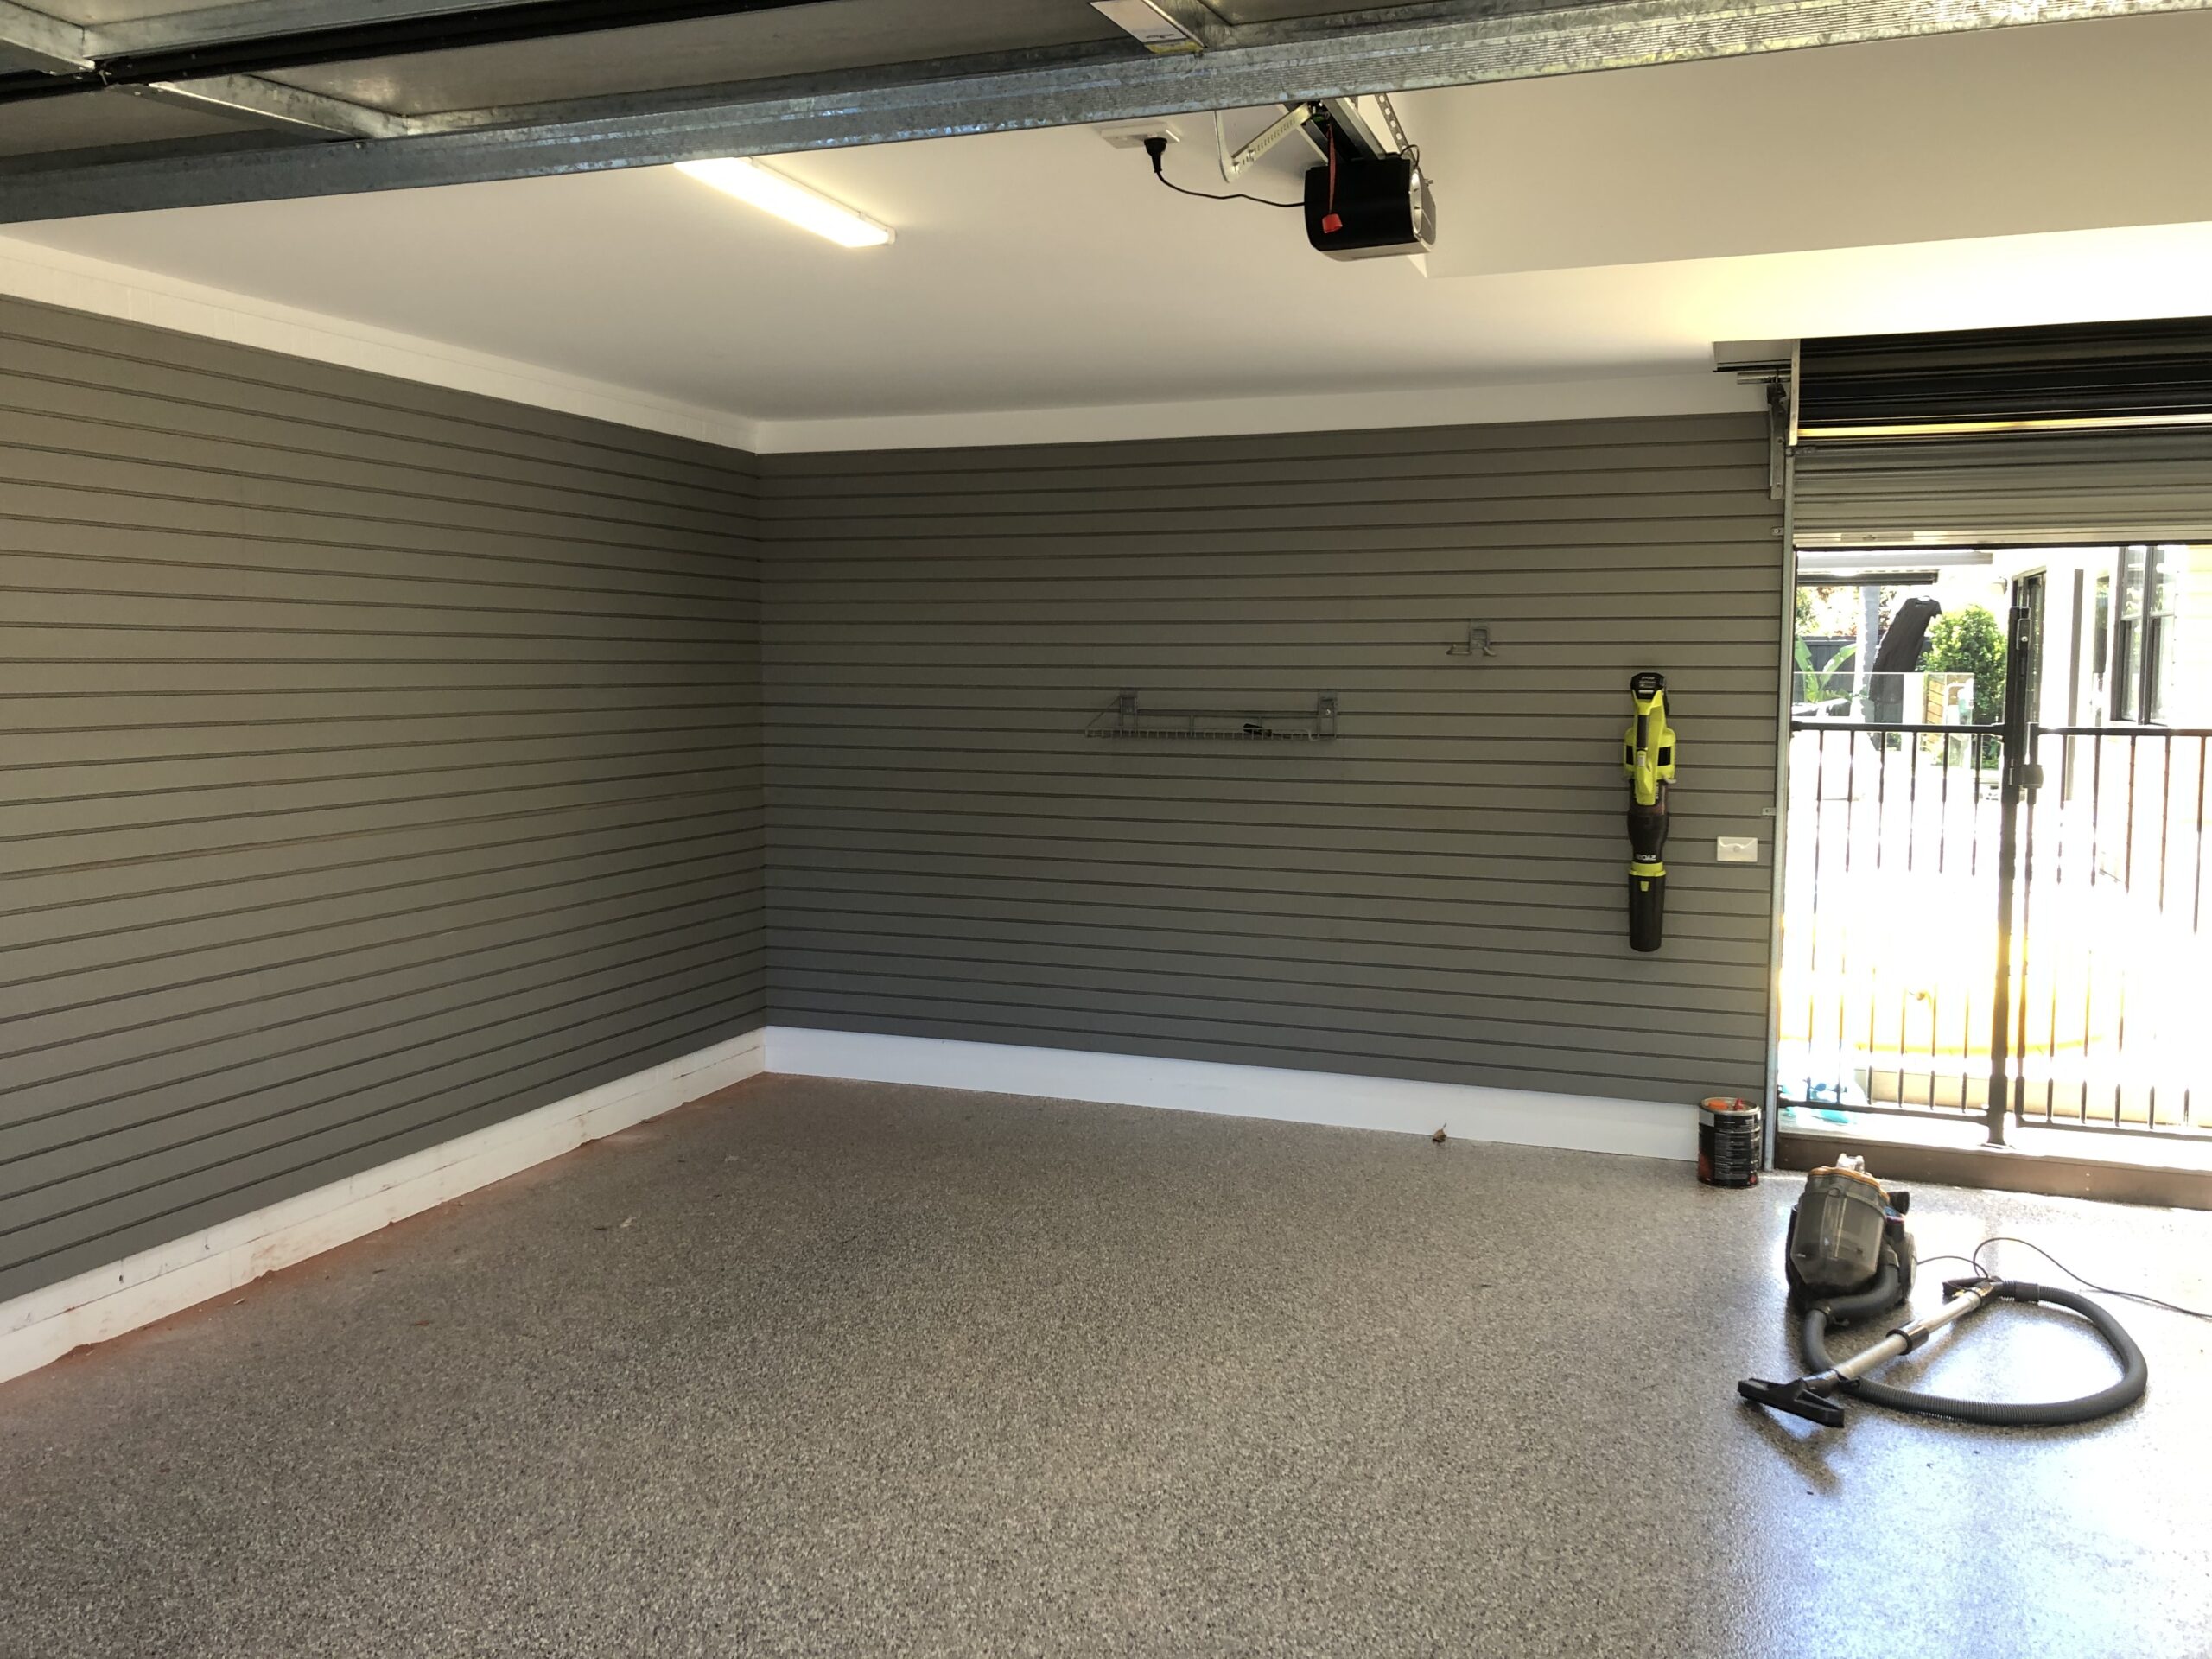
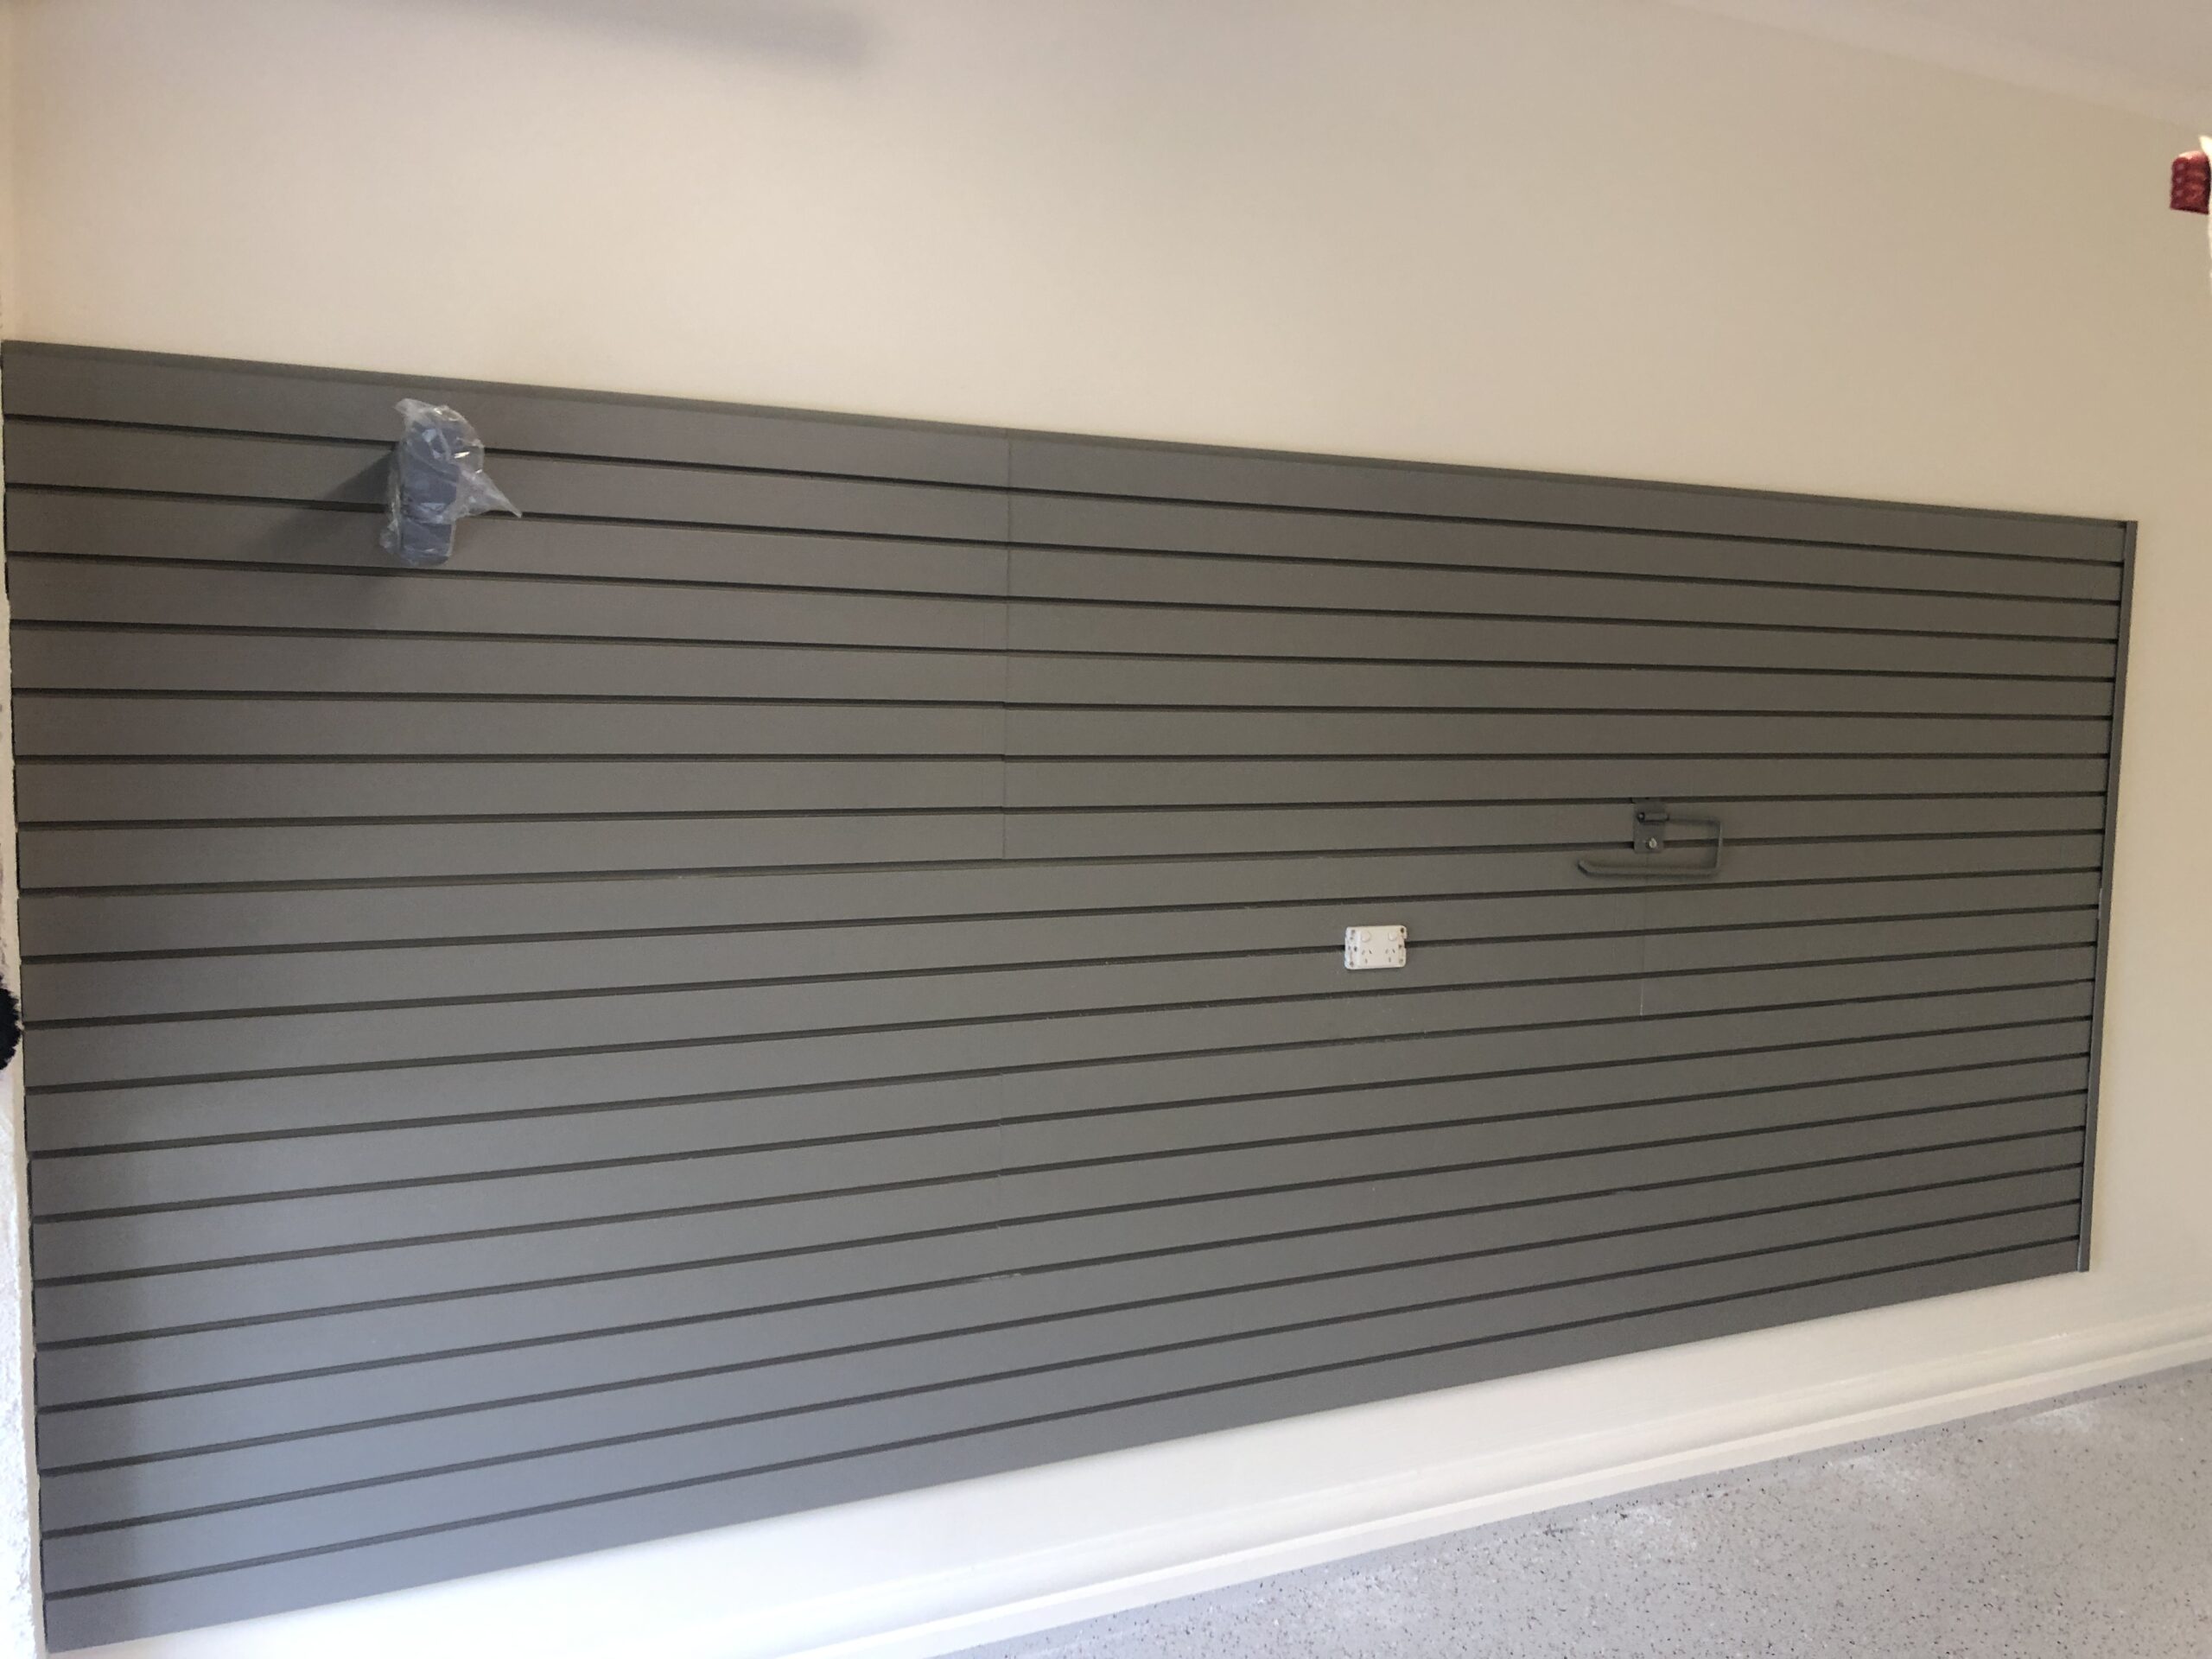
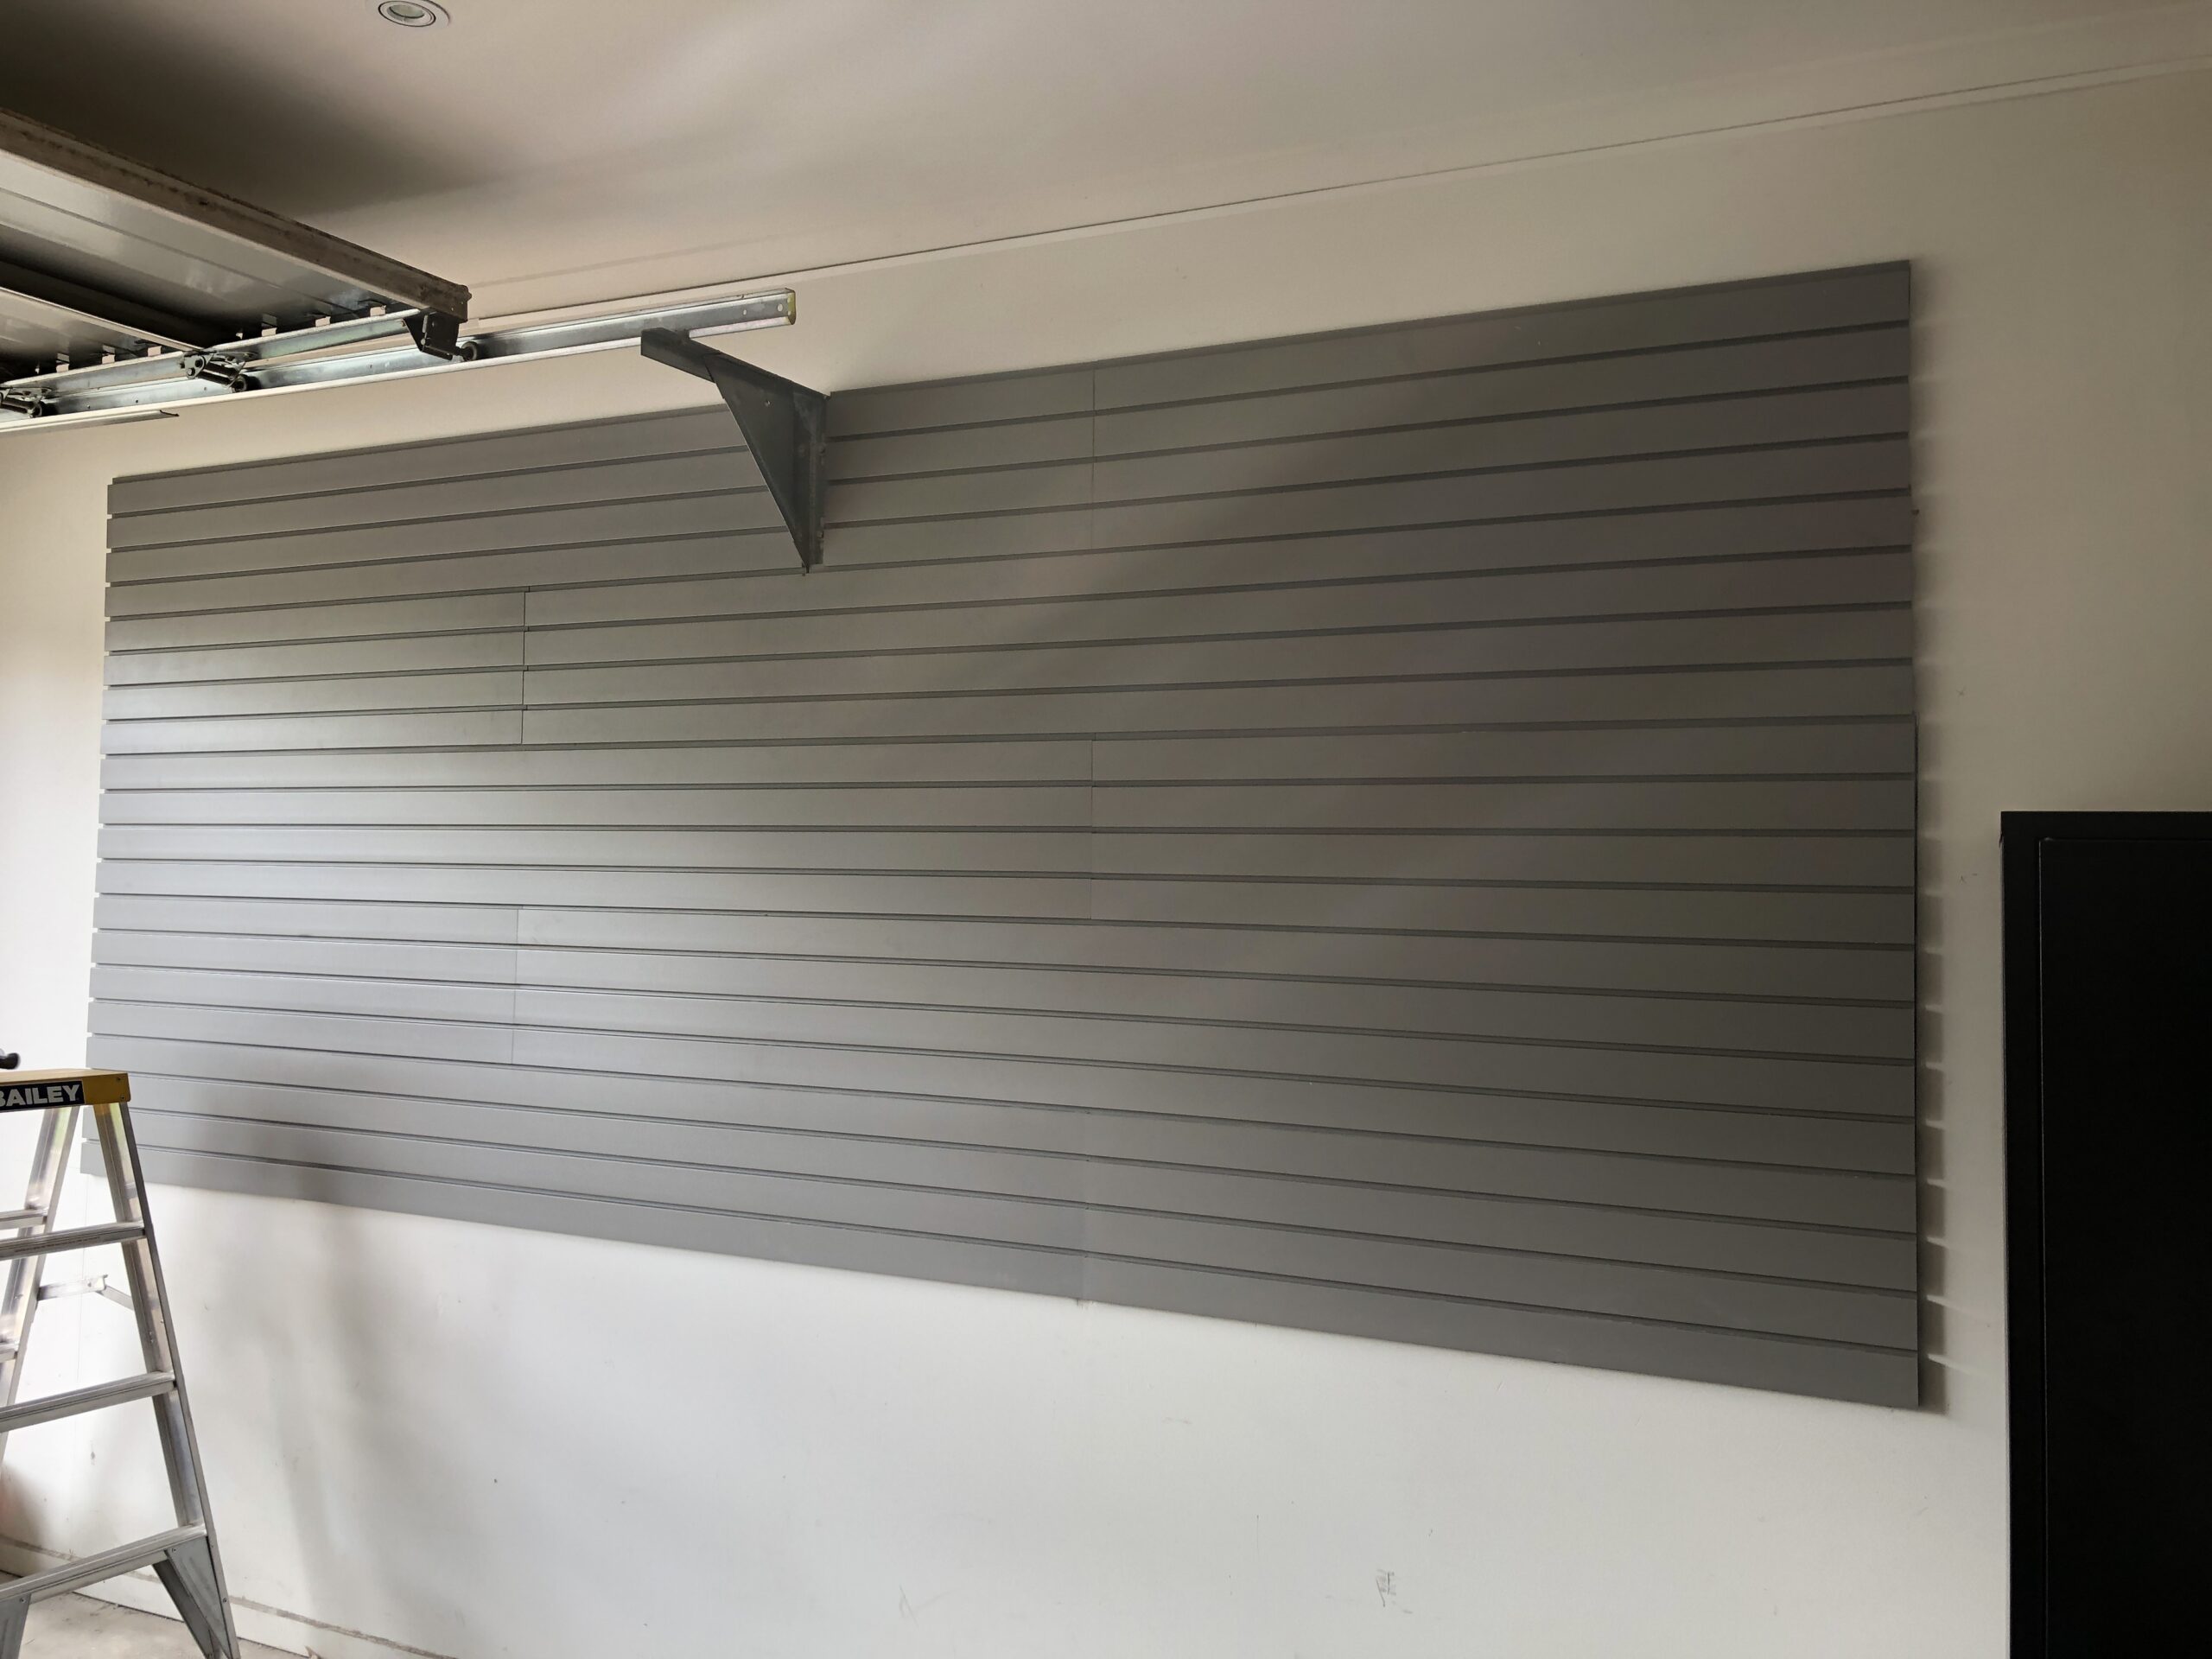
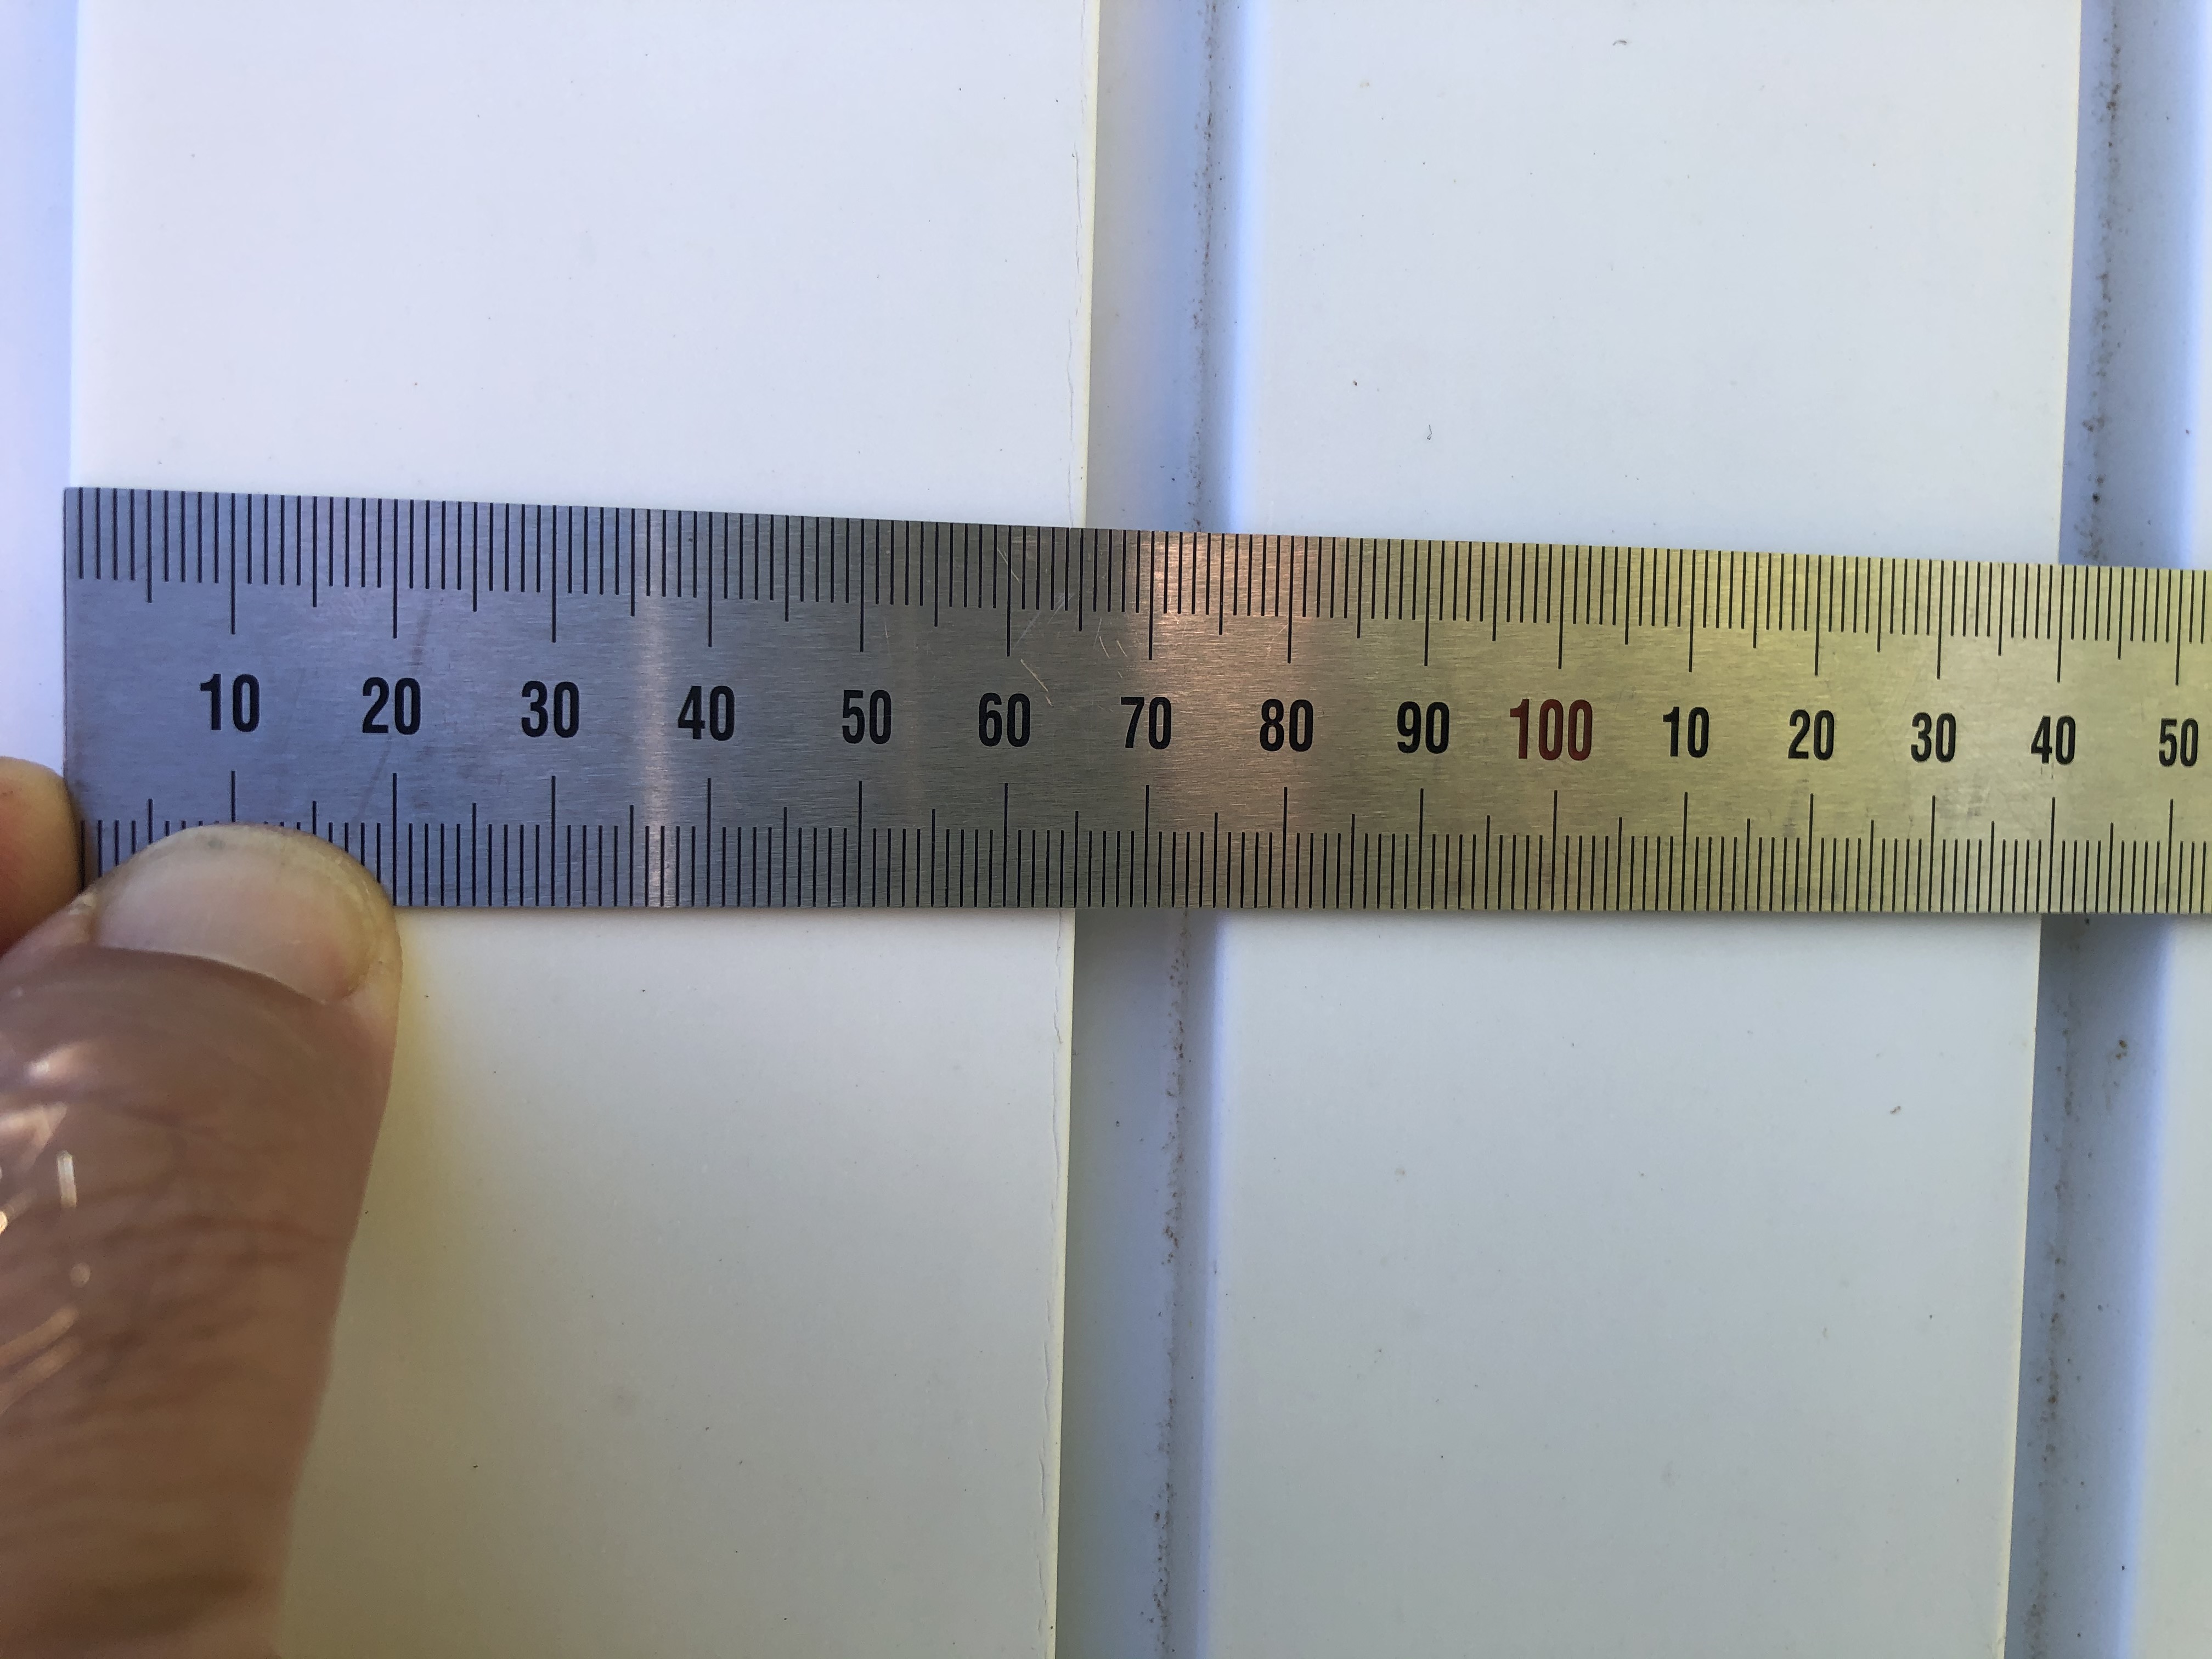
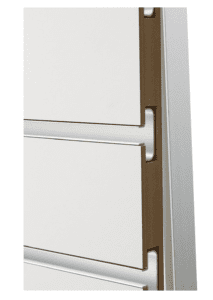
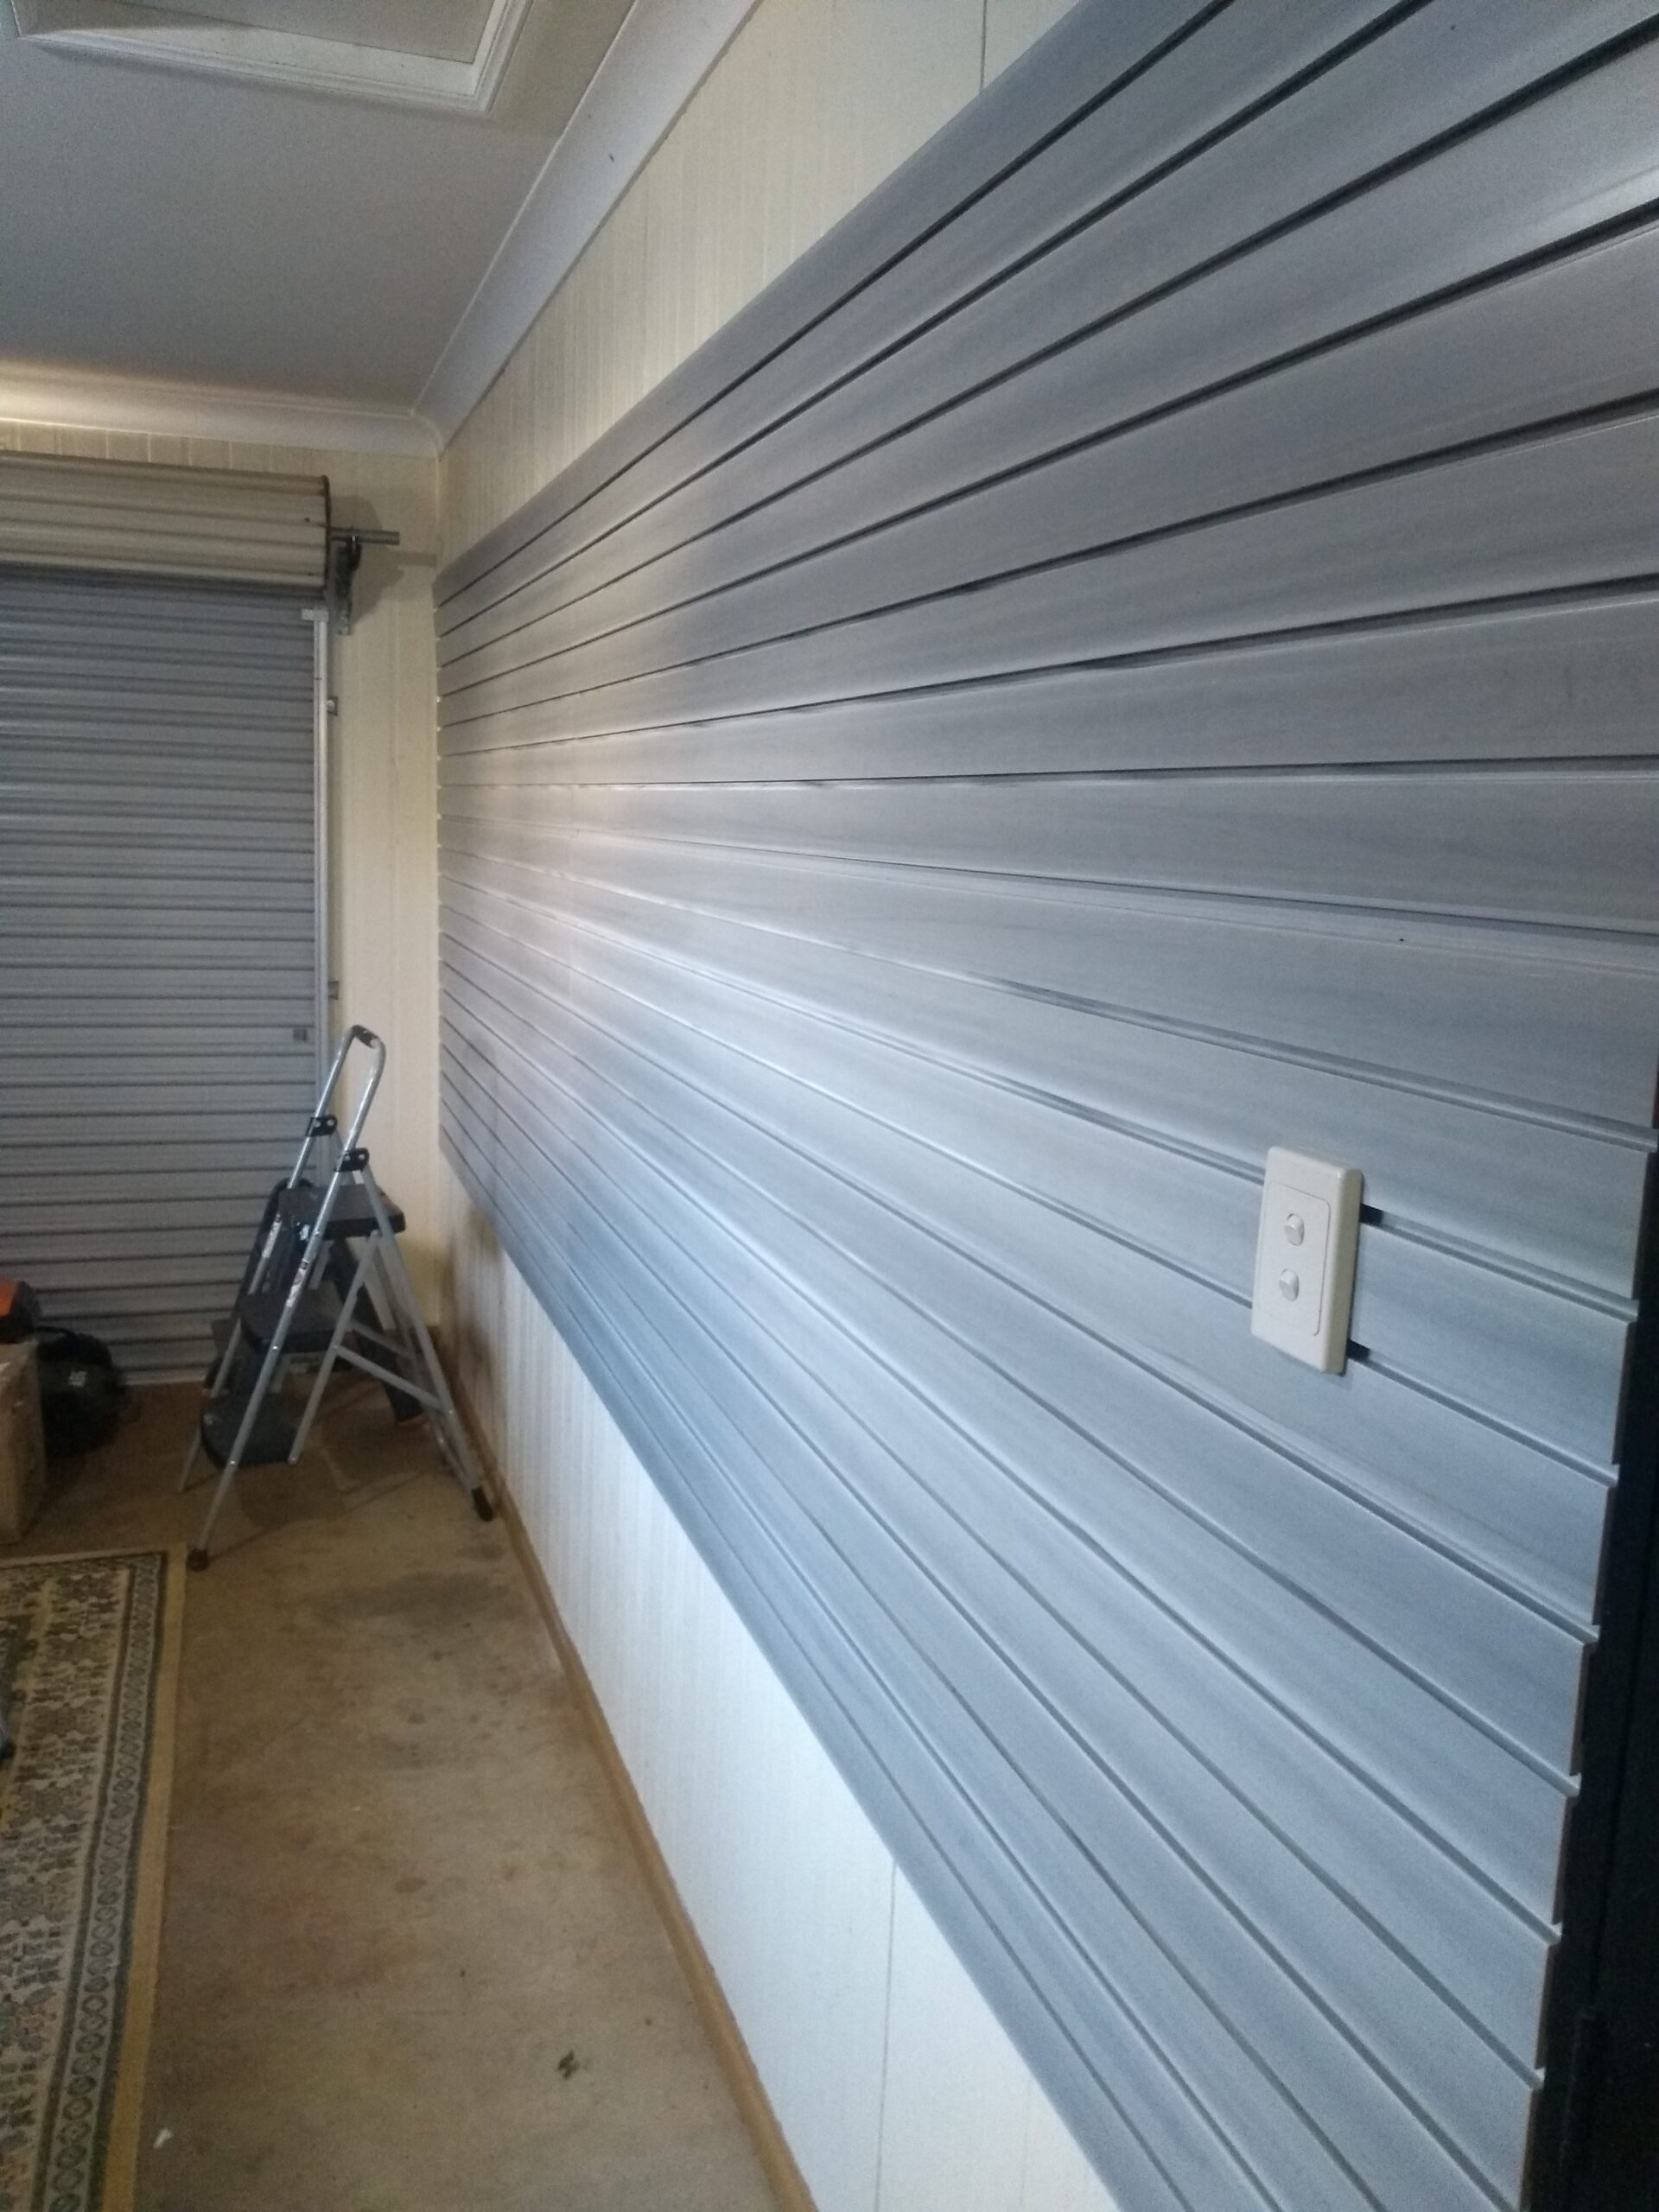
Recently, we’ve noticed a surge in enquiries from homeowners looking for superior slatwall accessories to enhance their MDF Slatwall Wall Panels. Common in retail settings, MDF slatwalls, characterized by 100mm spaced grooves and metal trim, are now finding their way into household garages.
Understanding MDF Slatwalls:
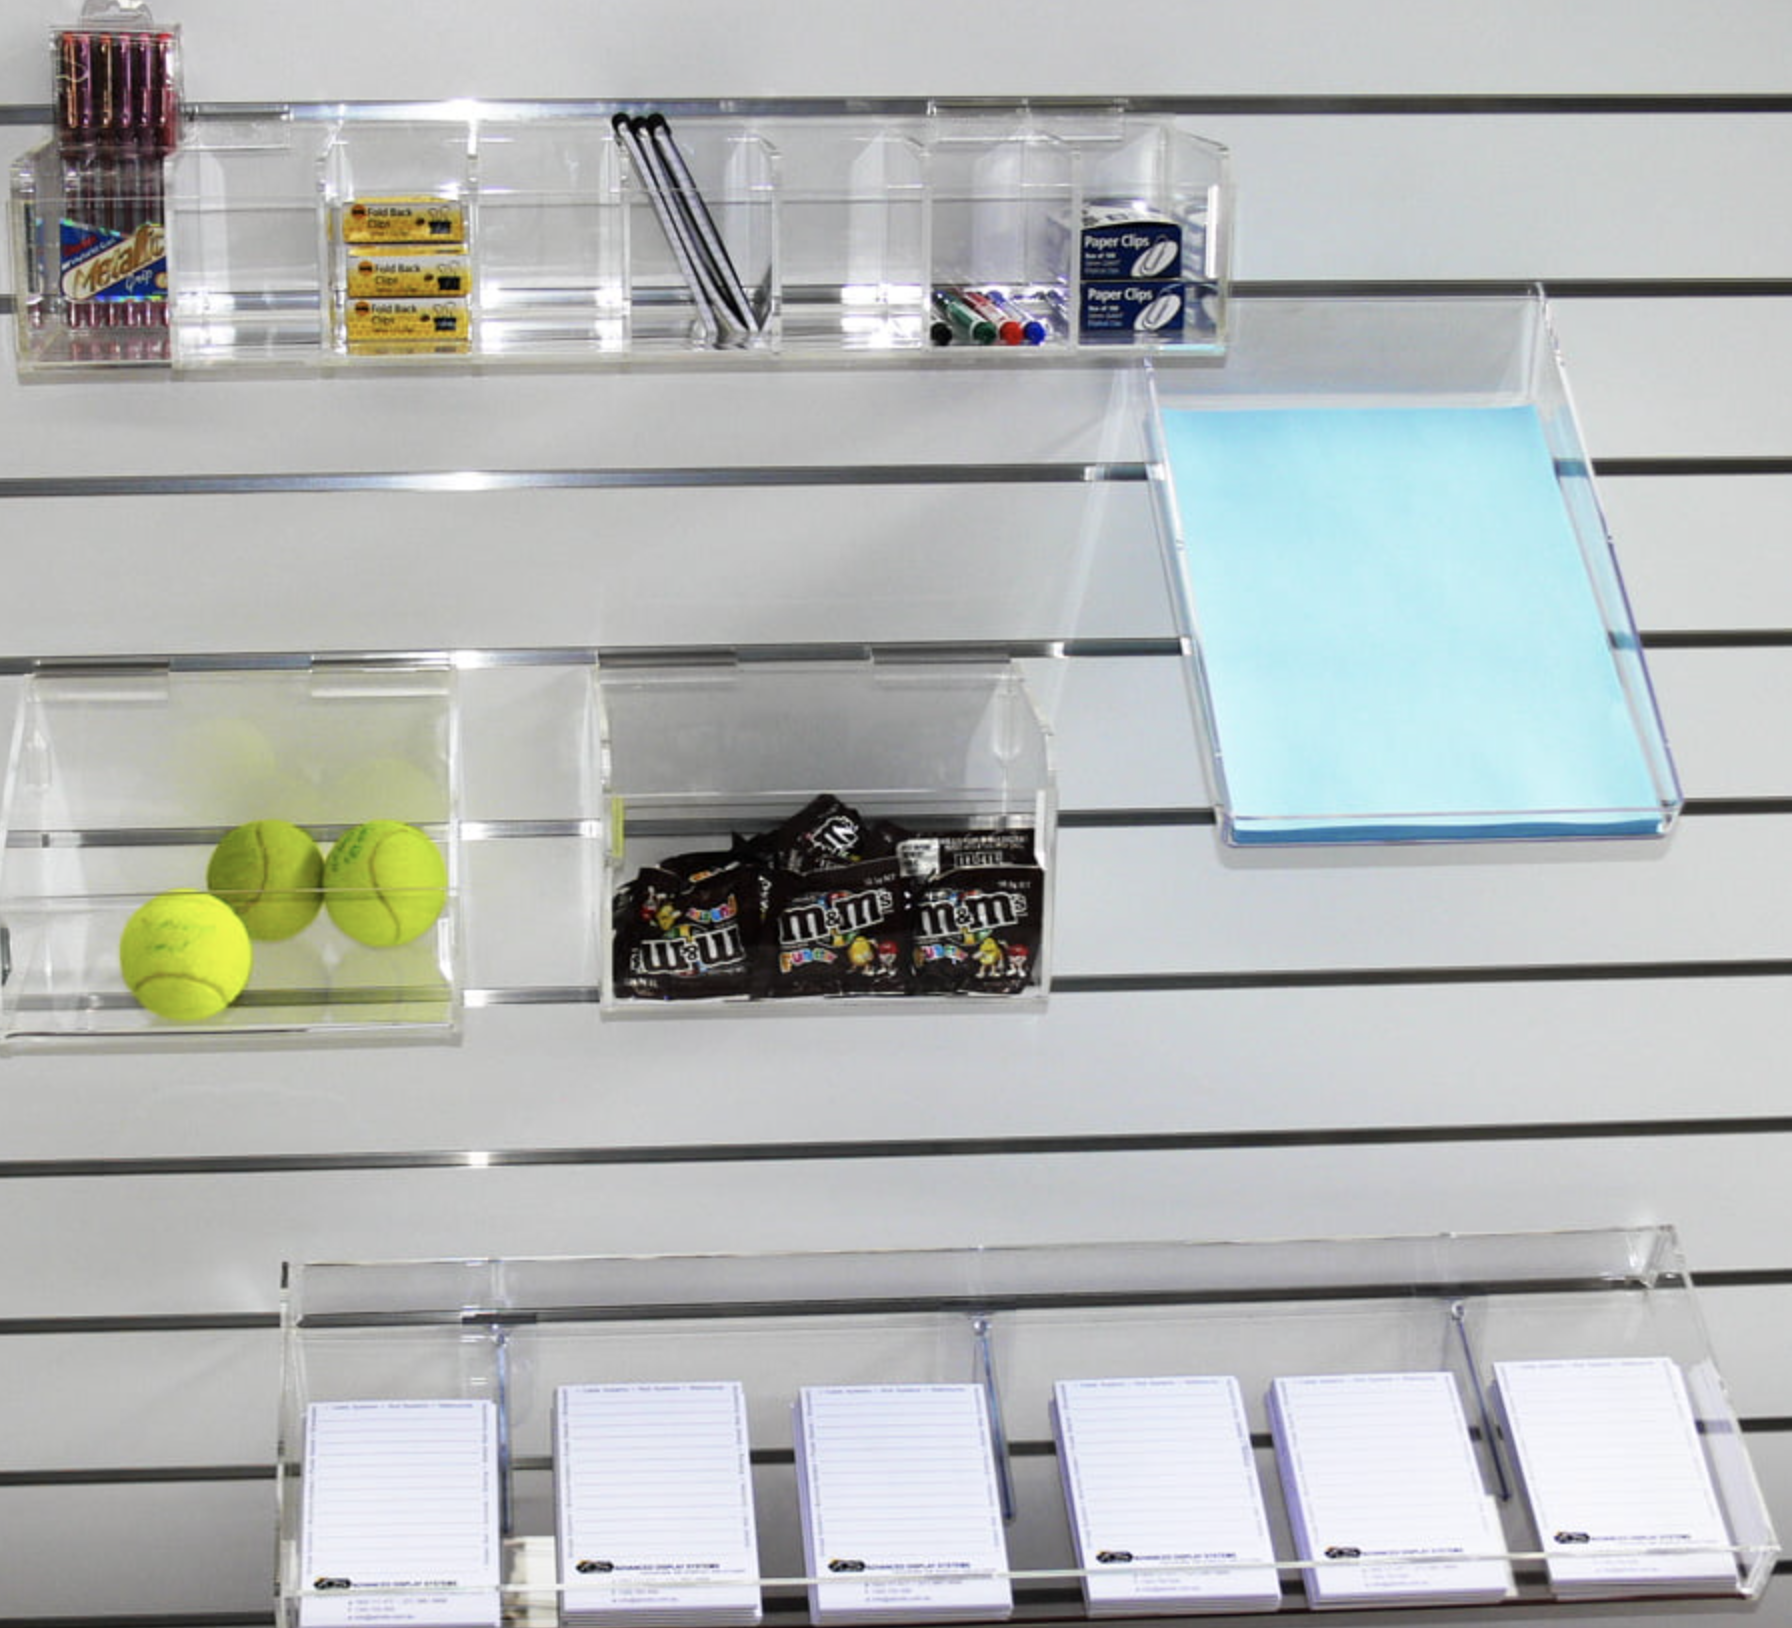
Design: MDF slatwalls are budget-friendly and popular in retail stores. However, their accessory range is primarily retail-focused and may not suit home garage needs.
Slatwall Accessory Options:
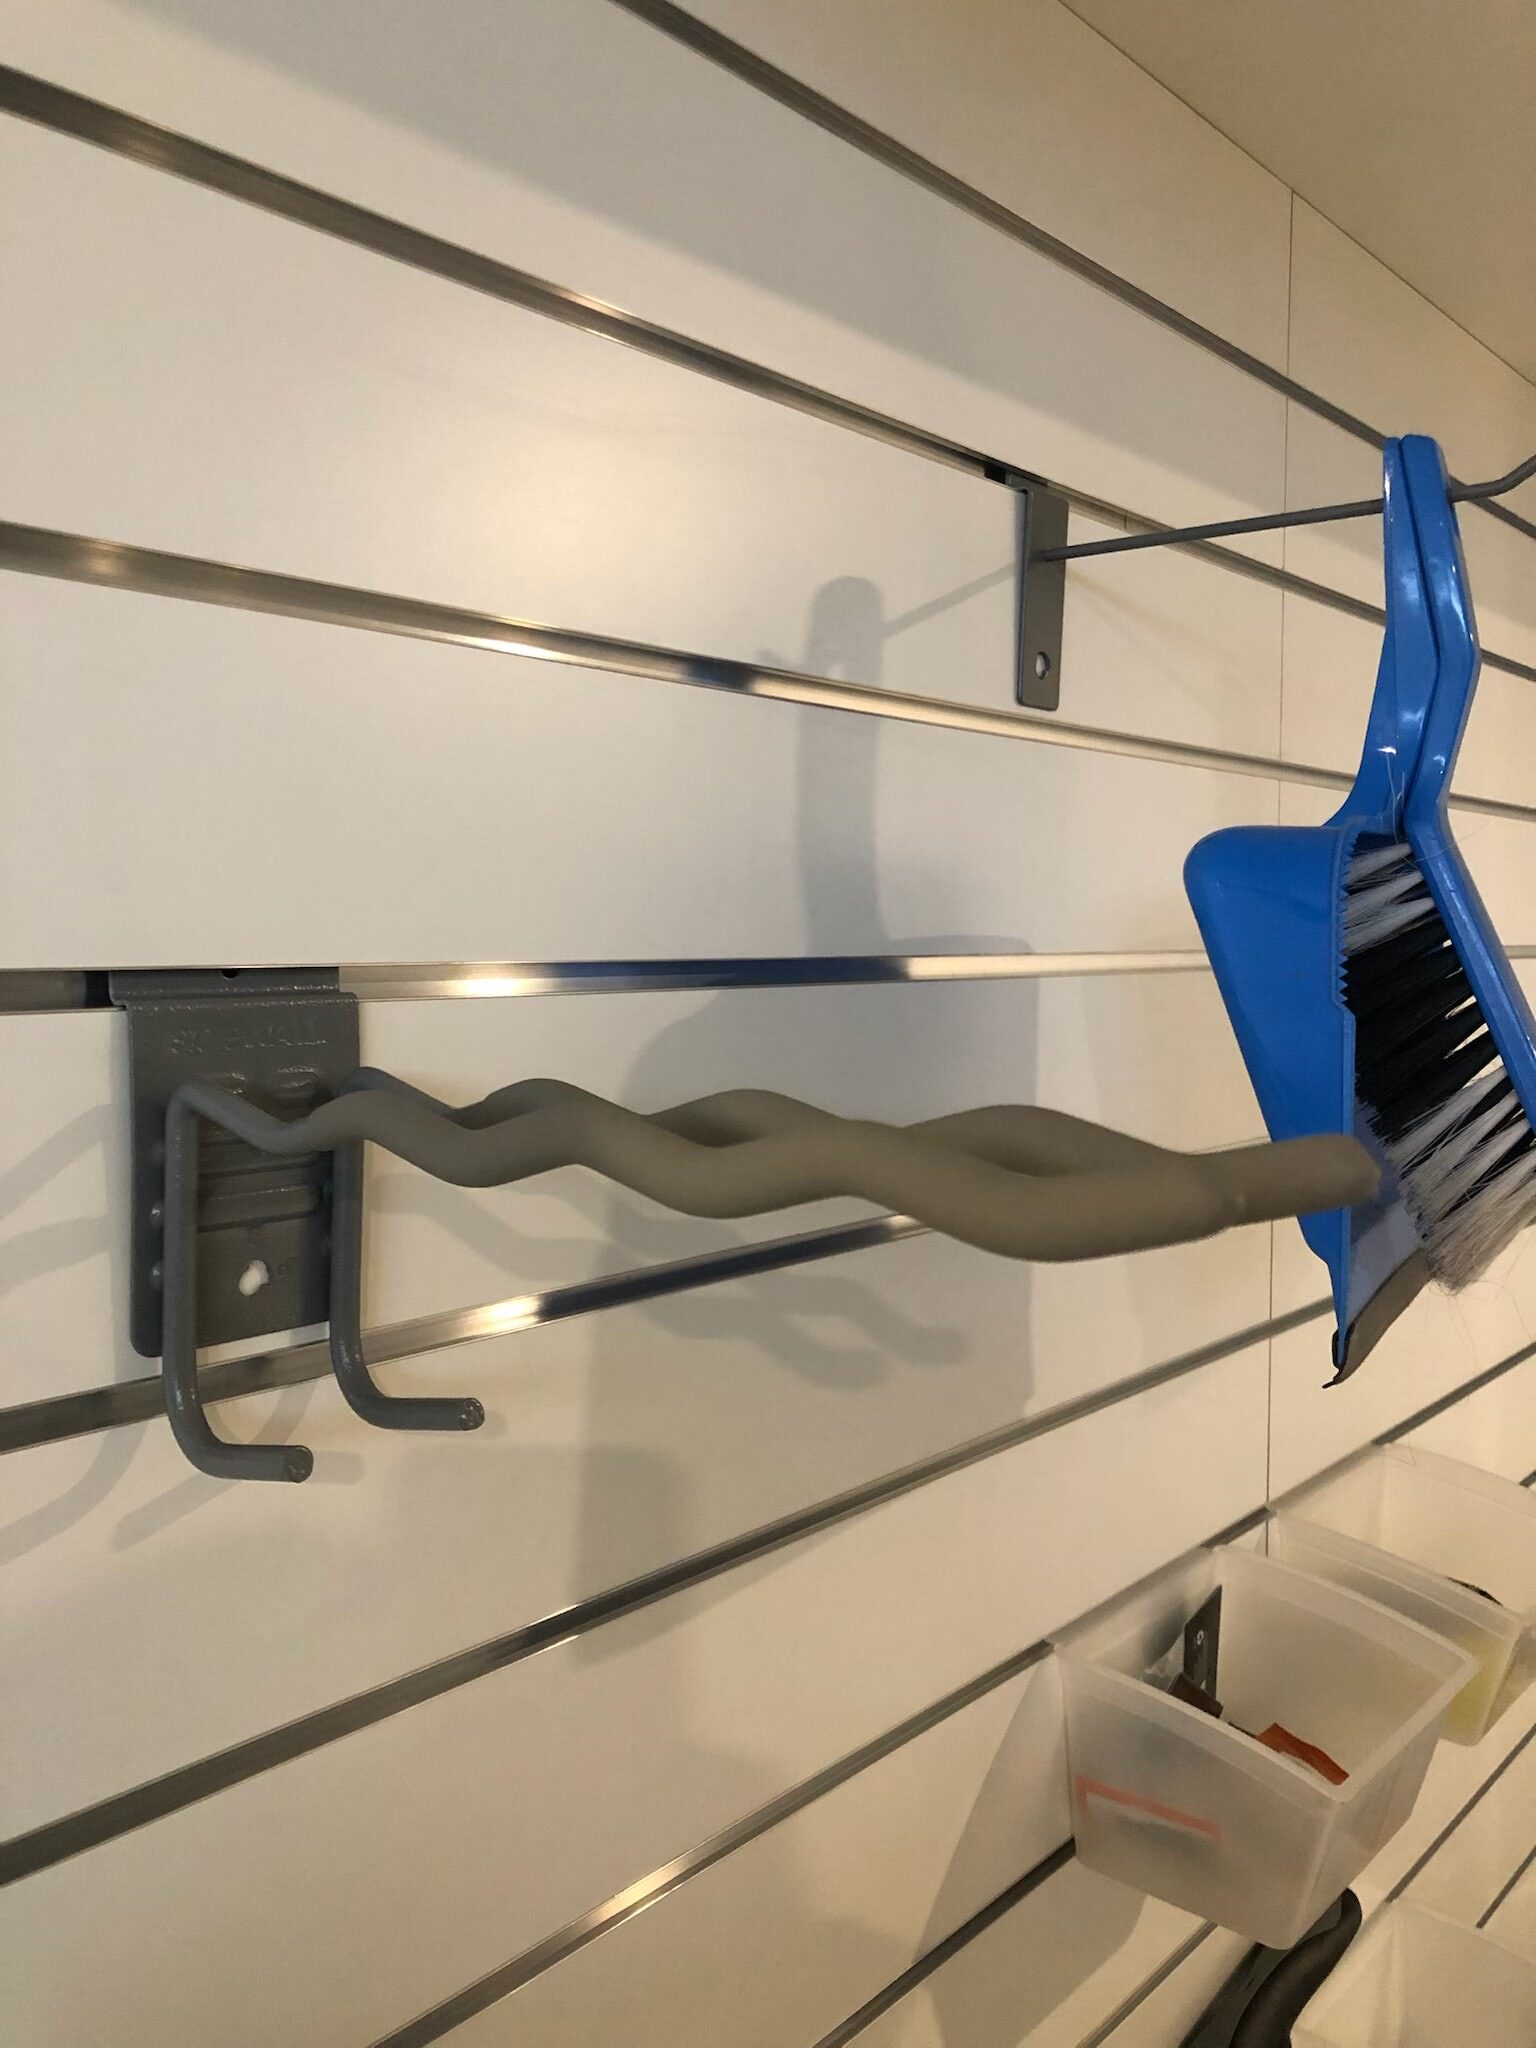
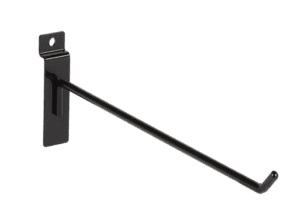
Online Availability: A search on platforms like eBay for ‘Slatwall Accessories’ reveals various hooks, shelves, and baskets. While adequate for light items like dustpans, they may lack versatility for diverse storage needs.
Why Choose StoreWALL’s Accessories:
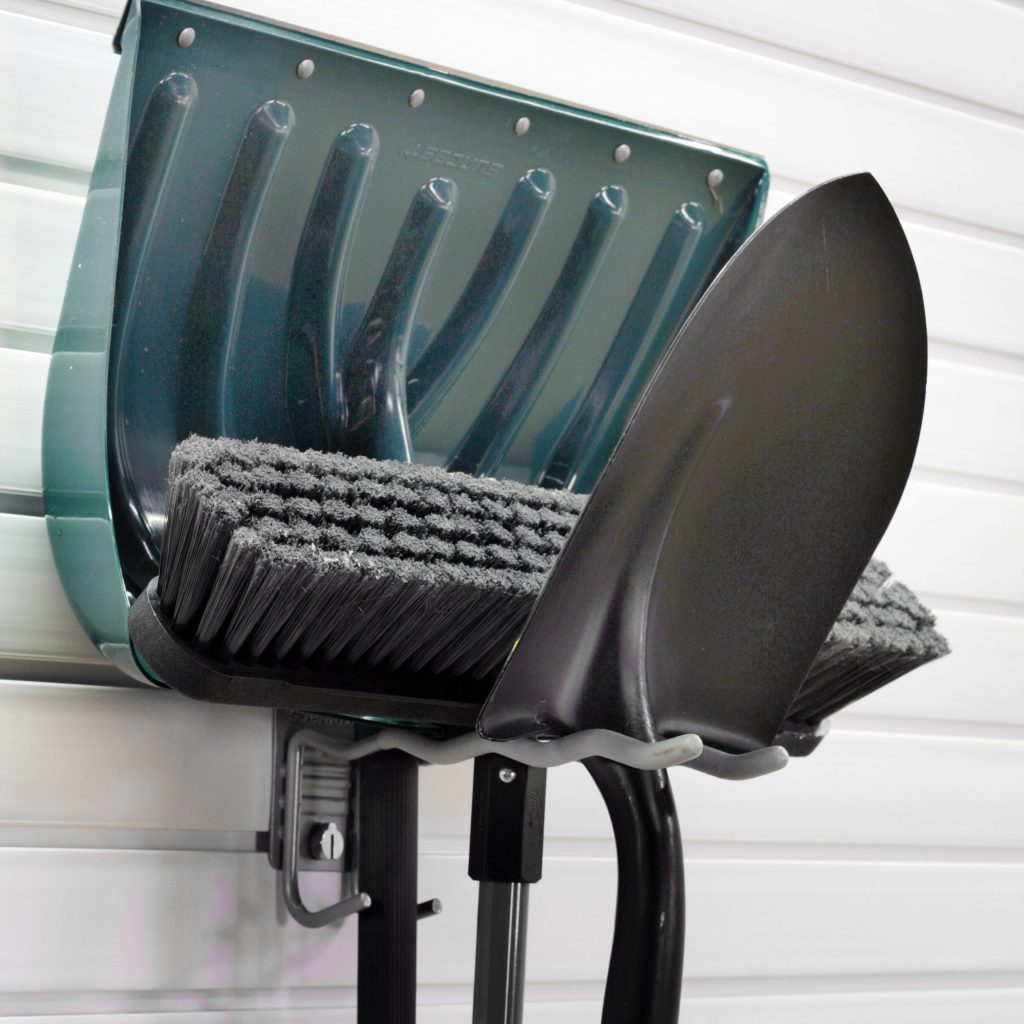
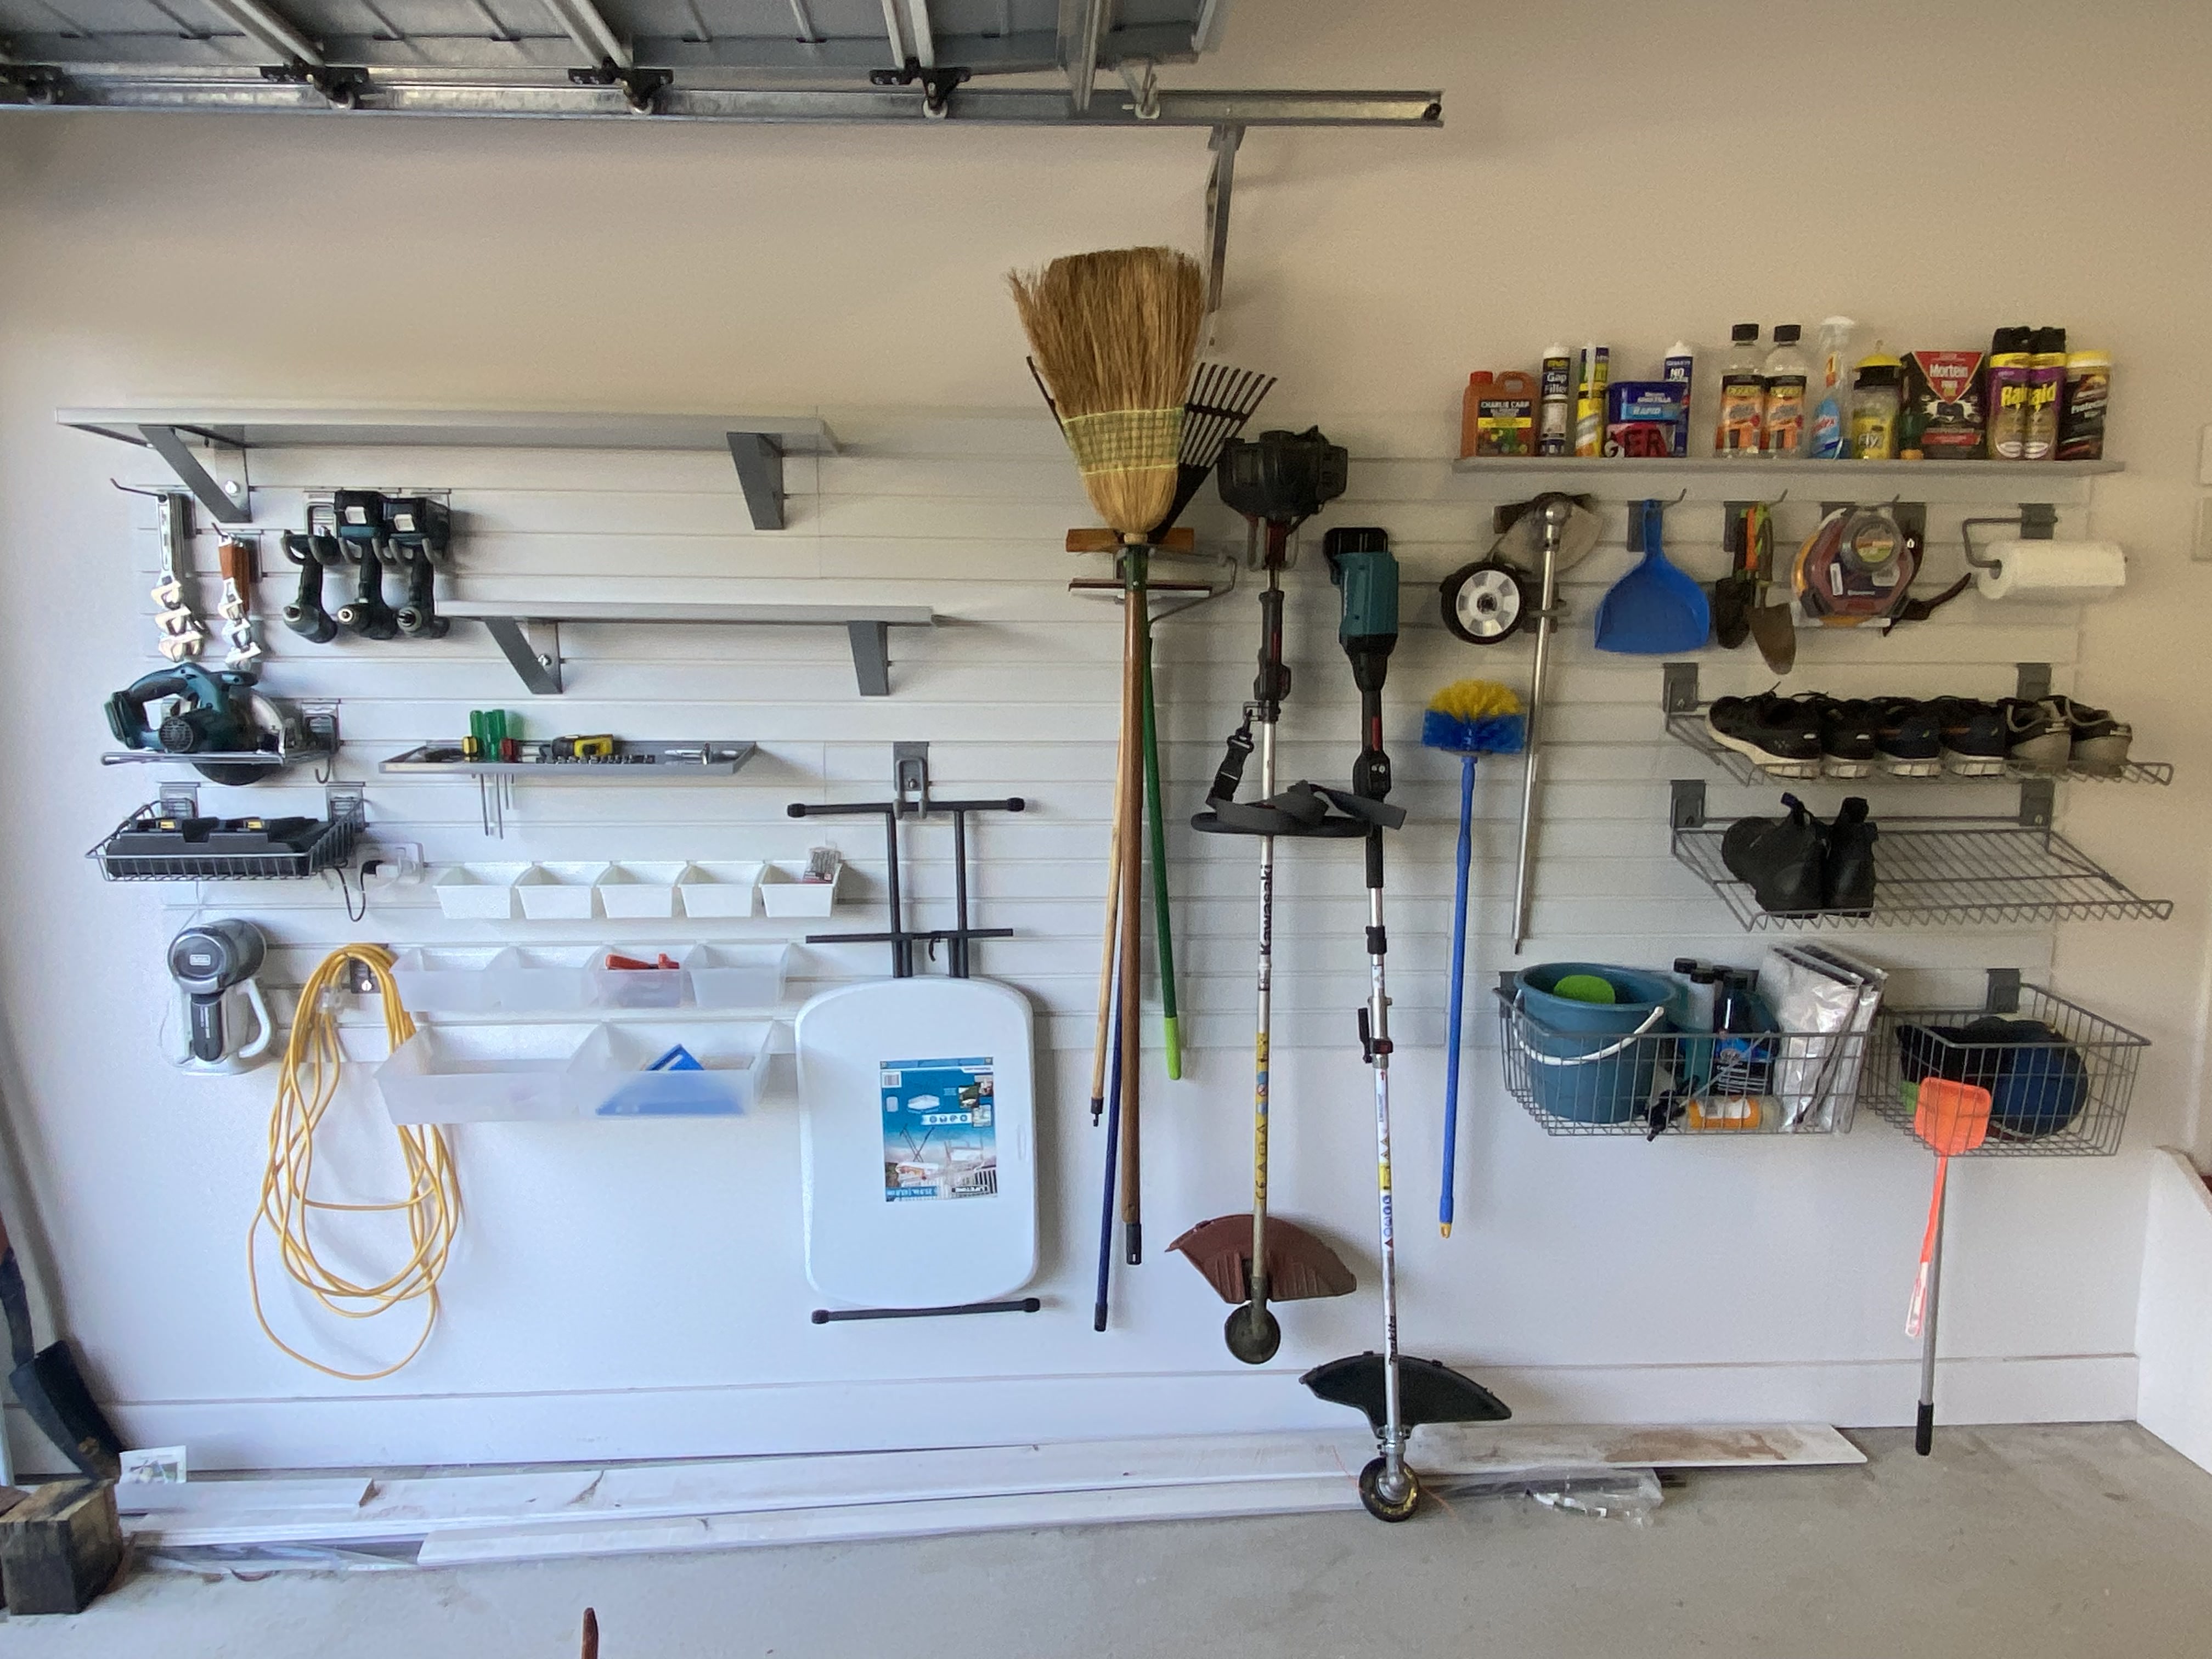
Robust Construction: Our accessories are crafted from steel and finished with powder coating, ensuring durability and longevity. They also feature rubber tips for item protection.
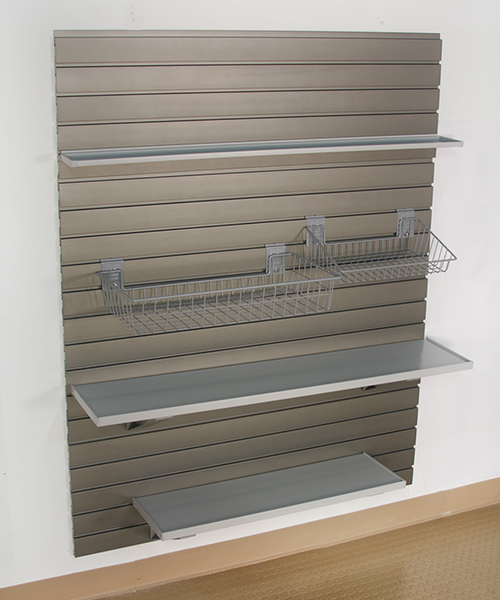
Extensive Range: Offering over 35 hook types, 15+ metal shelves, 8 basket styles, 4 bracket sizes, 15+ bins in various colors, and 4 Tote Bags, our range caters to a broad spectrum of storage needs.
Global Recognition: StoreWALL’s accessories are recognized as some of the best in Australia and internationally.
Adapting StoreWALL Accessories for MDF Slatwalls:
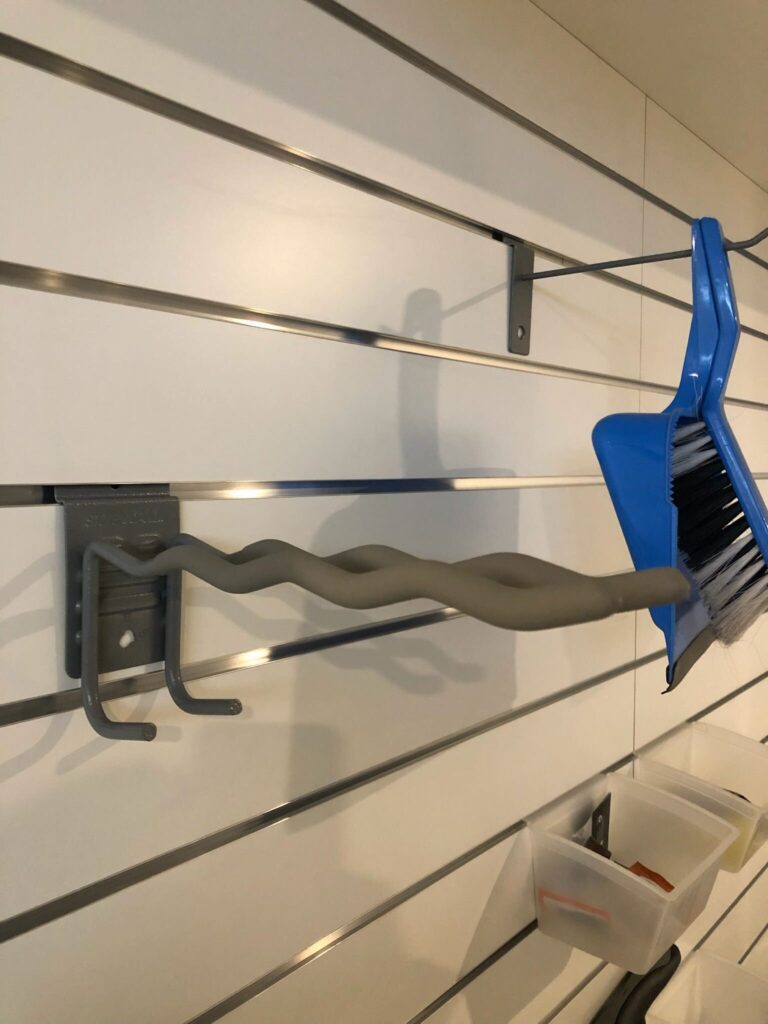
CamLok Removal: To fit our accessories onto MDF Slatwalls, we simply remove the CamLok. This modification allows the “L” shaped lip to fit into your MDF wall, supporting various items.
Result: While CamLok’s extra security is absent, our range offers greater depth and versatility. Exercise caution when handling stored items.
Elevate Your Storage Game:
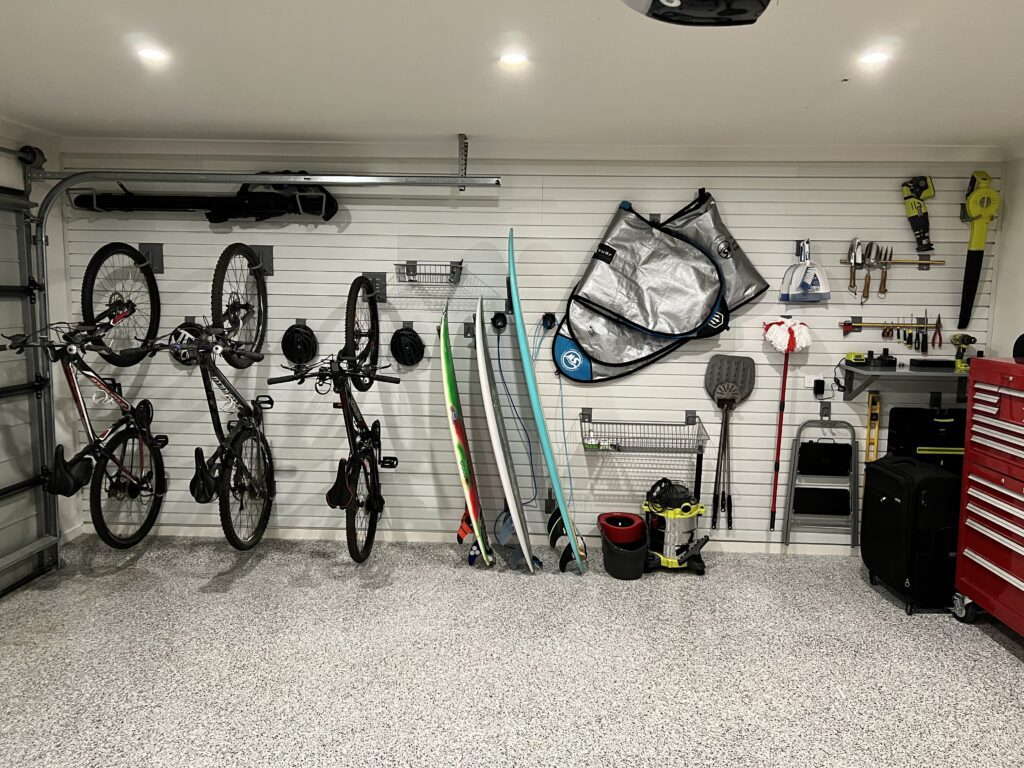
Transform your MDF Slatwall with StoreWALL’s wide array of accessories. Whether you’re storing garden tools, sports equipment, or household items, our solutions offer unmatched functionality and style for your home garage.
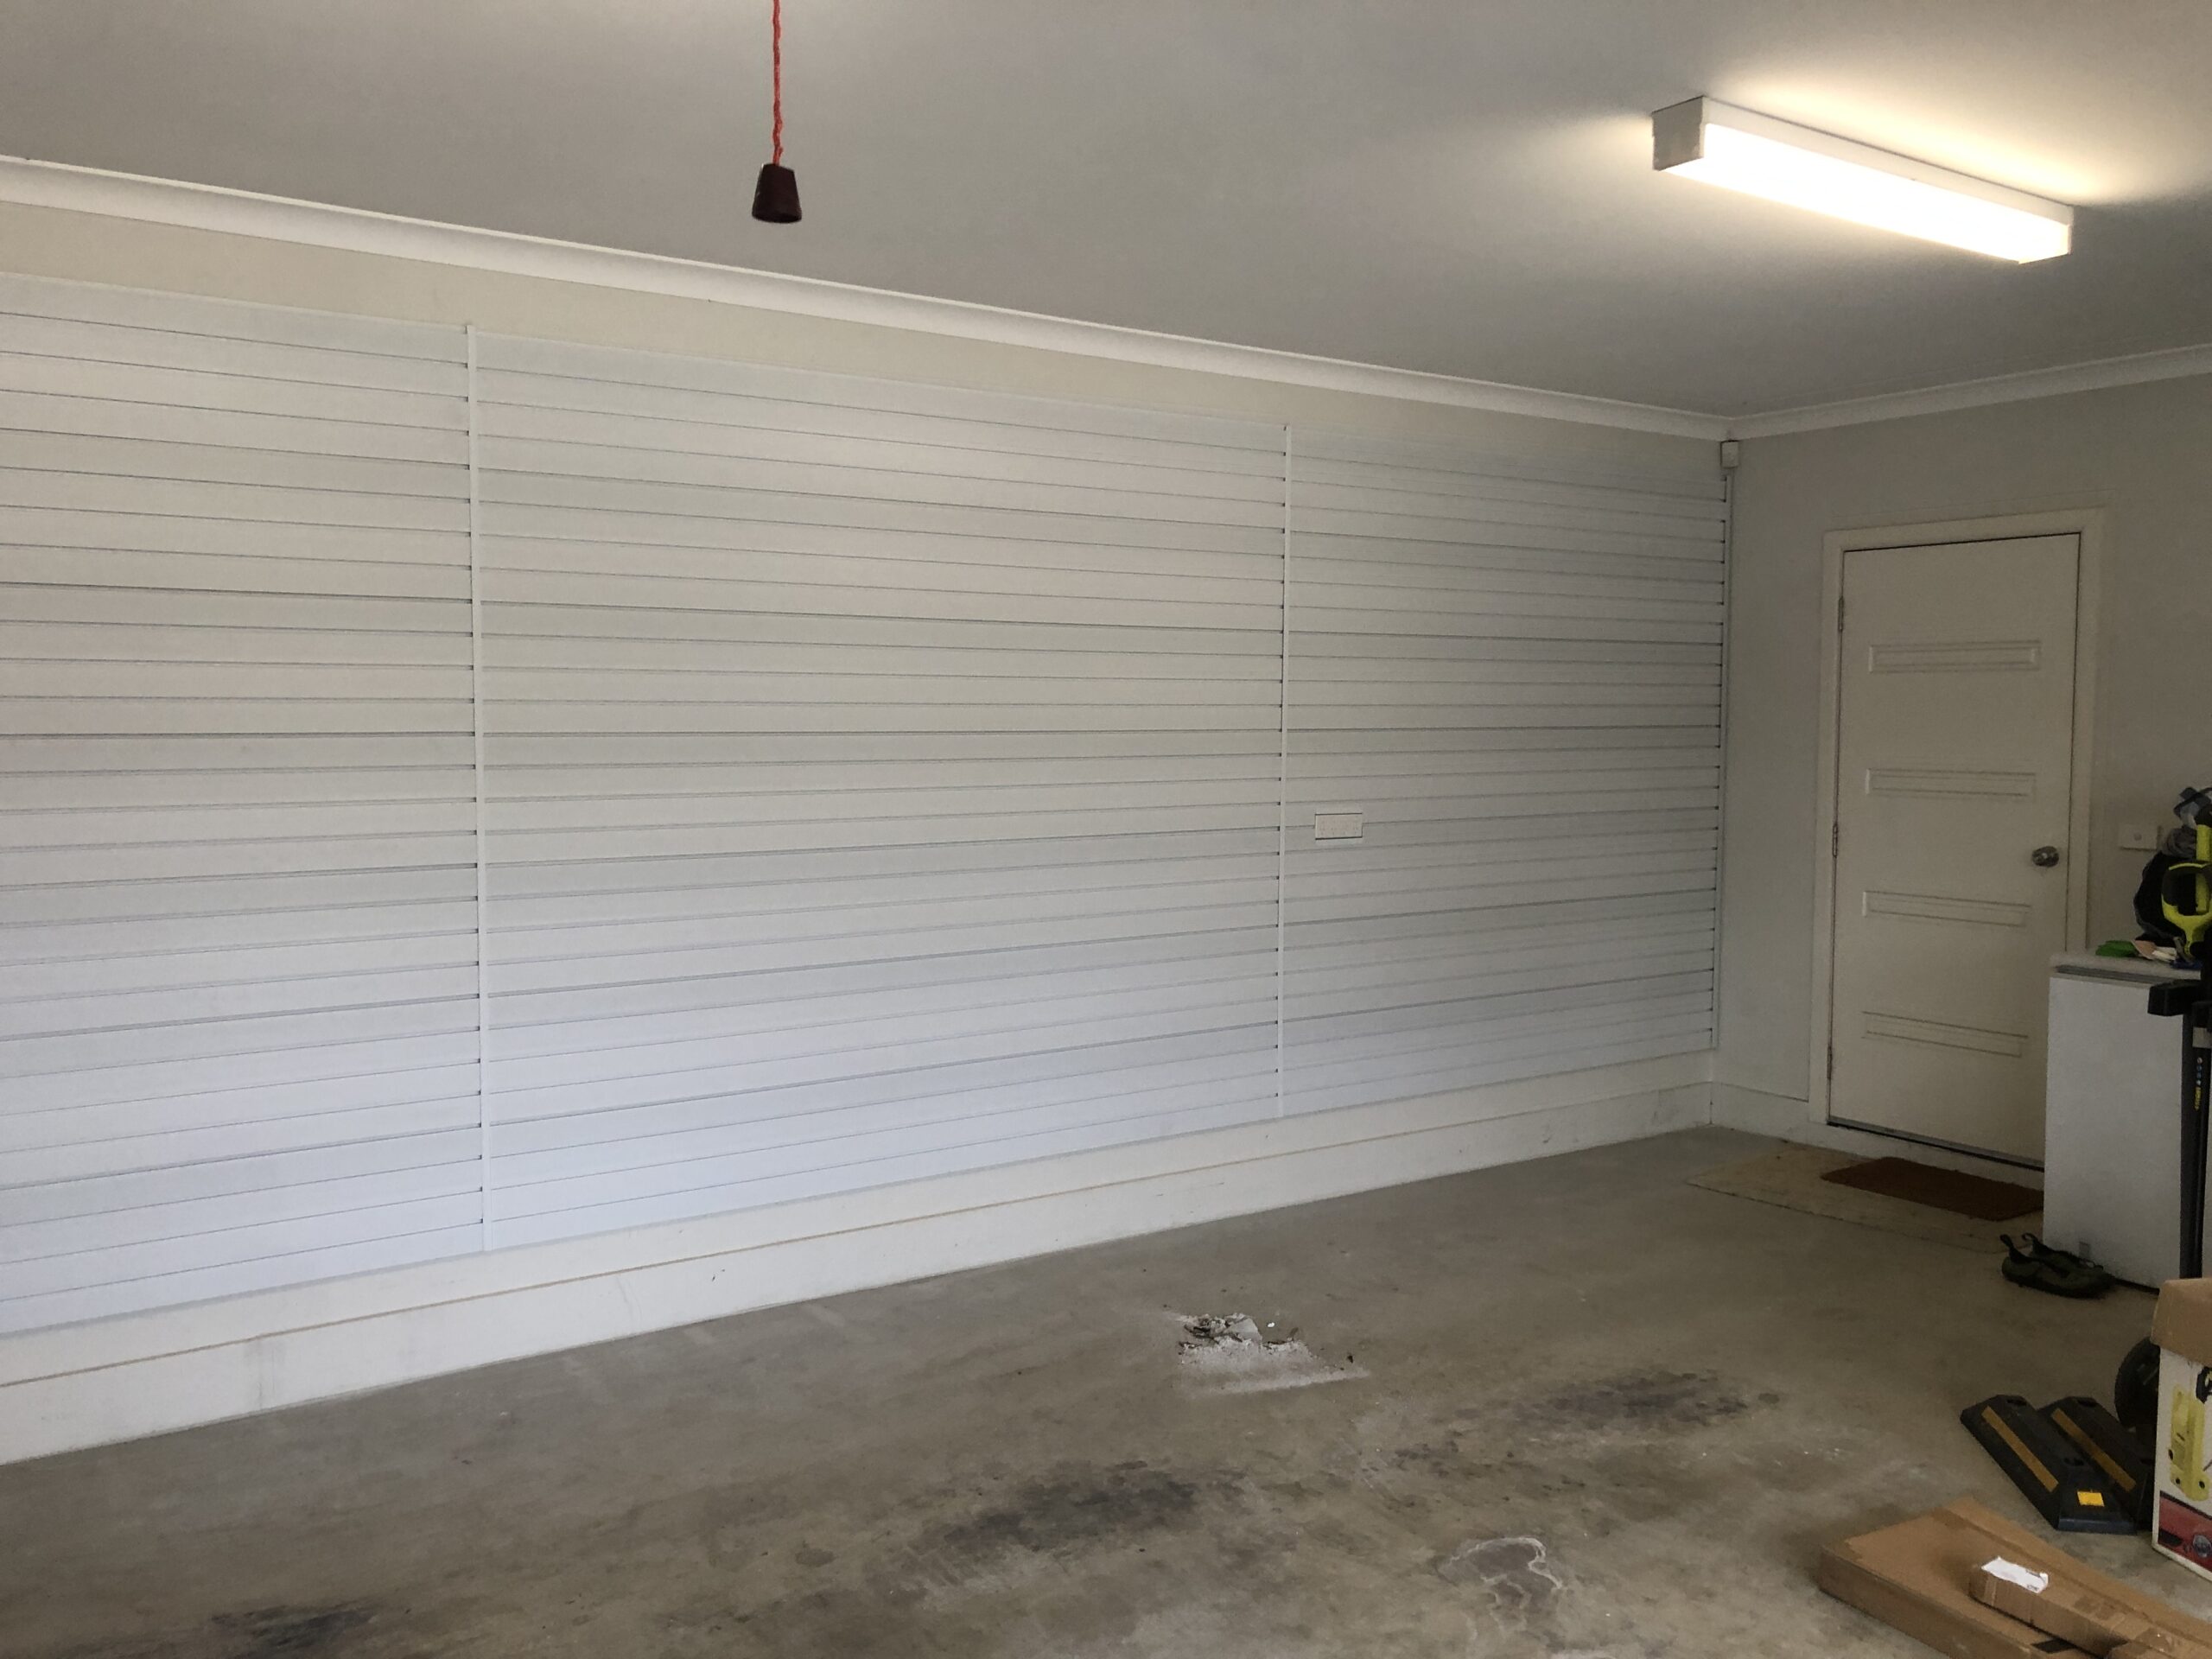
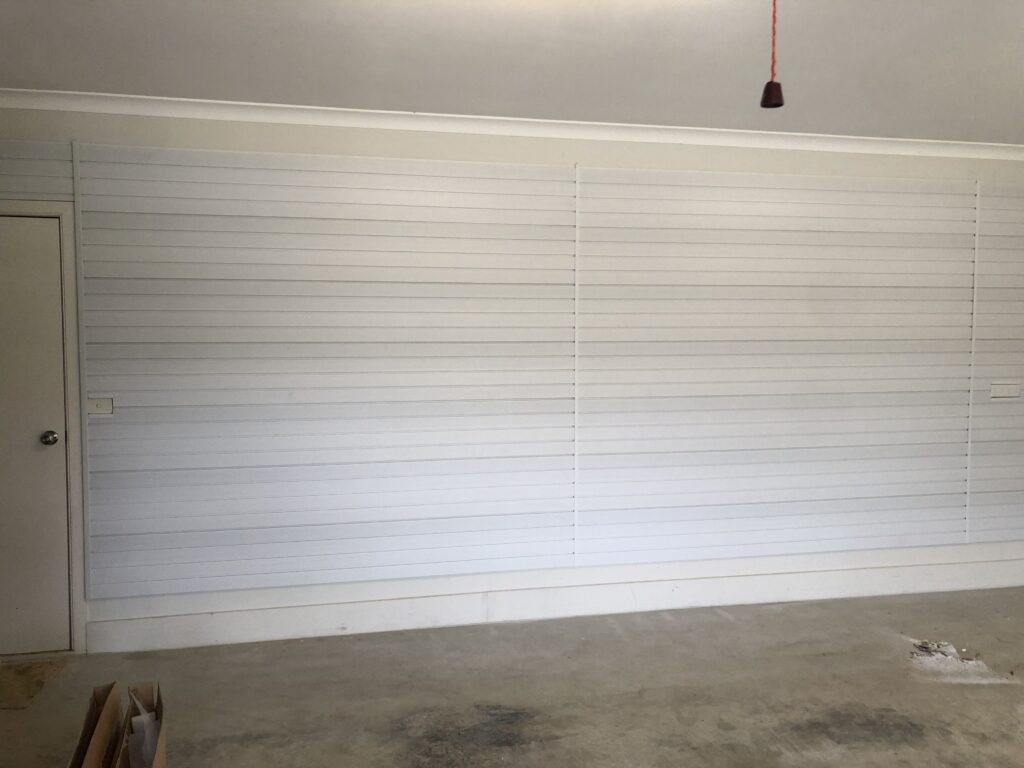
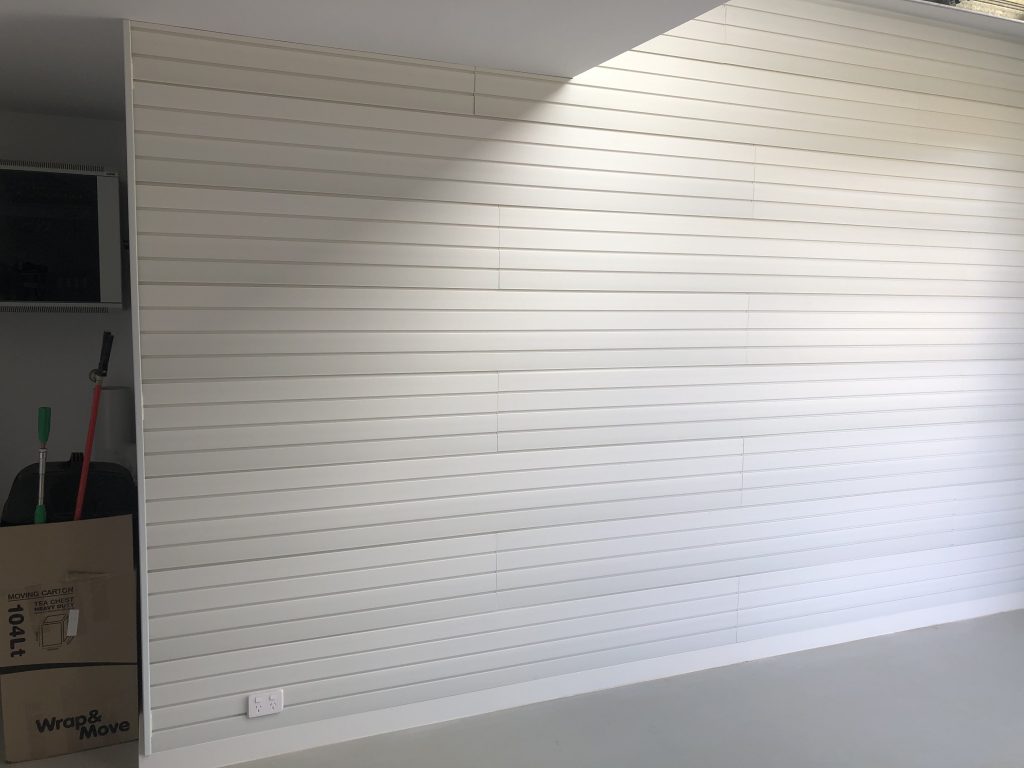
Over the weekend we completed our latest installation of White Garage Wall Storage Panels. After several months of discussion with Stephen in Chelsea, we organised the installation of StoreWALL Brite White Wall panels across the back wall of his double garage.
The back wall of Stephen’s garage was 8m wide (which included a door) and 2.4m high. It was a plastered wall backing onto a rear Hebel wall (most likely formed part of his backyard.
White Garage Wall Storage Panels – Garage Wall Design
Based on pictures sent through by Stephen, we designed a StoreWALL installation with 3 Brite White panels across the length of the wall to cover the 7000mm plastered area. With a 2.4m total height, we used 7 Standard Duty panels to reach a height of 2150mm.
Finding the Studs
I use two different battery-powered Stud Finders. They both deliver different results. They are both wrong a lot of the time. It is always easier to drill a few holes and then use 450mm or 600mm spacing to test if the next stud is where you expect it. You usually need to drill a few more holes to ensure you find the actual outer edges of the studs.
With Stephens garage, the studs were 550 or so apart but there were some different spacings as well.
Garage Wall Vertical Spacing
Stephen’s garage was about 2.4m in height. The wall had a 150mm skirting board. This left us a total wall height of about 250mm. We split this allowing about 125mm at the top and the same above the skirting board. This is where we started our first Installstrip.
With just over 7000mm in length we marked out where each wall panel would start and end, ie 0, 2438, 2439, 4876, 4877, 7000mm. The first and second panel landed in between two installstrips so they didn’t require any additional support. The third (last panel) started a little too far from its closest Installstrip. In this case, we added an additional installstrip using metal screw-in fasteners.
Stacked Wall Panel Formation
For most Installations I have completed for customers, I have opted for the brickwork design. I have always thought it looked the nicest. It does however come with some challenges when joining wall panels. The issue is that the joins show. Some just have a thin line, others have a heavier one. This can come from the cut that was made to the panel (factory or manual). It can also be due to an uneven wall.
For Stephen’s installation, I opted to try the Stacked Wall formation. We used a Wide Trim at either end of the wall and a smaller joining trim along the wall at the two points where the panels would join.
I can say that using the stacked wall formation is easier than making the brick pattern and the look is just as good. I think having the joining trims on either side of each panel also gives them a little more support.
The joining trim we used was about 3m in thickness. We allowed for this when laying out our panels.
Power Outlets
Stephen’s wall had two power outlets. One was a power switch beside the door, at the beginning of the first panel. The second was a 4-gang PowerPoint at the beginning of the 3rd and final panel along the wall.
You can manage power outlets in 2 ways.
You can screw the outlet over the panel. To do this, you can cut a hole in the panel at the location of the outlet. The hole needs to be large enough to pass the power outlet through it. Once you pass it through the hole, you can use longer screws to screw it back into its original bracket in the wall.
You can cut around the power outlet. Using a multi-tool or a jigsaw, you can cut a hole large enough so that it fits around the power outlet. This means you don’t need to unscrew it. You might want to use the joining trims to create a border around it.
For Stephen’s wall, we cut around the power outlet and added trim on the top and bottom of the hole we cut so that it framed it.
Labour Effort
In total, we installed 21 panels for this wall. It took two of us (myself and 15y/o child) about 7-8 hrs to complete the wall. We installed over 32 installstrip, each with 12 screws.
StoreWALL, Slatwall, Storpanels, Flexipanels, Handywall, Smartwall. These are all Garage Storage Wall Panels, but are they the same?
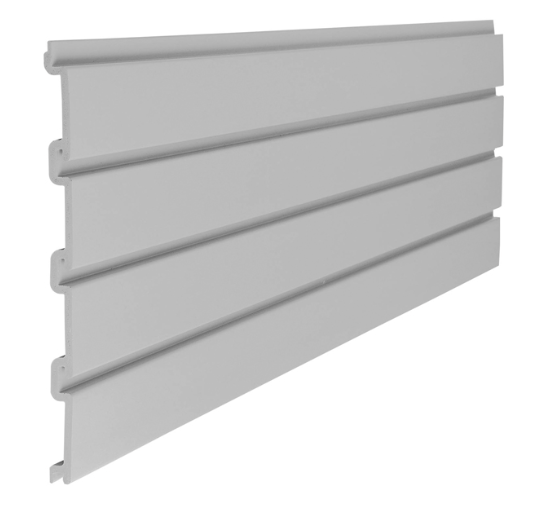
The majority of Garage Storage companies selling Slatwall or Wall Panels sell a solution that looks like the picture below. The panel is about 300mm in height and has grooves spaced every 74mm.
The garage wall panels are designed to sit on top of each other in order to cover an area of your wall. You will notice that the back of this panel has a rounded mold. It is designed to be screwed onto your wall with screws directly through the panel. This type of panel is not designed to be installed with any metal bracket for additional support.
These types of wall panels also have rounded grooves. This rounded profile is easier to produce, resulting in a cheaper wall panel. It also means that accessories locked into these grooves are held less securely as the edges are rounded.
StoreWALL Slatwall Panels
StoreWALL sells 3 grades of Garage Storage Wall Panels. Heavy Duty, Standard Duty, and Basic Duty. What makes StoreWALL different from every other Garage Wall Storage supplier is that our wall panels are designed to be installed with a supporting metal bracket that we call an Installstrip.
StoreWALL has a custom-designed installstrip for its Heavy Duty Panel and a separately custom-designed installstrip for its Standard Duty Panel.
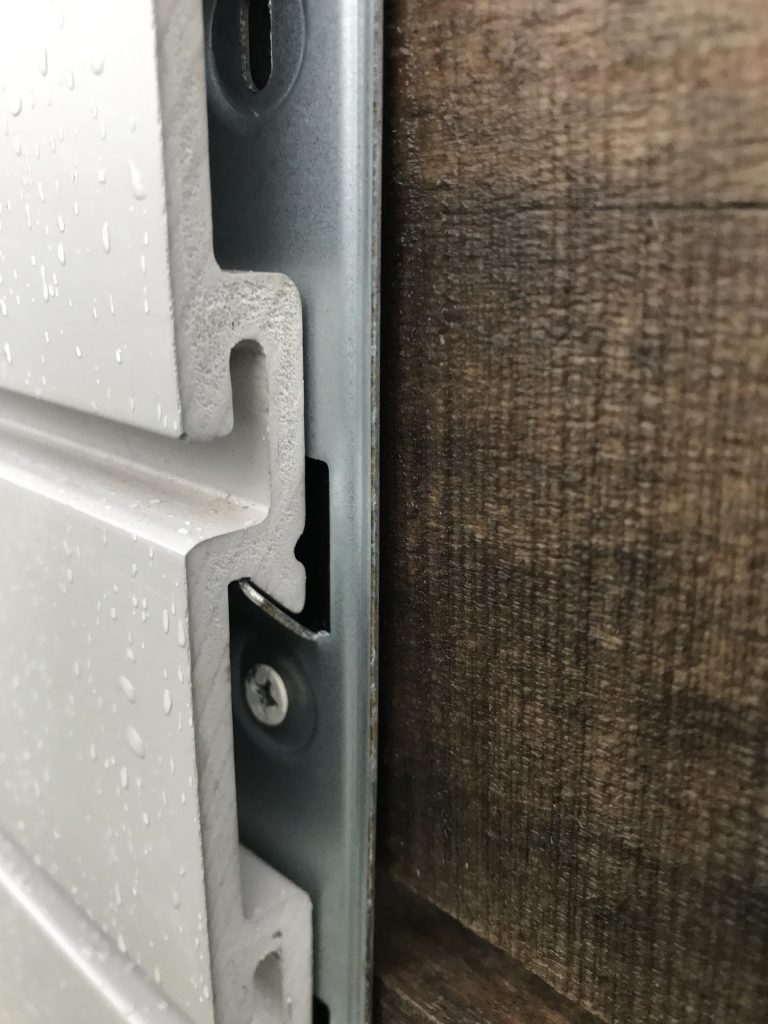
When you look at both the Heavy Duty and the Standard Duty panels you will notice that the back of the panel is not rounded. Rather, the mold is designed with a downward-pointing corner. This corner is used to latch onto the installstrip and secure the panel.
All of the weight on the panels from your stored items push downwards onto the installstrip. The strength of the installstrip and its fastening to the wall with 12 -15 screws/nails makes it a far superior installation method to simply screwing into the panel and onto the wall.
Without the installstrip, the strength of the solution relies entirely on the panel and the screws.
Furthermore, StoreWALL’s Standard and Heavy Duty Panels have grooves designed with straight square edges. This ensures that any accessories are securely held into the slatwall groove. In addition, our CamLok locking mechanism ensures they never fall off the wall.
Why do Installstrips Matter?
StoreWALL’s Installstrips are made from rolled steel and are galvanised. They are installed onto your wall with 12-15 screws or nails. Combined they allow your wall panels to securely support a lot more weight than a panel that is installed with just screws through the panel.
How much more weight?
The maximum weight that a 1.2m panel can support is:
Standard Duty – 56kgs (1219mm), 113kgs (2438mm)
Heavy Duty – 68kgs (1219mm)
Furthermore, using installstrips means you are not screwing through your wall panels, damaging them. They are kept clean with no screw holes.
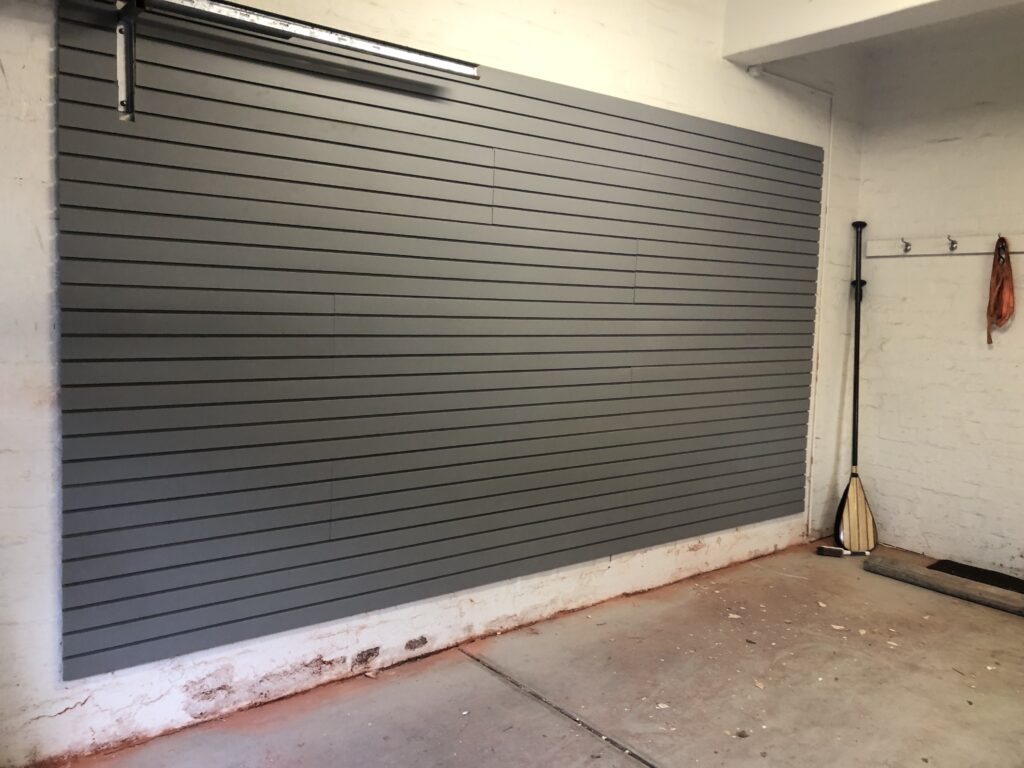
Our latest installation in the suburb of Toorak (Melbourne) was in an old garage made from solid red brick walls.
The garage had a couple of really old StorEase panels and some accessories. They were screwed straight into the wall. We removed these. The owner of this house was in the middle of undertaking some renovations and we were asked to install StoreWALL on both sides of the garage.
The first wall area measured 4m in length and 2.1m in height. On the opposite side, we installed a smaller section of 2m x 2.1m.
Wall 1 – 4m Solid Red Brick Walls
For Wall 1, we used 1 x 2.4m panel plus a second 1.5m panel. This gave us our 4m. We also used the smaller off-cuts in the wall in order to reduce waste. To reach the 2.1m height we used 7 x Standard Duty Slatwall Panels.
I have installed lots of brick wall garages. Old and new. Many older homes have sold red brick walls. These are tough bricks to drill into. The other challenging feature of these garage walls was just how irregular they were. To cover this up they had semi-rendered the walls and painted them so they looked smooth (kind of).
You can also see that above the wall at about 2.1m we also had a bracket which held the garage door.
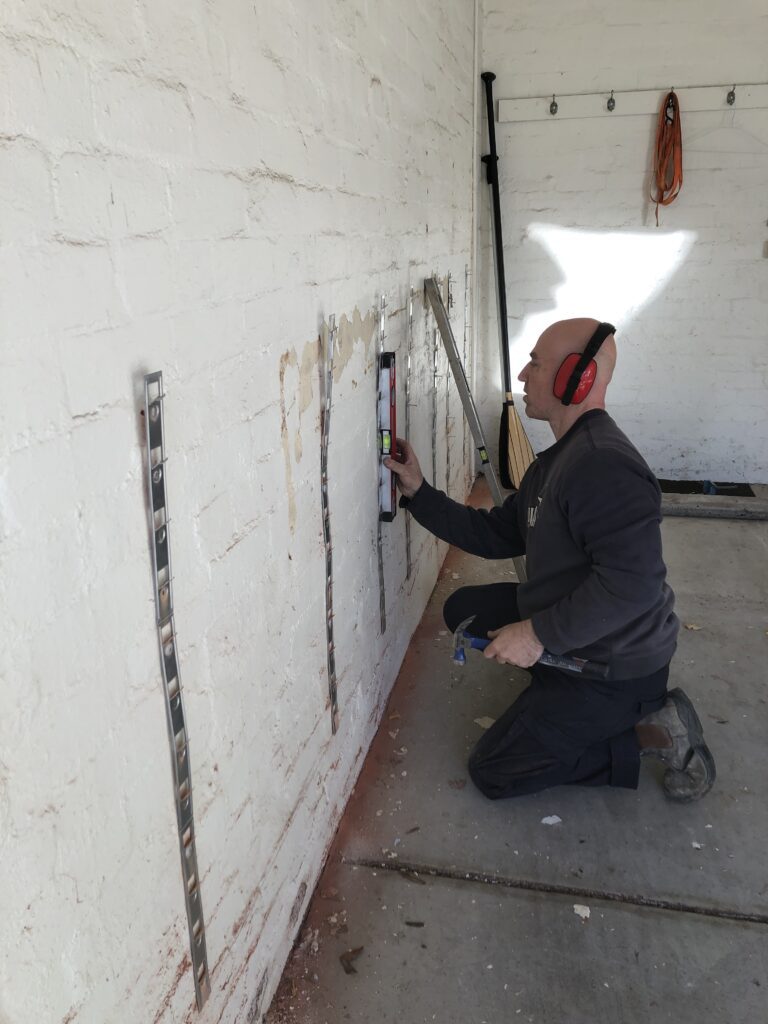
We started the installation about 245mm from the garage floor. The drilling was tough and we had to pack behind some of the installstrips in order to keep them flat. To fasten the installstrips we used Nail Anchors which we sell on our website but so do all hardware stores. We used 5mm anchors and a 5mm 4-cut drill bit. To be fair, I used several drill bits on this job as the walls chewed them up.
Each installstrip has 12 holes for anchoring to the wall. I hammered a minimum of 9 anchors for each one.
In order to hang the 7 rows of Standard Duty Slatwall Panels, we used 2 rows of installstrips and then a 3rd row of just a single installstrip section. Our installstrips were spaced about 600mm apart and we positioned them so that they sat behind any joins. Having two joining panels share an installstrip delivers a nicer, smoother join. This took a little measuring.
Tips
I am always learning with these installations as no walls are alike and brick walls, specifically Sold Red Brick Walls are the most challenging.
In order to save the customer on waste, we used the smaller offcuts on the wall. It meant more joins. If I was to do this wall again, I would have just used two panels along the wall. 1 x 2438mm + 1562mm. It would have saved a lot of effort in positioning the installstrips in the right location for the joins. The result is more waste.
My second tip relates to the 3rd row of installstrips for the 7th row of panels. Rather than using a single section of the installstrip for this top row, it can be easier to use two sections. In this case, you add the lower section on row 6 and the top section on row 7. This makes it easier when trying to align the installstrips for that top row.
Garage Door Bracket
I had to cut around the bracket in order to fit the 7th row. It was fiddly work as the bracket covered two panels. I used a jigsaw for the cut. The 6th panel was cut at the top, the 7th panel was cut from the bottom.
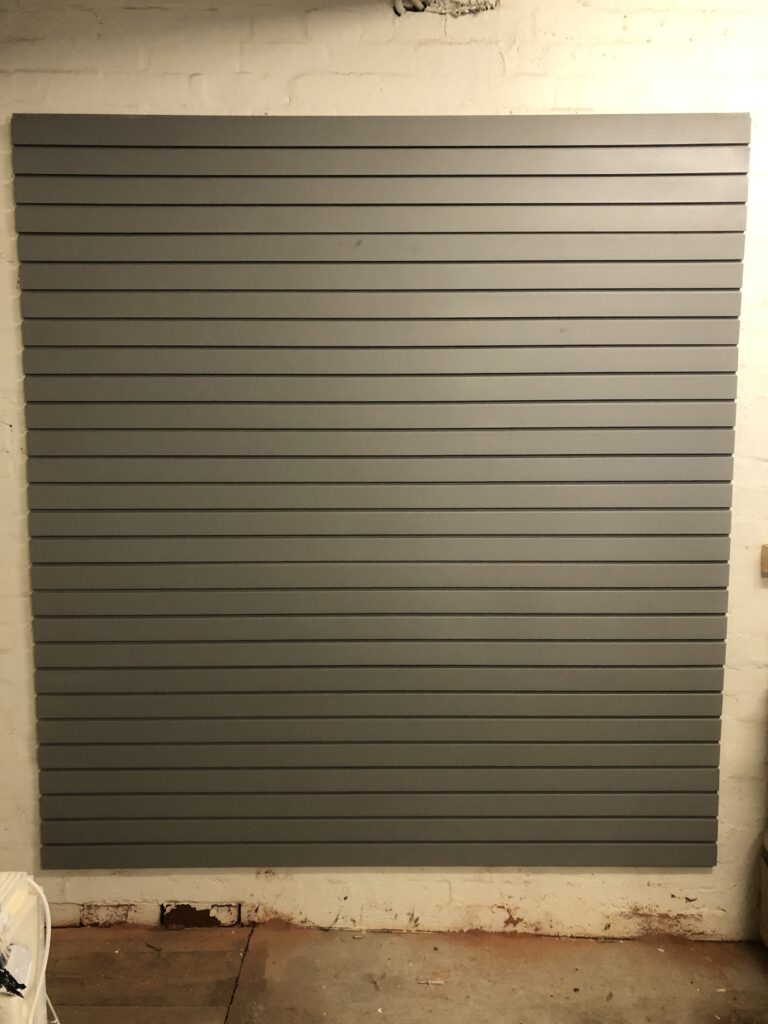
Wall 2 – 2m x 2.1m Solid Red Brick Walls
The second wall was covered with 1 panel cut to 2m. As per wall one, we had 2 rows of 3 section installstrips to support the first 6 panels. The top row used just one section of the installstrip.
As there were no joins on this wall, it was must quicker to panel. The biggest challenge we had were the bricks. A section of wall 700mm x 700mm was made from much harder bricks and so the drilling took longer.
Conclusion
The red bricks were hard work. This job took 1.5 people (junior support) about 7hrs to complete. I drilled over 120 holes. The outcome is a garage storage solution that will last for years and allow the owner to hang almost anything they store in their garage.
Garage slatwall systems are becoming more and more popular in Australia. This is because storage decisions for homes (even new ones) are often underestimated. This article is about your “garage slatwall installation” and how much of your garage wall(s) you should consider covering with slatwall.
We receive calls every week from customers who have landed on our website and like the idea of a wall-panel garage storage system. It makes good use of walls that otherwise may only hold some hooks and maybe shelves. It looks great and is mould proof and provides many options regarding the types of accessories that can used, from baskets to hooks, brackets, bins, and bags.
The question many people have, however, is how much of my wall(s) should I cover with slatwall panels?
Measuring your wall area
The first step is to determine how much wall space you have. From this measurement, you can then start to work on how much wall space you want to apply slatwall panels to. This will be determined by how much you have to store and your budget.
Measuring your walls is as easy as width x height. Just use a measuring tape on all available wall areas. Consider the two side walls and the back wall.
How much slatwall area do I need?
If you are storing adult-sized bikes, ladders, large gardening tools, and water sports equipment like surfboards and canoes/kayaks, you will require one or even two walls.
Consider that adult bikes whether stored horizontally or perpendicular to a wall are about 2m in length and 60cm in width (handlebar width). Multiply this by the number of bikes you are storing, and you might quickly fill an entire wall with bikes.
Kayaks are long and need to be stored up high and out of the way.
Do I panel a full wall or part wall?
This is a decorating/design question rather than one about storage. Some people like the fact that their entire wall looks the same, ie it has the same look/texture from top to bottom. In this case, they will panel it all from the top of the skirting board to below the cornice.
From a storage perspective, it is not necessary to slatwall your entire wall. The area 1m from the skirting board (ie your floor) and say 30cm from your ceiling can be left as is. This is because you are unlikely to hang or store items that low or high. If budget is a consideration, this is a great way to reduce total panels and therefore material and labor costs.
There are some exceptions. Whilst I write this, I can also reflect on some homes we have installed StoreWALL in, which have paneled their entire wall and used much of it. In those high areas close to the ceiling, customers have installed shelving and stored items that are irregularly used. For those lower areas close to the floor, they have hung bags and baskets.
Working out your costs
Most people starting their slatwall journey are just after a simple quote that will give them some guidance as to how much the project will cost them. Knowing your wall’s dimensions helps. This information can then be used with our Panel Estimator to calculate the potential cost. Alternatively, you can also email us @ info@storewall.com.au these dimensions and we can quote you.
Below is an example of such an email:
Hi
I am interested in your product to instal on my garage’s wall in order to organise my tools including power tools (domestic not professional):
The following are the relevant measurements:
wall number 1 the right section on the photo:height: 180 cmwidth: 117 cm wall number 2 the left section on the photo:height: 139.5 cmwidth: 149 cm
Regards
M
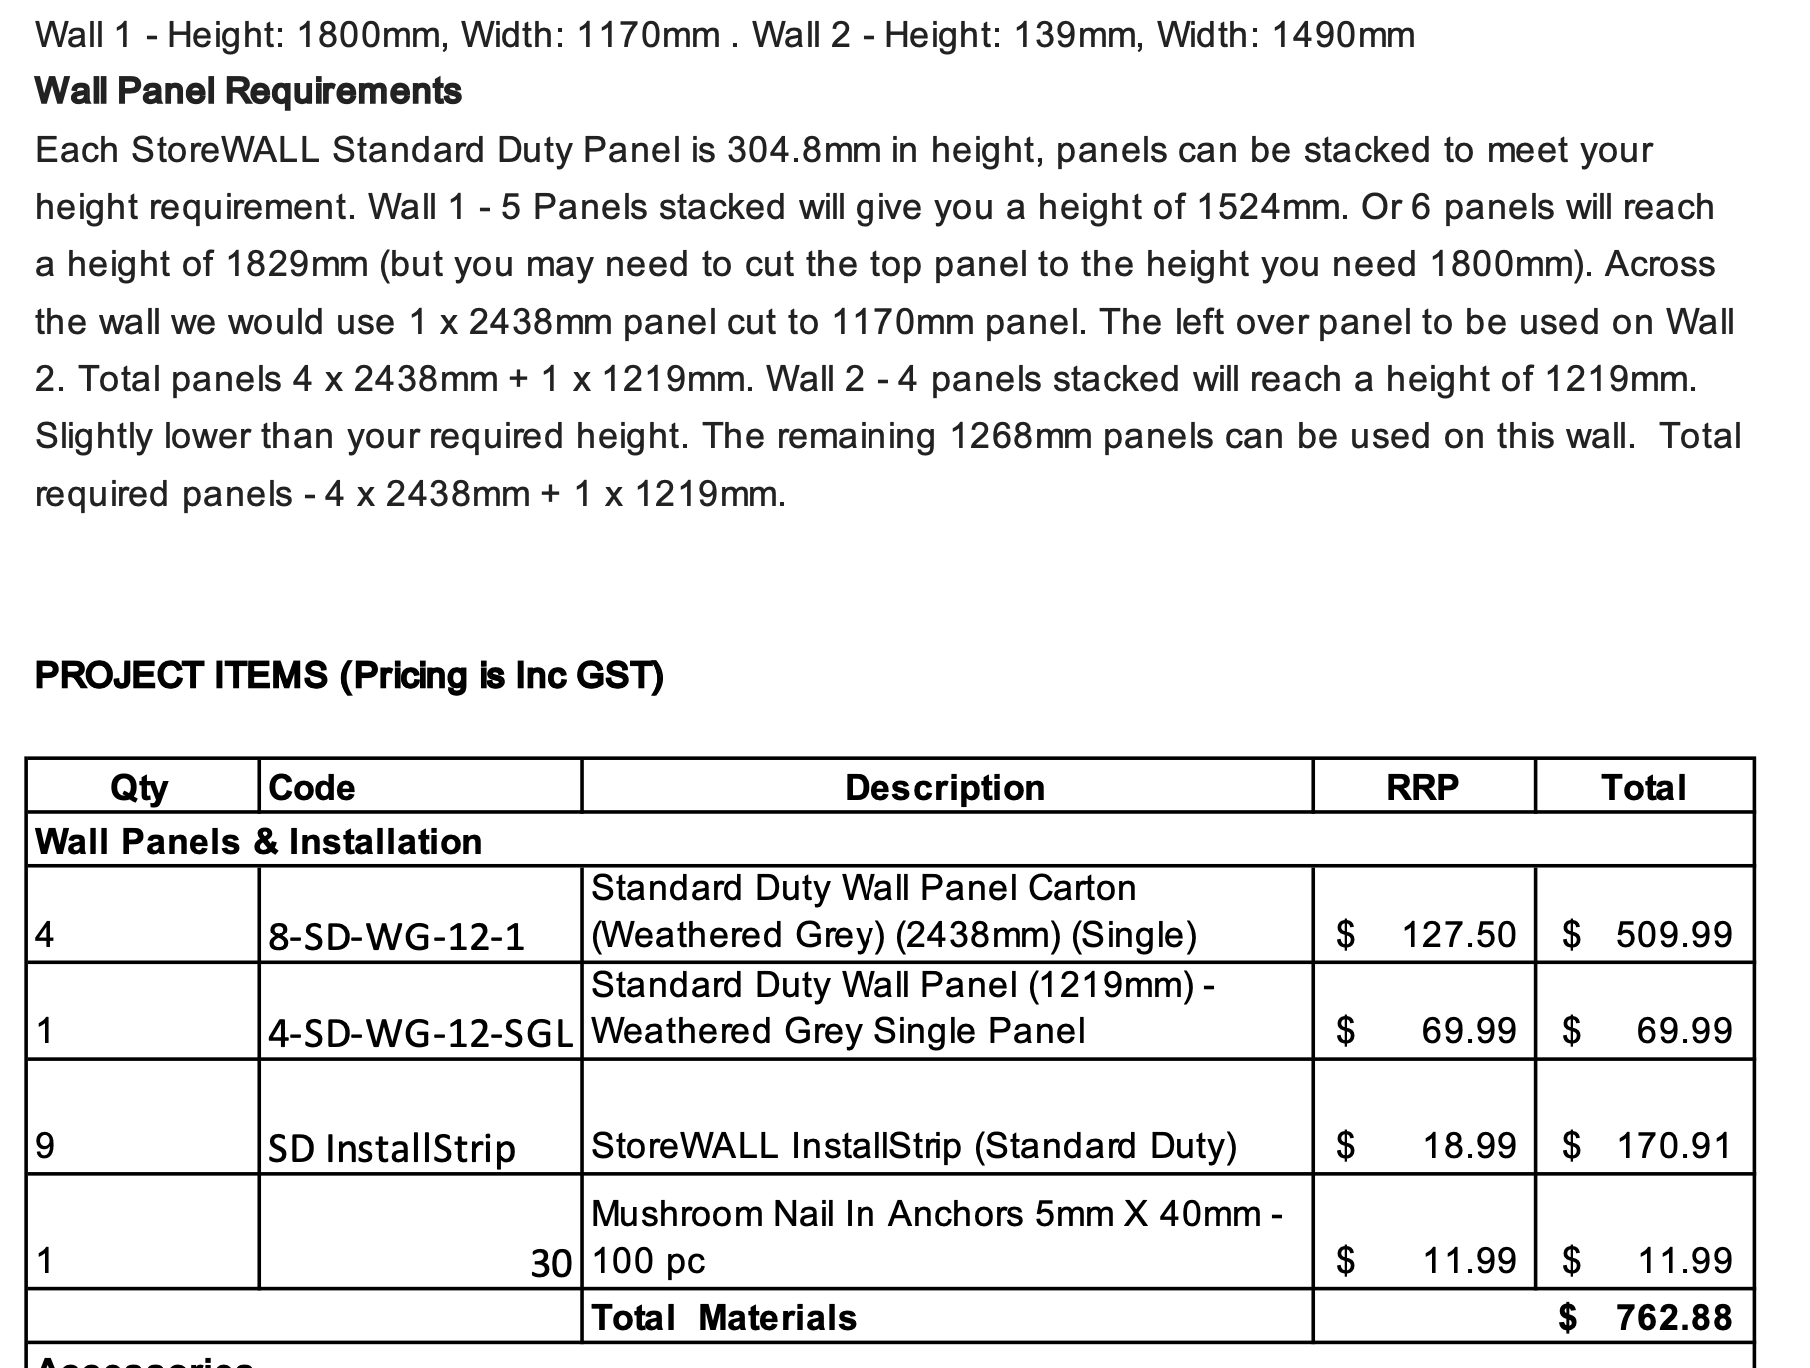
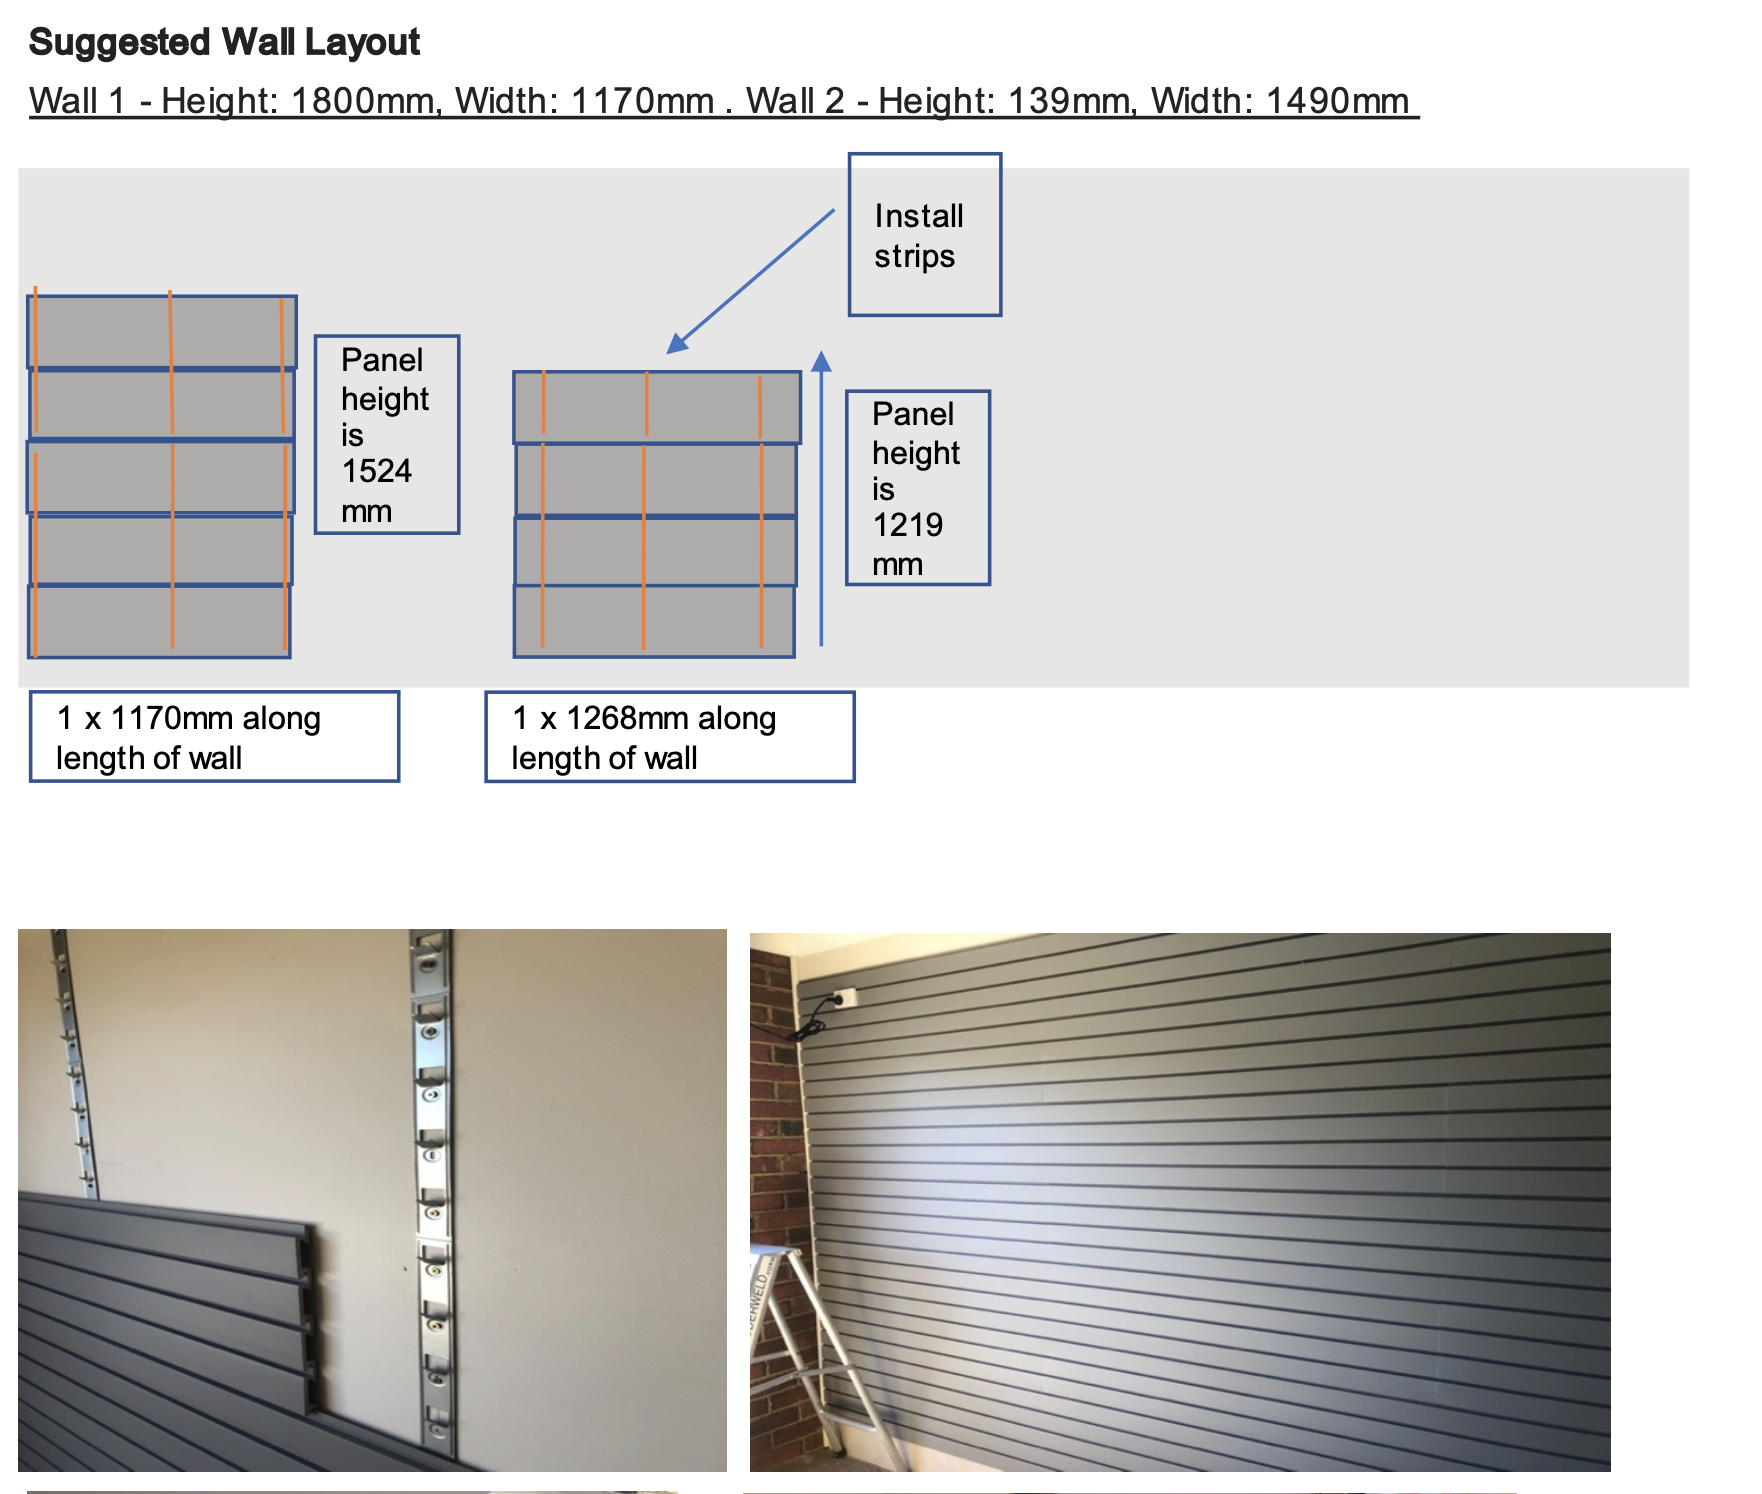
This is what the customer received from us:
StoreWALL Quote Example
Garage Slatwall Installation
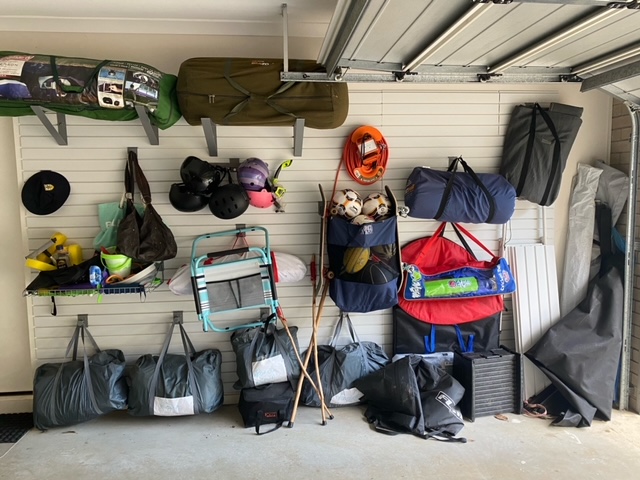
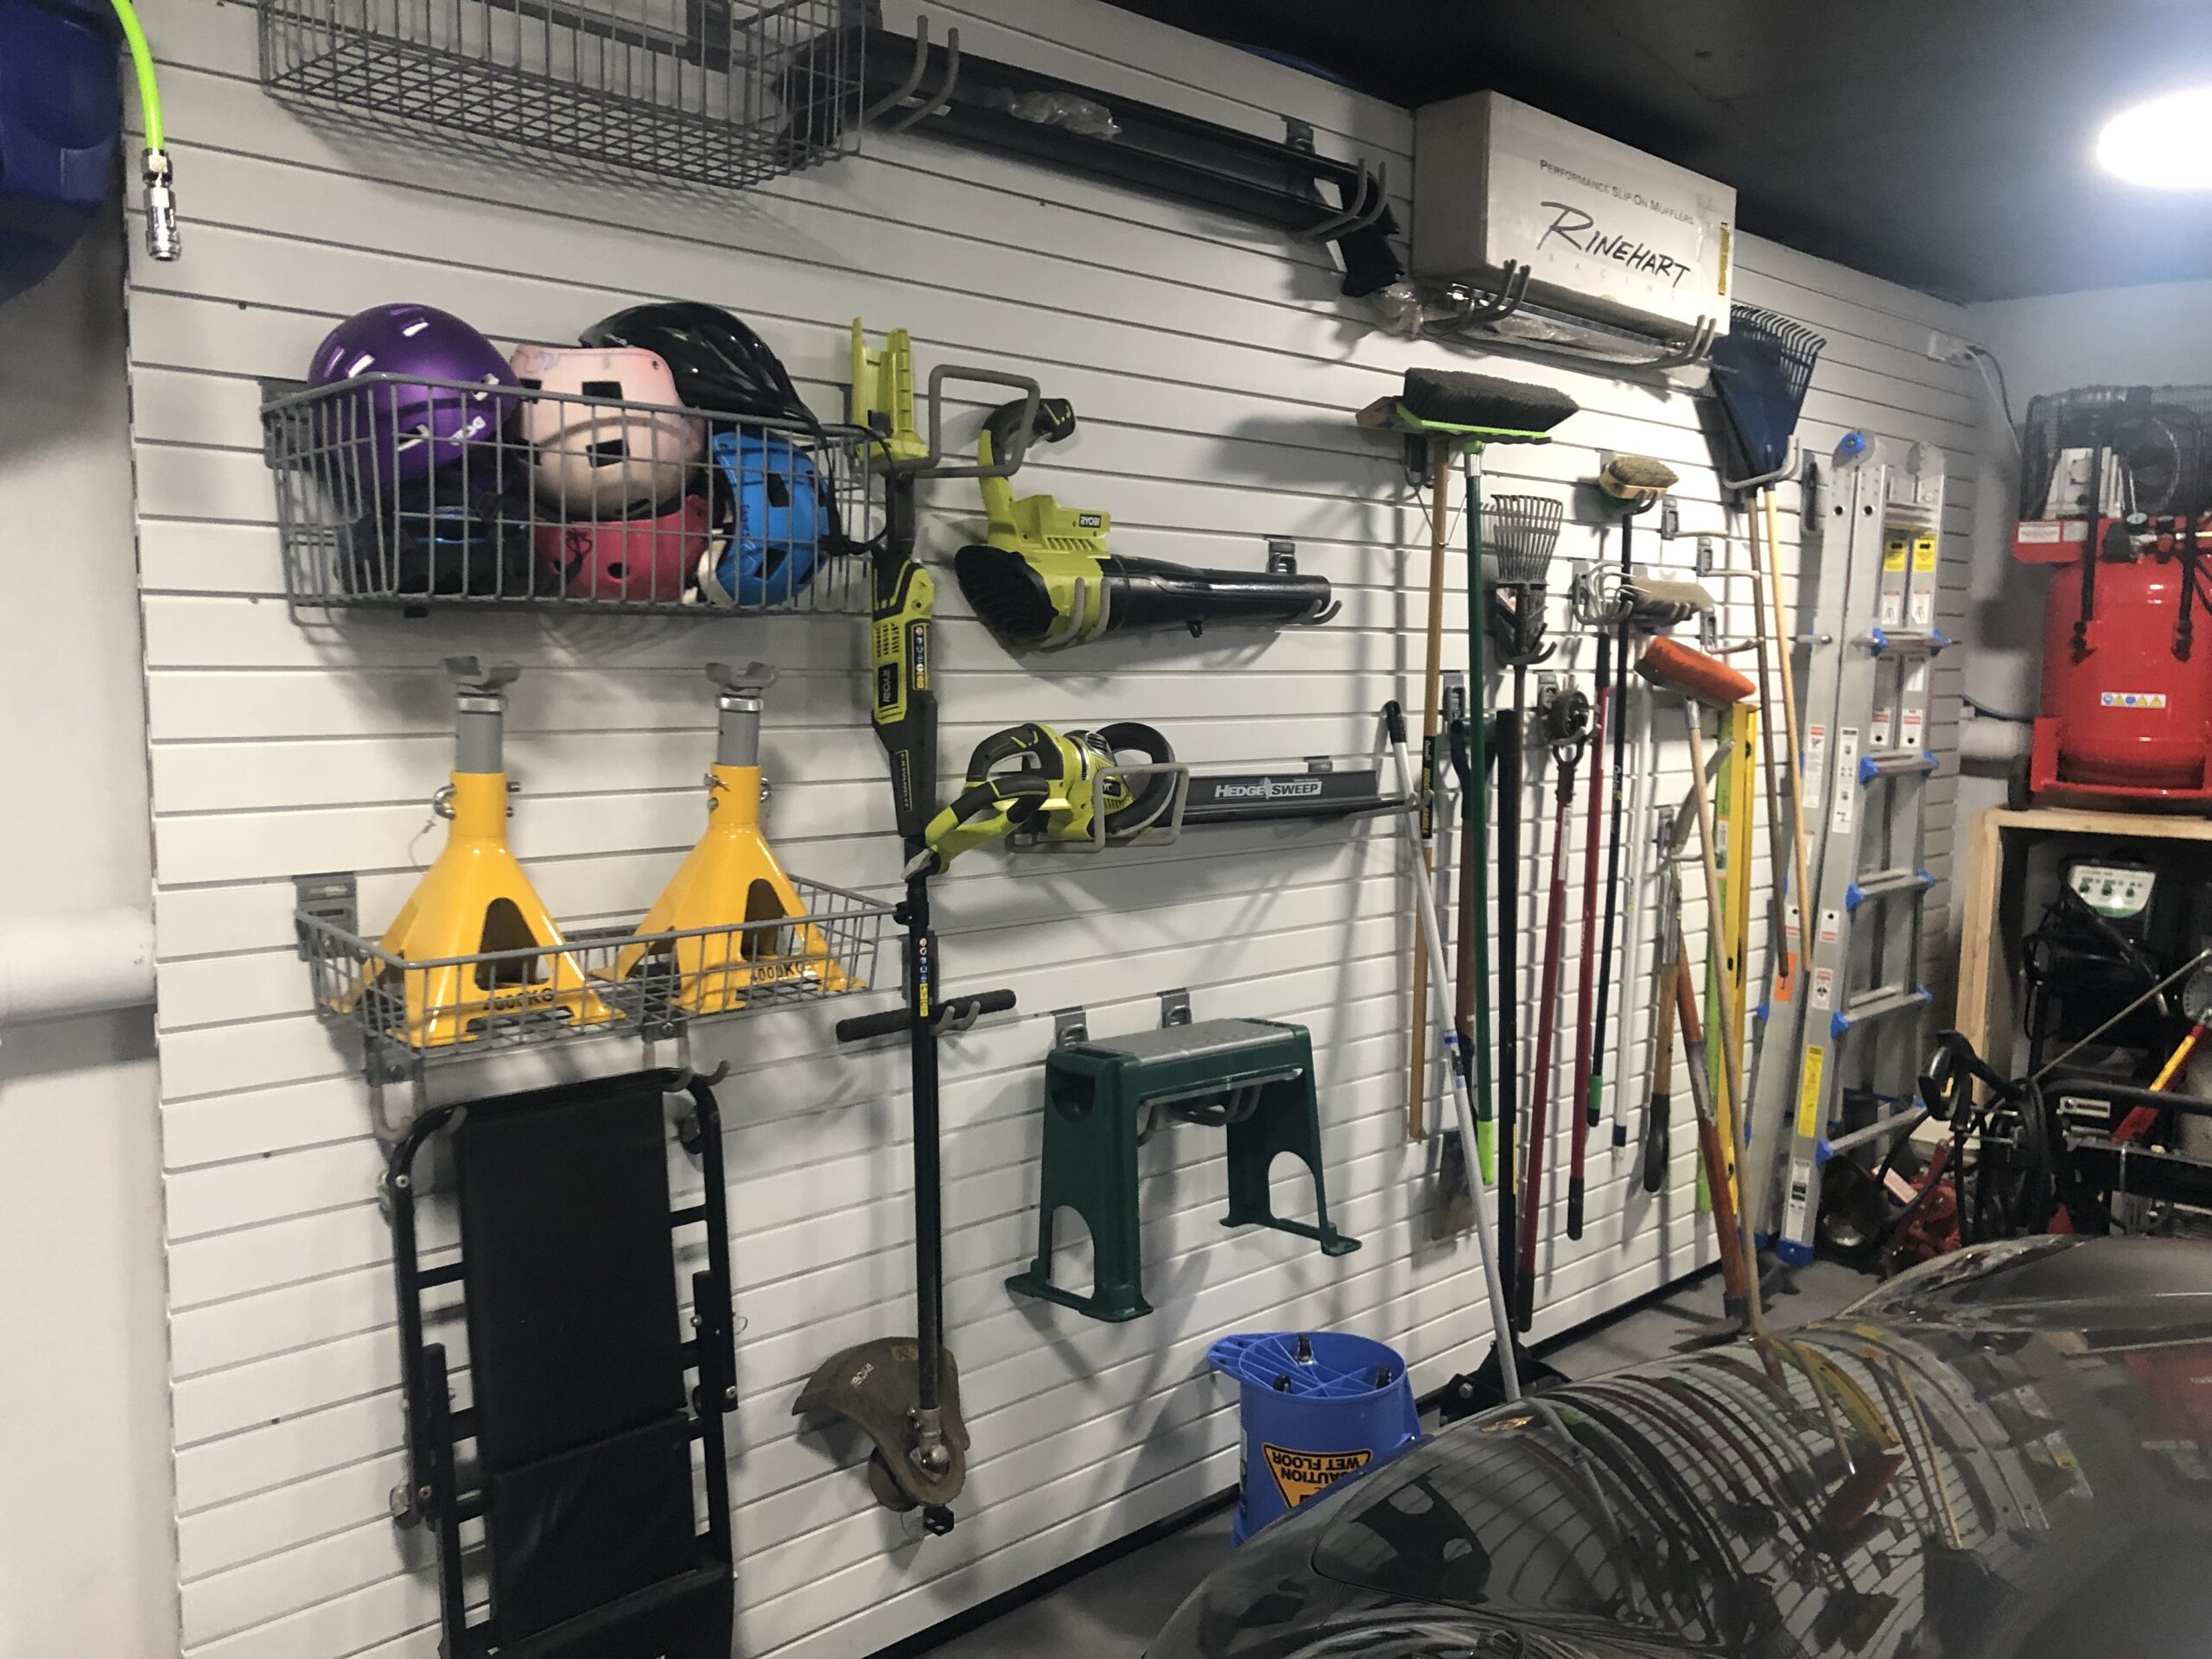
Below are examples of full and part garage slatwall installations. Some of these have been completed by us here in Melbourne and some by customers in other states. Both approaches work and have given customers with enough wall space to manage their storage needs.
Full Wall InstallationsPart Wall Installations
In summary, your garage slatwall installation is down to your personal design preferences and your budget. We can help guide you with both of these so that you make the best choice for your storage needs.
If you are a retail store, MDF Slatwalls are ideal. If you are a residential home owner looking to better manage your garage storage issue, then there are several reasons why you don’t want MDF slatwalls.
MDF Slatwalls for Retail Stores
Buy them, use them. They are affordable and come in various colours (painted MDF board). The businesses around Australia who sell them also sell specialised accessories for retail stores which can be used with these slatwalls.
Why You Don’t Want MDF Slatwalls
Detailed below are several reasons why using MDF slatwalls designed for a retail store are a bad idea when you are looking to add slatwall to your home, garage or workshop.
Price works
MDF Slatwalls are affordable at about $60ex for a 1200mm x 1200mm piece. Straight away there is a certain appeal here that you can cover your garage wall with the panels and you are done. Buying them and installing them on your wall is one thing, getting good value out of them once installed is another.
MDF Slatwalls are Not Water Proof
They are not water proof nor moisture proof. If you have an old garage which may get exposure to moisture, MDF boards are not your friend. They may be painted and can be repainted but MDF will absorb the moisture over time. The shape of the board may change and it may also start to develop mould.
Painted Finish
MDF Slatwall is MDF board that has been painted. If you are planning on hanging tools or bikes on your wall, the painted finish will wear quickly. The walls will dent easily (showing the inside board) and the paint will chip.
StoreWALL Groove Spacing
Groove Spacing
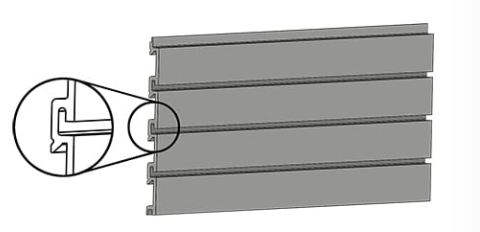
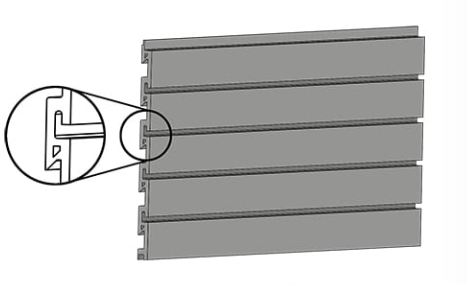
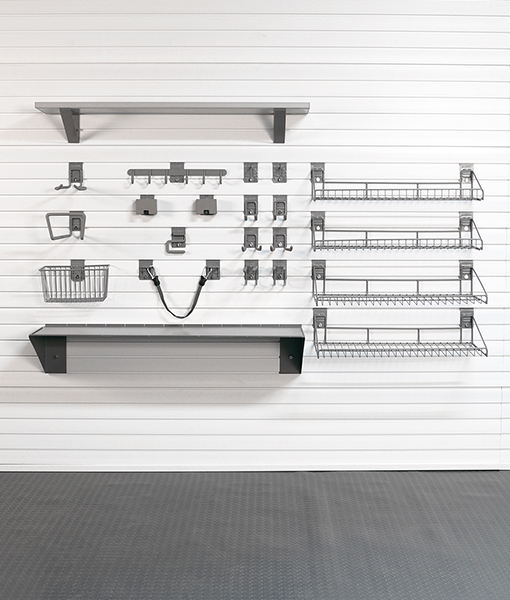
Typical slatwall groove spacing is 100mm. See below picture of what the groove looks like. The challenge with 100mm spacing is that most popular garage storage solution providers do not offer accessories that will work with this spacing. The 100mm spacing is designed for an accessory that has a top L shaped lip only and no lower locking mechanism.
The only StoreWALL accessories which will work are our Bins and our Metal Ledge Shelf. All other accessories carry CamLok which works on a 75mm groove spacing. Similar limitations apply if you are considering using Bunnings StorEase and other popular garage storage solutions. They all offer a very similar groove spacing.
MDF Slatwalls
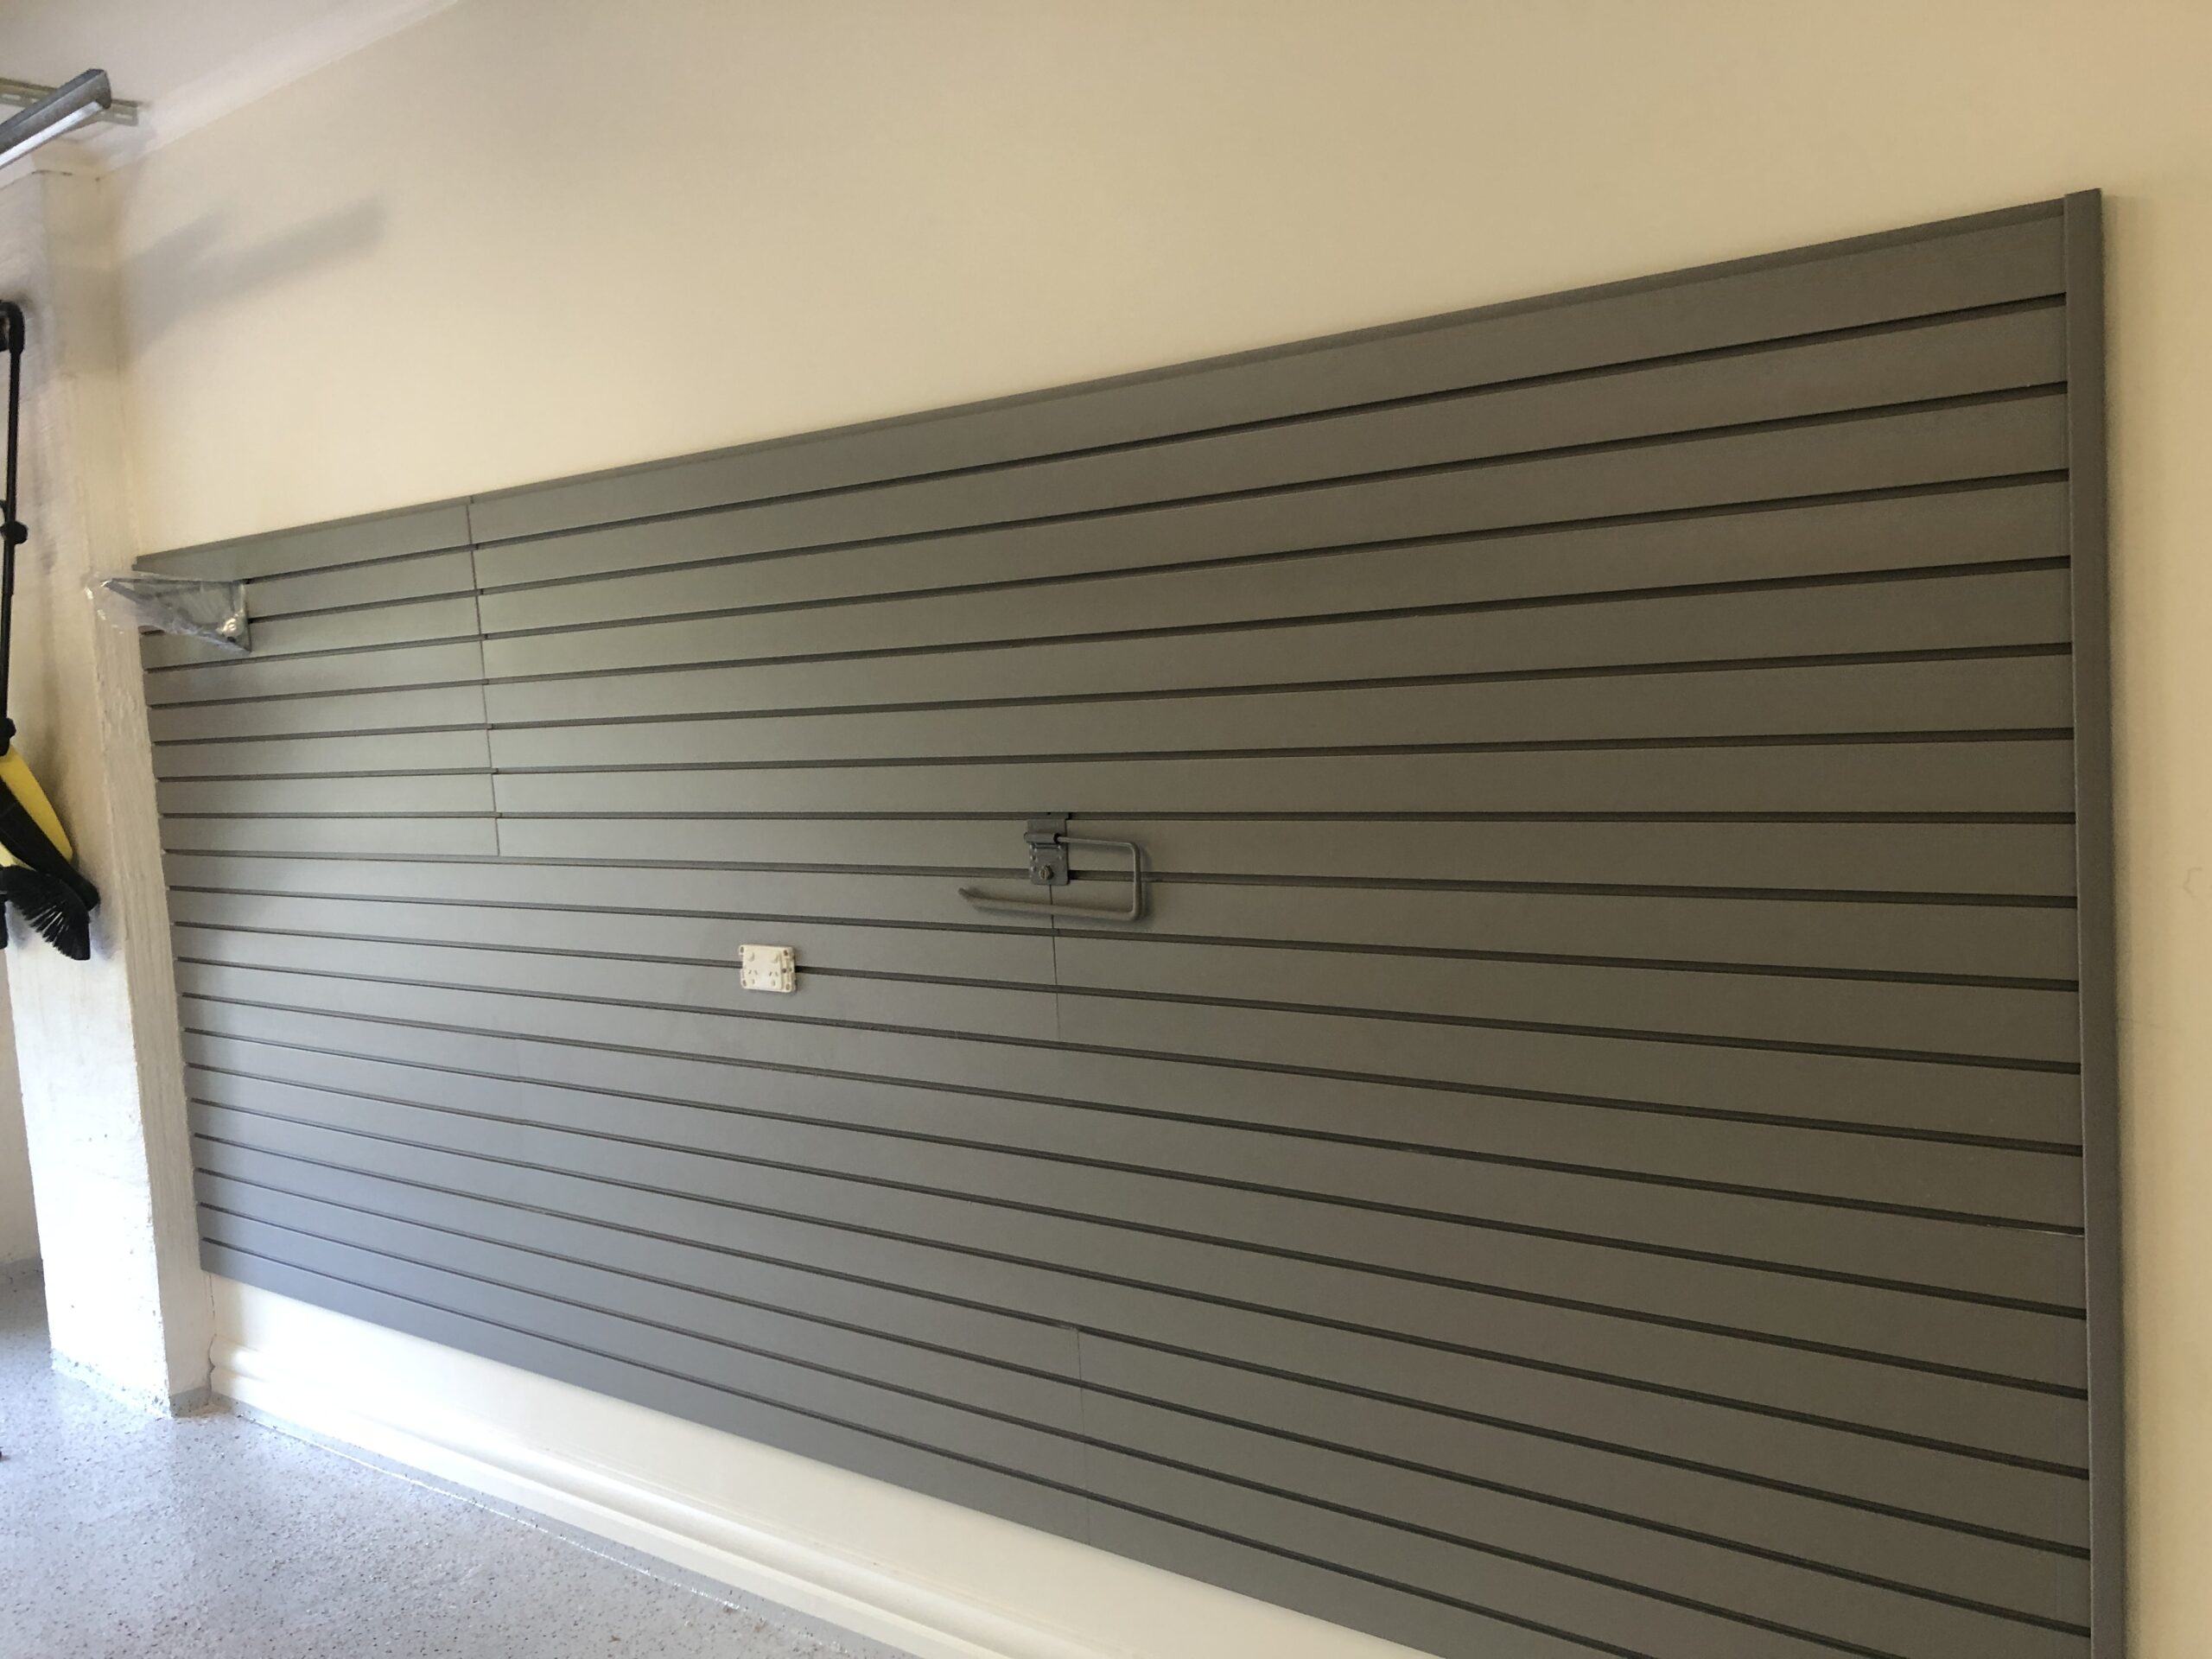
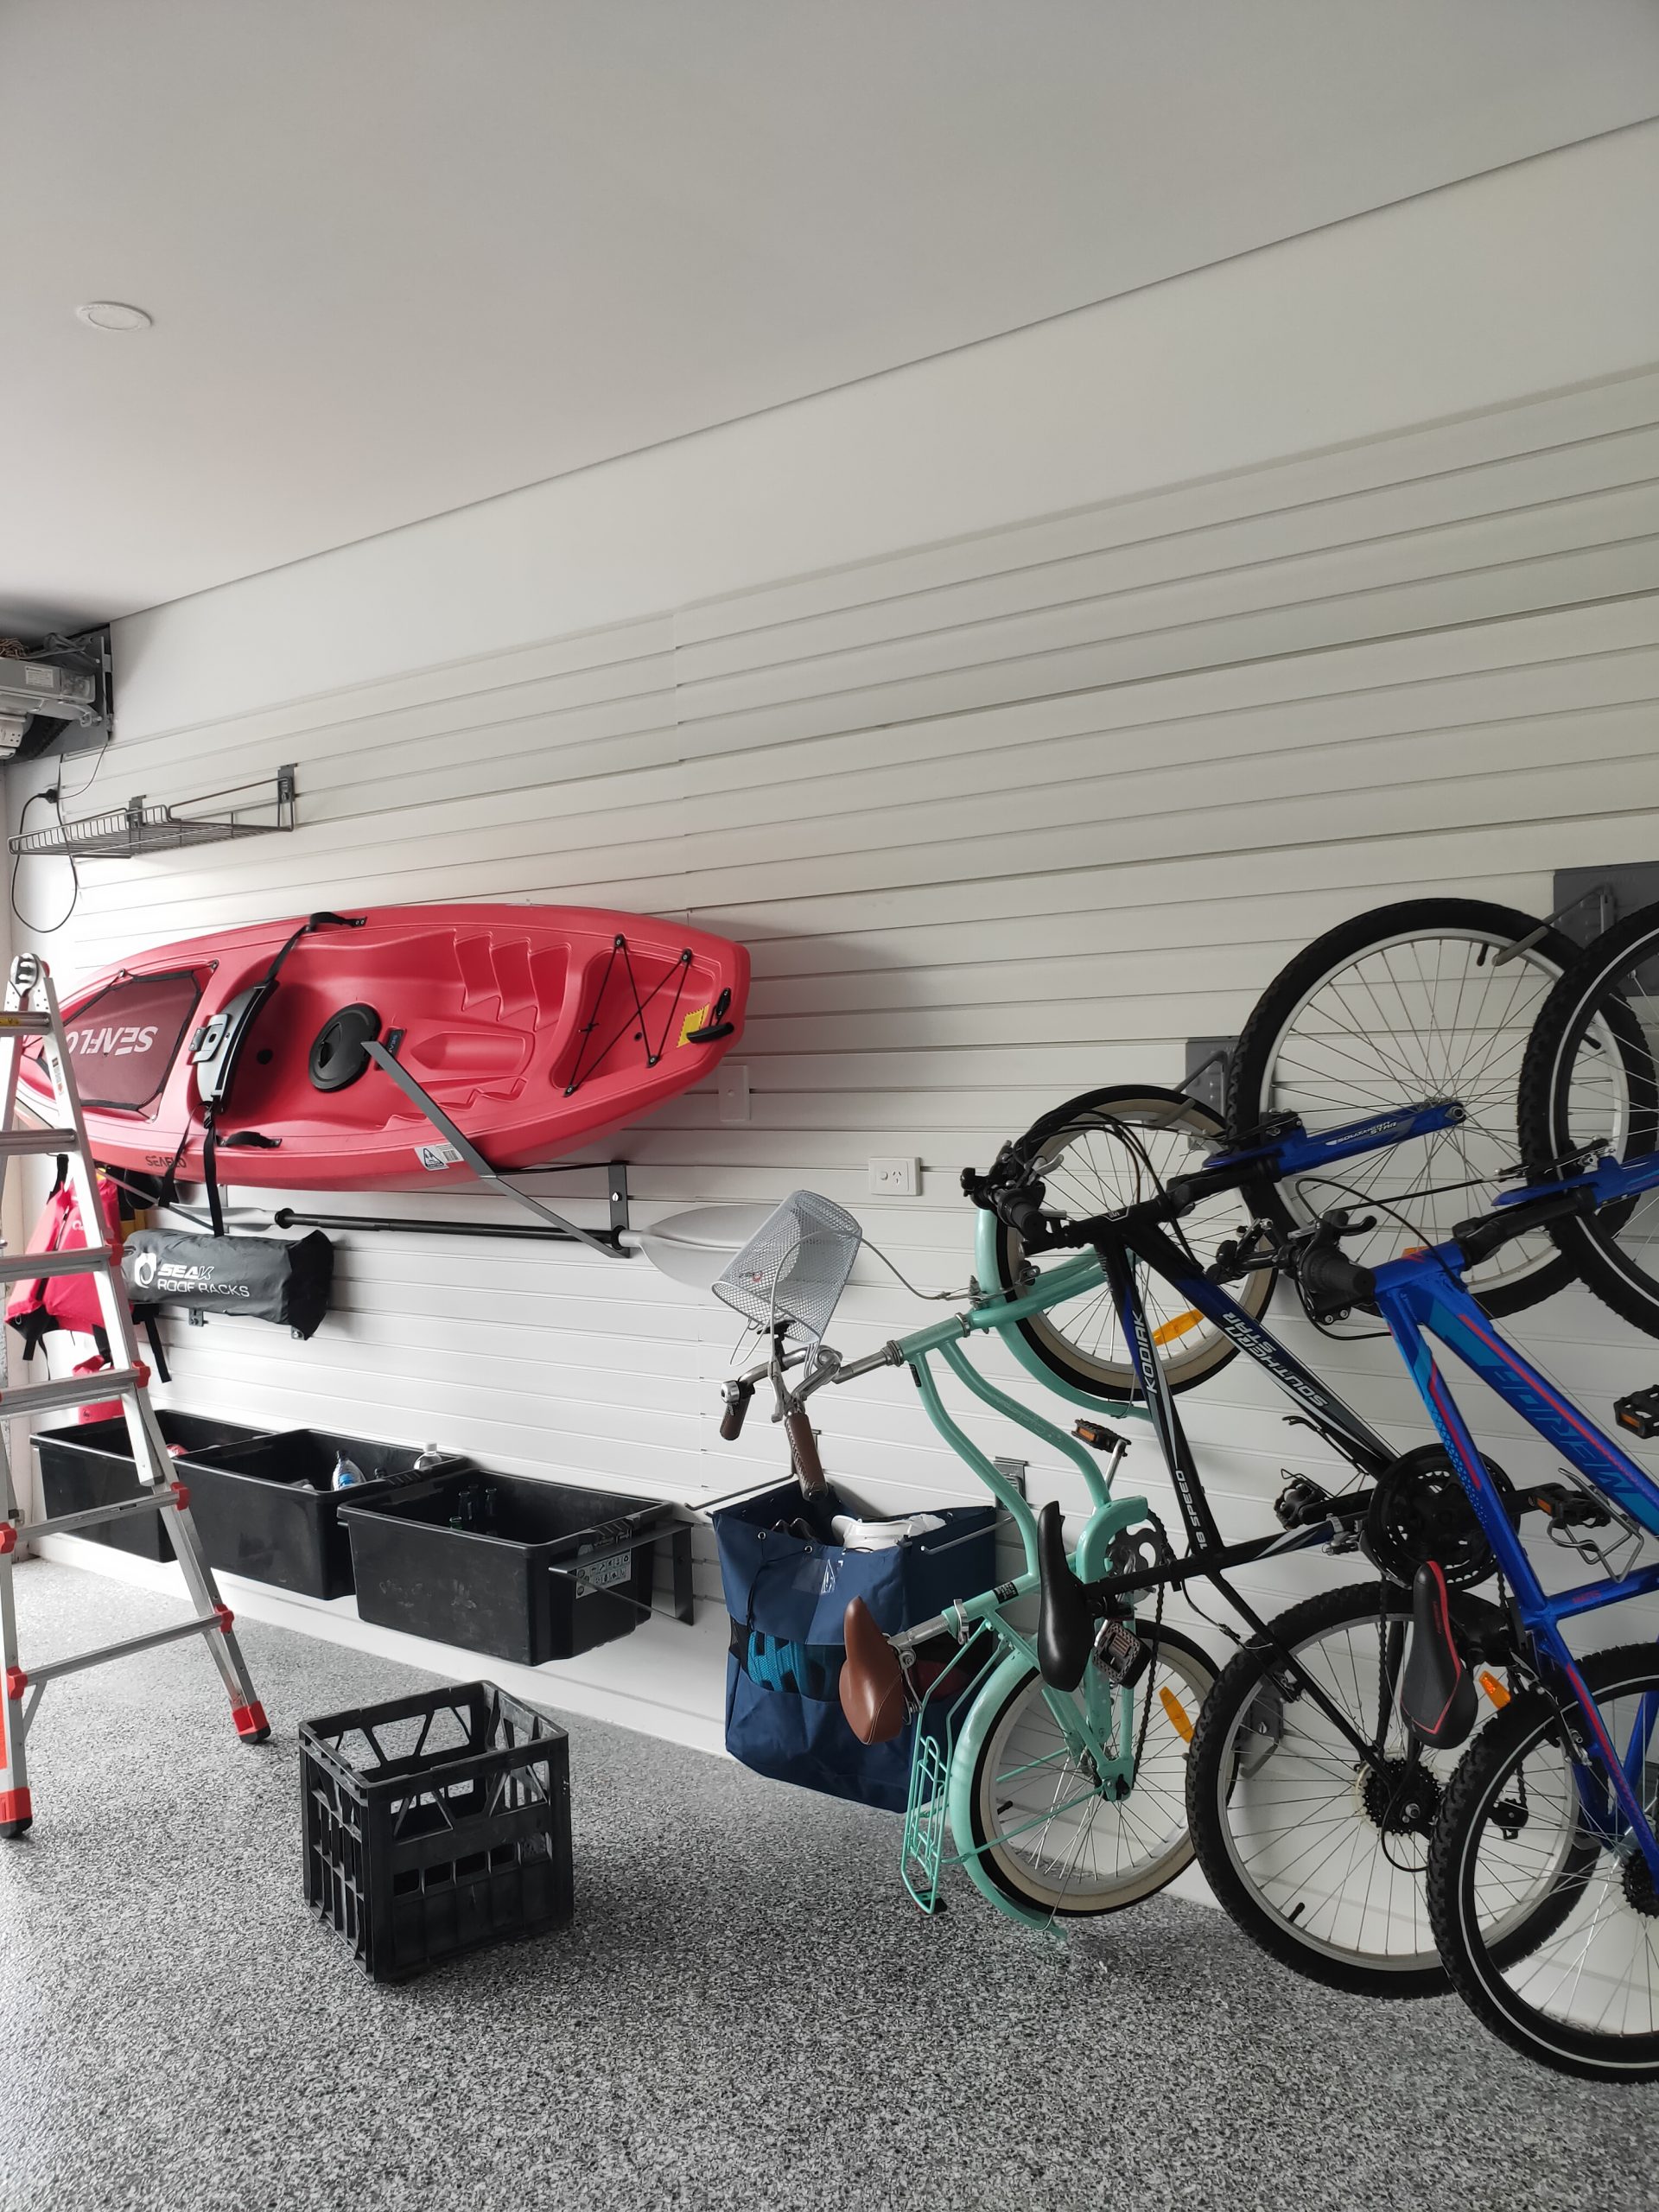
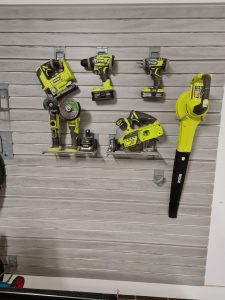
We recently worked with a client in Queensland who had MDF slatwall in their garage and purchased some StoreWALL accessories. We removed the Camlok for them and the accessories worked great for lighter items. Not ideal for heavy items like bikes. See photo below.
Lack of Accessories
The final and most important reason why you don’t want MDF Slatwalls is the limited range of accessories and the lack of a locking mechanism. Whilst accessory pricing might be cheap ie $1.50 for a metal single hook, simple hooks are all you will end up with.
Slatwall Hooks
The reason for this is that Slatwalls are made for Retail Stores to display merchandise.
StoreWALL Tool Hook Range
Looking through the accessory range of a popular slatwall supplier, they offer a good range of single hooks, hooks for balls, hooks for clothing and some baskets. These accessories are not designed for a garage.
Compare this to the StoreWALL range. We offer industrial-grade accessories to hang all of your gardening tools, brackets for shelving, hooks and shelves for your heavy power tools. We also offer custom hooks for your bikes, shelves for your boots and baskets and totes for everything in-between. These are all designed with StoreWALL’s unique CamLok locking mechanism.
CamLok ensures that once the accessory is on your wall and locked in, it will not move until you unlock it.
Client Case
A week ago I had a customer order 15 accessories ranging from bike hooks to tool hooks. The customer was a hotel which seemed to have had slatwall installed in a section of the basement. When I enquired if they already had StoreWALL panels, they sent me a picture of what they had and a measurement of the groove spacing. Turns out it was MDF slatwall with 100mm spacing. I refunded the client’s money and advised that they should look at some of the MDF Slatwall suppliers for accessory options.
I have also had customers who are in the process of building a new home and have added slatwall to the design of their garage walls. Builders look at these requirements and simply buy MDF slatwall. The poor customer eventually realises that MDF slatwalls are not what you need for your garage.
Defined as “consisting of separateparts that, when combined, form a completewhole” by Dictionary Cambridge.org. Modular Garage Storage offers you the ability to kit out your garage with a combination of storage options including shelving, hooks, baskets, bins, bags, brackets, cabinets, drawers and benches. These are then hung on your garage wall or assembled around your garage.
What is Modular Garage Storage
Our need for storage varies by household but also from different part os the home. You may be looking for some storage options for a small shed or for something within your laundry. Later on it might be for a small gym space in a spare room or you may have a large double garage.
StoreWALL is modular not only in its range of accessories but because it can be used on walls as small as 600mm or as long as 10m or more.
What makes it modular and a great fit for small and large spaces is that the wall panels can be custom cut to your wall needs and our large range of accessories added and removed from your wall as your needs change.
Small Storage Shed
If you live in the inner suburbs of Melbourne or Sydney street parking is all you may have for your vehicle. In terms of shed storage space you may be limited to a small shed in the back or side of the home.
Many StoreWALL customers limit their purchase to 1 or 2, 1.2m panels specifically for a small wall area in their shed. It helps them store their main gardening tools. Most will purchase a couple of hooks (ie Heavy Duty Tool Hook) and maybe a shelf and a basket. We actually sell these as gardening bundles in our online store.
Gym Room
2020 was a big year for setting up home gyms. With so many gyms being shut (due to lockdowns) many turned to working out at home.
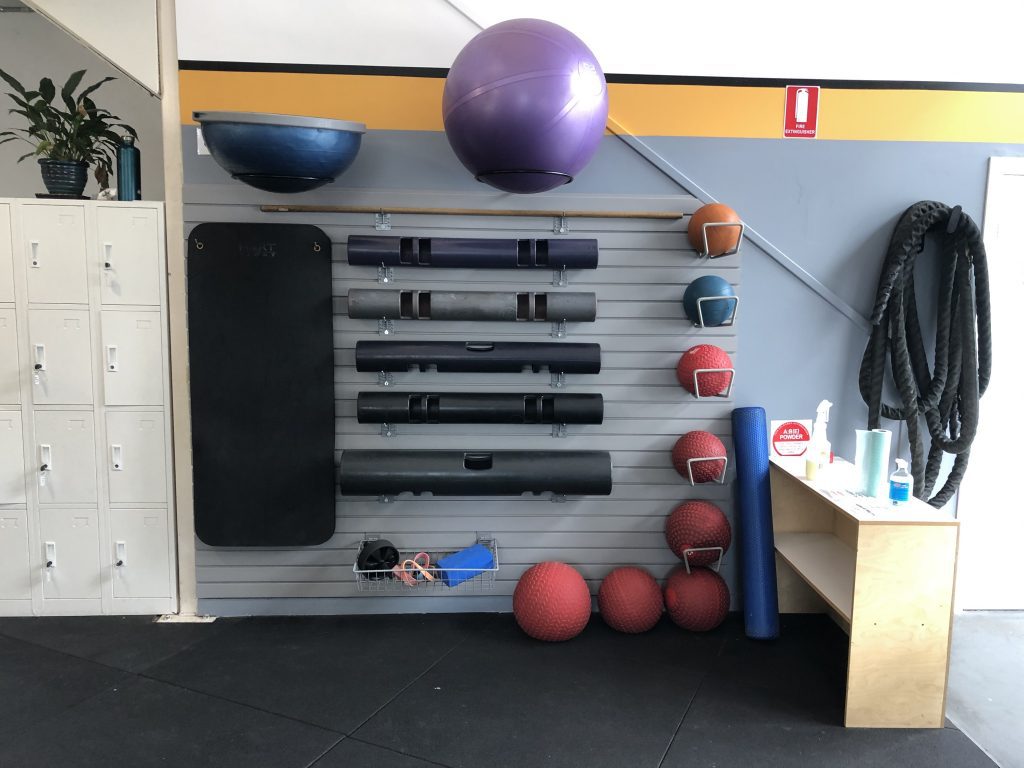
Many StoreWALL customers have combined a range of shelves and hooks to create their own gym room. From holding medicine balls and weights and ropes, StoreWALL’s range of accessories has something from almost every gym need. Even a Bosu Ball.
Best of all, if you decide you want to add new equipment into your gym room, you can easily move or even remove our accessories.
StoreWALL has been used to manage large walls of workout equipment as well as small home workout rooms. It’s modular approach and the fact that it is sold as single 1.2m panels, enables you to buy and use what you need.
Bikes
Storing bikes is hard. No matter where you store them, they always take up a lot of space. The advantage of modular garage storage is that a wall that was once shelving dedicated to kids toys can be instantly transformed into a wall of bike hanging hooks.
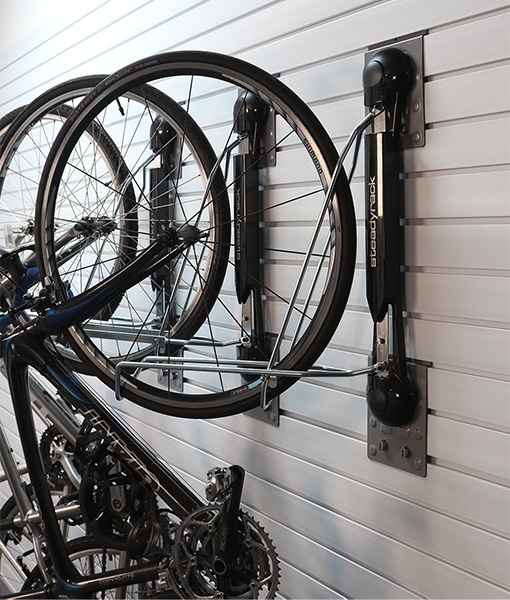
StoreWALL’s range of bike hooks allows you to add your hooks anywhere on your garage wall and hang your bikes perpendicular to that wall. Our Rotating Bike Hook goes one better by allowing you to then swing that bike close to the wall reducing the amount of room the bikes consumes.
If down the track you want to reclaim that storage space for shelving, baskets or even tools, it’s a simple un-clip of the bike hooks and the clip-on of the new accessories.
Shelves
Whether you make it yourself or buy it, having shelving in your garage area is important. Using StoreWALL’s 254mm and 381mm brackets, you can easily create your own shelving and customise its width to your wall. StoreWALL sells a pre-cut floating shelf which works with our brackets. You can also use your own floating shelf cut to the size you need.
Using a wall panel garage storage system allows you to move your shelves anywhere on your wall (adding or removing at the same time). It doesn’t get any more modular than that.
StoreWALL also sells a large range of pre-made shelves in both metal and plastic form which can be added to your wall. Most of these items also come with CamLok locks securing them and your items.
Laundry
Most laundries are multi-functional. You may automatically think washer, dryer, the dirty clothes basket. They also store the clean clothes as they transit to drawers or cupboards. What about washing/cleaning chemicals, toilet paper, beach clothing and towels? In my home, it also stores the internet router, home phone and drive for our external cameras.
As these storage needs change over time and some takeover others, it is helpful to be able to adjust how your items are stored.
Laundry storage kit
We recently helped a customer in Melbourne with our Shelf and Basket Kit which was used for their laundry. Surprise, surprise it comes with a combination of shelves and baskets, ideal for much of what goes on in the laundry. Another customer recently called and was wanting ideas on how to store Beach Towels. I ended up recommending a range of baskets of various sizes and as well as the Large Tote Bag.
The great thing about wall storage is that all accessories can be added and removed without having to drill new holes in your walls. Once the panels are installed, your wall is setup for everything.
Garage Bench and Cupboards
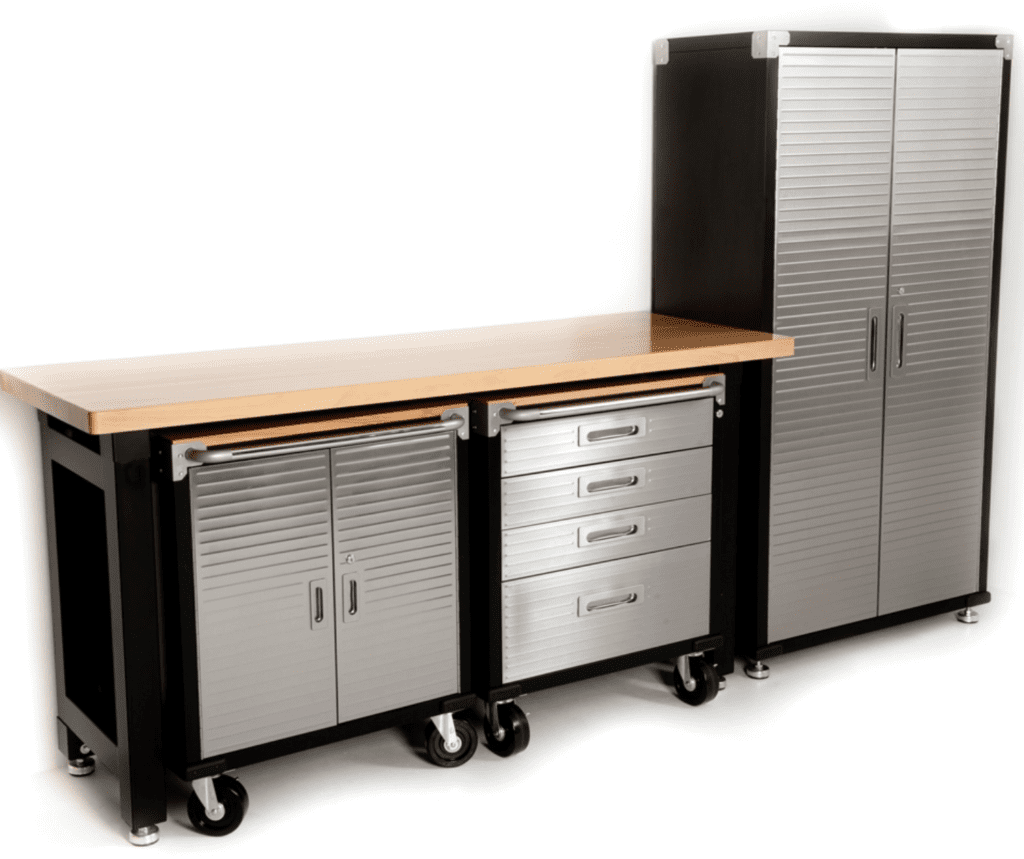
The advantage of “modular garage storage” is also evident when it comes to furniture such a work benches and cupboards. Having benches with wheels allows you to freely move them around.
Today you can purchase drawer units and small and large cabinets which can be combined to create a complete garage solution. Some cabinetry is also designed to be mounted on your wall. They can then be added to over time as your needs require.
There are so many options available to households these days which can make their storage headaches go away.
Following a year of restricted movement around Australia and very limited travel overseas, it is no wonder Caravan and Campervan use has gone through the roof. Trying to pack as much as you can into that one moving room can be challenging. Earlier this year StoreWALL was challenged with how to help a customer with Campervan Storage Ideas.
Campervan Storage Ideas
Wade who is based in Perth, phoned us mid-way through 2020 with a range of questions regarding using StoreWALL wall panels in a storage box that is attached to his campervan.
The Storage box or container is external to the campervan and is used to store a range of tools and necessary items taken with each trip.
I have very little experience with Campervans, let alone Campervan Storage Ideas but after our chat, Wade sent through some photos of his Storage Container and I could see what he was trying to achieve.
The container has the following dimensions
1800mm (W) x 750mm(H)
Campervan Storage Ideas
The water tight container sits outside on the back of the campervan and is enclosed with a lift door at the front allowing for access from the outside only.
You can see from the photos that Wade has already packed as much as he can inside the container but everything seems to sit on top of each other. With the bouncing around when they travel off-road it could rather messy.
Installation Options
The biggest challenge we were going to face with this project was how to secure the InstallStrips to the back of the container. Wade looked at both welding and adhesives options. He settled on an adhesive and had some help from a local workshop he was in touch with. The adhesive need to be able to bind steel on steel.
We used Sikaflex-118 Extreme Grab. We let it cure for couple more days than recommended before loading it up and has been great so far.
Wade’s feedback
Campervan Storage – Wall Panels
Given the size of the container, there were a few ways to solve the storage challenge for Wade. The easiest and most effective was to cut two 2438mm panels to the 1800mm width he needed. They would sit on top of each other and together offer dimensions of 1800mm x 610mm. This is slightly shorter than the 750mm that was available, but it also didn’t require cutting additional panels.
Whilst the actual storage space was limited, Wade had a good idea of what he needed to have hung on the back wall of the container. He chose several Utility Hooks, some smaller Universal Hooks and a Large Tote Bag. Wade wasn’t planning on using all of the accessories at the same time but wanted options depending on where he was traveling and what he need to take with him.
Customer Feedback
Happy New Year, Arthur. Here are couple pics of one of the configurations of StoreWall in the back of our campervan. This one enables everything we need for short trips to be lifted in and out without moving anything else. Very satisfying and always tidy. The great benefit we’ve seen is that we can easily adapt and reconfigure to suit different loads. This really is a useful and flexible system. Feel free to use this as a recommendation if you would like to. Cheers Wade and Robyn.
Campervan Storage Ideas
Campervan Storage Solutions
This was quite a unique project for us at StoreWALL. However more recently we have had several customers order wall panels for cupboards that they own.
Wade was really happy with the outcome as you can read from his feedback.
Consider the improvement to your home’s value if your garage was more functional offering easy to use storage options from the first day the new buyer moves in. Investing in your garage is like investing in your garden, it is something you can enjoy whilst living at the home but can make a huge impression on any new prospective buyer.
The garage is usually the last room you turn your attention to when you are building a new home or renovating an existing home to live in or even flip. Even so, investing in your garage may be that point of difference you are looking for that could deliver a higher final sale price.
Consider that a higher proportion of customers who call StoreWALL looking for ideas and pricing to improve their garage are women. A tidy and organised garage doesn’t just appeal to the male buyer. It can motivate both parties to see your home as a worthwhile purchase.
New Home Design
Home design in Australia has moved the garage from the back of the property to the front. For many, it is also their main point of entry into the main living quarters of the home. However walk past most new homes and you will notice that their double garage usually only fits one vehicle, with the remaining free space taken up by stuff usually parked on the ground or on shelves against the wall.
Unfortunately it does not make for the prettiest site and confirms that garages still don’t get enough attention and that garage sizing by many home builders is not meeting people’s needs.
If you are prepared to invest in your garden so that it improves the overall look and value of your home, why wouldn’t you also invest in the garage? Consider how you will feel each time you enter and can easily find that tool or that beach chair or piece of sporting equipment. Whilst we don’t build our homes for our neighbours, they too will compliment you on the complete package you now have.
We recently completed some work on a lovely new home (about 18mths old) in a Melbourne beach side suburb which had a combination of brick and plastered garage walls that were not really helping this owner.
Following their investment in StoreWALL, the owners now had a lot more options on how to tidy up their garage (they also did some work on the covering the concrete floor). The owner started hanging items on the wall before we could collect our tools to leave.
Home Renovator’s Missing Piece
If you are in the game of renovating old homes to rent or sell, I doubt the garage would receive any attention outside of a quick sweep prior to inspections or auction day.
If prospective buyers see value in a well designed garden that is easy to maintain, what would they think of a kitted up garage with an easy to use storage solution that is ready and waiting for them?
Investing in Your garage
If you are looking to landscape part of your home including new lawn and plants, a budget of $2000 would be the minimum (that is probably just for the lawn) you would need to start with.
A garage wall area of about 5-6m in width and 2m in height with wall panels and a bunch of accessories like looks and baskets would require an investment of about $2500. With this investment, the garage and storage options offered would be complete and ready to use. To a prospective buyer, your $2500 may be worth a lot more.
A Garage for Life
You might not be planning on staying in the same home for the rest of your life but a garage kitted up with StoreWALL is an investment for the life of the home. It will outlast many generations of owners and they will all be thanking you for it.
I am always keen to explore how StoreWALL compares to other Garage Storage Solutions available in the market. This week, as part of this post Gladiator Vs StoreWALL, I decided to take a look at Gladiator® Garage Storage Solutions. Specifically the Gladiator® Gear Track Channel.
Originally, I wanted to purchase and review the GearWall® Panel which I think is most similar to StoreWALL and which I had featured in a Slatwall comparison I had completed some months ago. However, I found that this panel is no longer available on their website and when I called them, they advised that they didn’t have plans on more coming into Australia (any time soon).
Gladiator Garage Solutions is made by Whirlpool.
GearTrack® Channels
The GearTrack® Channel is made from a thick hardened plastic. The dimensions of each channel are 1212mm(w) x 152mm(h). I purchased the 2 Pack Kit which just came with the Channels. The screws and the end covers are optional extras.
In terms of storage approach, these channels share many similarities with the StorEase Panel and Rail (sold by Bunnings). You have a Track/Channel (152mm) with 2 grooves which fit custom designed accessories. They are designed to be placed along the length of your garage but NOT to actually cover your garage wall. Although you can stack them on top of each (with some spacing in between).
The Channels I received where very thick and sturdy. They each weigh 1.7kg. The thickness of the channel is 18mm. One thing I noted however is that the Channel does not come predrilled with holes. Compared to the StorEase Channels/Rails this is a much stronger and sturdier unit.
Whilst the thickness of the Channel or Panel does not mean it can handle more weight it does mean that it can handle knocks better.
As part of this Gladiator Vs StoreWALL review I had also included a comparison with StorEase.
Below I have included the dimensions of the Gladiator product as well as the two options from StorEase and StoreWALL’s entry level Basic Duty panel.
GearTrack – 1212mm (w) x 152mm (h) x 18mm (d) (1.7kg)
StorEase Rail – 1200mm (w) x 100mm(h) x 10mm (d) (.95kg)
StorEase Panel – 1200mm (w) x 150mm(h) x 10mm (d) (1.05kg)
StoreWALL Panel – 1219mm (w) x 304.8mm(h) x 16.7mm(d) (1.9kg)
GearTrack® Accessories
GearTrack® has a huge range of accessories that fit the Channel but also veer into cupboards and many other garage needs. I decided to just purchase one accessory the Cradle Hook.
GearTrack® Hooks have a 3 part locking mechanism. (See picture below) There is lip which fits into the upper groove of the channel, then a shoulder which also fits into the upper groove and finally a lip at the bottom which fits into the lower groove. It seems to fit the track well enough. However, I do find that any a medium to heavy knock upwards does dislodge the accessory from the channel.
To be clear, if the accessory has weight hanging off it, this weight naturally pushes it downwards and makes it harder to move or dislodge.
I am biased in saying that the StoreWALL CamLok system is the best I have seen. It prevents any slight movement of the accessory with or without the weight hanging off it.
The other comment around the accessory is the quality of the accessory itself. I only purchased the one accessory. In this case it’s the Cradle Hook. When you compare the metal/alloy used to make this accessory to that of either StorEase or StoreWALL it looks a lot lighter. Again, you can’t directly correlate thickness to strength but it does feel a lot less sturdier.
All three accessories come with rubber padding to prevent damage to the items you are storing.
I have photos of all three items below so that you can see for yourself.
Gladiator Vs StoreWALL Pricing
The Geartrack Channel 1.2m 2 Pack costs $49.95 but excludes the coloured matched screws and the end caps. Combined they are another $16.90. The accessory I purchased is the Cradle Hook and this costs $9.95.
In terms of pricing this pretty good value.
Compared to StorEase, the StorEase Aluminium Smart Wall Panel is $25.97 for a single panel. If you purchased two of these then the overall difference is a couple of dollars. The equivalent Cradle Hook from StorEase is $9.47.
With StoreWALL you would need just the one panel. As both Gladiator and StorEase are screwed directly onto the wall, you could use the StoreWALL Basic Duty Panel which has the dimensions of 1219mm width and 304.8mm height. This is equivalent to 2 x Gladiator or StorEase channels/panels. A Basic Duty Panel costs $48.99.
A couple of key difference to note. With the StoreWALL Panel you automatically have the two sets of grooves setup one on top of the other. Whereas with both Gladiator and StorEase you can stack them on top of each other or you can have them side by side horizontally. To have them side by side horizontally with StoreWALL, you would need to purchase 2 panels (you would also then have double the grooves).
When it comes to the StoreWALL Cradle Hook, our pricing is triple at $30.99. However, you also get the CamLok locking mechanism and a much heavier duty accessory compared to both Gladiator and StorEase.
Gladiator Vs StoreWALL Accessory Performance
In the below video I have compared all 4 Garage Storage solutions. I show you how each channel or panel and its complimenting accessory work together to delivery a storage option for your shed of garage.
They all seem to work well. Probably the weaker of the four solutions is the StorEase slimline Rail (not the panel). I found that the StorEase accessory fell off this rail really easily as it isn’t given enough to grip onto. The StorEase panel performs a lot better.
I also have a video comparing StoreWALL to StorEase and it also shows how StoreWALL’s accessories will work on the StorEase panel.
StoreWALL’s accessories are the only ones which can be used on an alternative panel. You can’t use the Gladiator accessory on StorEase nor StoreWALL. You can’t use StoreWALL on Gladiator either.
Gladiator Vs StoreWALL Weight Specification
So far, we have talked about the weight of the actual panel. The key weight however that we are all interested in is how much weight the panel and combined accessory can hold on your wall.
With Gladiator, based on its specifications (Maximum weight limit is 75 lbs (34 kg) per linear ft (30.48 cm) it can theoretically hold 120kg of weight. Installation requires 2 screws per stud and a total of 6 per channel.
StorEase states that each 1.2m Panel (wider of the two) can hold 150kg. The Smart Rail on the other hand can hold 100kg. Installation for both of these is 6 screws per panel or rail.
With StoreWALL’s Basic Duty Panels our specified weight capacity is 34kg per panel. Installation is 20 screws per panel. Note that our panel is made up of 2 rows. If you upgraded to the Standard Duty Panel however and installed with InstallStrips, weight capacity is more in line with the Gladiator system. You can read more about this here where we explain the different weight capacity of our range.
My feeling is that 150kg being held by 6 screws is not realistic. I am sure Gladiator has tested this thoroughly, however it is a lot of weight to be hanging over your car and hoping the hook and the channel does not give way. Given the design of these channel systems, two screws per stud is all you can actually do.
Gladiator Vs StoreWALL Summary
As a consumer you are spoilt for choice when it comes to garage storage options. More Australian’s are investing in cleaning up their garages which is great. Just in my own neighbourhood many of my neighbours seem to have a StorEase solution on their wall holding up gardening tools (shows they all shop at the local Bunnings).
If you only need to store a few gardening tools then a Gladiator or StorEase product will work fine for you. It also ends up being a cheaper investment when you account for the accessories. However, when you have a large amount to store and a garage wall which is not really doing much, StoreWALL is a better investment. It will provide you with unlimited options on how to use that entire wall using hooks, baskets, bins or shelves. You can have them all and move them around as you need to. Plus your entire wall is covered so you are using 100% of it.