In the modern quest for maximizing living spaces, transforming your garage into a home office stands out as a brilliant and practical solution. As more people embrace remote work, the need for a dedicated workspace has become paramount. This guide offers insightful advice on converting your garage into an efficient, comfortable, and stylish home office.
Assessing Your Space
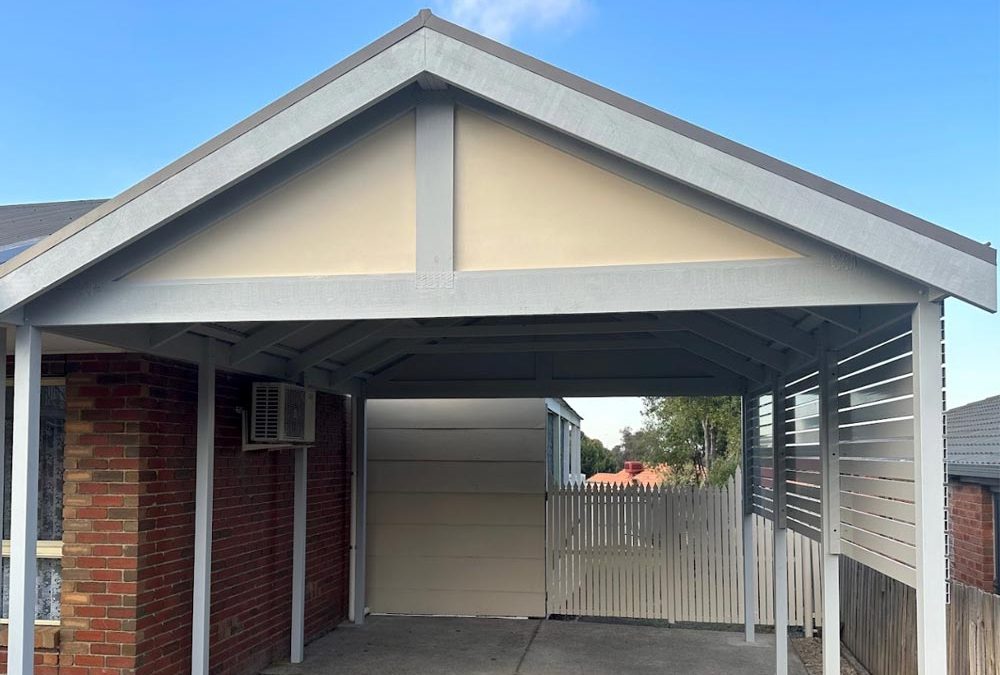
Start With a Plan: Before diving into the transformation, assess the size and layout of your garage. Consider the amount of natural light, the garage door’s location, and the availability of electrical outlets. A detailed plan will help you visualise the office space and identify potential challenges.
Permits and Regulations: Check with local authorities for any permits required to convert your garage into a living space. Compliance with building codes and regulations ensures safety and avoids legal complications.

Designing Your Home Office
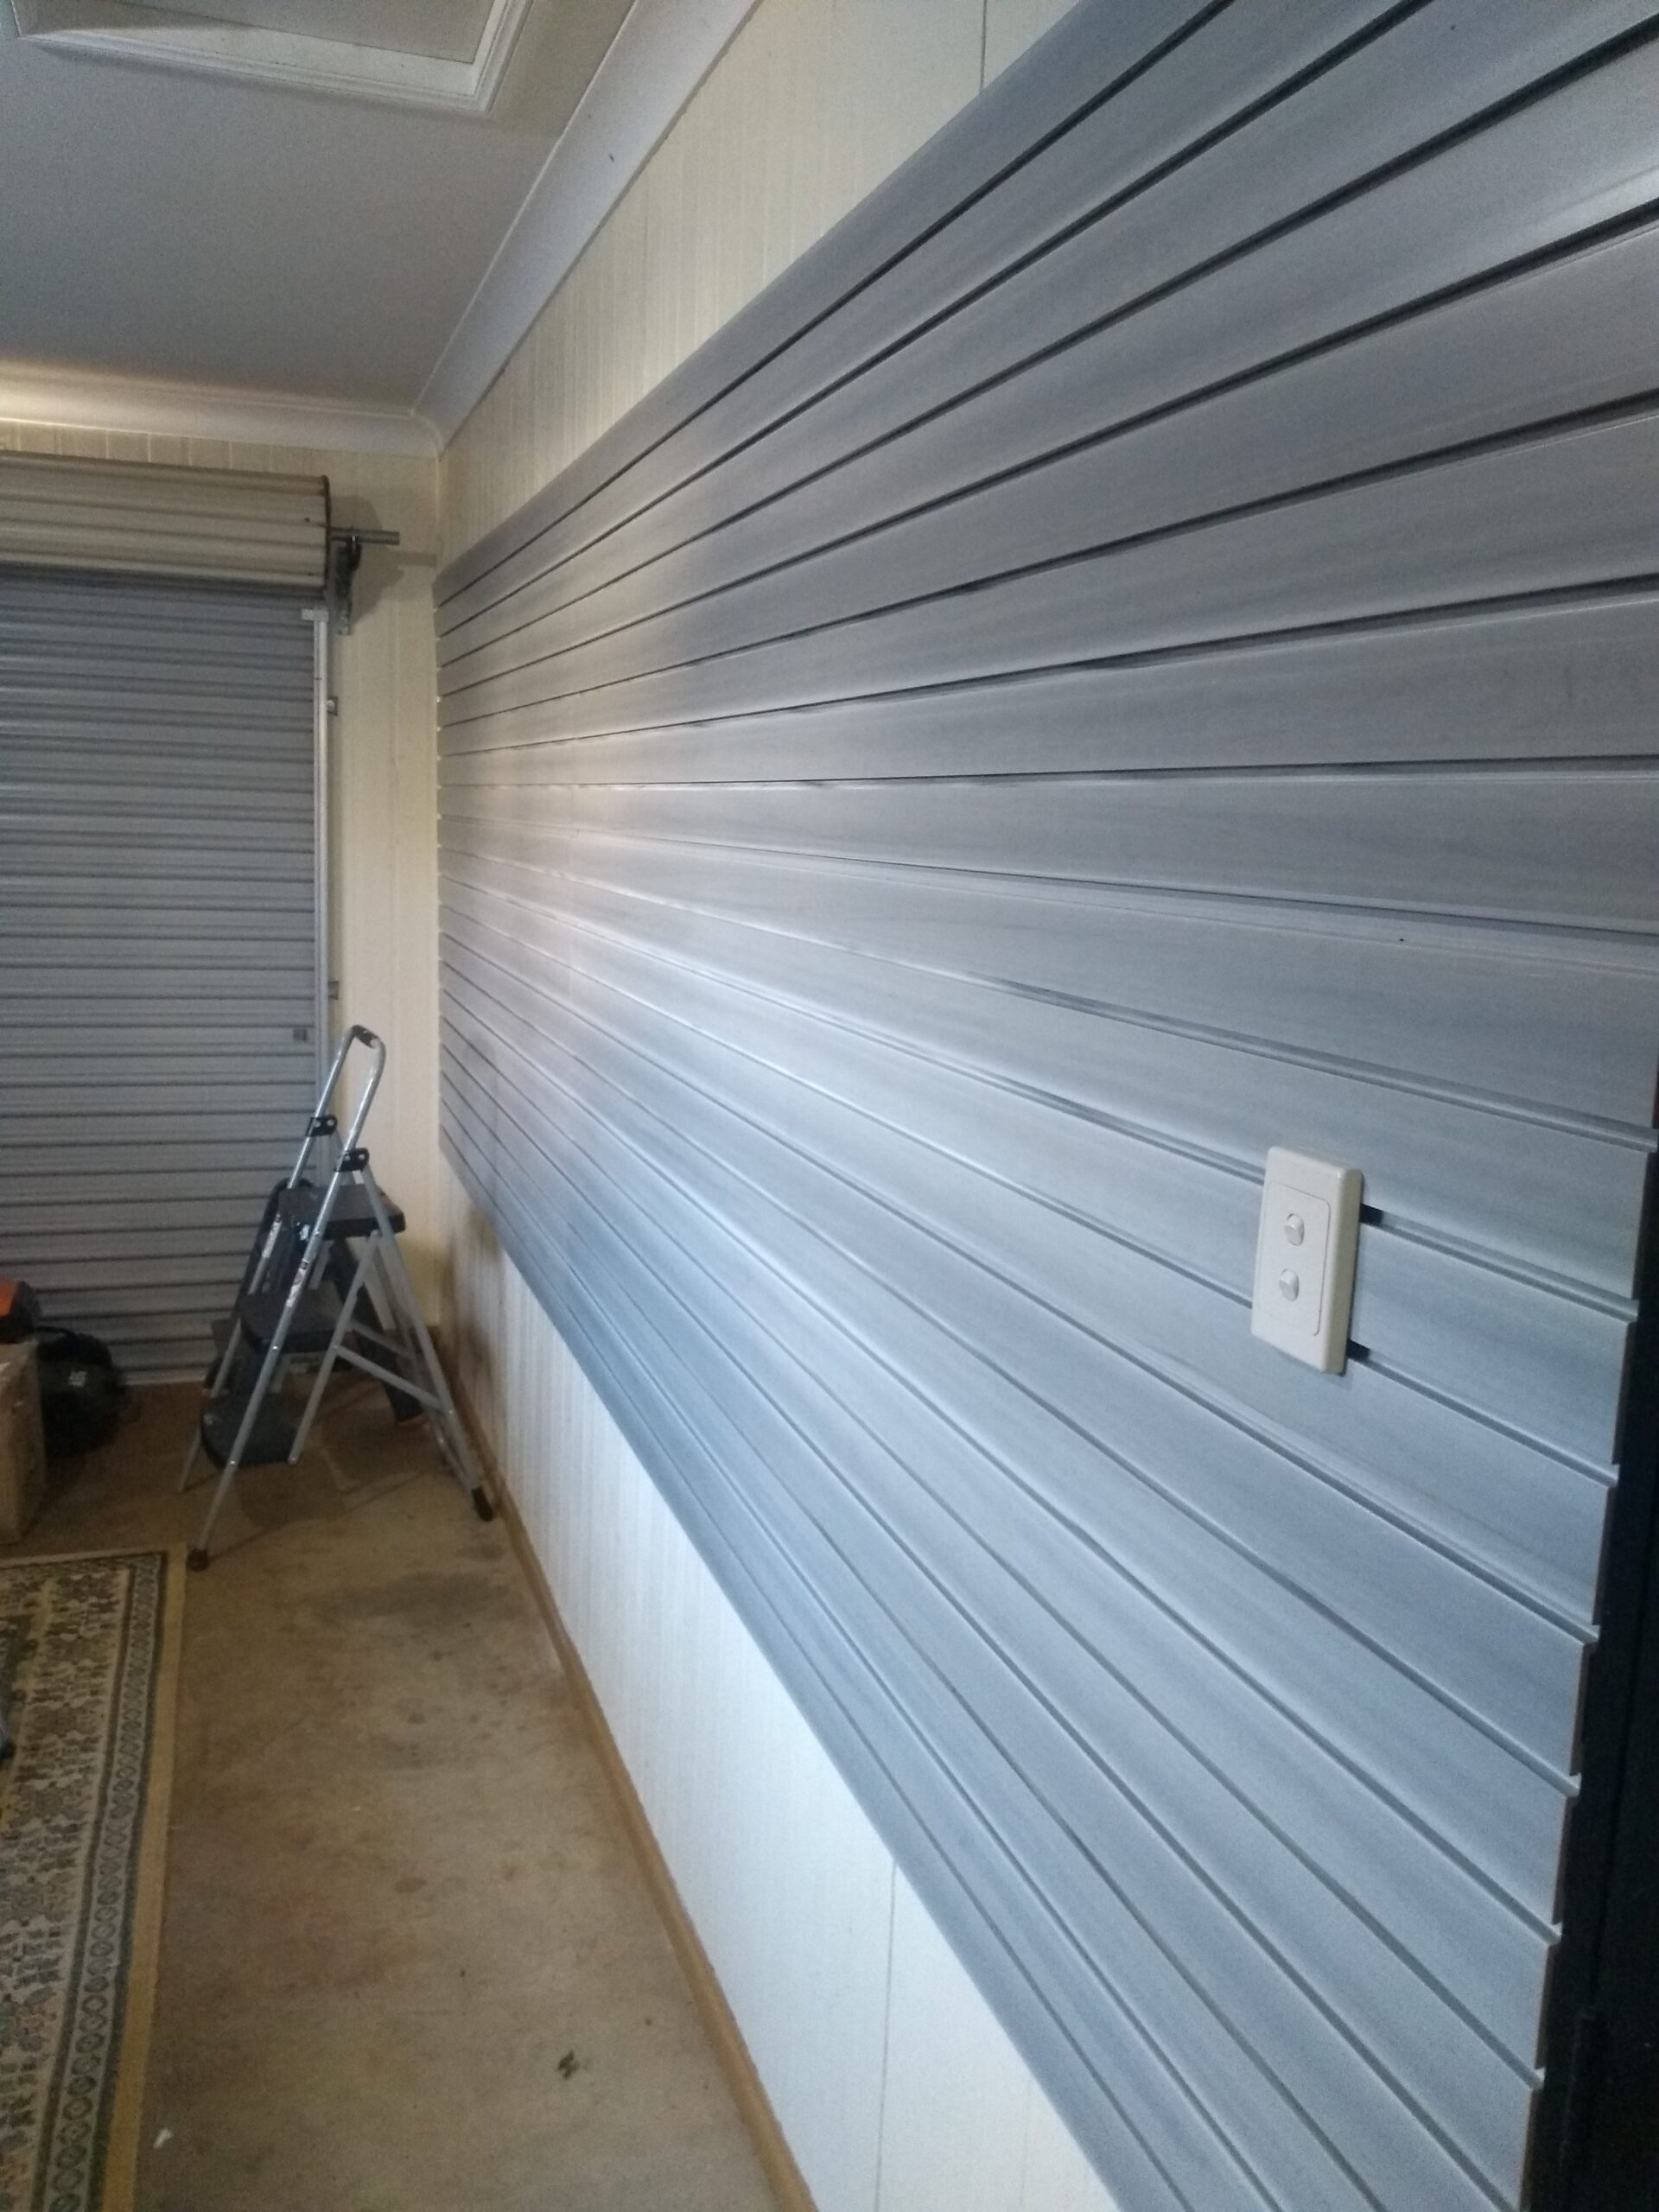
Insulation and Climate Control: Garages are not typically designed for comfort, so adding insulation is crucial. Insulate walls, ceilings, and the garage door to maintain a comfortable temperature year-round. Consider installing a heating and cooling system to ensure your office is conducive to productivity.
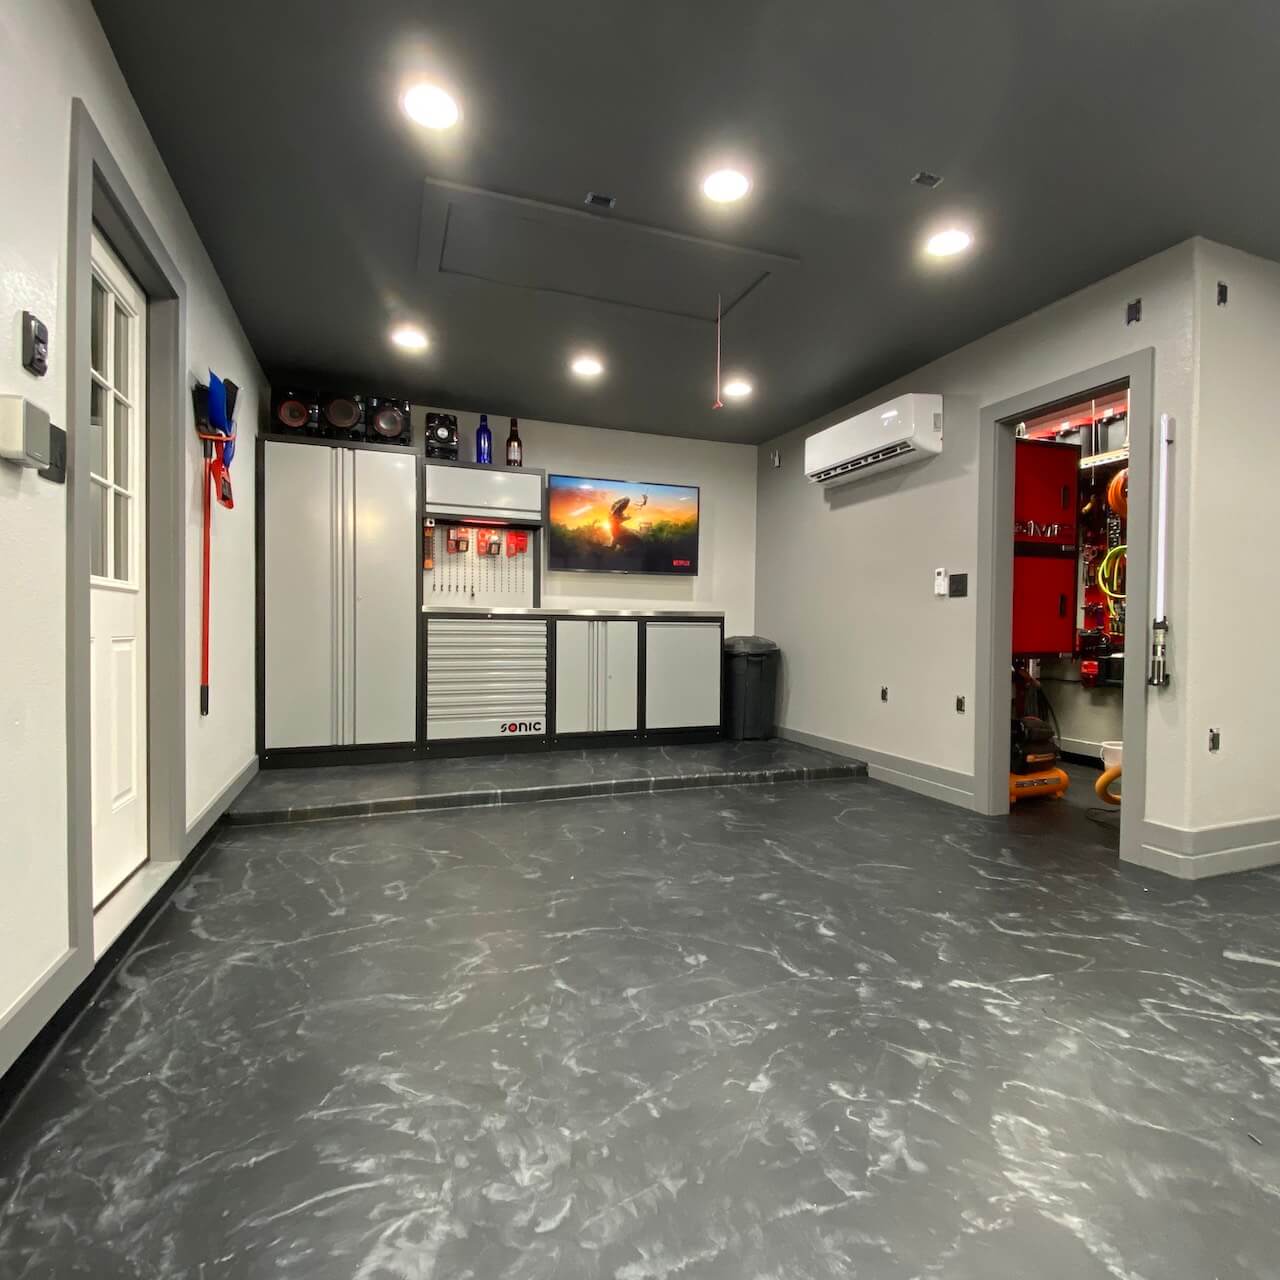
Lighting: Optimize natural light by installing windows or skylights. Supplement with artificial lighting solutions like LED desk lamps and overhead lights to create a bright and inviting workspace.
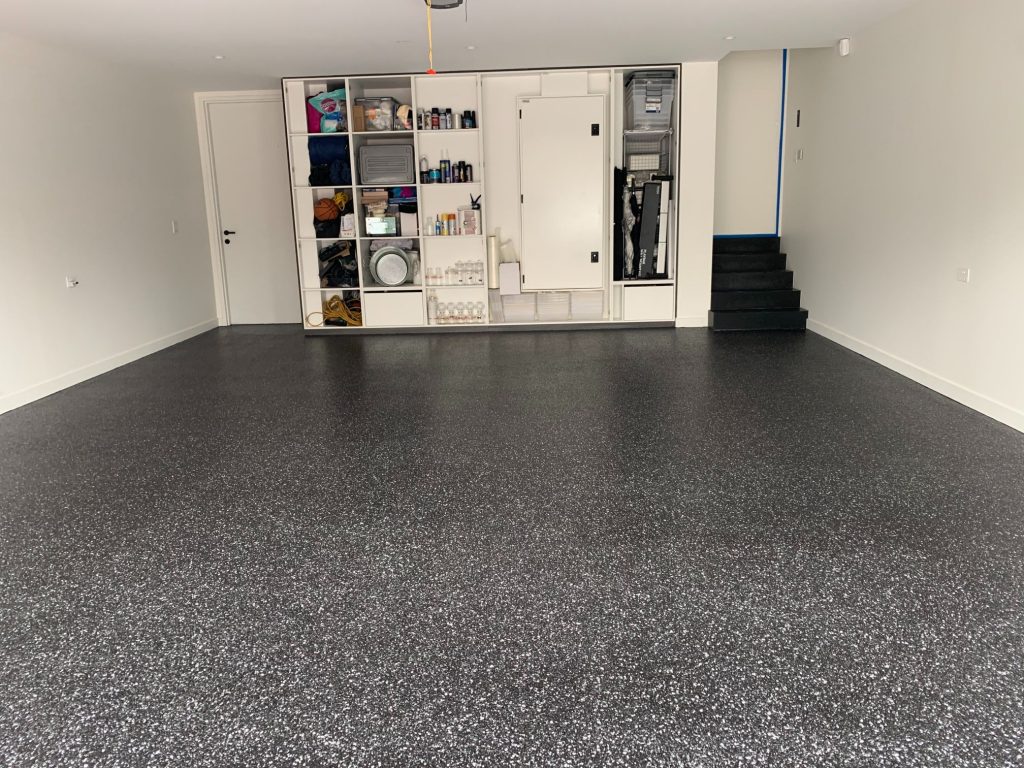
Flooring: Upgrade the garage floor for warmth and comfort. Epoxy coatings, interlocking tiles, or laminate flooring can transform the space and add a professional touch to your home office.
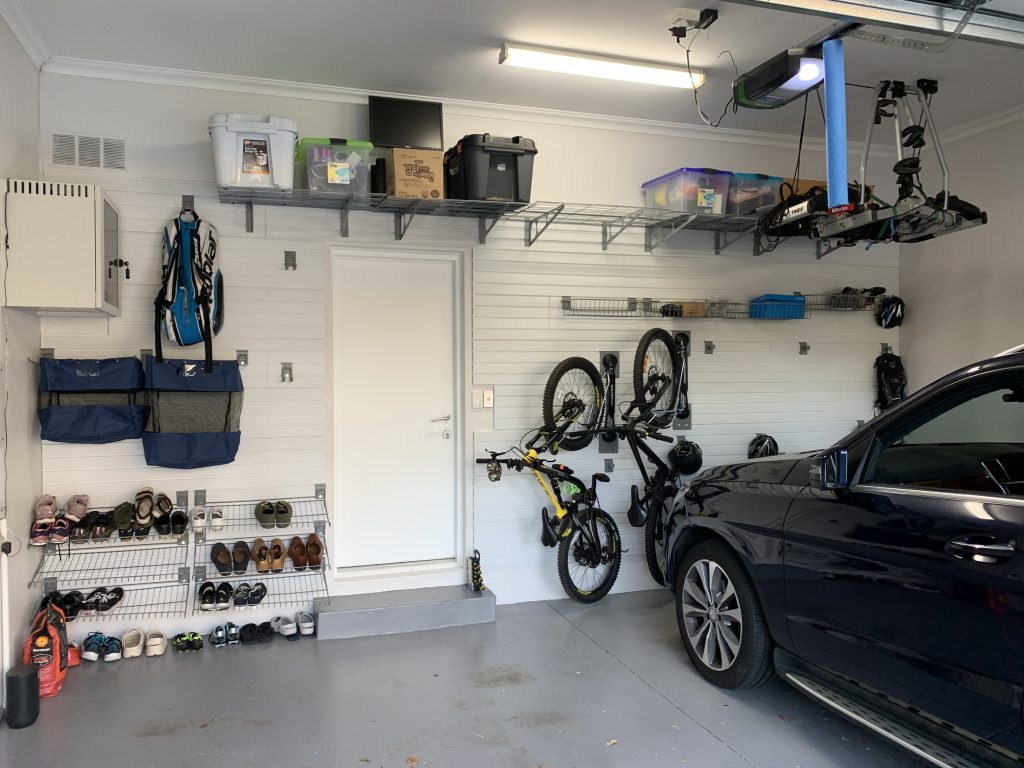
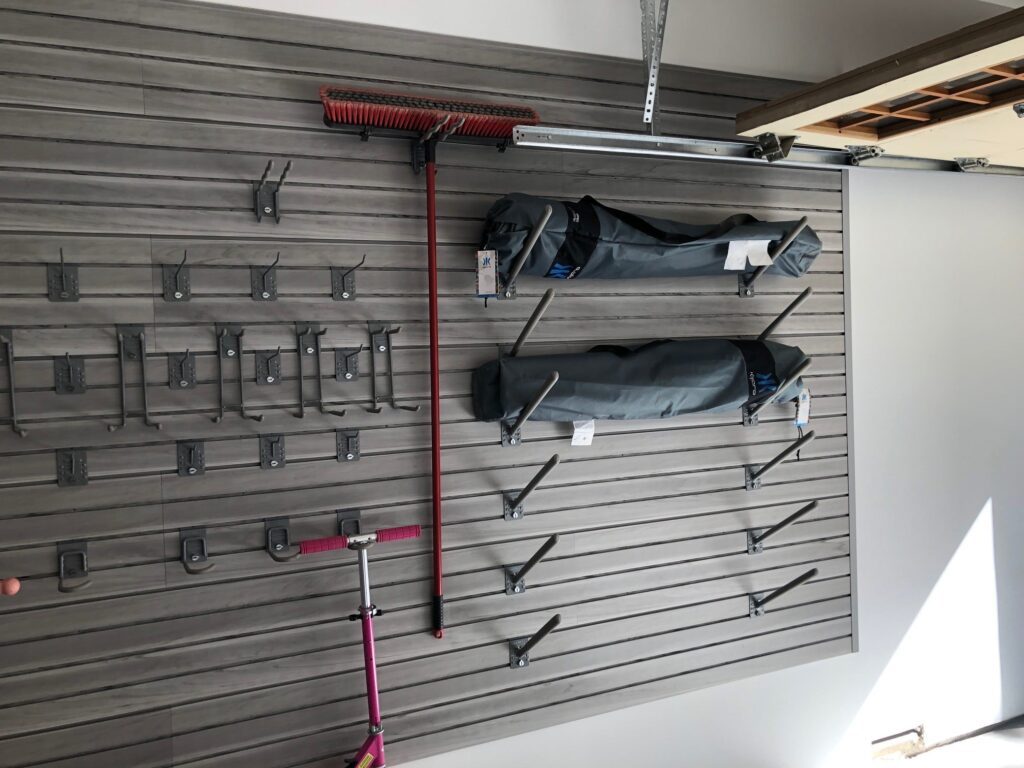
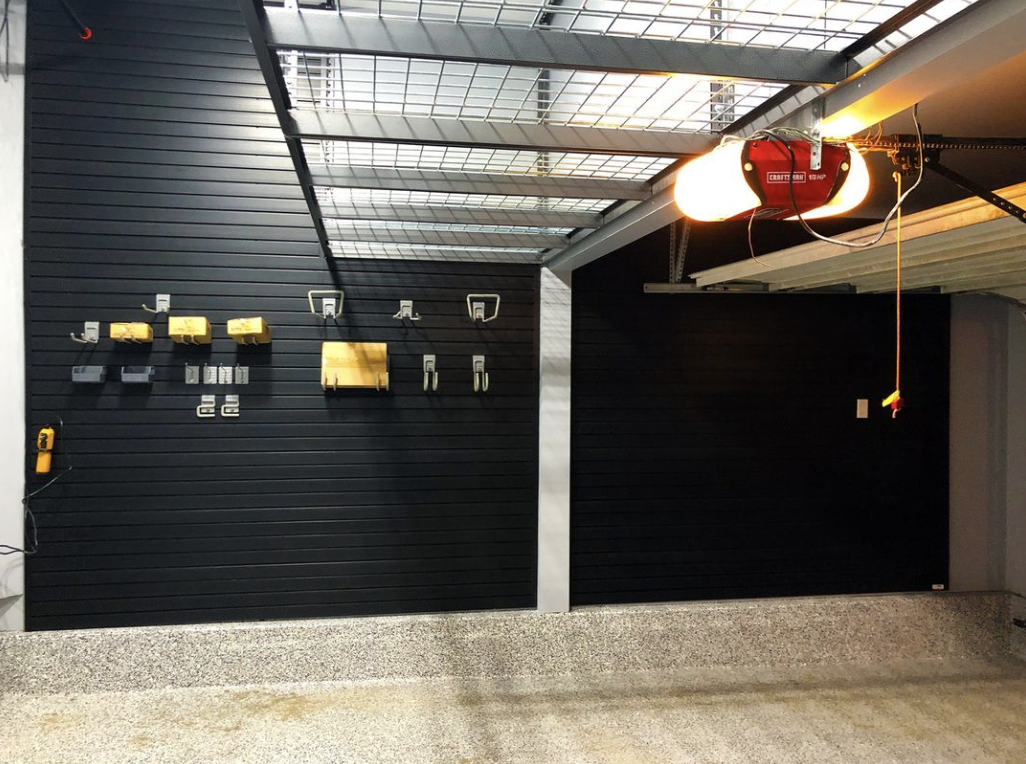
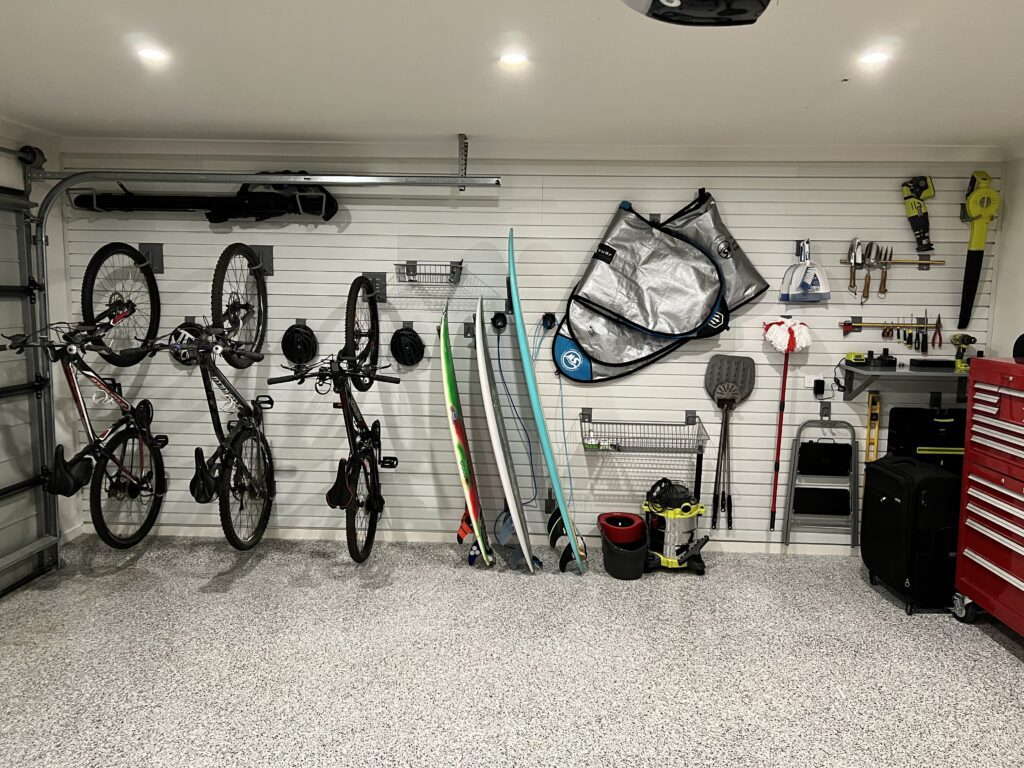
Furniture and Storage: Select ergonomic furniture to enhance productivity and comfort. Incorporate storage solutions such as shelving units and cabinets to organize office supplies, documents, and equipment, keeping the space clutter-free.
Technology and Connectivity
Electrical Upgrades: Ensure your garage has adequate electrical outlets to support computers, printers, and other office equipment. Hiring a professional electrician to upgrade your electrical system is advisable for safety and efficiency.
Internet Connectivity: Strong Wi-Fi is essential for a home office. If your garage has weak signal strength, consider using Wi-Fi extenders or a dedicated internet line for reliable connectivity.
Personalizing Your Space
Decor: Personalize your home office with decor that inspires creativity and productivity. Add plants, artwork, and personal items to make the space welcoming and uniquely yours.
Noise Reduction: Soundproofing your garage can help minimize distractions from outside noise. Use acoustic panels, weather stripping, and door seals to create a quiet work environment.
Final Thoughts
Converting your garage into a home office is a smart way to utilize unused space and enhance your work-from-home experience. By carefully planning and designing your office, you can create a functional and comfortable workspace that boosts productivity and creativity. Remember, a well-thought-out home office not only benefits your work life but also adds value to your home.