If you are a retail store, MDF Slatwalls are ideal. If you are a residential home owner looking to better manage your garage storage issue, then there are several reasons why you don’t want MDF slatwalls.
MDF Slatwalls for Retail Stores
Buy them, use them. They are affordable and come in various colours (painted MDF board). The businesses around Australia who sell them also sell specialised accessories for retail stores which can be used with these slatwalls.
Why You Don’t Want MDF Slatwalls
Detailed below are several reasons why using MDF slatwalls designed for a retail store are a bad idea when you are looking to add slatwall to your home, garage or workshop.
Price works
MDF Slatwalls are affordable at about $60ex for a 1200mm x 1200mm piece. Straight away there is a certain appeal here that you can cover your garage wall with the panels and you are done. Buying them and installing them on your wall is one thing, getting good value out of them once installed is another.
MDF Slatwalls are Not Water Proof
They are not water proof nor moisture proof. If you have an old garage which may get exposure to moisture, MDF boards are not your friend. They may be painted and can be repainted but MDF will absorb the moisture over time. The shape of the board may change and it may also start to develop mould.
Painted Finish
MDF Slatwall is MDF board that has been painted. If you are planning on hanging tools or bikes on your wall, the painted finish will wear quickly. The walls will dent easily (showing the inside board) and the paint will chip.
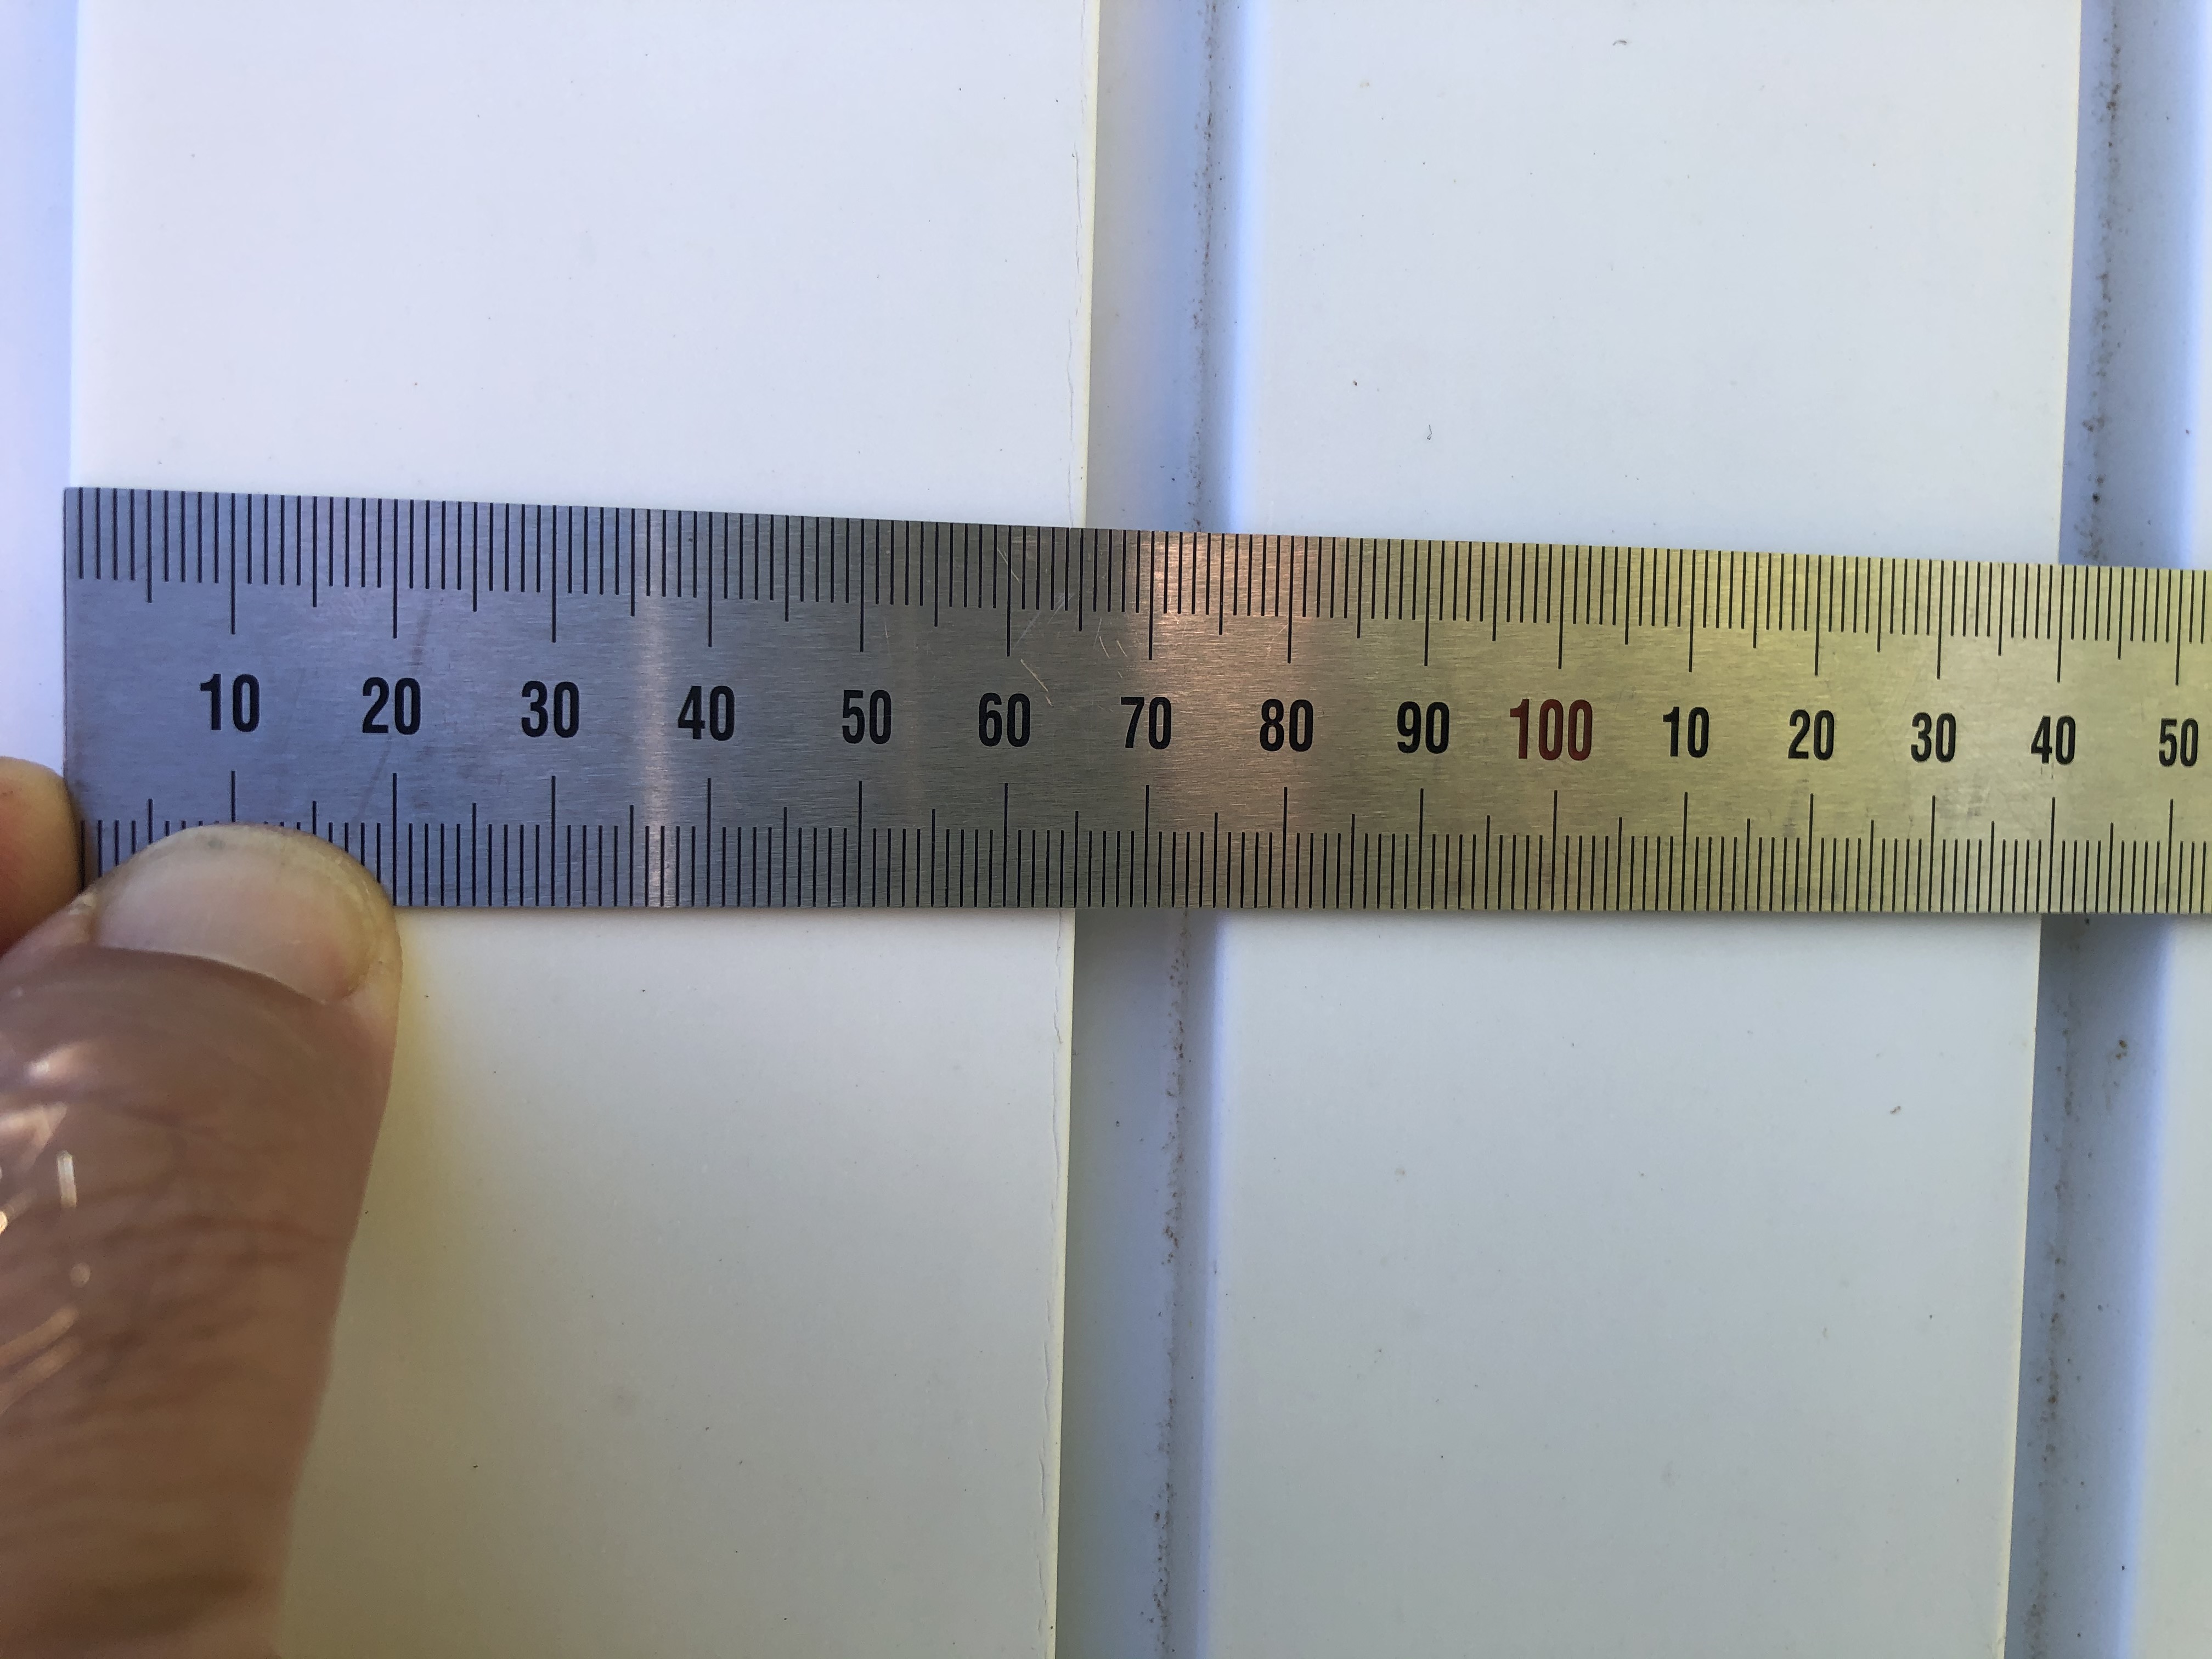
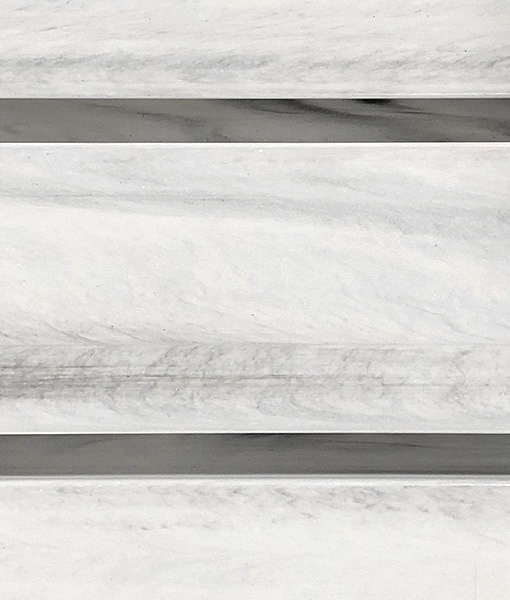
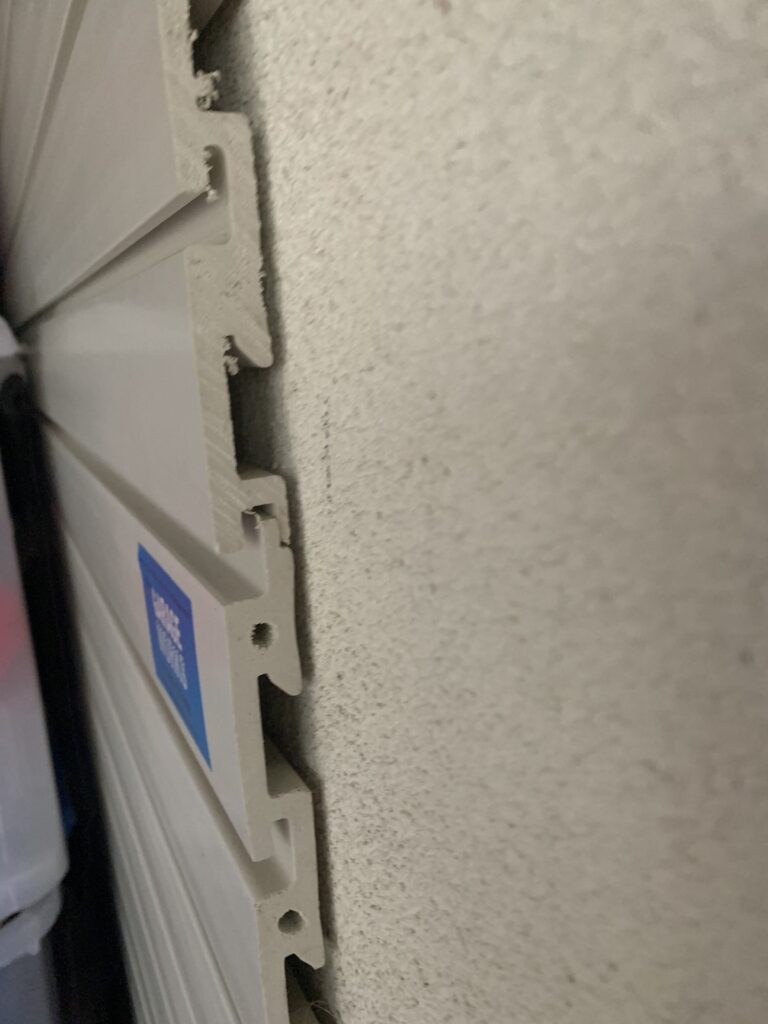
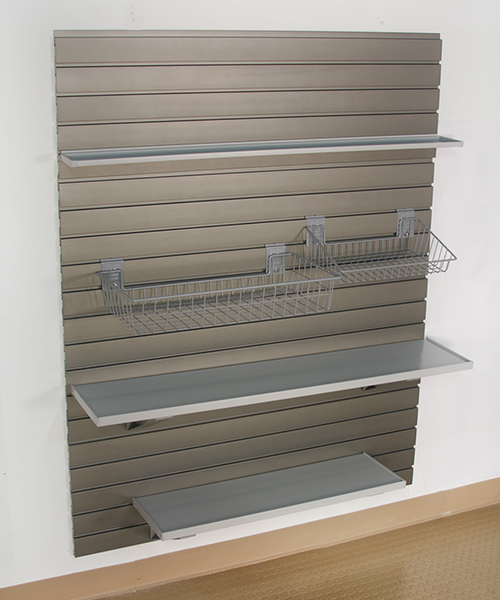
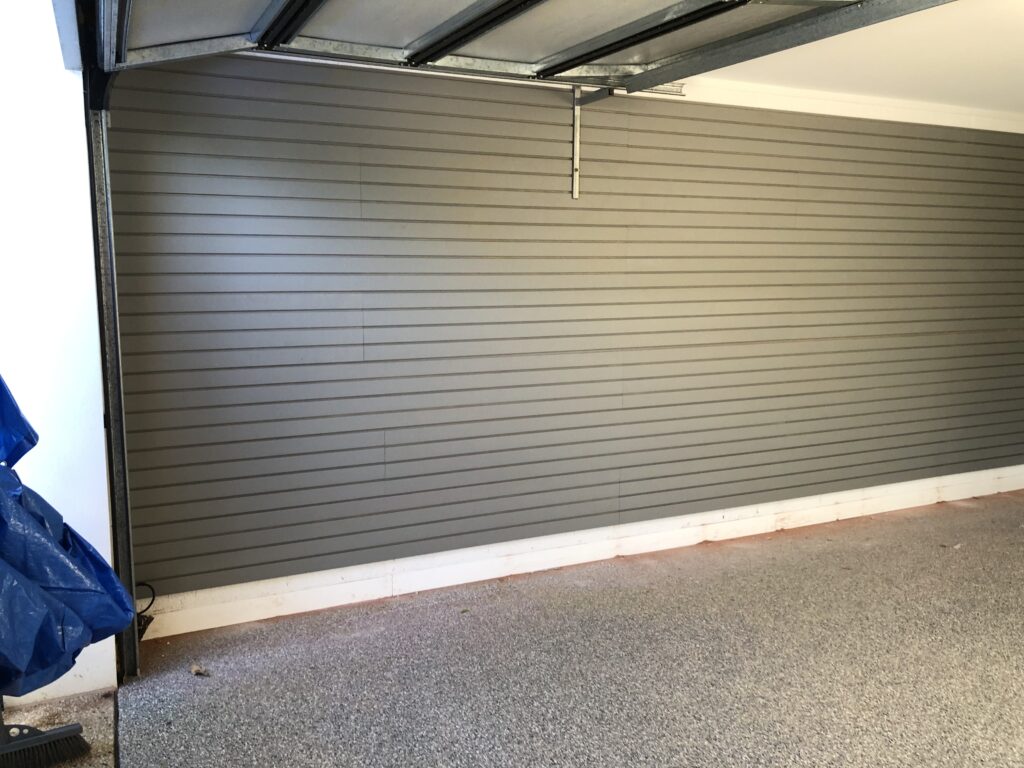
Groove Spacing
Typical slatwall groove spacing is 100mm. See below picture of what the groove looks like. The challenge with 100mm spacing is that most popular garage storage solution providers do not offer accessories that will work with this spacing. The 100mm spacing is designed for an accessory that has a top L shaped lip only and no lower locking mechanism.
The only StoreWALL accessories which will work are our Bins and our Metal Ledge Shelf. All other accessories carry CamLok which works on a 75mm groove spacing. Similar limitations apply if you are considering using Bunnings StorEase and other popular garage storage solutions. They all offer a very similar groove spacing.

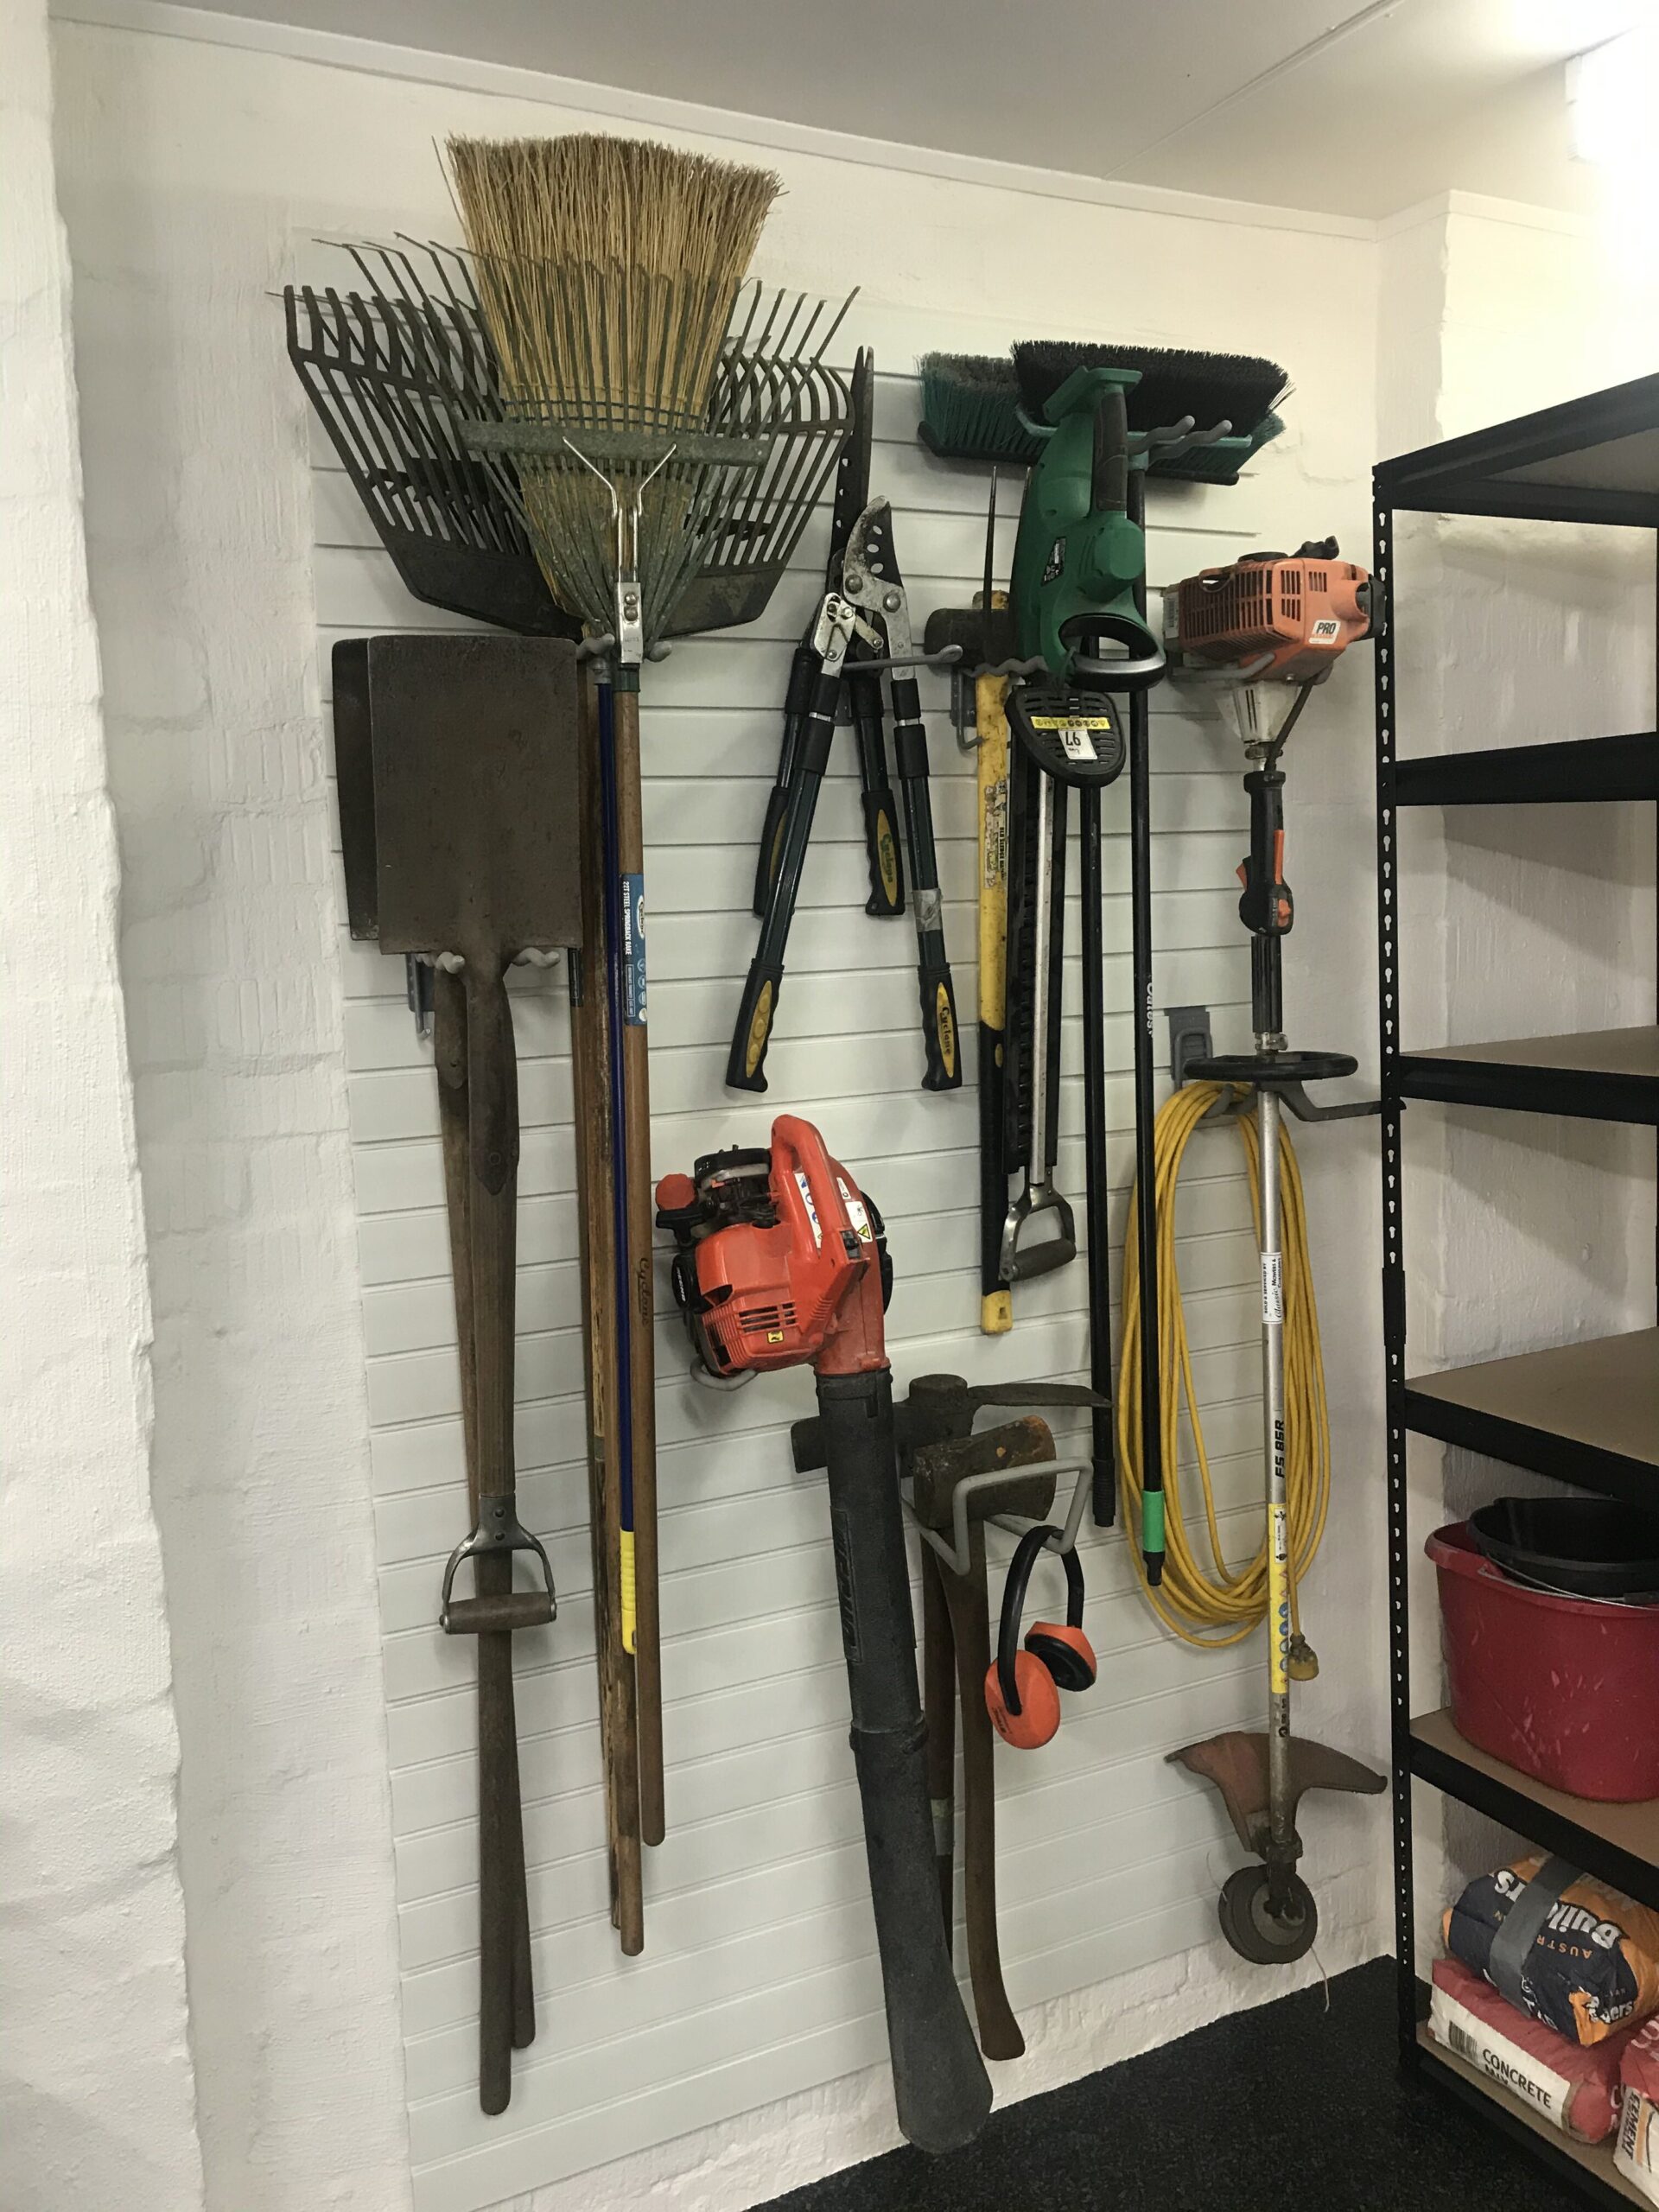
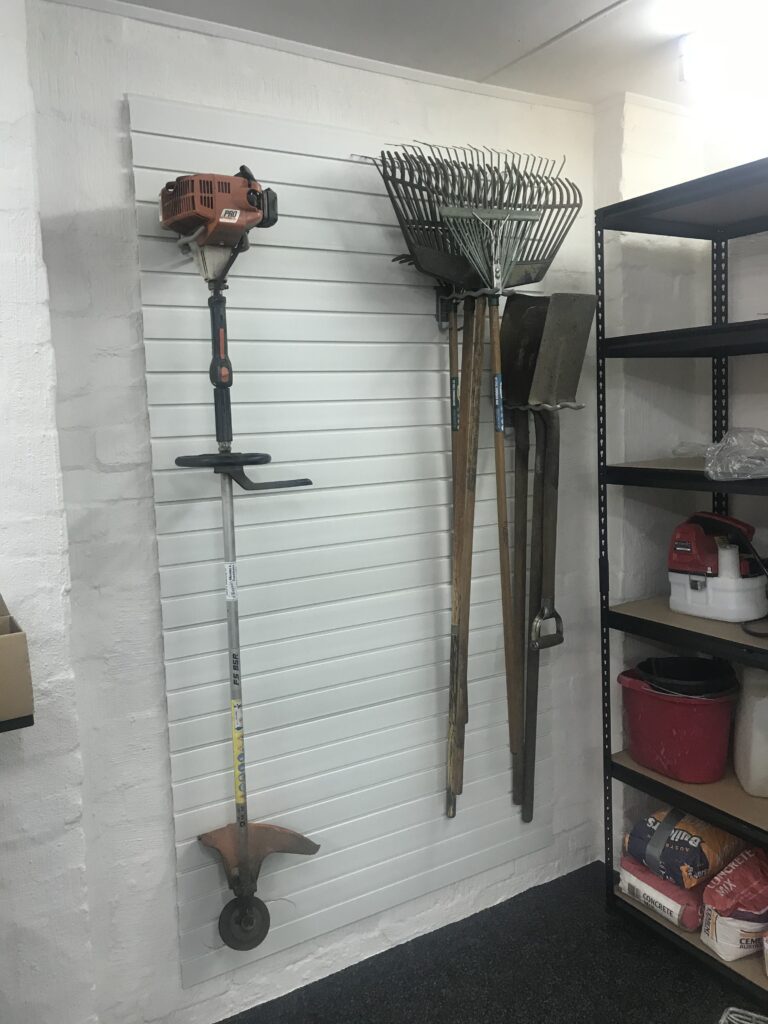
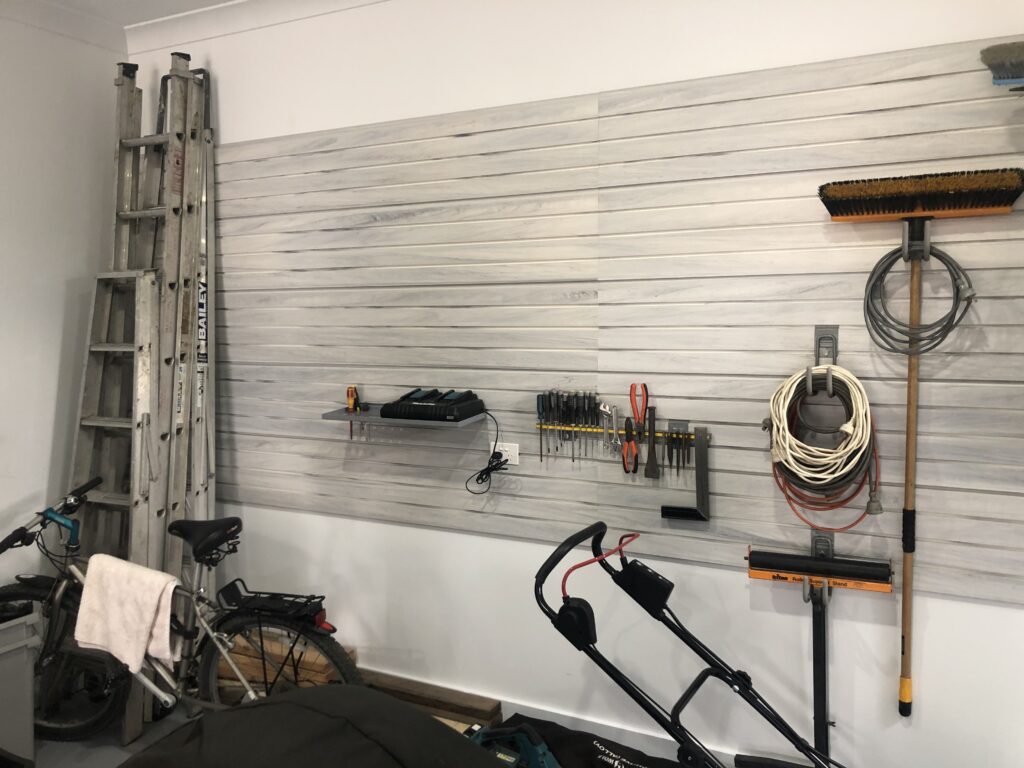
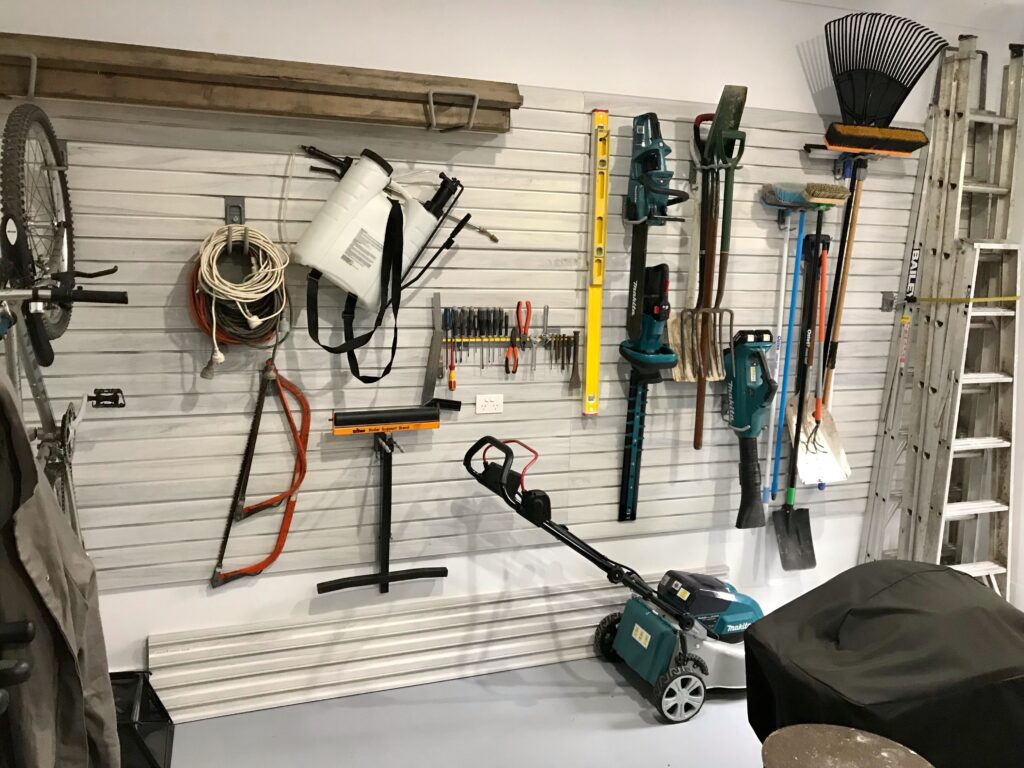
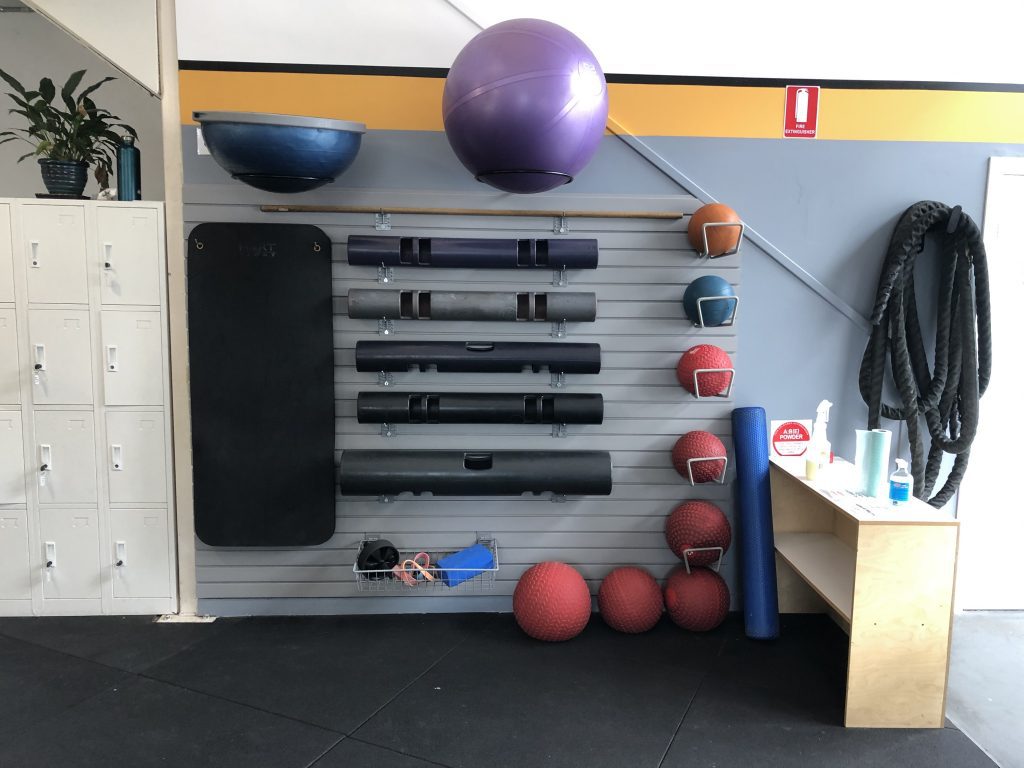
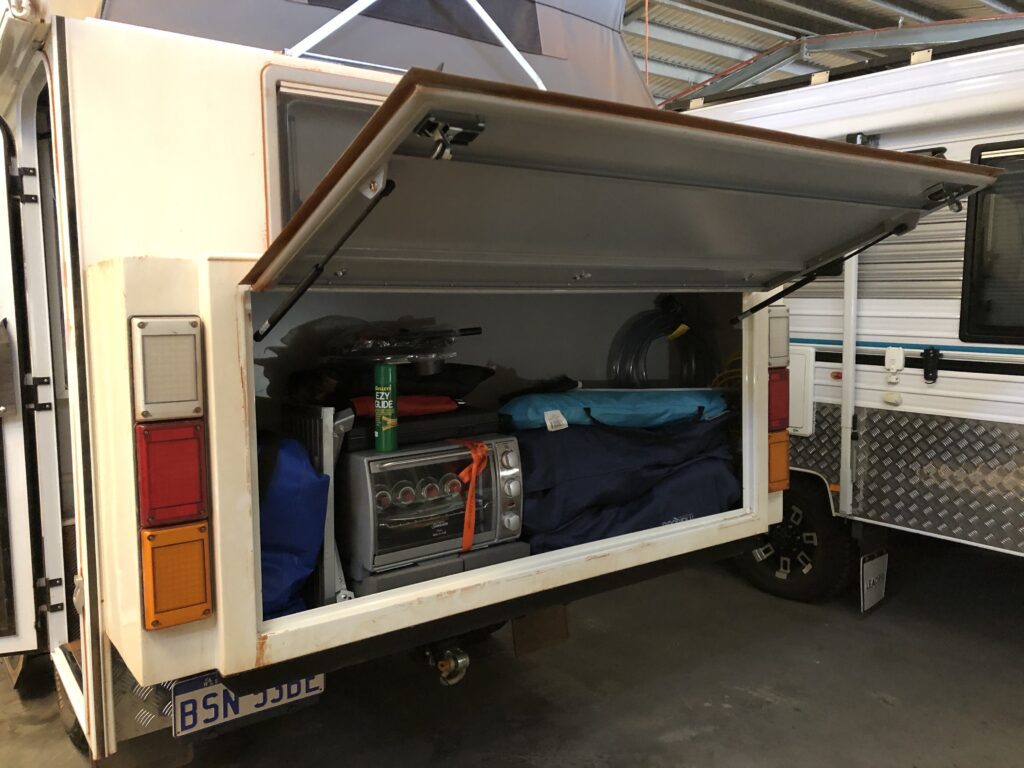
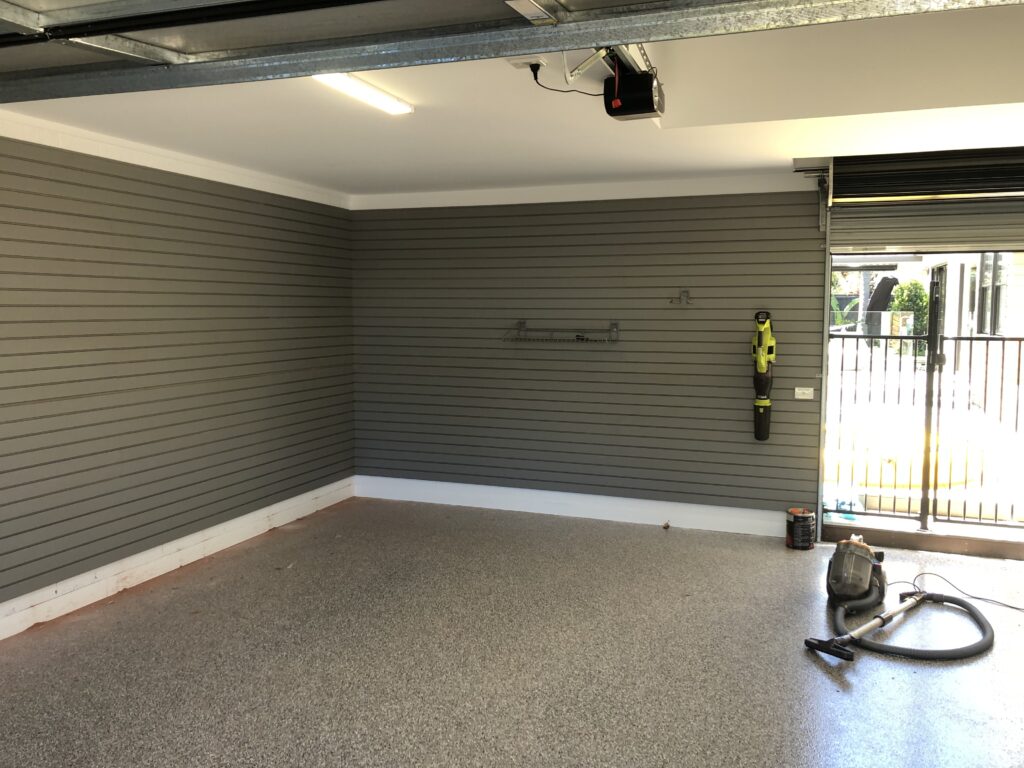
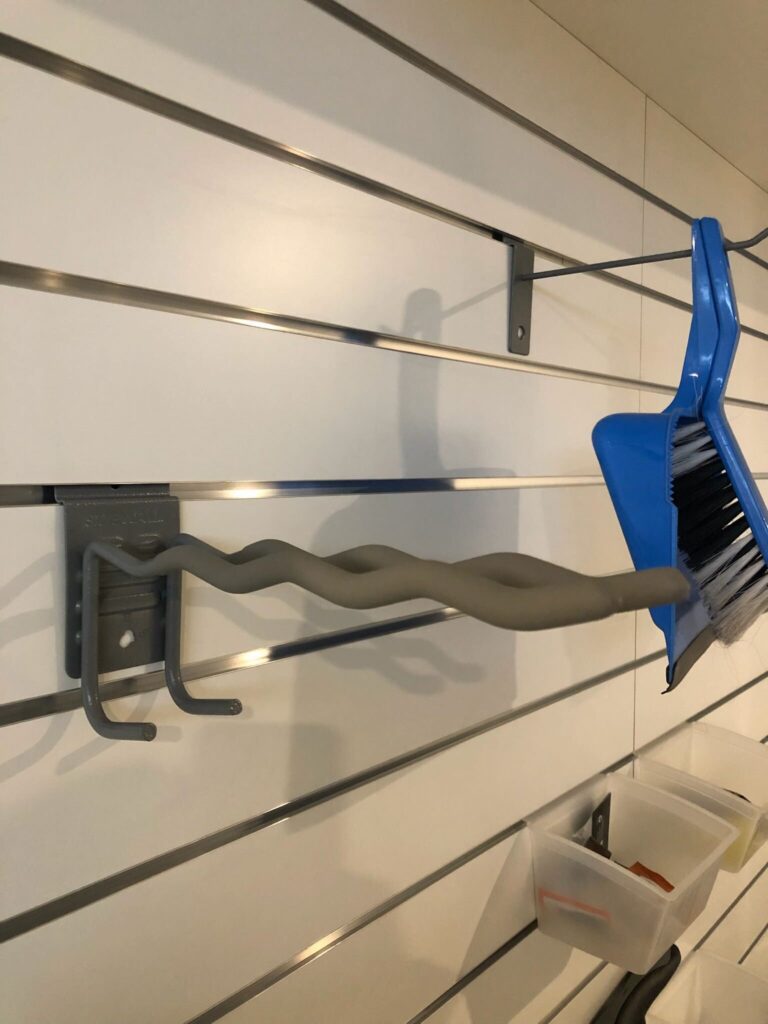
We recently worked with a client in Queensland who had MDF slatwall in their garage and purchased some StoreWALL accessories. We removed the Camlok for them and the accessories worked great for lighter items. Not ideal for heavy items like bikes. See photo below.
Lack of Accessories
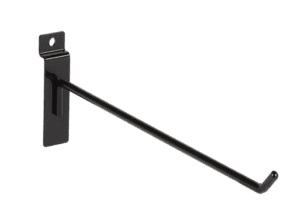
The final and most important reason why you don’t want MDF Slatwalls is the limited range of accessories and the lack of a locking mechanism. Whilst accessory pricing might be cheap ie $1.50 for a metal single hook, simple hooks are all you will end up with.
The reason for this is that Slatwalls are made for Retail Stores to display merchandise.

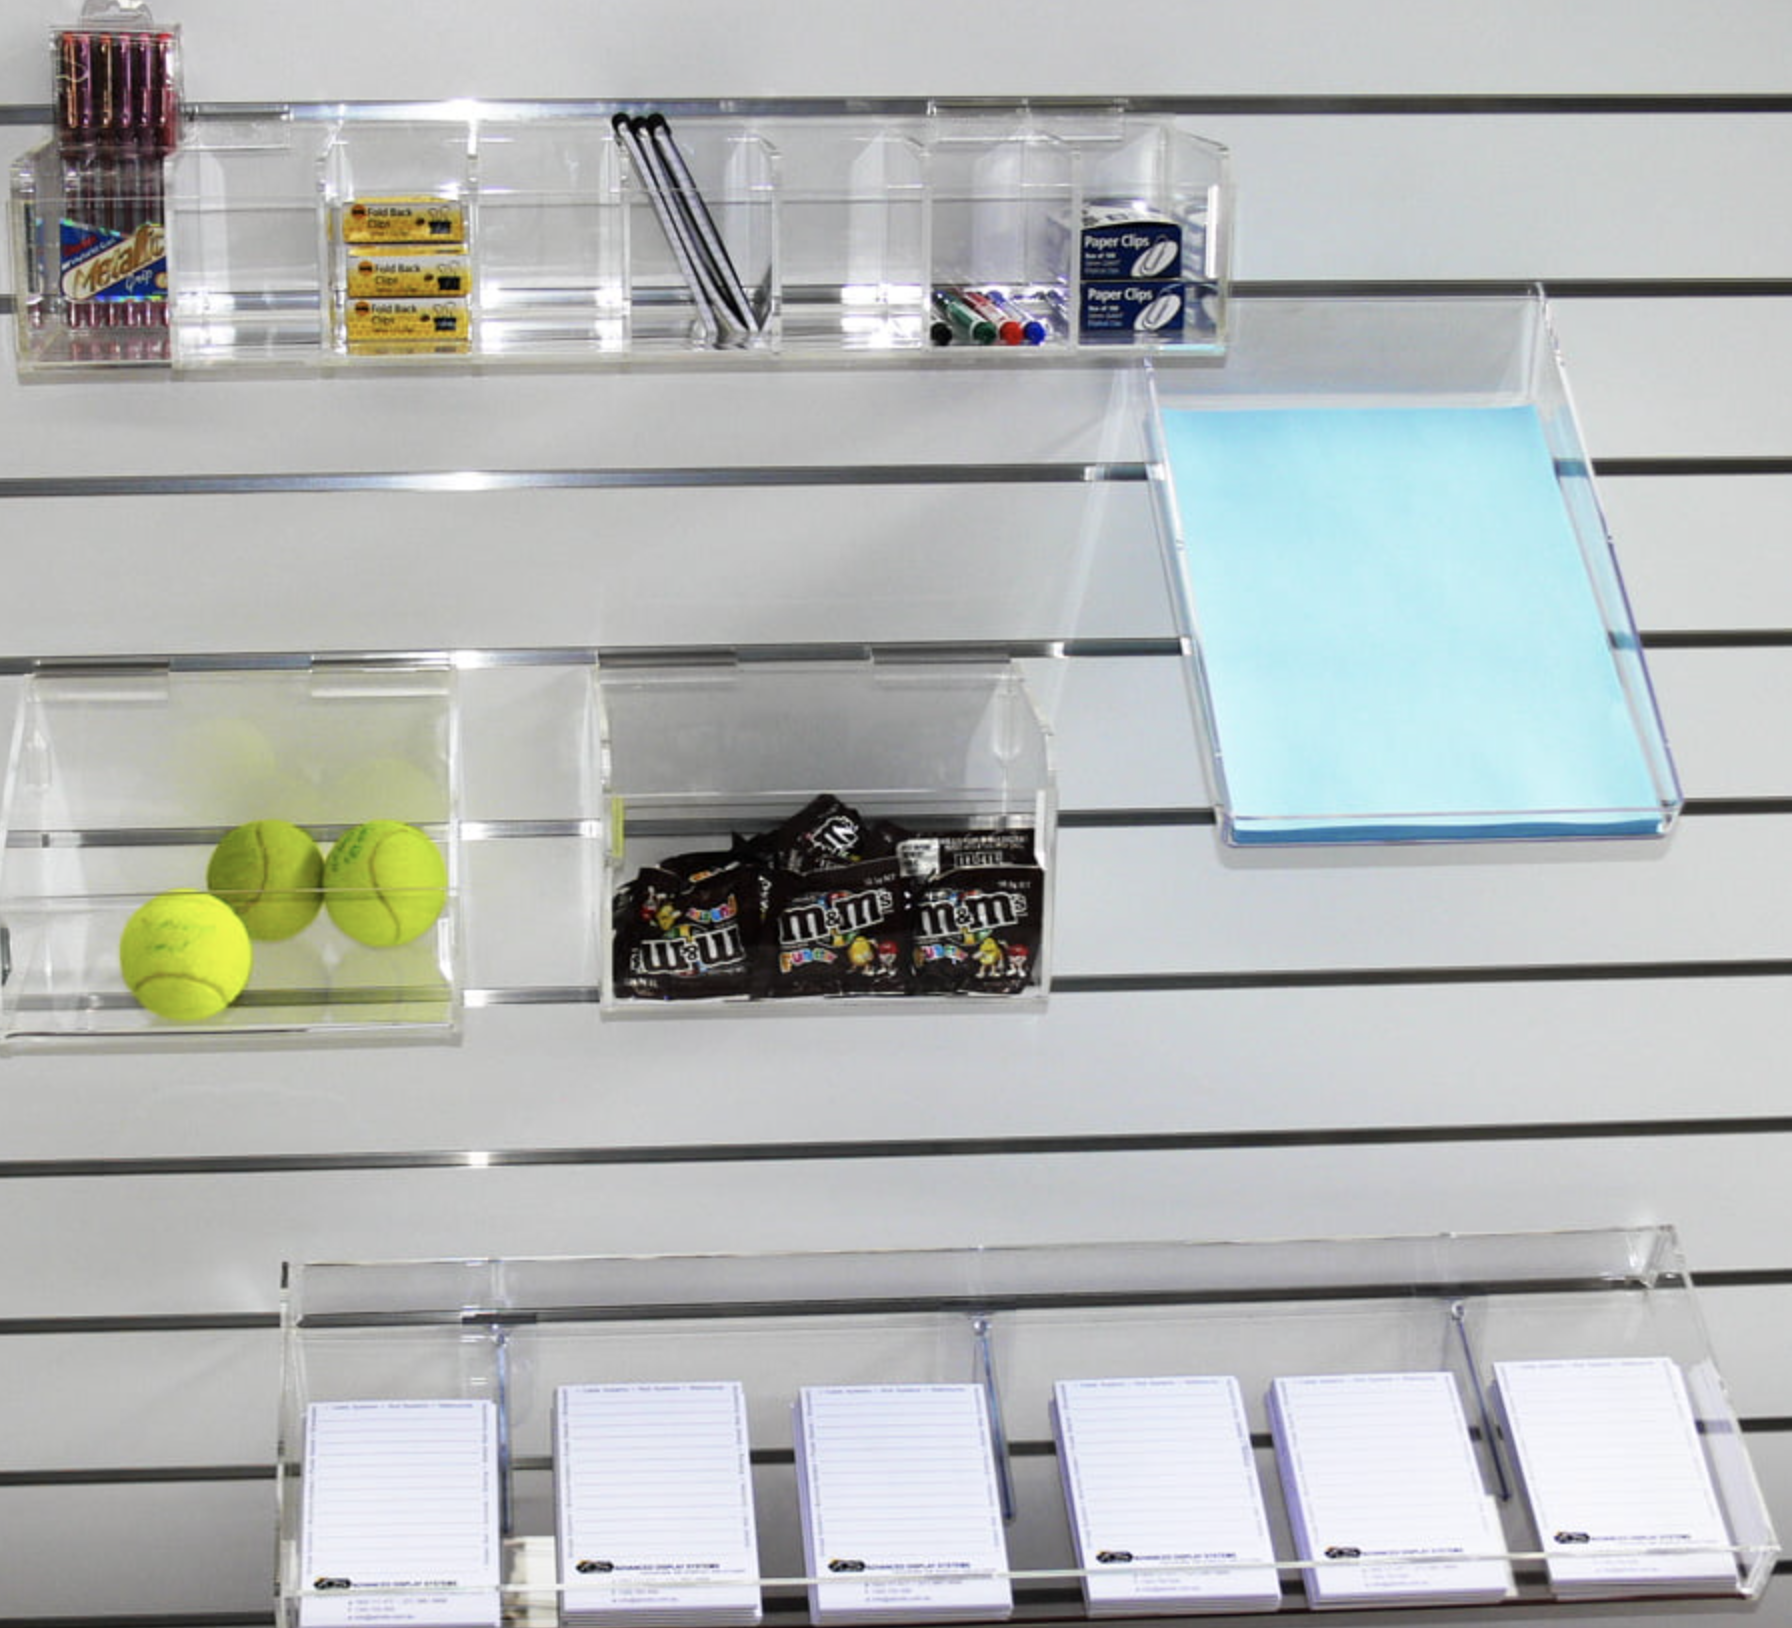
Looking through the accessory range of a popular slatwall supplier, they offer a good range of single hooks, hooks for balls, hooks for clothing and some baskets. These accessories are not designed for a garage.
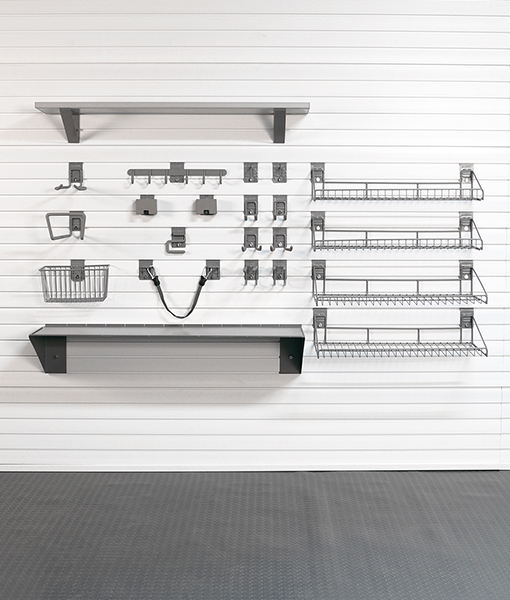
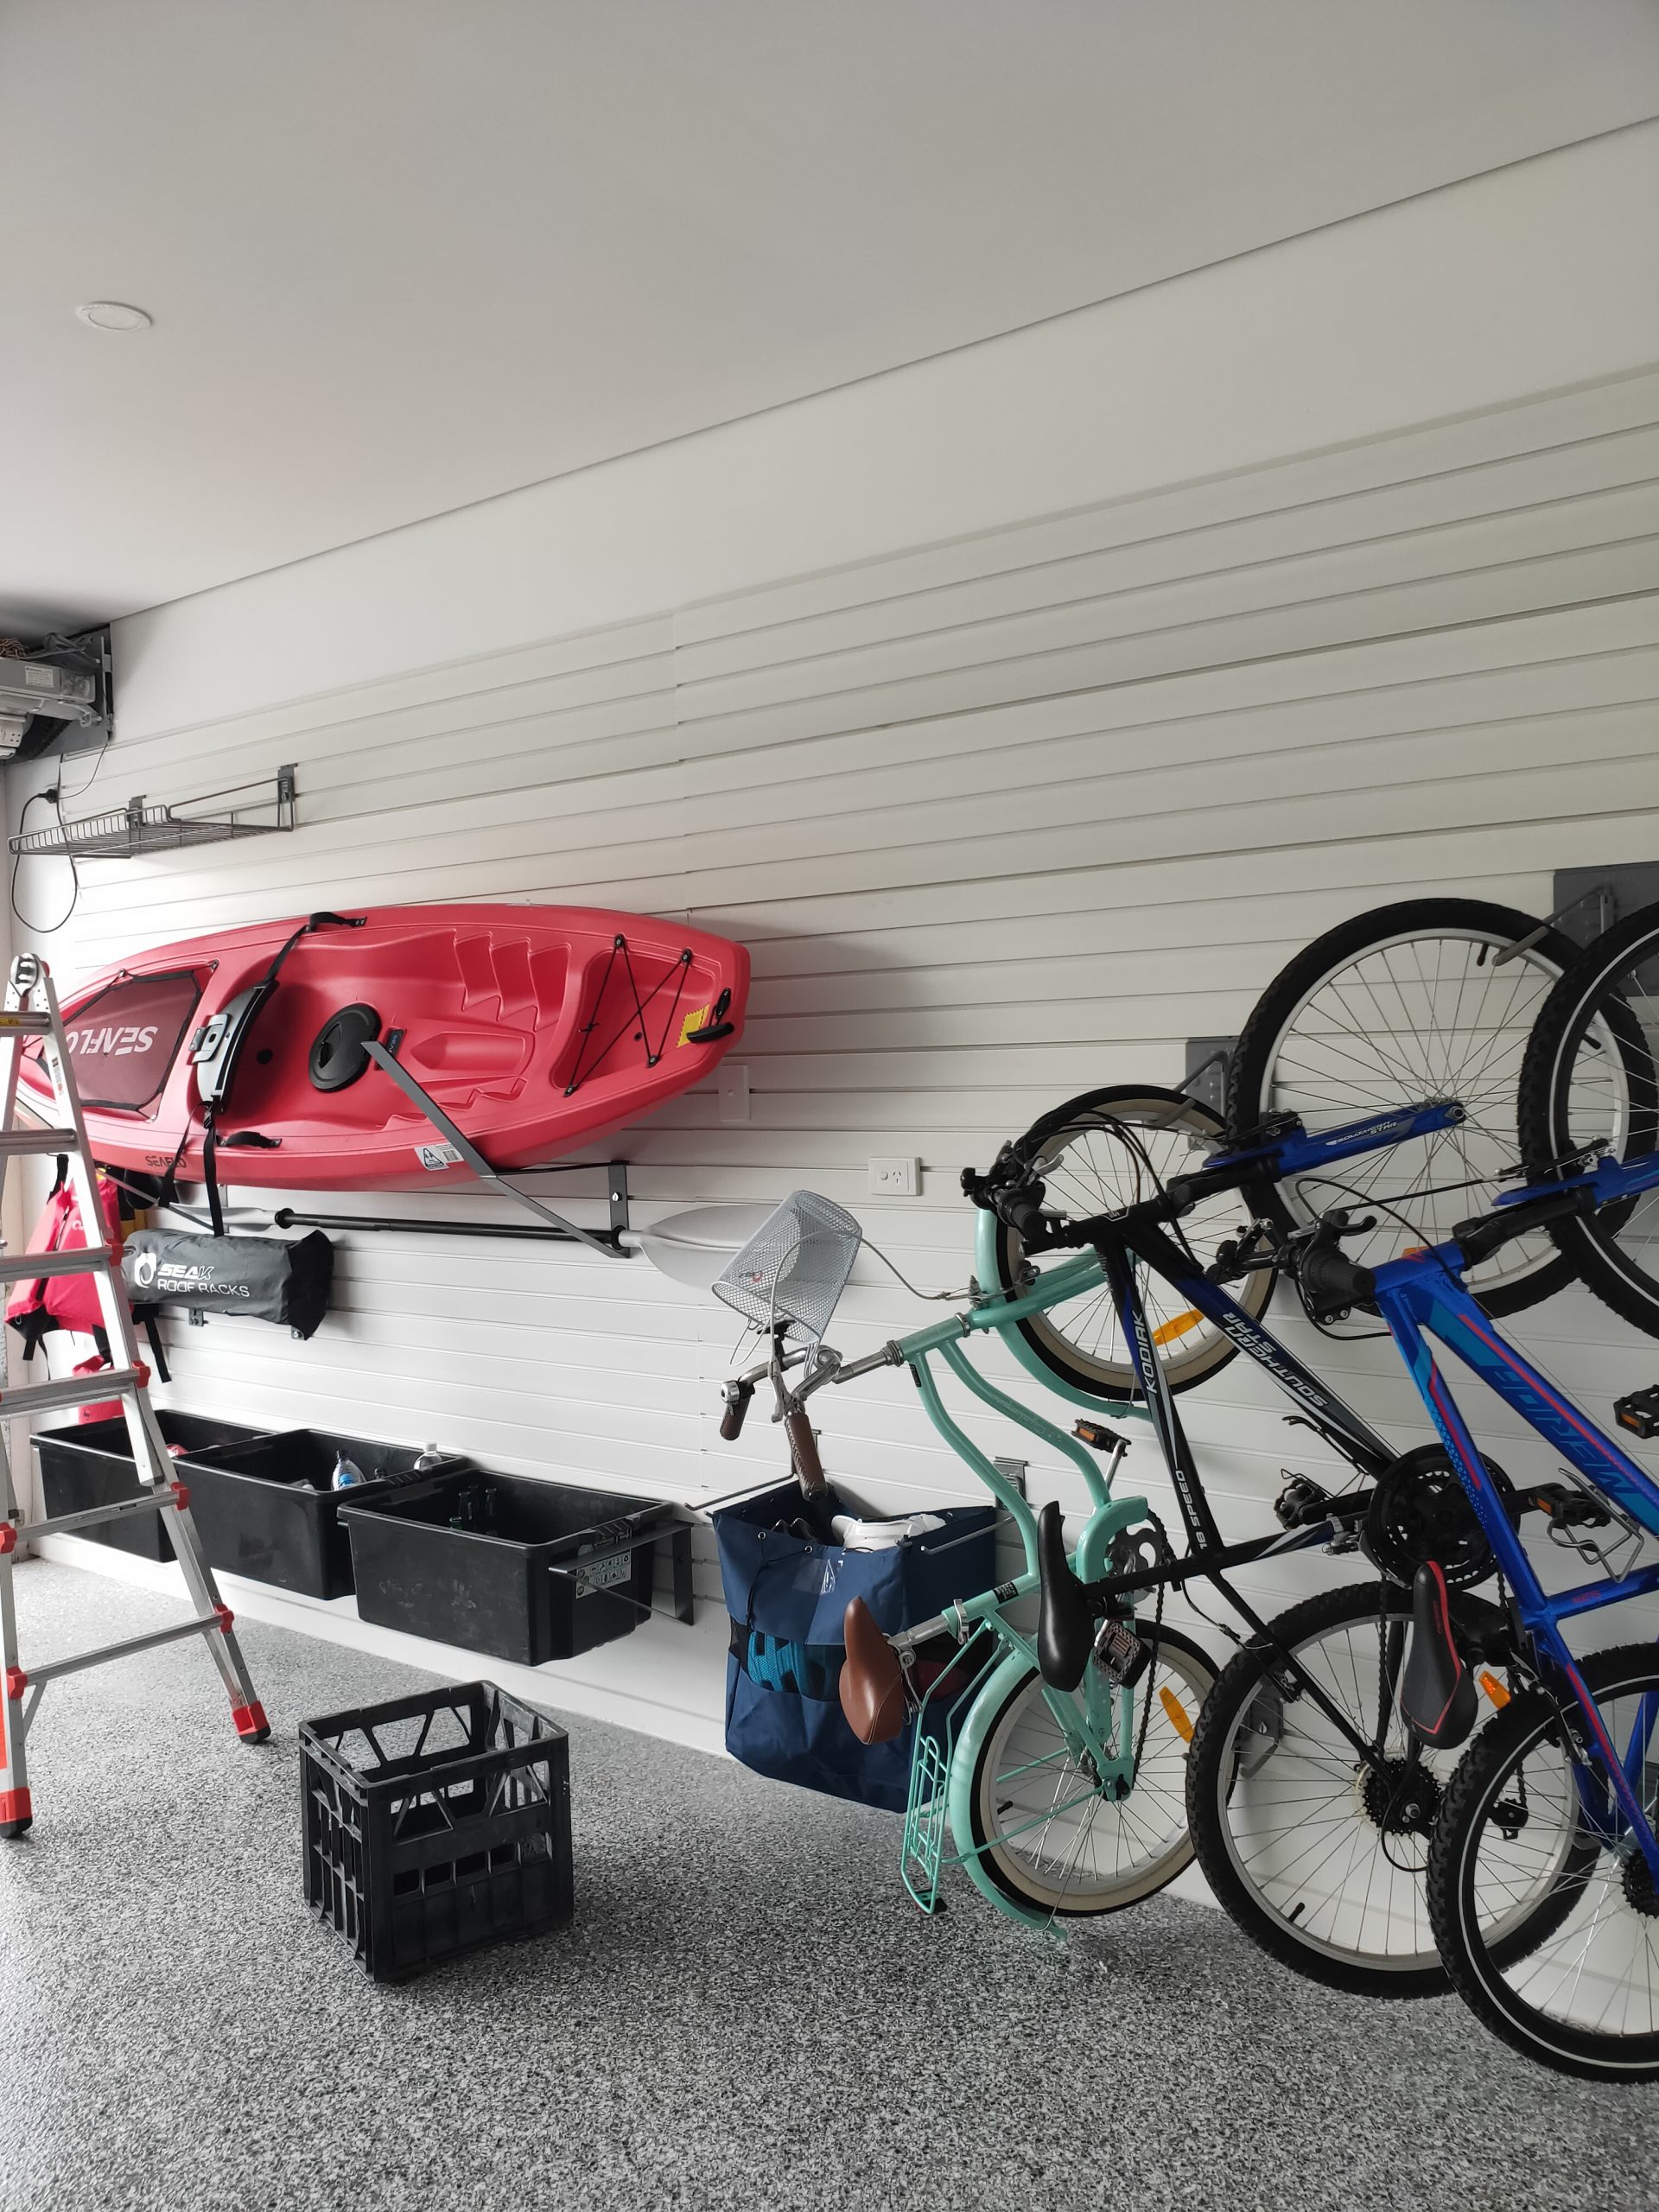
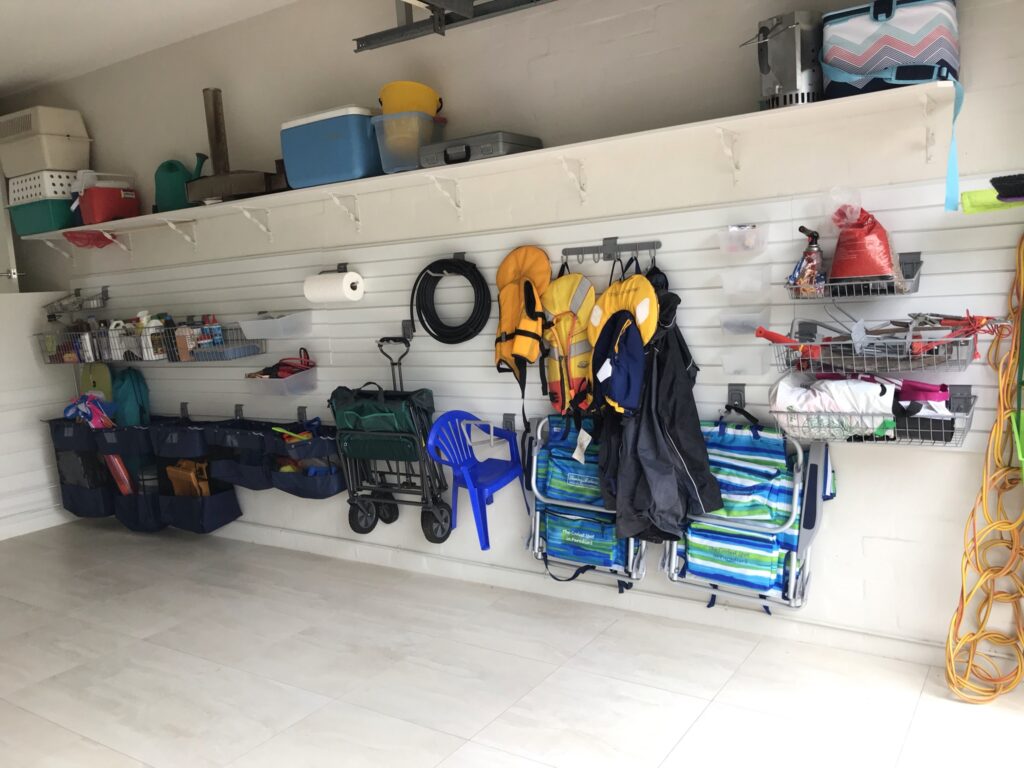
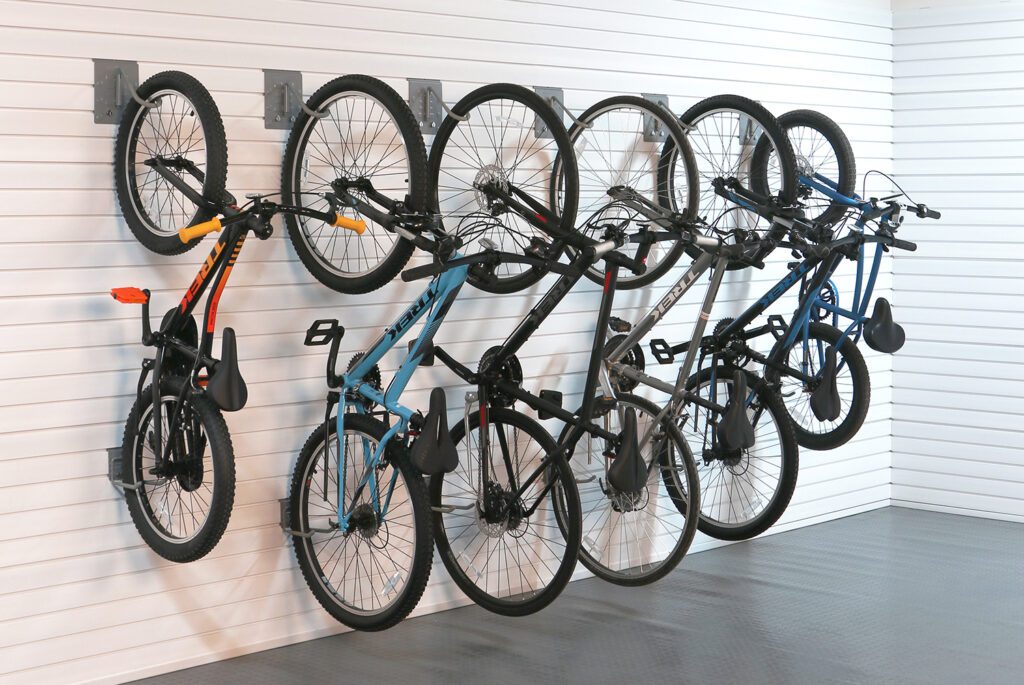
Compare this to the StoreWALL range. We offer industrial-grade accessories to hang all of your gardening tools, brackets for shelving, hooks and shelves for your heavy power tools. We also offer custom hooks for your bikes, shelves for your boots and baskets and totes for everything in-between. These are all designed with StoreWALL’s unique CamLok locking mechanism.
CamLok ensures that once the accessory is on your wall and locked in, it will not move until you unlock it.
Client Case
A week ago I had a customer order 15 accessories ranging from bike hooks to tool hooks. The customer was a hotel which seemed to have had slatwall installed in a section of the basement. When I enquired if they already had StoreWALL panels, they sent me a picture of what they had and a measurement of the groove spacing. Turns out it was MDF slatwall with 100mm spacing. I refunded the client’s money and advised that they should look at some of the MDF Slatwall suppliers for accessory options.
I have also had customers who are in the process of building a new home and have added slatwall to the design of their garage walls. Builders look at these requirements and simply buy MDF slatwall. The poor customer eventually realises that MDF slatwalls are not what you need for your garage.