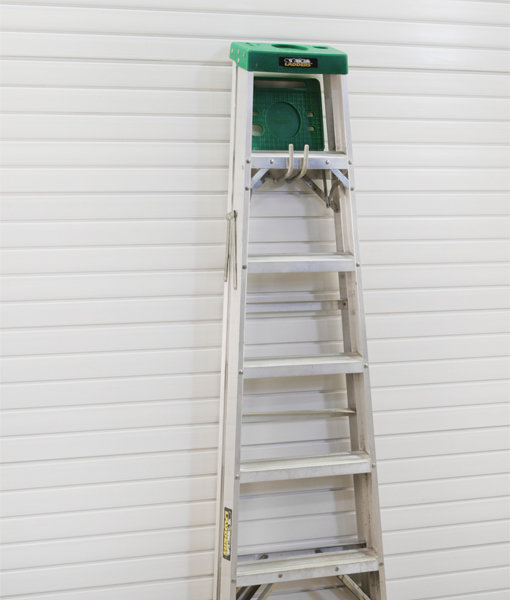
When it comes to organizing your garage or storage space, one of the most challenging items to store efficiently is a ladder. A ladder can be bulky, heavy, and awkward to place, especially if you want to keep it off the floor to free up space and enhance safety. StoreWALL offers a versatile range of hooks specifically designed to handle various storage needs, including the secure and convenient hanging of ladders. In this article, we’ll explore the best StoreWALL hooks for hanging your ladder, ensuring you make the most of your wall space and maintain a tidy garage.
Heavy Duty Cradle Hook
The Heavy Duty Cradle Hook provides a cradling support system for your ladder, distributing its weight evenly. Features include:
- Cradle Design: Offers excellent support by cradling the ladder, reducing stress on the hook and wall.
- High Weight Capacity: Built to hold even the heaviest ladders securely.
- Protective Padding: Padded to prevent damage to the ladder and the wall.
- Priced at around $38.
This hook is perfect for those who want a secure and stable storage solution for their heavier ladders.
Heavy Duty Utility Hook
The Heavy Duty Utility Hook is a robust option for hanging larger, deeper, and heavier ladders. The hook features:
- Sturdy Construction: Made from high-quality steel, ensuring it can handle the weight and provide long-lasting durability.
- Secure Hold: Rubber-coated hooks to prevent slipping and protect the ladder from scratches.
- Deep Design: It hangs 228 mm off the wall, allowing ample space to securely hang the deepest of ladders. With a broad front raised design, removing your ladder requires that you lift it first.
- Easy Installation: Compatible with StoreWALL’s slatwall panels, allowing for quick and secure attachment.
- Priced at around $45.
This hook is perfect for heavy-duty ladders, offering the peace of mind that your ladder is safely stored and easily accessible.
Cradle Hook
The Cradle Hook is another excellent option for hanging your smaller and lighter weight ladders. Key features include:
- Versatility: Can be used to store different types of smaller and lighter weight step ladders.
- Design: Features Cradle style prongs that extend to over 140mm to hold lighter and heavier ladder features.
- Durability: Constructed from strong materials to hold substantial weight without bending or breaking.
- Non-Slip Grip: Coated with a non-slip material to keep your ladder securely in place.
- Priced at around $33.
This hook is great for homeowners with multiple ladders, providing a flexible storage solution.
Heavy Duty Universal Hook
The advantage offered by the Heavy Duty Universal Hook is its reach of 228mm. This hook offers:
- Deep Design: Perfect for holding large and smaller ladders. The deep design allows you to hang the ladder away from the wall to reduce marking it.
- Strong Build: Made from durable steel, capable of supporting heavier ladders.
- Protective Coating: Rubberized ends to prevent scratches and slippage.
- Affordably priced for its size at $39.
The angled design of this hook allows for a unique storage solution that can help maximize your wall space efficiently.
300mm Power Tool Bracket
The 300mm Power Tool Bracket is a robust option for hanging your ladder and other heavy power tools. It is designed to support heavier items, making it ideal for large ladders. The hook features:
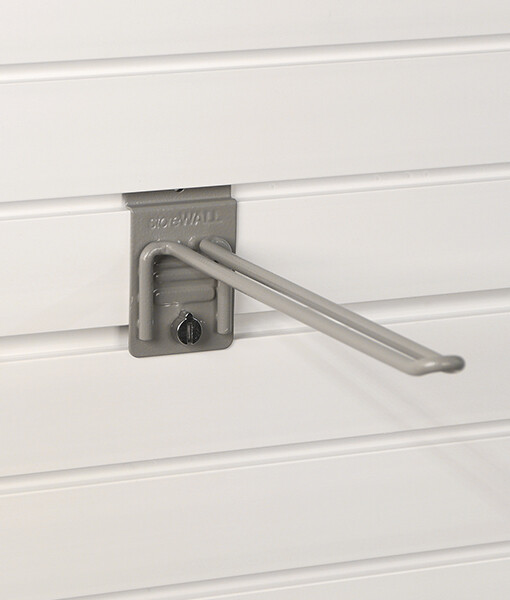
- Sturdy Construction: Made from high-quality steel, ensuring it can handle the weight and provide long-lasting durability. It features two prongs for added strength.
- Secure Hold: Extended it out to 300mm, it offers versatility for hanging the largest of ladders both vertically and horizontally. Use to hooks to hang your largest ladders horizontally.
- Easy Installation: Compatible with StoreWALL’s slatwall panels, allowing for quick and secure attachment.
This hook is perfect for heavy-duty ladders, offering the peace of mind that your ladder is safely stored and easily accessible.
Conclusion
StoreWALL’s range of hooks offers versatile and reliable solutions for hanging your ladder. Whether you have a heavy-duty extension ladder or a compact step ladder, there’s a hook that meets your needs. By choosing the right hook, you can keep your ladder off the floor, free up valuable space, and maintain a safe and organized garage. Invest in StoreWALL’s hooks to optimize your storage and enjoy a clutter-free environment.