When selecting a wall storage system, understanding slatwall weight capacity is crucial to ensuring your setup is both functional and safe. StoreWALL panels are designed for strength and durability, but the weight they can hold depends on several factors, including panel type, installation method, and load distribution. In this guide, we’ll break down the weight capacities of StoreWALL’s Standard Duty and Heavy Duty panels to help you make an informed choice.
Why Weight Capacity Matters
Every storage solution must be designed to handle the weight of the items it holds. Whether you’re storing tools, sports equipment, or heavy-duty garage items, knowing how much weight your wall panels can support will help you avoid overloading and potential damage.
StoreWALL panels are tested to ensure they provide reliable, long-term support, and their capacity varies based on the panel type and installation method used.
Standard Duty vs. Heavy Duty Panels
StoreWALL offers two main types of wall panels: Standard Duty and Heavy Duty. Each has different weight capacities depending on its size and installation method.
 Standard Duty Wall Panels
 Standard Duty Wall Panels
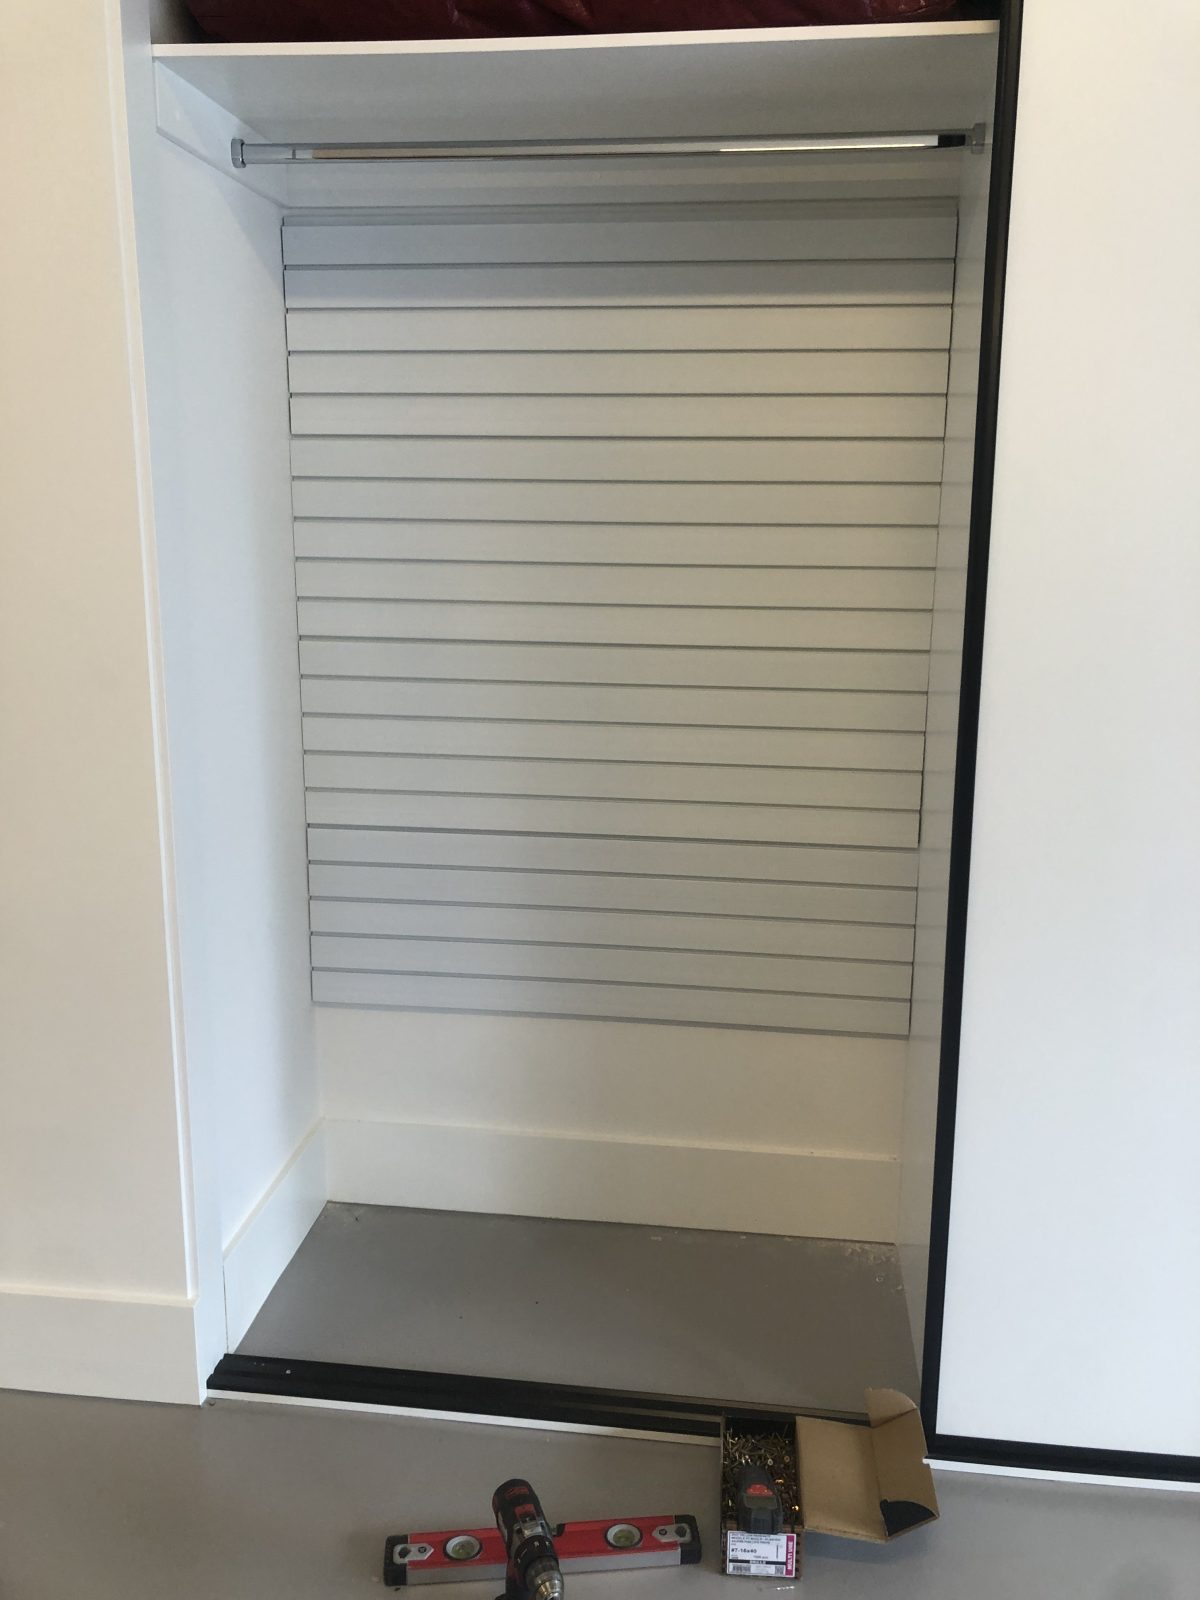
These are the most popular choice for general storage needs, offering a balance of strength and versatility.
1219mm panel
- 56kg at Panel Surface
- 26kg at 10cm from Panel Surface
- 22kg at 15cm from Panel Surface
Capacity assumes installation with InstallStrips.
2438mm panel
- 113kg at Panel Surface
- 52kg at 10cm from Panel Surface
- 45kg at 15cm from Panel Surface
Capacity assumes installation with InstallStrips.
The 2438mm panel can handle double the 1219mm panel because it is twice the length. In both cases, total weight capacity assumes weight is distributed evenly across the panel. It also assumes the accessory you are using can support the weight of the item it is holding. All StoreWALL accessories are also rated for weight capacity.
Heavy Duty Wall Panels
Designed for more demanding storage applications, Heavy Duty panels provide greater weight capacity. These panels are thicker (about 1mm) and the installstrips used to install them are wider.

1219mm panel
- 68kg at Panel Surface
- 37kg at 10cm from Panel Surface
- 31kg at 15cm from Panel Surface
Capacity assumes installation with InstallStrips.
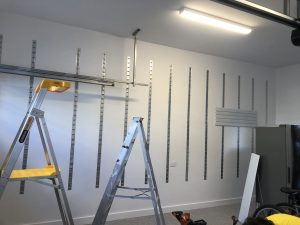
How Installation Method Affects Weight Capacity
InstallStrips vs. Screw Installation
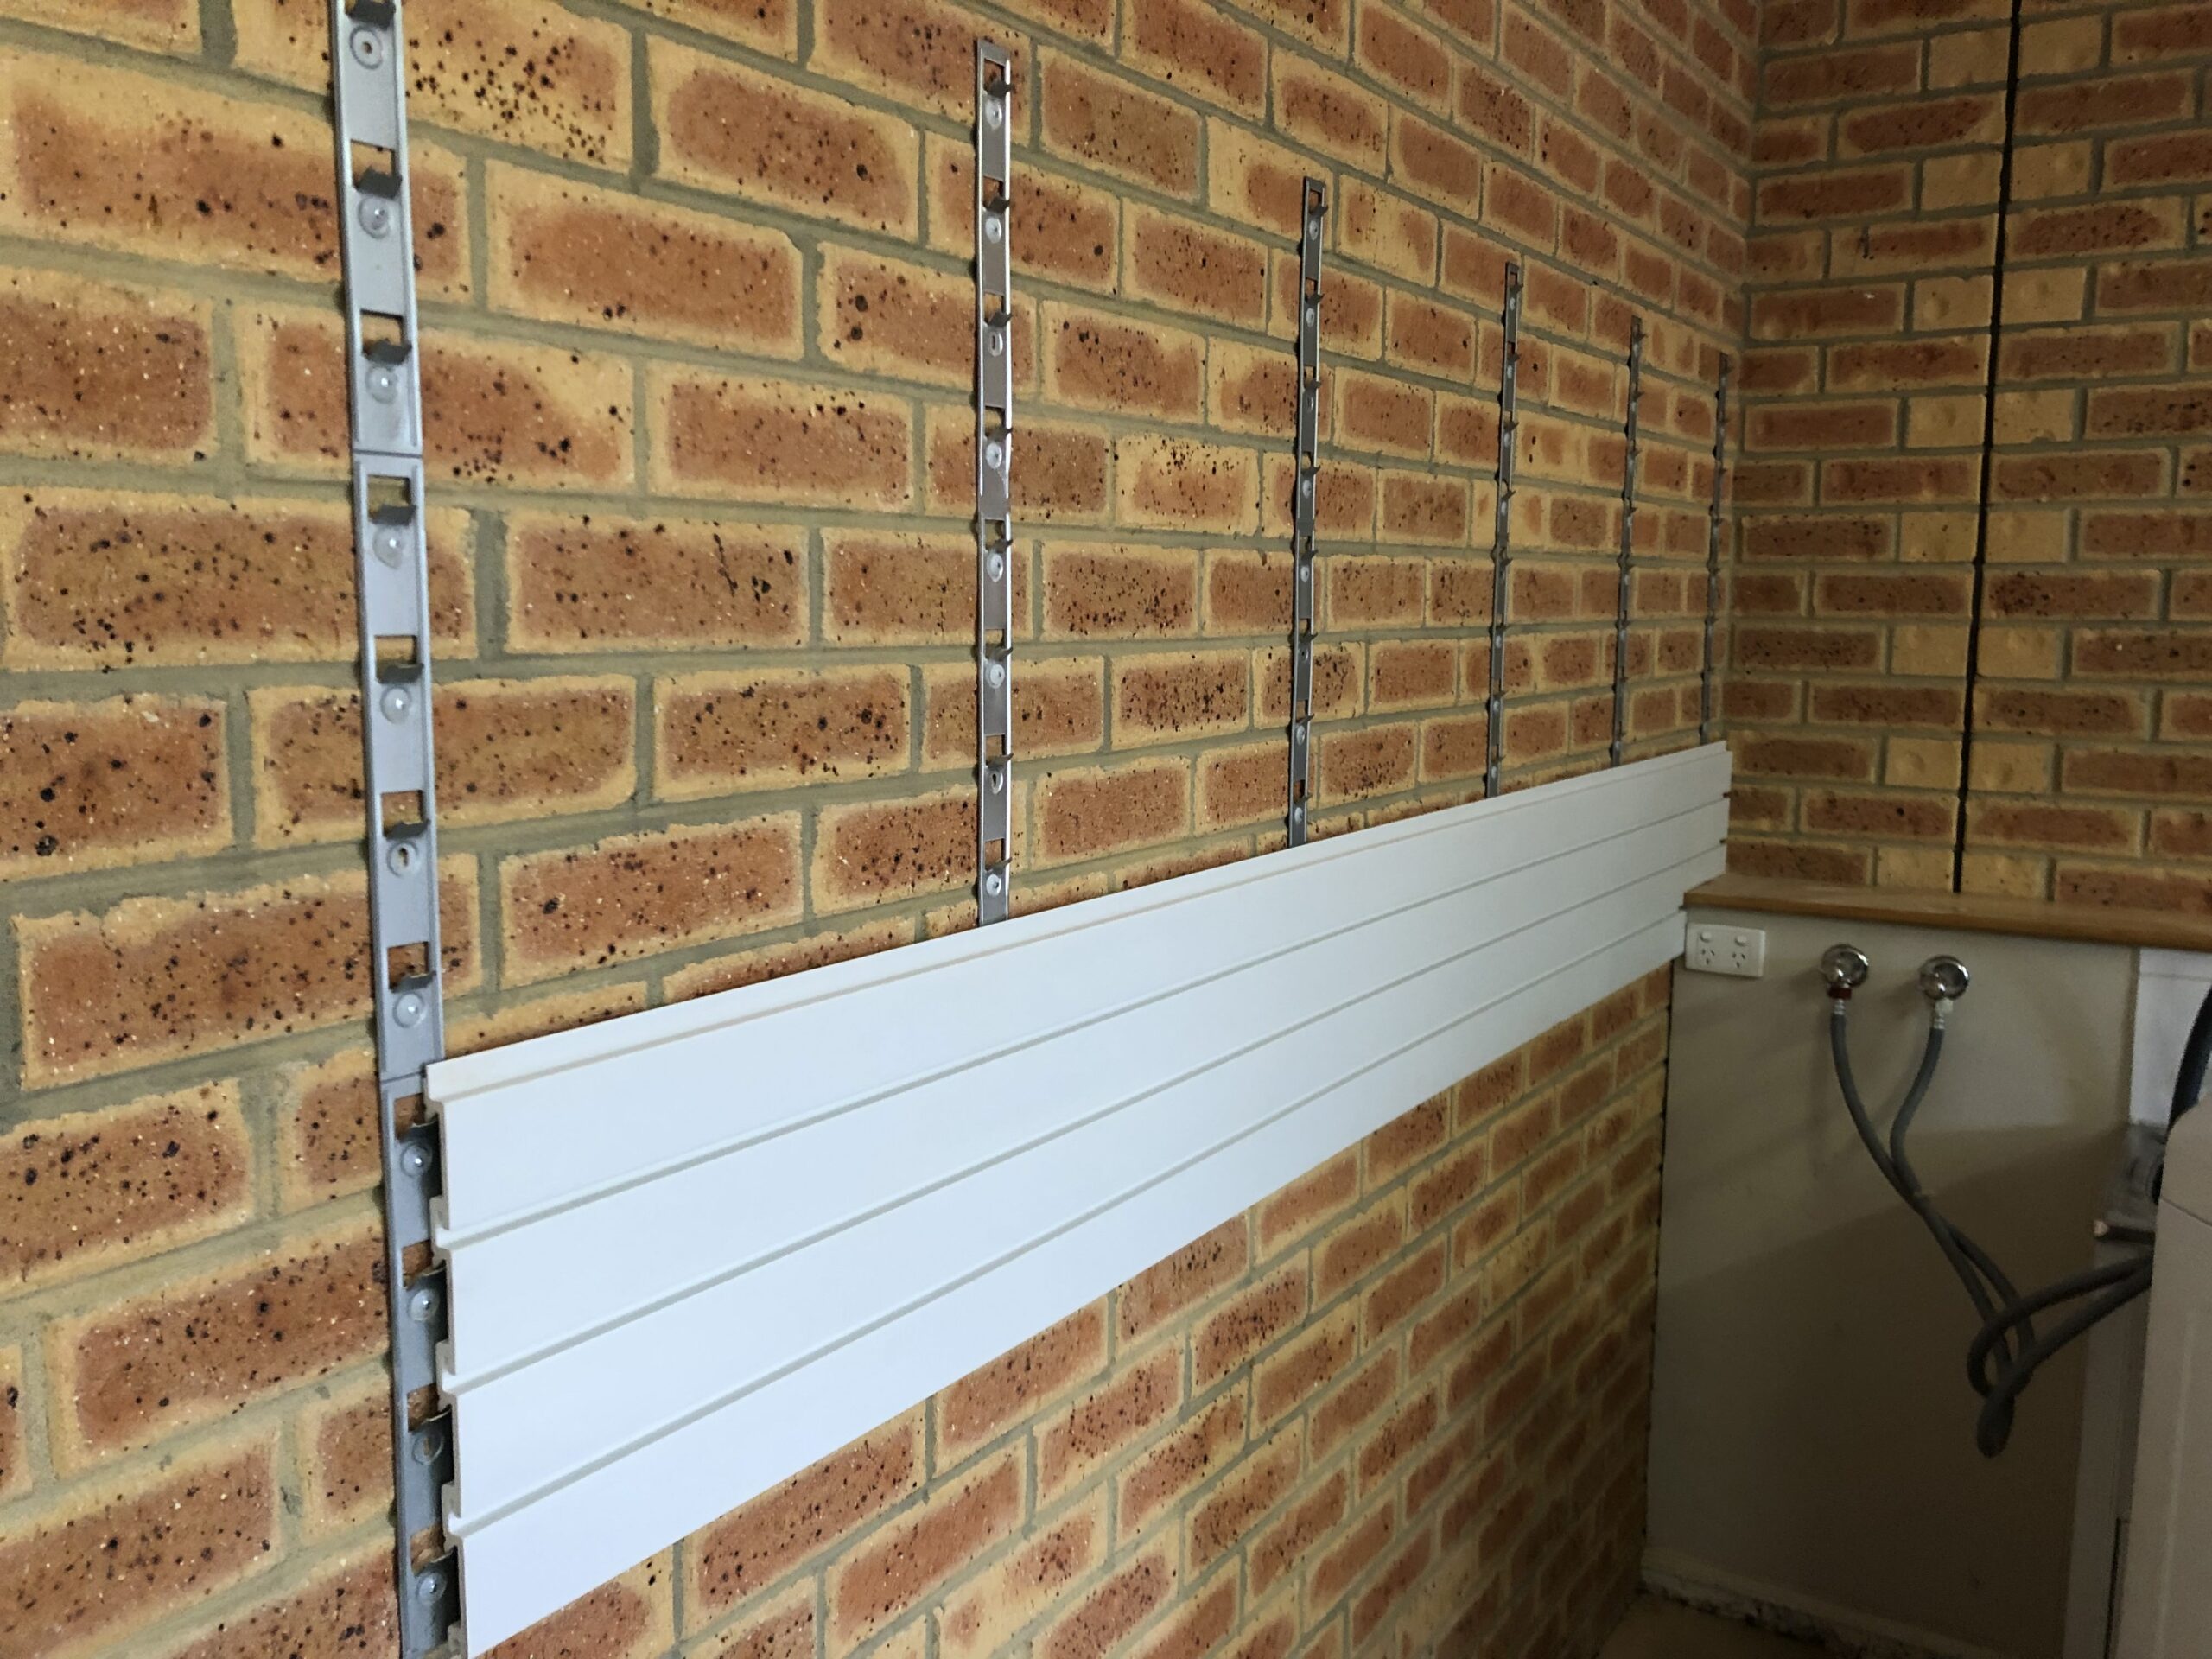
StoreWALL panels can be installed using either InstallStrips or direct screw installation. While both methods provide a strong hold, InstallStrips significantly increase weight capacity by evenly distributing weight across the panel.
For example:
- Screw installation at 10cm from the panel surface supports only 17kg per panel, compared to 26kg or more when using InstallStrips.
- InstallStrips allow for higher load-bearing capacity and greater long-term durability. They are made from galvanised steel and provide greater support for the weight being stored than just a screw does. The support is spread along the length of the installstrip, rather than being concentrating directly on the screw.
Distributing Weight for Optimal Performance
Regardless of which panel type or installation method you choose, it’s essential to distribute weight evenly across the wall storage system. Concentrating too much weight on a single hook or accessory can reduce stability and affect performance.
Key Recommendations:
- Use multiple accessories to spread the weight evenly.
- Place heavier items closer to the panel surface for maximum support. Some (ie heavy ladders) might also be better to also be touching the ground for best support.
- Secure installation is key – always follow the recommended installation guidelines for optimal load-bearing performance.
Making the Right Choice for Your Storage Needs
When choosing your StoreWALL panel, consider:
- What you’re storing – Heavy tools? Sports gear? General household items?
- Installation method – Using InstallStrips will maximize strength and durability.
- Weight distribution – Plan your storage layout to evenly distribute loads.
By selecting the right panel and installation method, you’ll ensure a long-lasting, secure, and efficient storage system that meets your needs while maintaining safety and durability.
Final Thoughts
StoreWALL panels are engineered for strength, reliability, and versatility, making them an excellent investment for any storage space. By understanding slatwall weight capacity and proper installation techniques, you can maximize their performance and longevity.
Ready to upgrade your storage? Explore StoreWALL’s Standard Duty and Heavy Duty panels today and find the perfect solution for your space!


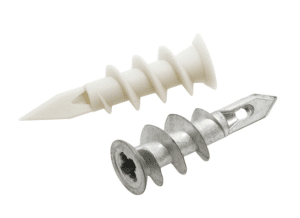 Nail Anchors