Posted on

30 Years of Garage Location Trends

30 Years of Garage Location Trends

The garage is more than just a space to park your car—it’s a reflection of how we live, what we value, and how residential design has evolved. Over the past three decades, the position and prominence of garages on homes have shifted significantly, shaped by urban development patterns, lifestyle needs, and design aesthetics. We explore 30 years of garage location trends and what it says about how we live today.


1990s: Front and Center

In the 1990s, suburban expansion was in full swing. As more families moved into tract-style homes in planned communities, garages became a dominant feature—often located at the front of the house, facing the street.

Key Characteristics:

  • Double or triple garage doors were a focal point of the home’s facade.
  • Garage doors were often prominent and unadorned, prioritizing function over form.
  • This design catered to families with multiple vehicles, and commuting was a daily necessity.

Why It Worked Then:

  • Developers aimed for efficiency and affordability—placing the garage at the front reduced driveway length and allowed smaller lot sizes.
  • The garage became an extension of the front yard, often used for storage, home projects, or informal entry.

30 Years of Garage Location Trends

2000s: Garage as a Lifestyle Hub

As homes grew larger in the early 2000s, so did the garages. The garage was still front-facing in most suburban neighborhoods, but the trend began to shift toward more integrated designs.

Key Trends:

  • Three-car garages became more common, often arranged in L- or tandem layouts.
  • Builders began to hide garages slightly behind the main front elevation, sometimes offset or recessed.
  • Homes included mudrooms or laundry rooms between the garage and the interior, reflecting its role as the main entry point for families.

The Lifestyle Factor:

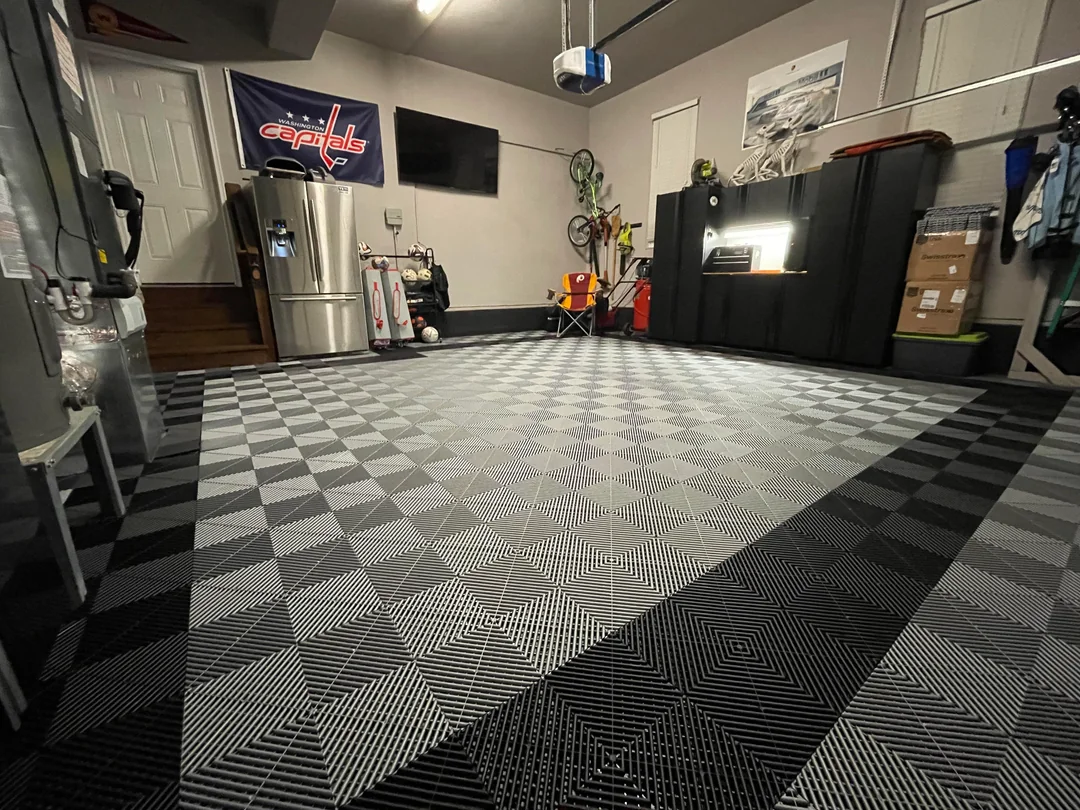
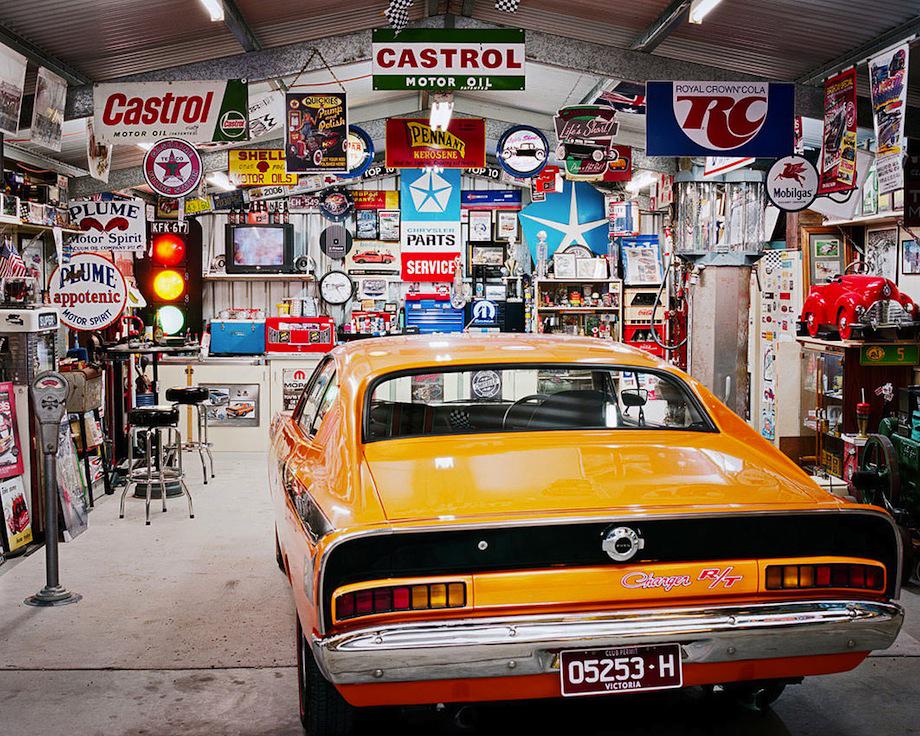
  • The garage became not just for parking, but a multifunctional space—used for fitness equipment, hobby workspaces, or even secondary living areas.

2010s: De-emphasizing the Garage

In the 2010s, design-conscious homeowners and architects began pushing back against garages dominating curb appeal. The modern homeowner wanted cleaner aesthetics, better street presence, and more usable outdoor space.

Design Shifts:

  • In urban infill and townhome developments, garages were often moved to the rear of the home and accessed via alleyways.
  • In custom homes or high-end developments, garages were placed side-facing or hidden behind landscaping or architectural features.
  • There was a growing focus on garage door design, with materials and styles selected to complement the overall home.

Driving Forces:

  • Walkability and streetscape appeal became more important.
  • The rise of alternative transportation (biking, ride-shares) made large garages less essential in some urban areas.
  • Storage systems and organization tools like slatwall panels and overhead racks became popular, helping homeowners maximize garage functionality.

30 Years of Garage Location Trends

2020s: Flexibility, Function, and Hidden Design

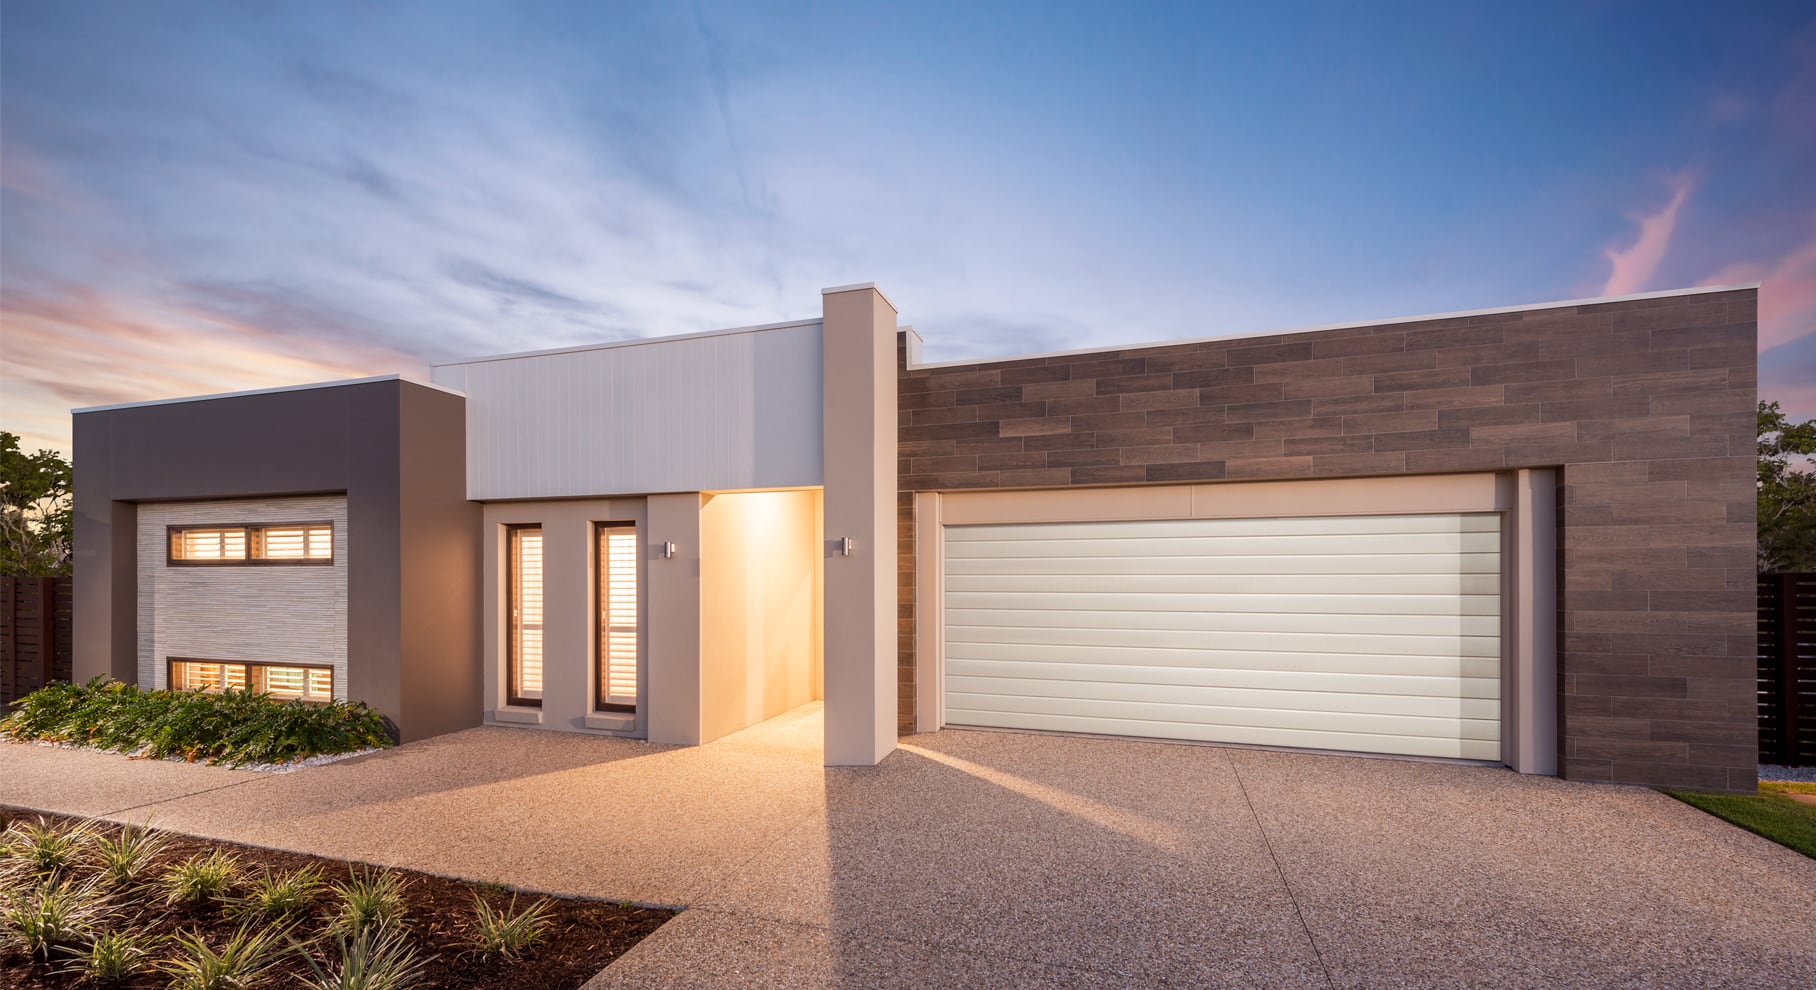
Today, garage design is all about blending form with function. While many homes still feature front-facing garages, there’s a clear move toward less visual dominance and greater functional flexibility.

Current Trends:

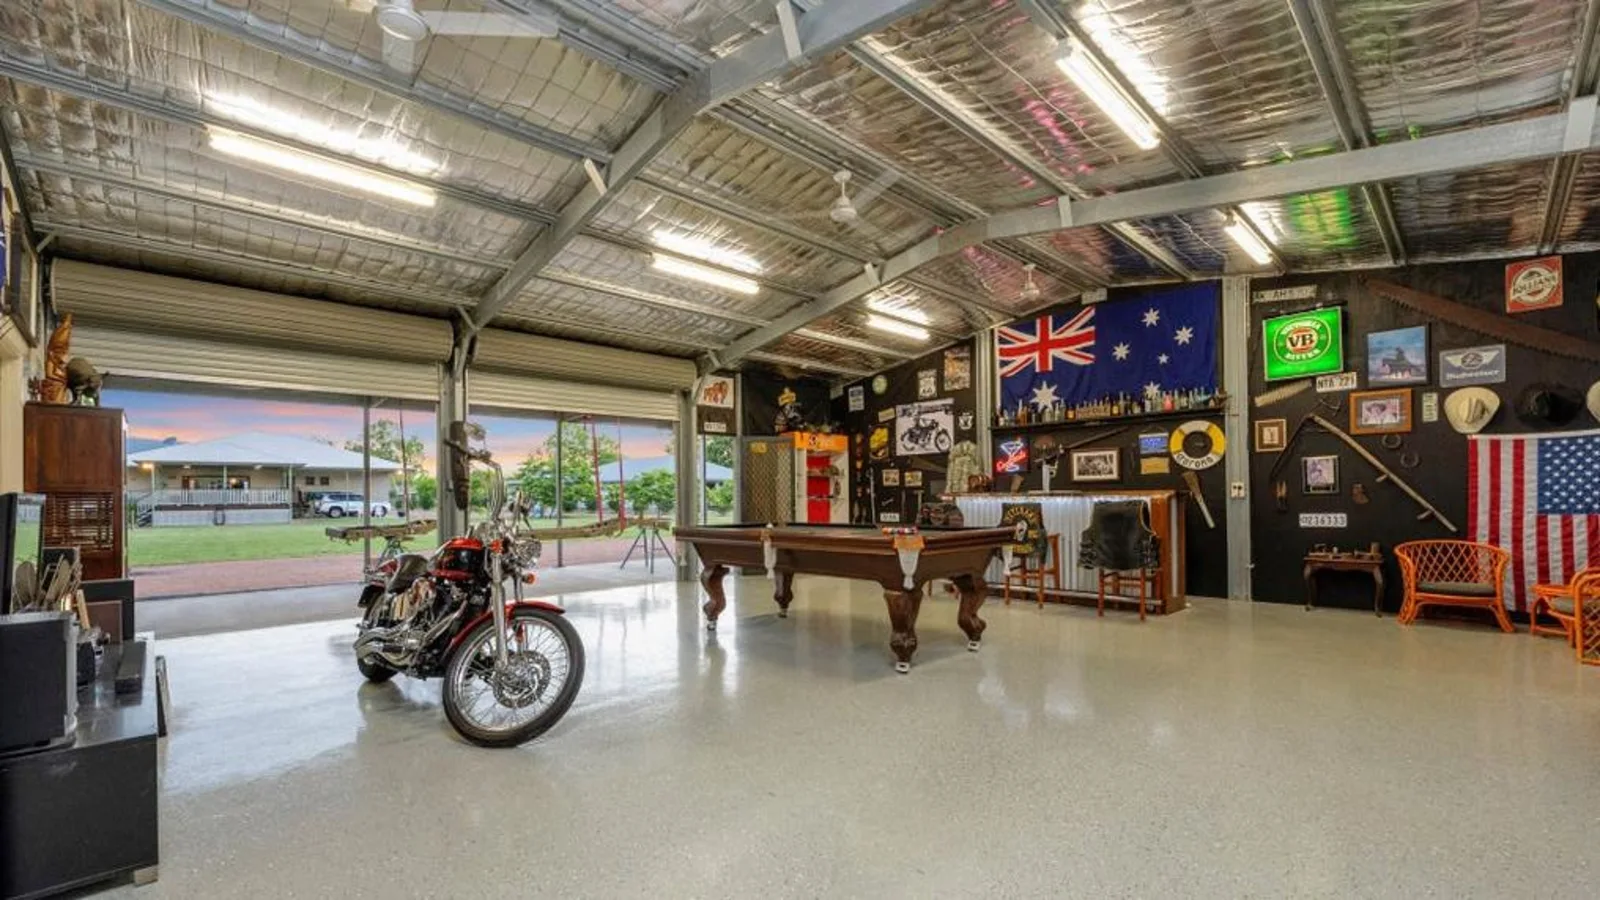
  • Detached garages are making a comeback in some markets, offering space for ADUs (accessory dwelling units) or home offices above.
  • Side-entry and rear-facing garages are favored for upscale homes.
  • Integrated garages with seamless interior transitions and smart storage are in high demand.
  • Garages are increasingly being built with EV charging stations, insulated doors, and climate control.

Cultural and Technological Influence:

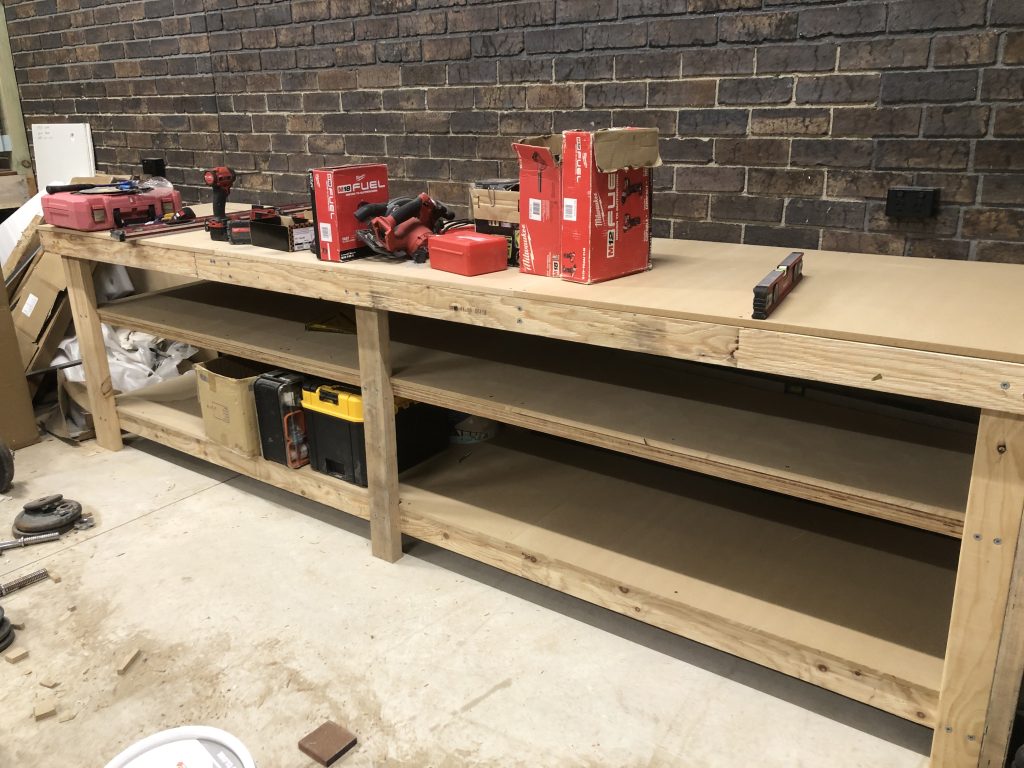
  • The rise of remote work and home-based businesses has transformed garages into workshops, studios, and gyms.
  • Design software and 3D modeling tools allow homeowners to better visualize and customize garage layouts.
  • Sustainability and energy efficiency are influencing the materials and positioning of garage spaces.

Why This Evolution Matters

The changing location and role of the garage reflect deeper shifts in how we live:

  • A move toward intentional design
  • Increased focus on curb appeal and community aesthetics
  • A broader view of the garage as a versatile, integral space

As we continue to rethink how our homes function in a digital, mobile, and flexible world, the garage is evolving right alongside us.


30 Years of Garage Location Trends

30 Years of Garage Location Trends – The Future

Over the past 30 years, garages have moved from front-facing functional spaces to discreet, flexible extensions of the home. Whether it’s for storing a vehicle, working on a passion project, or charging your electric car, the garage’s role is no longer one-dimensional.

As homeowners continue to demand more from their living spaces, expect garage design—and location—to keep evolving in creative and thoughtful ways.


Posted on

Interlocking Foam Tiles

interlocking floor tiles

Unlocking the Potential of Interlocking Foam Tiles in Your Garage

Garages are versatile spaces that can be transformed with simple upgrades, such as the installation of interlocking foam tiles. These tiles are not only affordable and easy to install, but they also offer a range of benefits from improved safety to enhanced aesthetics. Whether you’re looking to create a comfortable workspace, a gym, or simply want to protect your floor, interlocking foam tiles are an excellent choice. Here’s a detailed look at how you can utilize these tiles in your garage.

What Are Interlocking Foam Tiles?

Interlocking foam tiles are made from high-density foam and are designed to fit together like puzzle pieces. They come in various thicknesses and can range in size from 12×12 inches to 24×24 inches or larger. These tiles are lightweight, shock-absorbent, and available in multiple colors and textures, allowing for customization according to your garage’s needs.

interlocking foam tiles

Benefits of Using Foam Tiles in Your Garage

  1. Comfort: Foam tiles provide a cushioned surface that is gentle on the feet, making it ideal for long hours spent on DIY projects or repairs.
  2. Safety: The soft material helps prevent injuries from falls and can reduce fatigue from standing, which is especially beneficial in a workshop setting.
  3. Versatility: These tiles can be used to designate specific areas in your garage for different activities, such as a workout area, a workspace, or a play area for children.
  4. Durability: Designed to withstand heavy foot traffic, foam tiles are also resistant to most chemicals and can be easily cleaned with a damp mop.
  5. Thermal Insulation: The tiles act as insulators, helping to keep the garage warmer in winter and cooler in summer.
  6. Noise Reduction: The foam absorbs sound, which is particularly useful if you use loud power tools in your garage.

How to Install Interlocking Foam Tiles

Installing interlocking foam tiles is a straightforward DIY project that requires no special tools or adhesives. Here’s how to do it:

  1. Preparation: Start by clearing the garage floor and sweeping it clean of any debris or dust.
  2. Layout: Plan your layout by placing tiles on the floor without locking them in place. This will help you figure out how many tiles you need and whether you need to cut any tiles to fit.
  3. Cutting: If necessary, cut the tiles to fit around corners or edges using a sharp utility knife.
  4. Installation: Begin at one corner of the room and work your way out. Attach tiles by aligning them and pressing the interlocking edges together. Use a rubber mallet if needed to ensure a snug fit.
  5. Finishing: Once all tiles are in place, install edge pieces (if provided) to create a smooth transition from the tiles to the garage floor.

Maintenance and Care

Interlocking foam tiles are low-maintenance. Regular cleaning involves sweeping or vacuuming to remove loose debris and damp mopping with mild soap and water. Avoid using harsh chemicals that might degrade the foam material.

Customization Tips

  • Color Coding: Use different colors to define various zones in your garage, such as red tiles for workout areas and blue for workspaces.
  • Patterns: Arrange tiles in patterns or designs to enhance the visual appeal of your space.
  • Layering: For extra comfort or insulation, consider double-layering the tiles in areas where you spend the most time.

Interlocking foam tiles offer an efficient and cost-effective way to upgrade your garage, providing comfort, safety, and style. Whether you’re turning your garage into a gym, workshop, or multi-purpose area, these tiles can accommodate your needs with ease. With their simple installation and ease of maintenance, they are an excellent choice for any homeowner looking to improve their garage space.

Posted on

DIY Garage Wooden Workbench

Building a wooden bench for your garage can be a rewarding DIY project that not only enhances your workspace but also provides a sturdy and functional piece of furniture. Whether you need a place to sit while working on projects or a surface to hold tools and materials, a wooden bench can be a versatile addition to any garage. Here’s a detailed guide on how to build a DIY Garage Wooden Workbench.

The first step is to review the space you have and determine the size of bench you need that can fit in the space available. You may determine that a 1.8m long bench is big enough for you. The height and depth of the bench are additional considerations. Most benches in your home will 900mm high. When determining your bench, you might want to also decide on the benchtop surface you want to use. If it’s MDF or some form of chipboard, picking a pre-cut size available from your hardware store will save you a lot of time.

Materials Needed:

  • Wood: Make sure your timber is straight. Using old timber to save some money is a great idea, but it has twisted or is a bow in it, you don’t want it. Buy some framing pine from your local store. 90mm x 45mm studs are ideal.
  • Screws: You will require large screws to hold the frame together and smaller screws to secure the benchtop to the frame. For the frame, I recommend something like 14g 75mm Bugle Screws. 2 ½ inch wood screws.
  • Glue: Wood glue for extra bond. This is optional.
  • Sandpaper: Various grits for smoothing.
  • Finish: Paint, stain, or sealant depending on your preference.

Tools Required:

  • Saw: Circular saw or handsaw.
  • Drill: With drill bits.
  • Measuring tape.
  • Square.
  • Clamps: To hold wood in place as you work.
  • Paintbrush or roller (if applying finish).

Instructions for your DIY Garage Wooden Workbench

This is a bench design that I used for my own DIY Garage Wooden Workbench project. It took me 2 full days to complete. I found the instructions on this site. Whilst I used most of the design laid out in this article, I did make some adjustments.

The final measurements were 3600mm long, 950mm high, and 860mm deep. Due to the size I chose, I didn’t put the bench on caster wheels. Had it been 1800mm long, I would have. I also made two shelves under the benchtop of equal length to the bench.

DIY Garage Wooden Workbench
My DIY Garage Wooden Workbench

You will notice that I used a combination of timbers. These were all new timbers I already had and they were also straight. Most of the timber was LVL (Structural). It made the bench very heavy. You don’t need LVL for a benchtop. Your standard framing pine (90×45) is fine. For the top surface, I purchased MDF boards (1200 x 2400) which I cut to size. Three sheets covered all of the surfaces. These I needed to cut to size.

The last step in my garage wooden workbench project is to add StoreWALL Garage Wall Panels to the wall above the bench. This has now been completed. I have added 2 x Heavy Duty Weathered Grey (2438mm) panels along the bench. I have stacked two panels to give me a paneled area of 4876mm x 770mm. At one corner, I have made it slightly higher with a third piece of panel at 1000mm.

Posted on

The Allure of the Australian Man Cave

australian man cave

Understanding the Popularity of Personal Sanctuaries

In recent years, the man cave has evolved from a trend into a staple of the modern home. These personal sanctuaries offer men a retreat from the pressures of daily life, a space to unwind, engage in hobbies, or socialize. This article explores the multifaceted reasons behind the rise in popularity of the Australian man cave and its significance in contemporary culture.

Origins of the Man Cave

The concept of a man cave is not entirely new. Historical precedents include the study or library of a Victorian home, where the man of the house retreated to ponder important matters or indulge in reading. Today’s man caves, however, have expanded beyond these early iterations into fully realized personal spaces that serve multiple purposes.

The Psychological Appeal

Identity and Self-Expression: Man caves provide a canvas for personal expression. In a world where individuality can often be compromised, these spaces offer men the chance to showcase their interests, collections, and tastes without compromise or judgment.

Stress Relief and Relaxation: They serve as a sanctuary for rest and rejuvenation. The therapeutic nature of a space where one can detach from the stressors of work and family life is invaluable for mental health and overall well-being.

Autonomy and Control: Within the household, decision-making is often a shared responsibility. A man cave gives its owner complete autonomy over one defined area, fulfilling a desire for control and independence.

Australian Man Cave: Whilst the Australian man cave shares all characteristics of the universal man cave, it does have some unique features including a collection of sporting memorabilia, a pool table, a weights or gym area, a collection of water sports equipment, and a fascination with power tools.

australian man cave
Source: slate.com

Social and Cultural Influences

Evolving Gender Roles: As gender roles continue to evolve, the man cave has become a space that respects the need for personal time and space, reflecting a modern understanding of balance in relationships and family dynamics.

Entertainment and Hospitality: Man caves are often equipped for entertainment, with large-screen TVs, gaming consoles, and bars. They serve as an informal setting for social gatherings, sports viewing parties, and a relaxed atmosphere for camaraderie.

Rise of Hobbyist Culture: With the growing popularity of hobbies such as gaming, homebrewing, and collecting, man caves offer the necessary space to engage in these activities without encroaching on communal living areas.

Economic and Real Estate Factors

Home Value Addition: A well-constructed man cave can increase the appeal and value of a property. It is seen as an attractive feature that adds functional living space to a home.

Cost-Effective Leisure: With the rising costs of leisure activities outside the home, man caves offer a cost-effective alternative where one can enjoy similar experiences without recurring expenses.

The Way Forward

Man caves are no longer just a fad but a reflection of the modern man’s desire for a space that caters to relaxation, hobbies, and social interactions. They represent the importance of personal space in today’s fast-paced world and underscore the need for environments that support individual pursuits and mental well-being.

As society continues to recognize the importance of personal space and time, the man cave will likely remain a popular and enduring feature of the contemporary home, evolving with the changing tastes and technologies that define personal leisure and entertainment.