Garage slatwall systems are becoming more and more popular in Australia. This is because storage decisions for homes (even new ones) are often underestimated. This article is about your “garage slatwall installation” and how much of your garage wall(s) you should consider covering with slatwall.
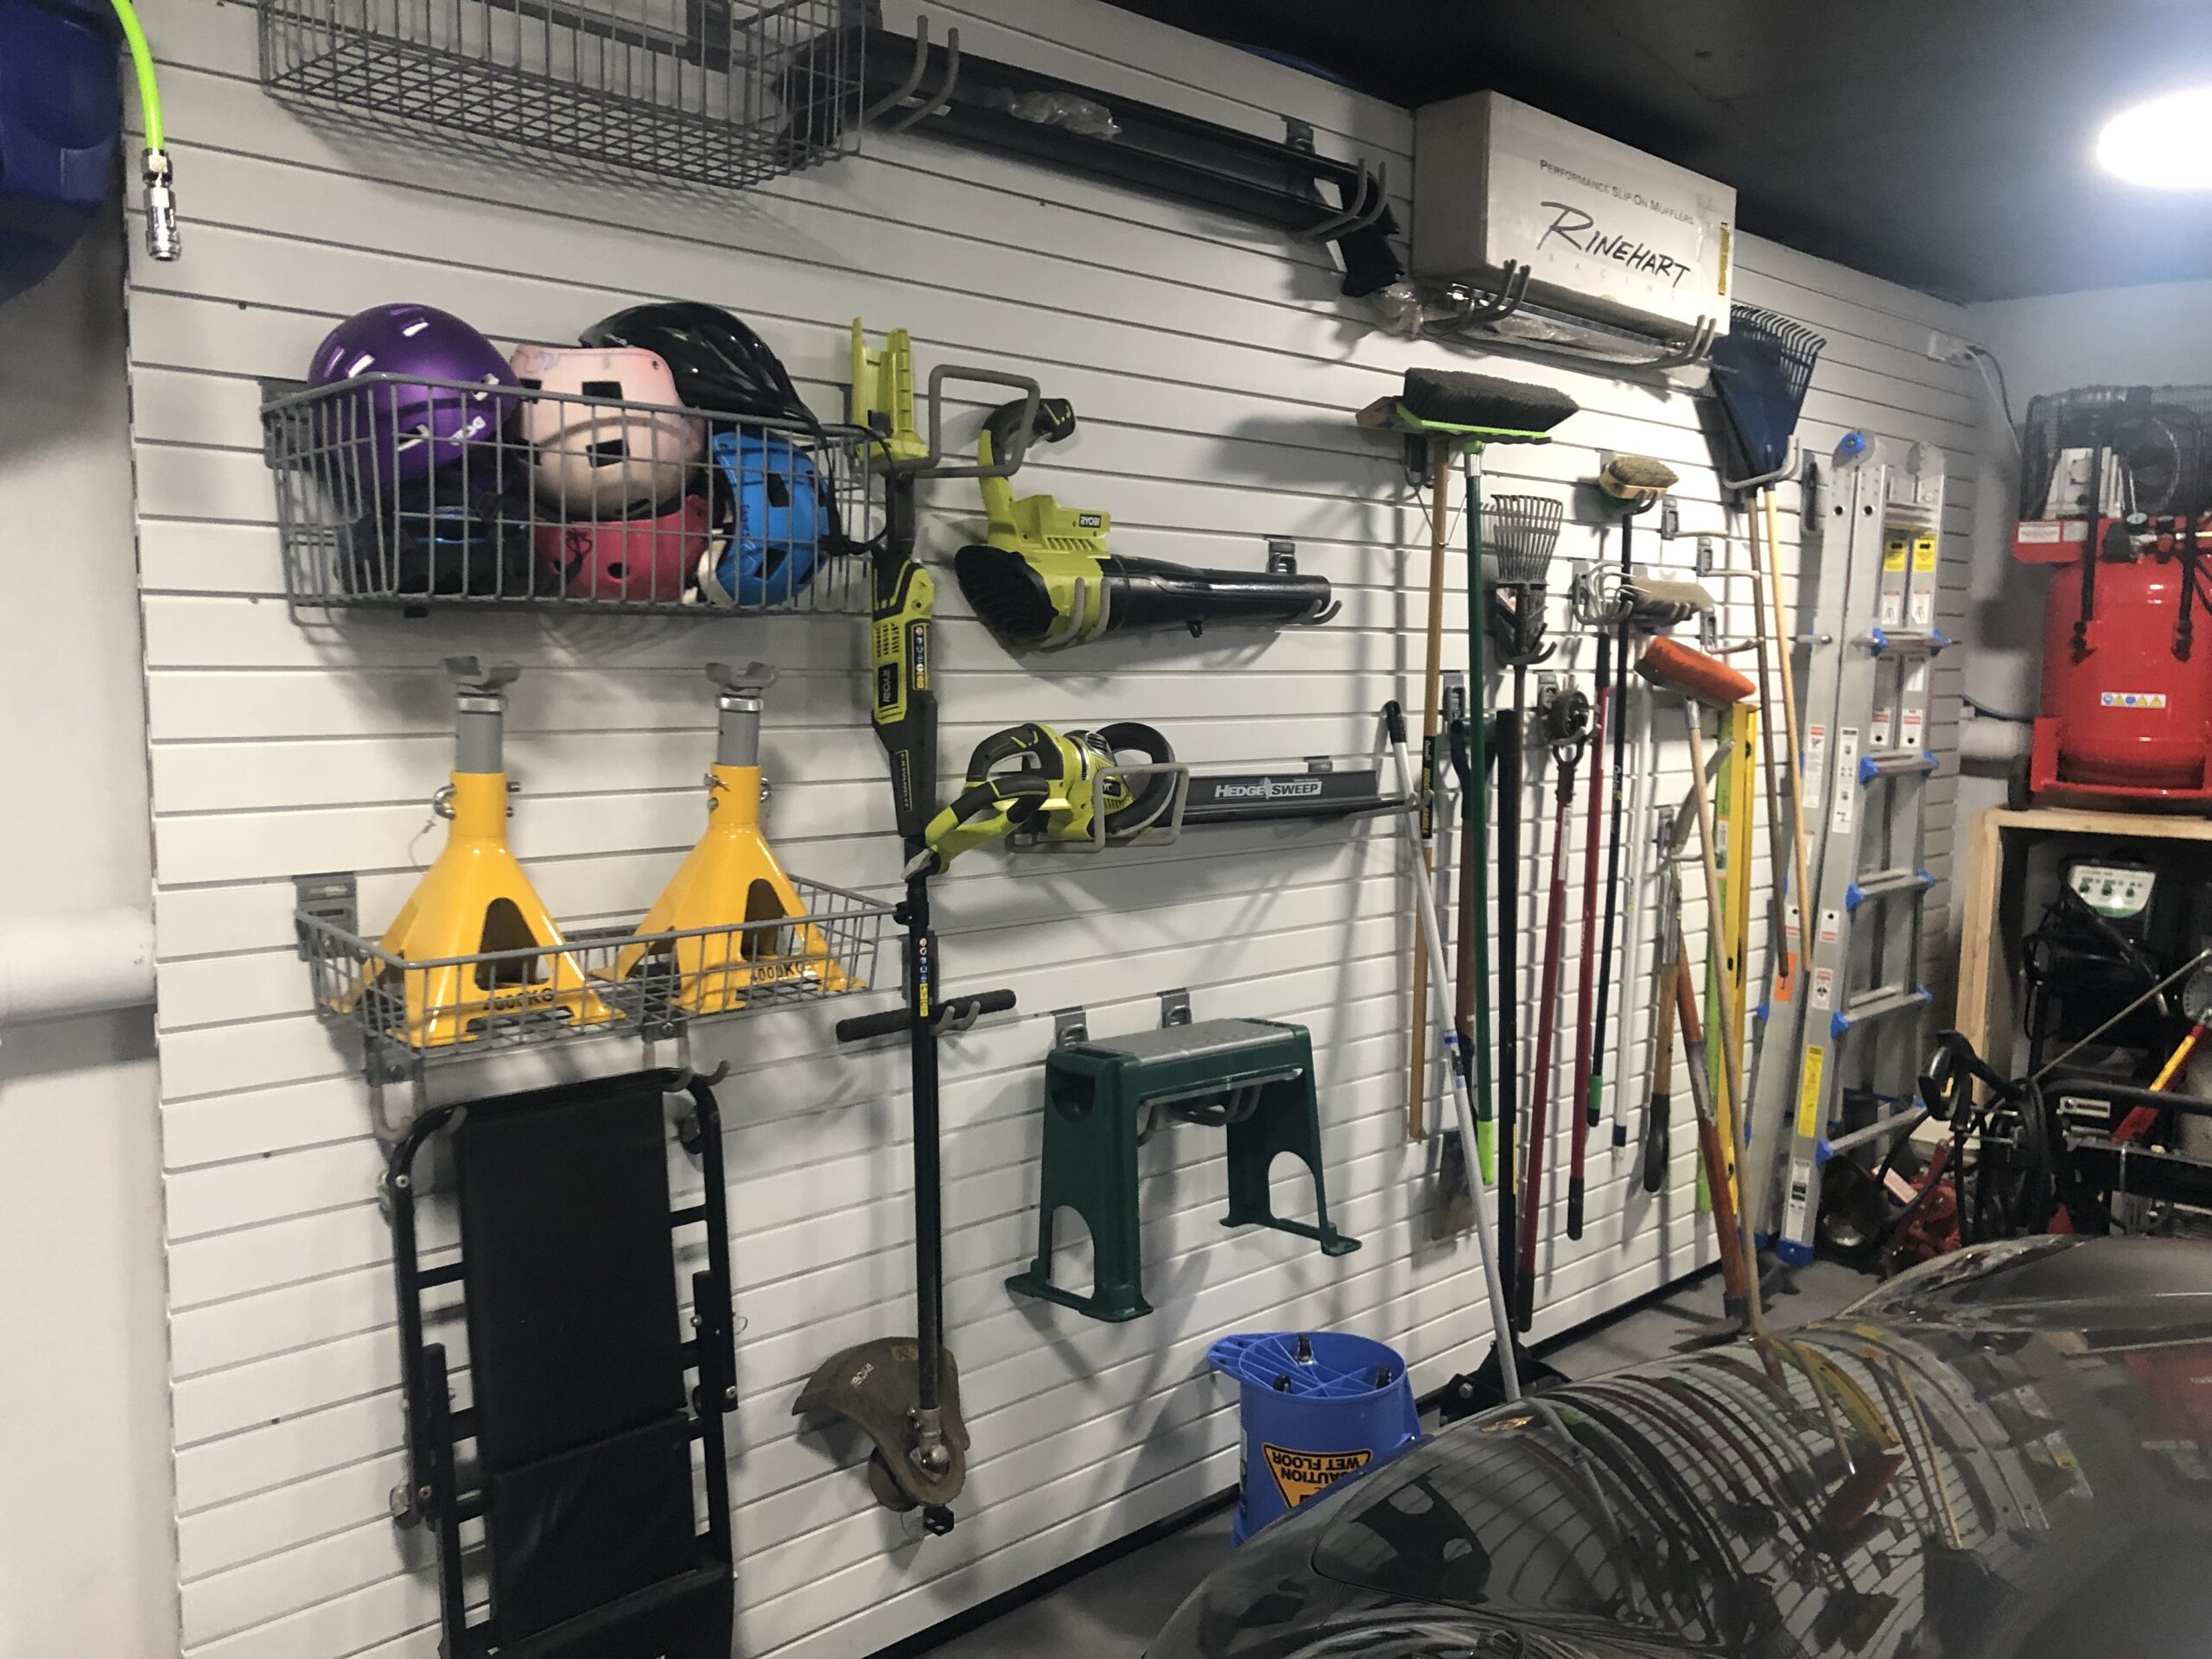
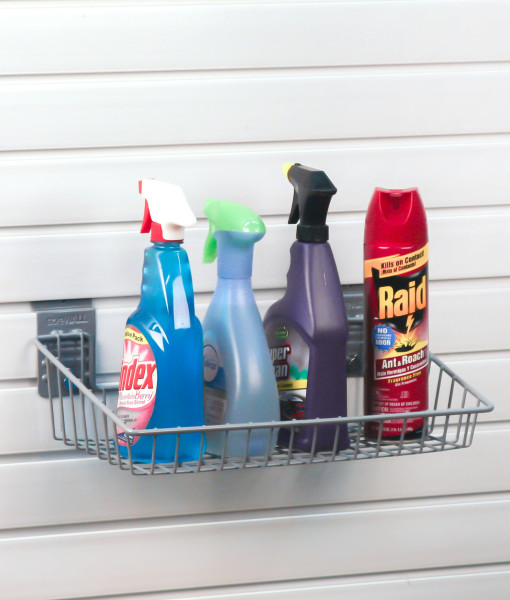
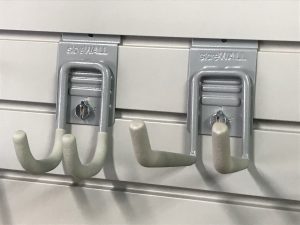
We receive calls every week from customers who have landed on our website and like the idea of a wall-panel garage storage system. It makes good use of walls that otherwise may only hold some hooks and maybe shelves. It looks great and is mould proof and provides many options regarding the types of accessories that can used, from baskets to hooks, brackets, bins, and bags.
The question many people have, however, is how much of my wall(s) should I cover with slatwall panels?
Measuring your wall area
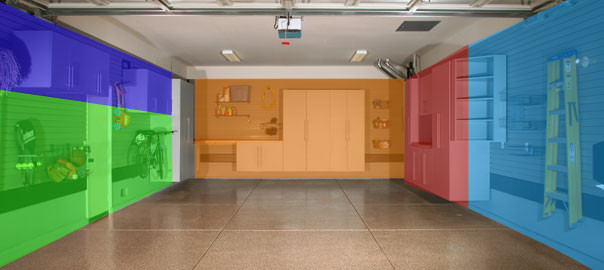
The first step is to determine how much wall space you have. From this measurement, you can then start to work on how much wall space you want to apply slatwall panels to. This will be determined by how much you have to store and your budget.
Measuring your walls is as easy as width x height. Just use a measuring tape on all available wall areas. Consider the two side walls and the back wall.
How much slatwall area do I need?
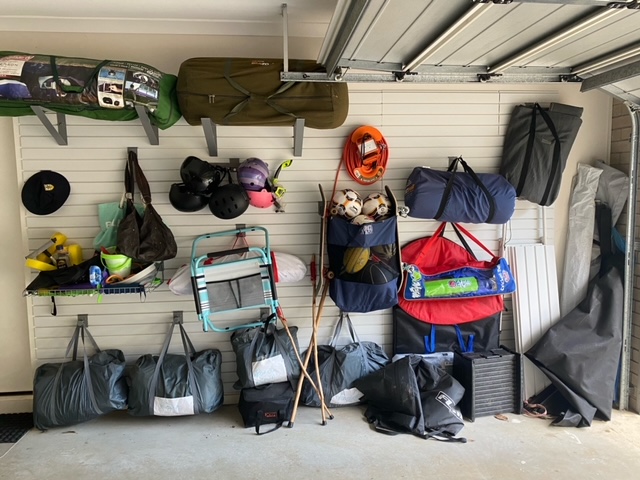
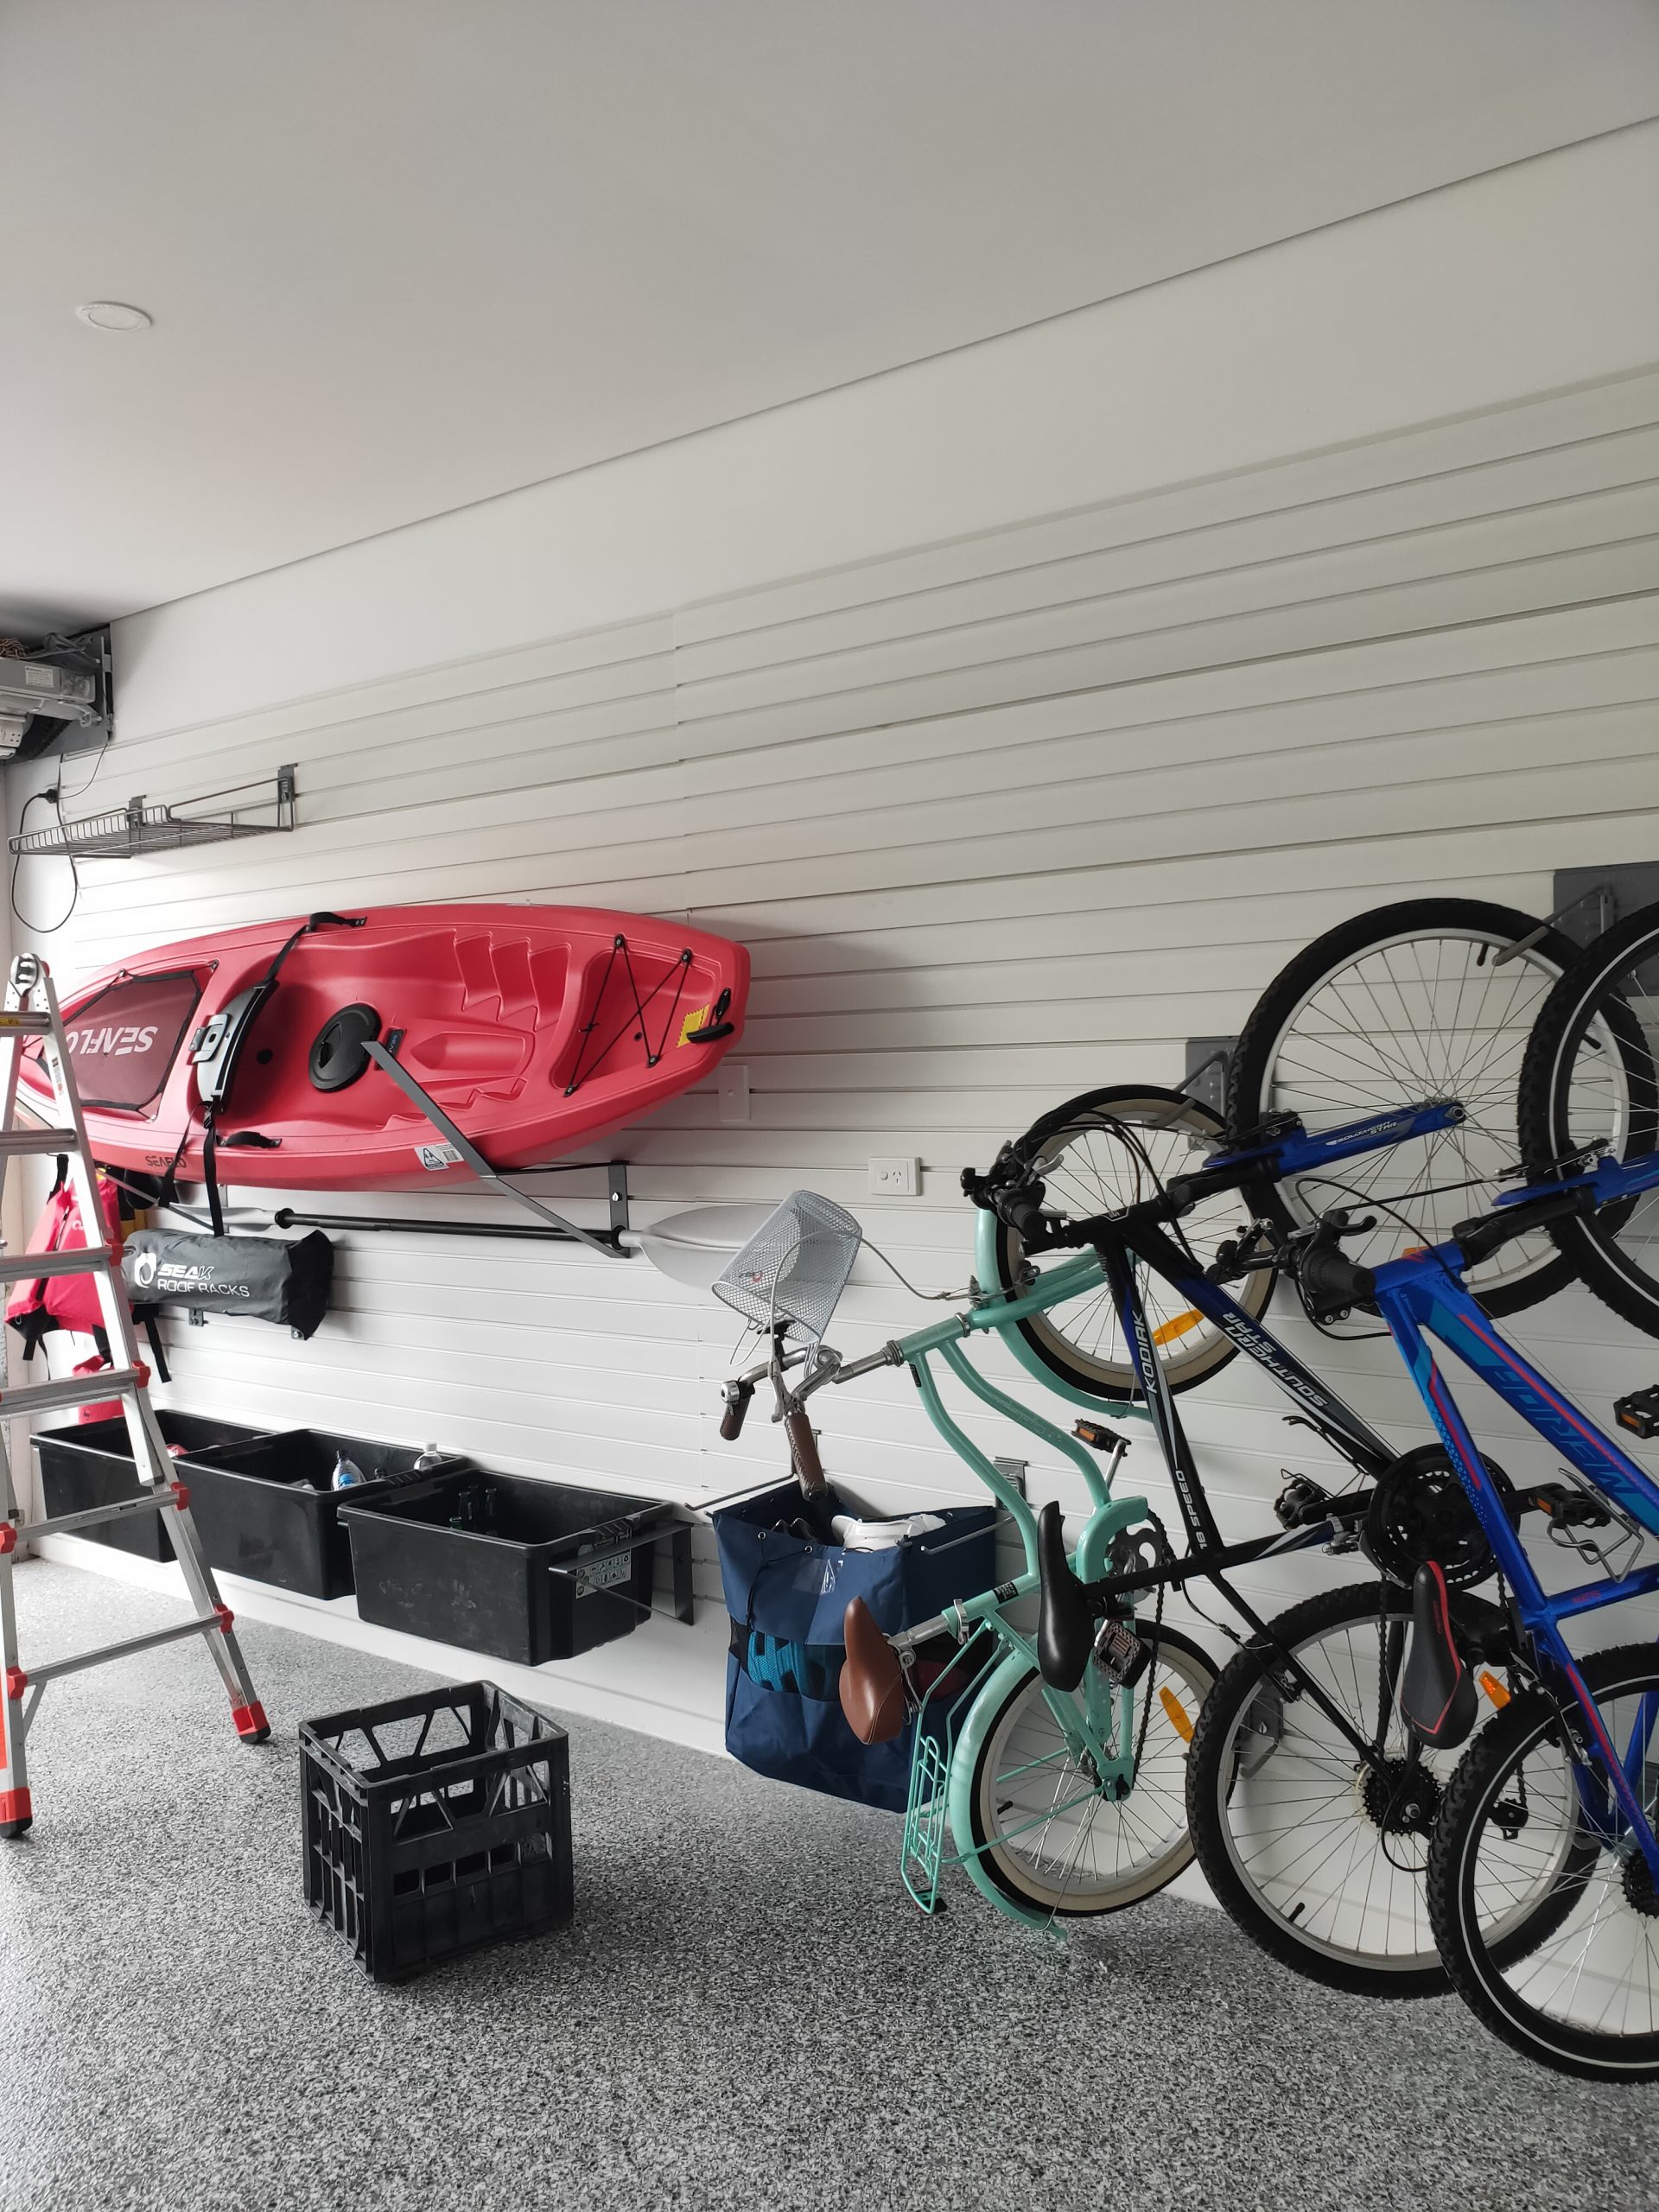
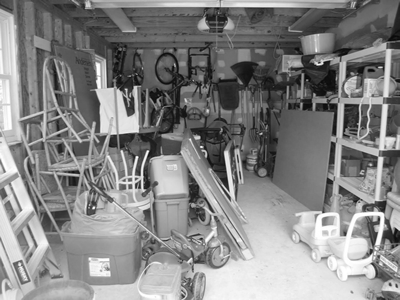
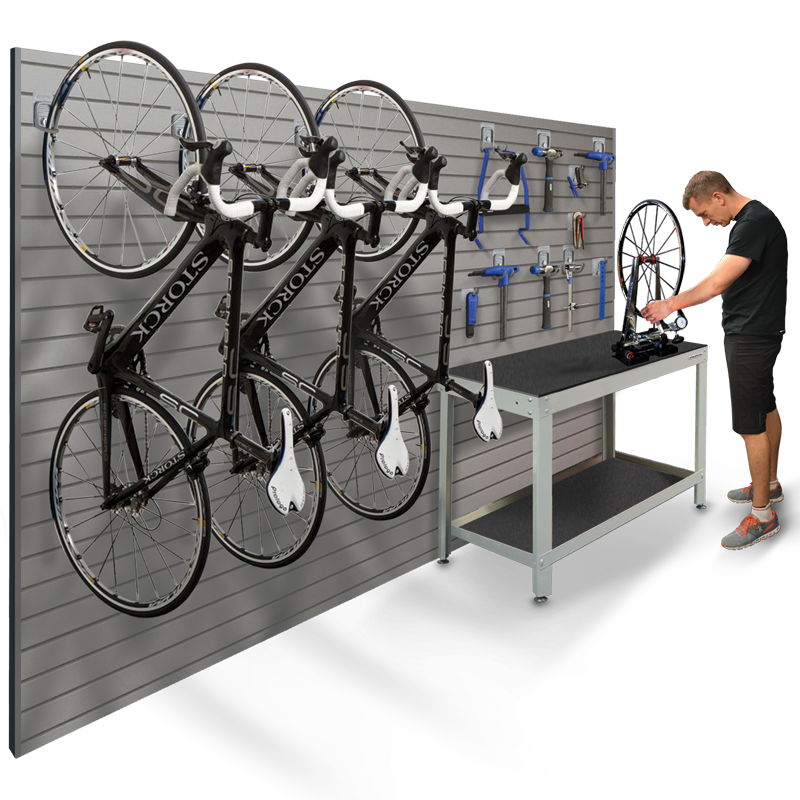
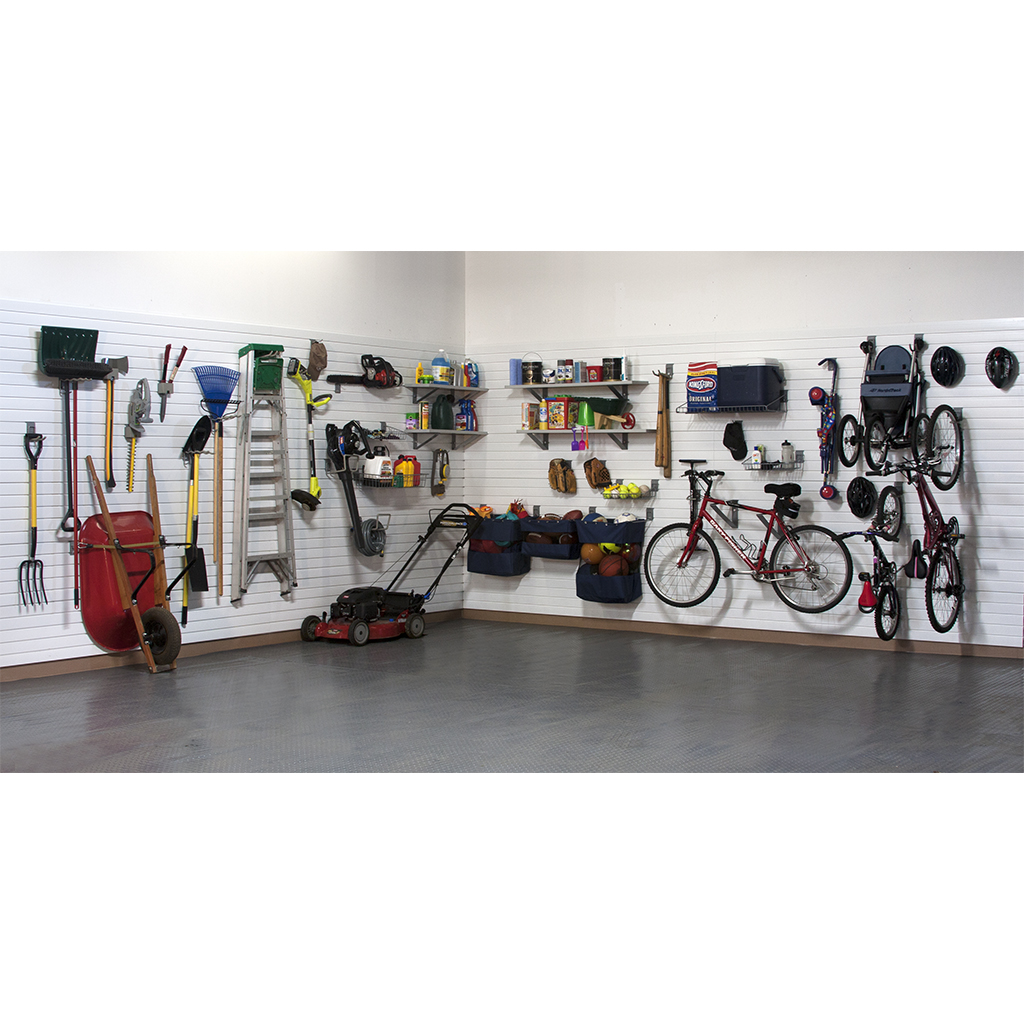
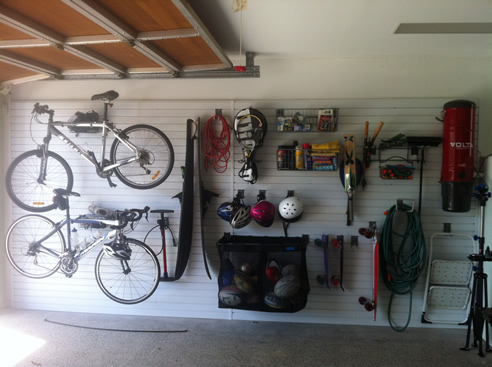
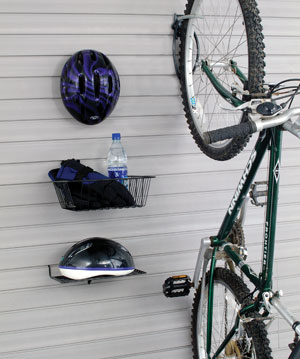
If you are storing adult-sized bikes, ladders, large gardening tools, and water sports equipment like surfboards and canoes/kayaks, you will require one or even two walls.
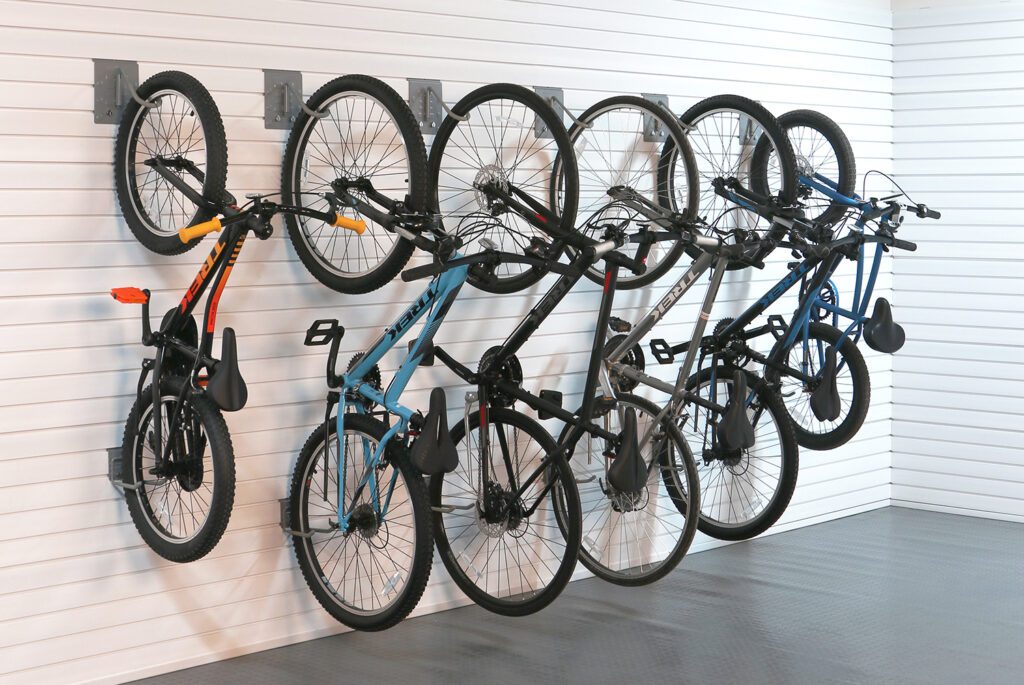
Consider that adult bikes whether stored horizontally or perpendicular to a wall are about 2m in length and 60cm in width (handlebar width). Multiply this by the number of bikes you are storing, and you might quickly fill an entire wall with bikes.
Kayaks are long and need to be stored up high and out of the way.
Do I panel a full wall or part wall?
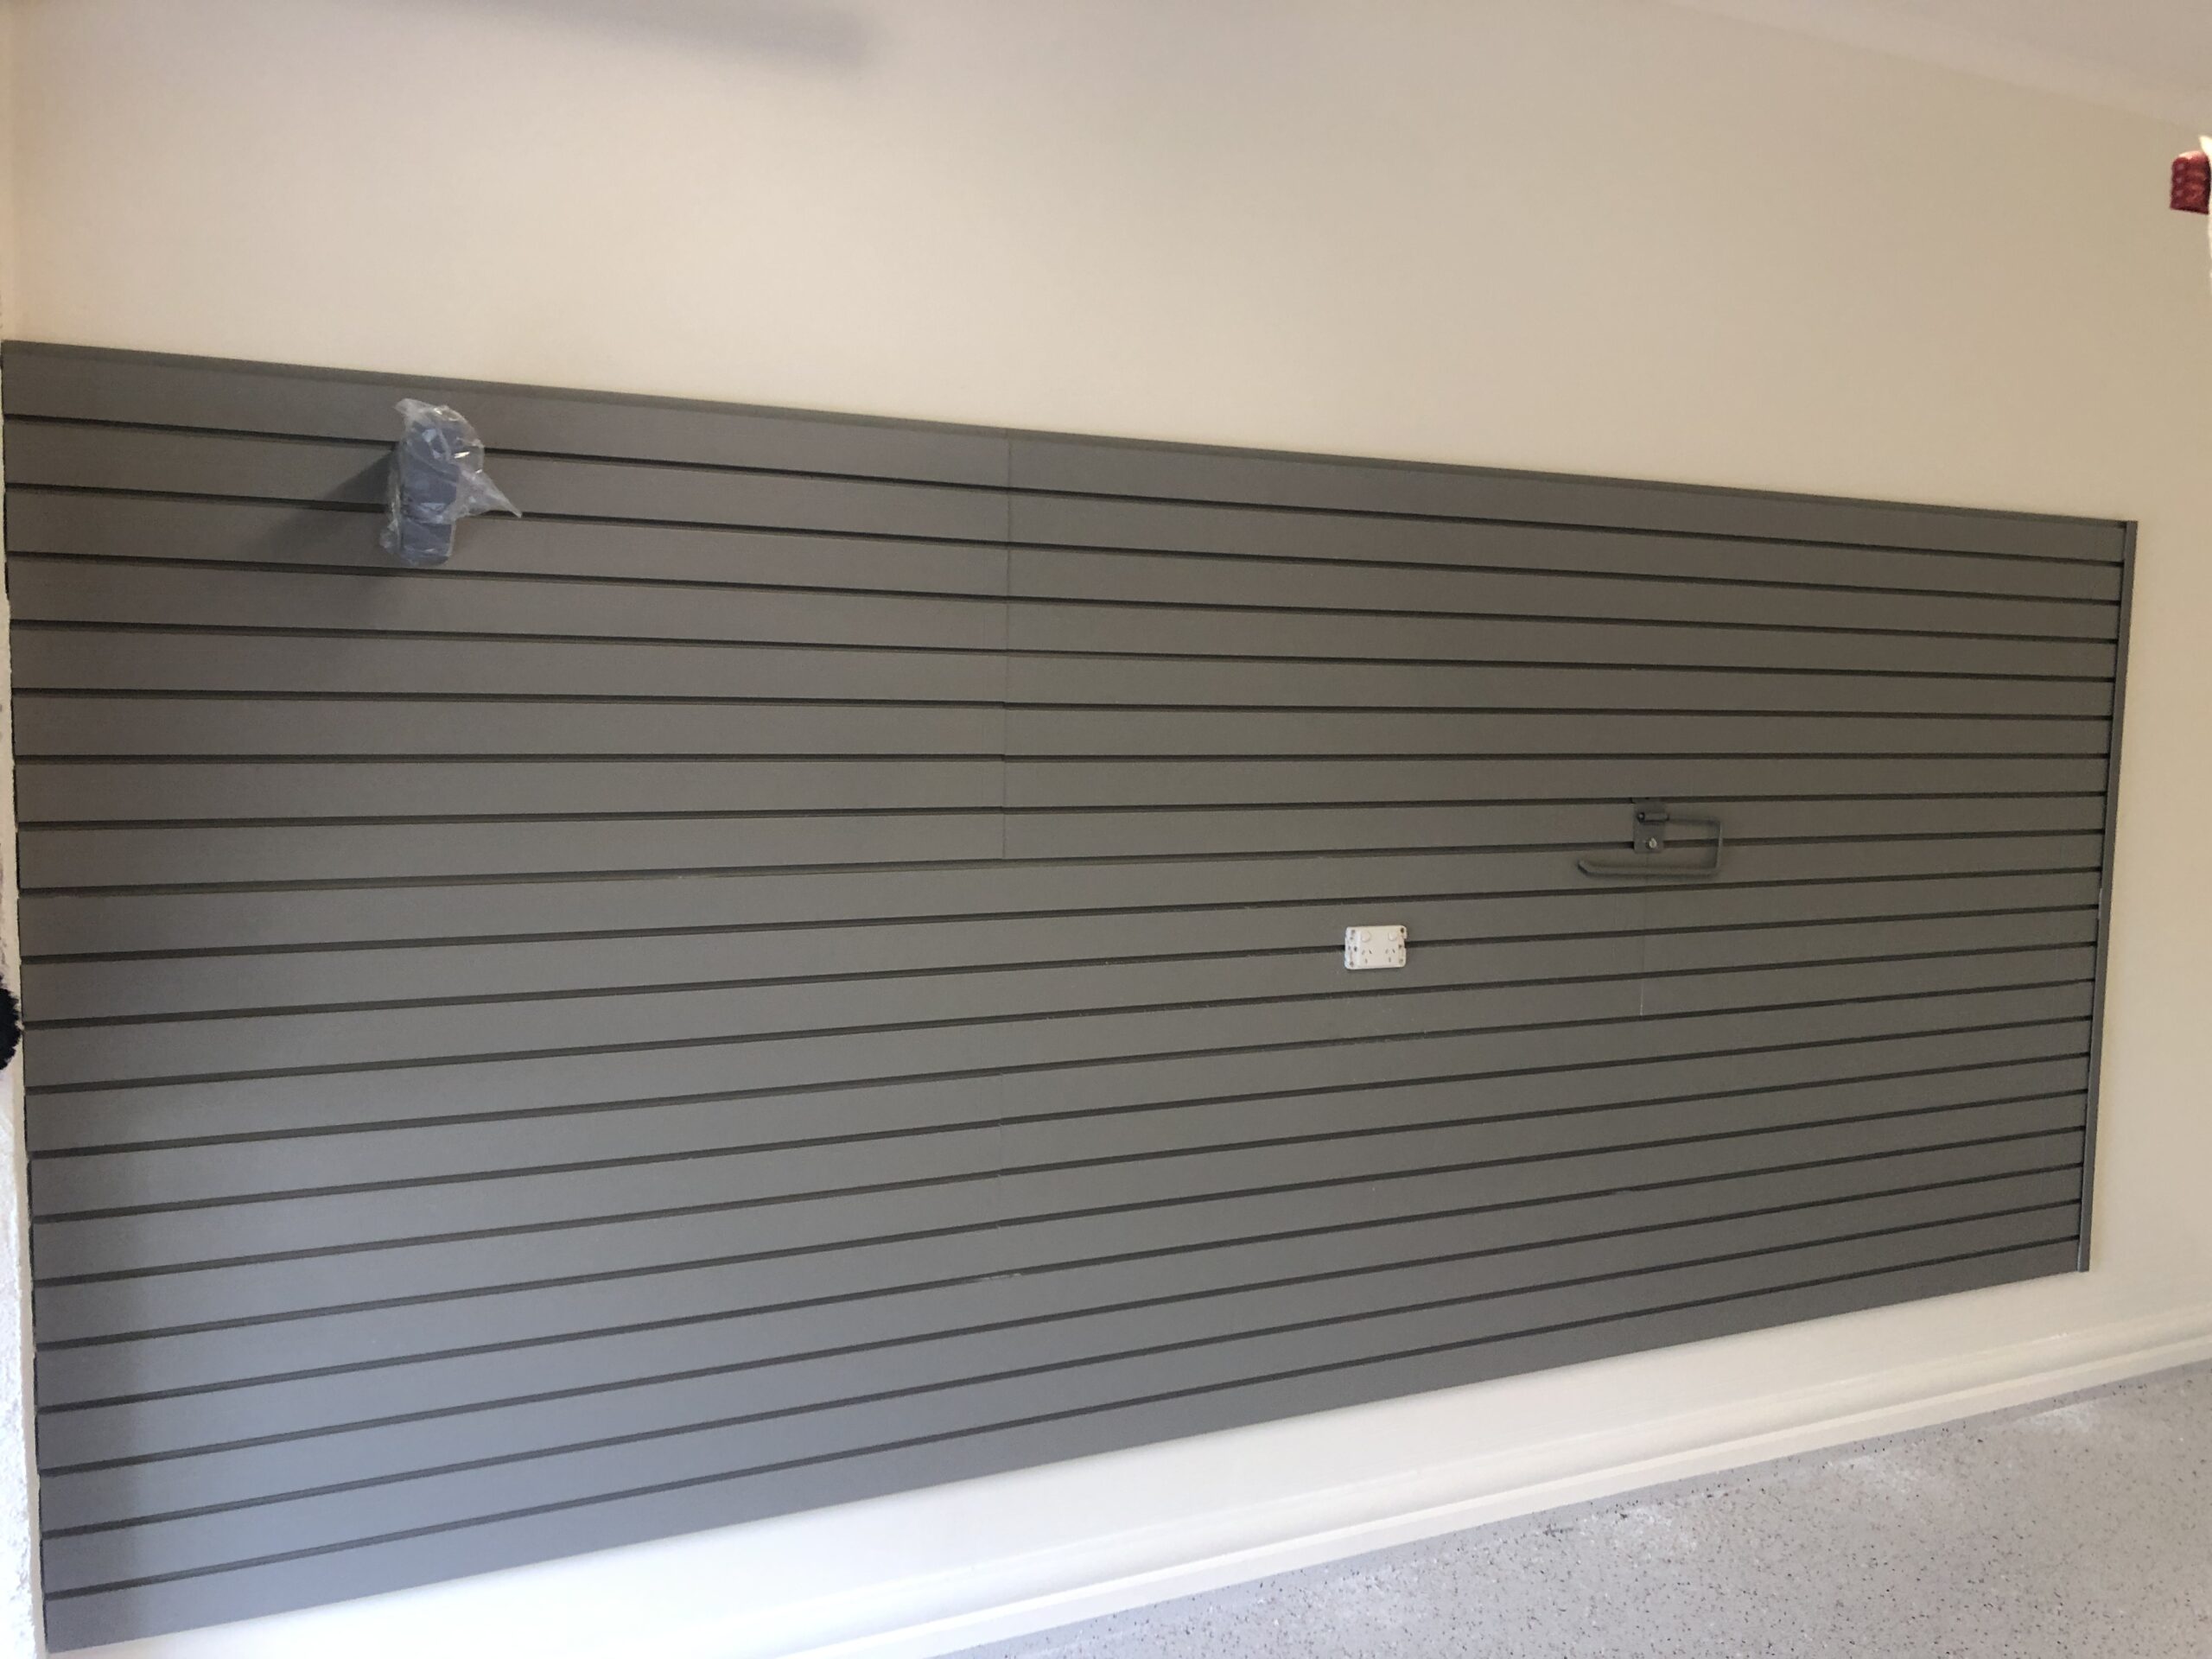
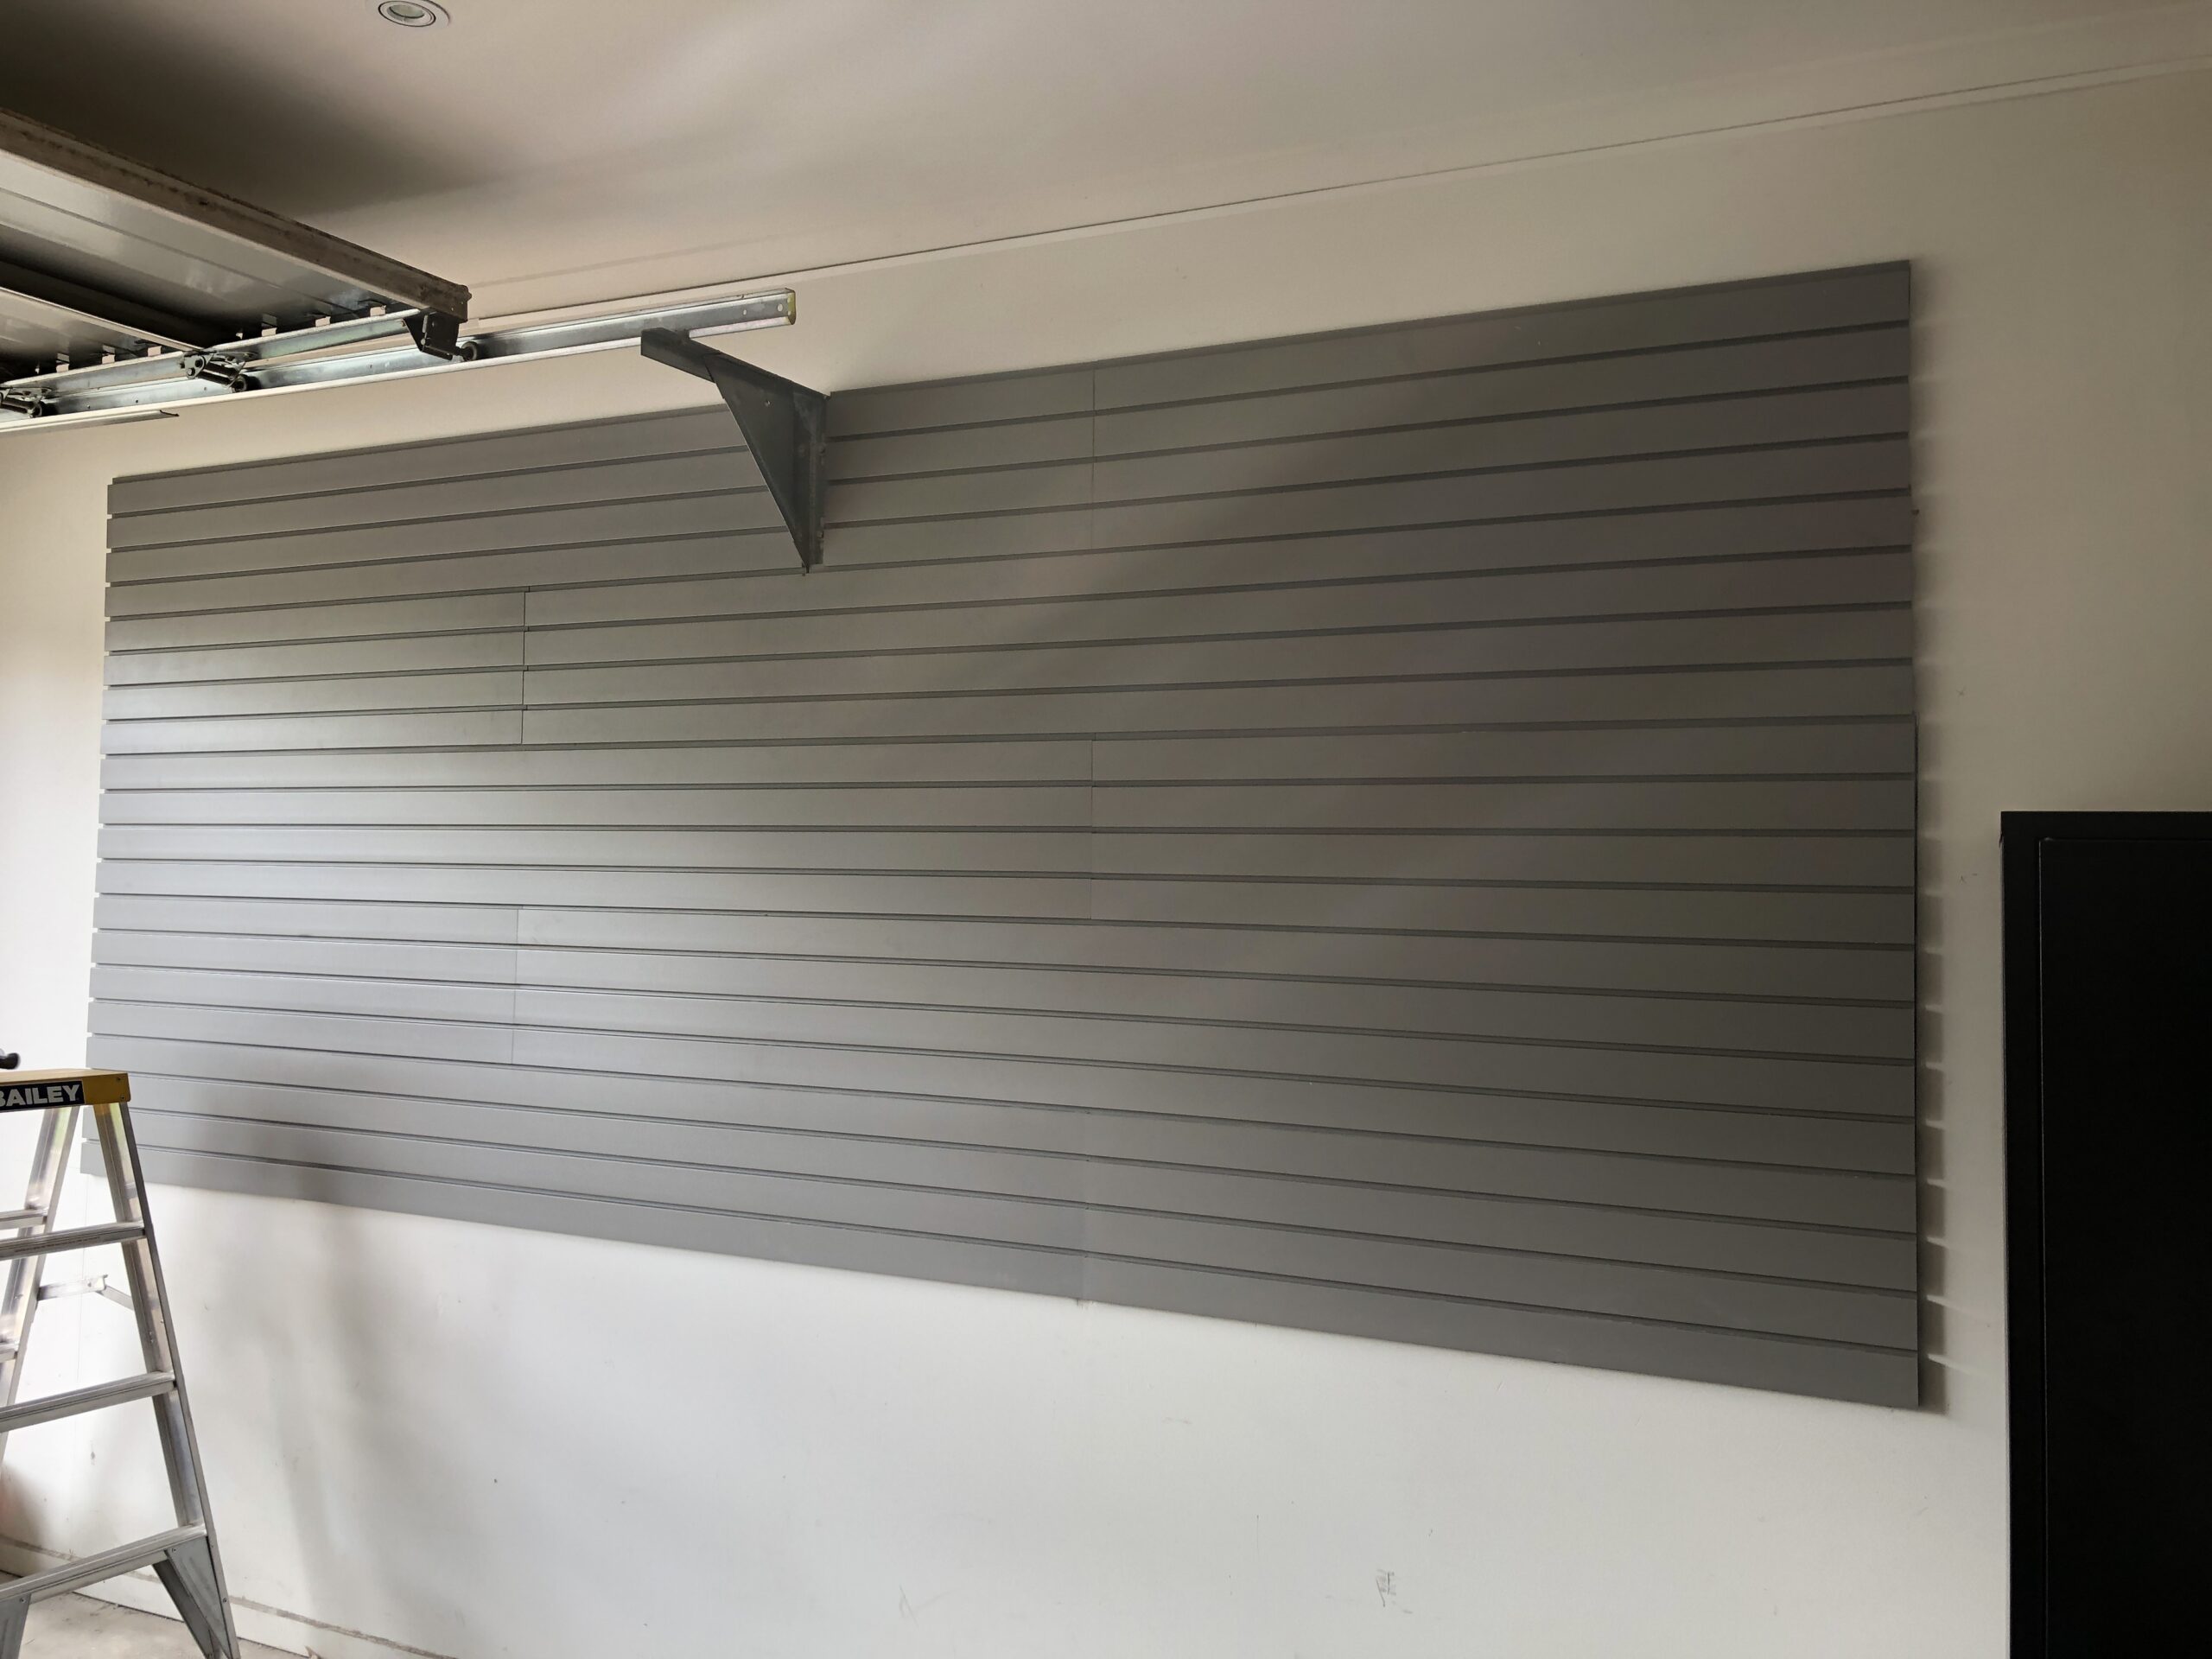
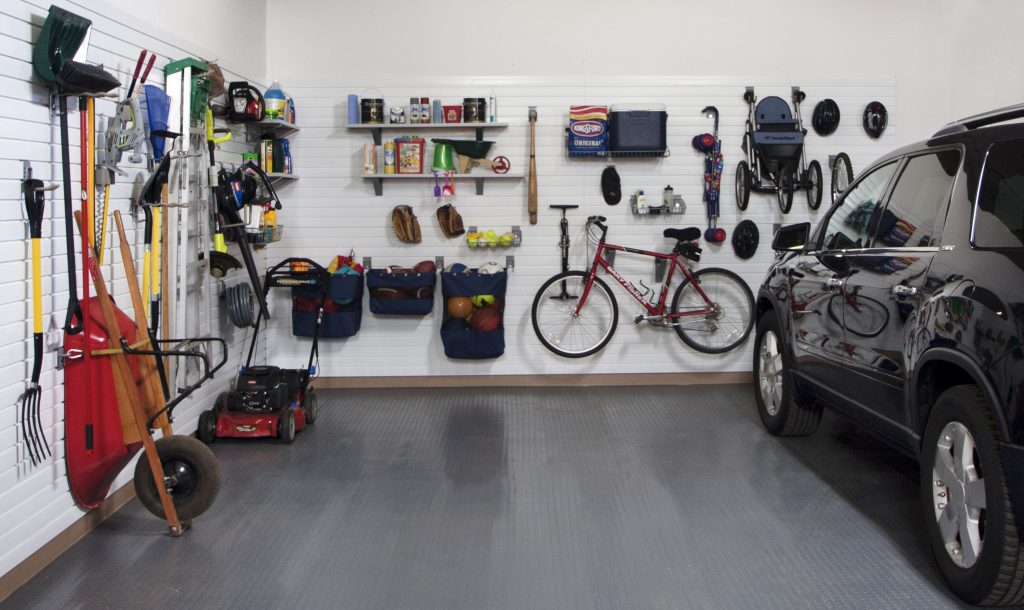
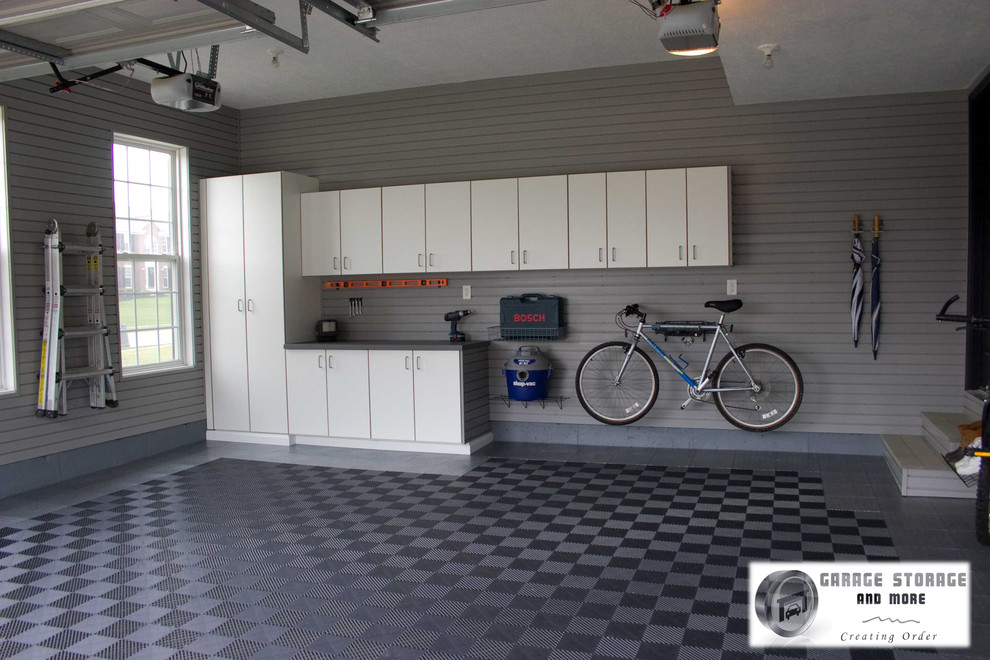
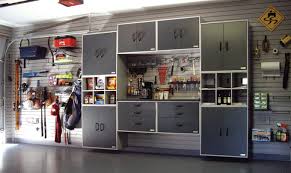
This is a decorating/design question rather than one about storage. Some people like the fact that their entire wall looks the same, ie it has the same look/texture from top to bottom. In this case, they will panel it all from the top of the skirting board to below the cornice.
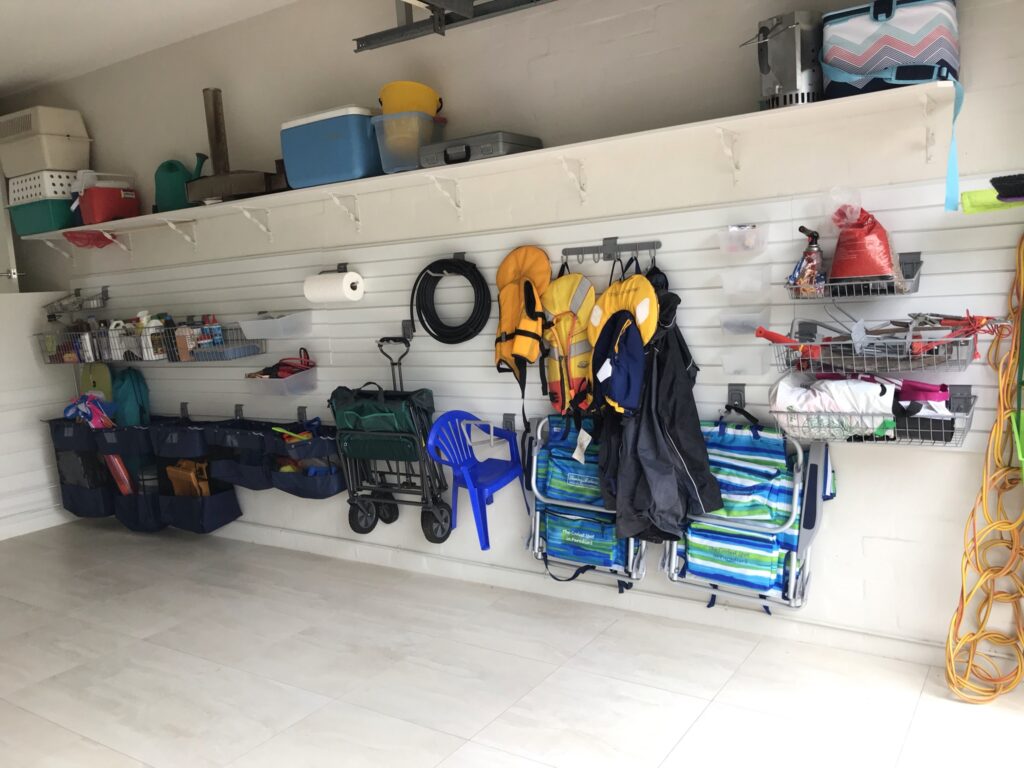
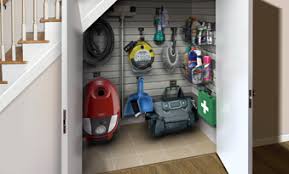
From a storage perspective, it is not necessary to slatwall your entire wall. The area 1m from the skirting board (ie your floor) and say 30cm from your ceiling can be left as is. This is because you are unlikely to hang or store items that low or high. If budget is a consideration, this is a great way to reduce total panels and therefore material and labor costs.
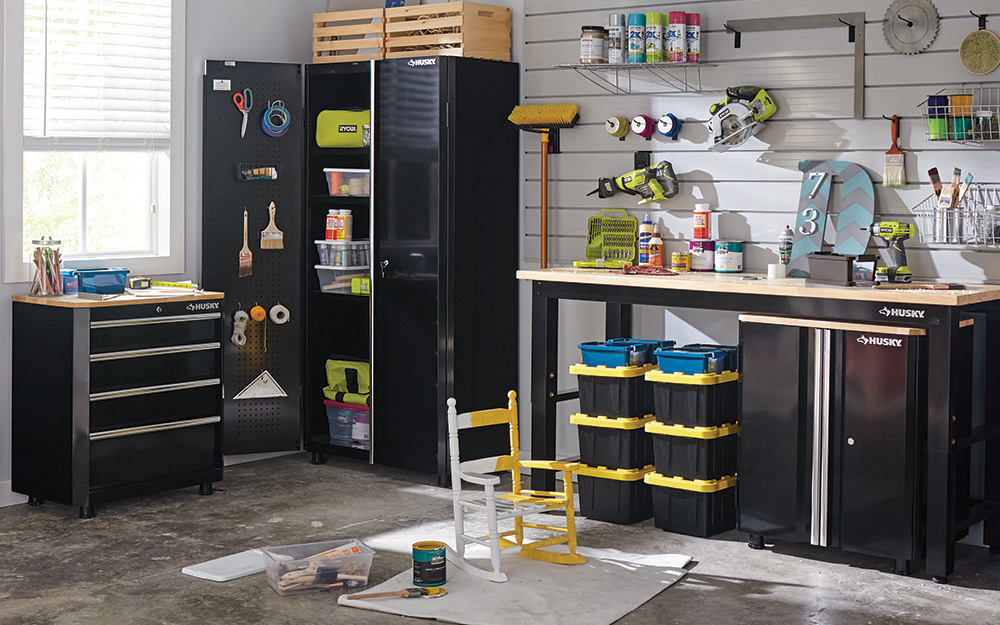
There are some exceptions. Whilst I write this, I can also reflect on some homes we have installed StoreWALL in, which have paneled their entire wall and used much of it. In those high areas close to the ceiling, customers have installed shelving and stored items that are irregularly used. For those lower areas close to the floor, they have hung bags and baskets.
Working out your costs
Most people starting their slatwall journey are just after a simple quote that will give them some guidance as to how much the project will cost them. Knowing your wall’s dimensions helps. This information can then be used with our Panel Estimator to calculate the potential cost. Alternatively, you can also email us @ info@storewall.com.au these dimensions and we can quote you.
Below is an example of such an email:
Hi
I am interested in your product to instal on my garage’s wall in order to organise my tools including power tools (domestic not professional):
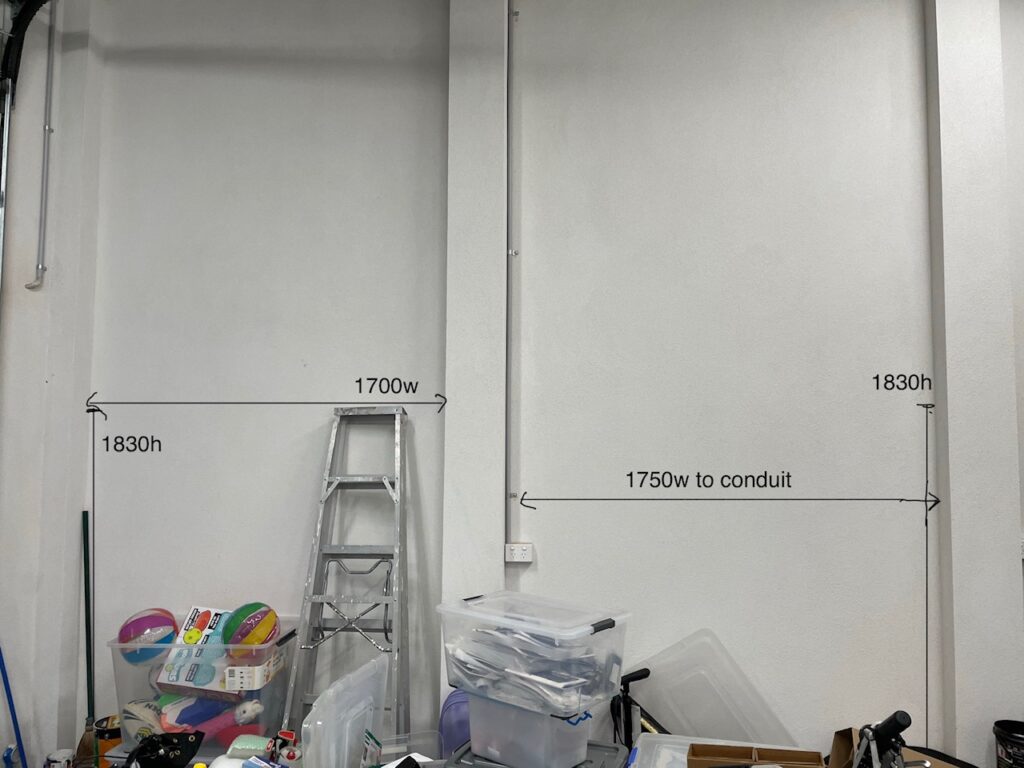
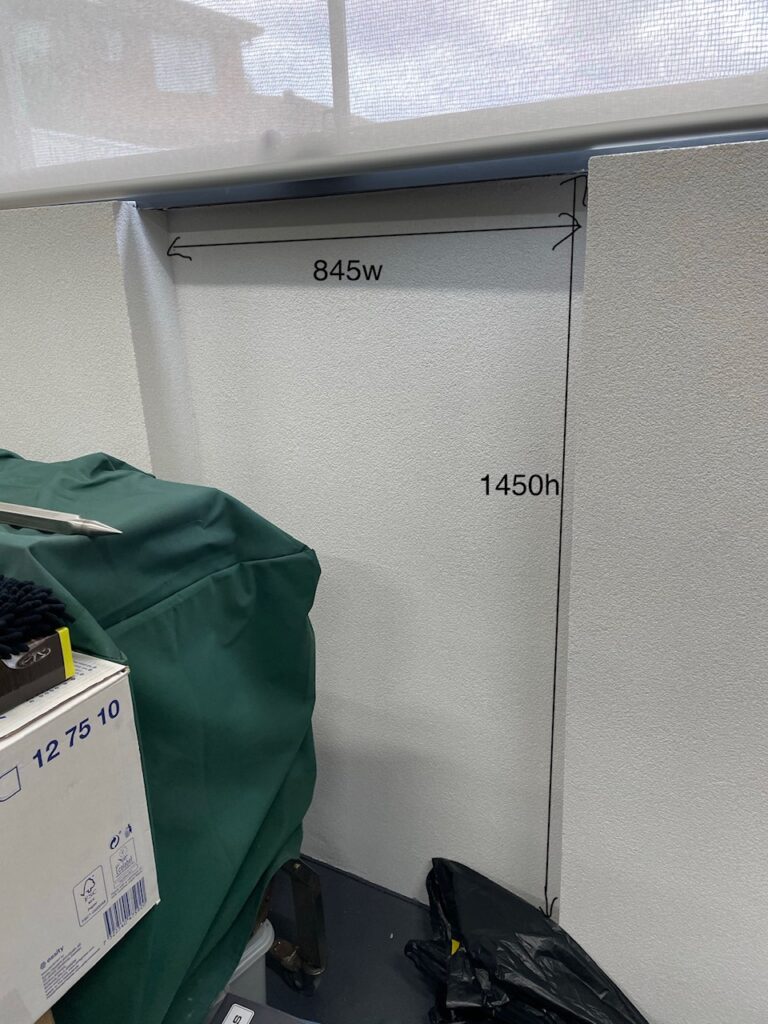
The following are the relevant measurements:
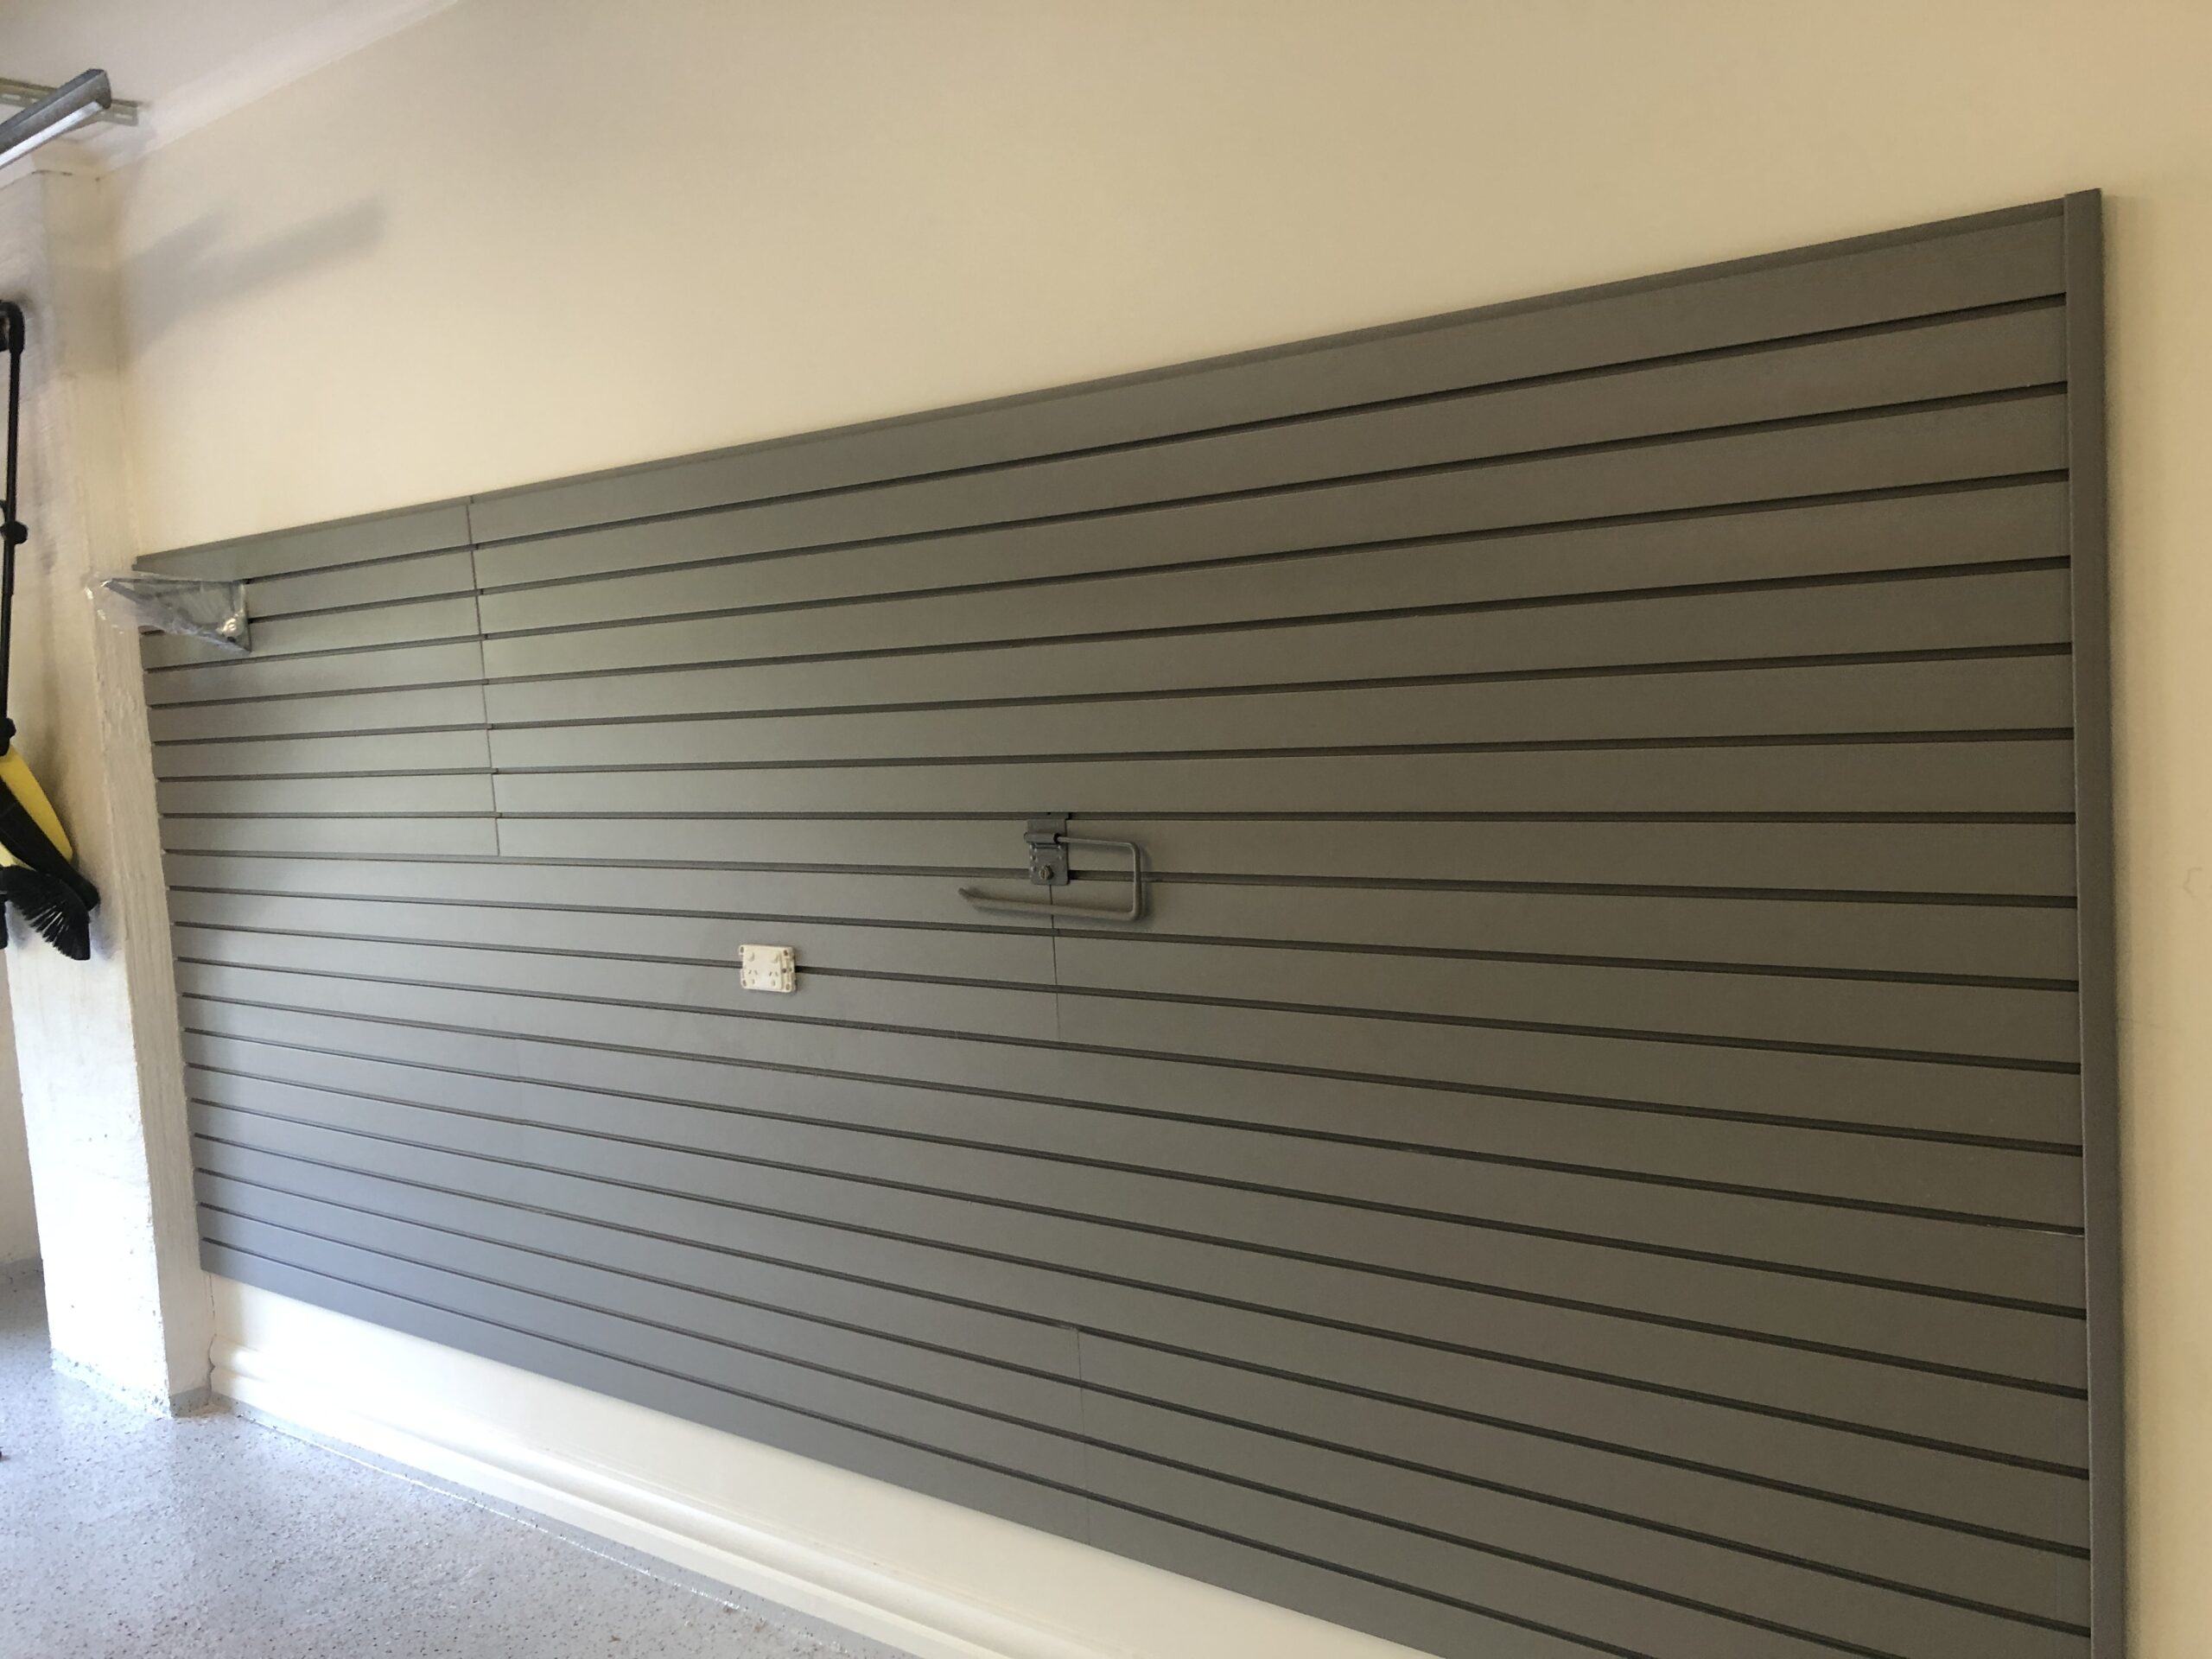
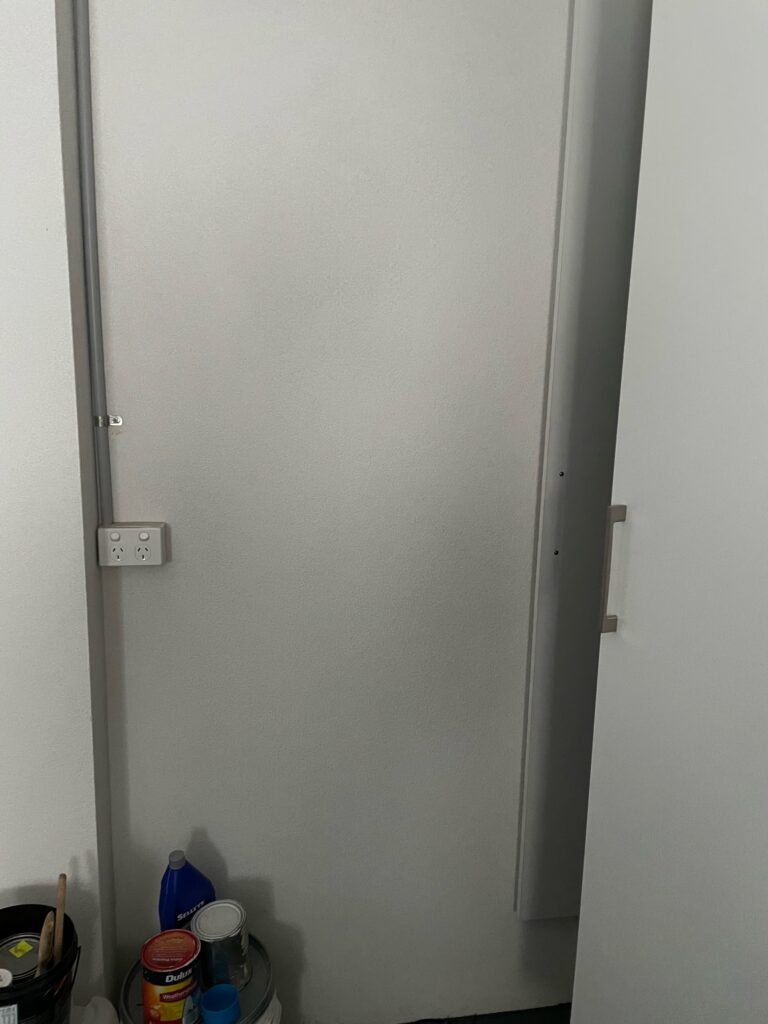
wall number 1 the right section on the photo:height: 180 cmwidth: 117 cm
wall number 2 the left section on the photo:height: 139.5 cmwidth: 149 cmRegards
M
This is what the customer received from us:
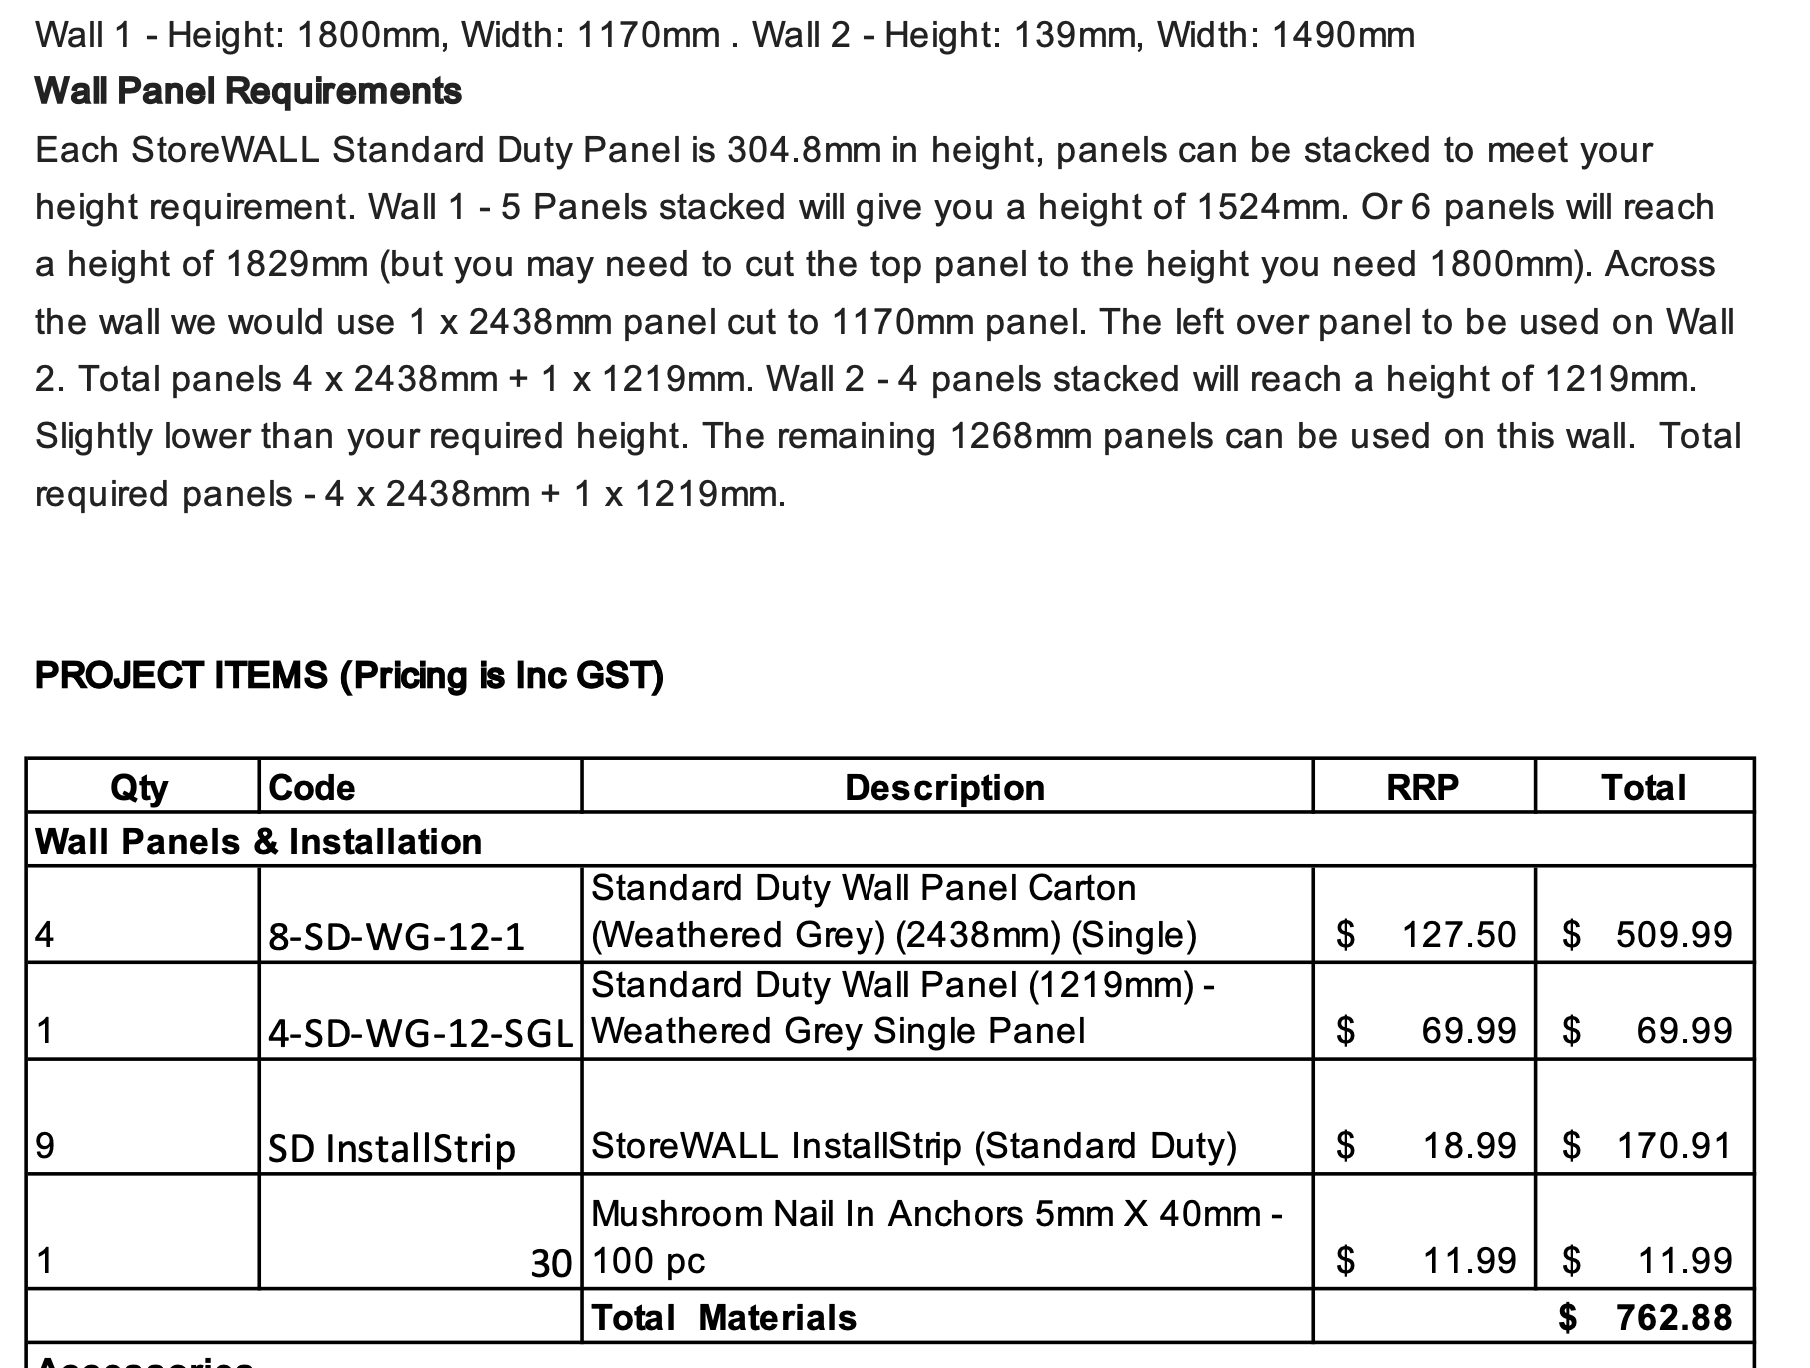
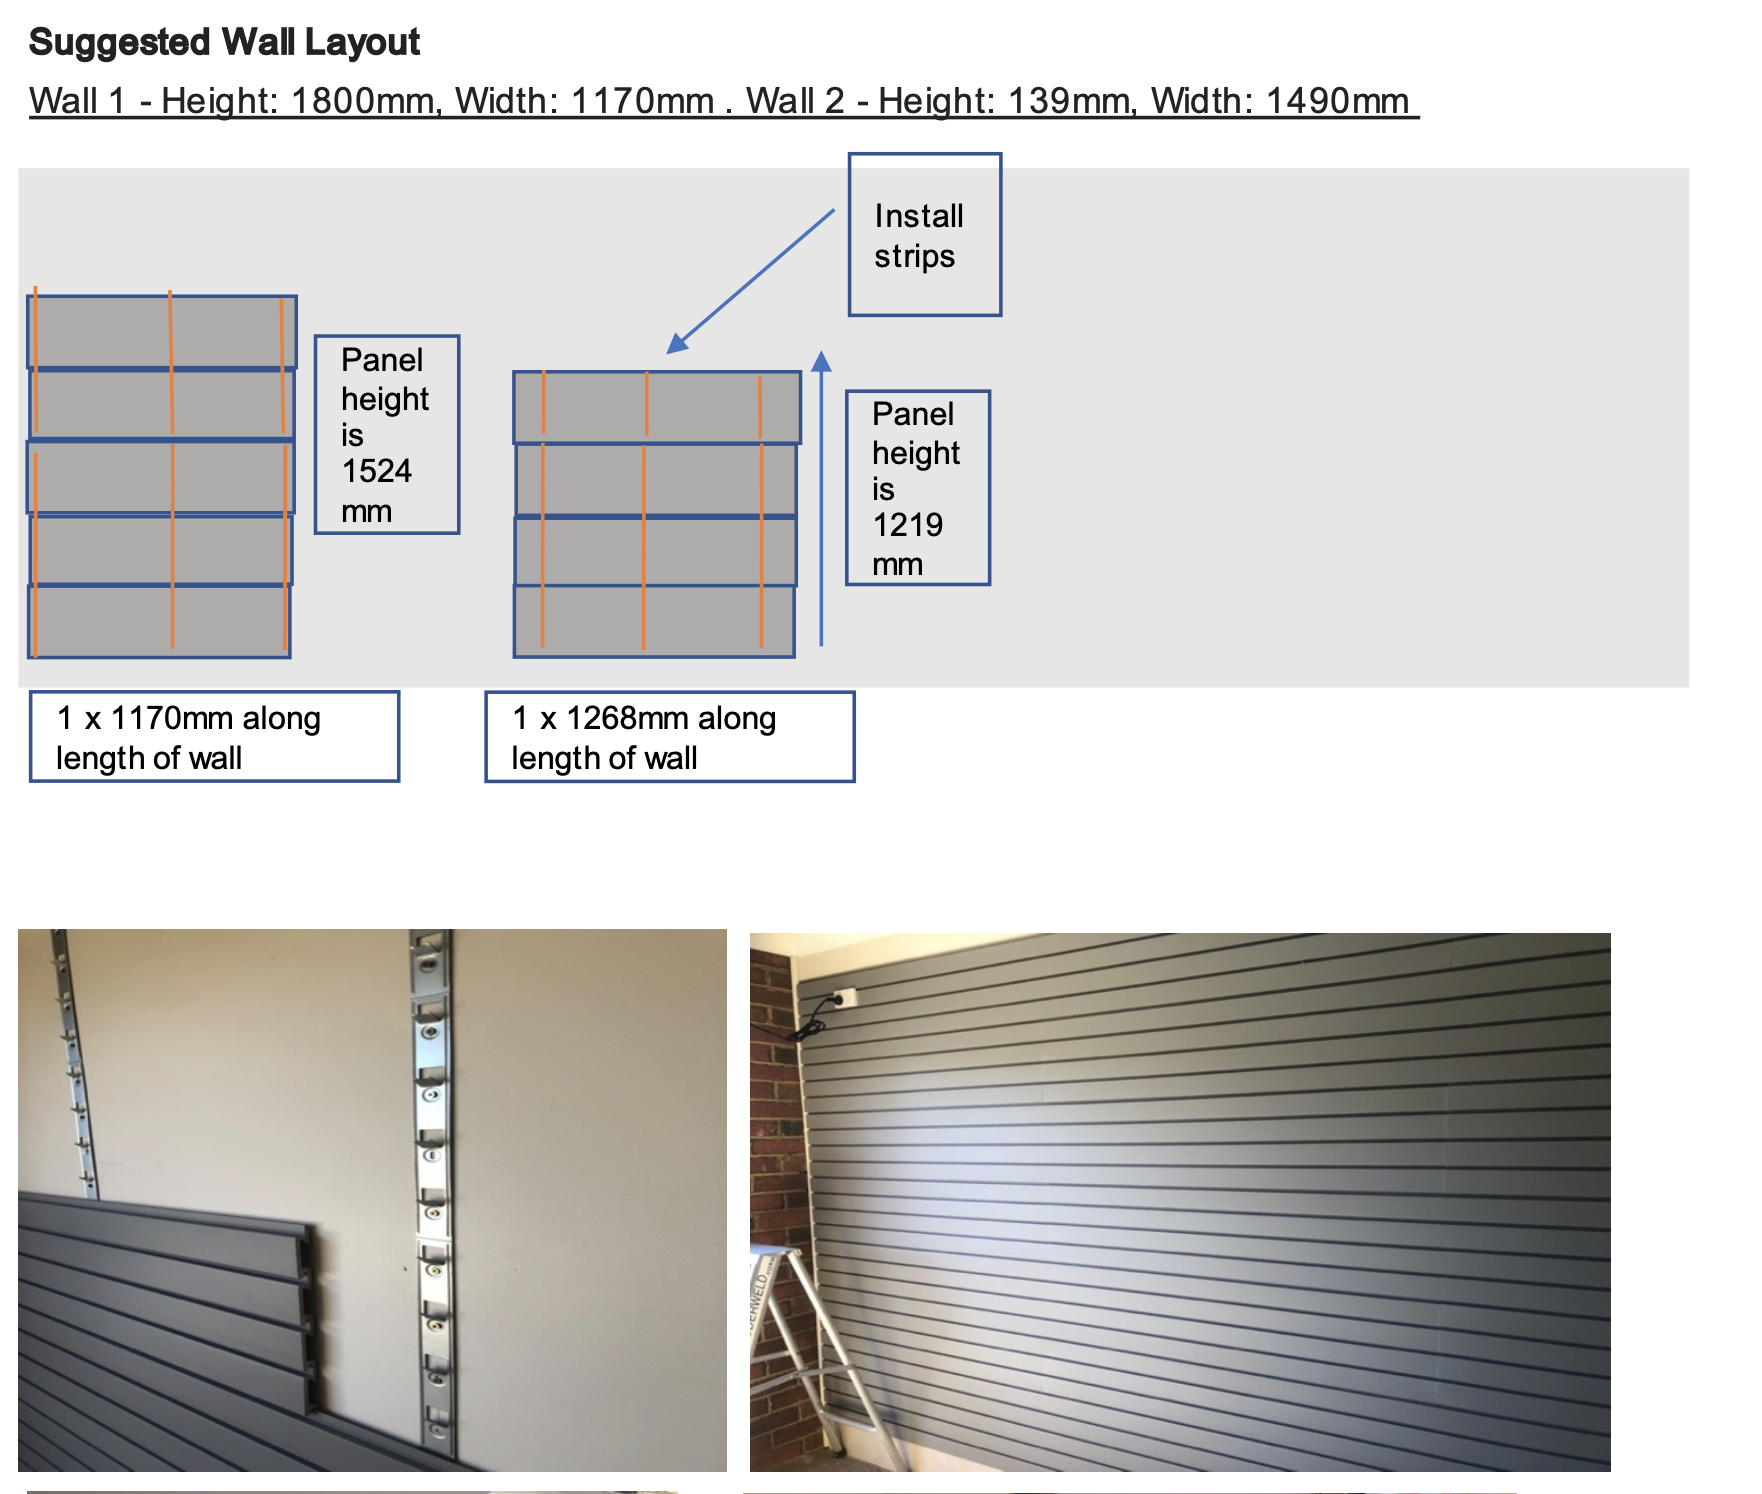
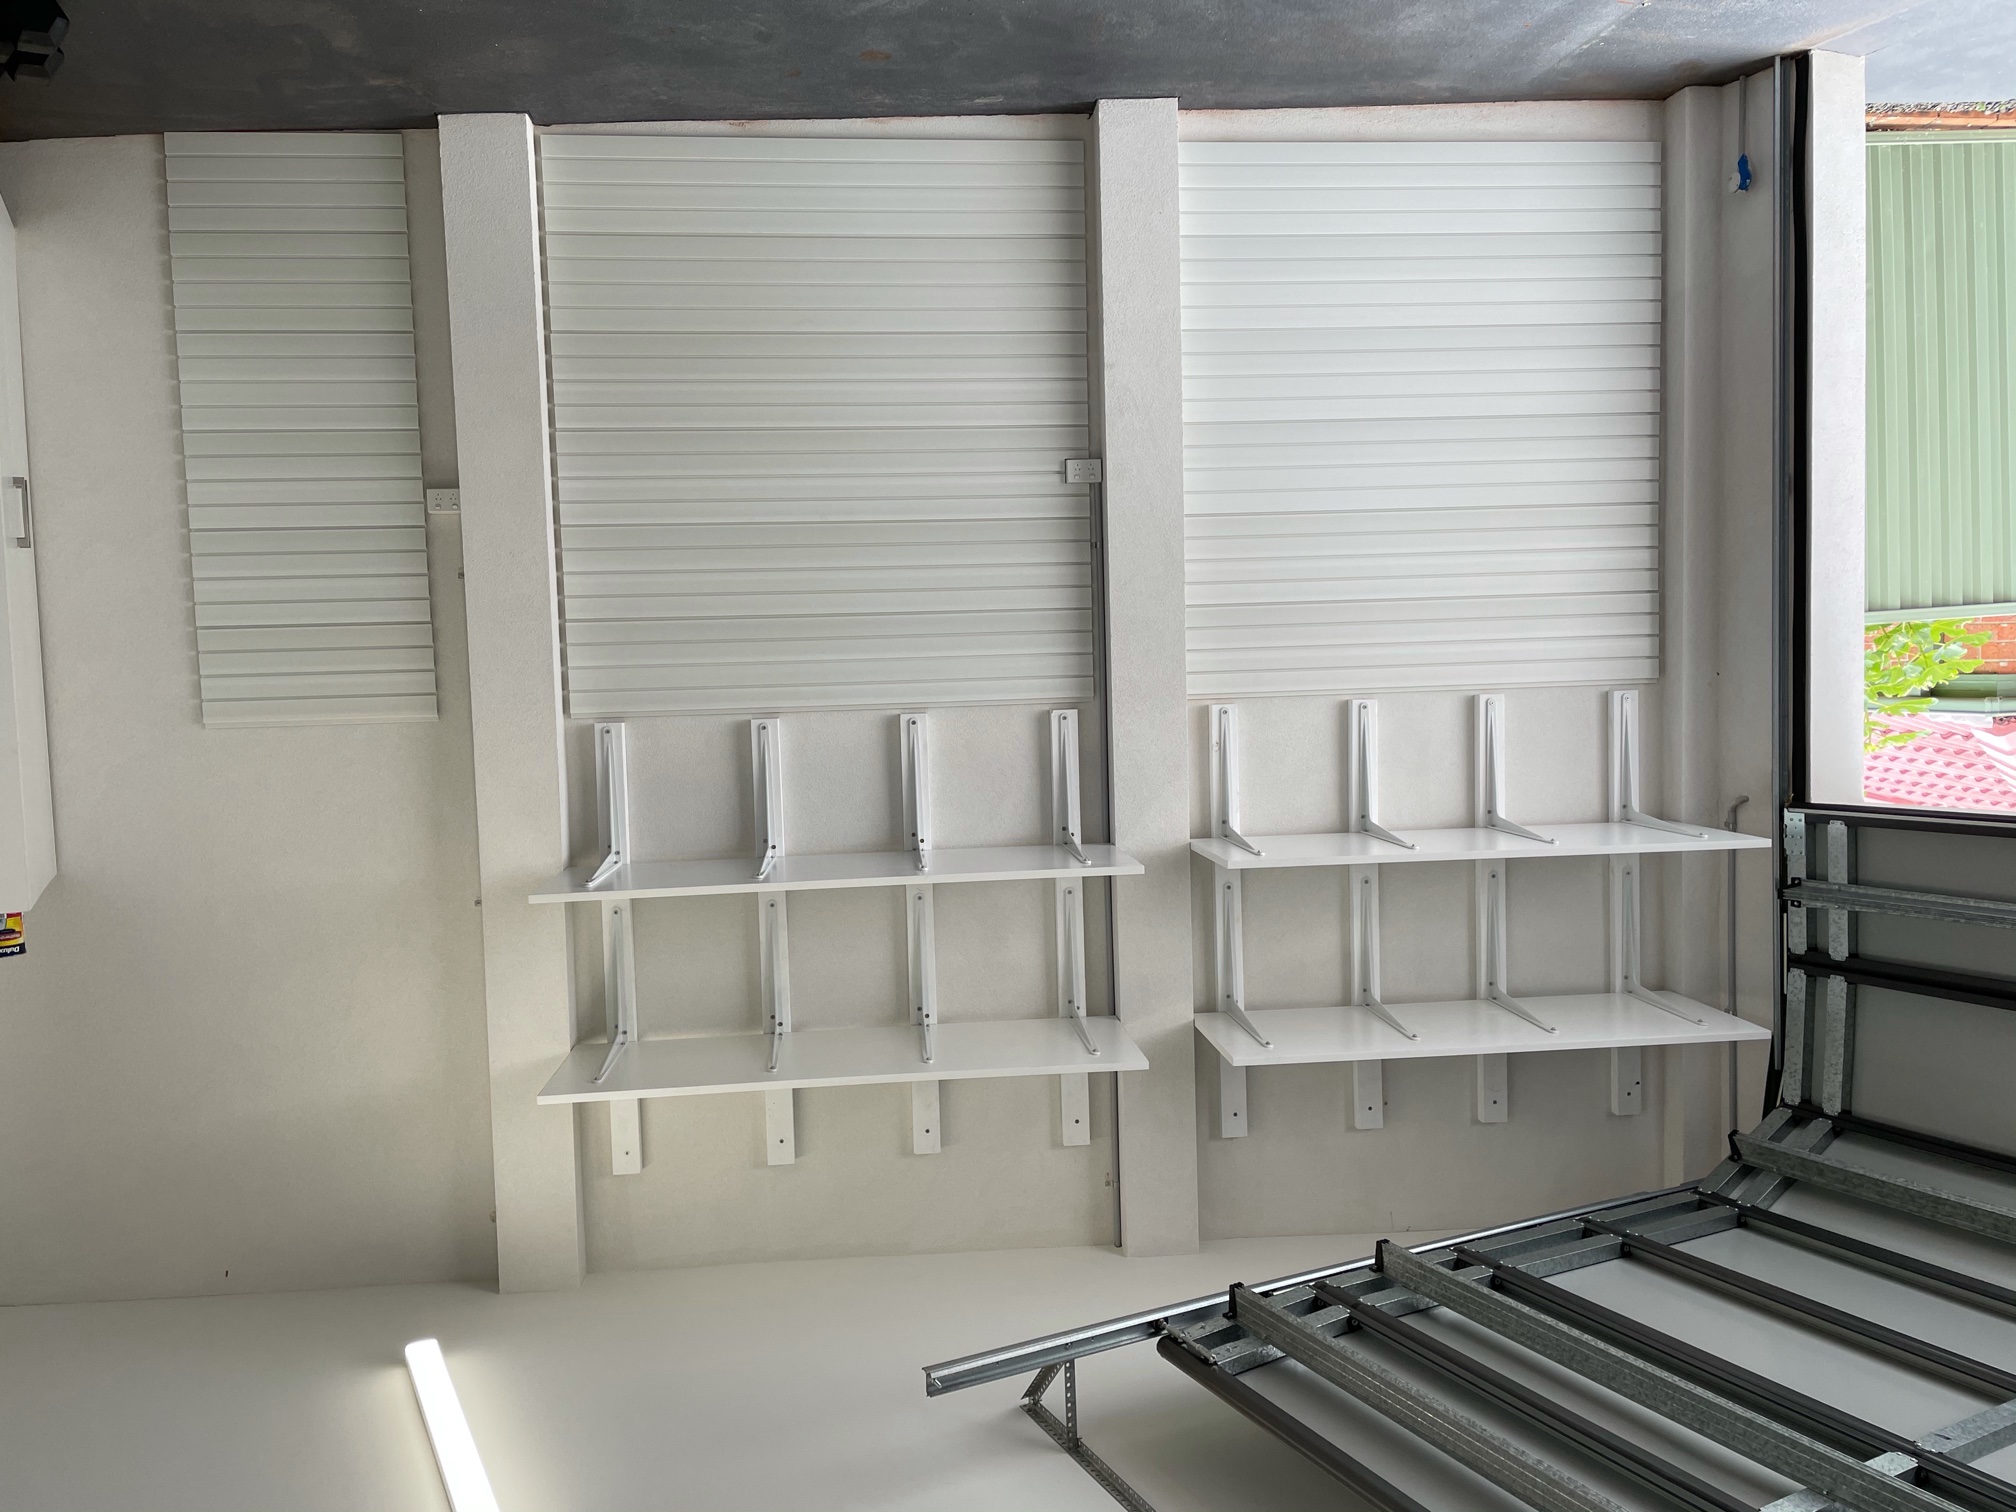
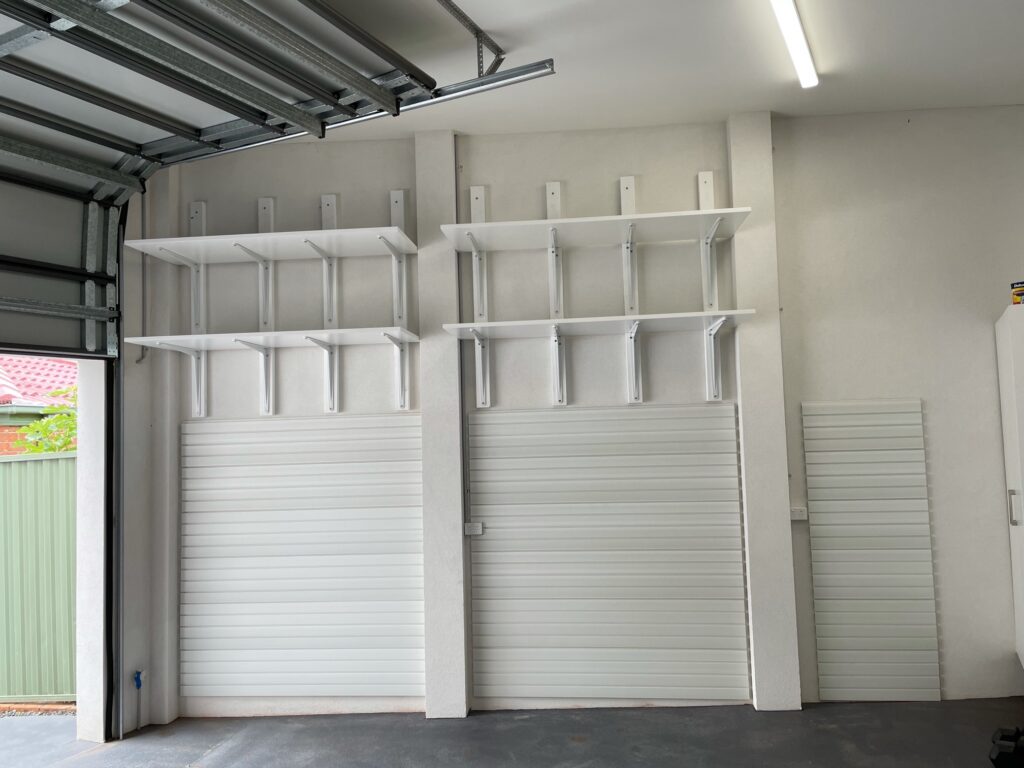
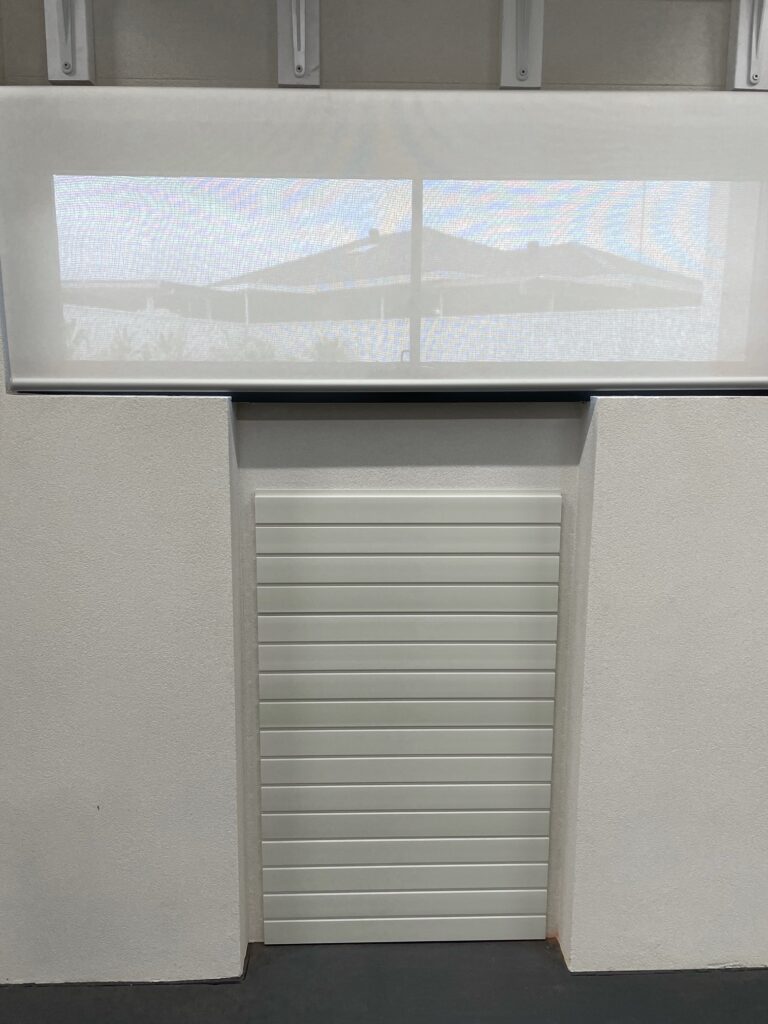
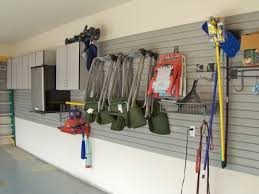
Garage Slatwall Installation
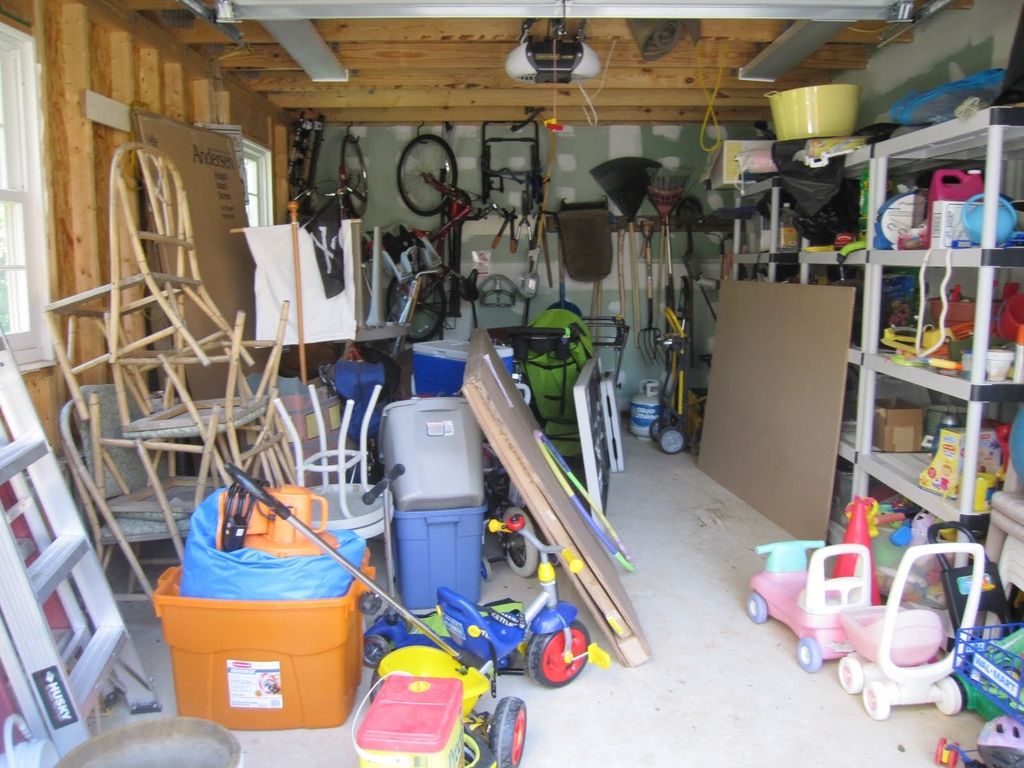
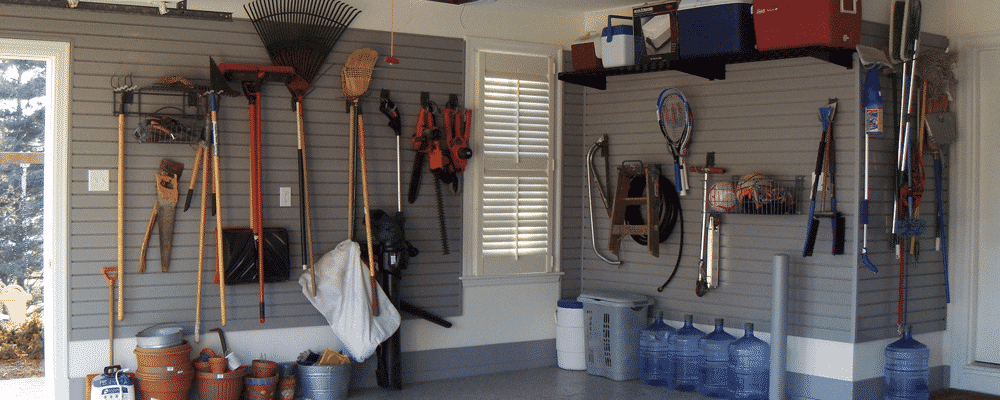
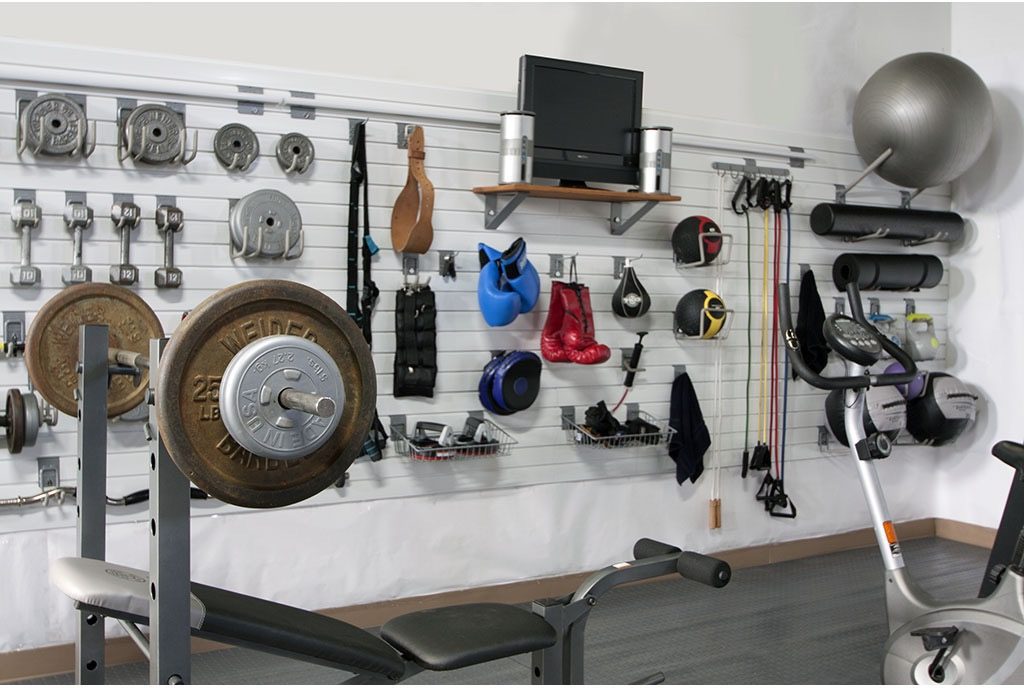
Below are examples of full and part garage slatwall installations. Some of these have been completed by us here in Melbourne and some by customers in other states. Both approaches work and have given customers with enough wall space to manage their storage needs.
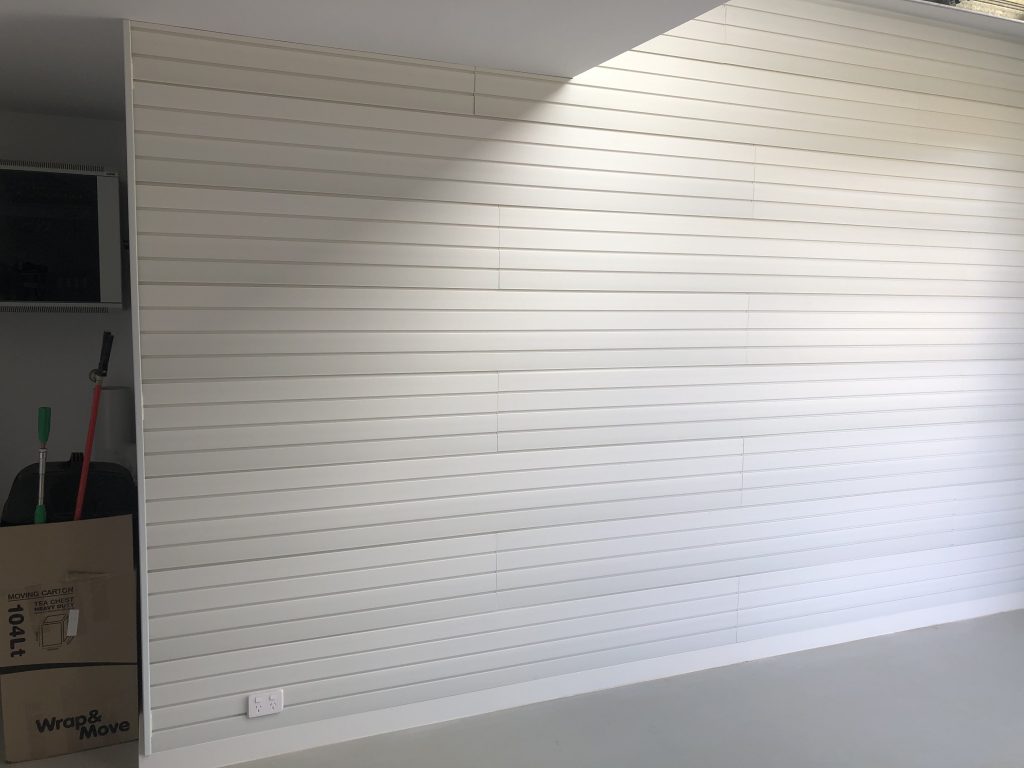
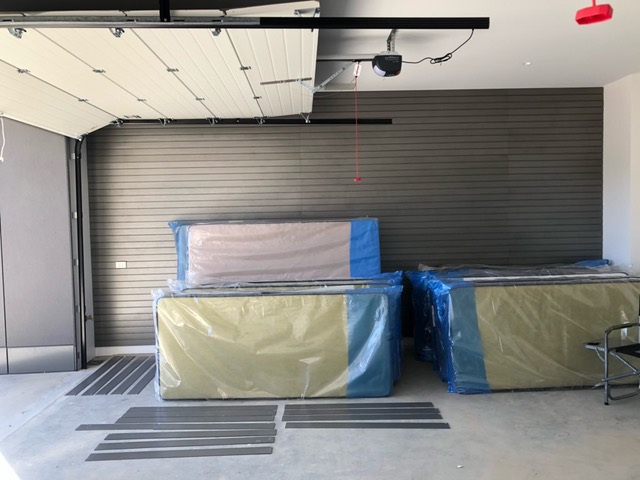
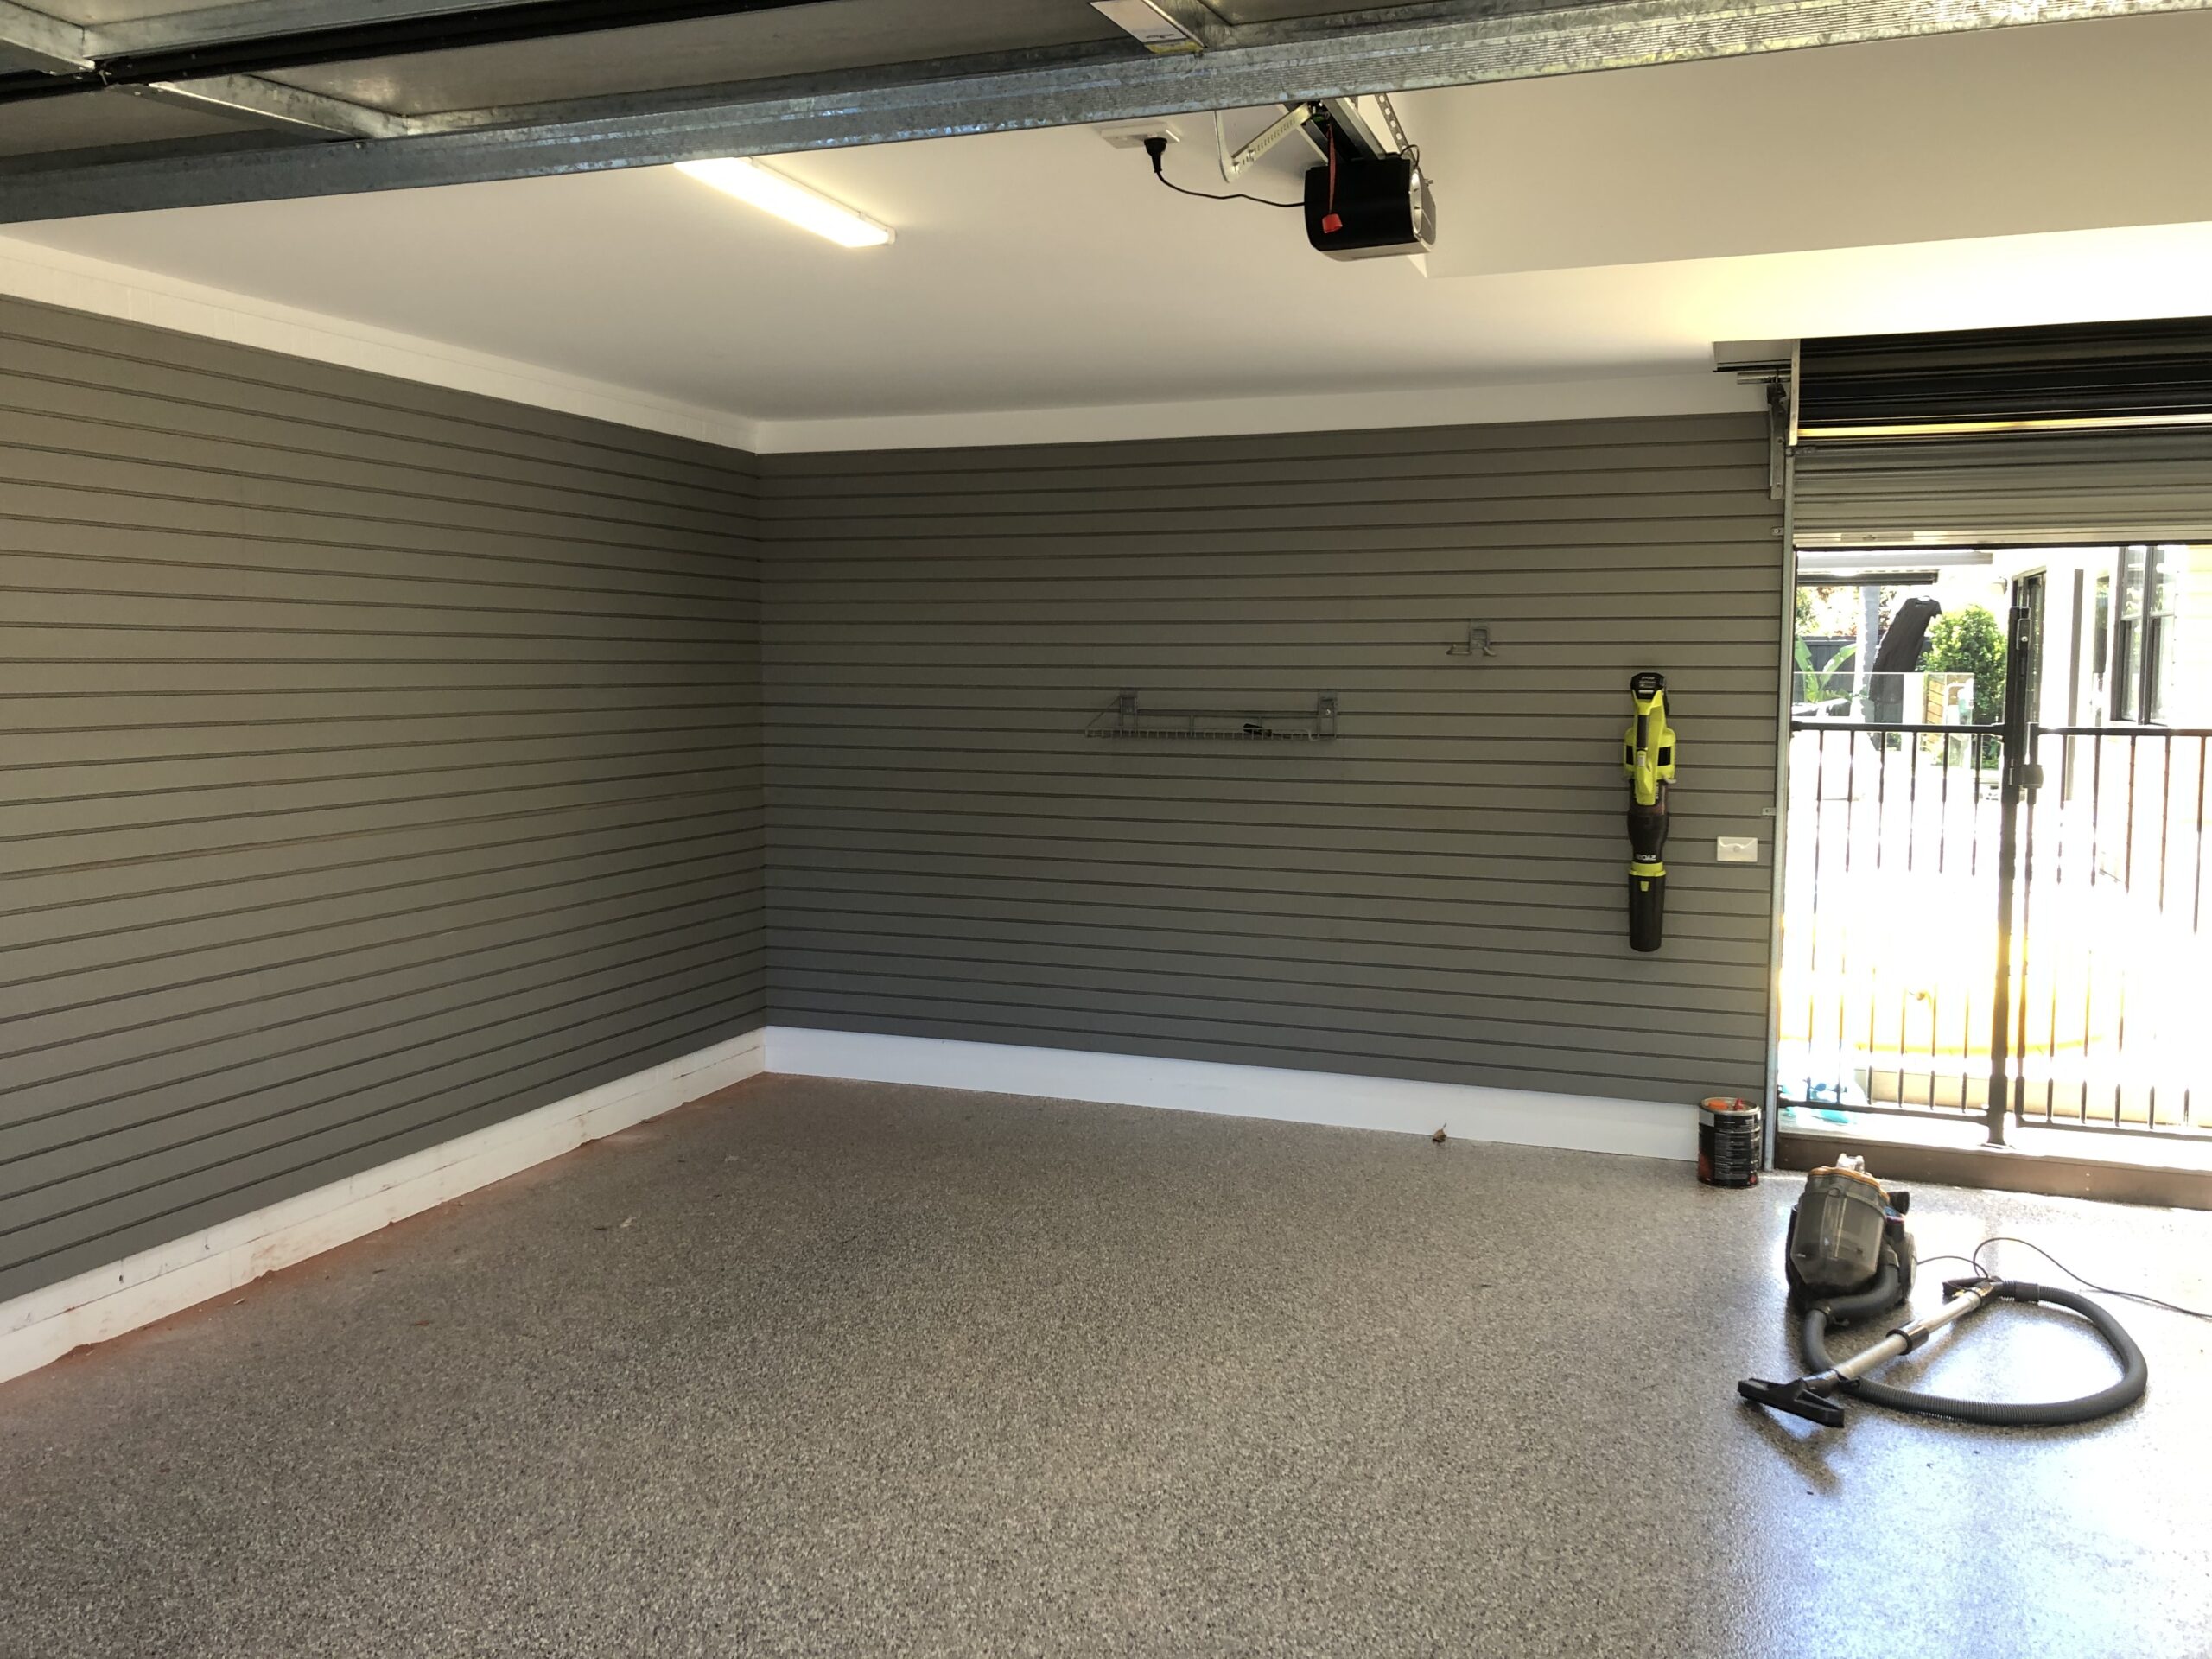
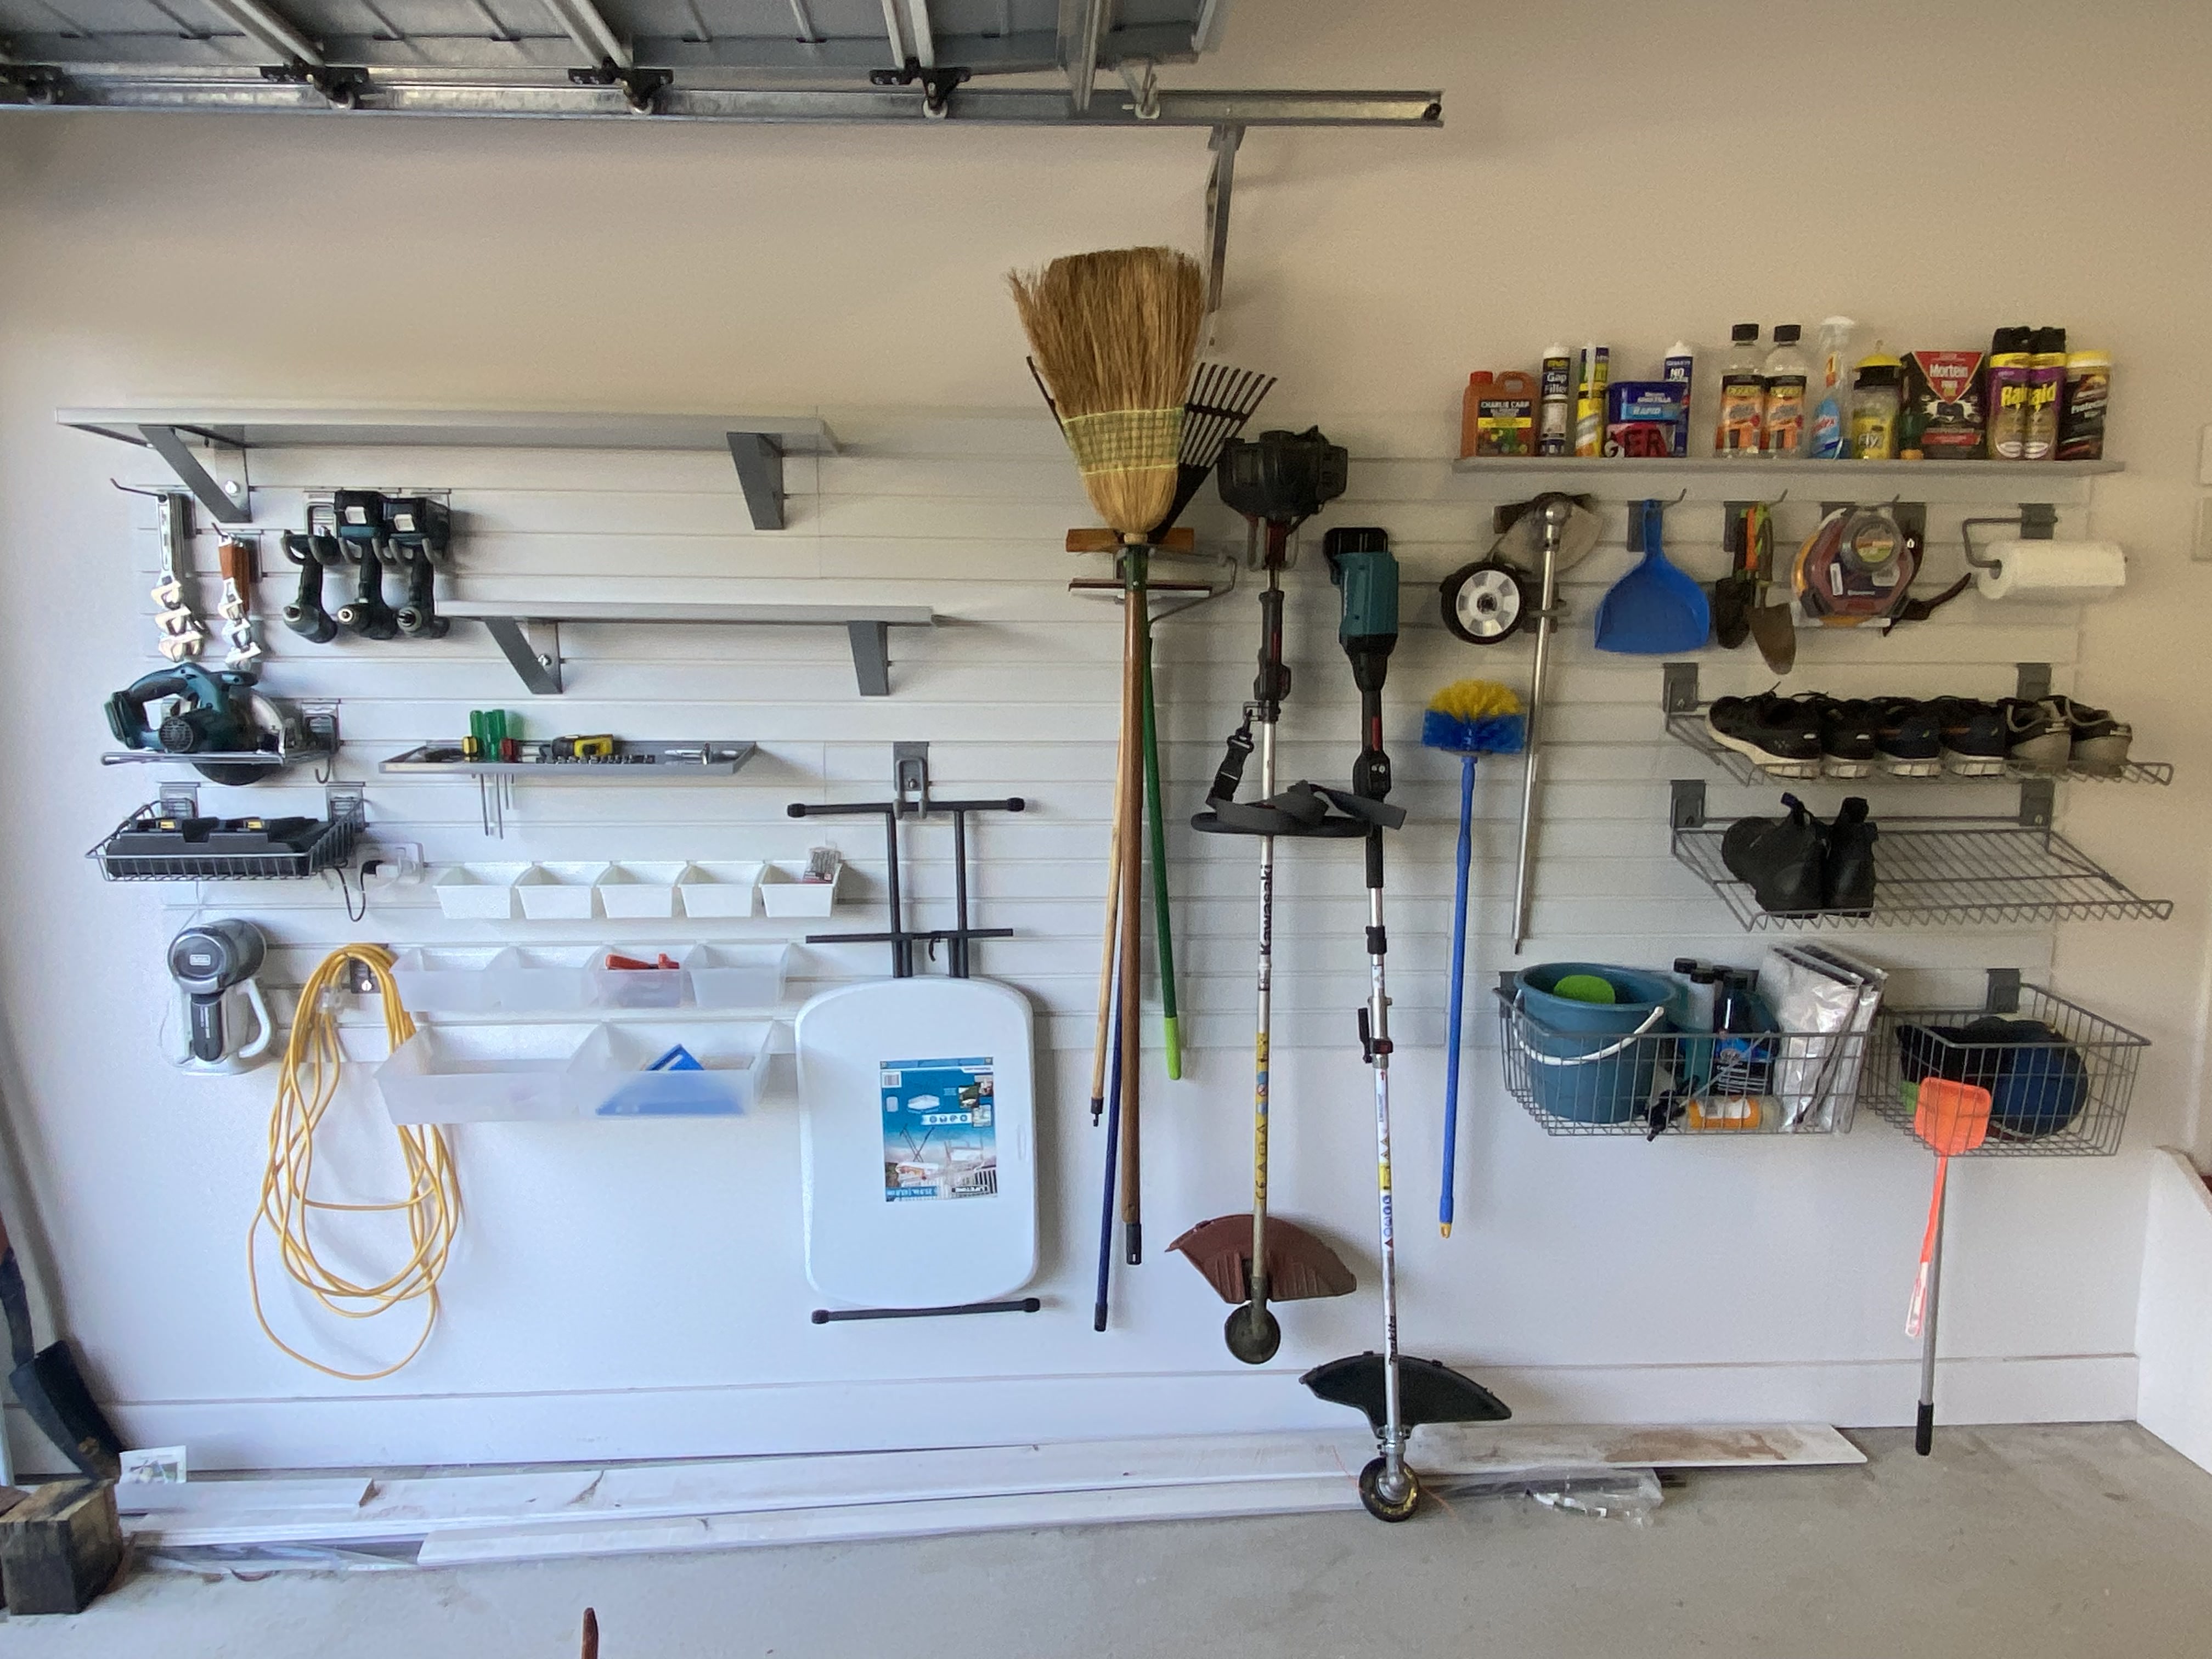
In summary, your garage slatwall installation is down to your personal design preferences and your budget. We can help guide you with both of these so that you make the best choice for your storage needs.


 previous clearance and what we no longer need nor want. As the family grows up its a lot easier to determine what needs to be kept for the kids. Certain furniture and toys are just no longer needed and better off with others. Seeing it all once again makes it easy to simply remove it and place it out for collection.