Transforming Functional Spaces into Stylish Havens
Garages have evolved from mere storage spaces for vehicles and tools to multifunctional areas that blend style, utility, and innovation. Modern garage design focuses on maximizing space efficiency, incorporating advanced technology, and ensuring aesthetic appeal. Here’s an in-depth look at the key elements that define contemporary garage design.
Space Optimization and Layout
Efficient Layout: Modern garages prioritize efficient use of space. This includes strategic placement of storage solutions, workspaces, and parking areas to ensure ease of movement and accessibility.
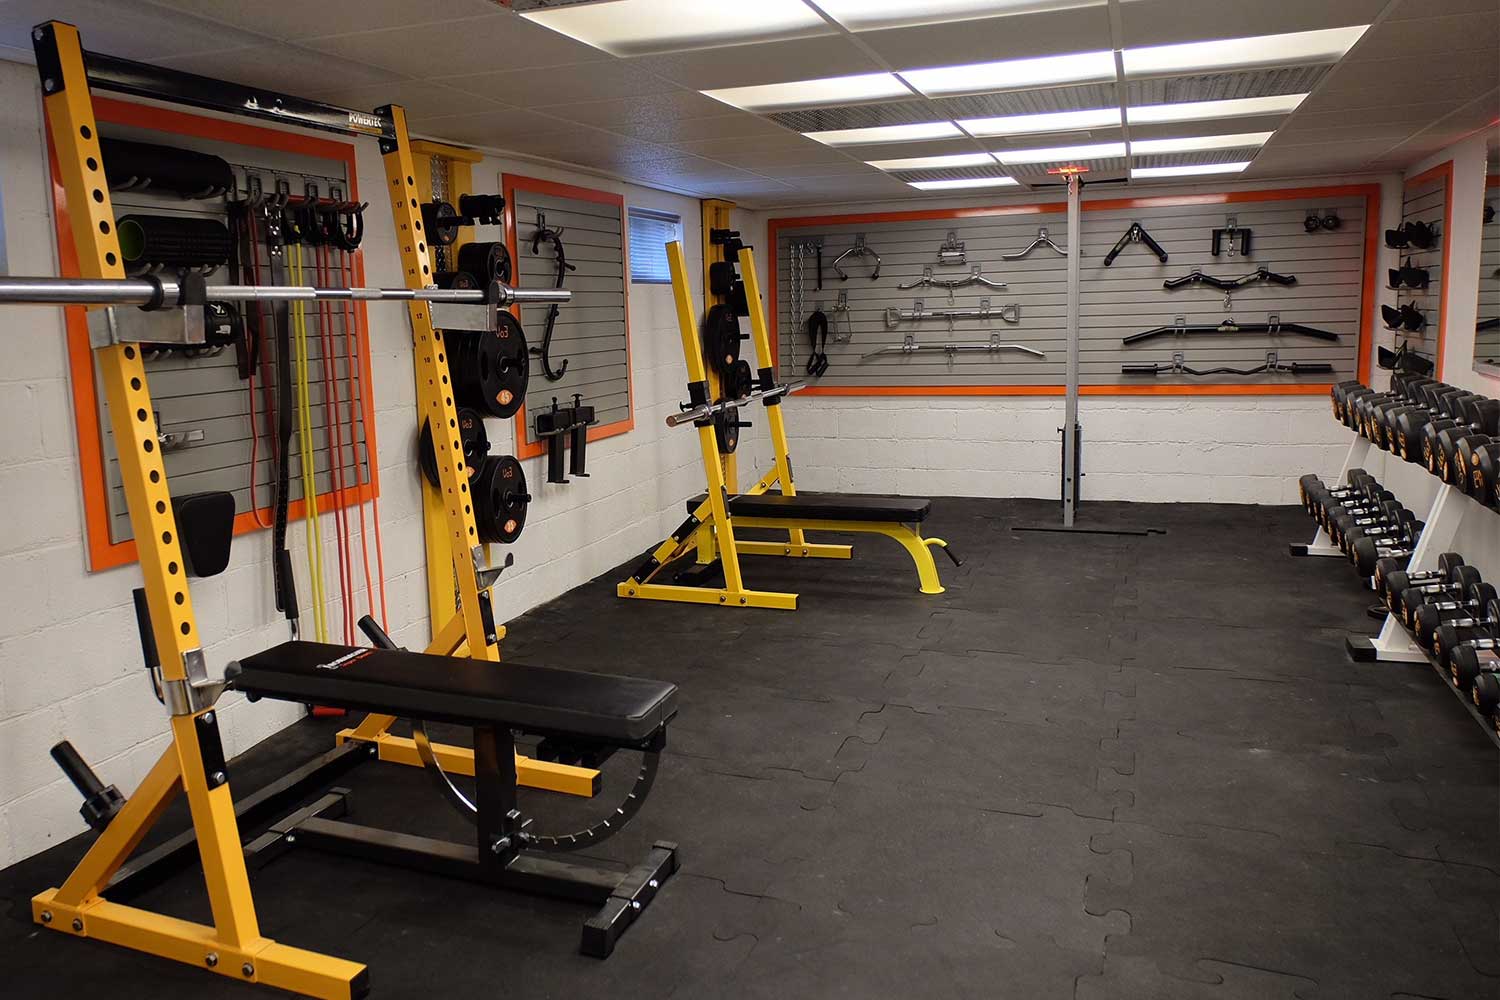
Multifunctional Spaces: Garages are increasingly designed to serve multiple purposes beyond parking. They can double as workshops, gyms, home offices, or entertainment areas. The layout is often flexible to accommodate various activities.
Zoning: Effective zoning helps in organizing the garage into distinct areas for different functions. For instance, a specific zone for vehicle maintenance, another for tool storage, and a separate area for hobbies or fitness equipment.
Innovative Storage Solutions
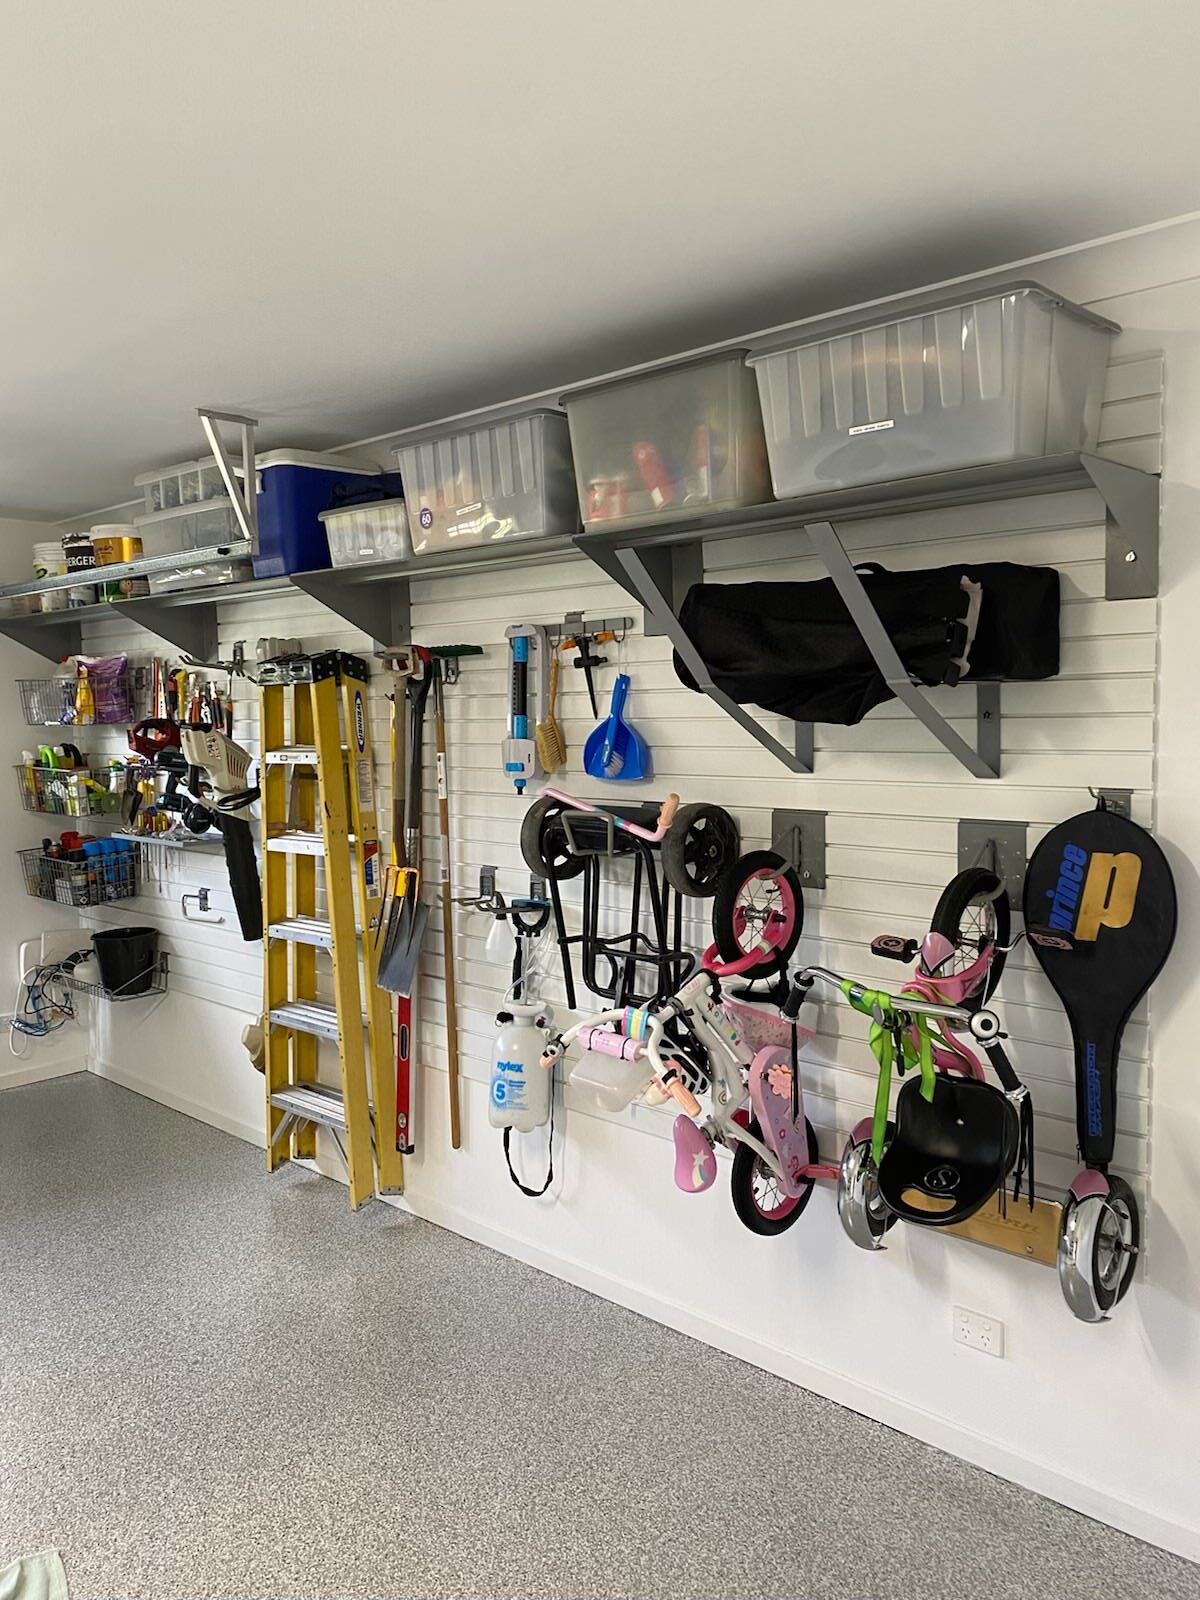
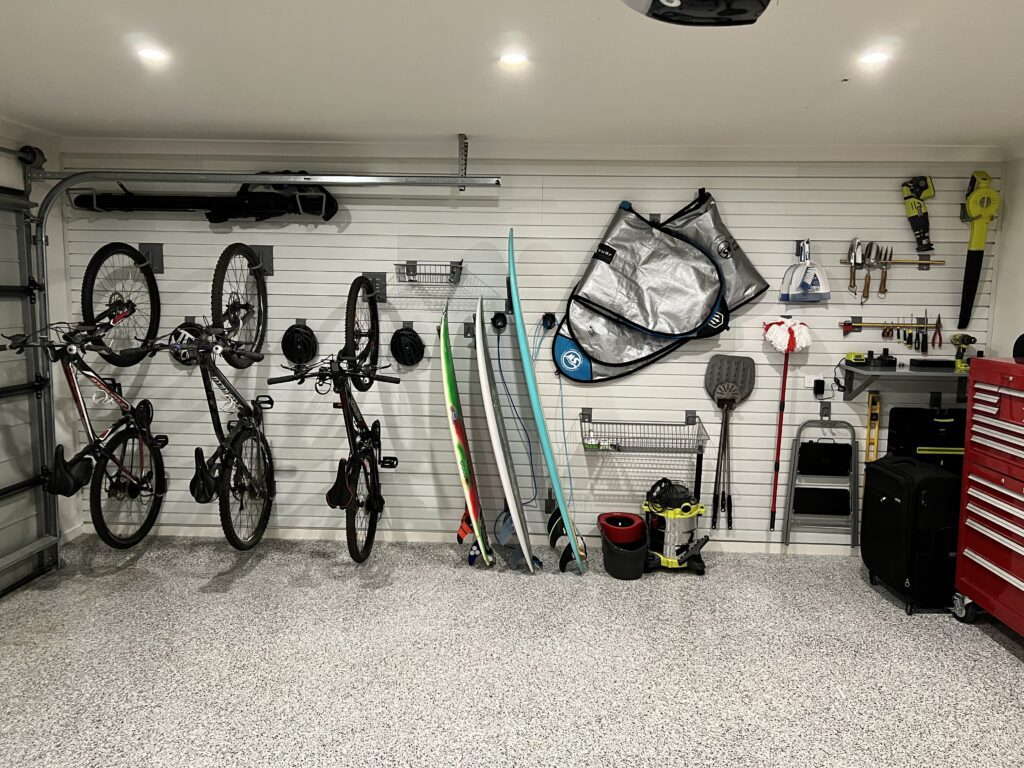
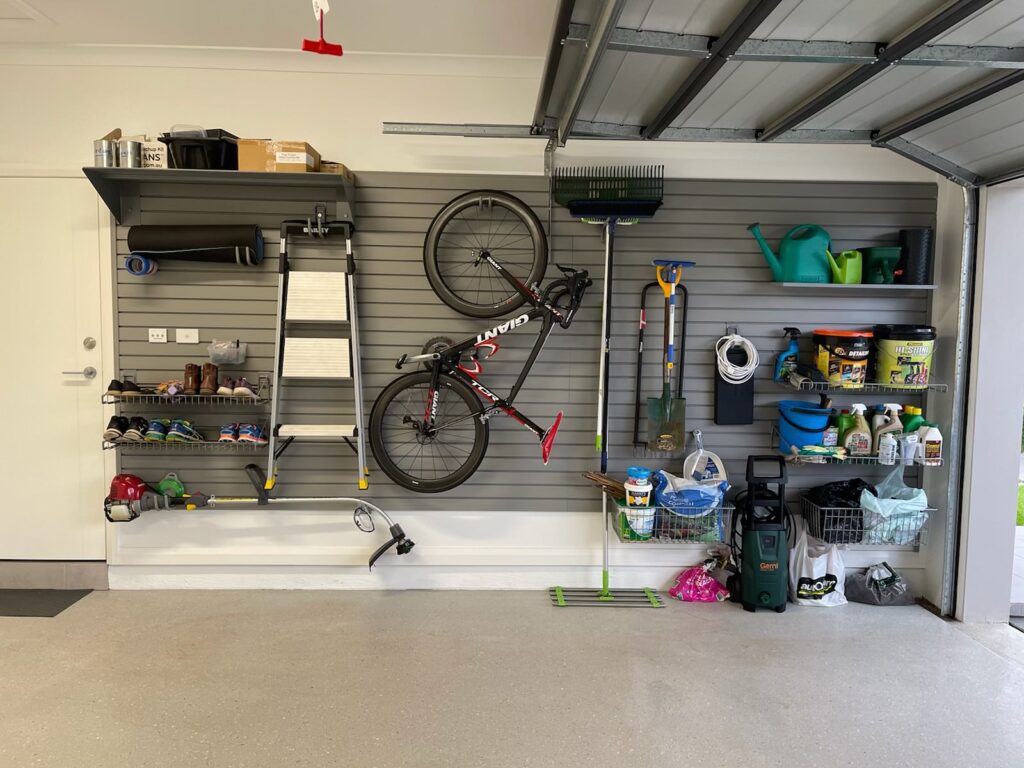
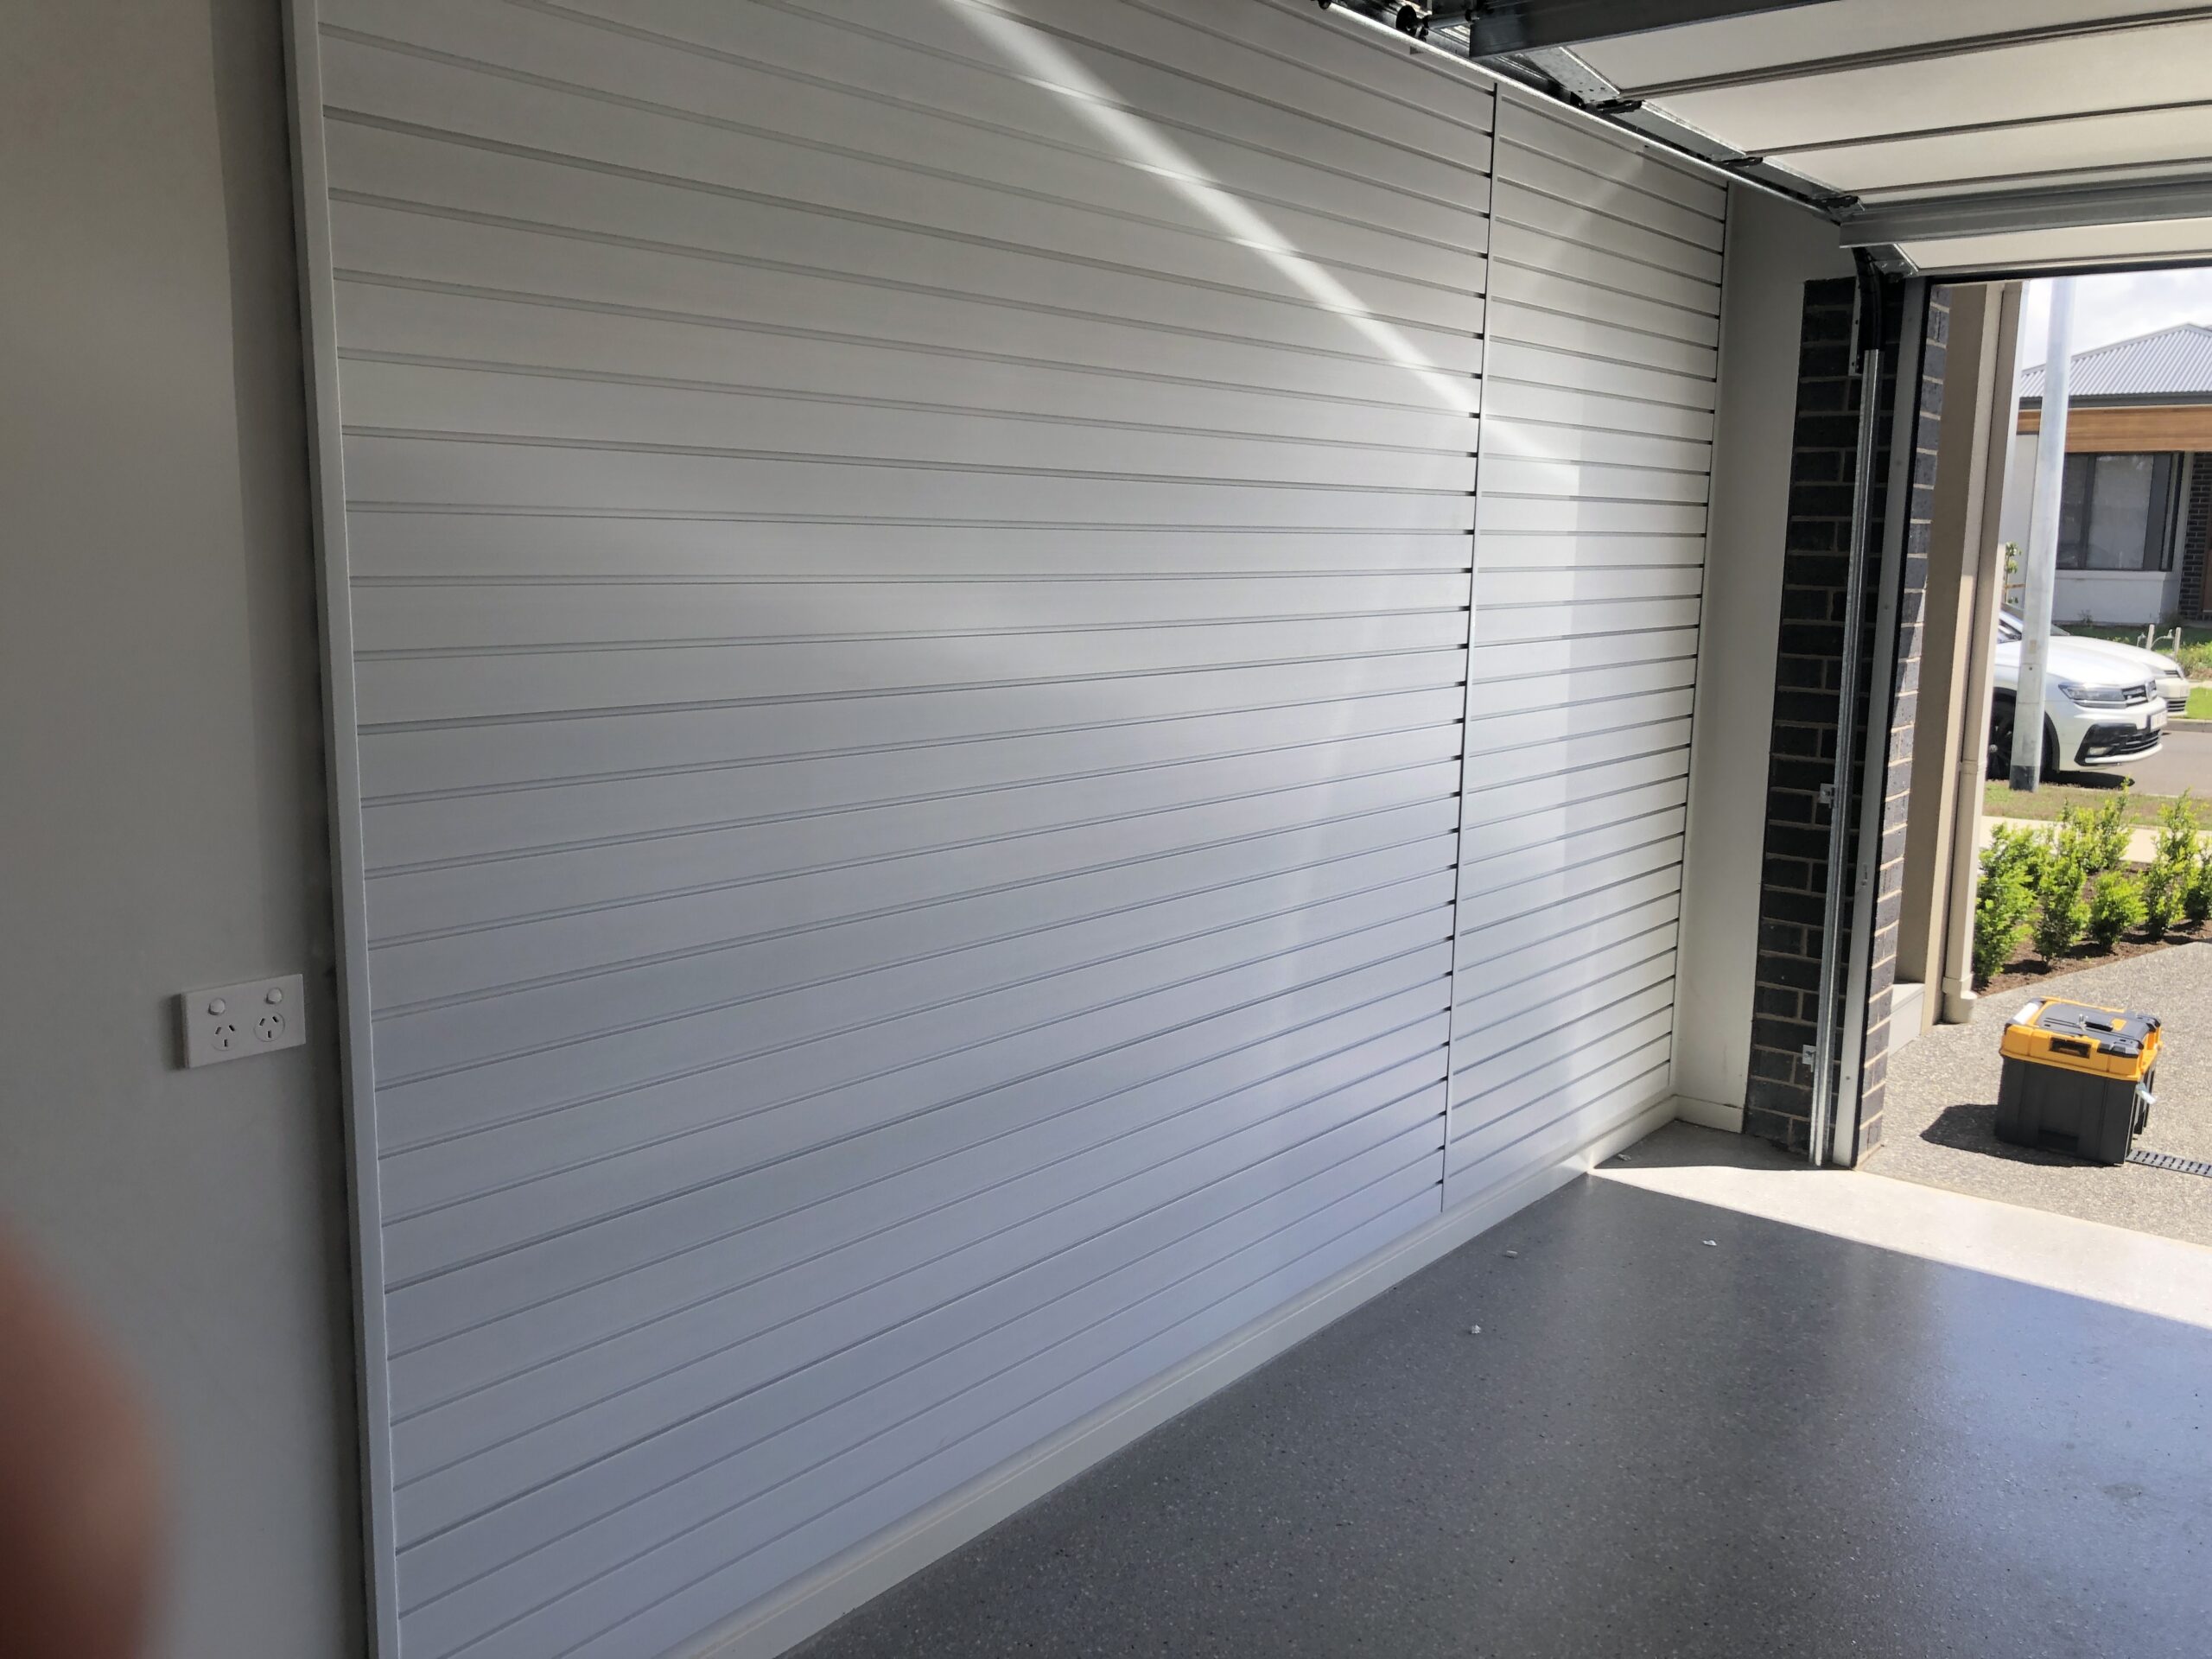
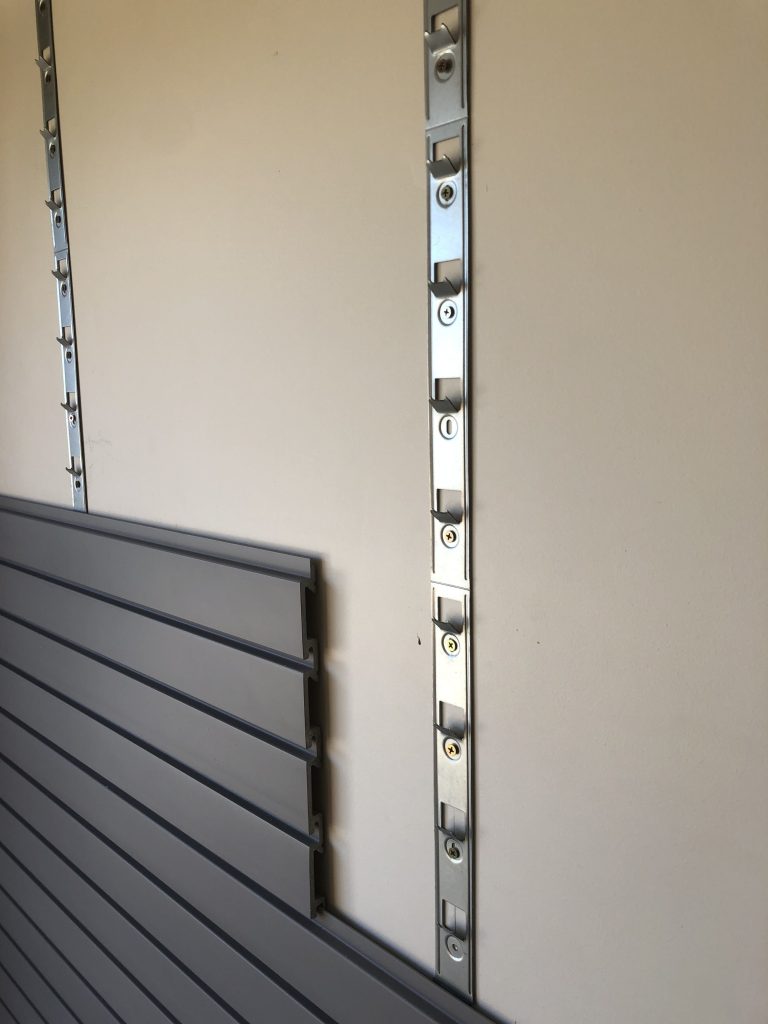
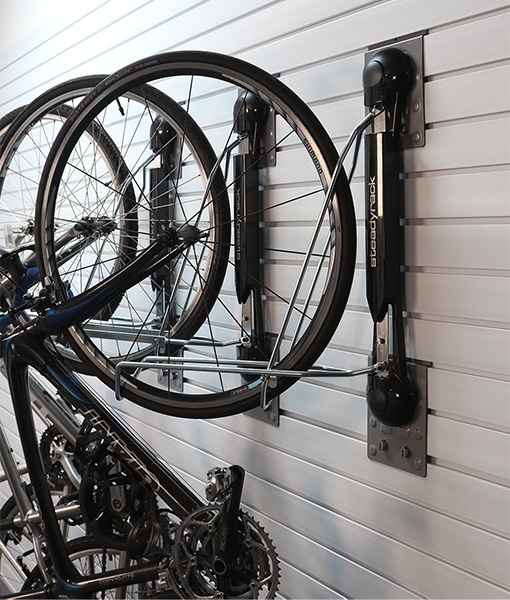
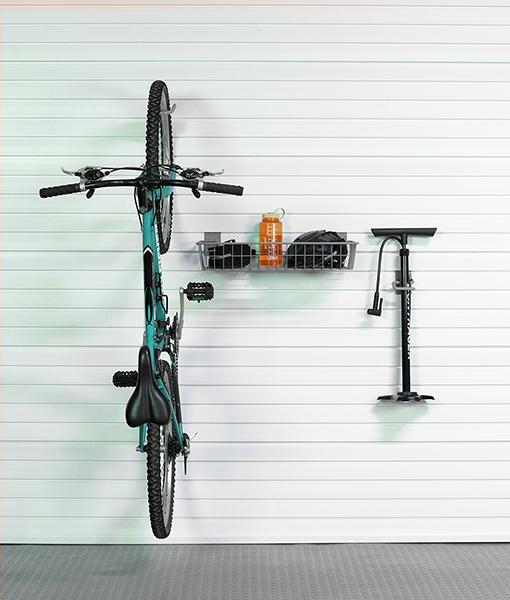
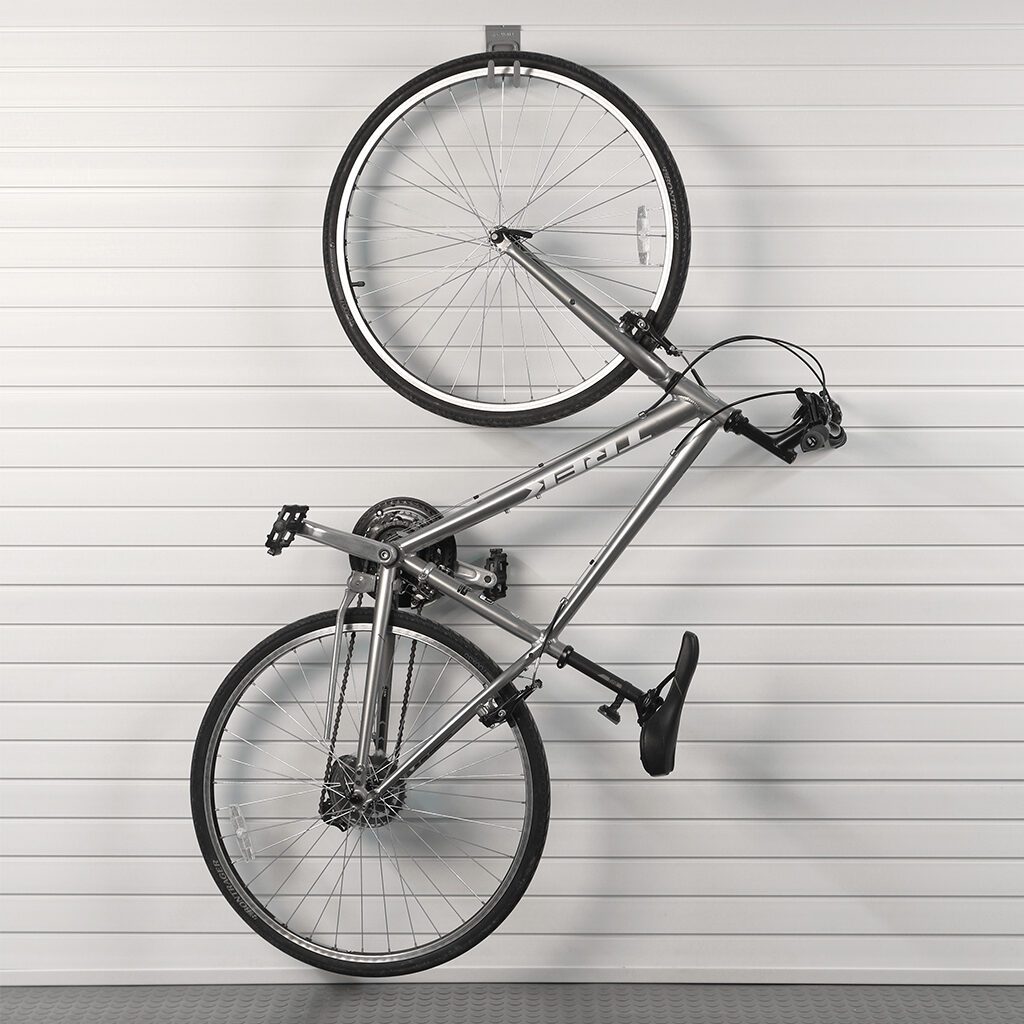
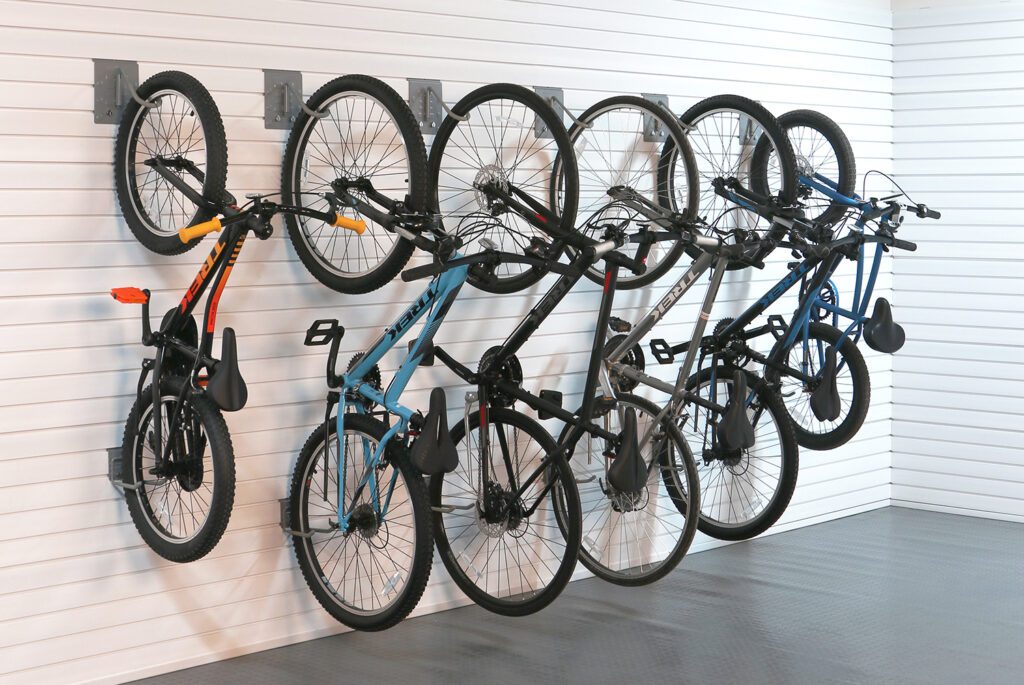
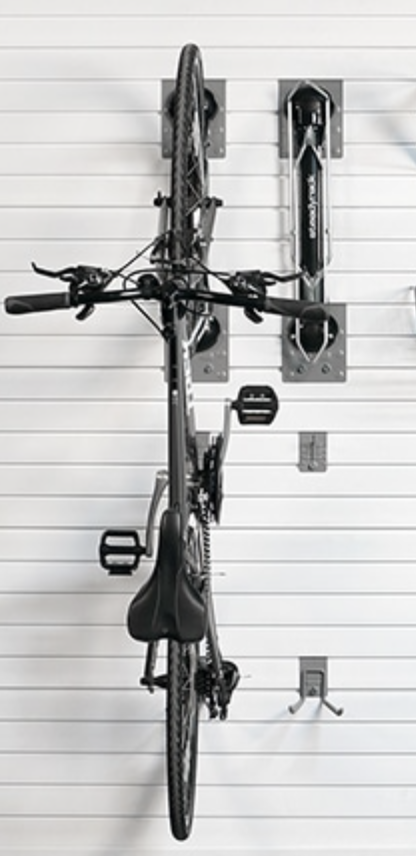
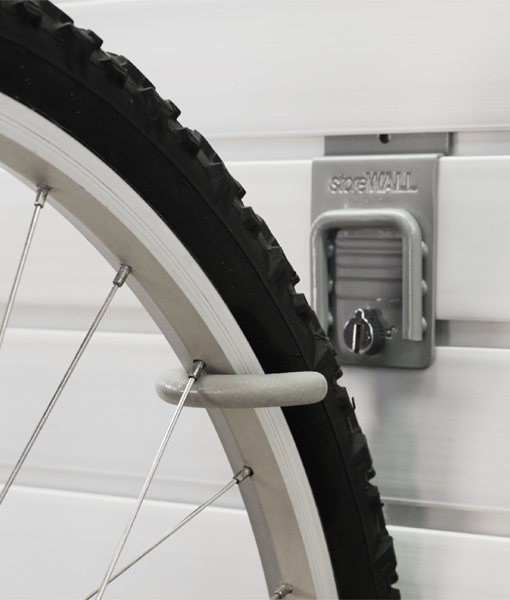
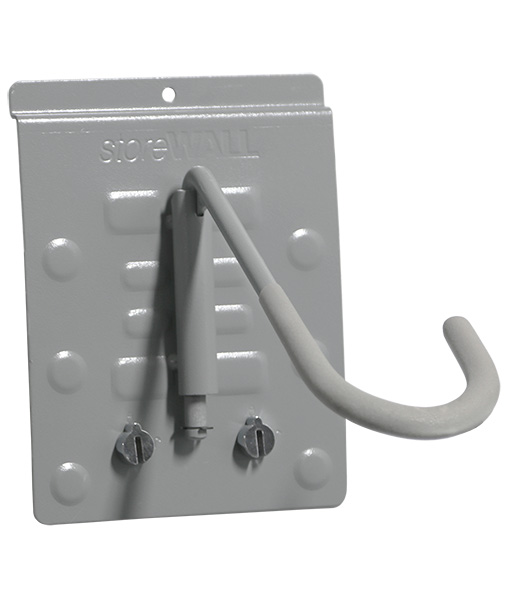
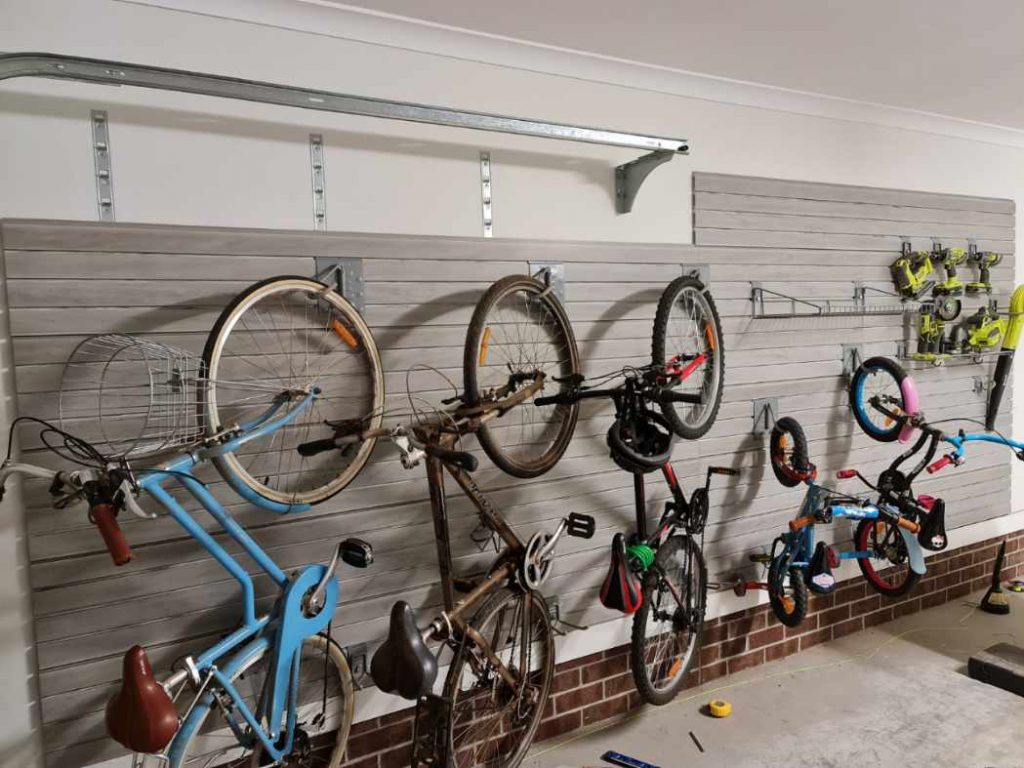
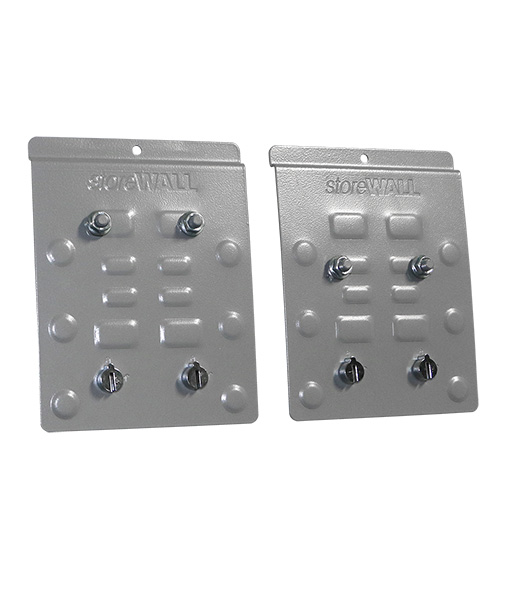
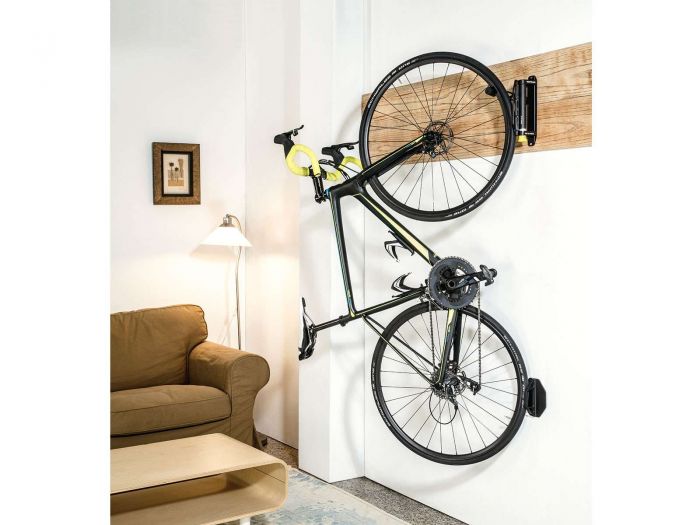
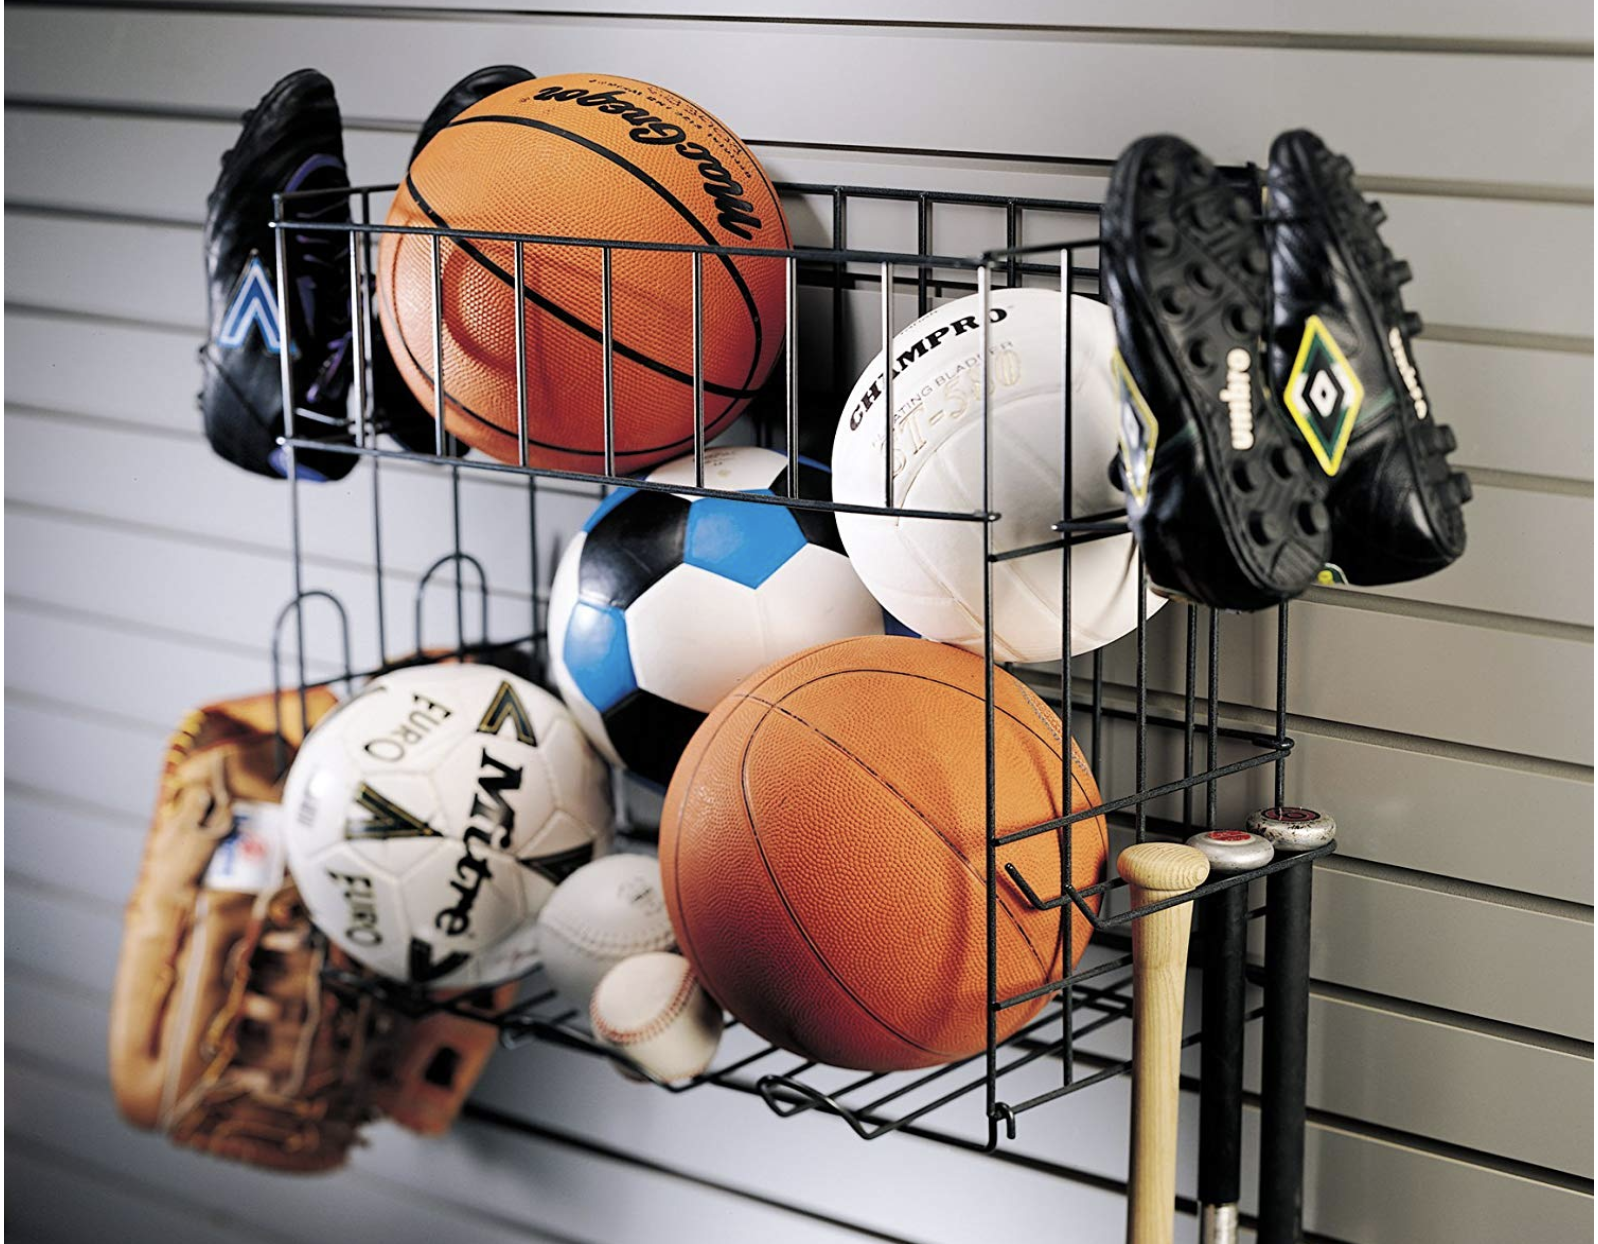
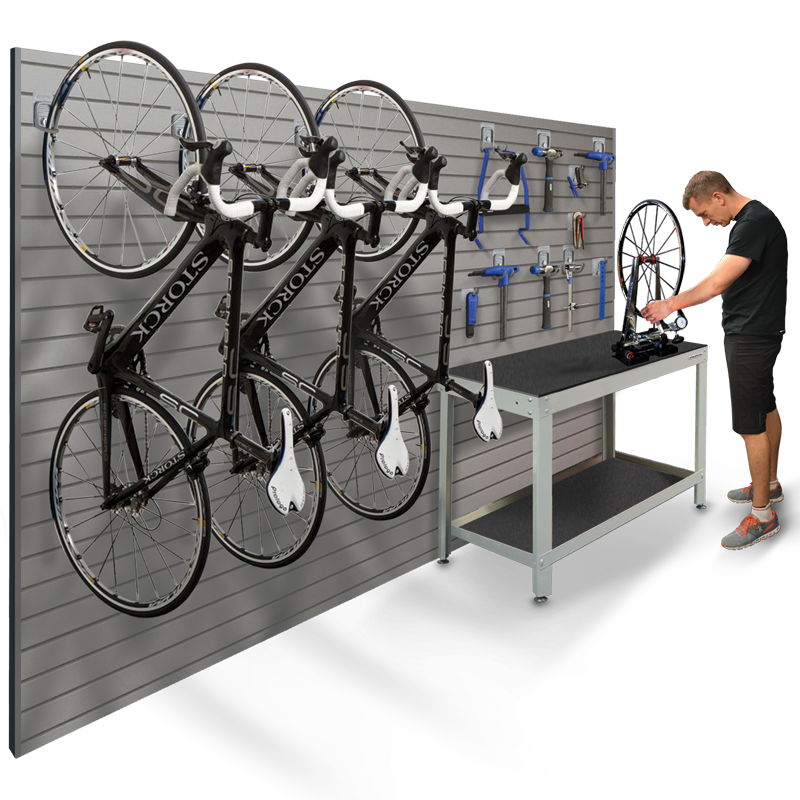
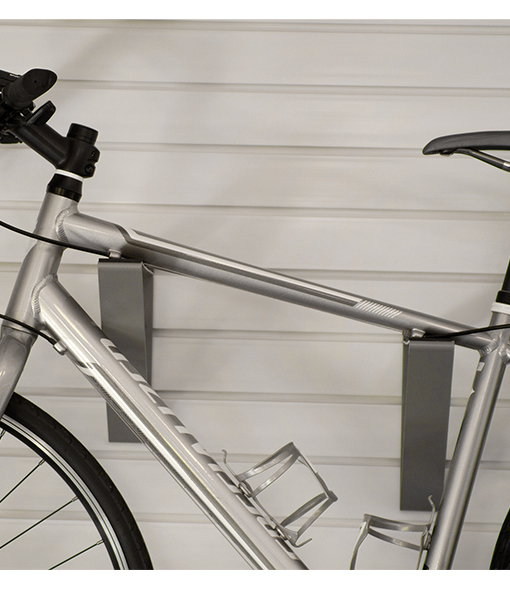
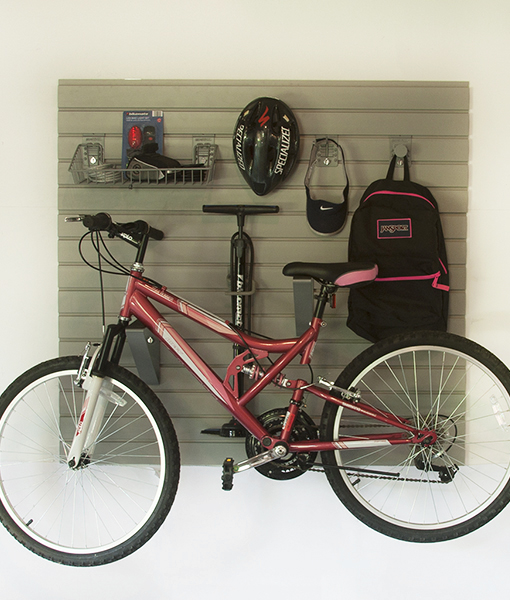
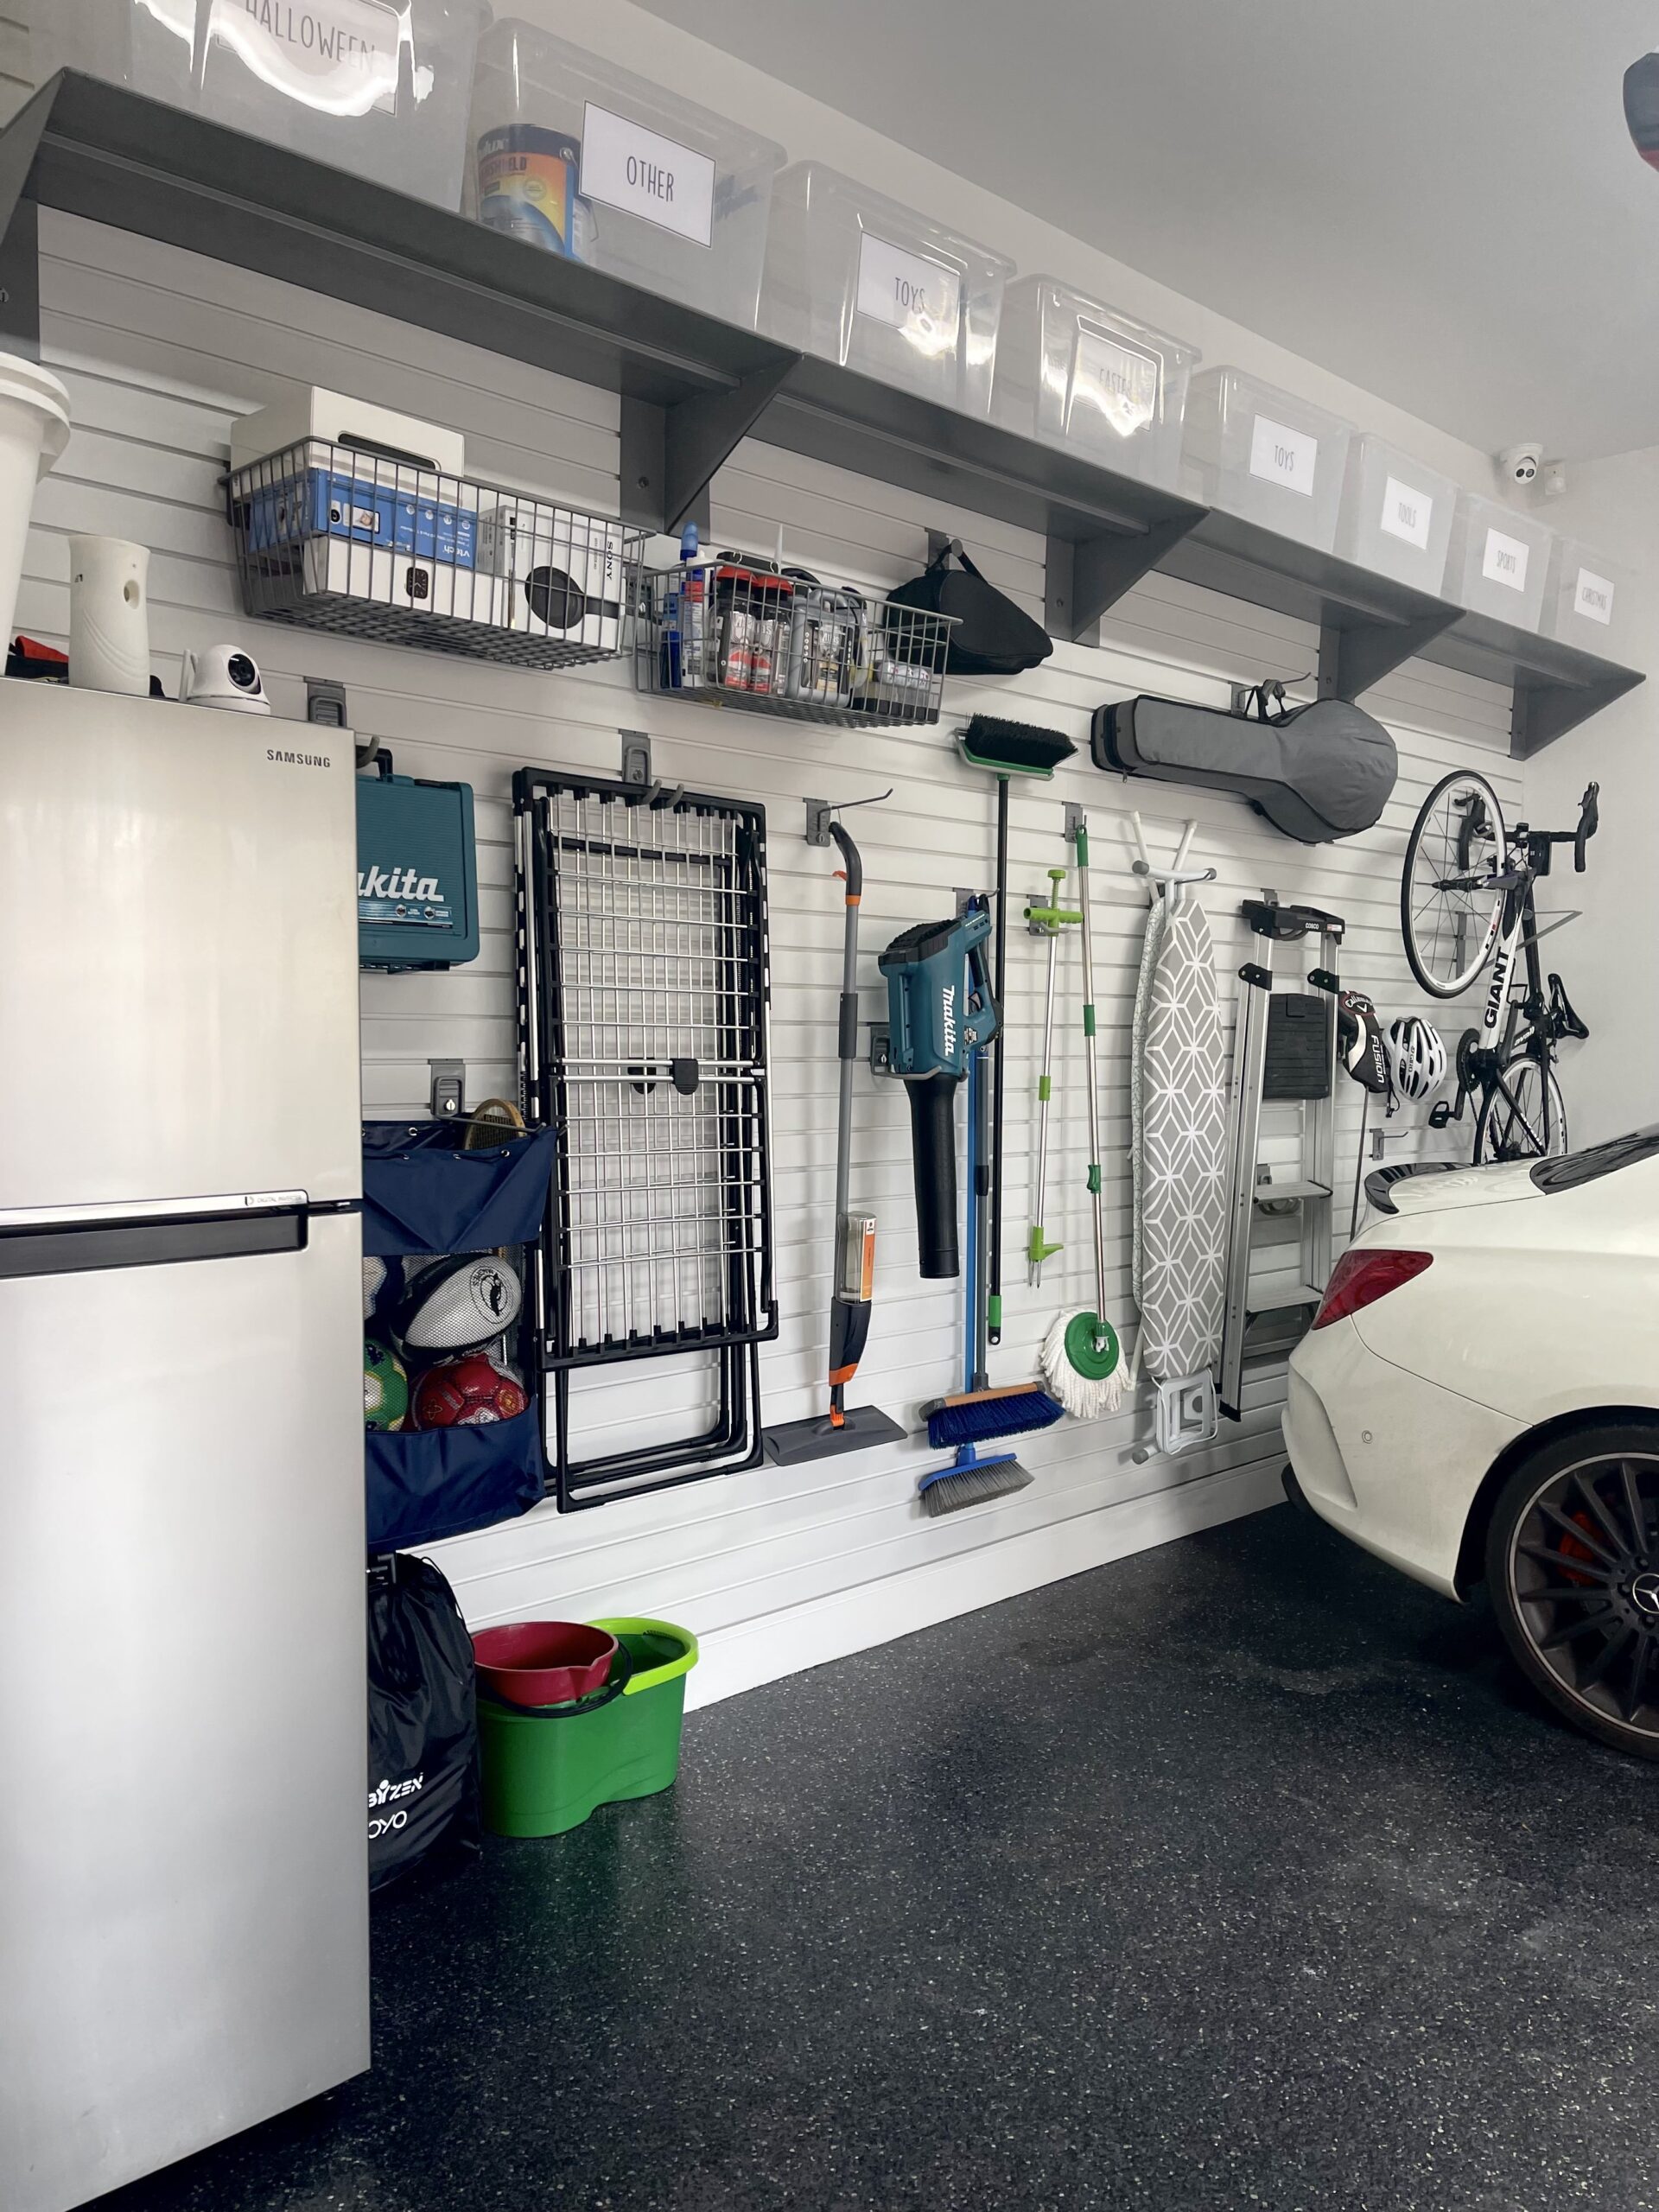
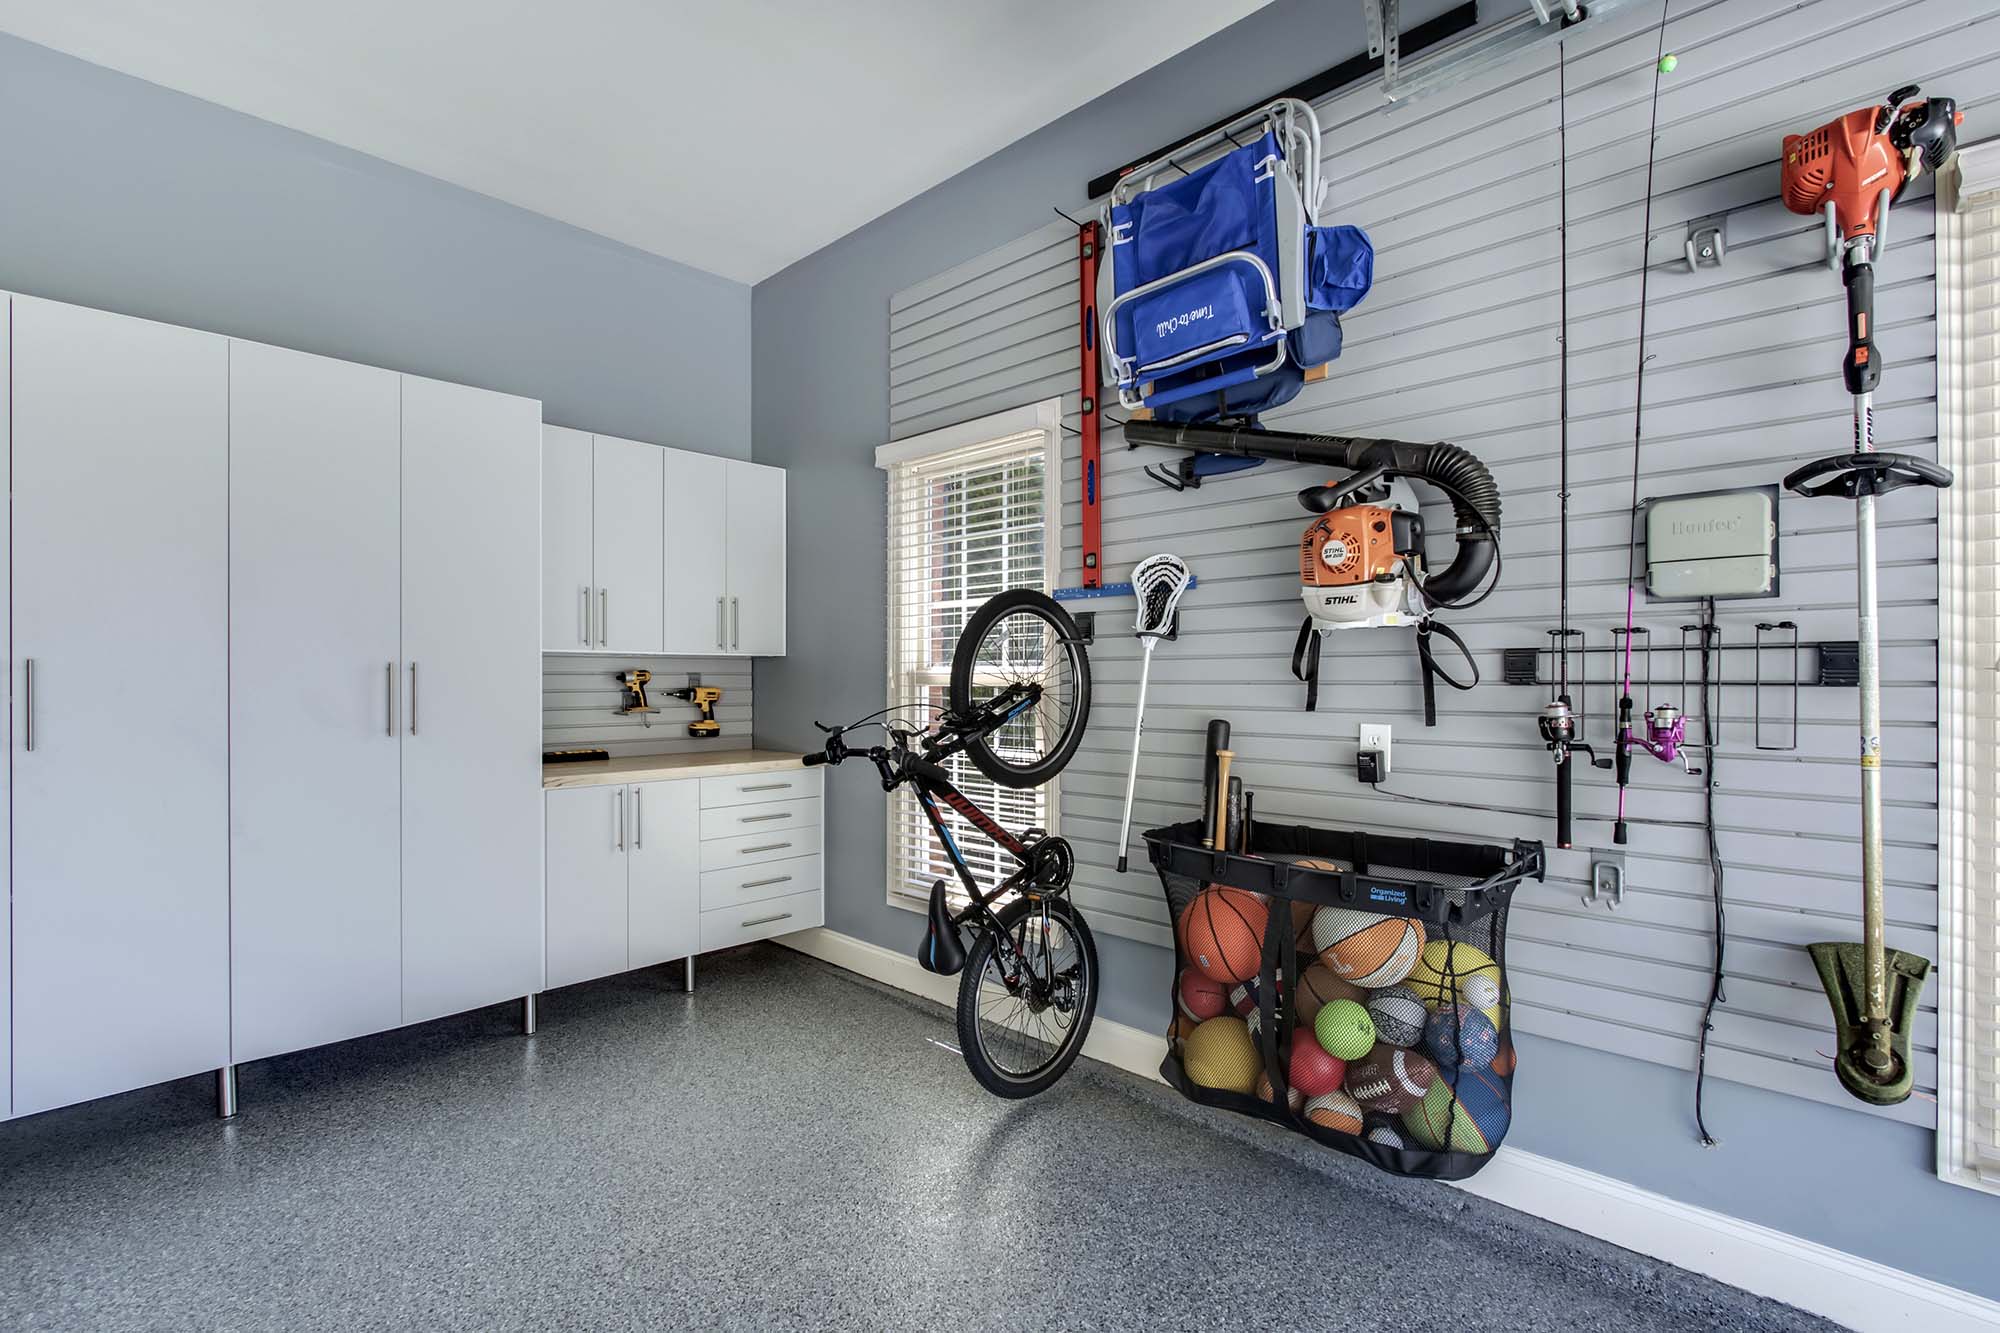
Slatwall Systems: These are versatile wall storage systems that allow for easy customization and reconfiguration. Slatwalls can hold hooks, shelves, and bins, keeping items off the floor and within easy reach.
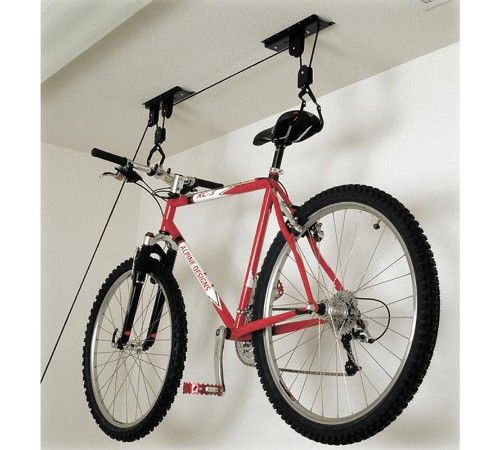
Overhead Storage: Utilizing the ceiling space for storage can significantly increase the available area. Overhead racks are perfect for storing seasonal items, sports equipment, and bulky items.
Cabinet Systems: Modern garages feature high-quality, modular cabinet systems that are both functional and aesthetically pleasing. These cabinets can store tools, chemicals, and other items securely while contributing to the overall design.
Advanced Technology Integration
Smart Garage Door Openers: Modern garages often include smart technology such as app-controlled garage door openers, which offer convenience and enhanced security. These systems can be monitored and controlled remotely.
Climate Control: To ensure comfort and preserve the condition of stored items, modern garages may include climate control systems. Heating, ventilation, and air conditioning (HVAC) systems help maintain an optimal environment.
Lighting Solutions: LED lighting is commonly used for its energy efficiency and brightness. Task lighting over workbenches, ambient lighting for general illumination, and accent lighting to highlight specific areas enhance both functionality and appearance.
Aesthetic Enhancements
Flooring: Epoxy-coated floors are a popular choice for modern garages. They are durable, easy to clean, and come in a variety of colors and finishes. Other options include interlocking tiles and polished concrete.
Color Schemes: Neutral colors like grey, black, and white dominate modern garage color schemes. These colors provide a sleek and clean look, making the space feel more organized and spacious.
Design Themes: Some homeowners opt for themed garage designs, such as automotive-themed decor, vintage workshop aesthetics, or even a man-cave setup with entertainment systems and comfortable seating.
Safety and Security Features
Robust Security Systems: Modern garages are equipped with advanced security features like motion detectors, surveillance cameras, and alarm systems to protect valuable tools, vehicles, and equipment.
Fire Safety: Fire-resistant materials, proper ventilation, and accessible fire extinguishers are essential safety features in a modern garage. Some designs also include sprinkler systems for added protection.
Ergonomic Considerations: Ergonomic design elements, such as adjustable workbenches and strategically placed storage, reduce physical strain and improve efficiency during tasks.
Sustainability and Green Design
Energy Efficiency: Incorporating energy-efficient appliances, lighting, and insulation helps reduce the environmental impact and operational costs of a garage.
Sustainable Materials: Using recycled or sustainably sourced materials for construction and storage solutions aligns with eco-friendly principles.
Solar Power: Some modern garages integrate solar panels to generate renewable energy, powering the garage and even contributing to the home’s overall energy needs.
Conclusion
Modern garage design transcends traditional boundaries, transforming garages into multifunctional, aesthetically pleasing, and technologically advanced spaces. By optimizing layout, integrating innovative storage solutions, embracing smart technology, and focusing on aesthetics and sustainability, modern garages cater to diverse needs while enhancing the overall value and functionality of the home. Whether for practical use or as an extension of living space, the modern garage is a testament to the fusion of form and function in contemporary home design.