
New Home Garage Storage
Set It Up Right From Day One
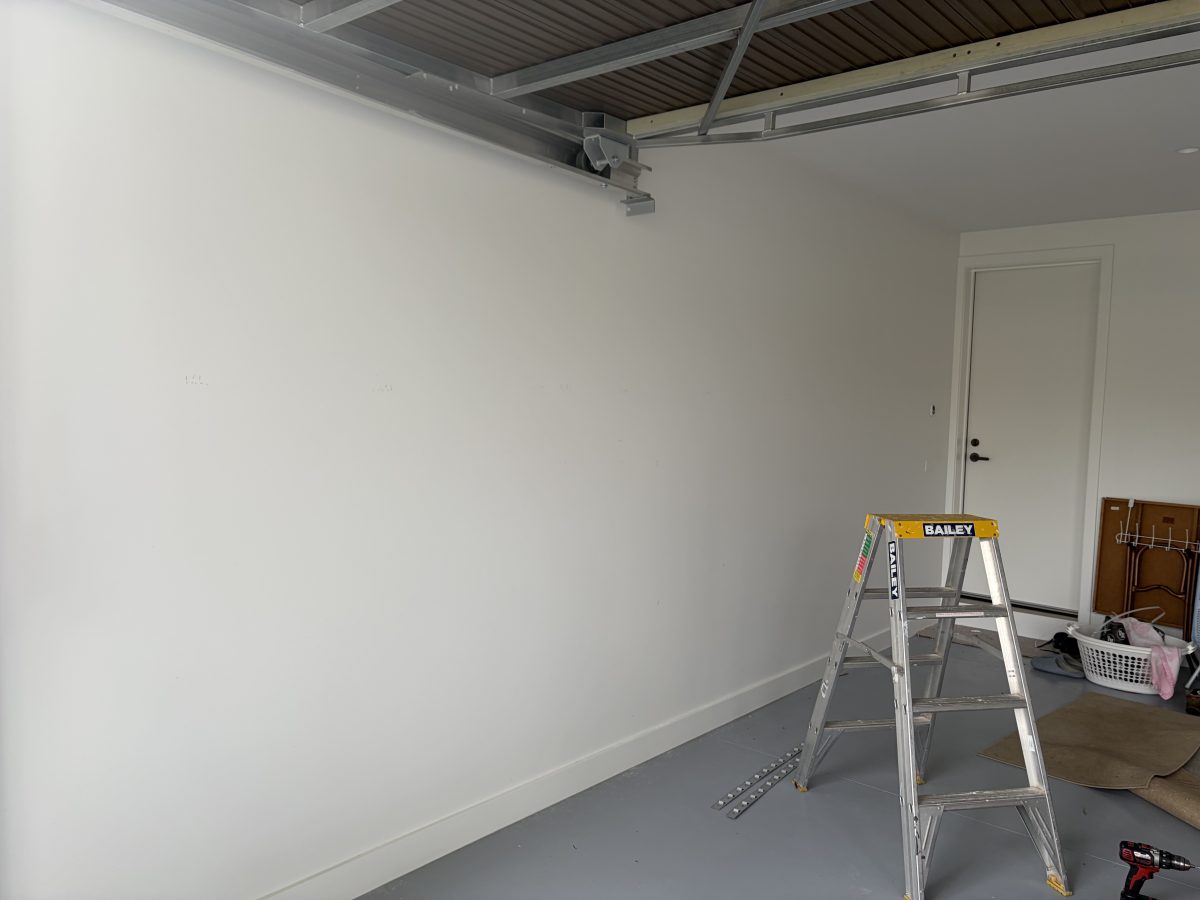
A brand new garage is the one moment you’ll ever get to plan a storage system from scratch. No clutter to work around, no mismatched shelving to remove, no bikes already jammed behind the lawnmower before a single hook goes up. Just a blank wall and the chance to get it right.
Most new homeowners leave the garage until last. By then the space has absorbed six months of “we’ll deal with that later” — and sorting it out becomes a project rather than an afternoon. This page is for the ones who want to do it in order.
Planning Your Wall Before You Buy Anything
The most useful thing you can do before purchasing is measure your usable wall width — not the total wall, but the run between the garage door track, the internal door, and any windows or obstructions. In a standard double garage, that’s usually 4.5m to 5.5m. In a single garage, you’re typically working with 2.4–3m.
That number determines how many panels you need and which wall to prioritise. For most households, the right or left wall is the right starting point — it’s the longest uninterrupted run, and it puts your storage directly in front of you when you walk in. A back wall is the next best option.
What Wall Type Do You Have? It Matters for Installation
New builds across Australia vary in their garage wall construction. Before ordering, it’s worth knowing what you’re drilling into:
Plasterboard over timber stud frame — the most common configuration in new residential builds. StoreWALL InstallStrips run vertically, fixed to the full-length wall studs. Standard stud spacing is 450mm or 600mm centres. You’ll need a stud finder.
Brick or rendered masonry — common in attached garages and some project home builds. Panels fix using masonry anchors. The installation process is the same; the fixings are different. Masonry takes longer to drill but produces an equally solid result.
Exposed concrete block — treat the same as brick masonry, using masonry anchors.
How Many Rows of Panels Do You Need?
StoreWALL panels run horizontally across the wall in rows, each row 300mm high. The minimum practical installation is 4 rows — that gives you 1.2m of vertical storage height, enough for a basic hook and shelf setup. Most households do better with more.
4 rows (1.2m) — the entry point. Suits a minimal setup: a couple of bikes, a row of hooks, a shelf. A reasonable starting configuration if you want to assess how you use the space before committing to a full wall.
5–6 rows (1.5m–1.8m) — the most common configuration and the sweet spot for most new home garages. It gives you a working zone from roughly 300mm off the floor to 1.8m — comfortable for bikes at the top, power tools and hooks in the middle, bins and shelves at a reachable height below. The majority of StoreWALL installations land here.
7–8 rows (2.1m–2.4m) — for serious workshop setups, high-traffic family garages, or anyone who wants to use the full wall height. High shelves for seasonal or rarely-used items; full tool zones in the mid section; bins and lower hooks within easy reach. This is the configuration that genuinely eliminates floor clutter altogether.
A double garage back wall at 6 rows typically requires 15–18 panels depending on exact width. Use the Panel Calculator on site for a precise count.
Organising by Zone: What Goes Where
The most functional garage walls divide into zones rather than placing accessories at random. In a double garage, three zones work naturally across the back wall:
Bikes zone (typically one end of the wall) — your highest-traffic storage, used daily or several times a week. Keep it at the most accessible end, closest to the garage door. Rotating Bike Hooks are the right choice for two or more bikes: they swing flat against the wall when not in use, so you don’t surrender floor depth to an outward-projecting bike. Add a small hook beside each bike for the helmet and you’ve built a complete ride station in around 800mm of wall width per bike.
Tool and workshop zone (centre) — a shelf at 900–1000mm acts as a standing work surface. Power Tool Hooks directly below keep drills, and drivers at arm’s reach. Single Hooks for hand tools, small garden implements. Small bins and baskets fill in the gaps for batteries, blades, fasteners, and cable ties.
Overflow and seasonal zone (opposite end from bikes) — camping gear, ski equipment, sports bags, and anything used occasionally lives here. Bungee Hook sets handle oversized items that don’t hang cleanly on a standard hook — wheel barrow, surf boards, golf bags, lengths of timber. A higher shelf stores gear you use once or twice a year. In a new home, this zone often stays sparse for the first year. That’s fine — it fills naturally and the wall adapts around it.
The Hooks You’ll Actually Use — and What They’re For
StoreWALL’s range covers over 35 hook types. For a new home garage, these are the ones most households reach for, grouped by use:
Bikes
Rotating Bike Hook — the standard starting point for any bike wall. The front wheel slots in and the bike swings flat against the panel when not in use. CamLok holds it securely at any rotation angle. Suits adult road bikes, mountain bikes, and hybrids. One hook per bike.
J Hook — the simpler fixed version. Front wheel on the hook, bike hangs perpendicular to the wall with one tyre resting on the floor. Easier for single-bike setups or where wall depth isn’t an issue.
Power Tools and Hand Tools
Power Tool Rack — the right hook for drills, impact drivers, and similar power tools. Each tool slides into the shelf and is held upright ready to be accessed. The rack can hold 4 tools.
HD Universal Hook — the workhorse of any tool wall. Holds multiple items — extension leads, straps, garden hose, hand tools. The hook you’ll buy more of once you see how useful the first set is.
HD Tool Hook — suits rakes, shovels, brooms, and any long-handled garden tool. The notched design keeps items from sliding off when loading and unloading. Holds up to two tools.
Vertical Tool Hook — designed specifically for larger power tools like blowers, whipper snipper.
U Hook — a simple closed-loop hook ideal for buckets, watering cans, cable coils, and anything with a handle.
Single Hooks — offers a single prong for hanging anything that is light weight. Come in 3 sizes and are ideal for items that have a handle and are light weight.
Heavy Items
HD Utility Hook (68kg rated) — for the genuinely heavy items: an extension ladder, heavy-duty power tools, a loaded garden pack. 228mm off the wall, wide enough to hold bulky items without balance issues.
Ultra Duty Utility Hook (80kg rated) — the strongest hook in the range, with a 6-inch backplate and dual CamLoks for maximum grip. Pair with Heavy Duty panels and HD InstallStrips for full load capacity. For tyres, kayaks, large power tools, and anything else that would give a standard hook second thoughts.
Awkward and Oversized Items
Bungee Hook Sets (Small, Medium, Large) — two Closed Loop Hooks and a carabiner-ended bungee cord that holds items flat against the wall. Ideal for surfboards, timber lengths, ski bags, patio umbrellas, and anything too wide or irregular to hang on a standard hook. The large set stretches to 96 inches clip to clip.
Pole Hook — a slightly angled hook designed to grip thin rods and poles without them sliding through. Fishing rods, broom handles, dowels.
Ultra Duty range — built for the heaviest load, these hooks have full plate for support and dual CamLok. They come in a range of sizes.
Frequently Asked Questions
How soon after moving in should I install the panels?
Before the garage fills up, if at all possible. Working in an empty garage is faster, easier, and produces a cleaner result — you can measure without obstacles, snap chalk lines, and get your first InstallStrip perfectly level without a bike in the way. A single-wall installation takes two people about 4 hours. If you leave it six months, you’ll be doing the same job around boxes and bikes.
My new build has a concrete floor with a slight slope toward the door — does that affect installation?
Not at all. Panels fix to the wall, not the floor. Set your first row level with a spirit level and every subsequent row runs from that. The floor pitch is irrelevant.
Can I install panels myself or do I need a tradie?
Most customers install StoreWALL panels themselves. The InstallStrip system is designed for DIY — fix the vertical strips to the studs, click the panels in, you’re done. If you’re working with masonry and don’t own a hammer drill, a handyman for half a day is a reasonable alternative.
The panels will be behind where I park the car. Is clearance an issue?
It depends on your car’s roofline and how far your hooks project. With panels installed at 1.8m high and standard garage depth, there is typically adequate clearance. Rotating Bike Hooks fold flat and create no projection when unloaded. J Hooks project the bike outward — check your specific car height before placing these close to where the car’s roof will sit.
Do I need to finish the walls before installing?
Most customers paint plasterboard first, then install — it produces a cleaner finish around the panel edges. For bare masonry, no preparation is needed. If your garage is currently unlined (exposed stud frame with no plasterboard), line it first, then install panels. Panels are not a substitute for wall lining.
Will the panels hold up in an unconditioned garage?
Yes. StoreWALL panels are high-impact PVC designed for garage environments. They don’t warp, fade, rust, or degrade through temperature variation. The accessories are powder-coated steel. An Australian summer garage presents no issues.