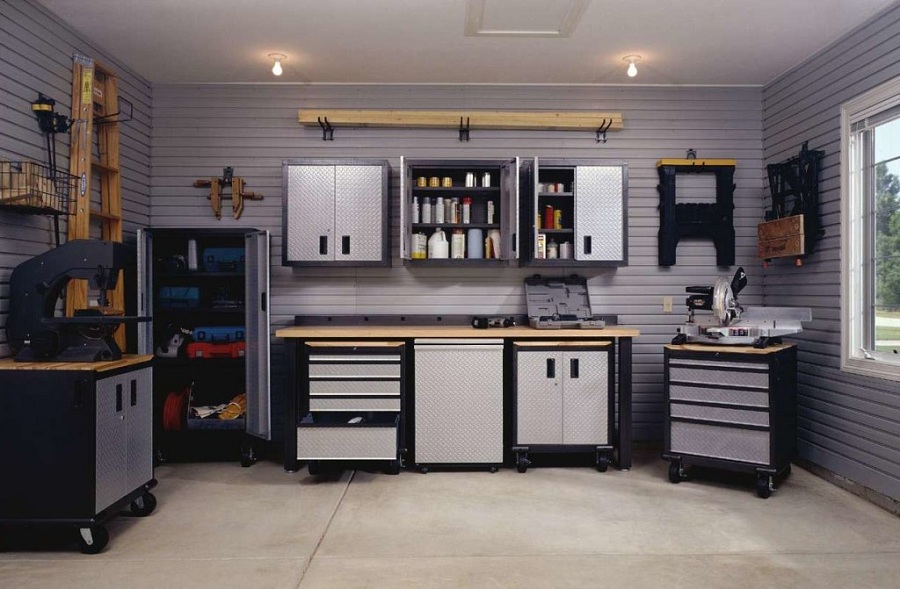
In this week’s blog post we focus away from ideas and to the practical side of pricing and measuring your garage storage solution. The internet is filled with ideas on what you could eventually make your garage look like, but Instagram and Pinterest don’t really tell you how to get from A to B.
Measuring your Garage Storage Solution
Let me be frank, there is no best garage wall storage solution. There are lots of ideas and ideally you can pick a little or a lot from many of them. The end result should be something which will cater for most of what you need to store today and the next few years. Expect to have to review and adjust your design a few times over the life of your garage.
When you are looking for ideas, spend just as much time in your garage as you do on the internet or the hardware store. Its super important that don’t lose focus from the goal of managing your items. Knowing what is in your garage is important when solving how to store it. Sometimes we can get carried away with the desire to make it look like what is in the photo.
Cleaning up the garage
I have covered this lots of times in previous articles but your first step in a garage makeover is to clean up your garage. Do your best to throw (better still give it away  if its in good condition) out enough without causing a family WW3. The clean-out is import because it will free up space for more stuff. It’s also important because in order to install any new garage storage solution, you will need room to work.
The clean out should be carried out over a few weekends. Repeating it is important because your are likely to throw out more the more you review what is stored and never used. As I mentioned earlier, spend time in your garage to understand what you have.
Walls or the Whole Garage
Working on the garage of a new home (which is empty) is different and much easier compared to working on an existing garage with its pre-existing mess (even if it has been cleaned out).
If it’s an existing garage you might consider starting with one wall and then extending the design gradually to the rest of the garage.
Most garages make-overs will require a combination of the follow features:
- Shelving – whether you need more of it or need to replace what you have, shelving is super important. DIY shelving comes in various lengths, depths and heights. Think about how many shelves you will require. Consider what you have to store and the space you have to store it. My garage shelving is used to hold luggage, plastic storage containers and food items. DIY shelving is accessible from all major hardware stores as well as online. DIY shelving is affordable and very easy to setup. The aluminium frames are very strong and can hold hundreds of KGs.
- Bench space – it could be 1 metre or several, but no matter how much, you need some. Most hardware stores can assist with varying ways to build bench space into your garage. There are several portable benches which come complete with drawers and cupboards built in. Alternatively you can also just build your own and there are lots of youtube videos showing you how.
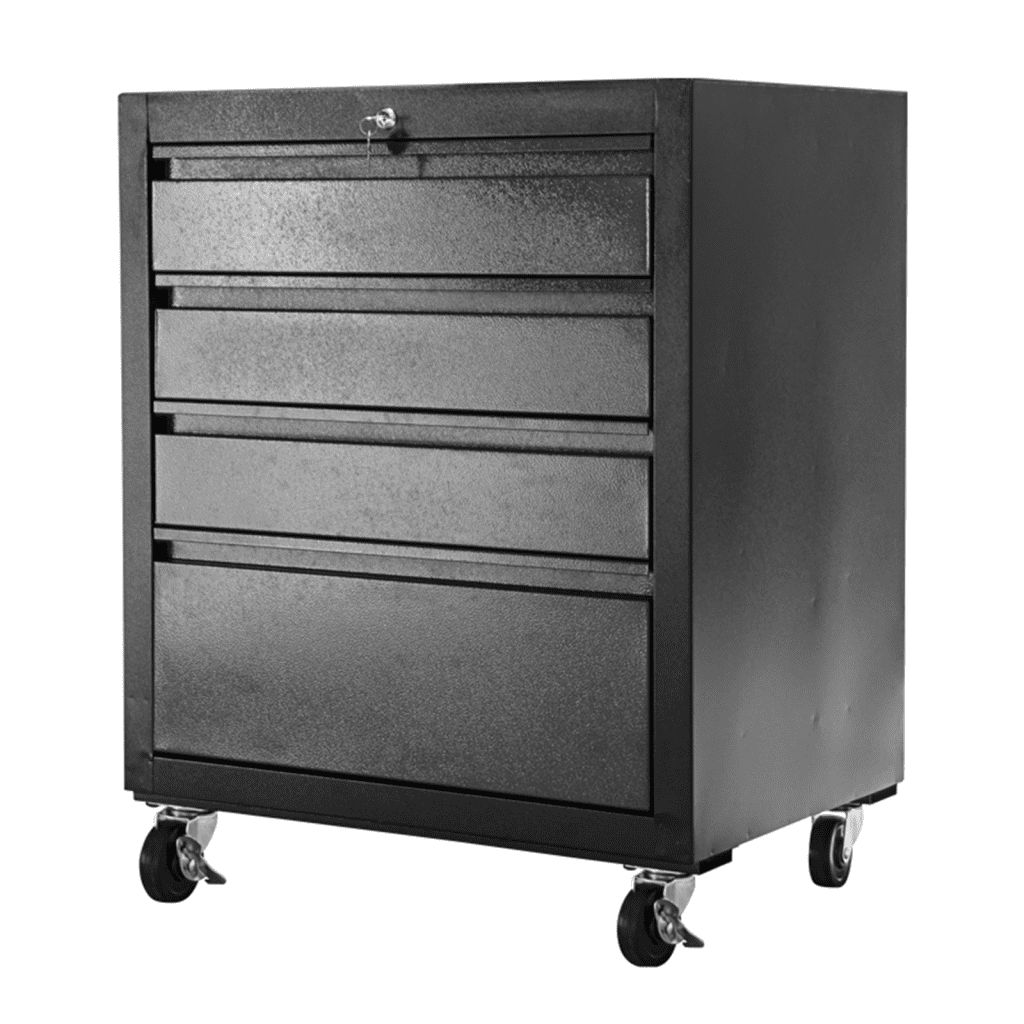
- Cupboards and drawers – if this is important to you then you will need to look at some professional storage solutions which can be built and installed for you. If it’s just drawers that you are after, a pre-made set that is portable (on wheels) might also be worth considering.
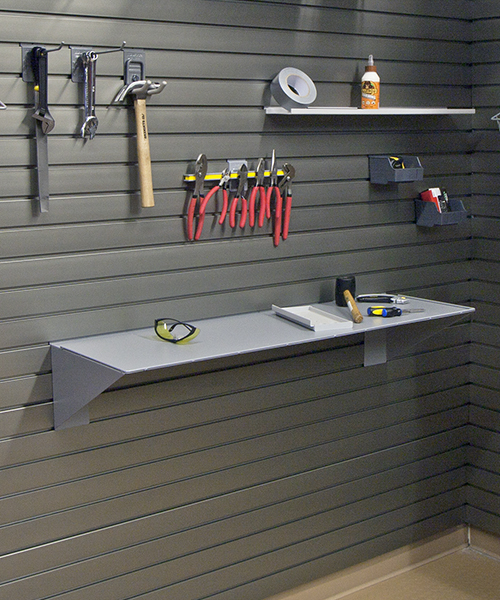
- Wall Hanging Storage – slatwalls, and pegboards are a great way of hanging tools and everyday garage items via hooks. StoreWALL’s range of hooks will hang anything from bikes to ladders. Slatwall options like StoreWALL also cater for baskets, bags and shelves all hanging from the wall.
Measuring Your Garage
Prior to selecting what to add to your garage or storage area, you need to measure up. If you are renovating just one wall then measure the whole wall (ceiling to floor and corner to corner). Note these measurements. You will also need to measure the areas you want to dedicate to Shelving, Bench, Cupboards, Drawers and Slatwall.
If you are combining storage, draw up a plan and design. Add your measurements and visualise the end result.
In a recent example, a client called me looking to add hanging bike storage to his garage. We worked through the actual wall space he had to use. This included looking at how much of the actual wall he wanted covered by the StoreWALL slatwall surface. With 4 bikes and each bike taking up about 500mm each, he required about 2m of wall surface. In addition to hanging bikes he also wanted baskets for the helmets and hooks for other items in his garage.
The benefits of StoreWALL’s slatwall finish is that all accessories can be added and moved around or removed altogether depending on your need at the time. You aren’t locked in.
Measuring your Garage Storage Solution – Client Example
Measuring your area (and re-measuring it) will provide a clear understanding of the space required by each garage storage idea. As per the previous paragraph measuring your Garage Storage Solution will help you design it.
In the case of the client with the bike hooks, his garage was 4m in length. He decided to buy four 1.2m StoreWALL panels (each 1.2m panel is .3m in height with a surface area of .36m) making two rows of 2.4m of StoreWALL slatwall. The total surface area covered by the two rows of panels is 1.4m squared (calculated as two rows of .7m). Each panel comes with 4 slatwall grooves which allow for the hooks to be added and moved around.
With any slatwall installation you also need to consider what surface you will be installing on ie what the garage wall is made from. Slatwalls will need to be fastened to the wall. If the wall is plastered then you will be able to install them using the studs under the plasterboard (usually spaced 450mm apart). If the wall is bricked, you will be able to drill into the mortar or brick and fasten to this. The only challenging wall surface will be a tin/aluminium wall. These walls will usually also have a wooden or metallic frame. In this case you might need to add additional frame in order to support the slatwalls.