Building a wooden bench for your garage can be a rewarding DIY project that not only enhances your workspace but also provides a sturdy and functional piece of furniture. Whether you need a place to sit while working on projects or a surface to hold tools and materials, a wooden bench can be a versatile addition to any garage. Here’s a detailed guide on how to build a DIY Garage Wooden Workbench.
The first step is to review the space you have and determine the size of bench you need that can fit in the space available. You may determine that a 1.8m long bench is big enough for you. The height and depth of the bench are additional considerations. Most benches in your home will 900mm high. When determining your bench, you might want to also decide on the benchtop surface you want to use. If it’s MDF or some form of chipboard, picking a pre-cut size available from your hardware store will save you a lot of time.
Materials Needed:
- Wood: Make sure your timber is straight. Using old timber to save some money is a great idea, but it has twisted or is a bow in it, you don’t want it. Buy some framing pine from your local store. 90mm x 45mm studs are ideal.
- Screws: You will require large screws to hold the frame together and smaller screws to secure the benchtop to the frame. For the frame, I recommend something like 14g 75mm Bugle Screws. 2 ½ inch wood screws.
- Glue: Wood glue for extra bond. This is optional.
- Sandpaper: Various grits for smoothing.
- Finish: Paint, stain, or sealant depending on your preference.
Tools Required:
- Saw: Circular saw or handsaw.
- Drill: With drill bits.
- Measuring tape.
- Square.
- Clamps: To hold wood in place as you work.
- Paintbrush or roller (if applying finish).
Instructions for your DIY Garage Wooden Workbench
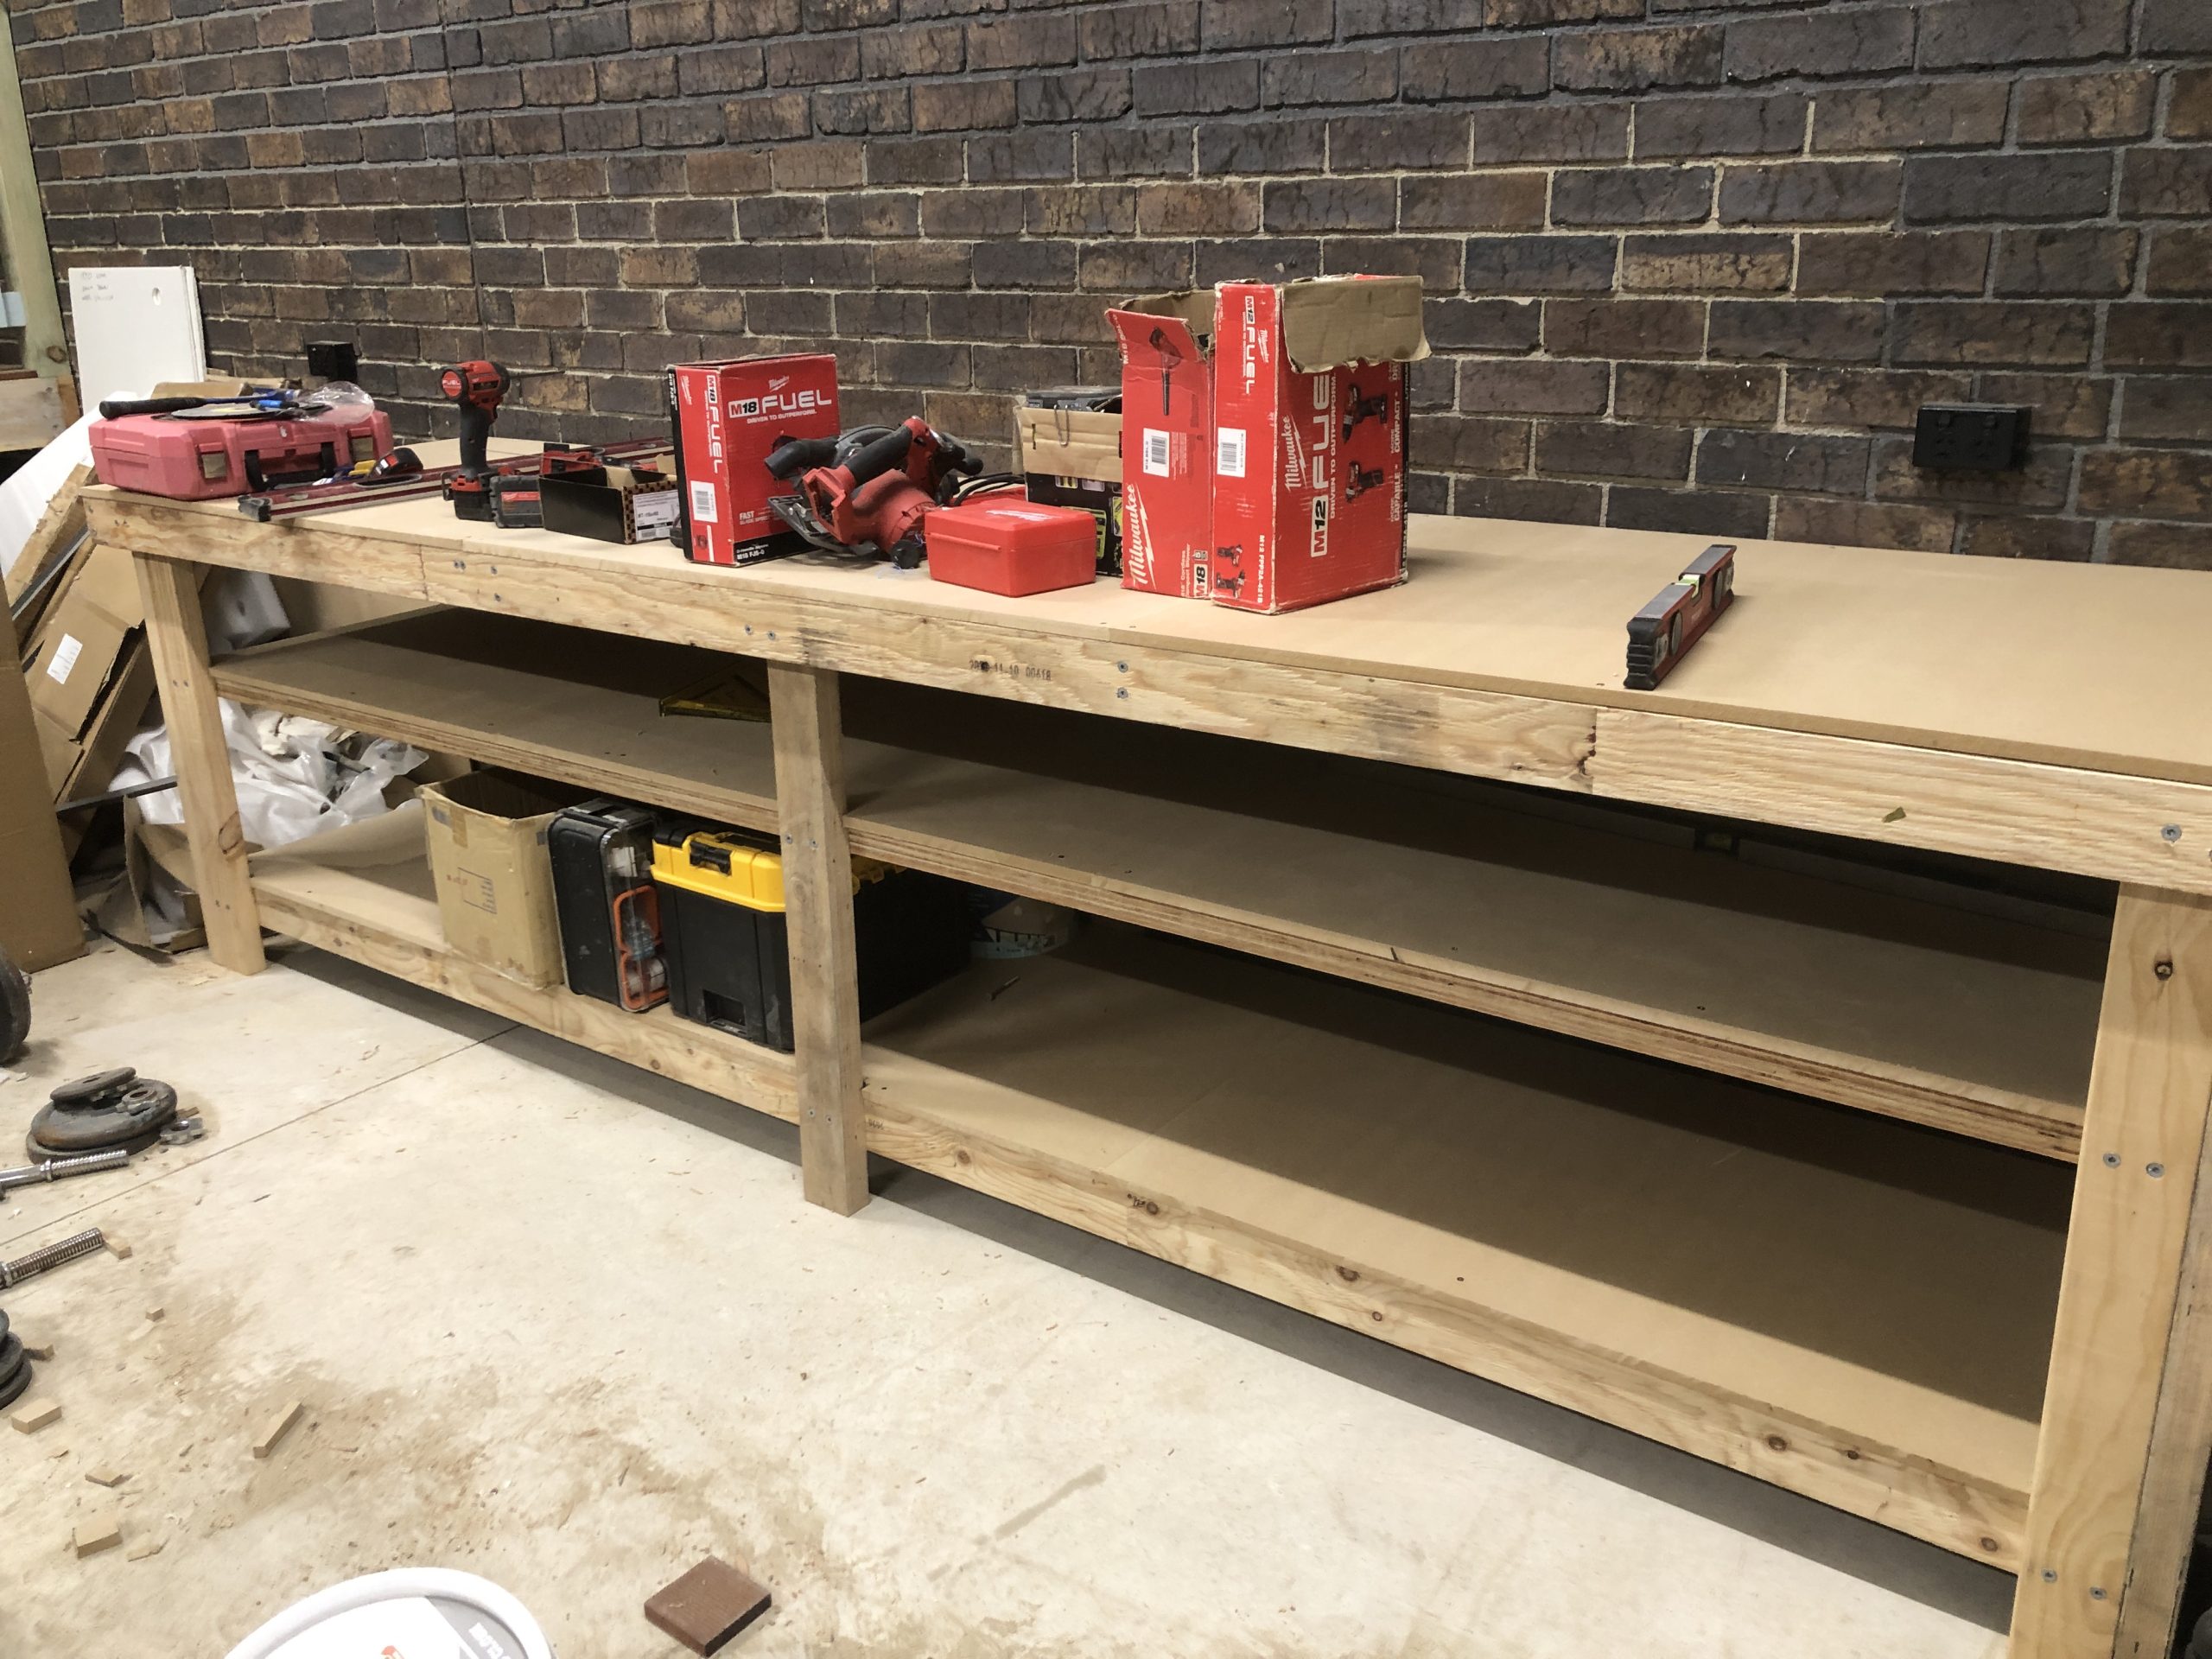
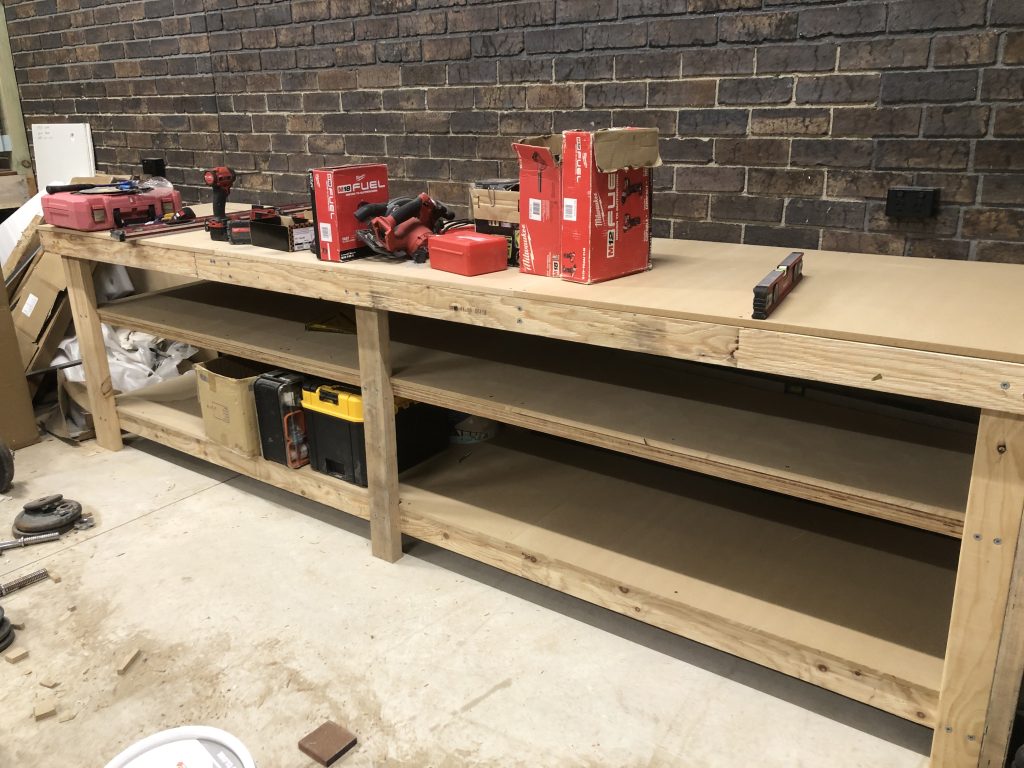
This is a bench design that I used for my own DIY Garage Wooden Workbench project. It took me 2 full days to complete. I found the instructions on this site. Whilst I used most of the design laid out in this article, I did make some adjustments.

The final measurements were 3600mm long, 950mm high, and 860mm deep. Due to the size I chose, I didn’t put the bench on caster wheels. Had it been 1800mm long, I would have. I also made two shelves under the benchtop of equal length to the bench.

You will notice that I used a combination of timbers. These were all new timbers I already had and they were also straight. Most of the timber was LVL (Structural). It made the bench very heavy. You don’t need LVL for a benchtop. Your standard framing pine (90×45) is fine. For the top surface, I purchased MDF boards (1200 x 2400) which I cut to size. Three sheets covered all of the surfaces. These I needed to cut to size.
The last step in my garage wooden workbench project is to add StoreWALL Garage Wall Panels to the wall above the bench. This has now been completed. I have added 2 x Heavy Duty Weathered Grey (2438mm) panels along the bench. I have stacked two panels to give me a paneled area of 4876mm x 770mm. At one corner, I have made it slightly higher with a third piece of panel at 1000mm.