Posted on

How to Use Heavy Duty Dot & Dab Wall Fixings

Heavy Duty Dot & Dab Wall Fixings

When working with dot and dab walls — also known as drylined or plasterboard walls fixed to masonry with adhesive — finding the right method to securely mount heavy items can be tricky. Standard wall plugs or plasterboard fixings often aren’t enough to hold significant weight, which is where Heavy Duty Dot & Dab Wall Fixings come in.

These specialised fixings are designed to bridge the gap between the plasterboard and the solid wall behind it, ensuring your shelves, cabinets, slatwall panels, or other heavy items are securely anchored.
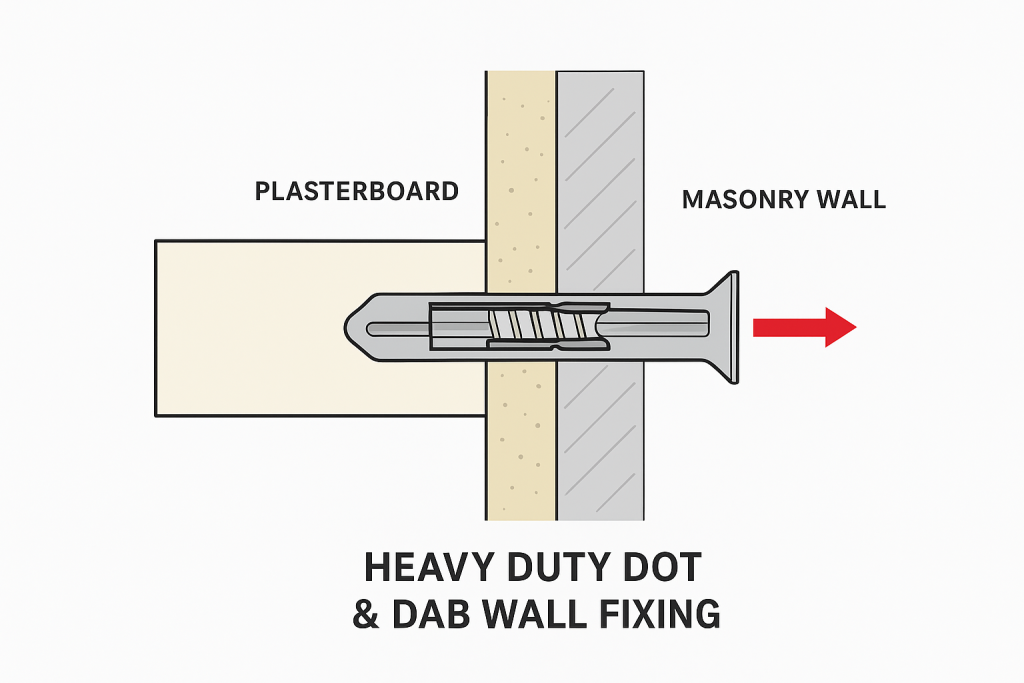

Heavy Duty Dot & Dab Wall Fixings

Understanding Dot & Dab Walls

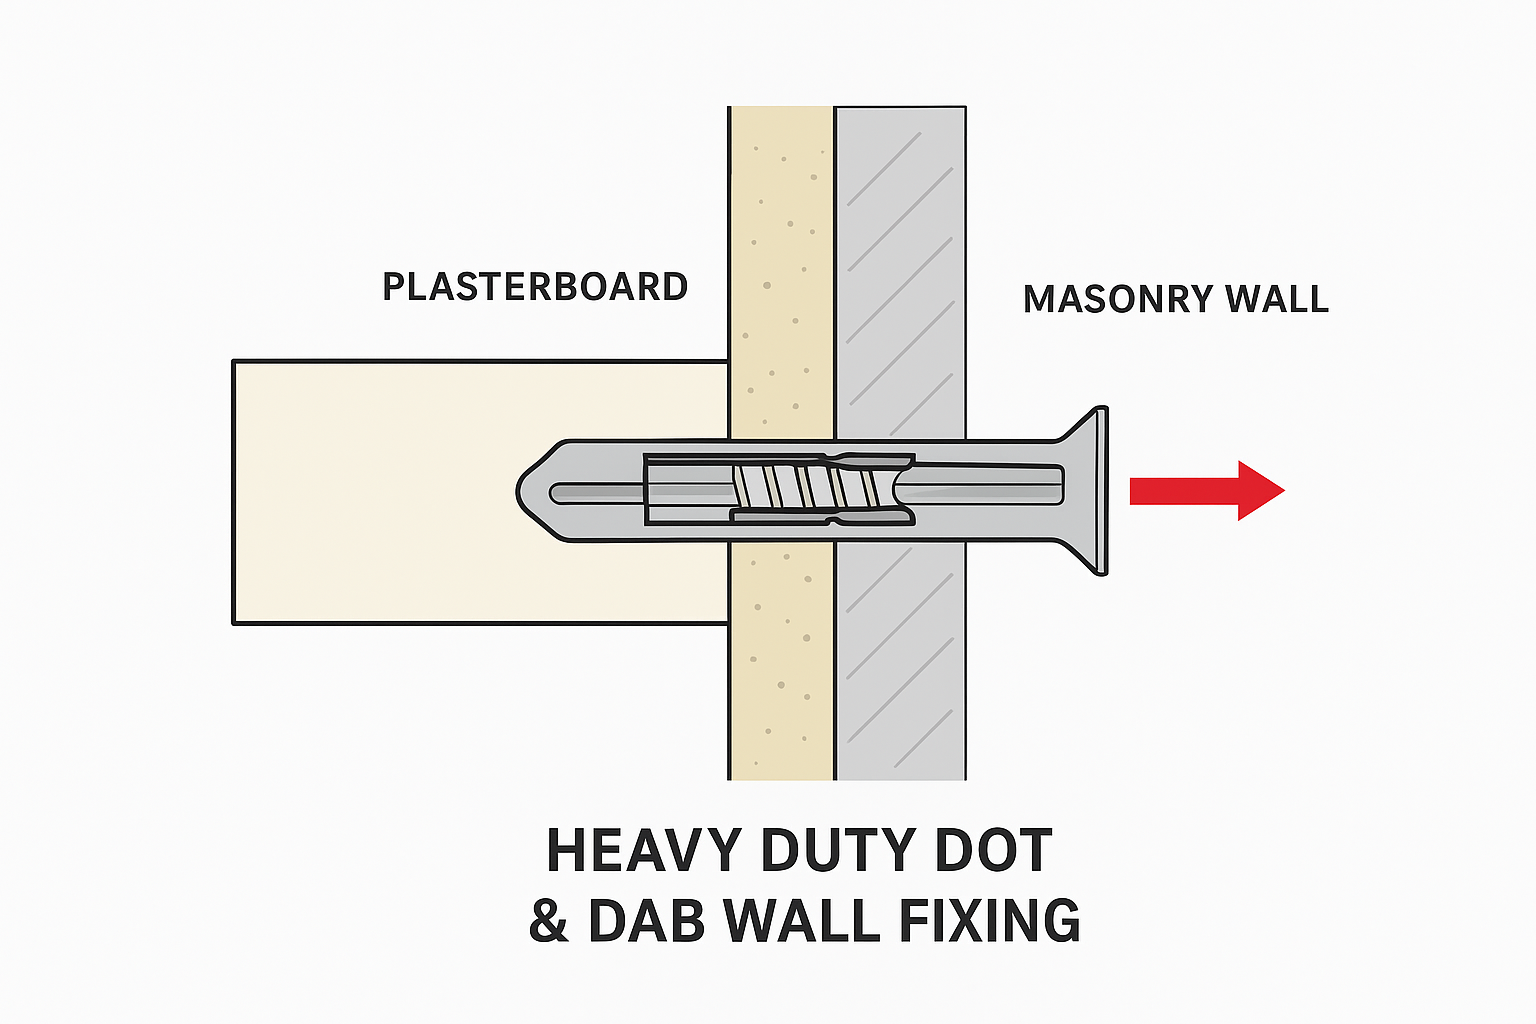
A dot and dab wall is constructed by applying adhesive “dots” or “dabs” to a solid wall, then pressing plasterboard sheets onto it. This leaves small cavities between the plasterboard and the masonry surface.
While this method is quick and efficient for building, it presents challenges for securing heavy loads because:

  • The plasterboard alone cannot hold significant weight.
  • Standard wall plugs may spin or loosen due to the gap behind the plasterboard.

Why Use Heavy Duty Dot & Dab Wall Fixings?

Heavy Duty Dot & Dab Wall Fixings are specifically engineered to overcome these issues. They:

  • Span the gap between the plasterboard and masonry.
  • Expand or grip firmly in the solid wall behind.
  • Support much heavier loads than regular plasterboard fixings.
  • Provide a flush, neat finish once installed.

Typical uses include:

  • Kitchen wall cabinets
  • Slatwall or garage wall panels
  • Heavy shelving
  • Large mirrors or TVs
  • Tool racks and garage storage systems

Tools and Materials You’ll Need

Before you start, gather:

  • Heavy Duty Dot & Dab Wall Fixings (with the correct length to bridge your gap)
  • Masonry drill bits
  • Hammer drill
  • Screwdriver or impact driver
  • Measuring tape
  • Pencil for marking
  • Spirit level

Step-by-Step Guide to Using Heavy Duty Dot & Dab Wall Fixings

Measure the Gap

Use a thin probe or measure the plasterboard thickness plus the adhesive gap to the solid wall. This ensures you select fixings of the right length.

Mark Your Fixing Points

Use a pencil and spirit level to mark exactly where each fixing will go. For heavy loads, use multiple fixings spaced evenly.

Drill Through the Plasterboard

Using the correct-sized drill bit (as per the fixing instructions), drill through the plasterboard until you reach the solid wall behind.

Drill Into the Masonry

Switch to a masonry drill bit and continue drilling into the solid wall to the depth recommended for your fixing type.

Insert the Fixing

Push or tap the Heavy Duty Dot & Dab Wall Fixing through the plasterboard until it reaches the solid wall. Some designs use a sleeve or spacer to bridge the gap.

Secure the Screw

Drive the screw into the fixing. The fixing will expand or grip into the solid wall behind, locking everything tightly in place.

Mount Your Item

Once all fixings are secure, you can mount your shelf, panel, or other item with confidence.


Safety and Weight Limits

  • Always check the manufacturer’s maximum load ratings for your specific fixings.
  • Distribute weight evenly across multiple fixings where possible.
  • For very heavy installations (like garage slatwall systems), ensure fixings are into masonry at multiple points.

Final Thoughts

Installing on a dot and dab wall doesn’t have to be a headache. Heavy Duty Dot & Dab Wall Fixings give you the strength and reliability needed for secure, long-lasting installations. Whether you’re hanging garage storage panels, shelving, or other heavy equipment, the right fixing will make all the difference in safety and durability.
Posted on

GarageTek Storage System

GarageTek Storage System

Several weeks ago I had an enquiry by a customer in Melbourne who had the GarageTek Storage System installed in their garage but wanted to use the StoreWALL hooks on his new walls.

GarageTek is part of the Attic Group who obviously also install Attics in your home. They provide a garage wall storage system with wall panels and accessories. You can visit their website to learn more. I have no doubt that their storage solution is of good quality.

However this one customer must have seen something on the StoreWALL website relating to our accessories which he liked. It may have been the range of hooks, baskets, brackets, shelves, bins, totes.

It most probably was the CamLok locking mechanism which is unique and the best way of securing your accessories to your wall without damaging it or having your goods fall of it.

We have reviewed CamLok many times. I have added the video below for you. CamLok is a real winner. It’s a great design and makes a lot of sense. Most storage system accessories use a form of claw to secure the accessory on to the wall panel, grabbing it from the top and the bottom and usually from the front and inside the slot.

Anyhow this week this customer called me up again asking about the measurements of our accessories and if they could be used on his new walls. We have had this before. I have also reviewed storage solutions such as StorEase demonstrating how StoreWALL accessories can work on a StorEase panel (not the other way around).

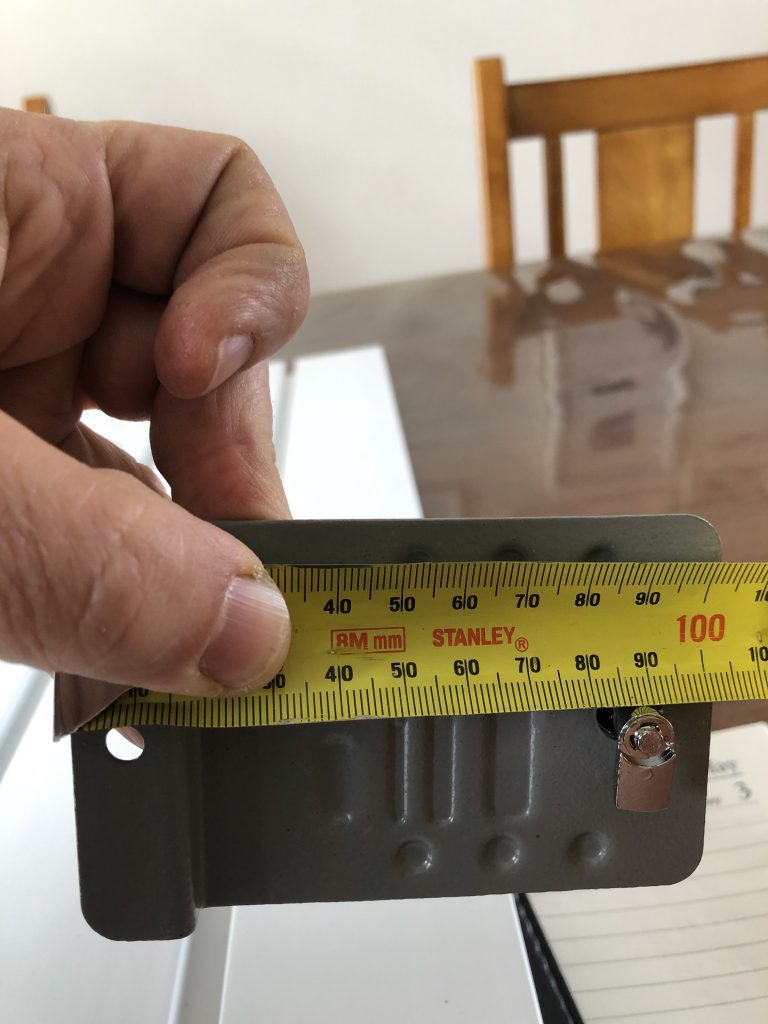
I took some measurements and sent him some photos of the panel and the accessory locking system. They seemed to be within the range he was looking for so he came out to see me.

We don’t have a showroom, but if you are in Melbourne, a look and feel visit can be organised.

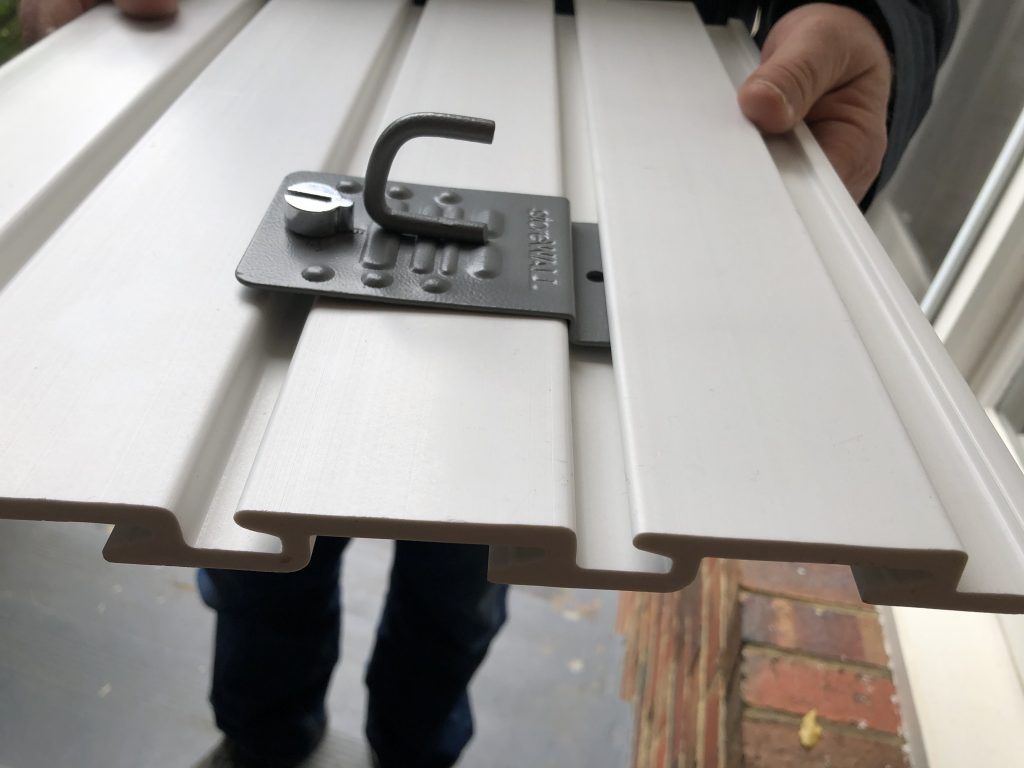
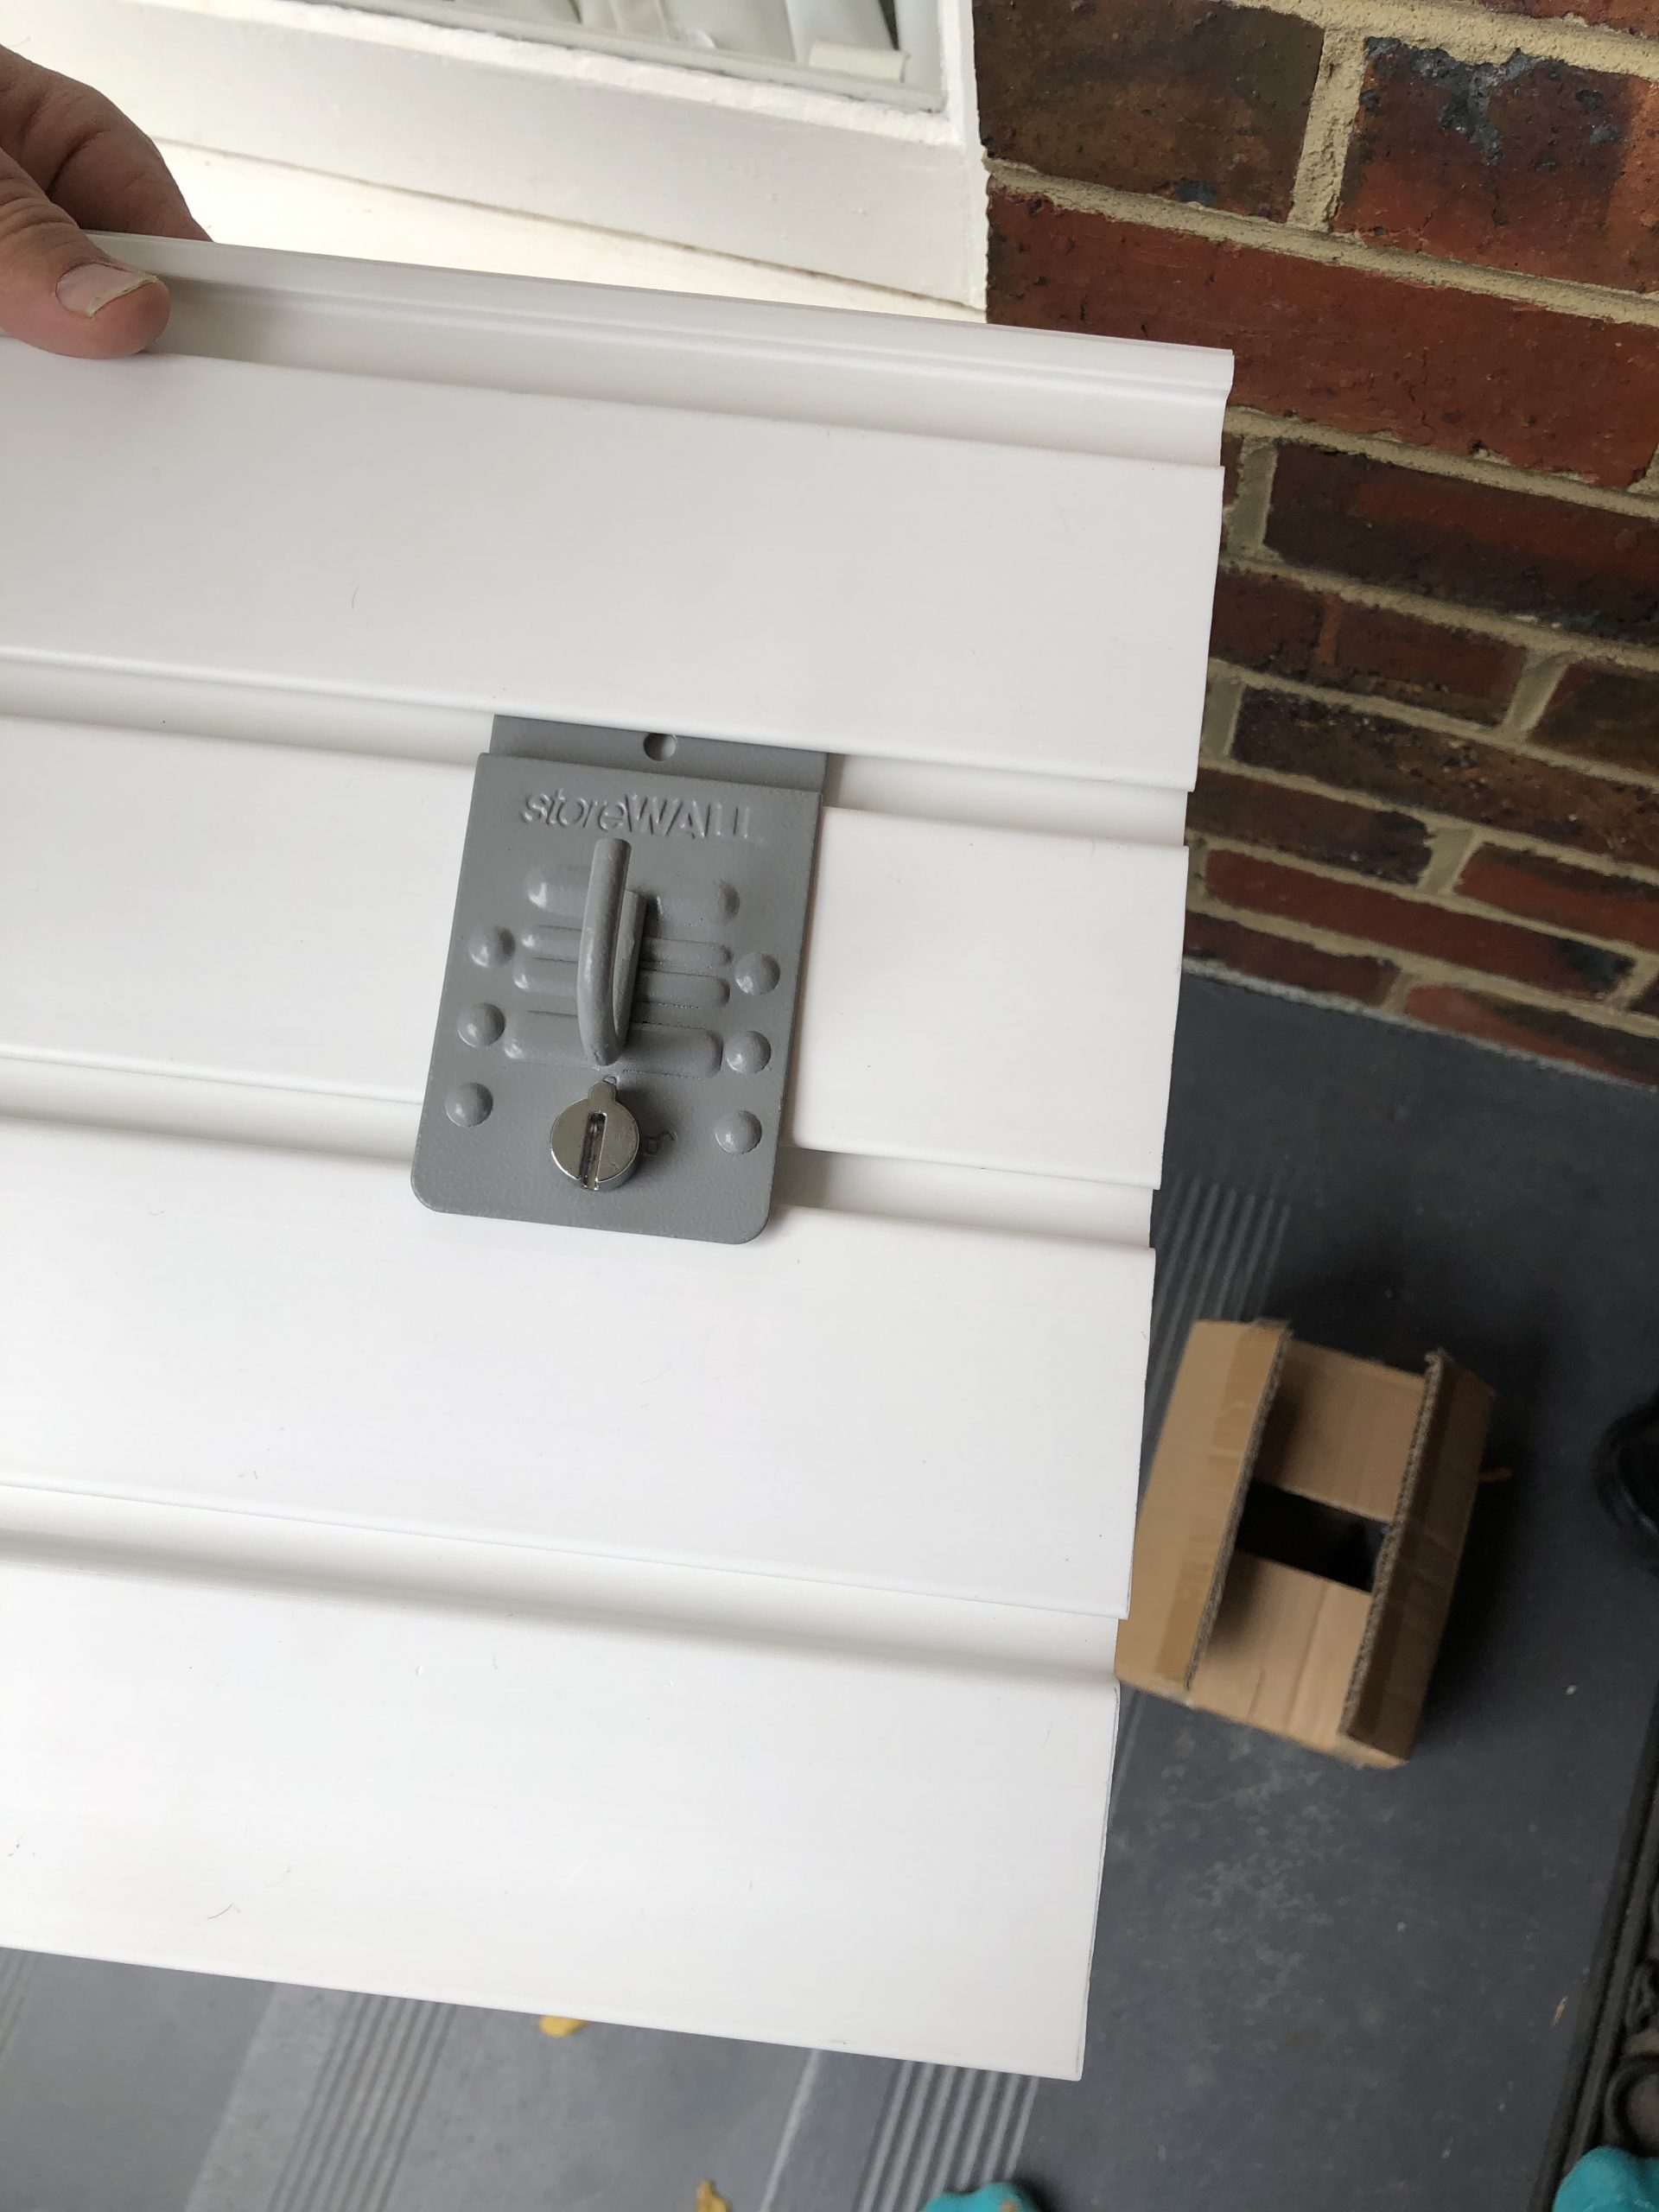
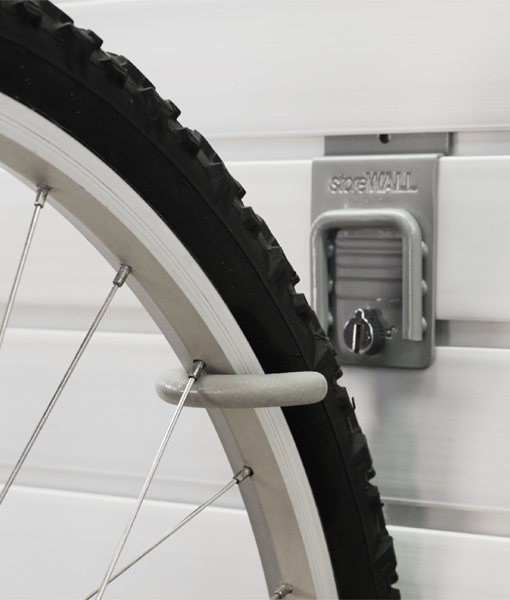
Peter arrived within 30 mins with an off-cut of his GarageTek Storage System wall panel to try the StoreWALL J Hook also known as the StoreWALL Bike Hook. We tested it and it fitted perfectly on the GarageTek wall panel. Given this I also assume the GarageTek accessories would fit on the StoreWALL panels as well.

StoreWALL Bike Hook
StoreWALL

Below are some shots of the accessory on the panel. He purchased a few of them.

GarageTek Storage System

StoreWALL’s Bike Hook is very popular. However later this year (2020) we will be bringing to Australia two new Bike Hooks. One will be the swivel form of the J or Bike Hook. The second will be a StoreWALL plate for installing the popular SteadyRack which you will be able to buy from us but other popular bikes stores such as 99Bikes.

Stay tuned for more on these new accessories.

Posted on 1 Comment

April is Organisation Month

slatwall messy garage

April is organisation month and we are focusing on organising your garage so that it can be everything it can be. A real slatwall messy garageopportunity to take the project on, and to see it through and reclaim your garage.

One month from today, you could have a garage that is actually a pleasure to spend time in. A place where you can easily find what you need. A place where you can accomplish things: fixing something old, building something new, finding your inner peace, etc. Times change, seasons change and ideas change, so what we store and how we store it should change accordingly. Having a flexible organisation system is very important.

StoreWALL can be the foundation of every wall storage and organisation project in your garage, workshop, gym or laundry. Tough enough to perform in any environment, our panels are waterproof, mould and mildew resistant and performance guaranteed. Plus, storeWALL panels are resistant to nicks, scratches and chipping! Storage and organisation at your finger tips! Further more, StoreWALL is easy to install with installSTRIPS, which attach easily to any surface.

And accessories, let’s not fail to mention the storeWALL accessories! Accessories that are built rugged and look great; the storeWALL hooks, baskets and shelves are the perfect storage solution for all of your garage storage and home organisation needs. The exclusive camlok keeps the accessory, and your stuff, in place yet allows for easy repositioning.

Get Organised

This includes dusting, wiping, sweeping, mopping, etc. And speaking of “organised” – take the time to organise your items. Group items together according to tools, lawn and garden equipment, sports and recreational equipment, automotive, seasonal decor, etc. Trash, donate or recycle items that are broken or haven’t been used in quite a awhile. Doing this step now will make the last step much easier.

Plan

Measure your space! It’s important to know the exact measurements and the layout of the space that you’re going to utilise. Now is also the time to choose the desired colour of your wall panels and some accessories to at least get you started.

Hang

Whether you’re a DIYer or you’re going to have a local installer/contractor install the panels for you, they need to be secured to the wall. We recommend InstallSTRIPS.

Arrange

Now for the real fun! Arrange your hooks, baskets and shelves on the wall panels and then organise your stuff on the accessories. storeWALL accessories are so simple to use that you can move them, change them or reposition them in seconds, yet they lock in place with the twist of the camlok.

So, there you have it, getting organised in organisation month can be pretty easy. storeWALL can easily and quickly bring your garage to order based on your needs and personal style. So go ahead and tackle this project, storeWALL will certainly exceed your expectations.

Oh, here’s one last important tip for after the project is complete in order to keep your garage organized and de-cluttered. Remember to put things where they belong after you’re done using them! A place for everything and everything in its place!

storeWALL…Walls That Work!