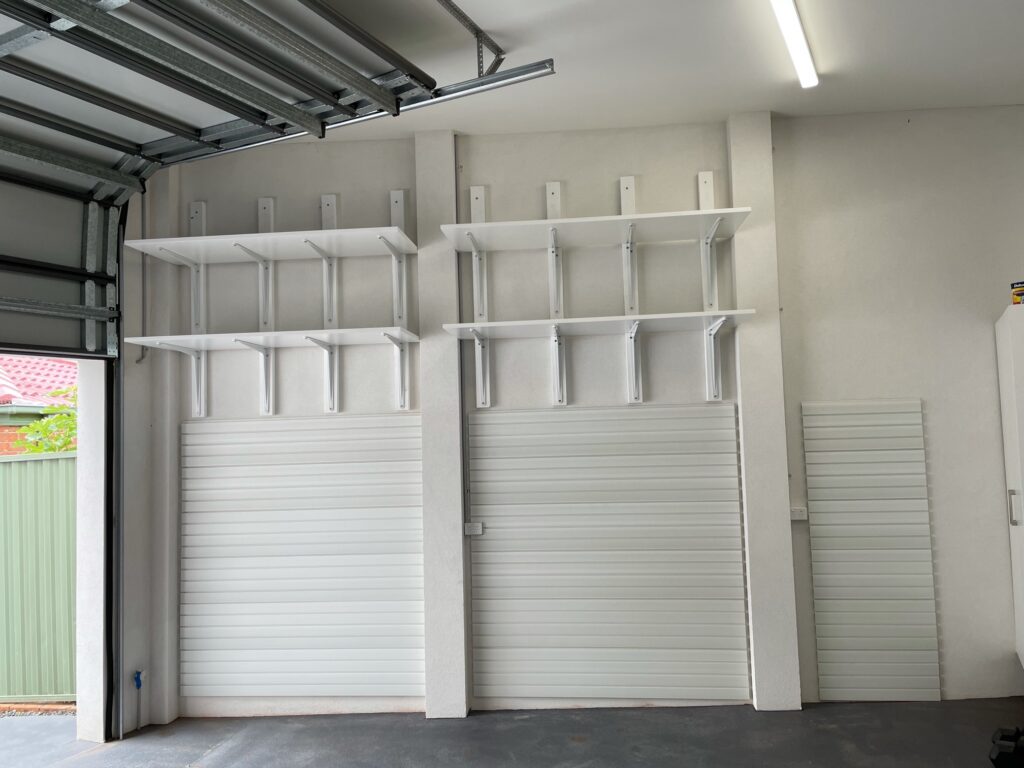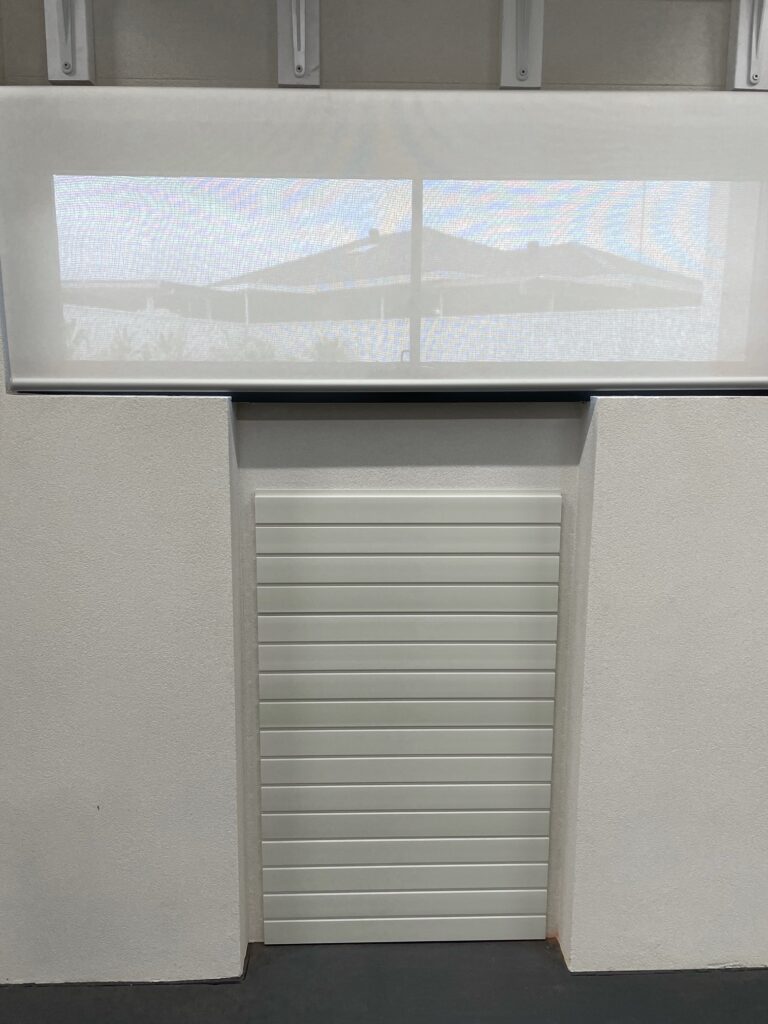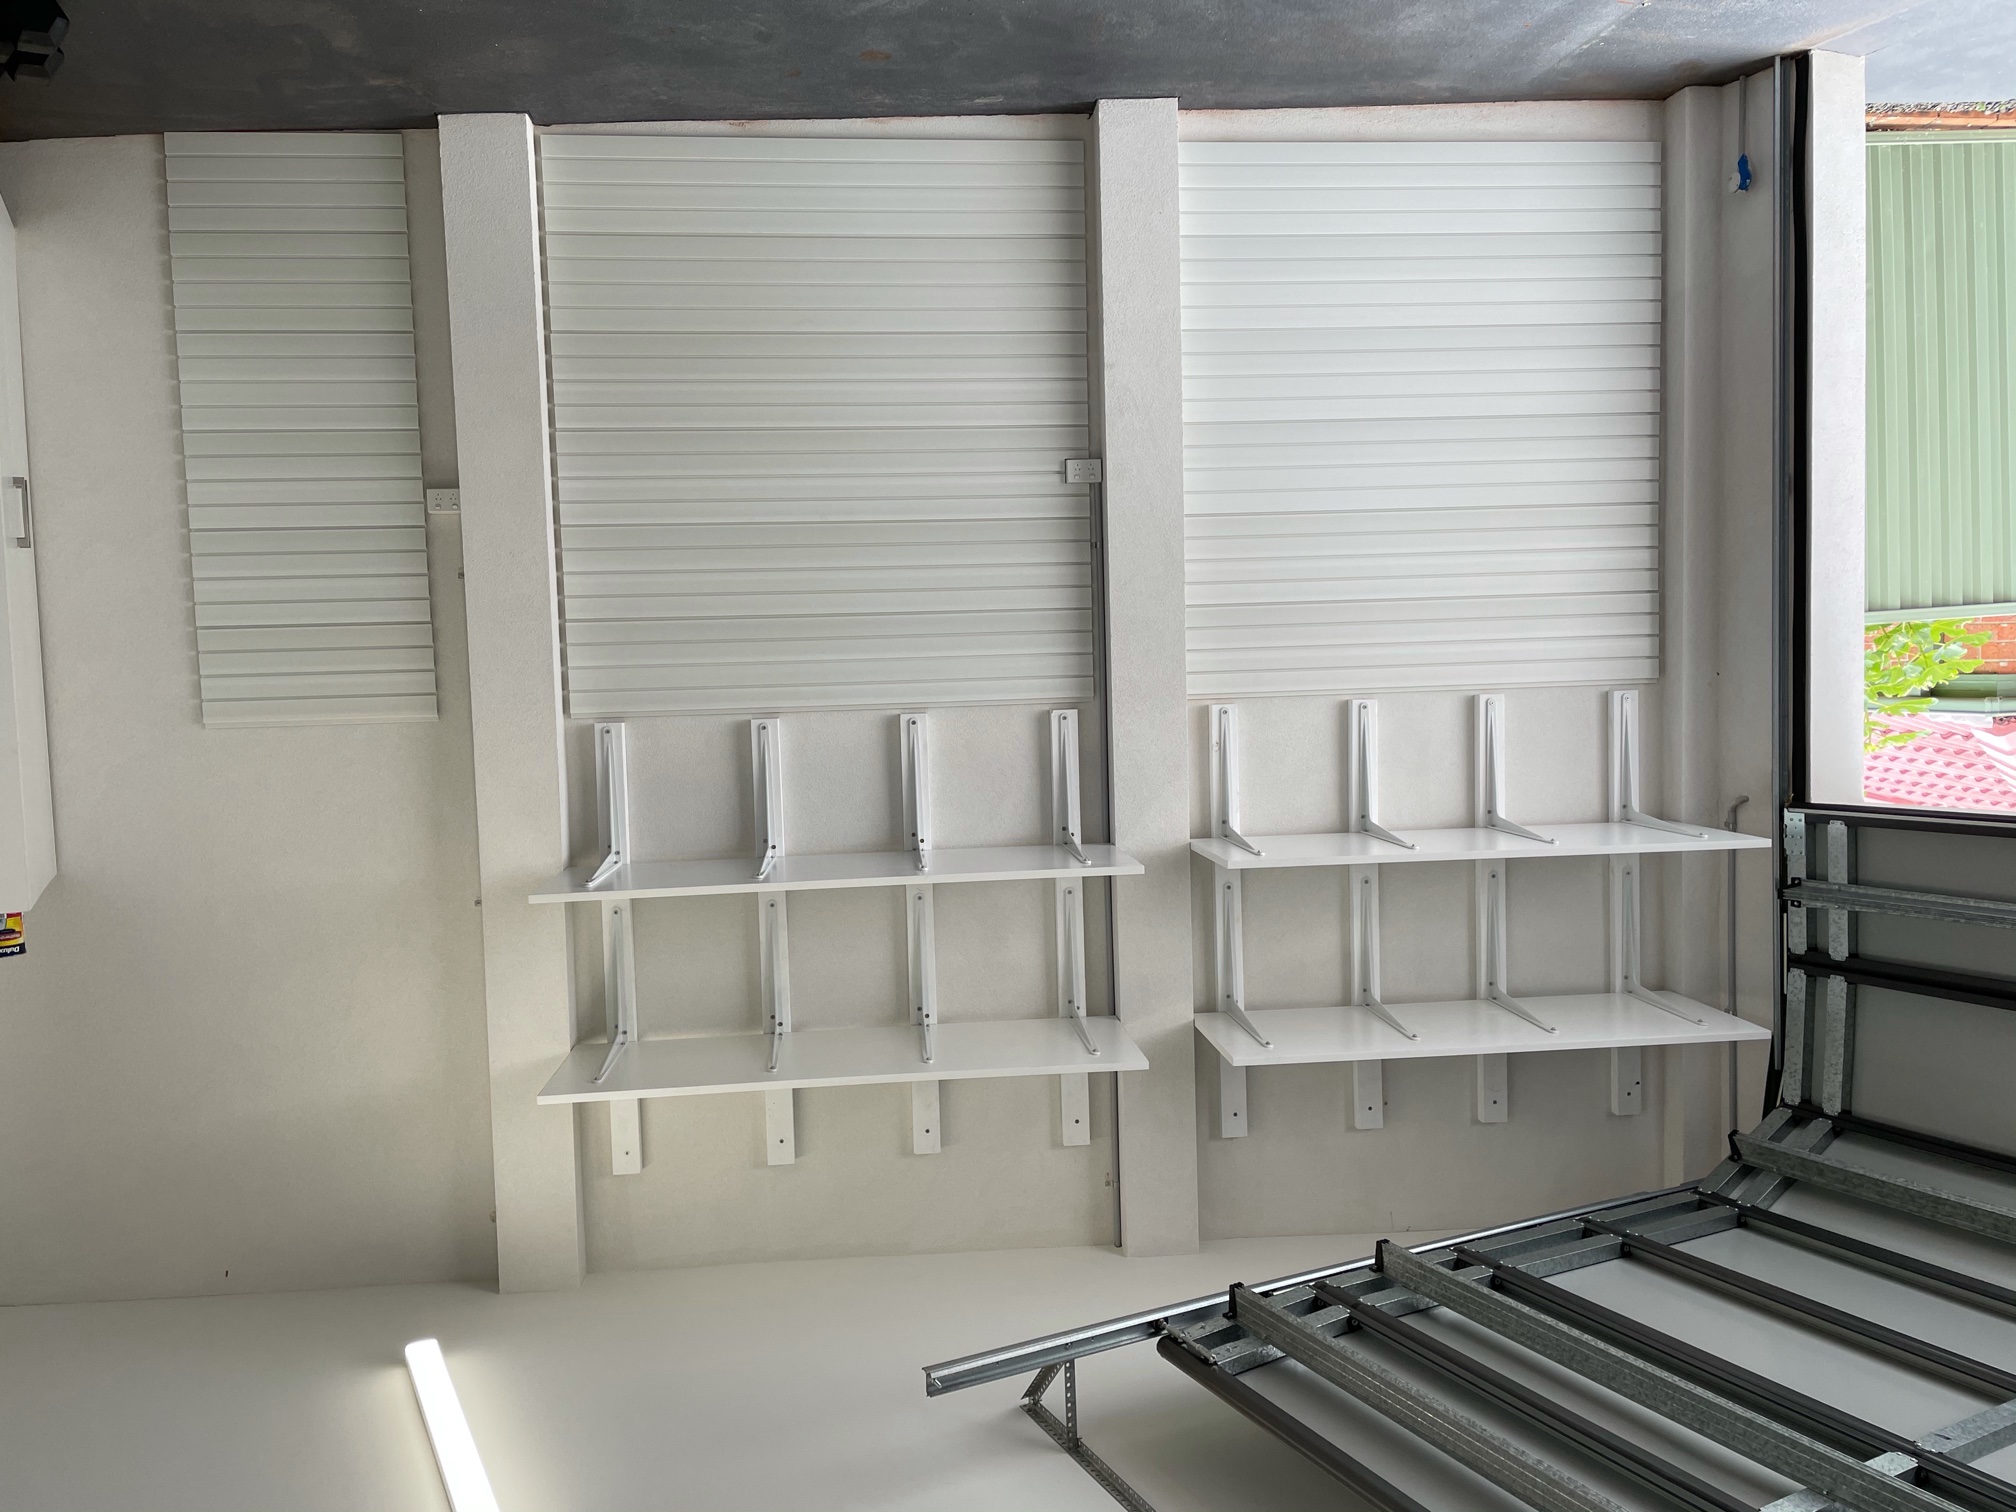
A few months ago, I received the below email from Andrew who lives in Sydney “Looking at the StoreWALL system, and am wondering if you’ve come across a Sydney based installer who can install on a rendered brick garage wall? It looks more complex than a standard install, so would rather go to someone who has previously done this”. Shortly after I received a call from him as well and we chatted in more detail about his project.
New Home New Garage
Andrew had done quite a bit of work to his home and he had now turned his attention to his garage. His garage was quite big in terms of height. Both side walls where made from brick and rendered. He also had pillars between sections. Andrew wanted a garage storage system which allowed him to make use of his new garage walls.
After researching storage wall panels, he came across StoreWALL and discussed the installation process with his carpenter. His carpenter recommended installing battens to the walls first and then installing the StoreWALL InstallStrips to these battens. There was a fear that some screws may not hit mortar and not brick and so the installation would not be as secure as it could be.
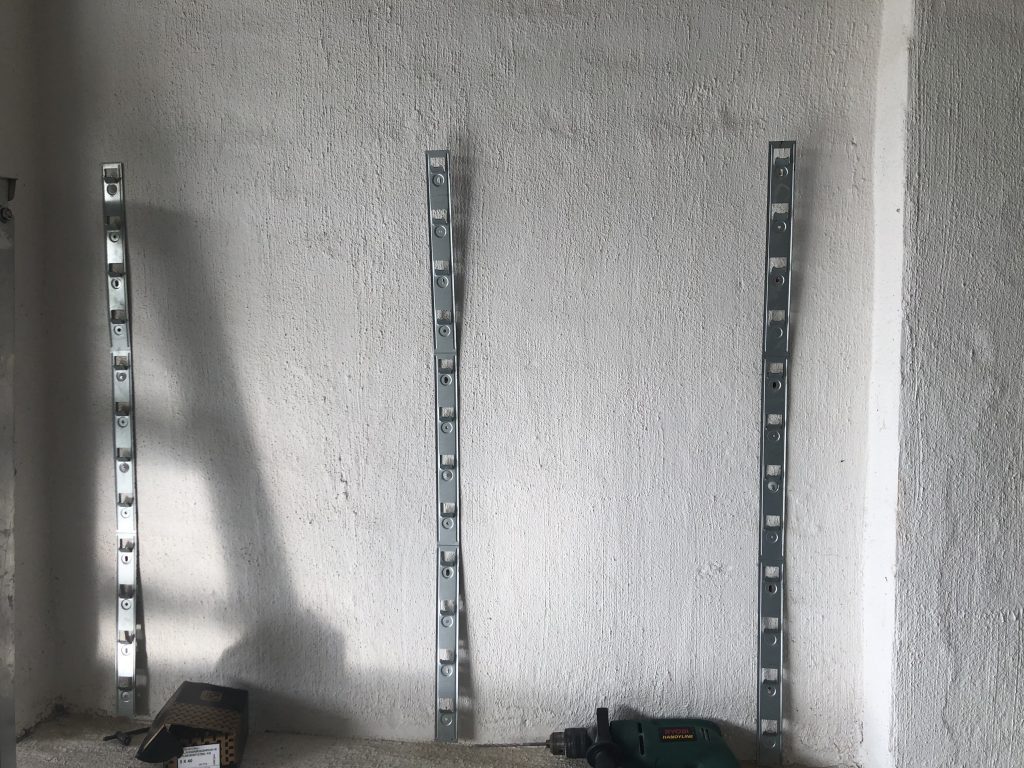
His Carpenter had a valid point, however StoreWALL’s InstallStrips (one 900mm pieces with 3 sections) have 12 screw holes each. Therefore, it was unlikely that if they used all 12 screw holes that they would not secure the wall well enough.
Rendered Brick Garage Wall
Following our phone call, I sent Andrew an email with some photos of a previous installation we had done which was also on a rendered brick garage wall. To assist him I also provided Andrew with contact details of a carpenter I knew in the Sydney area who had installed StoreWALL in the past.
“Thanks for the chat Andrew. This is a picture of what the Installstrips look like on a brick wall. I know this carpenter has done installations on brick walls before, however I am not sure on his rates.
As I explained I don’t think you need the battens.
Please send through your measurements and I can quote the materials for you.”
Andrew replied with detailed pictures of how he envisaged his wall looking and the size of panels he would require.
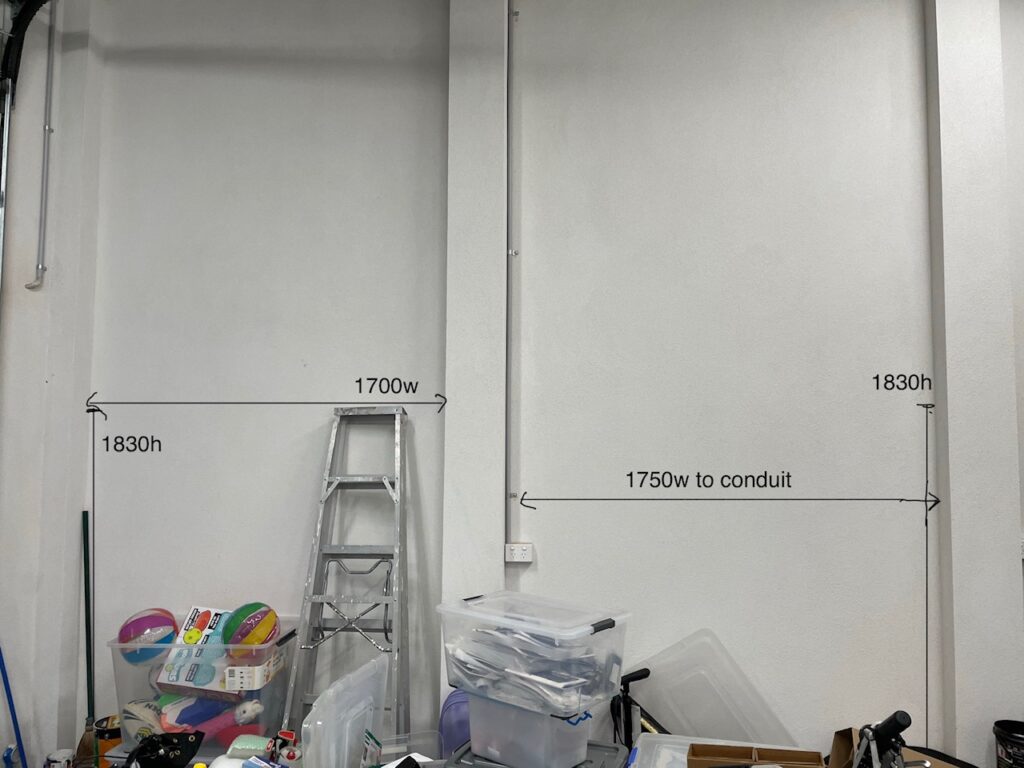
“I have a couple of rows of large shelves going up above (600mm deep), therefore I’m going to use a height of 1830 for StoreWALL which I based on 6 panels.
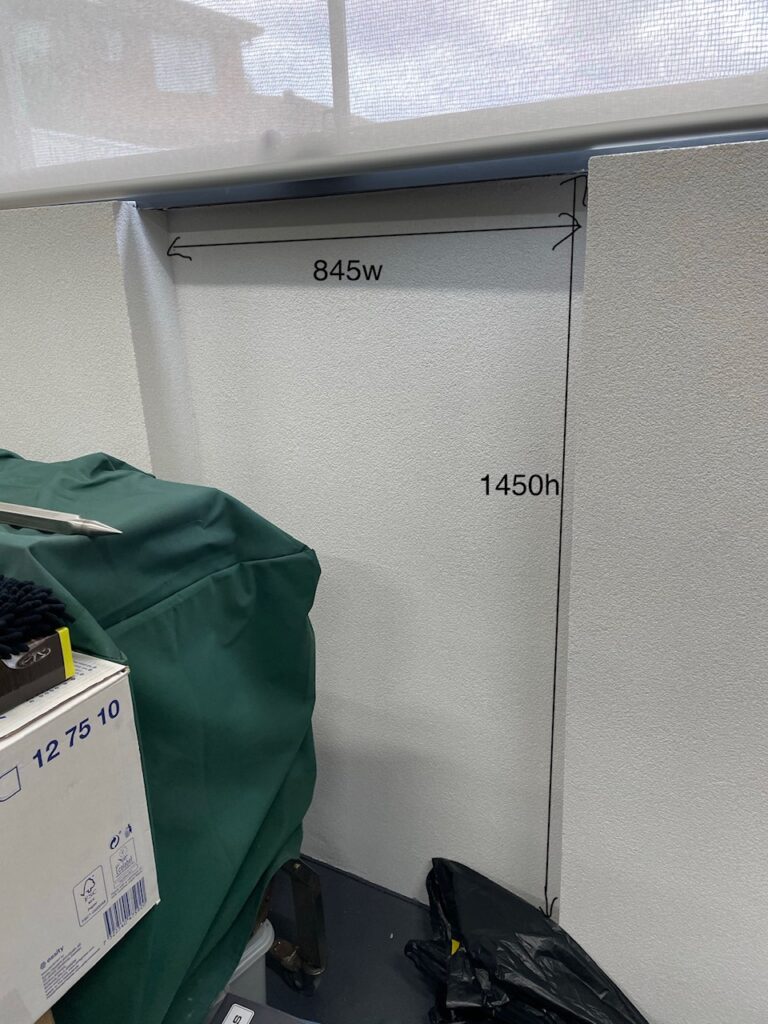
I’m thinking if I get the 2.4m panels, I can fit some of the leftover cuts in the smaller space under the window that you can see.”
Brick walls are challenging for most home owners. This is because screwing into the walls seems harder and most people think that a brick wall gives them less storage options. To be perfectly clear, brackets with shelving is what most people focus on.
My recommendation to Andrew was the following:
Garage Storage Solution Design
Garage Wall 1
- 6 pieces cut to 1680mm (comes in 10mm on each side)
- This will leave you with 6 x 758mm left over. (These can be used under the window).
- In terms of Installstrips I would have 4 columns (each 2 installstrips high). Total of 8 Installstrips.
- Panels cut to size. No charge.
Garage Wall 2
- 6 pieces cut to 1730mm (comes in 10mm on each side).
- In terms of Installstrips I would have 4 columns (each 2 installstrips high). Total of 8 Installstrips.
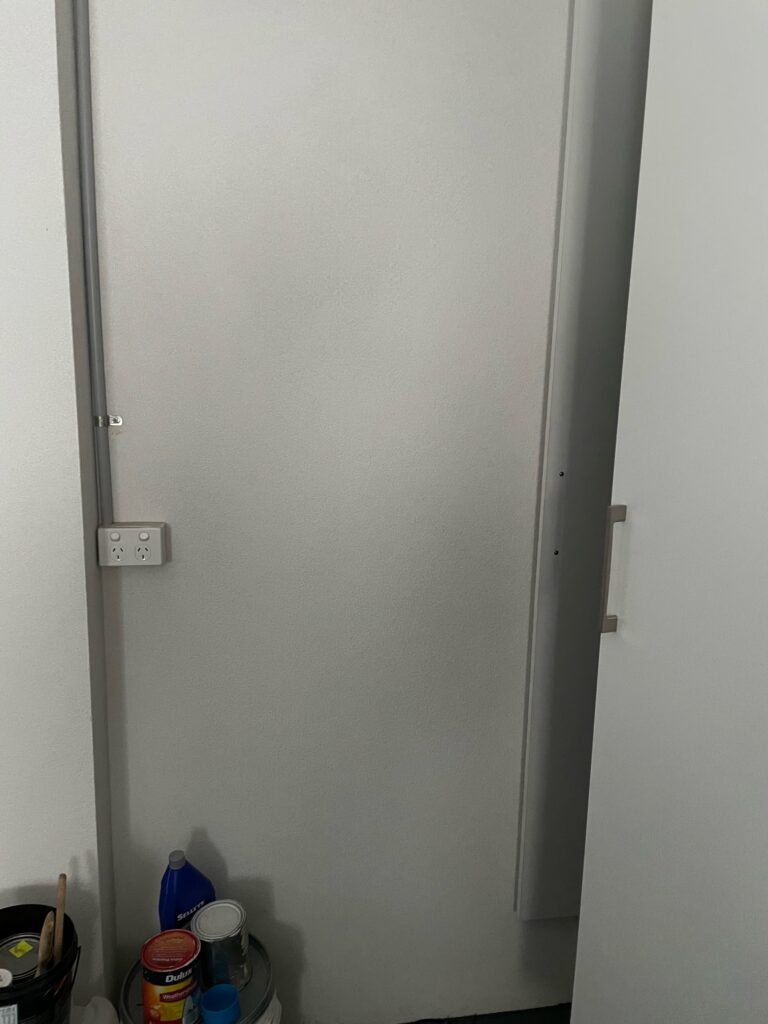
- You will need to also cut around the power outlet on the left. This needs to be done on site.
- You will have 6 x 708mm pieces left over. These can be used elsewhere in your garage.
- Panels cut to size. No charge.
Garage Wall 3 (under window)
- You can use 4 x 758mm leftovers for this. 4 Panels will give you a height of 1219mm.
- You will need 1 column of InstallStrips on either side (4 sections high). Total of 3 InstallStrips.
StoreWALL Required Materials
- In total you need 12 x 2438 pieces (3 cartons). You also need a minimum of 19 Installstrips. You will still have left over panels and depending on what you do with these you may require additional InstallStrips.
It turns out that Andrew had an additional wall area which could also be covered with the remaining off-cut panels. In the end there was no waste at all and Andrew had covered as much of his wall as was possible.
Once the order was received I got started cutting the panels and packaging them all up for Andrew. They were couriered to Sydney within a few days along with a small accessories list.
If you check out the end result, you will see he also had the shelving installed above the panels which enabled his to make great use of the height of the garage wall. I don’t have the exact measurements, but Andrew’s garage is super tall.
Garage Storage Accessories
In terms of accessories, Andrew started with a small quantity to manage some key items in his garage and once this was ready would re-evaluate.
He had some foldout chairs he wanted hung, some bikes and a ladder. To start with the accessories list looked like this:
- 4 x HD Universal Hook
- 4 x Rotating Bike Hook Mountain Set
- 1 x 190mm Single hook
- 2 x 300mm Universal Hook
- 1 x Large Tote Bag
StoreWALL on a Rendered Brick Garage Wall
