2020 is a year many of us will never forget. COVID-19 has locked a lot of us in our homes with plenty of time on our hands to look around and want to mend. The organised garage is something that has been talked about in many households when I consider the amount of enquiries we have received since the lockdown began.
We have covered how to organise your garage in several previous articles on our website, but I thought a top 10 (or 11) list of how to start and what to do would be useful.
The Organised Garage
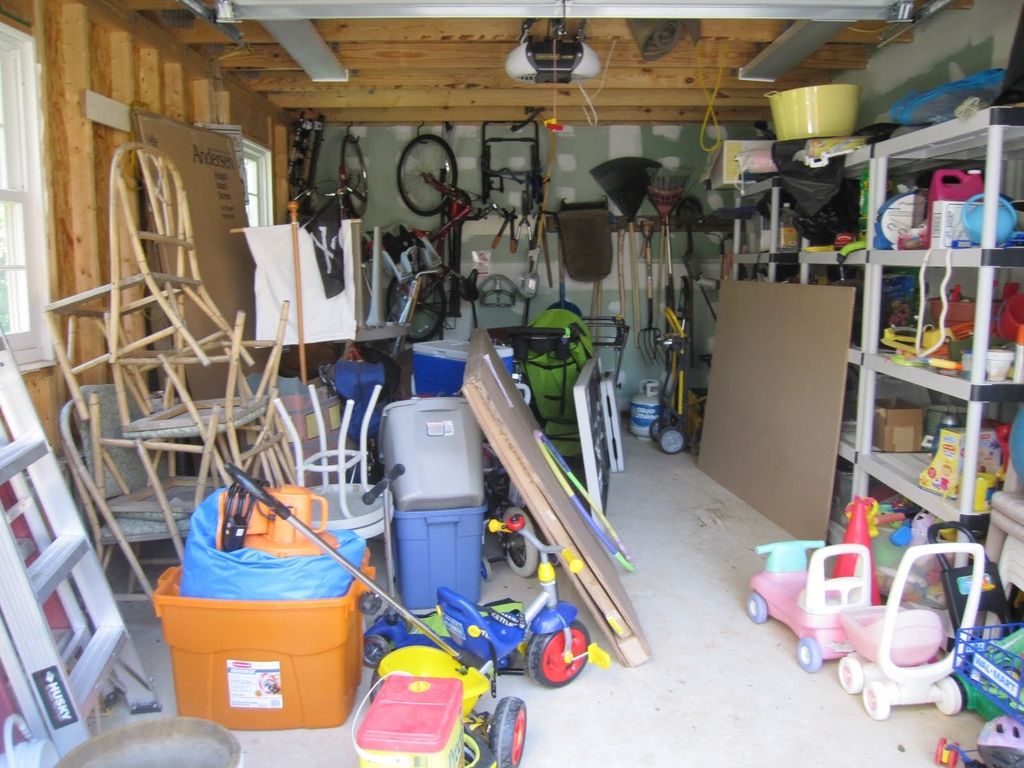
Whilst there are plenty of extreme garage photos out there, your typical garage will have some order about it. However, what then tends to happen is larger items start to take up space, the shelves you purchased fill up or don’t fit larger items (anymore) and things start to accumulate on the floor. Before you know it, you start to use the floor more and more until it’s impossible to move around and find anything quickly or safely.
Step 1 – Empty it out
The best way to start re-organising your garage is to clean it all out. Everything off the walls, the floor and the ceiling needs to come out. Start in the morning so you have the day ahead of you and begin the clean-out.
Step 2 – Group it
When its all out on the garden lawn or driveway, start to group it. One of the keys to attaining the organised garage is the organising bit.
When I look at what is inside my garage I have the following categories:
- Tools
- Sports Gear
- Bikes
- Food (cans/packets and excess food I store)
- Xmas tree and decorations
- Beach gear (boogie boards)
- Party gear (decorations, plastic cups and plates)
- Old kids furniture
- Bins of books
- Old clothes
- Keep sake items
Step 3 – Sweep it out
Give your garage a good clean out. This includes sweeping and even hosing it down. Get all of the dust and dirt that has accumulated in the corners out. You will need to remove all the furniture to do this.
You should also look at the walls and ceiling and wipe it all down. Either by hand or with a broom. Get all of the cob webs down.
Step 4 – Keep, Dump, Not Sure
Once your sorting is done, you need to go through everything and decide to either keep it because you will use it or it has some sentimental value. Dump it because you will never use it and you know someone else will get better value from it. Or, put it into the “Not sure” list to be decided upon over the coming days.
What you decide to get rid of could go to a Salvation Army store for them to sell (and make a few dollars from). It could also be sold on Ebay or Gumtree if you have the patience. Alternatively, you could give it away to a friend/family. Finally, when hard rubbish comes around you could throw it out then.
The items that you are not sure about, should be put to the side to be looked at over the coming weeks and decided upon. Don’t add them to the Keep list unless you are certain that is where they belong.
Step 5 – Floor Plan
The floor plan is really important because it offers a way to design your layout and use of the space you have. Consider the furniture you have, its size and potential use.
Think about how you use your garage. Is it just for storage or do you do work in there. As an example, I exercise in my garage, so a certain area needs to be dedicated to my training equipment.
What about your car? Do you need to park your car in the garage? If you have bikes, think about where they can be parked or hung.
If you use the space as a workshop, consider what you will use as your bench or table.
You don’t need special software for this, a few pieces of paper will do it. However spend time thinking about the space, the objects and how you want to use it all. Think about your doorways and how you access the garage (main garage door, side door, back door).
Consider the location of the items you will keep but only use a year and those that you want to access regularly. If you have little ones accessing bikes or sporting gear, think about how they can safely move in and out of the garage.
Step 5 – Group it (part 2)
The second part of grouping relates to organising your items in tune with the garage floor plan you have designed. If you read through the many blogs on organising and watch the videos, there are tons of tips on the best approach.
With any space you are working on within your home you need to prioritise based on what you want to use the space for. If part of the space is for working, then making enough room to work is key, so is using the right furniture like a desk or bench.
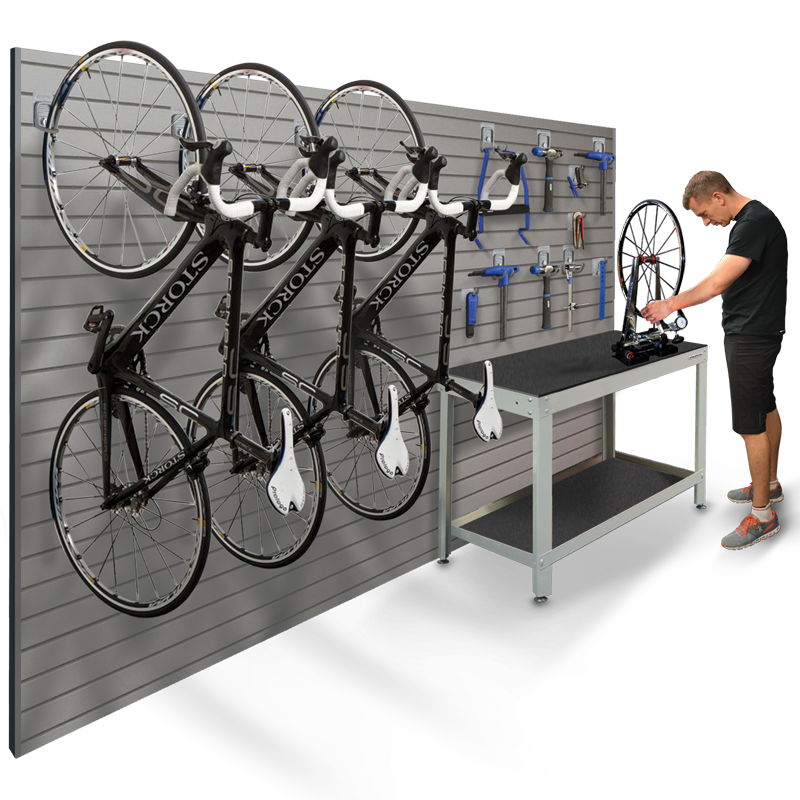
Bikes, if you are regularly in and out of the garage to get a bike(s), then having these placed in an easy access area even when the car is in the garage is important. You don’t want to have to move the car to get the bikes each time.
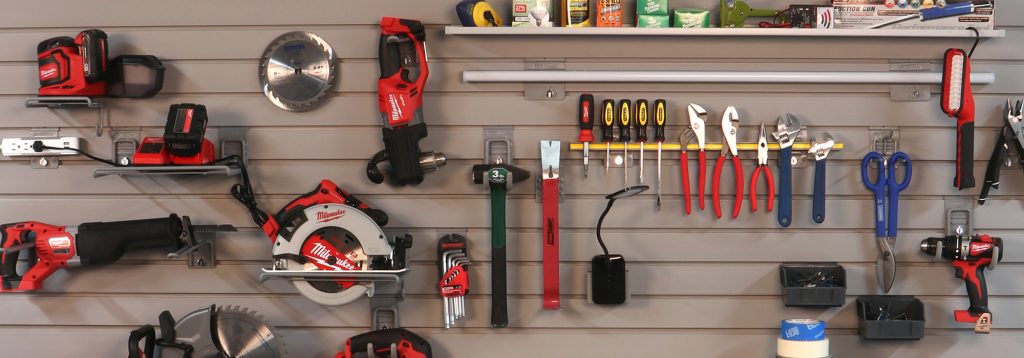
Tools, if you are using tools or a regular basis then having your tools visible and accessible is key. This can include your smaller hand tools and all types of power tools.
Items which are regularly used should be easy to access. For you and the rest of your family members. Items which are used once a year (xmas tree) should be out of the way. These items can be stored high and in a harder place to access.
Remember that this step is not a once-off. Organising and re-organising happens all of the time within the house. It should be the same in the garage. The organised garage is not born overnight.
Step 6 – Using Walls
Whether your garage space is small or large using your wall space is important. Most people confuse shelving with maximising use of walls space. Sticking a few shelves on the wall is a start, it’s not the end.
Having open spare wall space in a garage is wasted space. Solutions like StoreWALL give you the ability to use your wall and change its use as needs change. Unlike a shelf which is large and can’t be easily moved around, Garage Wall Storage can change a wall from shelving to holding power tools in a matter of minutes. Accessories are unlocked and moved around as needed.
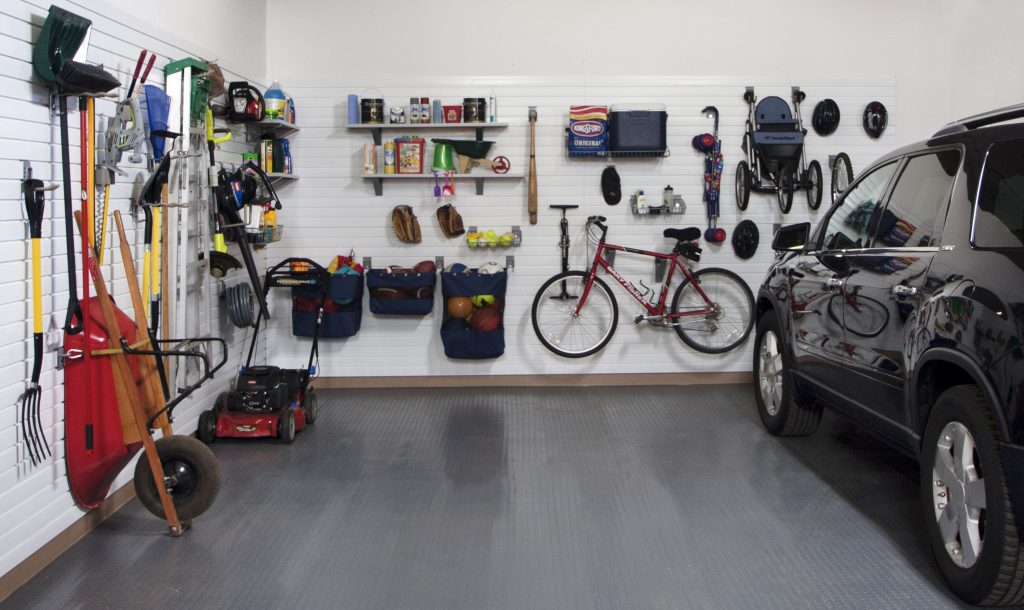
Use wall storage around shelving, cupboards and other furniture.
Step 7 – Use the height of your room
Use the height of your space to store larger items that you seldom use. It gets them out of the way and the lower easy to access areas are used for more frequent use items. Wall storage allows you to create shelving across the top of your wall.
However there are other garage storage options which create shelving across the ceiling of your garage.
Step 8 – Re-use old furniture
If you have furniture that can be re-used for storage, it makes sense to give it a second life. Why buy another piece of furniture if you can change its look with some paint and move it into the garage. This isn’t always practical but it can work. An old desk in the study can become a useful workbench in the garage.
Step 9 – Labelled Bins & Tubs
We all have them, coloured or clear plastic tubs with lots of stuff in them. They should be organised and clearly labelled. Some clear information on the outside of the tub will save a lot of time sifting through them all looking for that old book.
Ensure your tubs have lids and they are shut tight so that contents don’t collect dust.
Step 10 – By the Door
Keep your frequently used items by the garage door. This is the main garage door you use.
In my garage, the frequently used items are my tools, food and my gym equipment. They are all by the back door to the garage.
Step 11 – It’s not a once off
Just like any other room in your garage, it may take you a few goes to get it right. Over this time you will likely throw more stuff out and learn more about how you want to use the space you have.
Your version of “the organised garage” doesn’t need to look like what is in some of pretty staged pictures of garages. It needs to work for you, your stuff and the room you have.
If in 6 mths your needs or items may change, so should your garage.