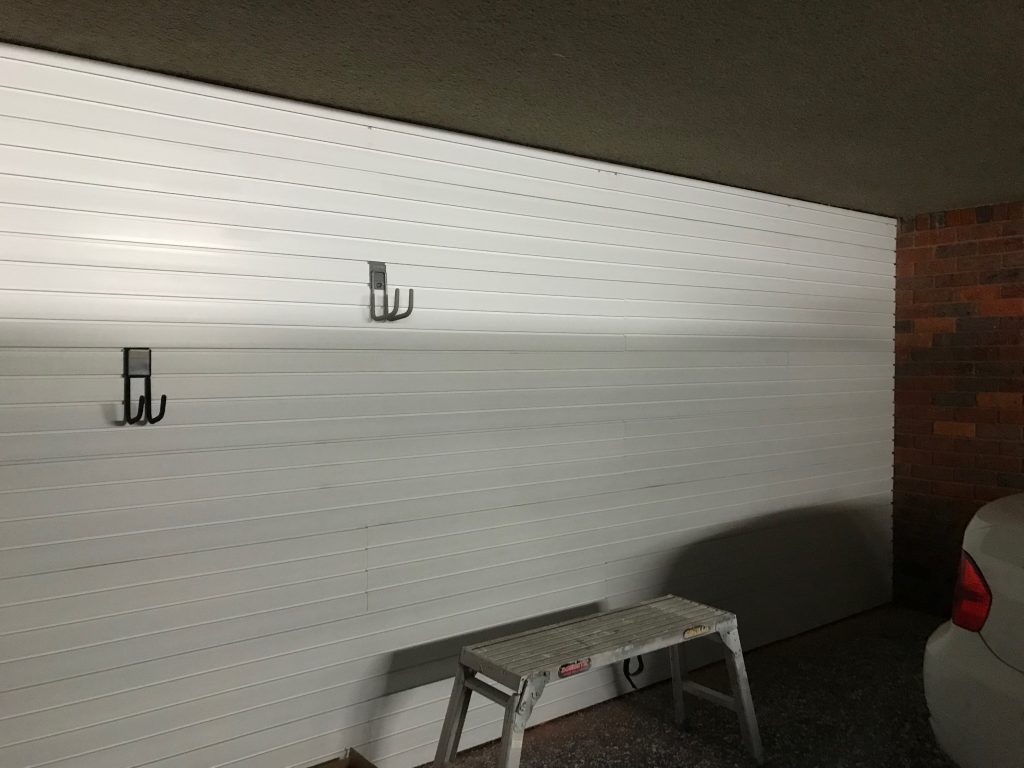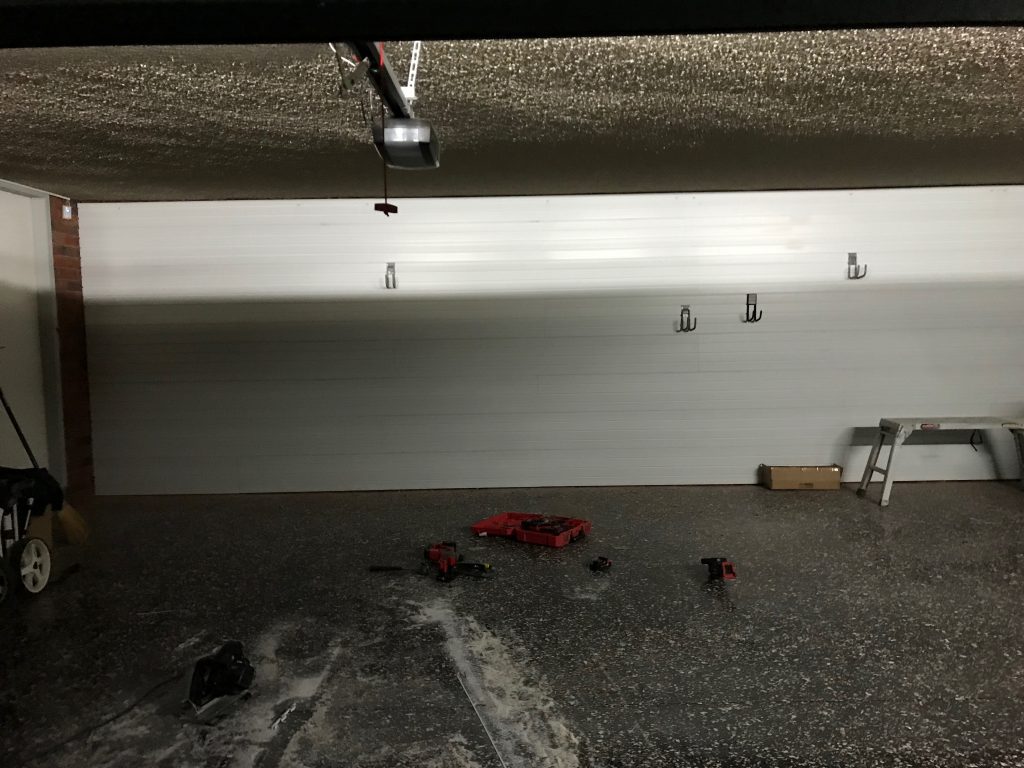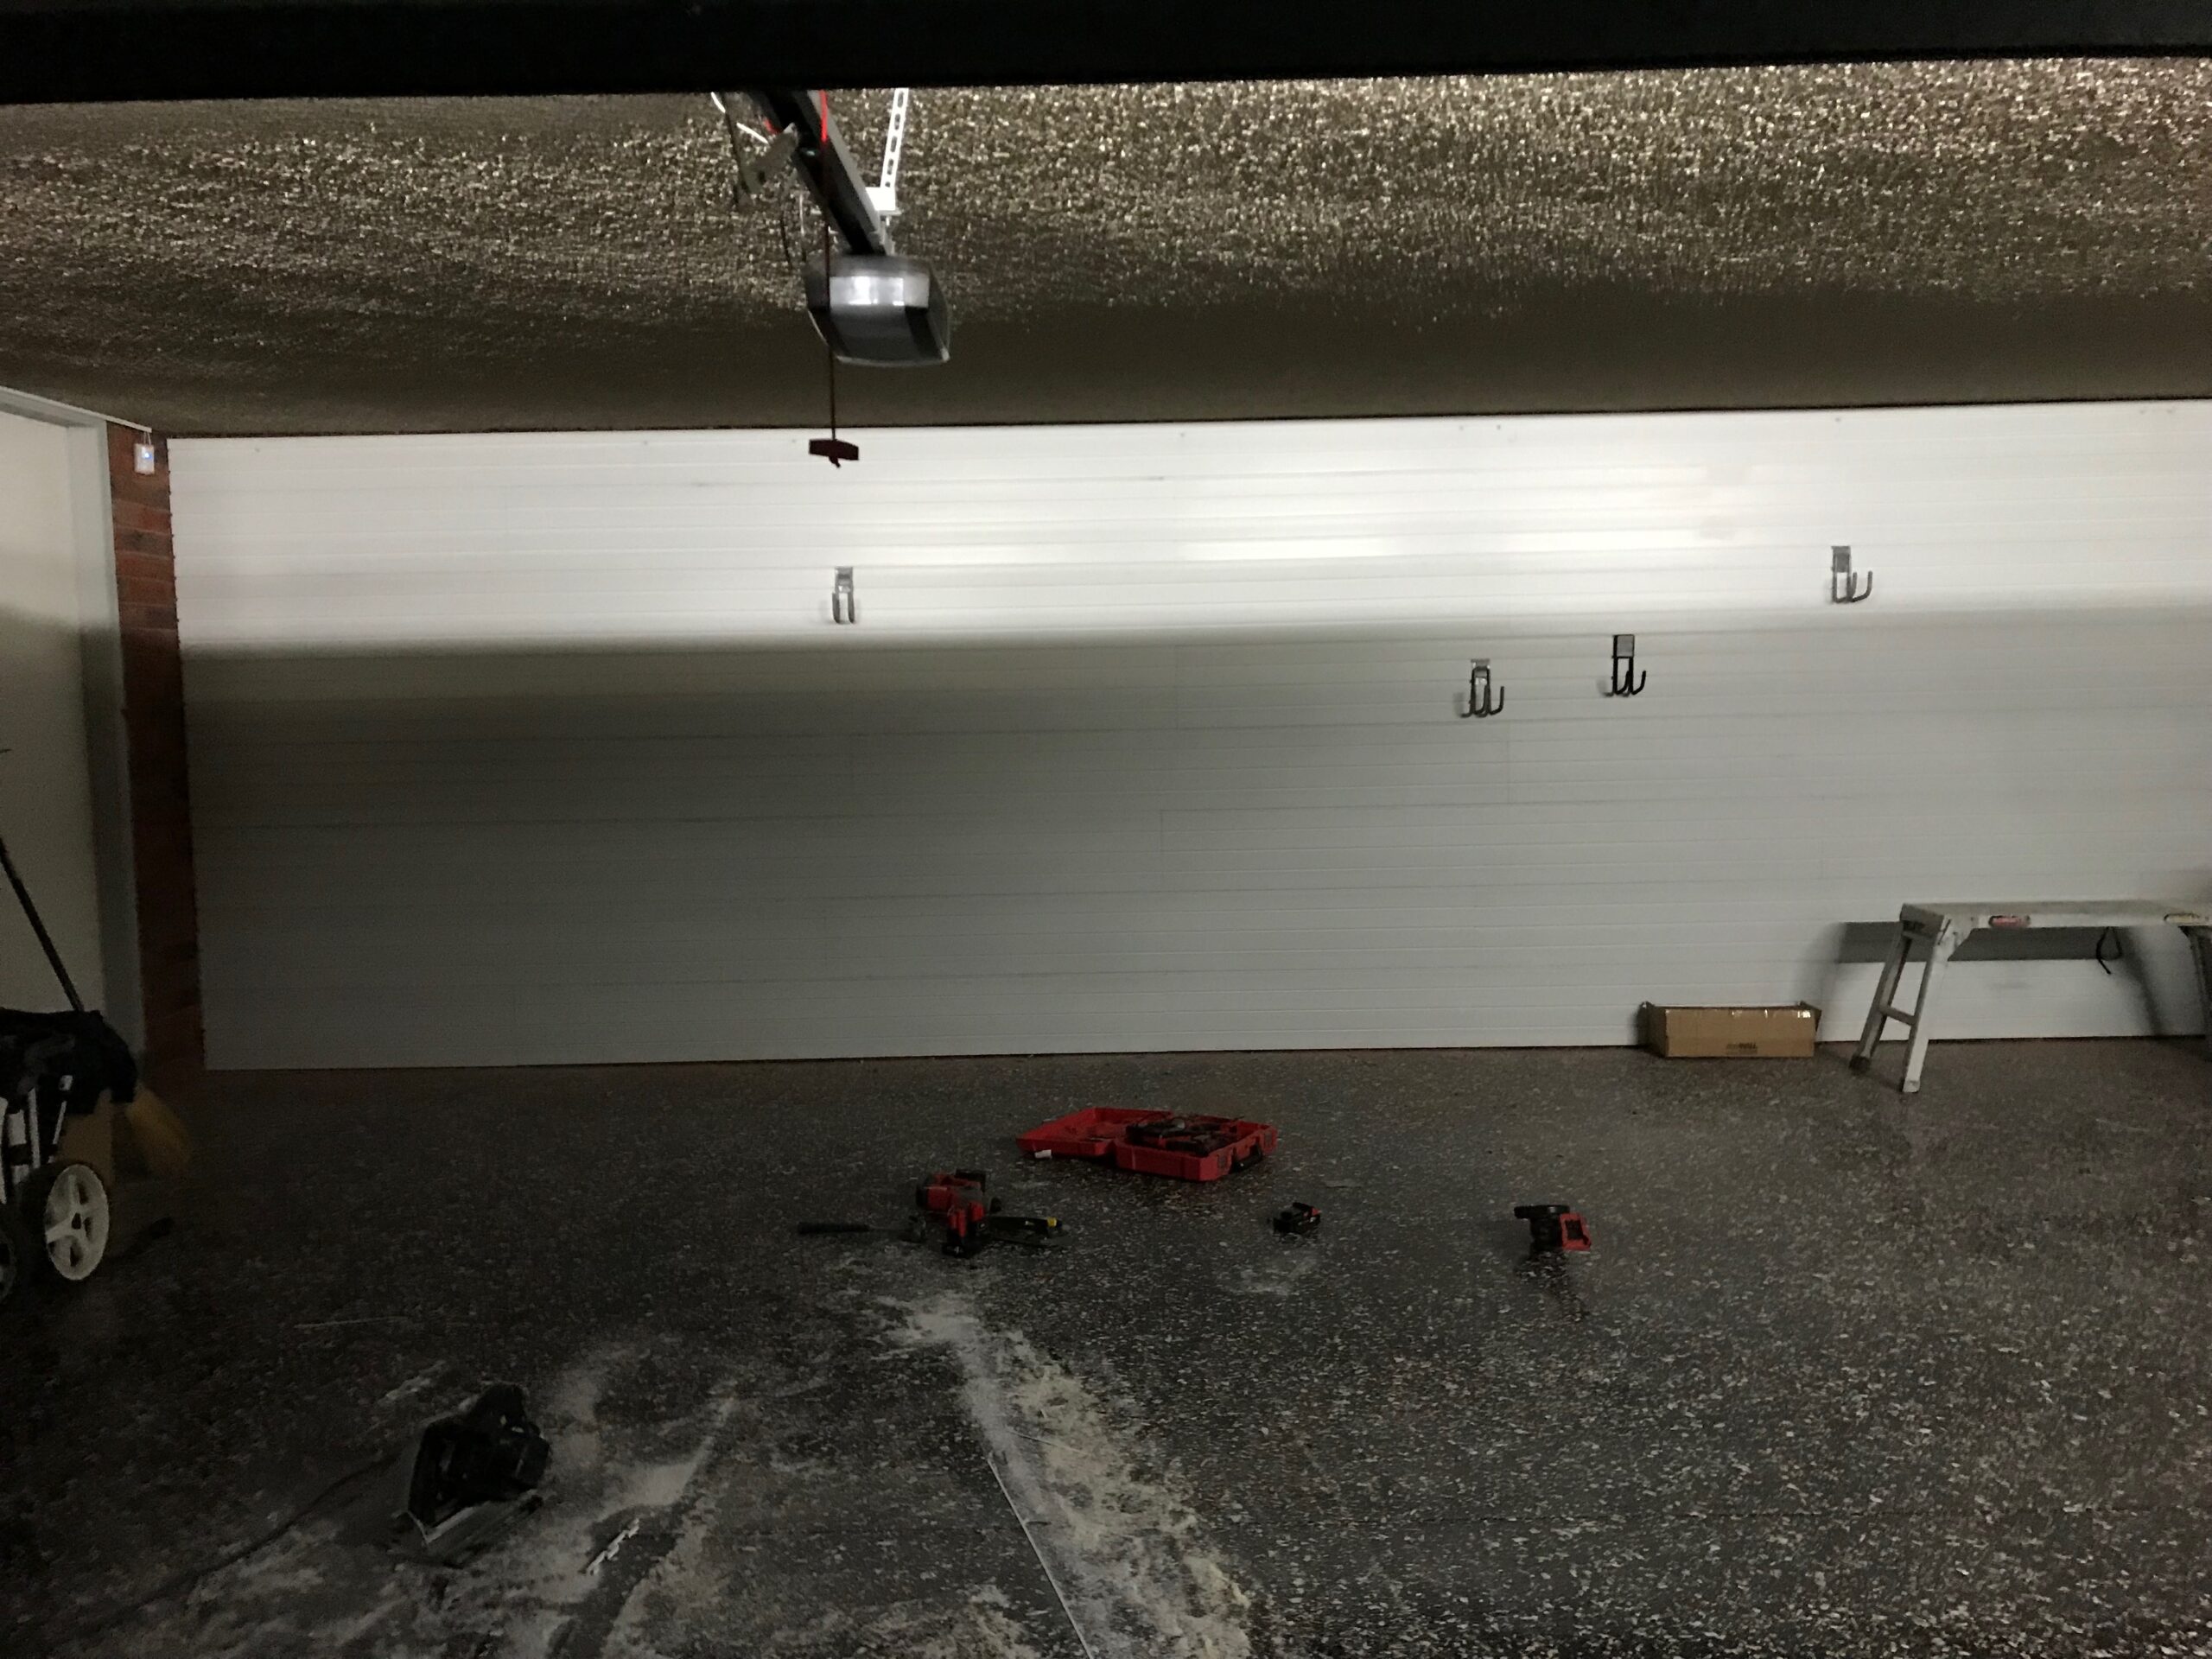
We recently completed the make-over of a garage wall in Melbourne’s eastern suburbs. Whilst we have been selling StoreWALL for just on a year now, we don’t typically do installs. Rather we refer clients to carpenters or garage organisers to complete the installation. However given the size of project, the opportunity to install StoreWALL on a brick wall of 9m was very appealing.
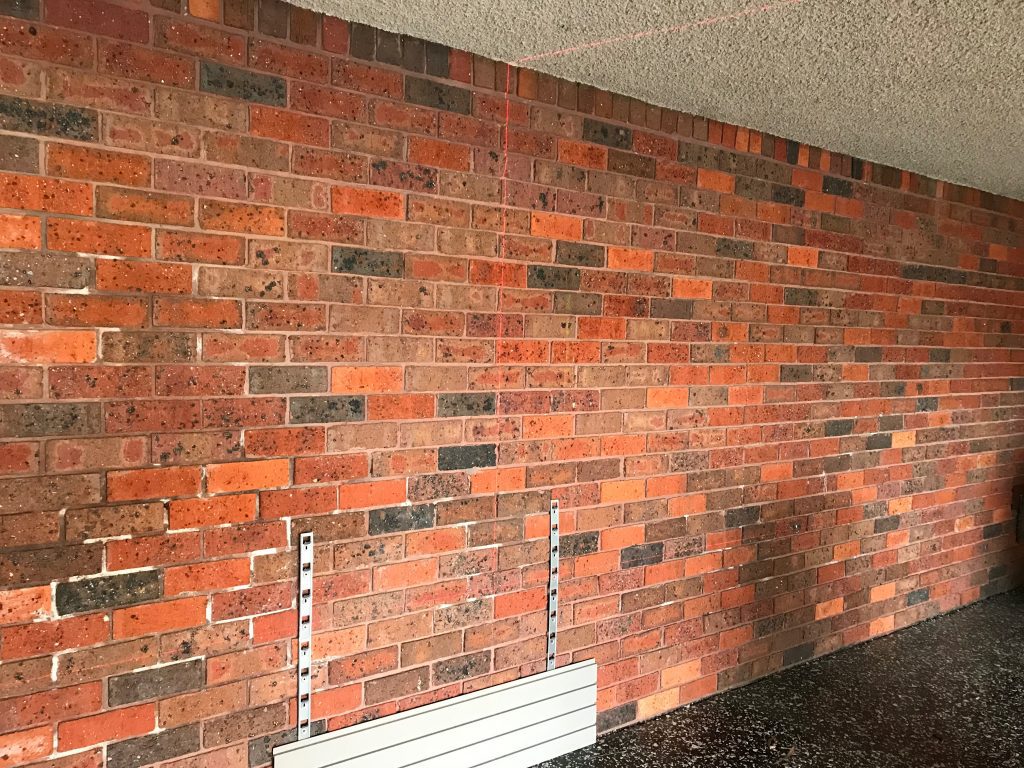
The home is in Melbourne’s eastern suburbs and the client was keen to cover 2 of the 3 walls with StoreWALL Brite White panels. The length of the main wall is 9.45m, with a 2.4m height.
The result as you can see below was a huge transformation of a boring brick wall which didn’t offer any storage capability. It has now become a very functional storage area which can cater for all tools, electrical accessories, gardening utensils, ladders and clothing.
StoreWALL on a Brick Wall
It took two of us a full day to complete the installation of the Brite White panels. In total the whole area was some 22 square metres. The total number of panels used was approx 32.
Installing StoreWALL on a brick was is a much harder task compared to your typical plasterboard wall.
- Firstly the drilling took much longer as each hole needed to be drilled using a Hammer drill.
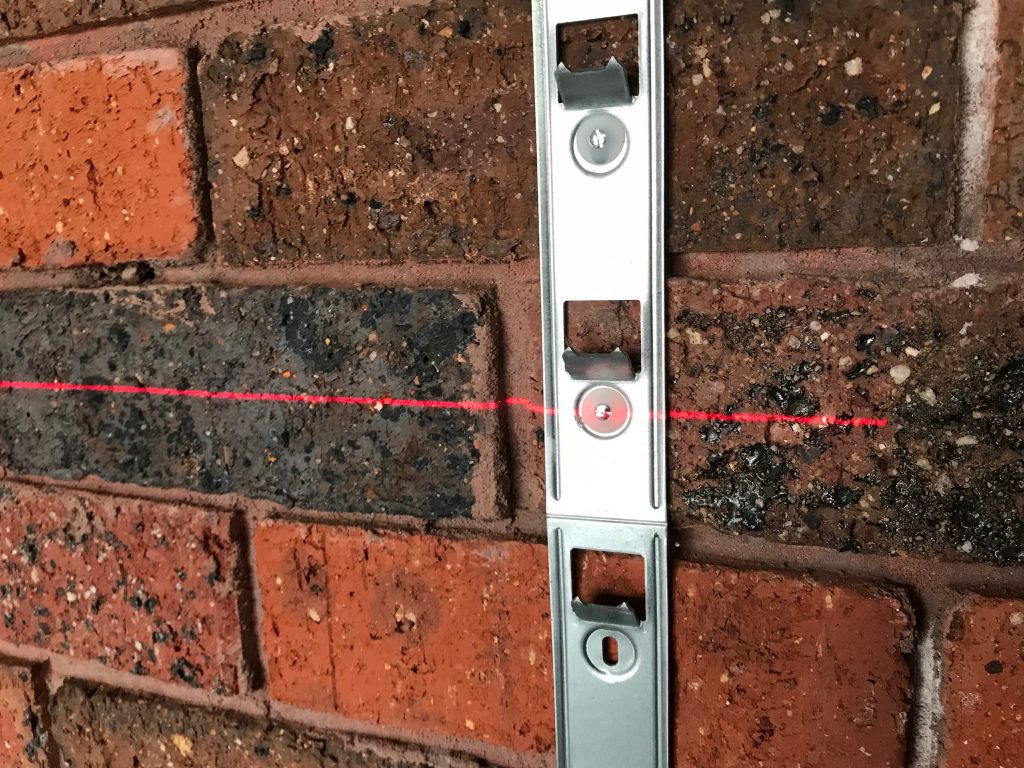
- Secondly the wall was not straight vertically, ie some bricks pocked out whilst others were indented. This meant we had to put extra effort into the placement and levelling of our InstallStrips to ensure they connected properly to each panel.
- Thirdly, the installation was end to end both across the wall and from top to bottom, so we had to cut panels both vertically and horizontally.
Tools to Install StoreWALL on a Brick Wall
Detailed below are the tools we used for the project.
- Hammer Drill – definitely need this for a brick wall.
- 5mm x 150mm (length) Masonry Drill Bits.
- Hammer
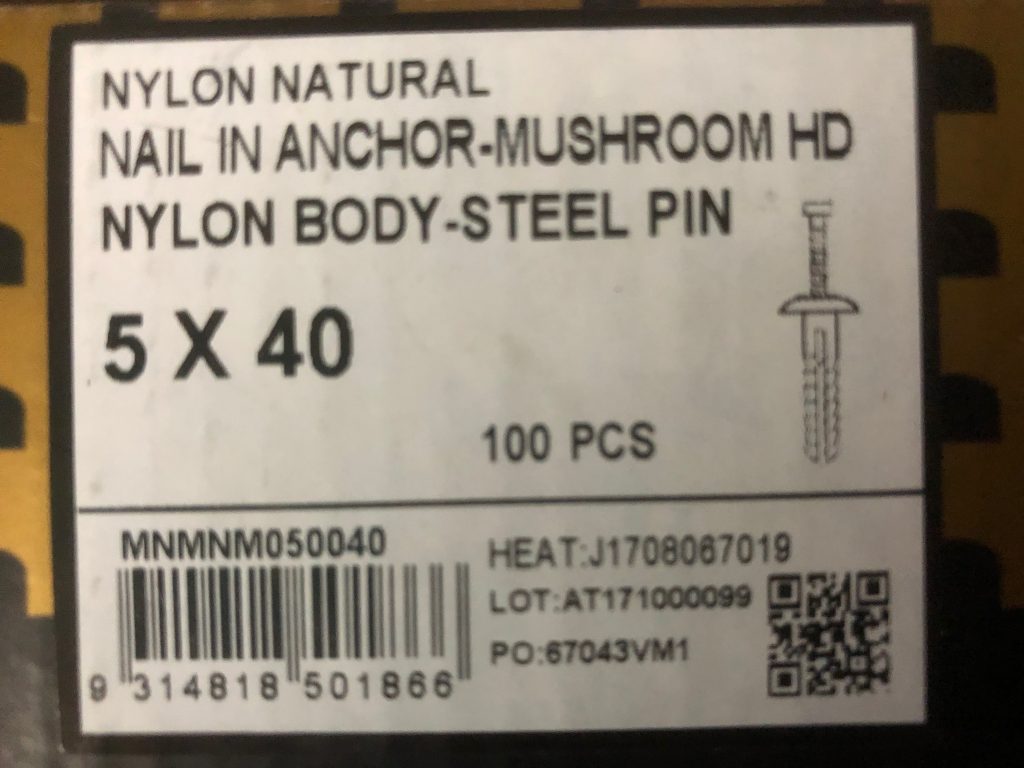
- Brick Nylon Anchors. The size you will need is 5mm X 40mm.
- Packers or pieces of cardboard to help level the InstallStrips installed on the wall.
- Spirit level
- Ladder depending on the height you are working towards
- Second person to help you
InstallStrip Claws
Whilst the size of the wall was challenging, the hardest part of this project was actually the brickwork itself. The wall was not level and so we had to pay extra attention to how we placed each InstallStrip so that the claws grabbed the panels and created a sturdy fit.
It meant checking each Installstrip one at a time to ensure the claws grabbed the panel. In all it would have taken 2x as long as a plasterboard wall.
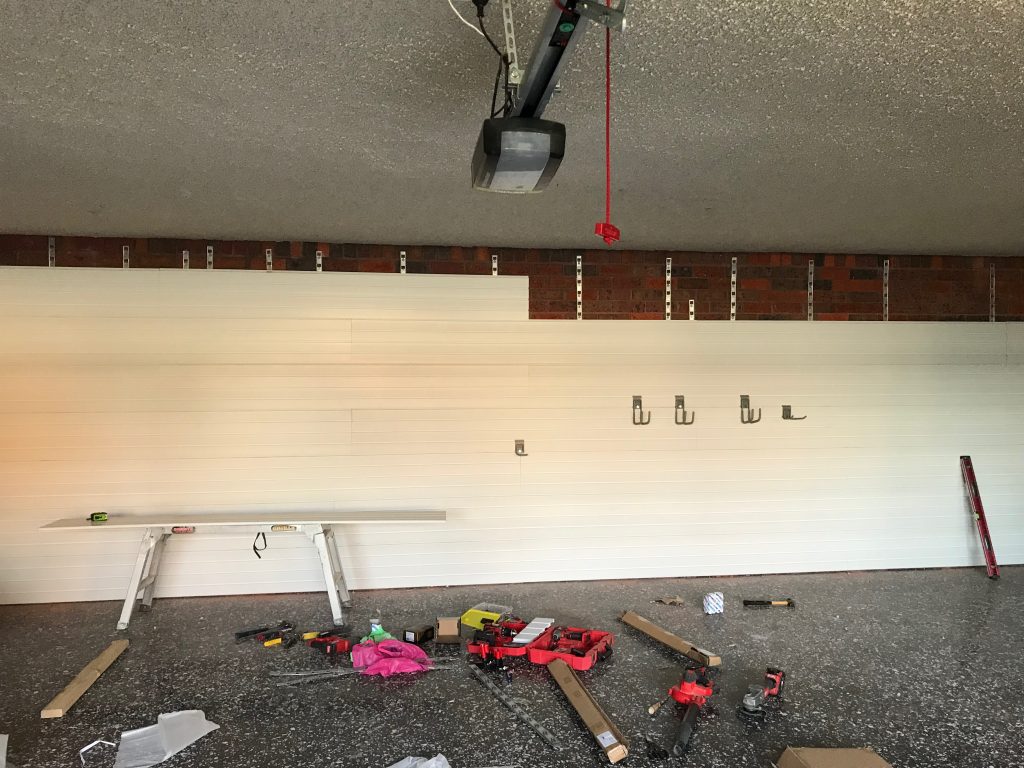
The below photo shows the final panels being added. In this case we had to cut panels both vertically but also horizontally (ie along the length of the panel).
The final piece of panel as about 195mm (just over half of the panel).
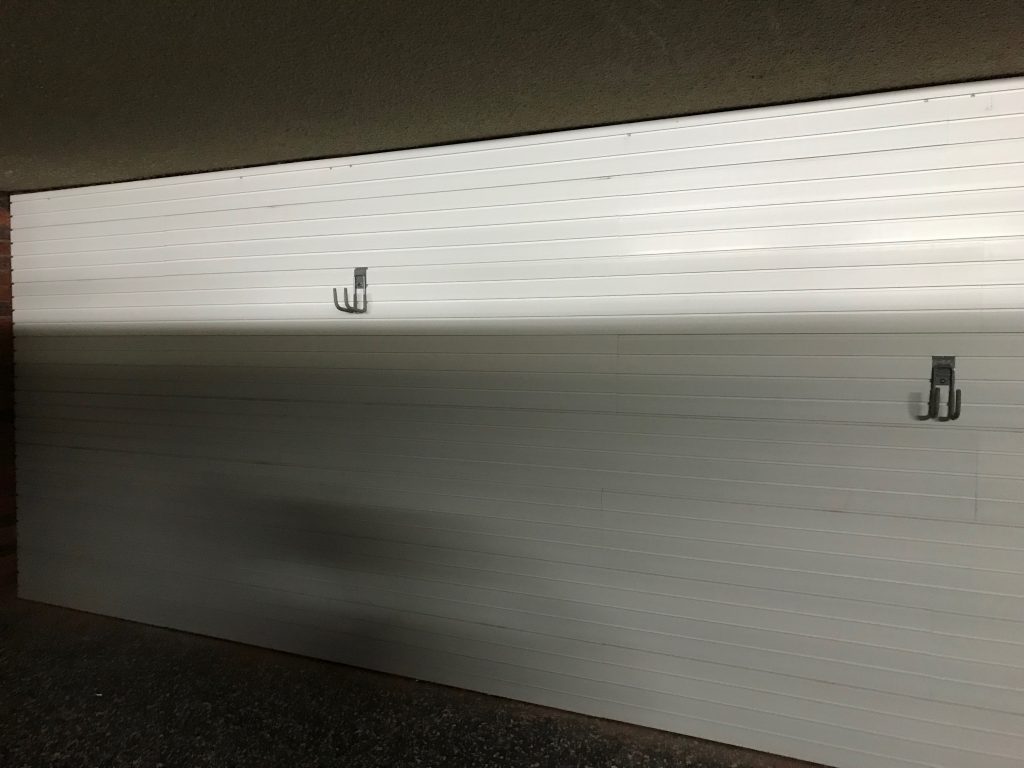
The final result was really impressive and the white colour of the wall added some light and practicality to what was a rather dark garage.
