
How to Install StoreWALL Slatwall Panels
StoreWALL is designed for DIY installation. More than half of all StoreWALL customers install it themselves, and the process is more forgiving than it looks. This guide covers everything from first measuring your wall to fitting the last panel — and whether you’re still deciding whether to buy or you’ve got panels sitting in your garage right now, you’ll find what you need here.
Skip straight to the step-by-step installation if your panels have arrived. If you’re still planning, start from the top.
Before You Buy
Is StoreWALL a DIY job?
Yes, for most standard walls. The process has four stages: mark your studs, fix your InstallStrips to the wall, hang the panels, then add accessories. None of the stages require specialist trades skills. What you do need is patience with the levelling — panels that sit on a slightly off InstallStrip will be visible, and correcting it later is harder than getting it right the first time.
Most customers complete a standard garage wall (one or two cartons of panels) in a half-day to full day depending on wall type and experience. Brick walls take longer because of the drilling involved.
What wall types work?
StoreWALL installs on virtually any wall surface. The wall type determines which fastener you’ll use for the InstallStrips — everything else about the process is identical.
|
Wall type |
How to fix InstallStrips |
Fastener |
Notes |
|
Plasterboard over timber studs |
Screw through plasterboard into studs |
7g x 40mm timber screws (12 per strip) |
Most common AU garage wall — studs typically 450-600mm apart |
|
Plasterboard over metal studs |
Use self-tapping metal screws into studs |
10g self-tapping tek screws, flat/wafer head |
Flat head is critical. Add strength by piercing both flanges of C stud if possible. |
|
Brick or concrete |
Hammer drill + masonry anchors (nylon nail anchors) |
5mm masonry bit + nylon anchor + nail |
Min 10 anchors per InstallStrip. Hammer drill required. |
|
Bare timber studs (no lining) |
Screw directly into studs |
Simplest installation — screw straight into stud face |
|
|
Between studs (plasterboard) |
Use plasterboard wall anchors |
Weaker than stud fixing — use for additional strips only, not primary support |
What tools will I need?
For plasterboard walls (most common)
- Stud finder — detects timber or metal studs behind plasterboard
- Spirit level — 600mm or longer
- Drill / impact driver
- 8g x 40mm timber screws (or 10g tek screws for metal studs)
- Tape measure and pencil
For brick or concrete walls — additional tools required
- Hammer drill — essential, not optional
- 5mm masonry drill bit (at least 2 — they dull quickly on brick)
- Nylon nail anchors — minimum 10 per InstallStrip
For cutting panels (if required)
- Circular saw with fine-tooth blade — for long cuts along the length of a panel
- Multi-tool or jigsaw — for shorter or awkward cuts (around power points, pipes)
TIP You don’t need to cut any panels to get started. Begin with full-length panels in an unobstructed area and tackle any cut panels last once you’re comfortable with the process.
How many InstallStrips do I need?
InstallStrips are the galvanised metal strips that mount to your wall studs — the panels click onto them, hiding all the fixings. They’re why the system’s weight ratings are as high as they are. Without InstallStrips, all accessory weight capacities drop by approximately 75%.
|
Panel size |
InstallStrips needed |
Contact points |
Notes |
|
SD 1219mm panel (1 panel) |
1 × InstallStrip-SD |
3 points |
SD strip breaks into 3 × 304mm sections — one per panel height section |
|
SD 1219mm carton (4 panels) |
4 × InstallStrip-SD |
3 per panel |
Order 4 strips per carton |
|
SD 2438mm panel (1 panel) |
2 × InstallStrip-SD |
6 points |
SD strip breaks into 3 × 609mm sections |
|
SD 2438mm carton (4 panels) |
8 × InstallStrip-SD |
6 per panel |
Order 8 strips per carton |
|
HD 1219mm panel (1 panel) |
1 × InstallStrip-HD |
3 points |
HD strip breaks into 3 × 380mm sections — one per panel height section |
|
HD 1219mm carton (4 panels) |
4 × InstallStrip-HD |
3 per panel |
Must use HD InstallStrips — SD strips will not grip HD panels |
⚠ Do not use Standard Duty InstallStrips on Heavy Duty panels or vice versa — the claw dimensions are different and the panels will not grip correctly. Always match your InstallStrip type to your panel range.
Where should panels start on the wall?
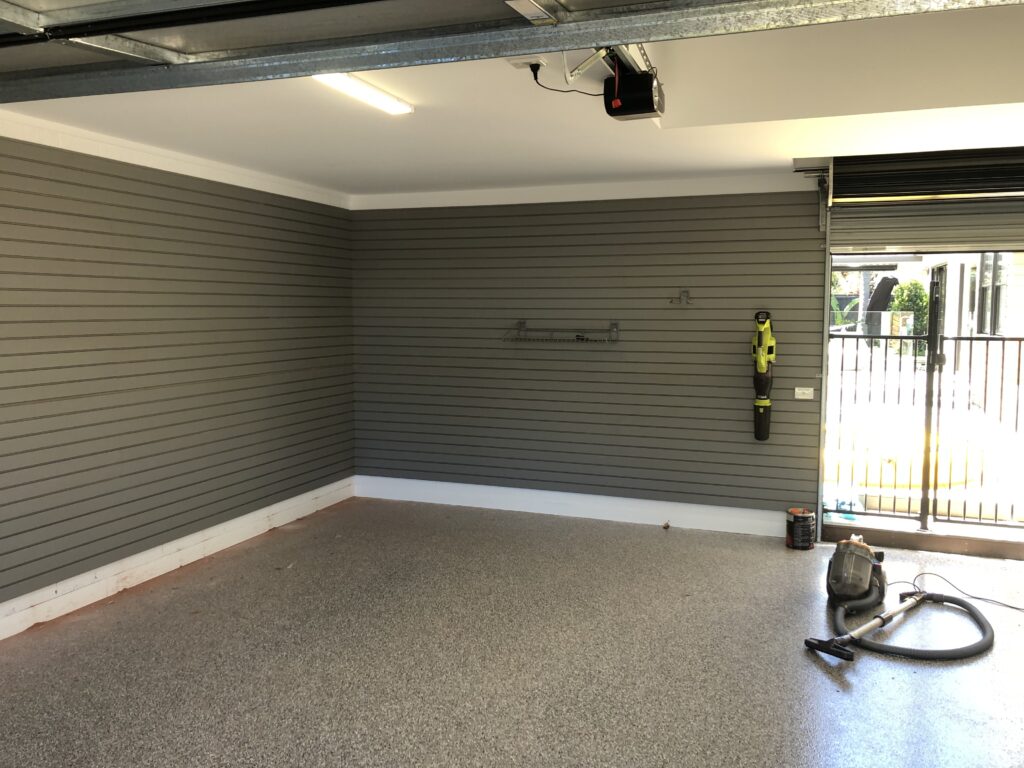
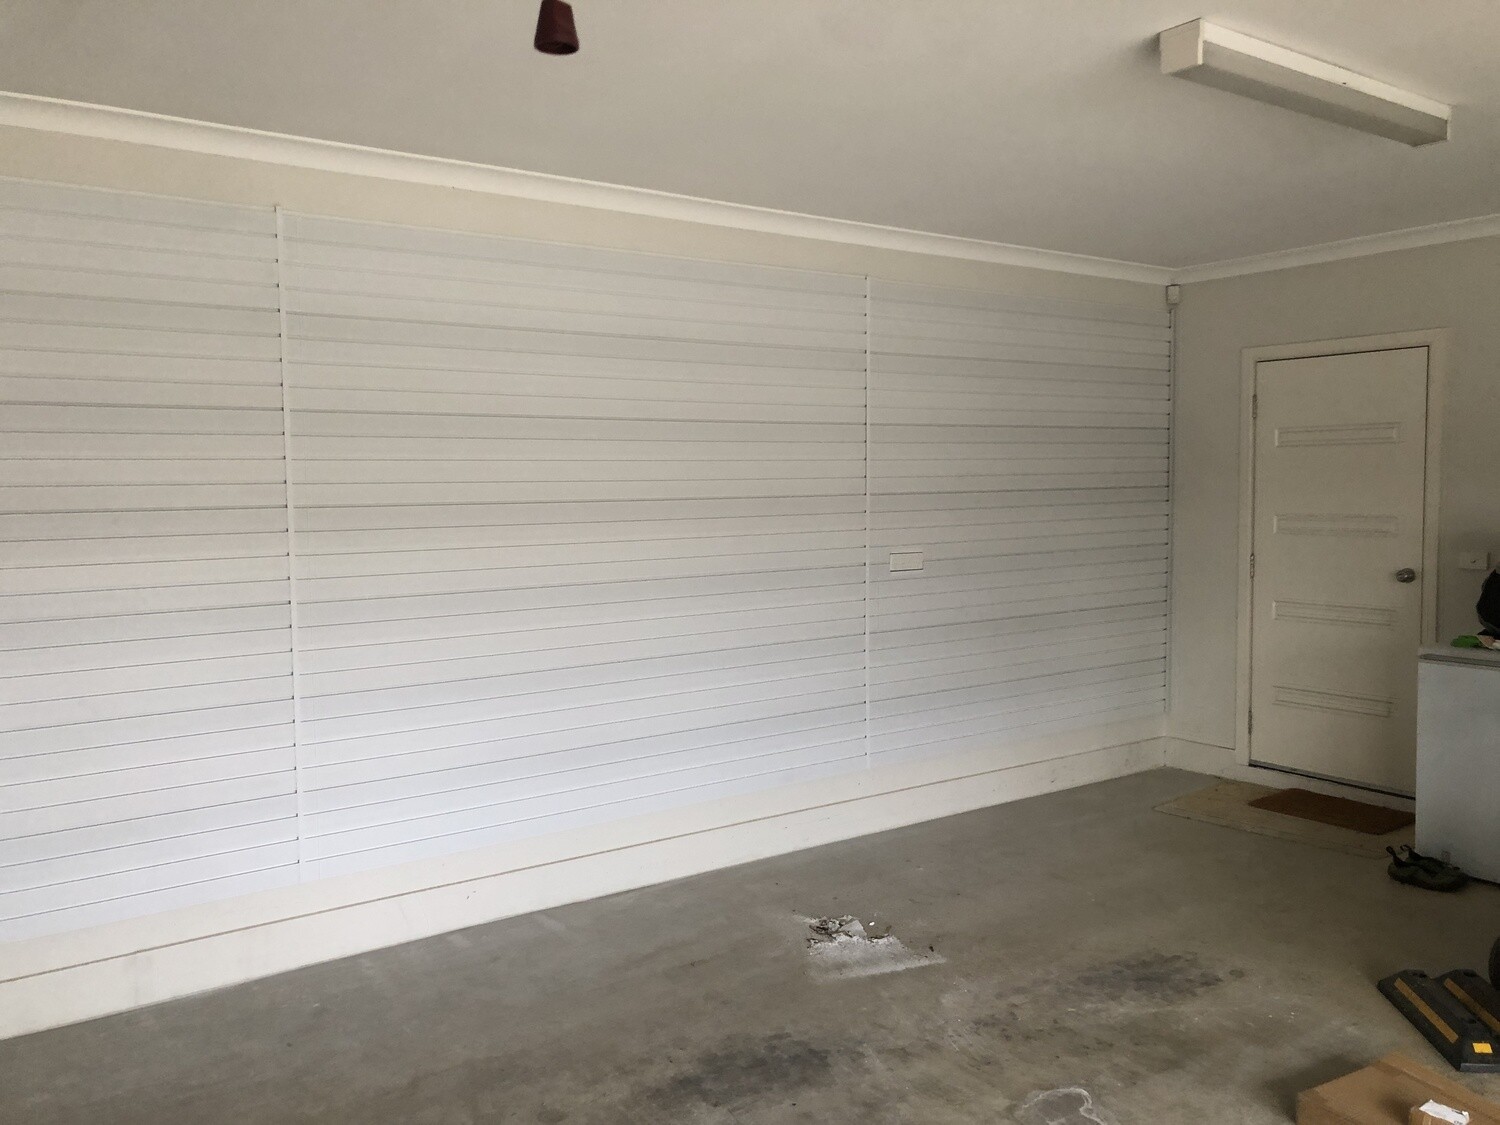
Most customers install panels from around 800mm off the floor, rising to head height or above. This puts hooks, shelves and baskets in the most useful zone — reachable without a ladder but high enough to clear your car doors and floor-level clutter. You don’t have to cover the whole wall or reach the ceiling. Install as much or as little as suits your space and budget.
TIP Not sure how many panels you need? Use the Panel Calculator or call us — we’ll calculate it from your wall measurements at no charge. All we need is width, height, wall type, and a photo if you have one.
Step-by-Step Installation
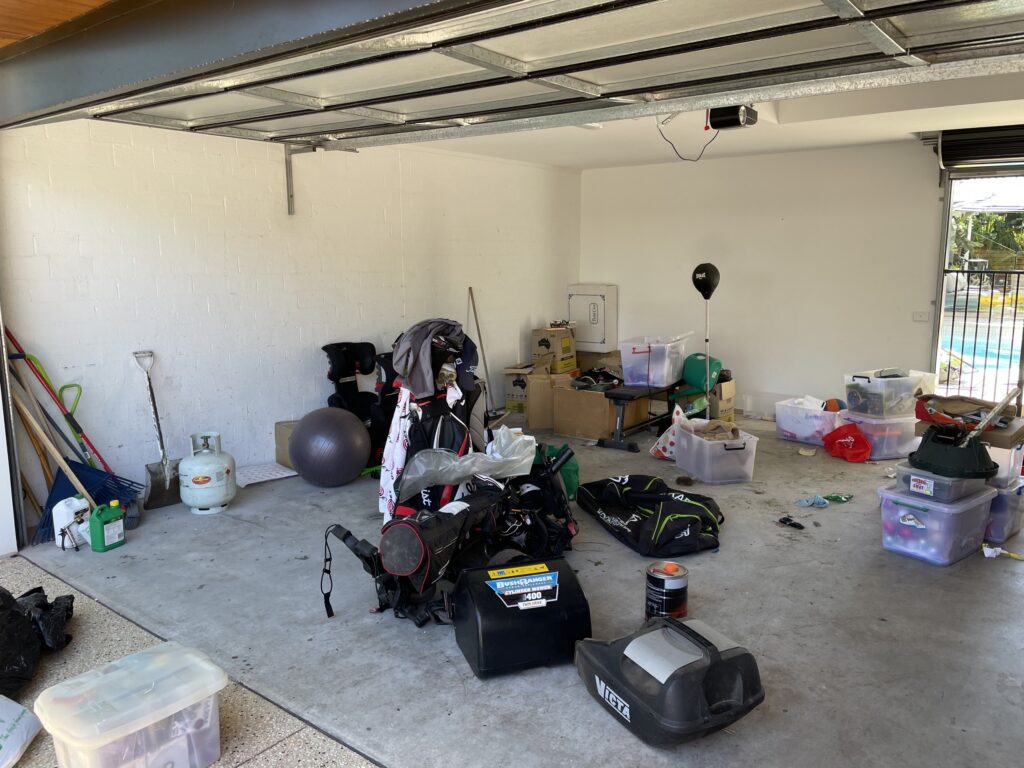
Your panels have arrived. Here’s how to install them.
Step 1 – Plan your layout before you drill anything
Hold a panel against the wall in the position you want it. Mark the top and bottom edges lightly with a pencil. This becomes your reference line for the first InstallStrip. Getting this right first means everything that follows lines up without adjustment.
Decide how high from the floor your bottom panel row will sit. Most installations start at 800–900mm — high enough that a standard car door opens without hitting a panel, low enough that items hung at the bottom are at waist height. Note any power points, lights or pipes that panels will need to work around.
TIP Plan for full panels first. Start with the open, unobstructed sections of wall and fit any cuts around power points or door frames last. This keeps the most visible sections looking clean.
 Step 2 – Find your studs
 Step 2 – Find your studs
Studs in Australian homes are typically spaced 450mm to 600mm apart. A stud finder is the starting point, but stud finders can be inconsistent — particularly near plasterboard joins. If in doubt, drill a small pilot hole to confirm you’ve hit solid timber or metal rather than the cavity between studs.
Reliable ways to find studs:
- Run the stud finder horizontally and mark each detection point
- Look for nail or screw pops in the plasterboard — these are always on studs
- Electrical outlets and light switches are always fixed to a stud — measure 450mm in either direction to find adjacent studs
- Tap the wall — a solid sound indicates a stud, a hollow sound means cavity
Once you’ve found one stud, measure 450mm intervals from it to find the rest. Mark each stud position clearly — a vertical pencil line running the full height of your planned panel area makes the InstallStrip placement stage much faster.
Step 3 – Fix the first Installstrip – level is everything
 Step 3 – Fix the first Installstrip – level is everything
The first InstallStrip sets the level for every panel that follows. Take extra time here — every other strip will reference back to this one.
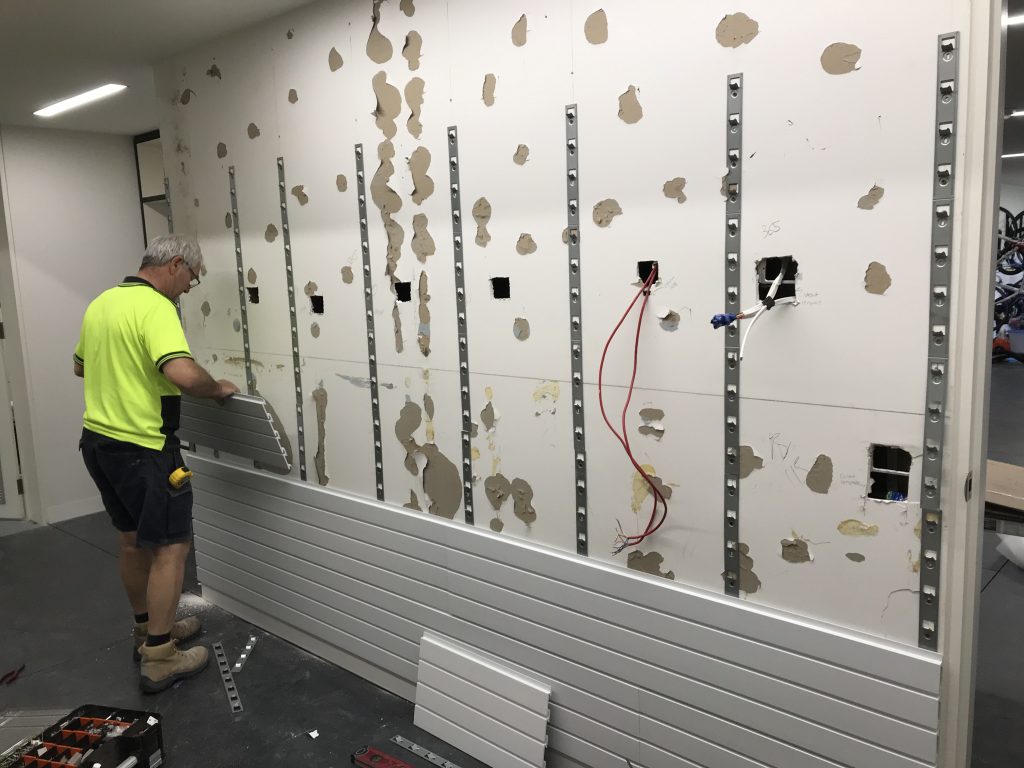
- Hold the first InstallStrip against the wall at your chosen height, aligned over a stud. The claws on the strip face outward (away from wall).
- Use your spirit level to confirm it’s level vertically. Mark the top and bottom screw holes with a pencil. Every second opening on the installstrip is oval allowing for vertical adjustment.
- Drill pilot holes and fix the strip to the stud. On plasterboard walls use 7g timber screws (12 screws per strip on Standard Duty, 16 on Heavy Duty). On brick, drill masonry holes and insert nylon anchors before driving the nail.
- Check the strip is still level after fixing — tighten screws can sometimes pull a strip slightly. Adjust if needed.
- Hold a panel briefly against the fixed strip and check the grip. The claws should hook the panel firmly from both the top and bottom groove.
⚠ If an InstallStrip claw doesn’t engage the panel cleanly, don’t force it. By using the oval screw holes on the Installstrip, you allow yourself the ability to adjust the horizontal level of the installstrip. You can also use the claws to make slight adjustments. The claws can be tapped gently up or down with a hammer to adjust the angle.
Step 4 – Fix all remaining Installstrips
Work outward from your first fixed strip. Fix the outermost InstallStrips first (the ones closest to the ends of your panel run), then fill in the inner ones. This gives you reference points at both ends to check alignment as you work across.
For each new InstallStrip:
- Use your spirit level or a long straight edge referenced from the first strip to set the correct height
- Fix to the stud (or anchor if no stud is available at that position)
- Check level after fixing
- Confirm the claw engages a panel correctly before moving to the next strip
TIP Use a long panel as a running check — lay it across three or four fixed InstallStrips and check that it sits flat. If it rocks on one strip, that strip is slightly off. Better to correct now than after all strips are fixed.
Step 5 – Hang the panels
Once all InstallStrips are fixed and level, panels go on quickly. Tilt the top edge of the panel toward the wall and hook it over the top claw of the InstallStrip. Then lower the bottom edge in to engage the bottom claw. When both claws engage correctly, the panel will sit flat and firm with no rocking or movement.
Work from one end of the wall to the other, butting each panel edge-to-edge against the previous one. The factory-cut edges fit cleanly together. If you need to join two cut edges, position the join so both panel ends share an InstallStrip — this gives the cut edges support and hides any slight variation in the cut.
⚠ Panels removed from the wall for any reason can be replaced without any fixings — they simply hook back on. This is one of the key advantages of the InstallStrip system. You are never permanently committed to a panel layout.
Step 6 – Cut panels where needed
 Step 6 – Cut panels where needed
Cutting StoreWALL panels is straightforward — they cut like timber. Use a fine-tooth circular saw blade with a straight guide for any cuts along the length of a panel (the 1.2m or 2.4m dimension). A multi-tool works well for shorter cuts around power points or pipes.
- Allow 10-12mm clearance when cutting a panel to fit against a ceiling or floor — you need room to tilt the panel onto the InstallStrip
- Keep factory-cut edges where two panels join side by side — the machined edge fits more cleanly than a hand cut
- We also offer Joining Trims (H shaped) that cover joining edges
- Cut edges can be finished with a Wide Corner Trim or L Trim for a clean appearance
TIP Cut your last panel in a row slightly short rather than tight. A 5–10mm gap at an edge is invisible once trimmed, but a panel that’s cut too long and has to be forced in can distort the row level.
Step 7 – Add accessories and adjust
Hooks, shelves, brackets, baskets and bins all attach by tilting the CamLok backplate into any groove on the panel, then rotating the CamLok a quarter-turn to lock. No tools required. Every accessory can be moved to any other groove at any time — this is the fundamental advantage of the slatwall system over fixed shelving.
Start by getting a rough idea of your zones — tools in one area, sports gear in another, bikes at one end. Then place accessories without locking them and step back to assess before committing. It takes about 30 seconds to move a hook once locked; there’s no cost to experimenting.
Finishing Your Installation
Trims and corner finishing
Exposed vertical panel edges — at a door frame, wall corner, or end of a panel run — can be finished with a Wide Corner Trim. This is secured with velcro tabs or magnetic tape rather than adhesive, so it can be removed later if your layout changes. StoreWALL doesn’t currently offer a top or bottom trim, but the panel edges are clean enough that most installations look finished without it.
Joining panels from different rows
StoreWALL panels are designed to butt edge-to-edge. As long as InstallStrips are level, horizontal joins between rows are nearly invisible. Vertical joins where panels meet end-to-end should be positioned so both panel ends share an InstallStrip — this adds support at the join and keeps it tidy.
Installing on corners
For internal corners (where two walls meet), butt the panels so the groove lines on both walls align at the corner. You can use the Wide Trim to finish the corner or simply butt the panels tightly. For external corners (an island or peninsula panel run), the Wide Trim covers the exposed panel end cleanly.
Getting Help
StoreWALL offers free help at every stage — before you buy and while you’re installing. You don’t need to figure everything out yourself.
- Free wall measurement and quote — call 0411 280 646 or email with your wall dimensions, wall type and a photo. We’ll calculate panel and InstallStrip quantities and cost within 24 hours.
- Installation support — if you’re stuck mid-install, call us. We’re happy to help on weekends.
- Installation videos — the YouTube channel covers the most common installation scenarios including plasterboard, brick, metal studs and corner installations.
- Professional installation — if you’d prefer someone else to install it, see our Installers page for StoreWALL-experienced installers in your area.
Common Questions
Can I install StoreWALL on a wall with no studs accessible?
Yes, using screw-in plasterboard wall anchors. These are weaker than stud fixings, so we recommend using them only for supplementary InstallStrips where stud positions don’t align with your preferred panel layout. Never use wall anchors as the sole fixing for a primary InstallStrip that will carry significant load.
Can I take panels off the wall and reinstall them?
Yes. Panels lift straight off InstallStrips and rehang without any tools or additional fixings. You can also take panels with you if you move house — the InstallStrips stay in the wall, the panels come with you.
Do I need to seal the gaps between panels?
No. The gap between adjacent panels is intentional — it allows the system to accommodate minor variations in wall flatness. Gaps are typically 1–2mm and invisible once accessories are hung.
What if my walls aren’t perfectly flat?
Most walls have some variation. If an InstallStrip doesn’t sit flush because of an uneven wall, you can pack behind the strip with some cardboard at the fixing point to bring the claw to the correct position. The key check is always: does a panel sit flat across all the claws in a row, or does it rock on one?
Note once you hang your accessories and your items, their weight will pull the panel down locking it into the installstrip and the panel beneath it.
Can I install panels horizontally instead of vertically?
No — StoreWALL panels are designed to be installed vertically (with the grooves running horizontally). Rotating them would mean the grooves run vertically, and accessories would not be able to engage the CamLok mechanism correctly.

Product Resources
- StoreWALL Panel Range
- Understanding PVC Slatwalls
- StoreWALL Performance Chart
- StoreWALL Hook Range
- StoreWALL Basket Range
- StoreWALL Specifications
- Installation Tips
- Quick Installation Guide
- StoreWALL Trims
- StoreWALL Bracket Range